Season of Cheer

Christmas is only 37 days from now! I have been busy making cards for classes and events and need to get my cards made to send off this year. I wonder what the chances are of me actually doing that? I haven’t mailed out Christmas cards for a few years now, not because I don’t have any, but because I just kept putting it off. Maybe you can give me some encouragement and give me the push to get it done this year!

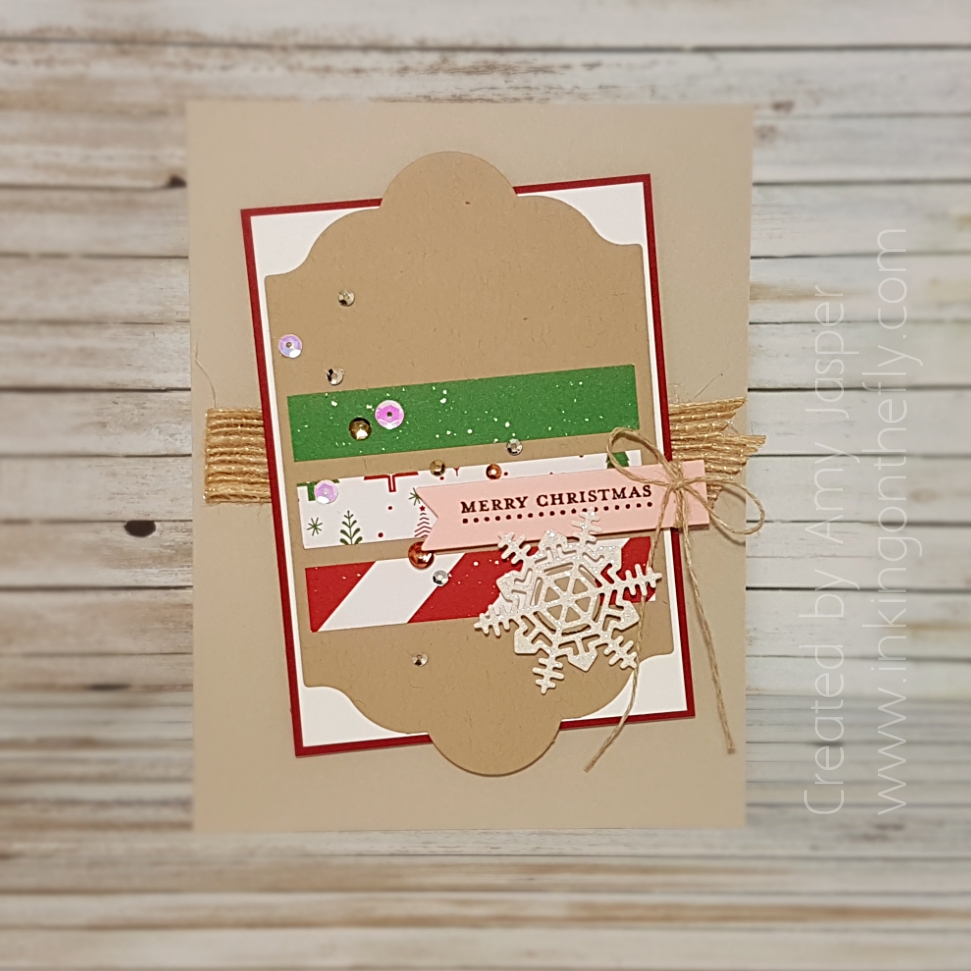
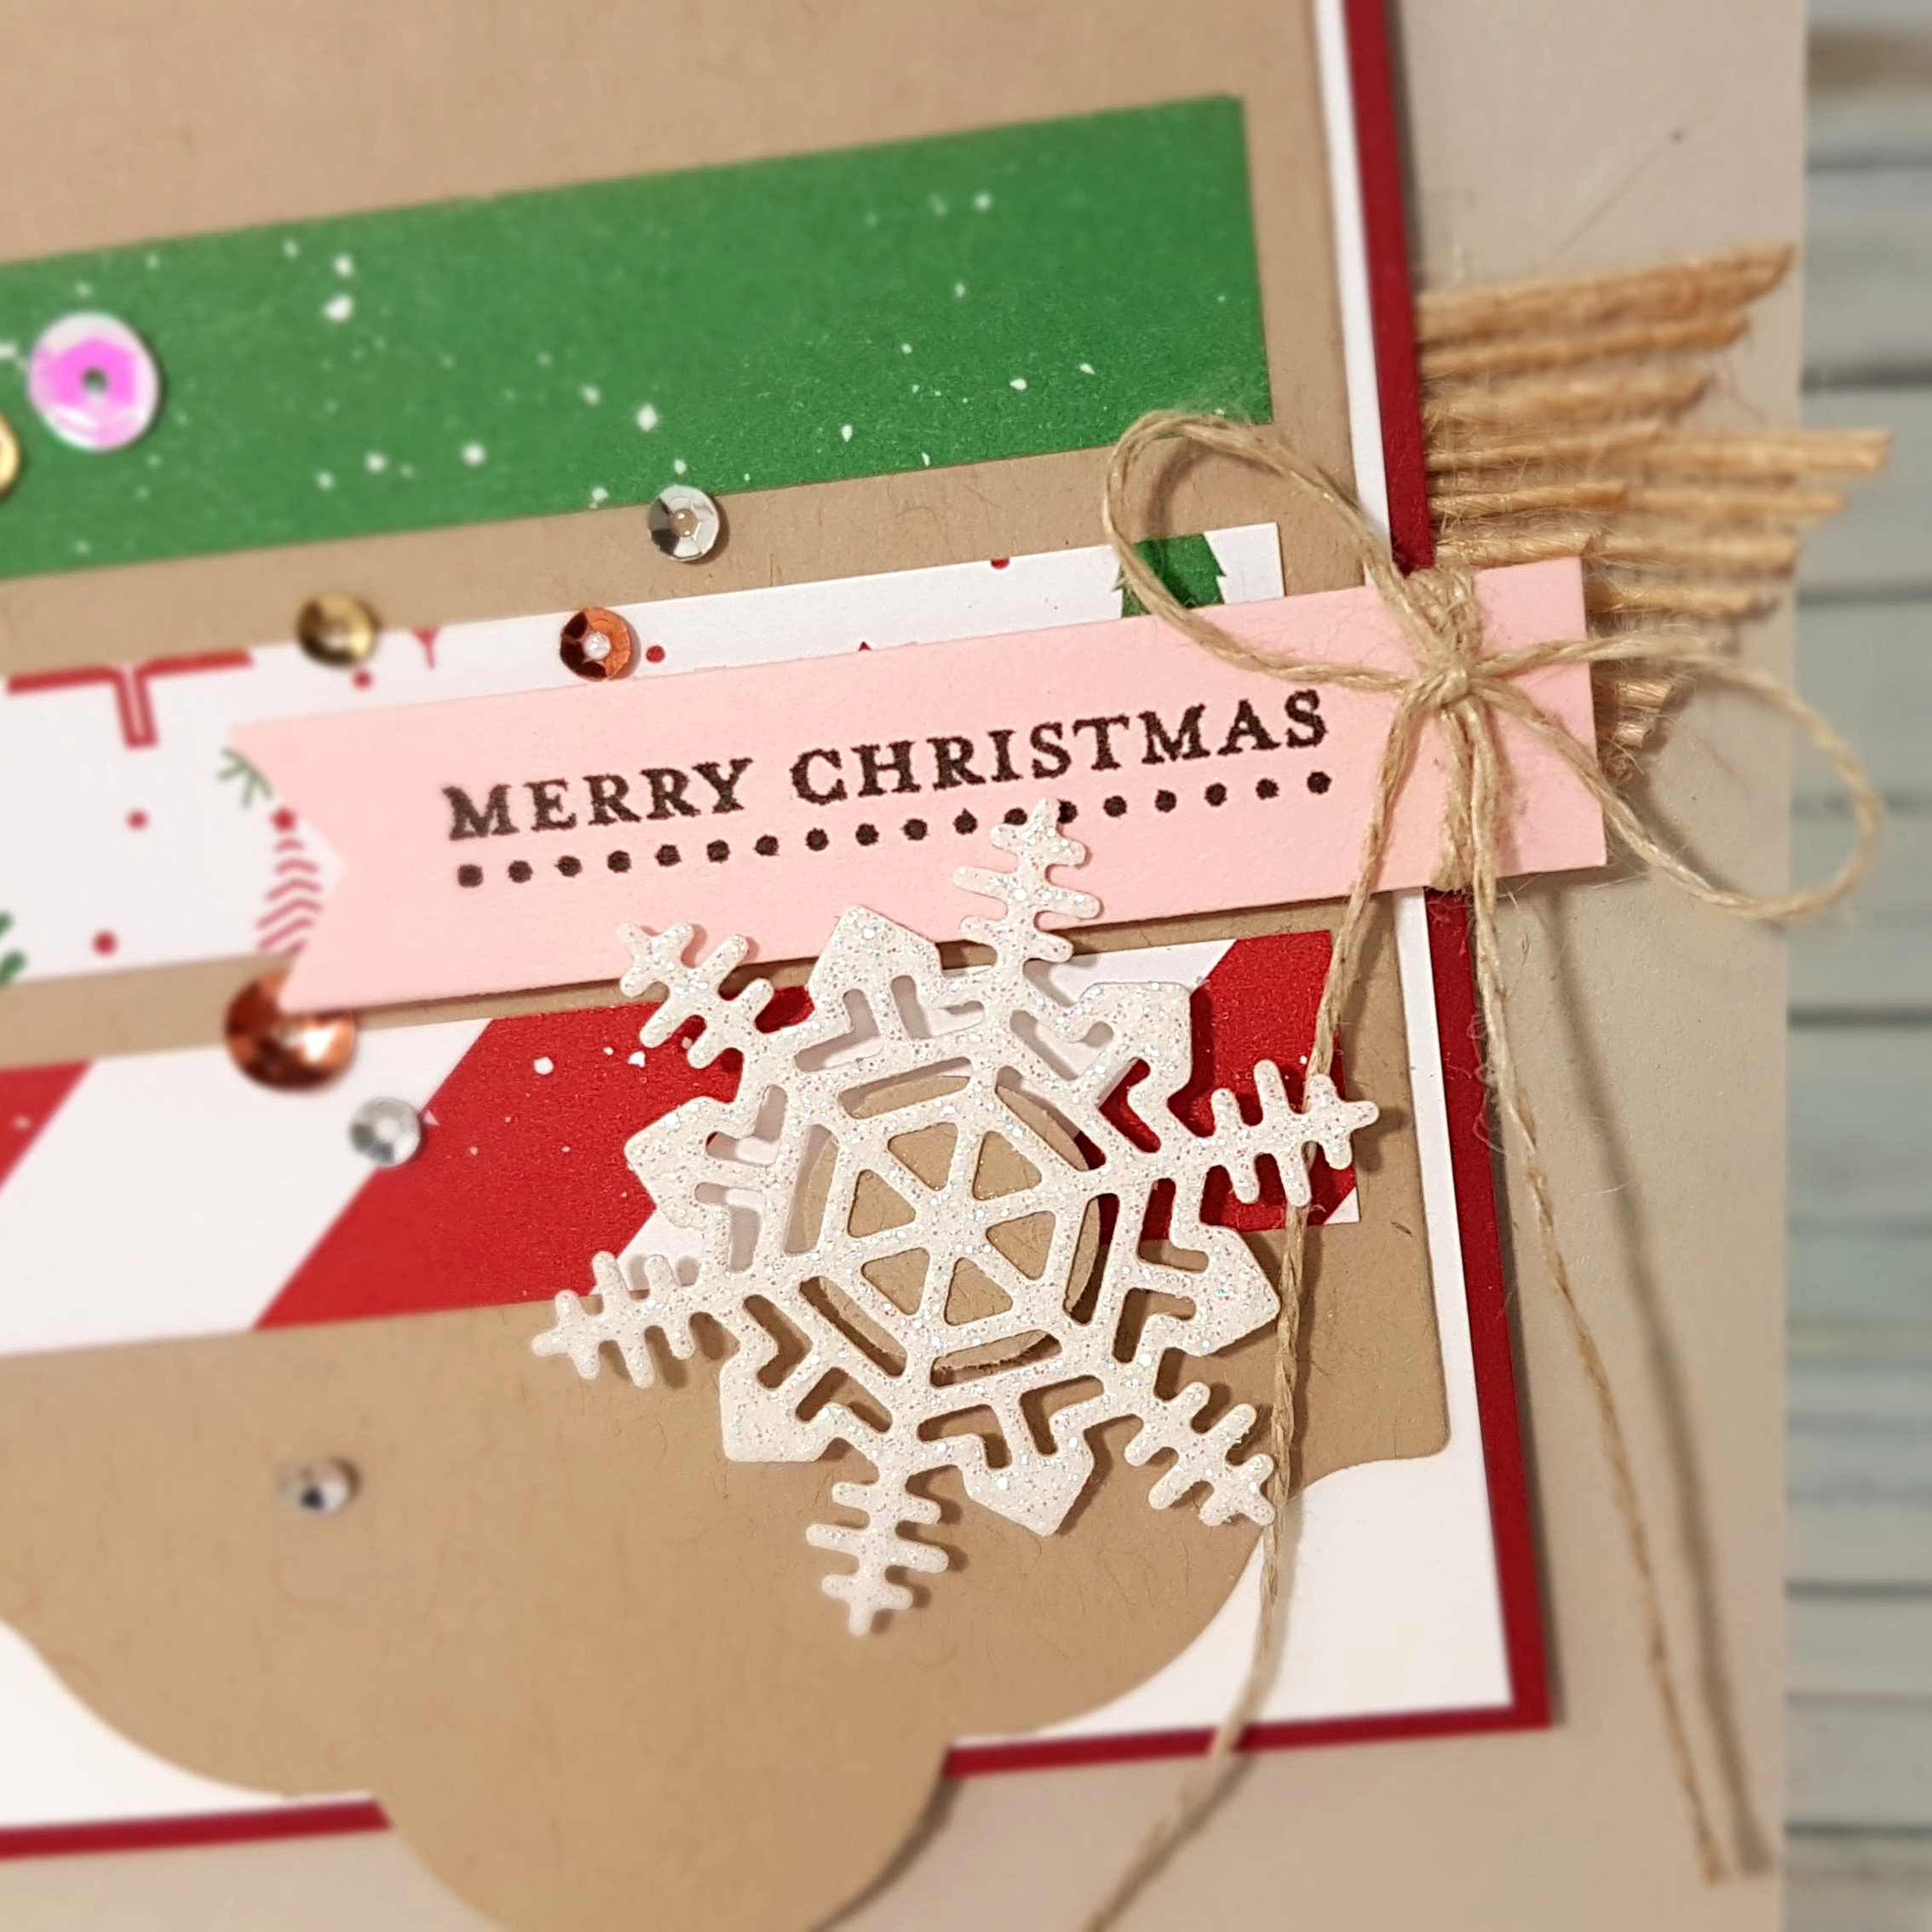
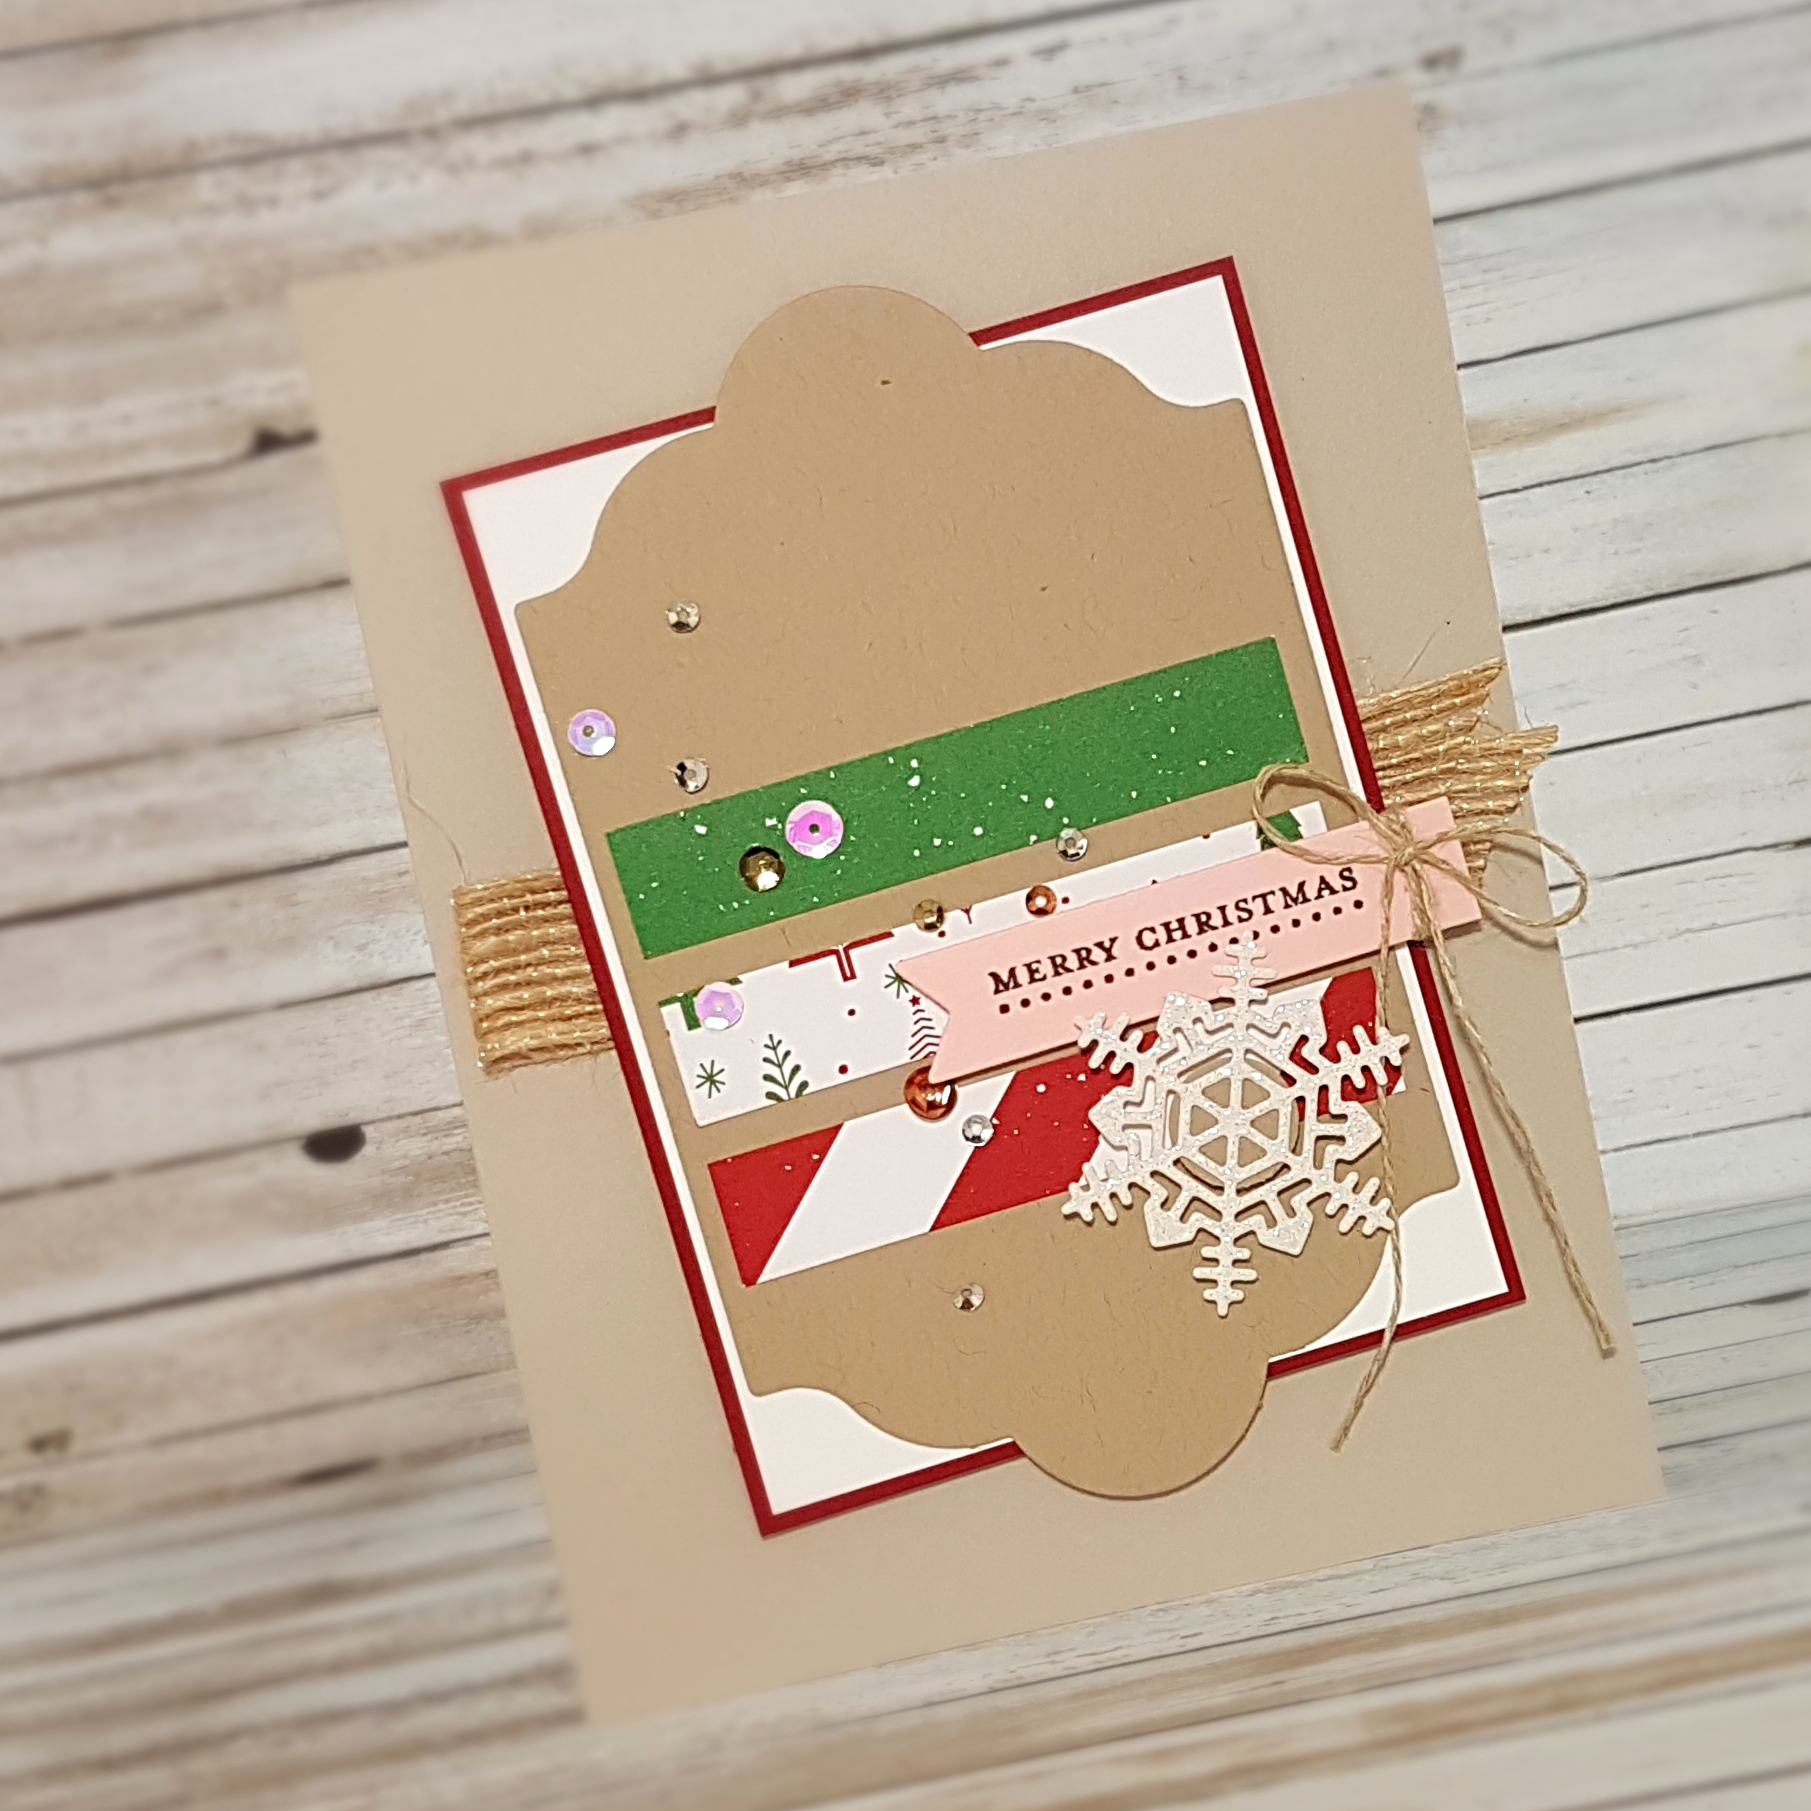
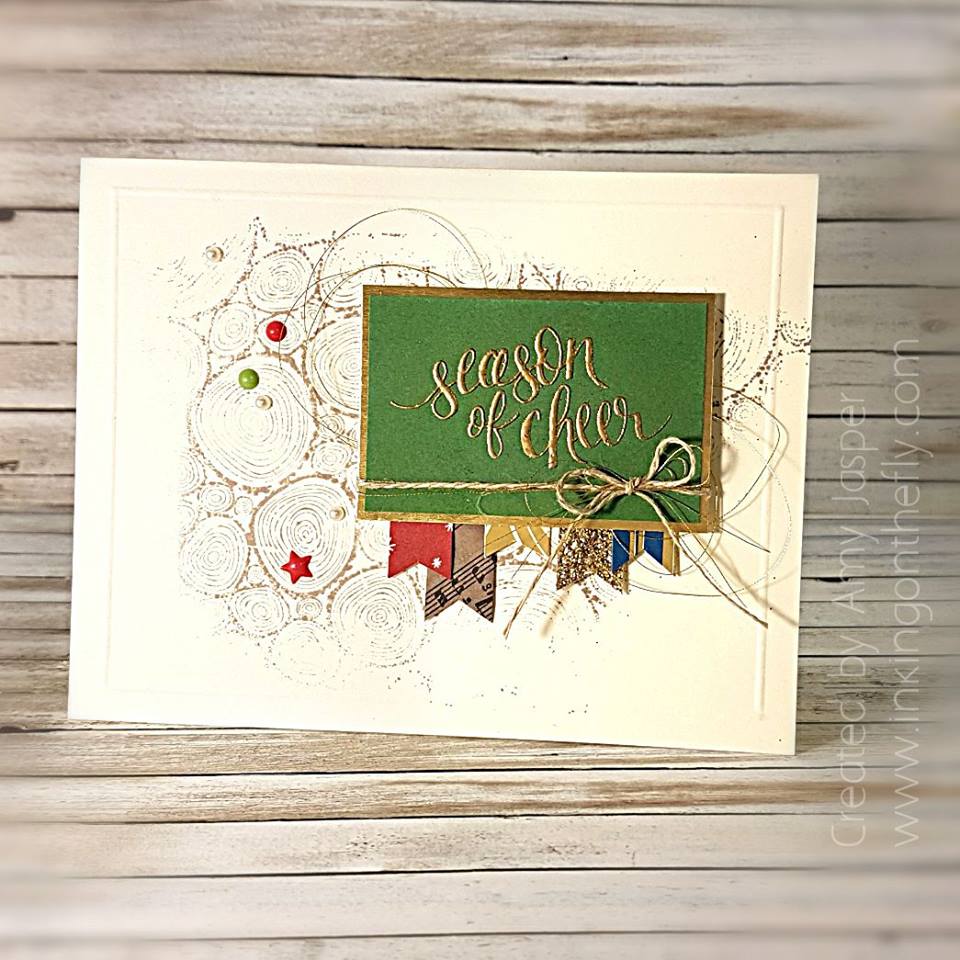
I have a card design for you that I don’t really love, but it’s always good to try something different. I’m just not sure if I like how it turned out.

Here’s the sketch I started with from As You See It Challenge blog:
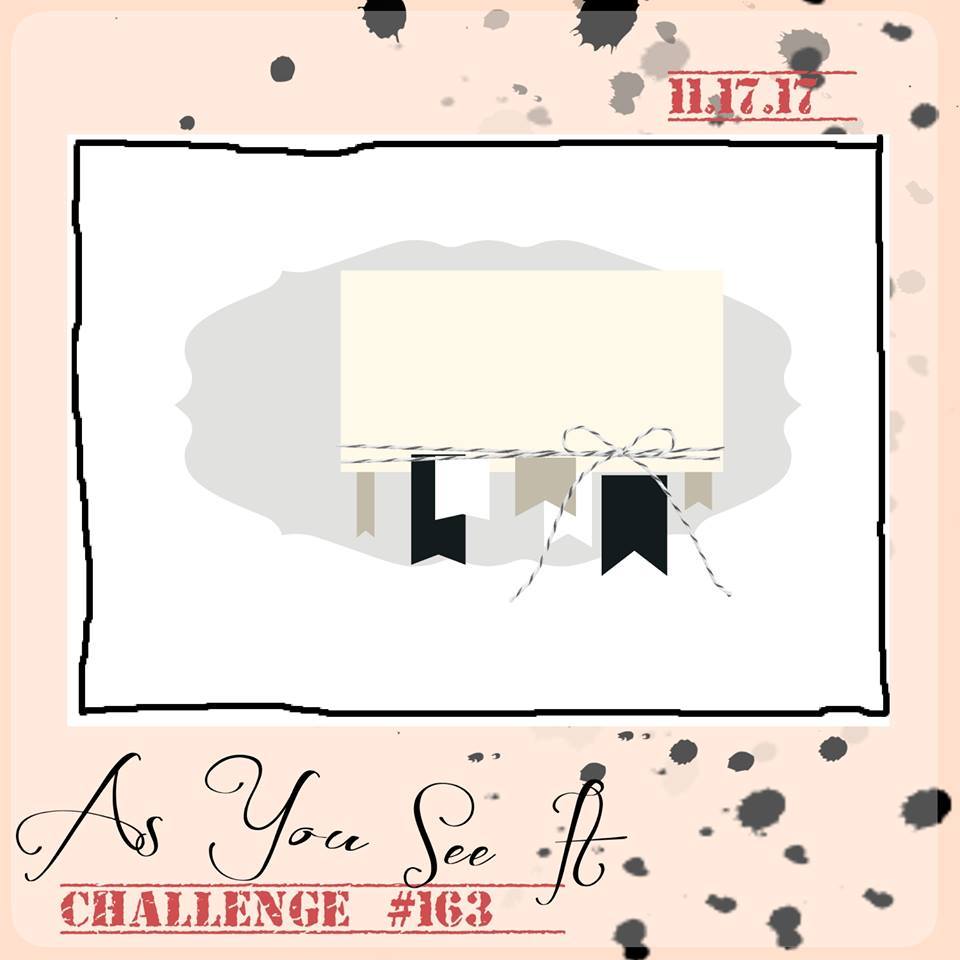
… and here’s my take on the AYSI sketch:

If you’d like to know more about the stamps or Stampin’ Up supplies I used, just leave a message in the comments.

So … what’s your verdict? Yeh or meh?

Sequin and Burlap

It’s time for another As You See It Challenge design!

Here’s the challenge sketch:

I decided to use the Lots of Labels Framelits for this one. Here’s my take on the challenge:

I wanted to use some of the Be Merry Designer Series Paper, but I find the Garden Green/Cherry Cobbler/Whisper White colour combo a bit dull on its own. That’s when I decided to add the Powder Pink, Crumb Cake and Sahara Sand into the mix. I think the iridescent pinky colouring of some of the Metallic Sequin Assortments is what makes the Powder Pink cardstock work quite well.

I don’t know if you can really see it in the photos, but the snowflake die from the Seasonal Layers Thinlits is cut from the Dazzling Diamonds Glimmer Paper and is so pretty and sparkly! I wanted it to be popped up off the page, but it’s too delicate to hide a Stampin’ Dimensional behind it, so I first adhered a 1/2″ Crumb Cake circle to the back of the snowflake with the Multipurpose Liquid Glue. After that, I could hide a Dimensional behind that circle without losing the delicate design of the snowflake.

The sentiment from the Teeny Tiny Wishes stamp set, was stamped on the Powder Pink cardstock using Early Espresso ink. Then, it was die cut with a banner die from the Bunch of Banners Framelits for that perfect flagged end (I cut the other end off – two perfectly flagged ends would have been more than this card could handle. lol!