Christmas Fantasy Box – Part 2
As promised, here is Part 2 of my Christmas Fantasy Box. I just needed to complete the inside of this adorable gift box so I could show you how it looks when you open it up.
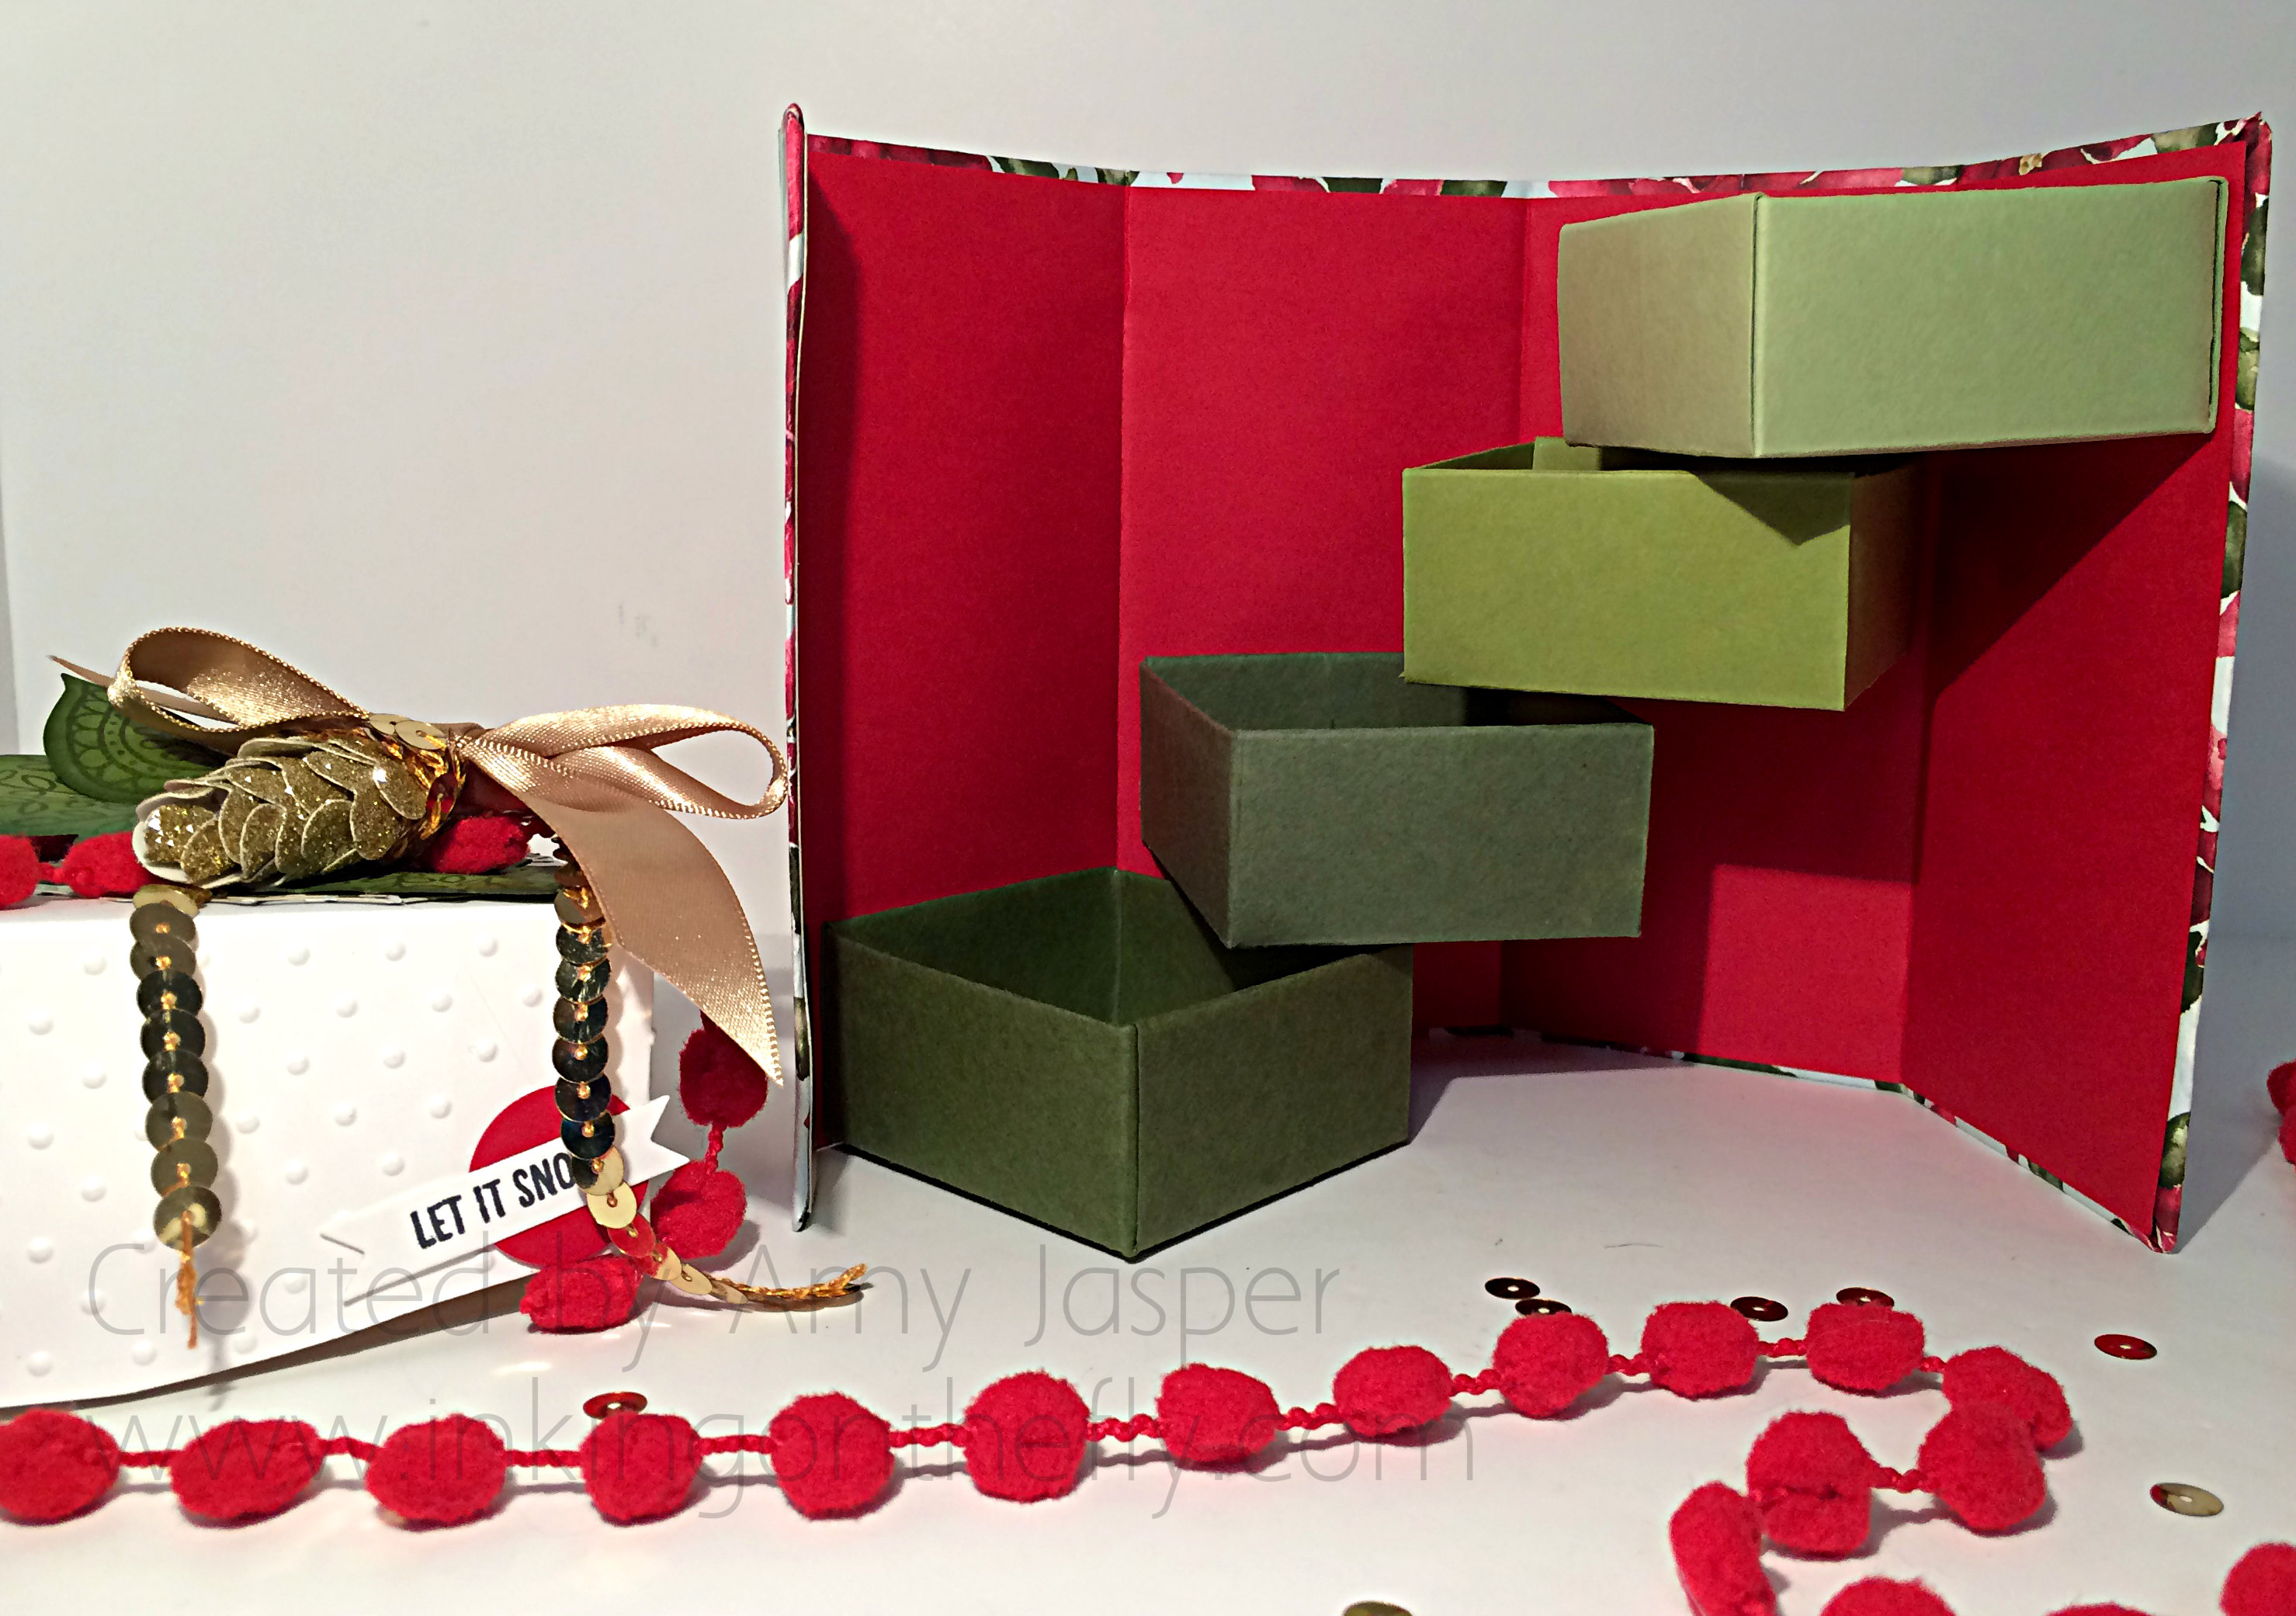 Is this not adorable!! The inside of the box has these individual boxes to put in chocolates, or cookies, or jewelry. Any little gifts or storage items would work. I wonder if After Eight Chocolates would fit?
I found the directions for this box at this site. I used the measurements and the basic directions, but did my own thing for the decorating and stamping.
You can save paper by cutting it for the outside box cover to be 6″ x12″, rather than 6.5″ x 12″. There is enough to cover your Coaster Board box panels with only 6″. Also, I am finding that I prefer to fold the corners of my cover in while covering my box panels rather than trim the corners at a 45 degree angle. There is a bit of bulk, but if you’re working with Stampin’ Up!’s designer paper, it is thin enough that the bulk is not a problem. I like how folding the corner in allows full coverage over the Coaster Board panels.
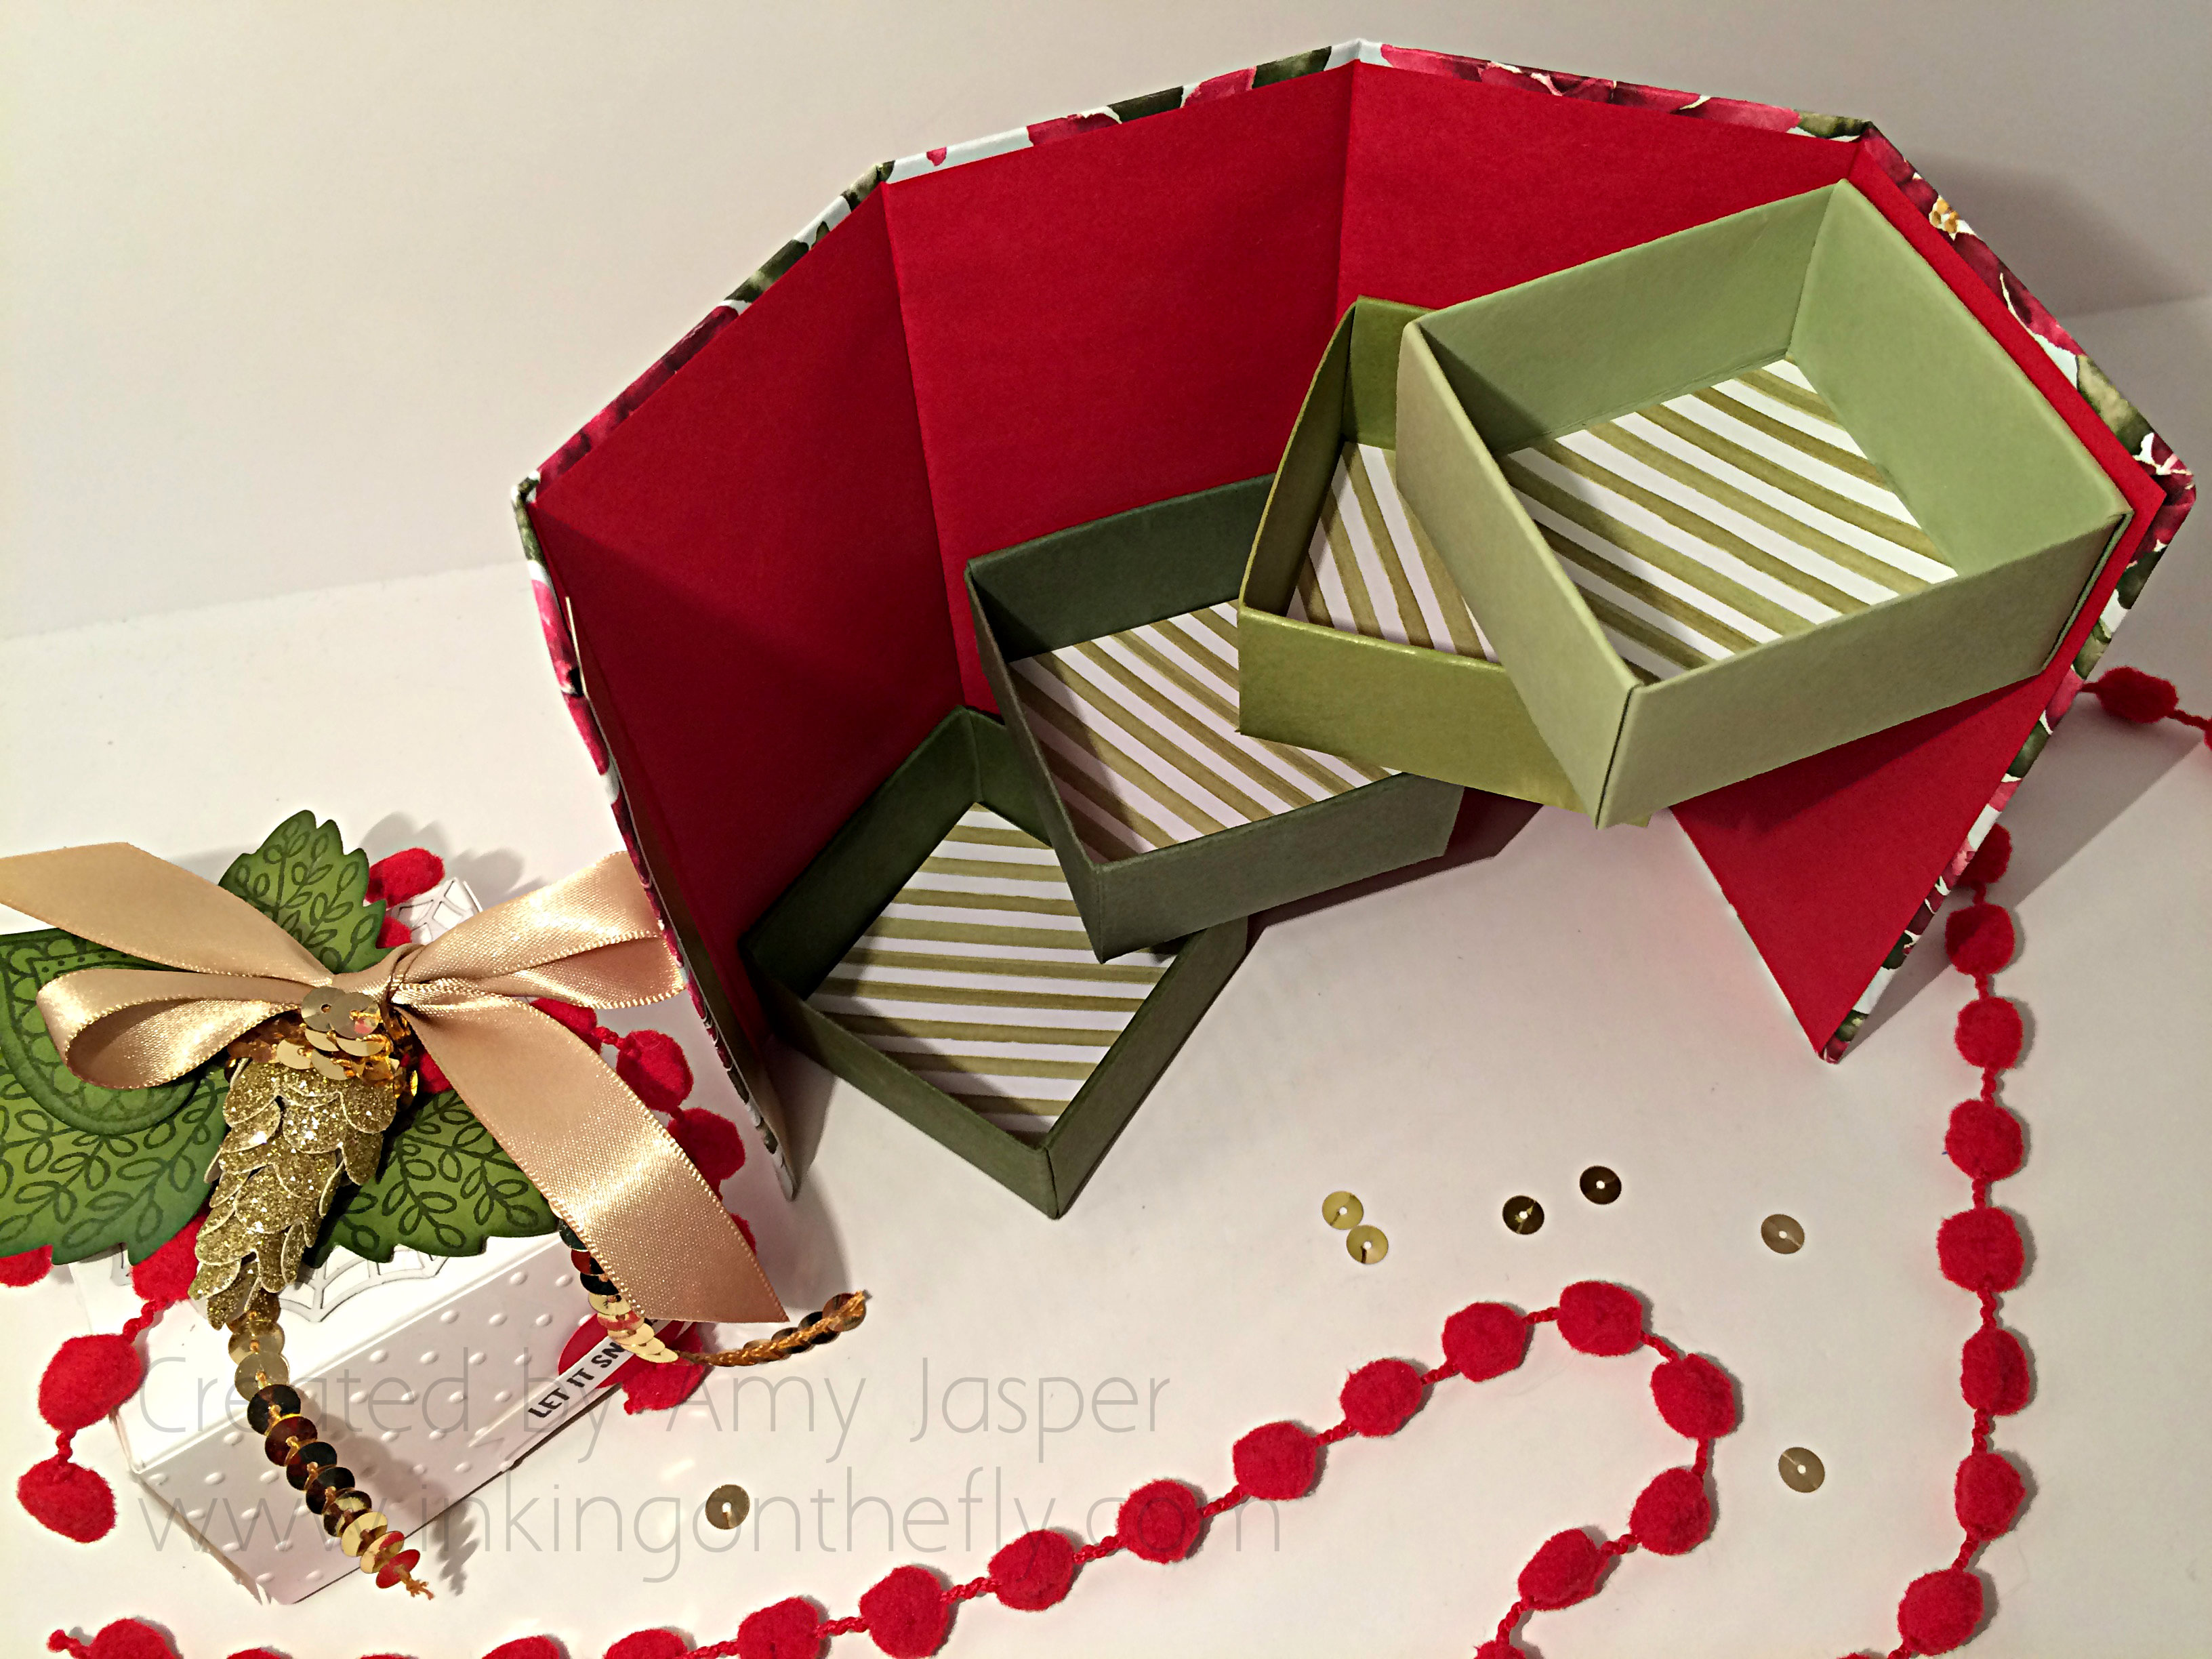 Each of the individual boxes are lined with a 2″x2″ piece of the Season of Cheer Designer paper. I used Pear Pizzazz, Old Olive, Always Artichoke, and Mossy Meadow cardstock for my little boxes.
Do you see the red liner paper inside the cover? That is actually Red Envelope paper from Stampin’ Up! It’s perfect for a liner.
TIP: I love using Stampin’ Up!’s Tear and Tape for all my boxes and album covers. It holds securely and the paper doesn’t buckle under the pressure of creasing and shaping.
I can’t wait to make more of these Fantasy Boxes and fill them with goodies to give away this Christmas! Just imagine the look on your friend’s face as they lift the lid and discover the secret compartments inside!

March 17, 2016 @ 3:08 pm
I pay a quick visit each day a few web sites and information sites
to read posts, but this web site provides quality based content.
November 24, 2015 @ 9:53 am
I LOVE the inside of the box!! It’s going to make the receiver oooh and aaahh! So creative and beautiful :). Excited to learn to make this and then make more of them!!
November 25, 2015 @ 4:00 pm
I love showing it to people for that very reason, Stacey! They ooh and aahh everytime. It’s a joy to see!