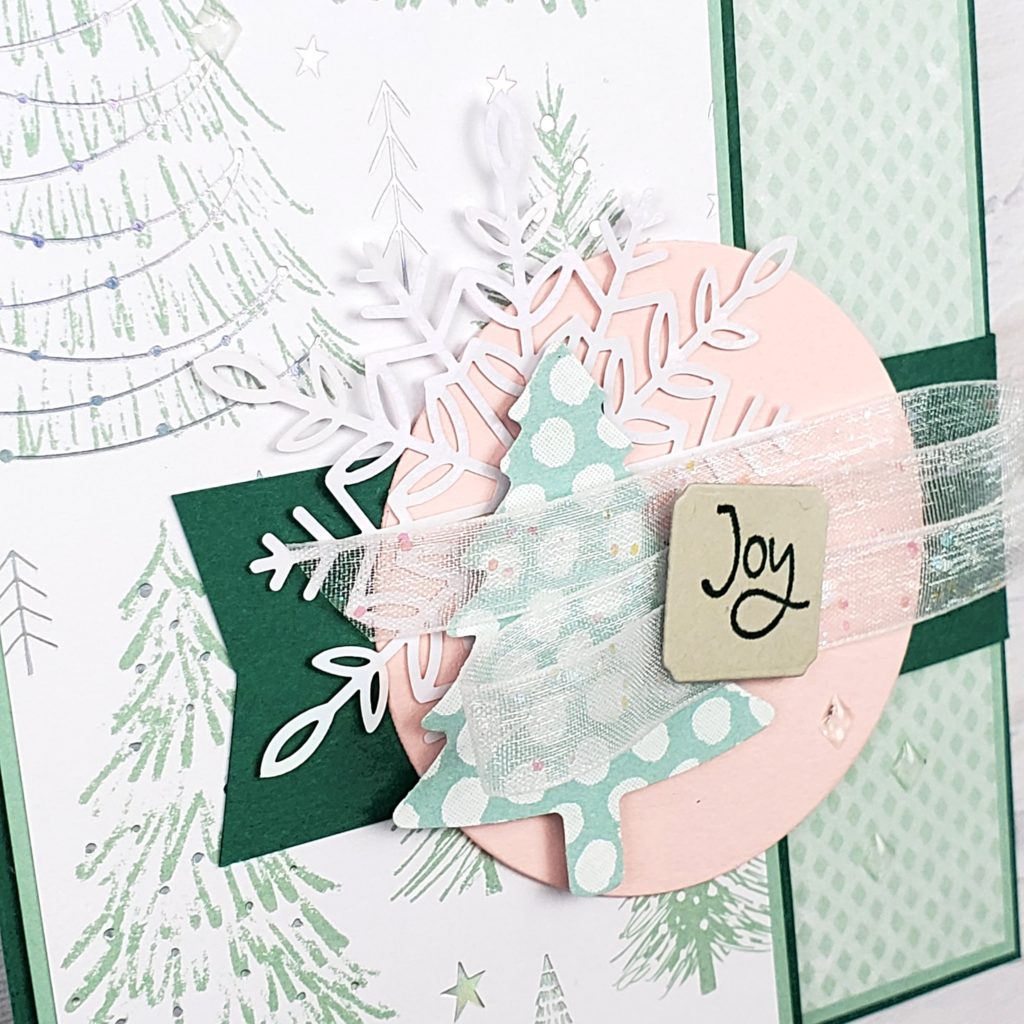
How to Make this Easy Front Flip Fold
Seriously! This fun fold card is so easy! When I find an easy card design that I like, I end up making a lot of them!
I think it’s the kind of card that is also fun to receive because of the unique opening. I shared this design at my October virtual gathering with my team of demonstrators because it’s a great card to make together with friends.
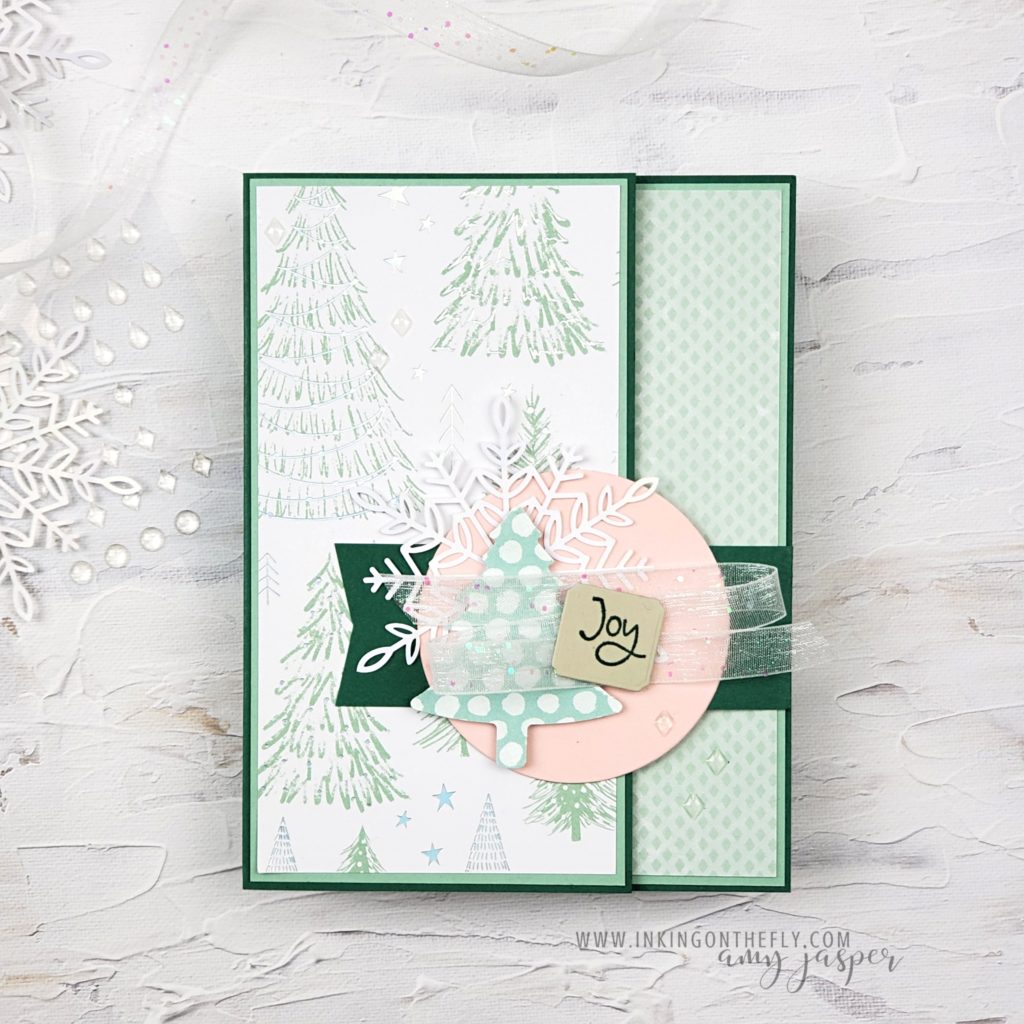
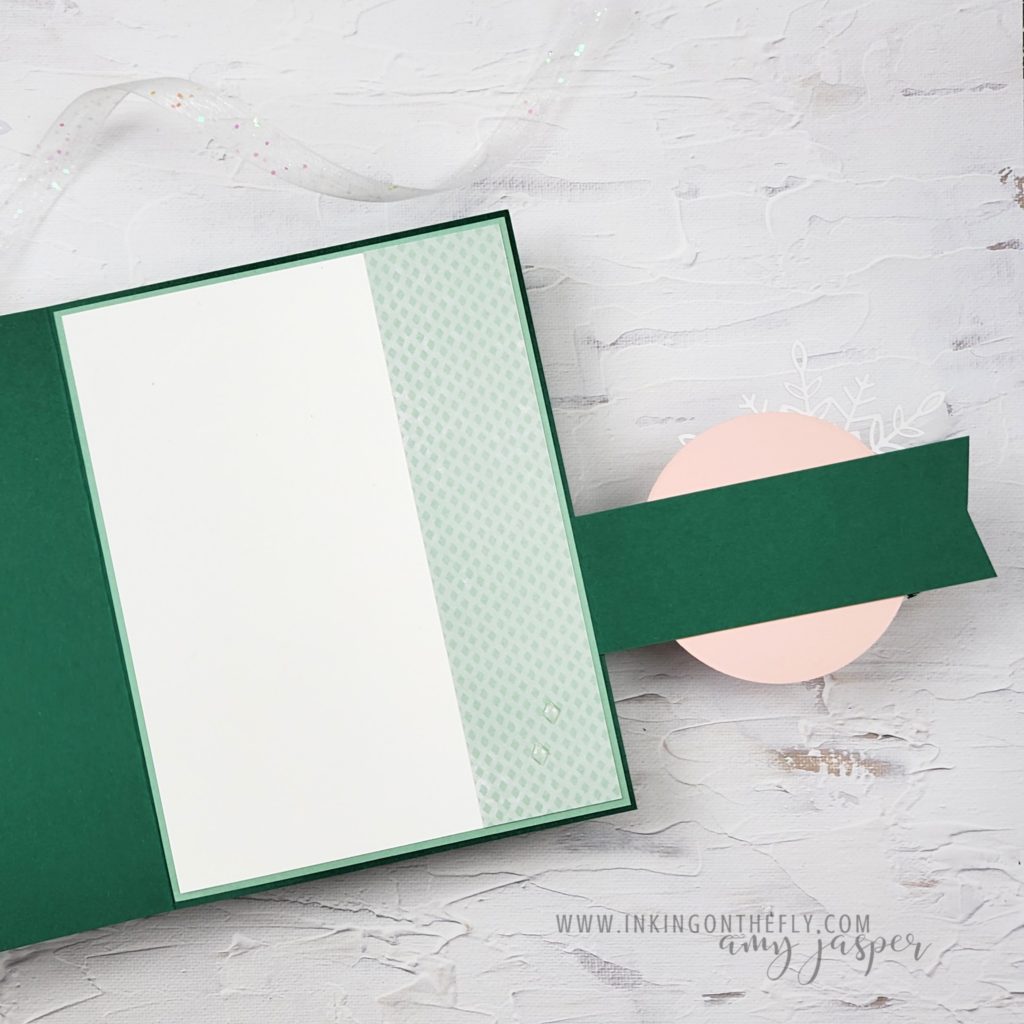
The card base is a piece of cardstock, measuring 5 1/2″ x 8 1/2″, scored at 4 1/4″. However, you will cut off a 1 1/4″ section from the front of the card and use it to attach the front flap.
With those two pieces for your base, you can create multiple versions of this style of card. After that, it’s a simple matter of what patterned paper to use.
I have Christmas on the brain!
Since this fun fold is so easy to make, I was able to make a few different versions.
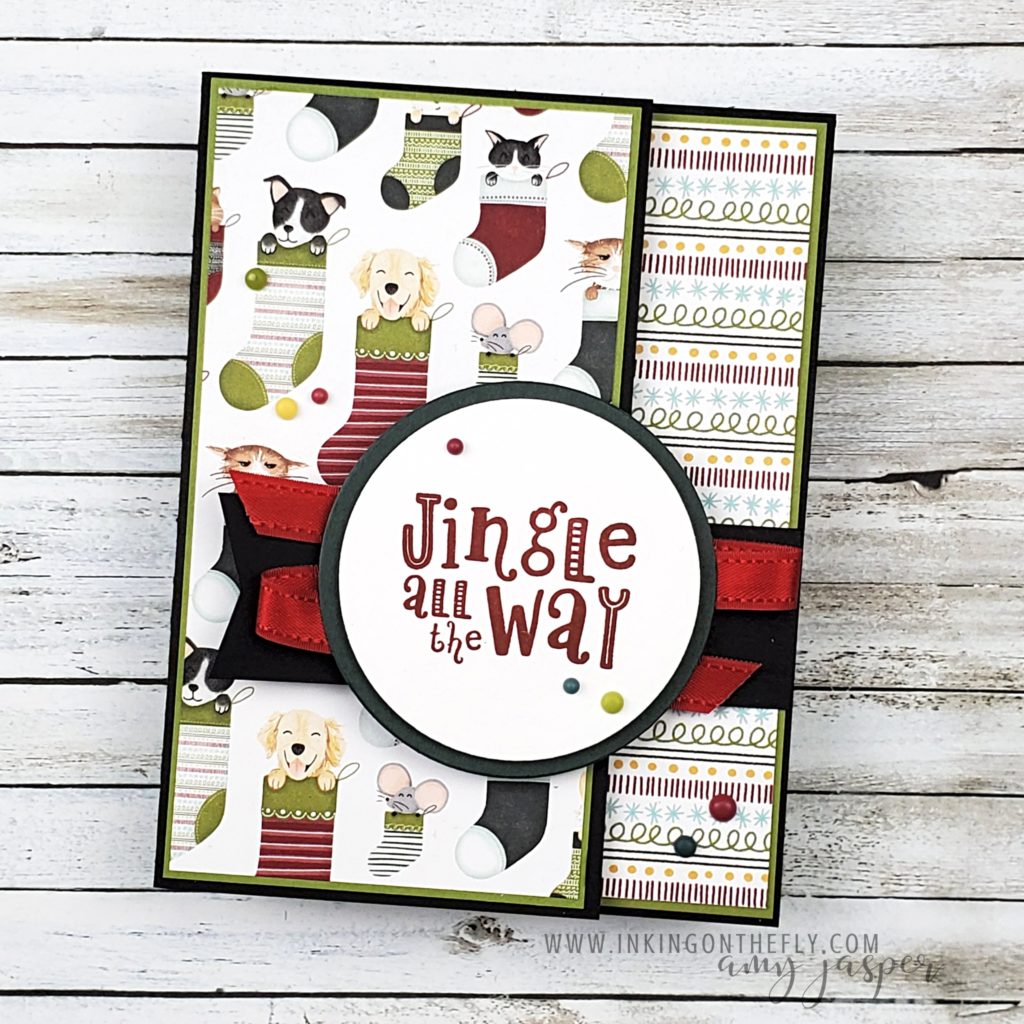
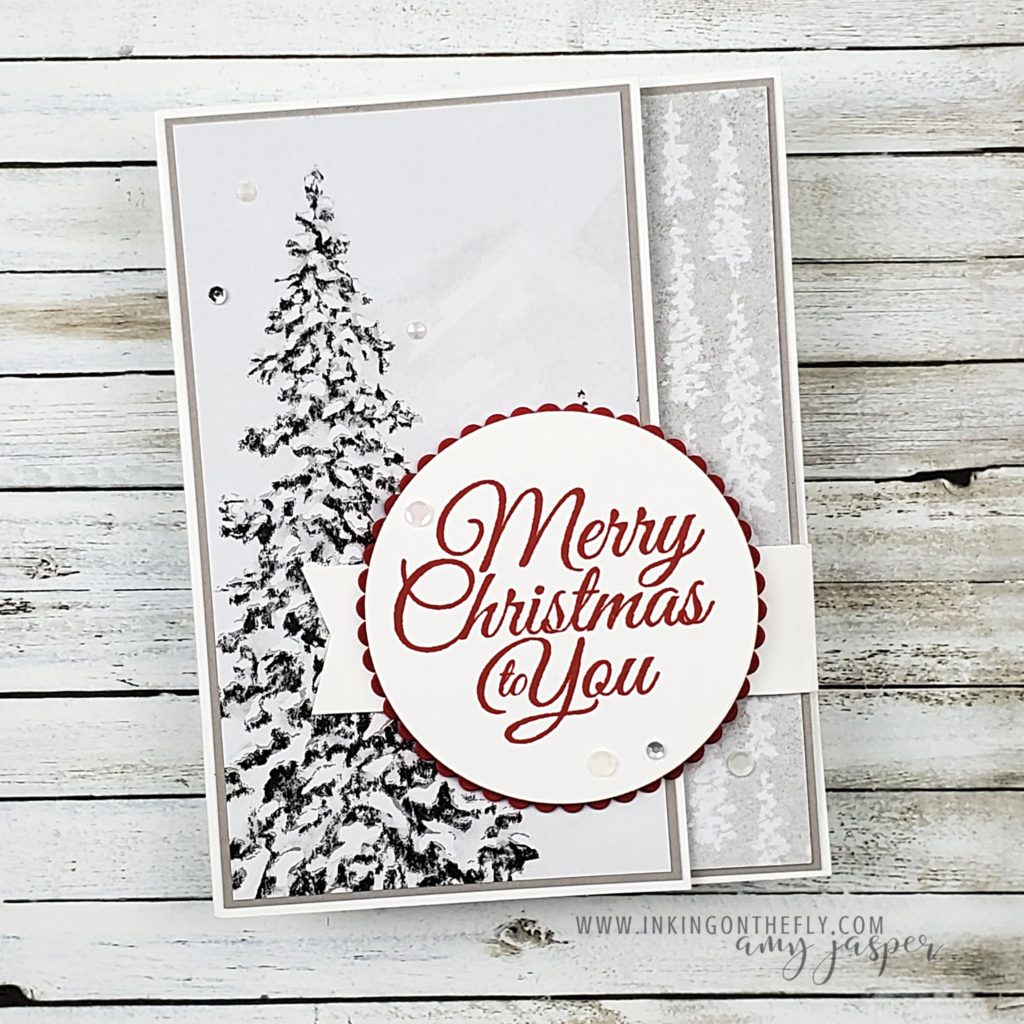
Both of the cards below feature the Holly Jolly Wishes Stamp Set for the sentiments. Though they are the same layout, they have a very different feel. The Sweet Stockings patterned paper gives a playful design, while the Peaceful Place patterned paper has a more serene presentation.
As you can see, the card in my video tutorial uses Shaded Spruce, Mint Macaron, Blushing Bride and Sahara Sand cardstock. Those colours coordinate nicely with the Whimsy & Wonder Designer Series Paper as well as the Pattern Party Designer Series Paper. I also used the Pine Tree Punch and one of the iridescent Wonderful Snowflakes with the Messages Die and White Glittered Organdy Ribbon.
The clear Epoxy Essentials are such a cute and simple addition to a card design. I like how the diamond-shaped ones coordinate with the pattern of the paper.
Check out the video to see how to make this easy fun fold card.
Let me know in the comments if you have any questions. I’m always happy to help when I can!
