Peekaboo Card
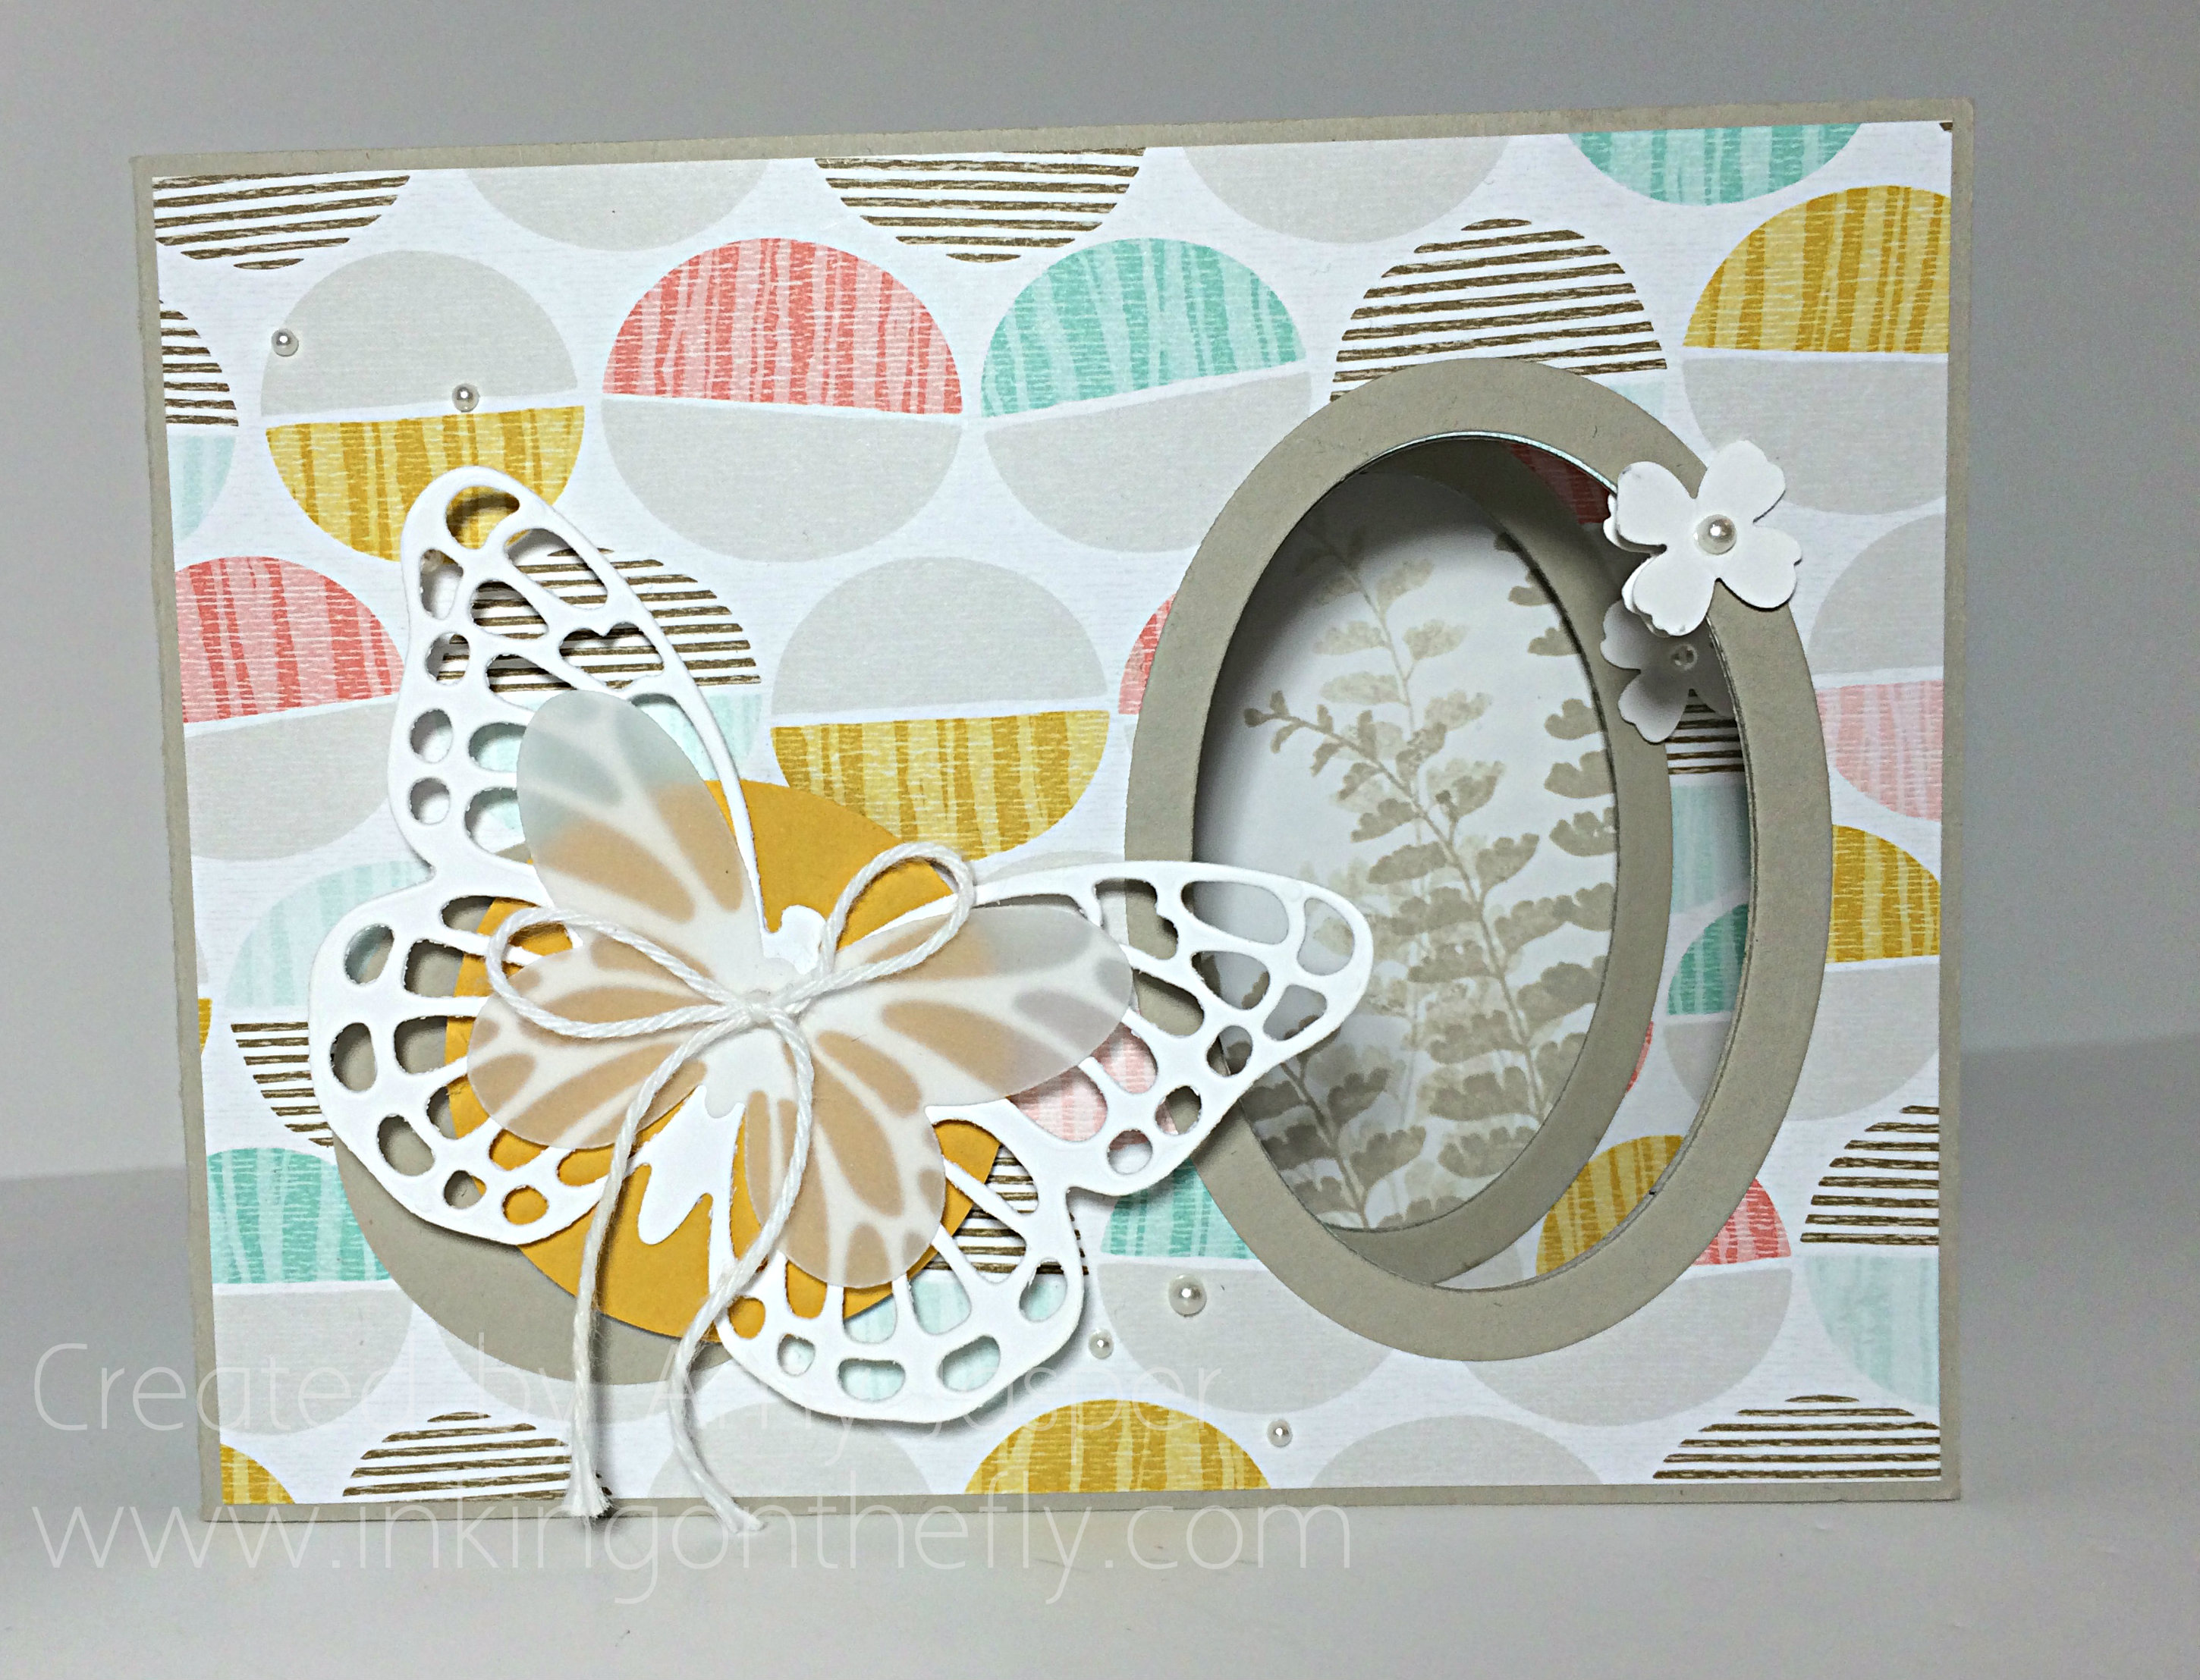
This fancy fold card is sure to surprise and wow it’s recipient! Not only is it cute, but the technique creates a fun interactive experience that you don’t normally get with paper greetings.
This blog post is inspired by As You See It Challenge #80: try a new technique.
Lucky for me, I needed to learn a new technique so I could show my monthly stampers group something they hadn’t seen before (they’ve seen A LOT!). As a designer for the AYSI blog, I have the privilege of receiving the challenges in advance, so my stampers group did this card with me a couple weeks ago (and with great success, I might add).

It doesn’t look so fancy just like that, but check out this video to see what happens when you open it!
I used this fabulous tutorial from Splitcoaststampers.com to create this card, but changed the dimensions a bit so that they would fit into Stampin’ Up! envelopes. The paper sizes I used were as follows:
Card base (mines in Sahara Sand):
- 4 1/4″ x 8 1/2″
- 4 1/4″ x 8 1/4″
- 4 1/4″ x 5 3/4″
Patterned Paper layers (I used Best Year Ever Designer Paper):
- 4″ x 4″ (you need two of these)
- 4″ x 5 1/4″
I also added a space to write in the back of the card in Whisper White cardstock that is simply 4 1/8″ x 5 3/8″.
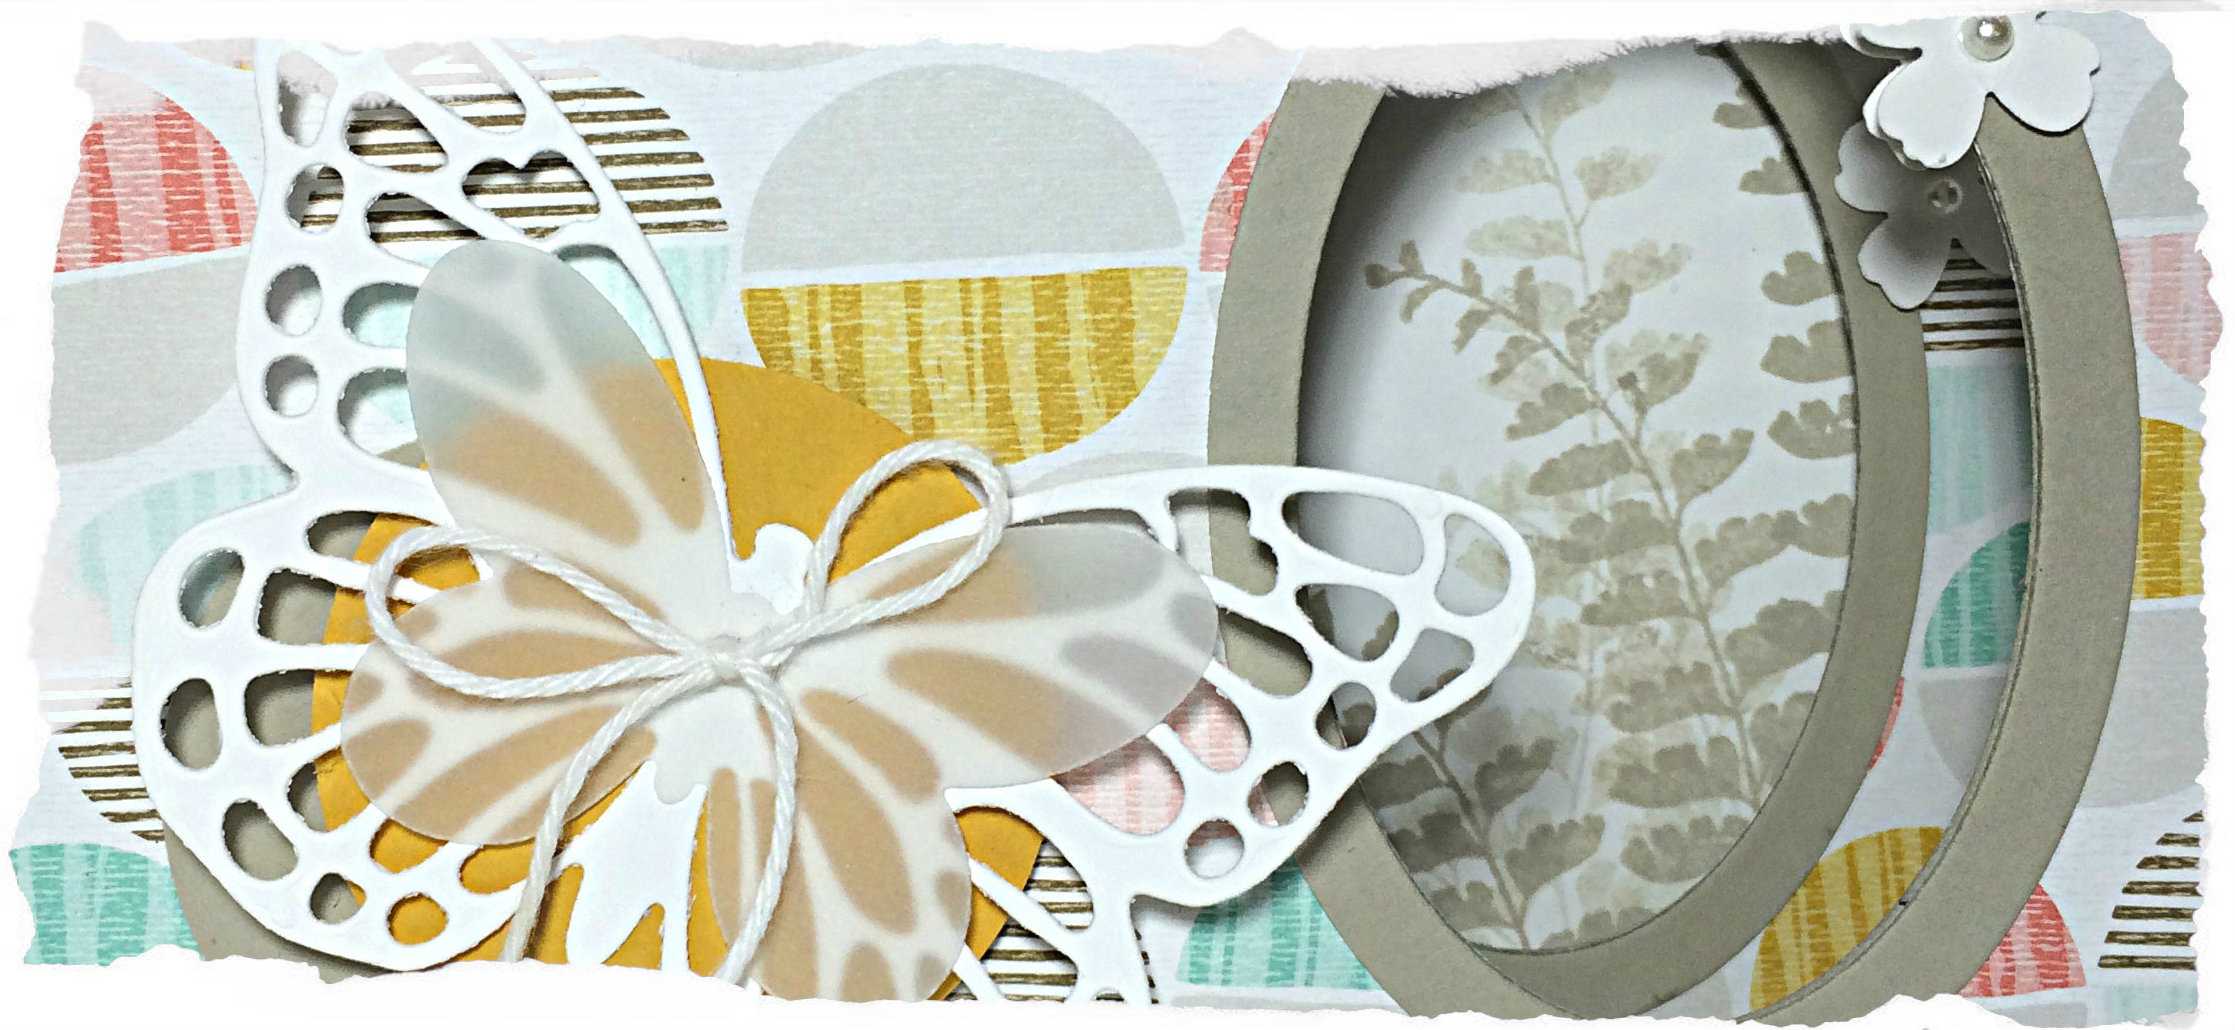
Other product used includes Butterfly Thinlits, Ovals Framelits, White Baker’s Twine, Basic Pearls, Butterfly Basics Stamp Set, 1 3/4″ circle punch, Sahara Sand cardstock, Crushed Curry cardstock, flower punch from the Itty Bitty Accents punch pack, White Vellum, and, of course, Tombow Multipurpose Liquid Glue, Stampin’ Up Dimensionals and Glue Dots.
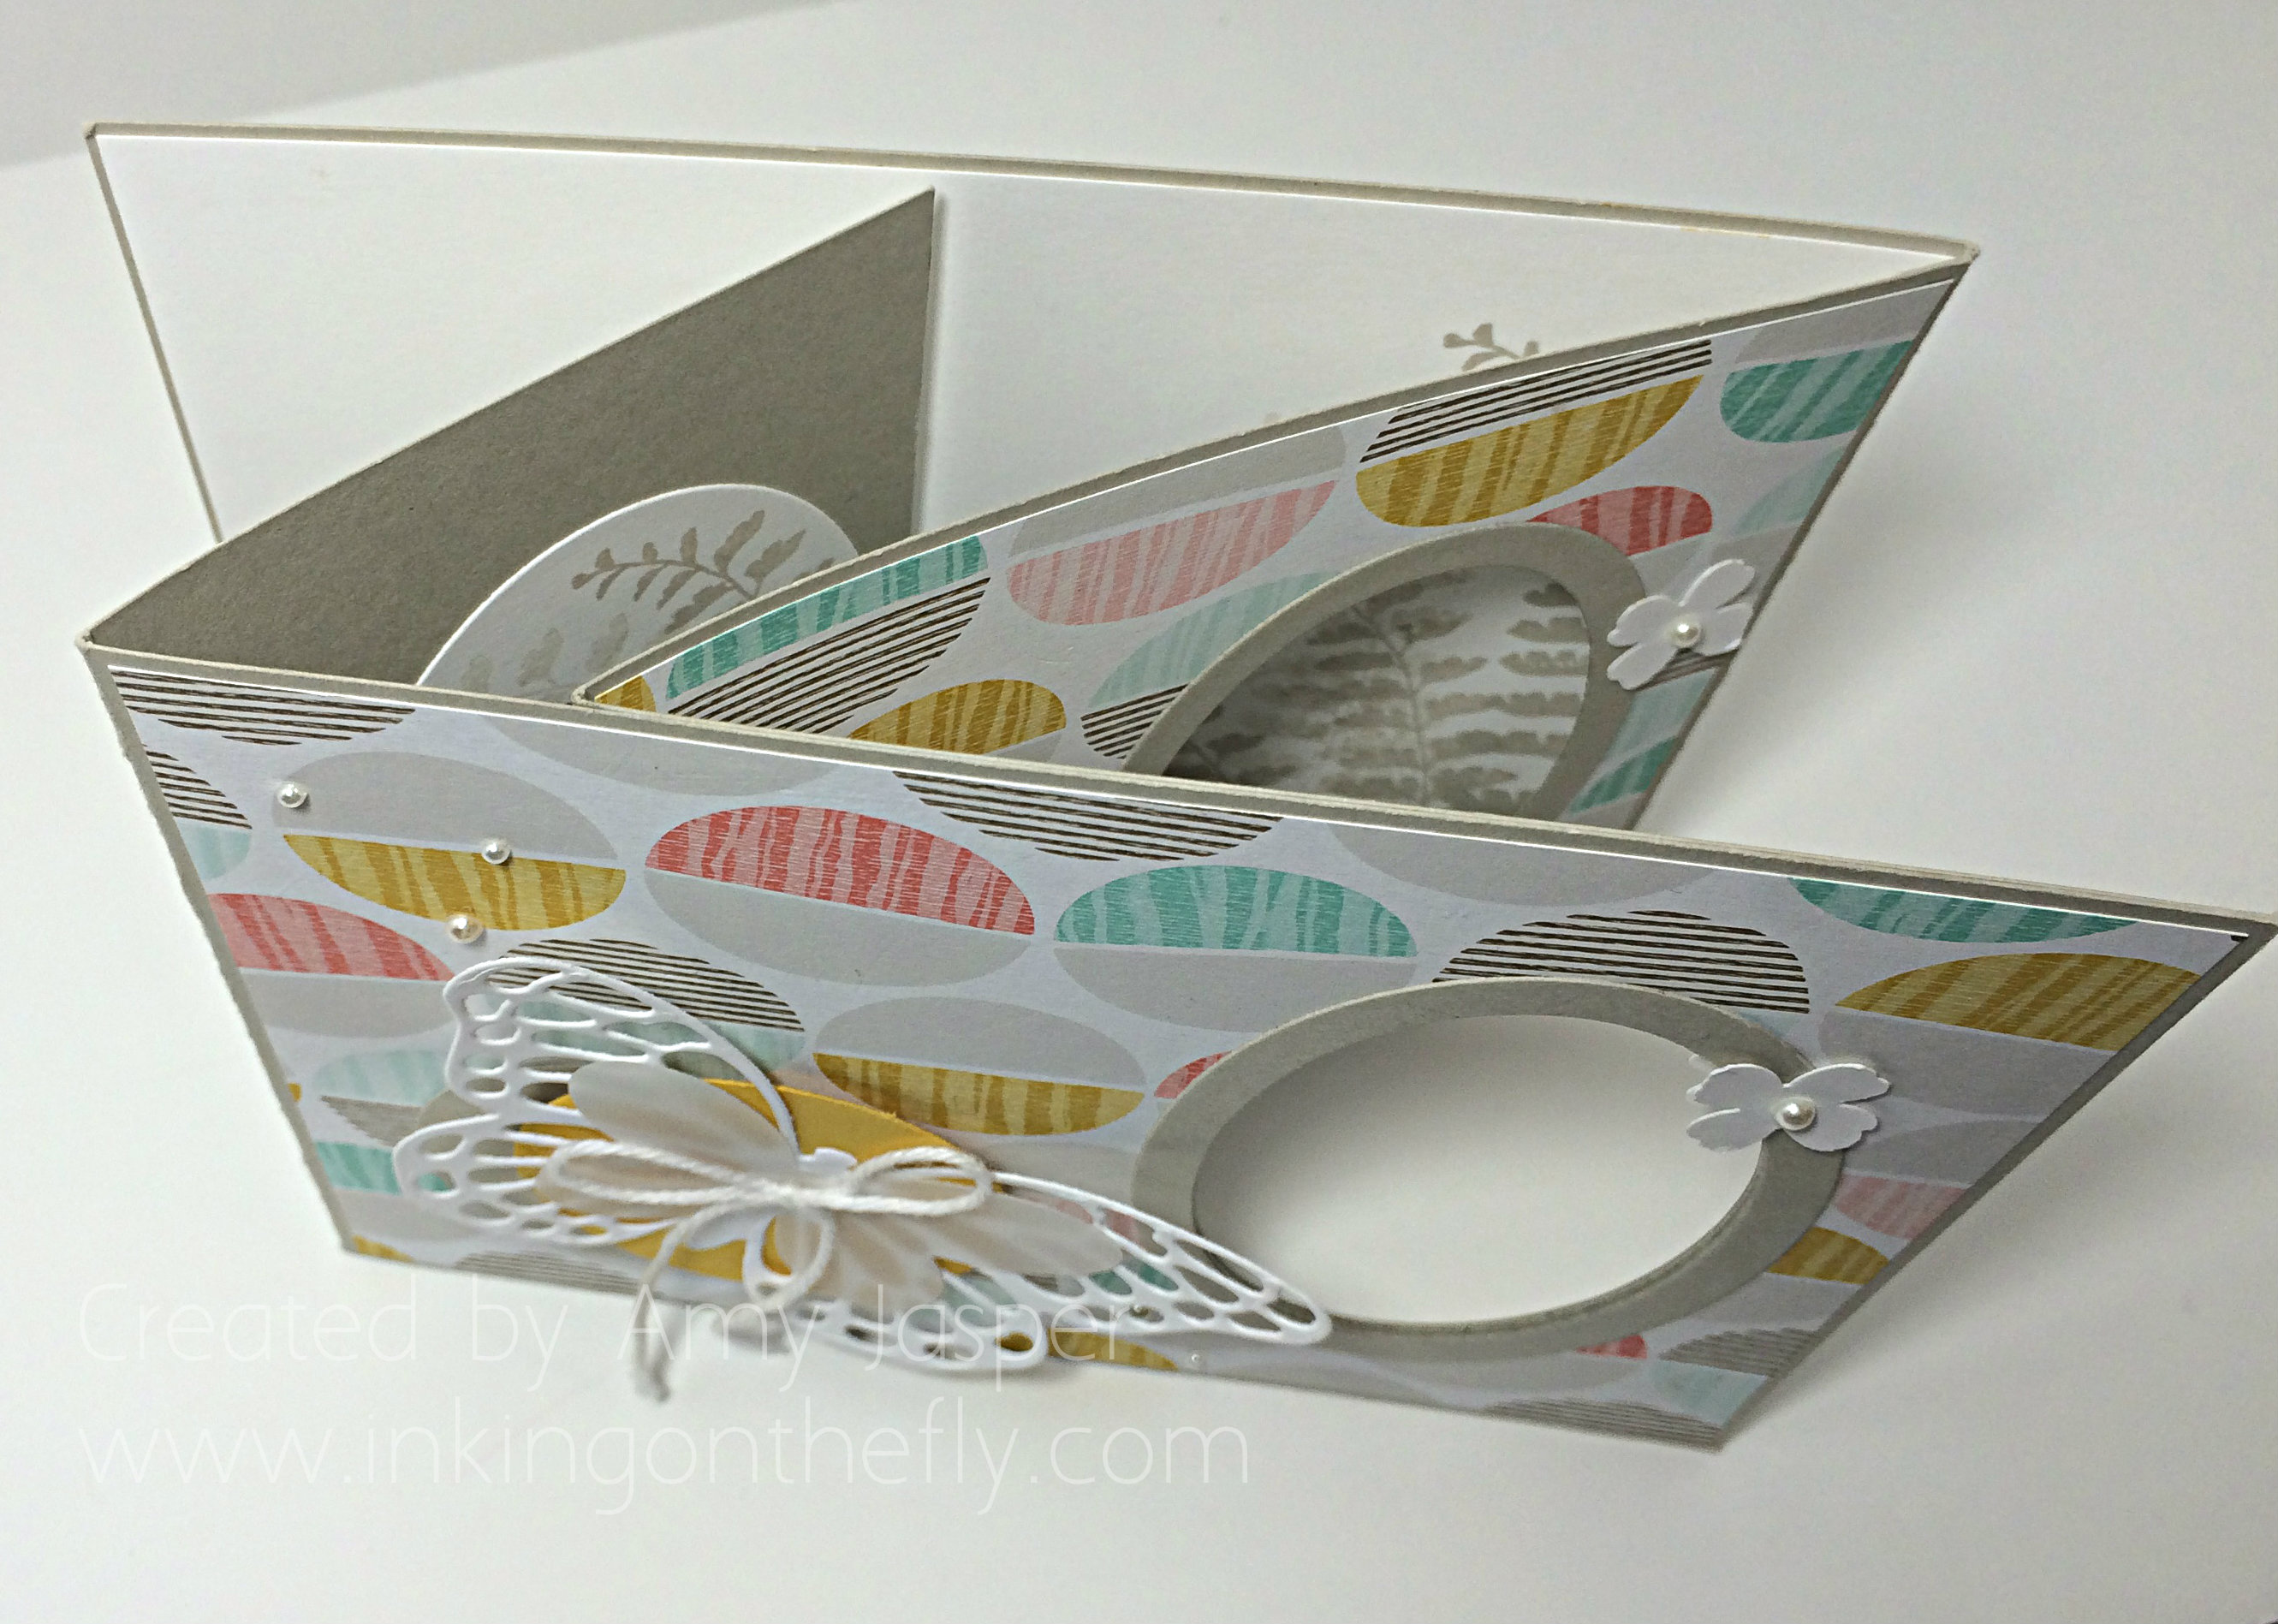
You can see how the card looks from the top side with all of its layers. This is a card that you might want to give to someone in person so you can show them how it works. Otherwise, they might find it very strange and confusing, lol!
Amy


August 20, 2022 @ 3:43 pm
Hi Amy
I’m looking for a tutorial on how to make a peekaboo slider card for a little 5 year old could you help with this
Thanks
Cathy
October 21, 2022 @ 2:14 pm
Hi Cathy. Sorry to be MIA. I hope you found a good tutorial for a peekaboo slider card. I will have to add it to one of my tutorials in the future. I don’t think I’ve shared one of those before and they are super cute! Thanks for the suggestion. 🙂
April 2, 2015 @ 7:00 pm
This is a card you want to give to people that keep and display their cards. I’d hate to see one of these end up in the recycle bin!
April 23, 2015 @ 9:00 pm
This is definitely a card to give to someone who appreciates the work you put into it.
March 27, 2015 @ 1:17 pm
What a great technique (that I missed at stamper’so group
March 30, 2015 @ 8:46 pm
Now you can give it a try at home, Terry! I’d love to see your results!