Christmas Stars
I love designing with Stampin’ Up paper, inks, stamps, and tools! Today’s card uses the Bright and Beautiful stamp set with the coordinating Stars framelits. It was inspired by a friend who just hosted her first workshop as a new demonstrator. She did great!
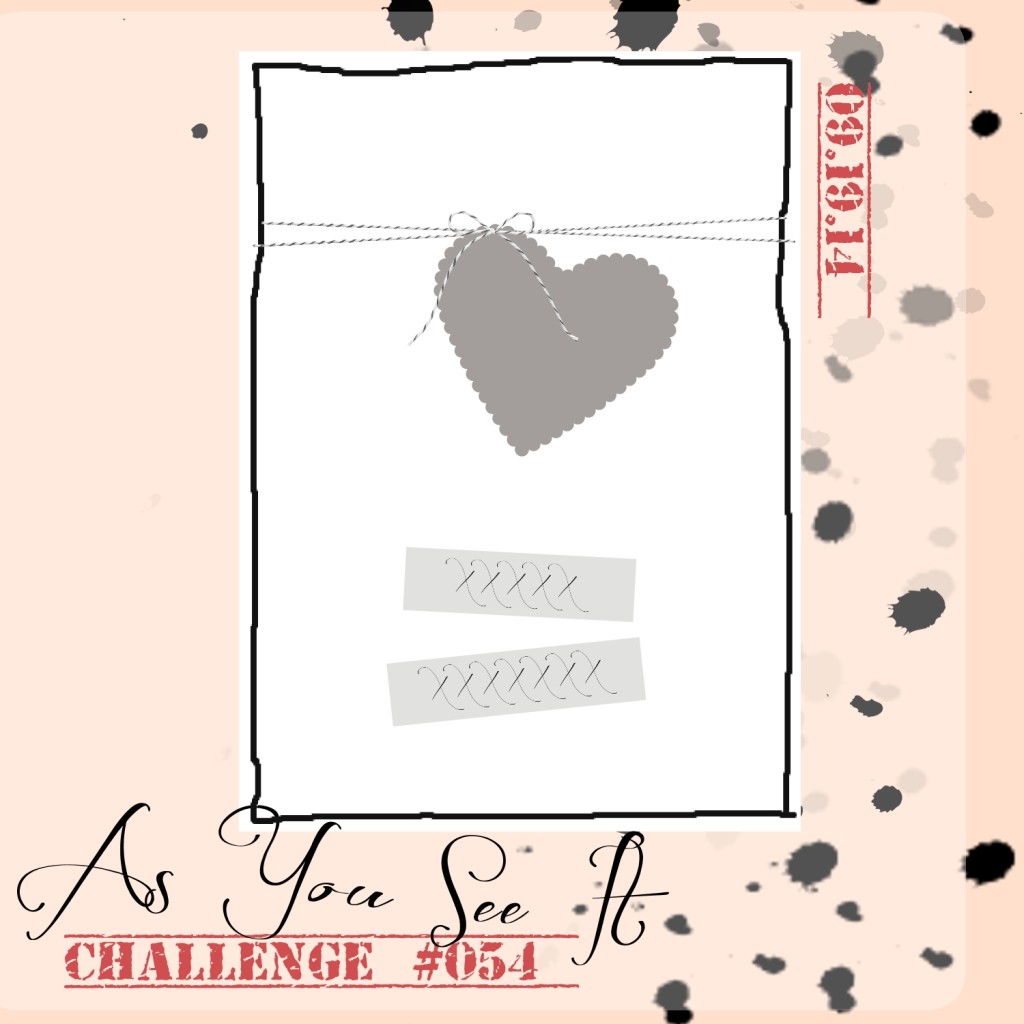
If you don’t already know this, I am a designer over at the As You See It Challenge blog and each week I get to share my As You See It card or project design with you! This week is a very cute sketch.
 I usually start thinking and planning my Christmas projects in September, so I have another Christmas card for you this week. I love that Stampin’ Up has lots of stars in their Holiday catalogue this season: Star framelits, a star punch, a star embossing folder, star masks, confetti stars border punch, star stamp sets, and star boxes (oooh, not available until October 20th)! I still haven’t used my star embossing folder, but you might see that next week.
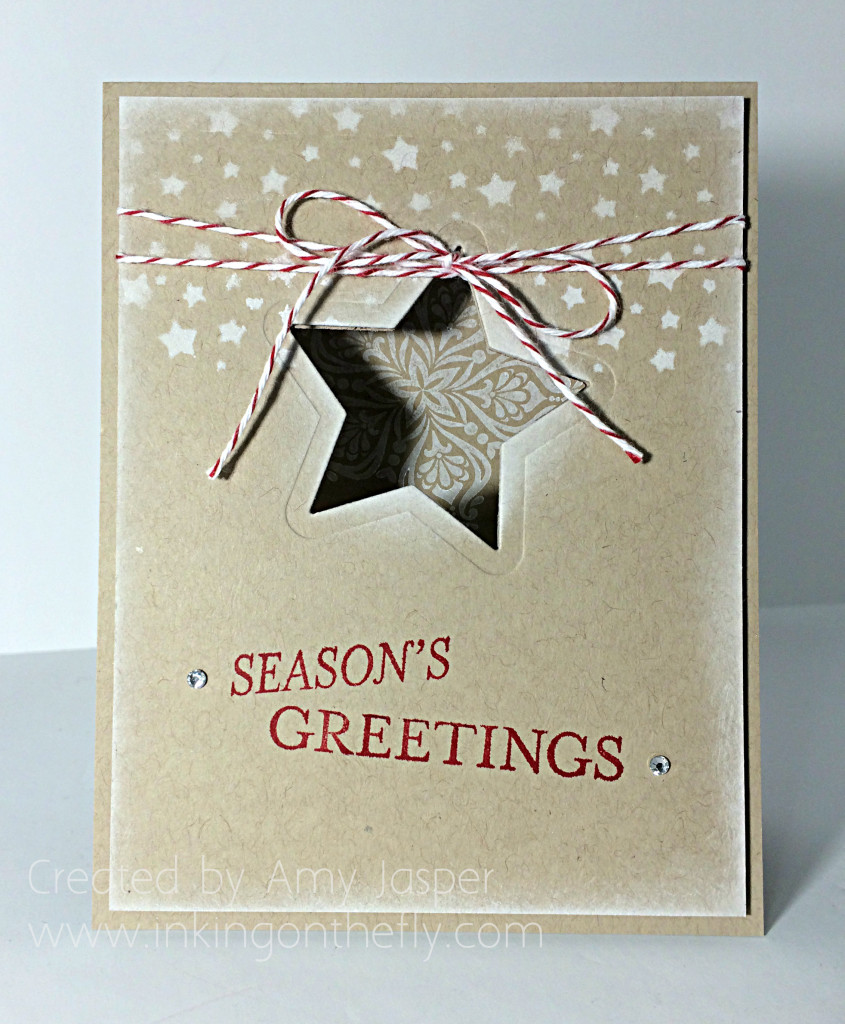
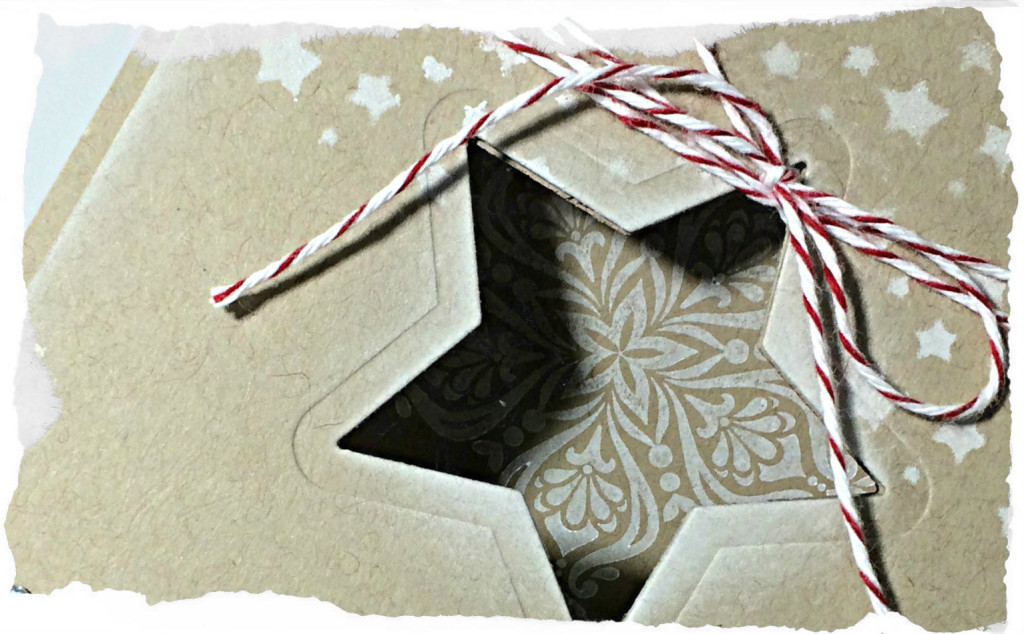
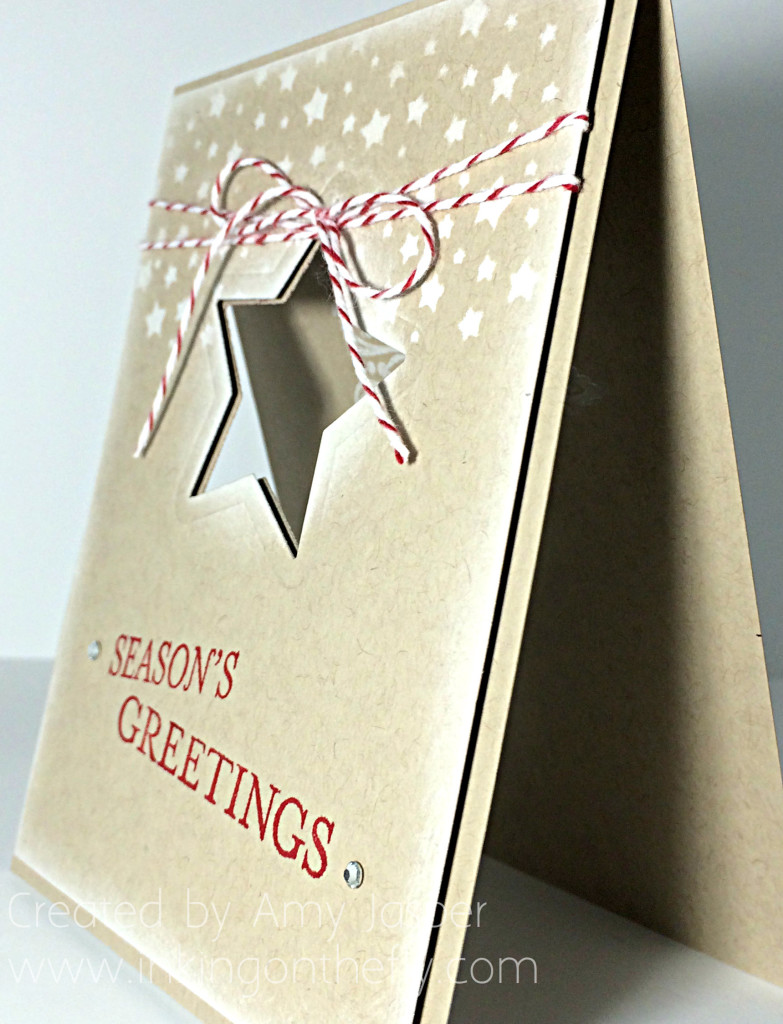
 I used Crumb Cake cardstock for my card base and layered another piece of Crumb Cake over that. Before doing anything, I used a star framelit to cut out the star from BOTH layers for the front of the card. That way, when I completed my stamping and embellishments, I could have that peak-a-boo hole line up with the card base. I did that by leaving the card base layer open (not folded as I don’t want to cut through the back of the card, too!).
I stamped the medium-sized star from the Bright and Beautiful stamp set on the inside of the card using Whisper White craft ink so that it would line up with my star cut out on the front of the card. I made a few pencil marks through the star opening as a guide for where I wanted my stamp to be placed.
I sponged Whisper White Craft ink all around the edge of my front layer and around the star opening. Then I used my Confetti Stars Punch on a separate piece of cardstock to use as a mask and sponged through the mask on my Crumb Cake cardstock to place the adorable little stars on my card. I love them!
Next step, I added my Cherry Cobbler baker’s twine by wrapping it around the Crumb Cake layer two times so that the ends were at the BACK side of the star opening. I then pulled the ends through the star to the front so that when I tied the first knot, it tied around the twine with the bow holding it all together at the top of the star. I hope that makes sense, lol! I did it that way so that the twine would stay right at the top point of my star.
Finally, I used the Season’s Greeting stamp twice on the card front to toggle each word and fit the sketch a bit more. I used masking tape to cover one word while I inked up the other, then removed the tape before I stamped, so that I could place each word separately with the Real Red ink.
The Rhinestones add a finishing touch to the toggled greetings. I also used Stampin’ Up Dimensionals to pop up the top layer of the card to add further interest. Have I ever told you how I love using Dimensionals, lol!
I hope you’ll try the sketch this week and put your own creative spin on it! Don’t forget to link it up at the challenge blog and play along!
Amy


