embossing

Moving on to Better Days

Well, friends, it’s been a while since I shared anything with you here on my blog. I’m working on getting back into a regular flow and routine again after being out of sorts for a while. The past couple years have been tough. Instead of getting into all the boring details, let me just sum it all up to “health issues”. I am finally feeling more like myself again in the last month or so. I’m moving on to better days!

I haven’t been completely absent. You can check out the many Facebook Live videos I’ve shared on my Inking on the Fly Facebook page and the sporadic posts on Instagram. You may have even attended some of my Stampin’ Up! events since the start of this year. My monthly technique classes are up and running and I co-hosted a fantastic retreat weekend in March.

I’m excited to be at the beginning of a re-boot. There’s so much I want to create, so many people I want to connect with, and a lot of planning to do! It’s going to be AWESOME!

I’m back, Baby!

Simple Encouragement

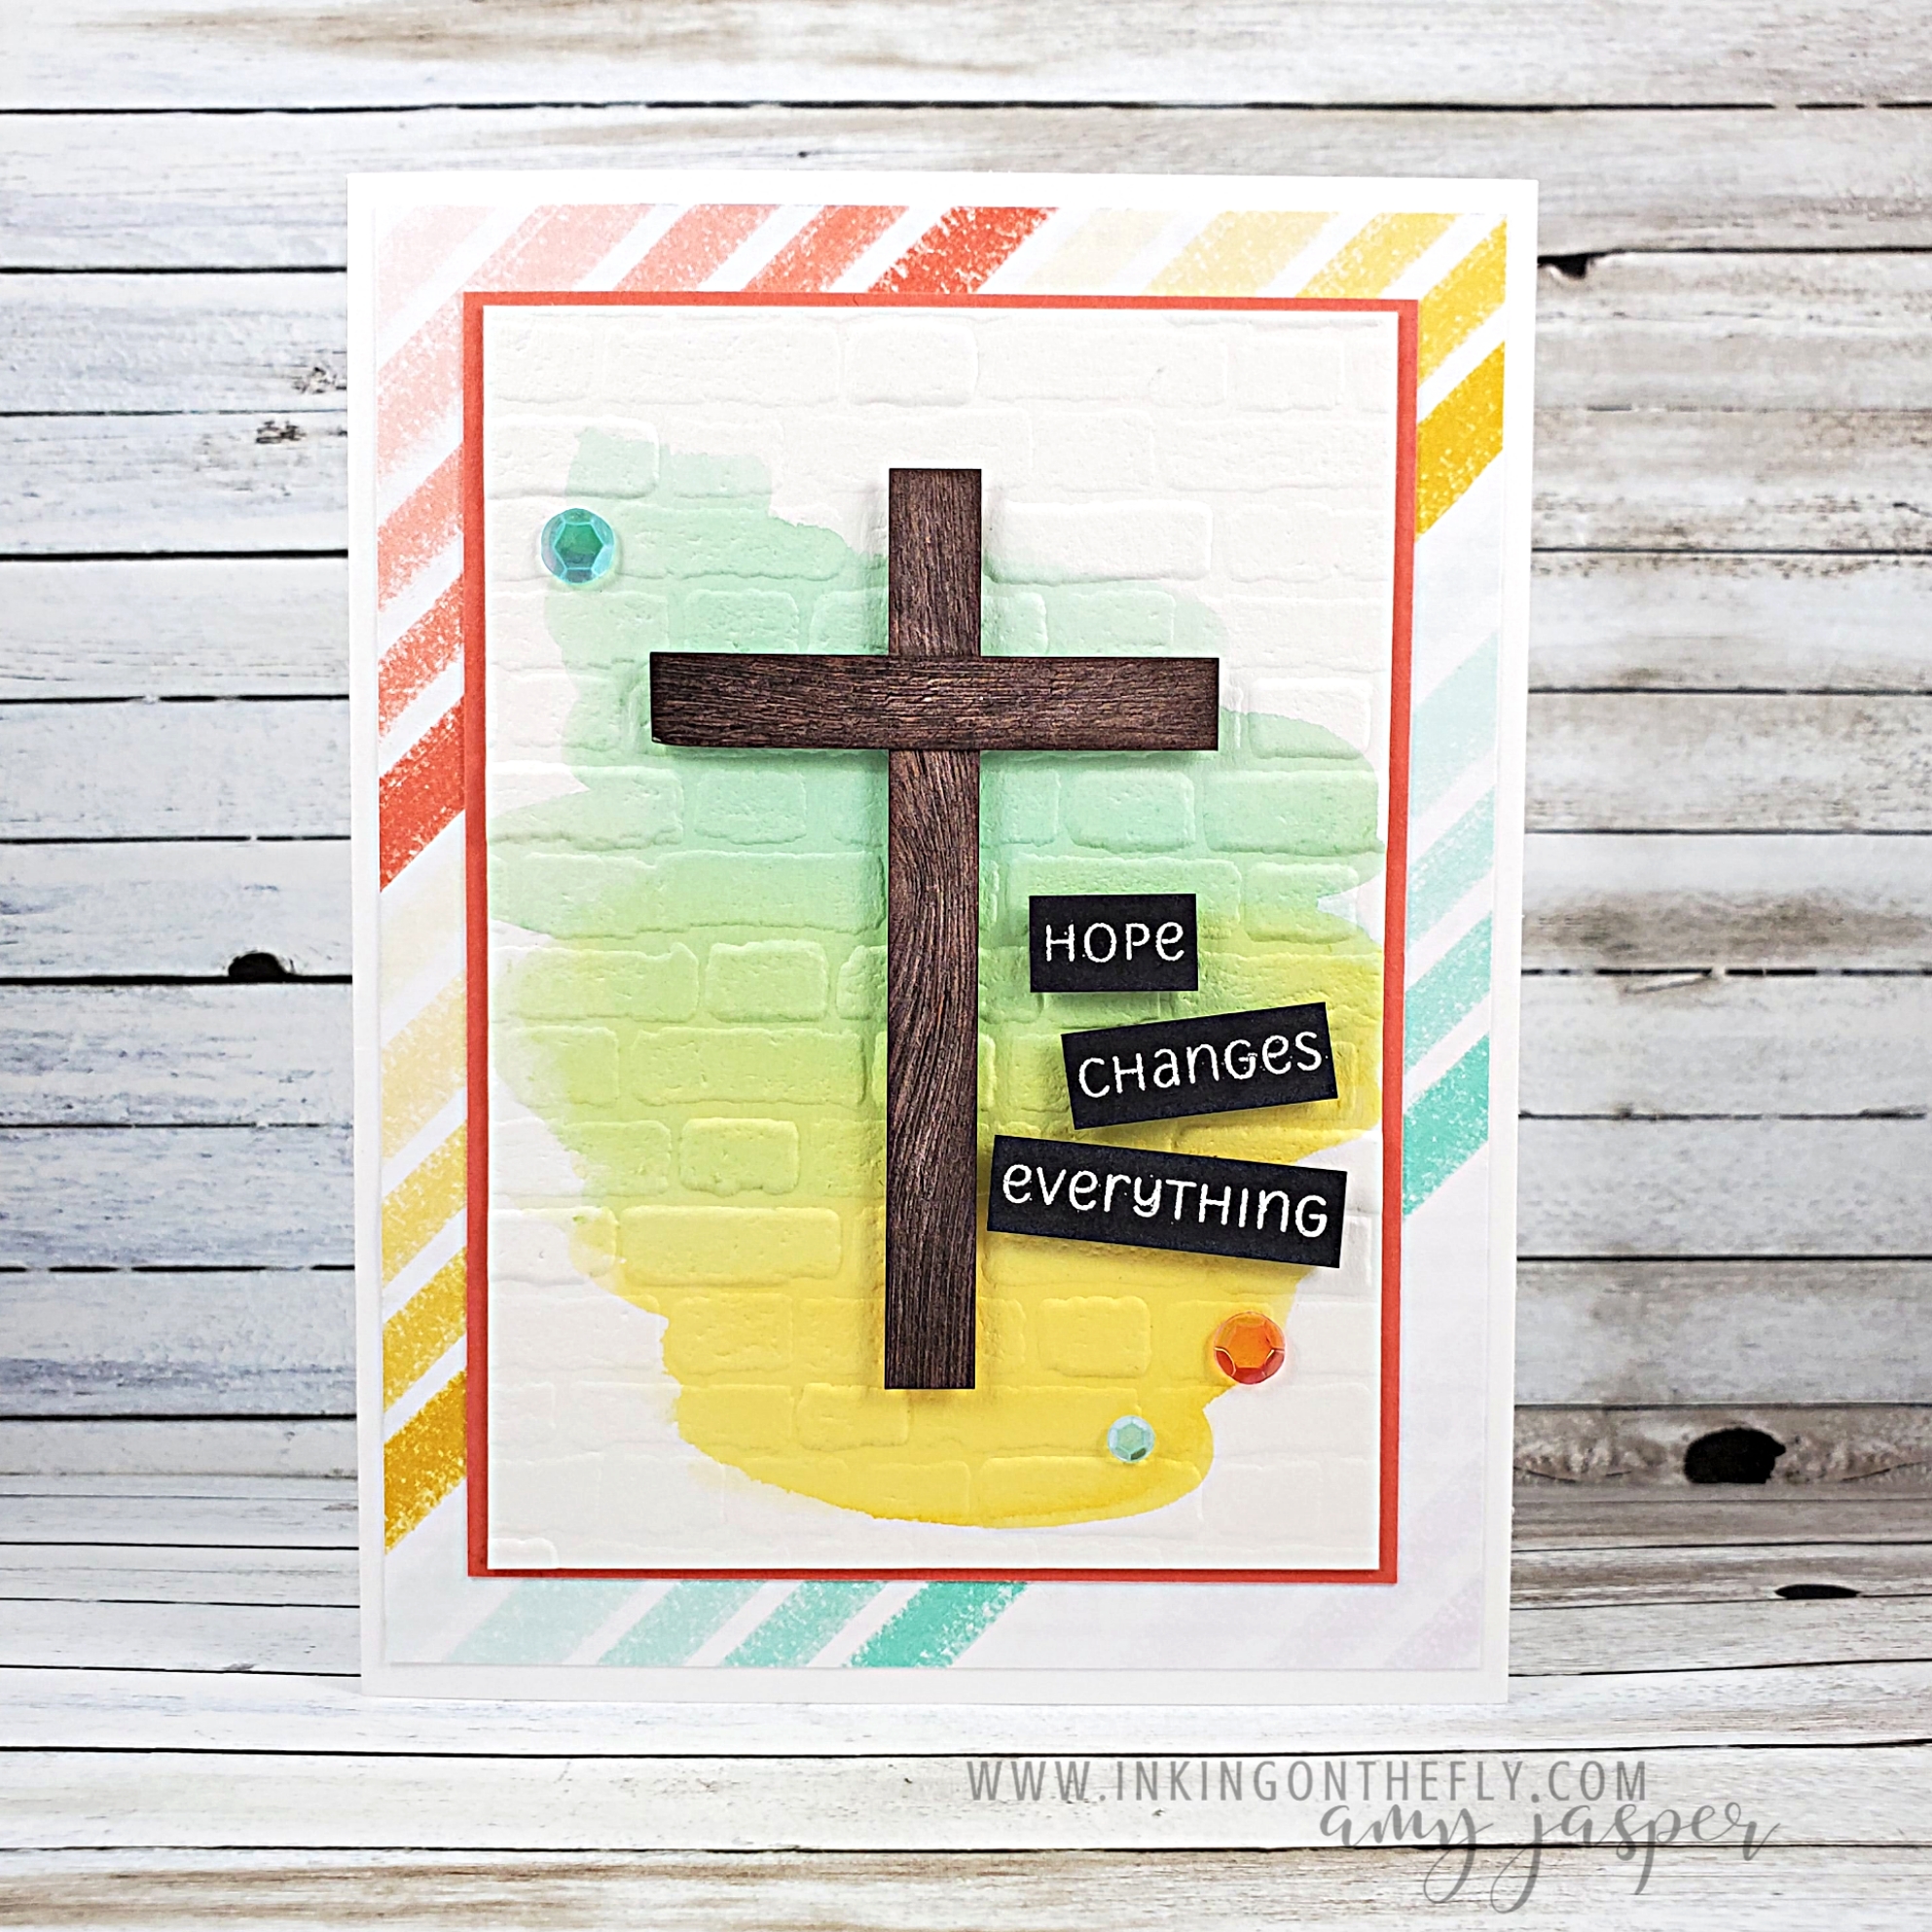
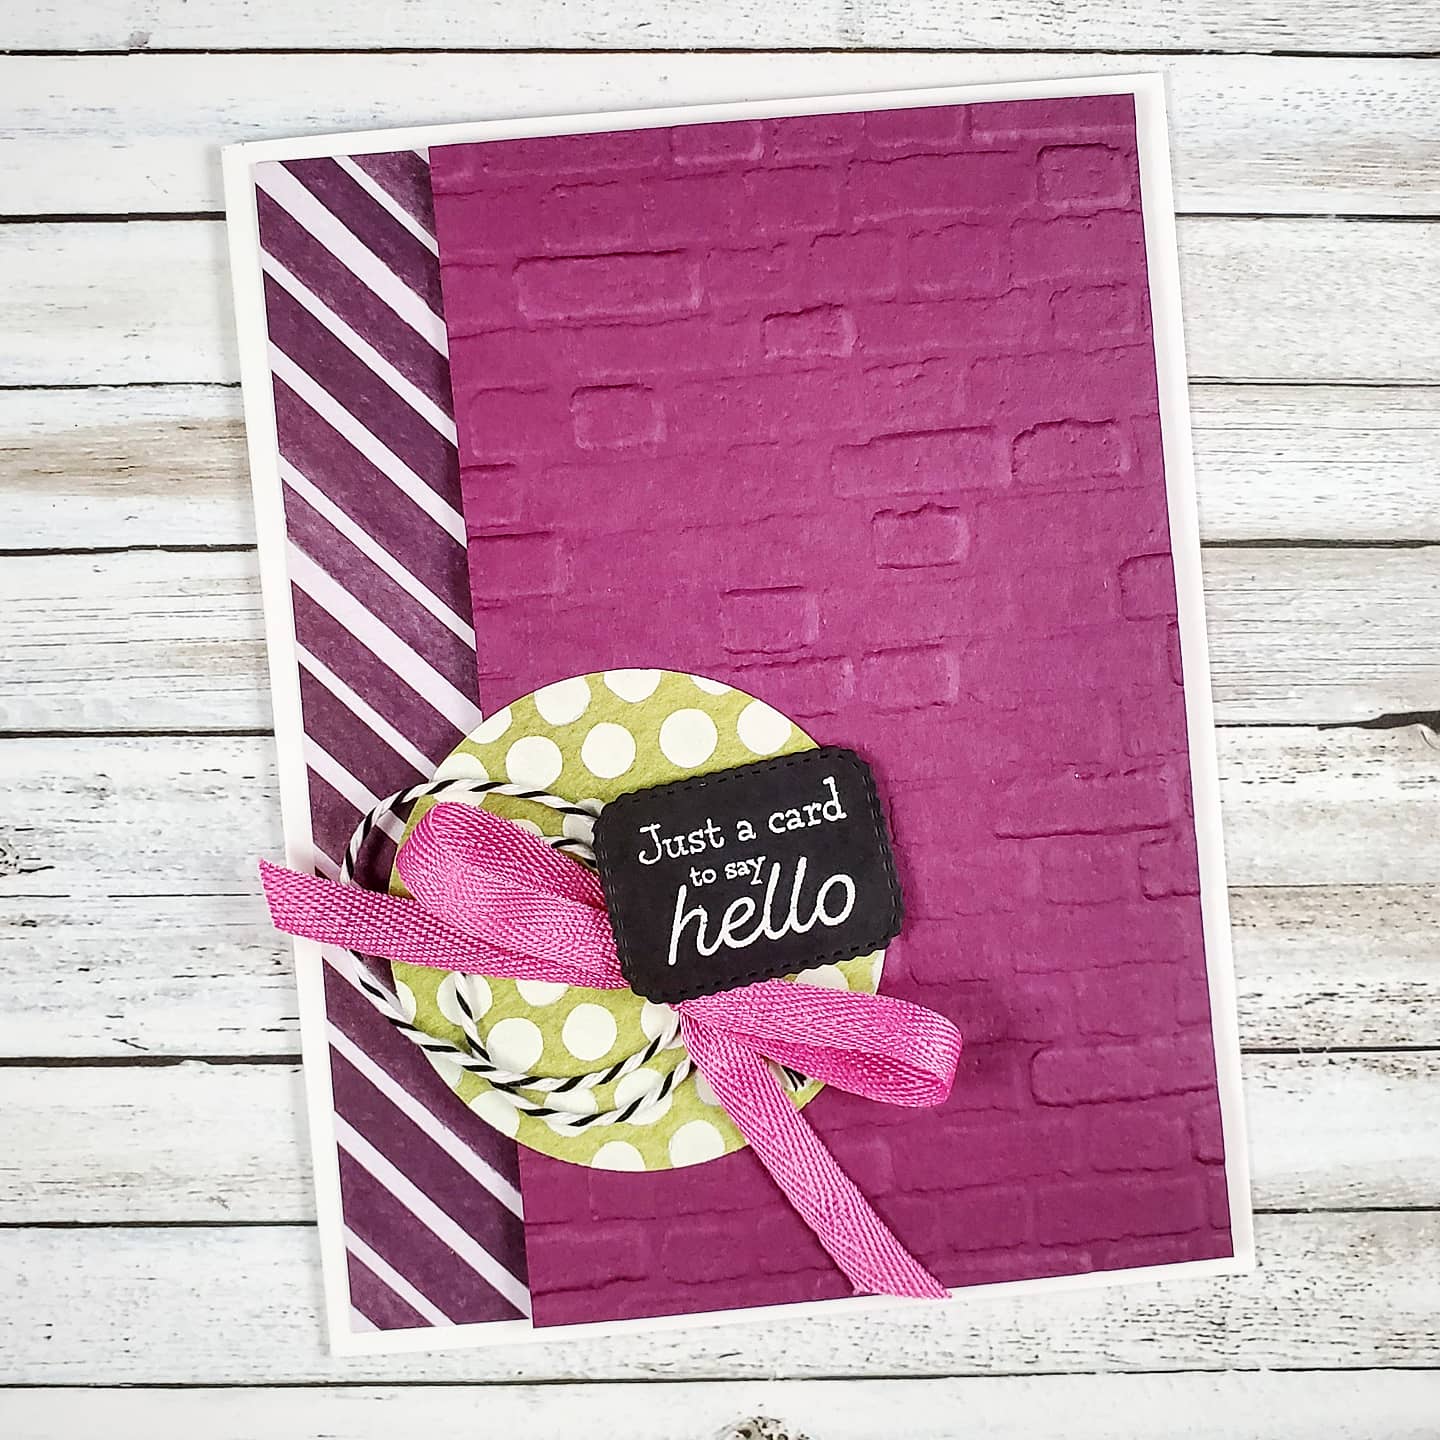
Today, I’m sharing this simple and beautiful card design with you. The sentiment is encouraging and positive. I love that!

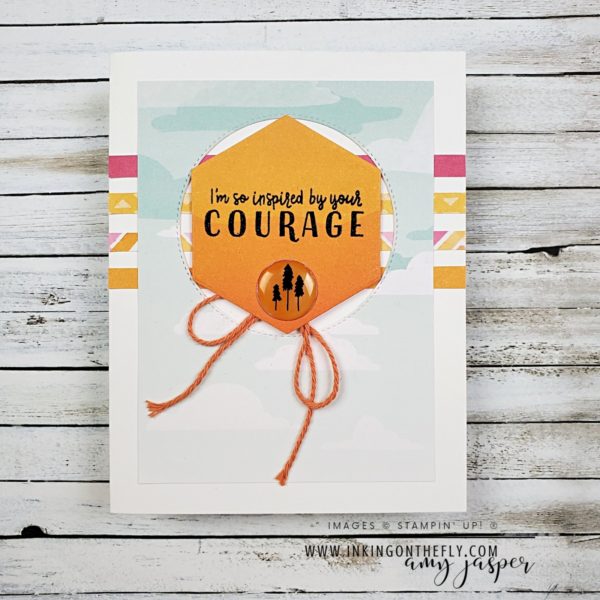
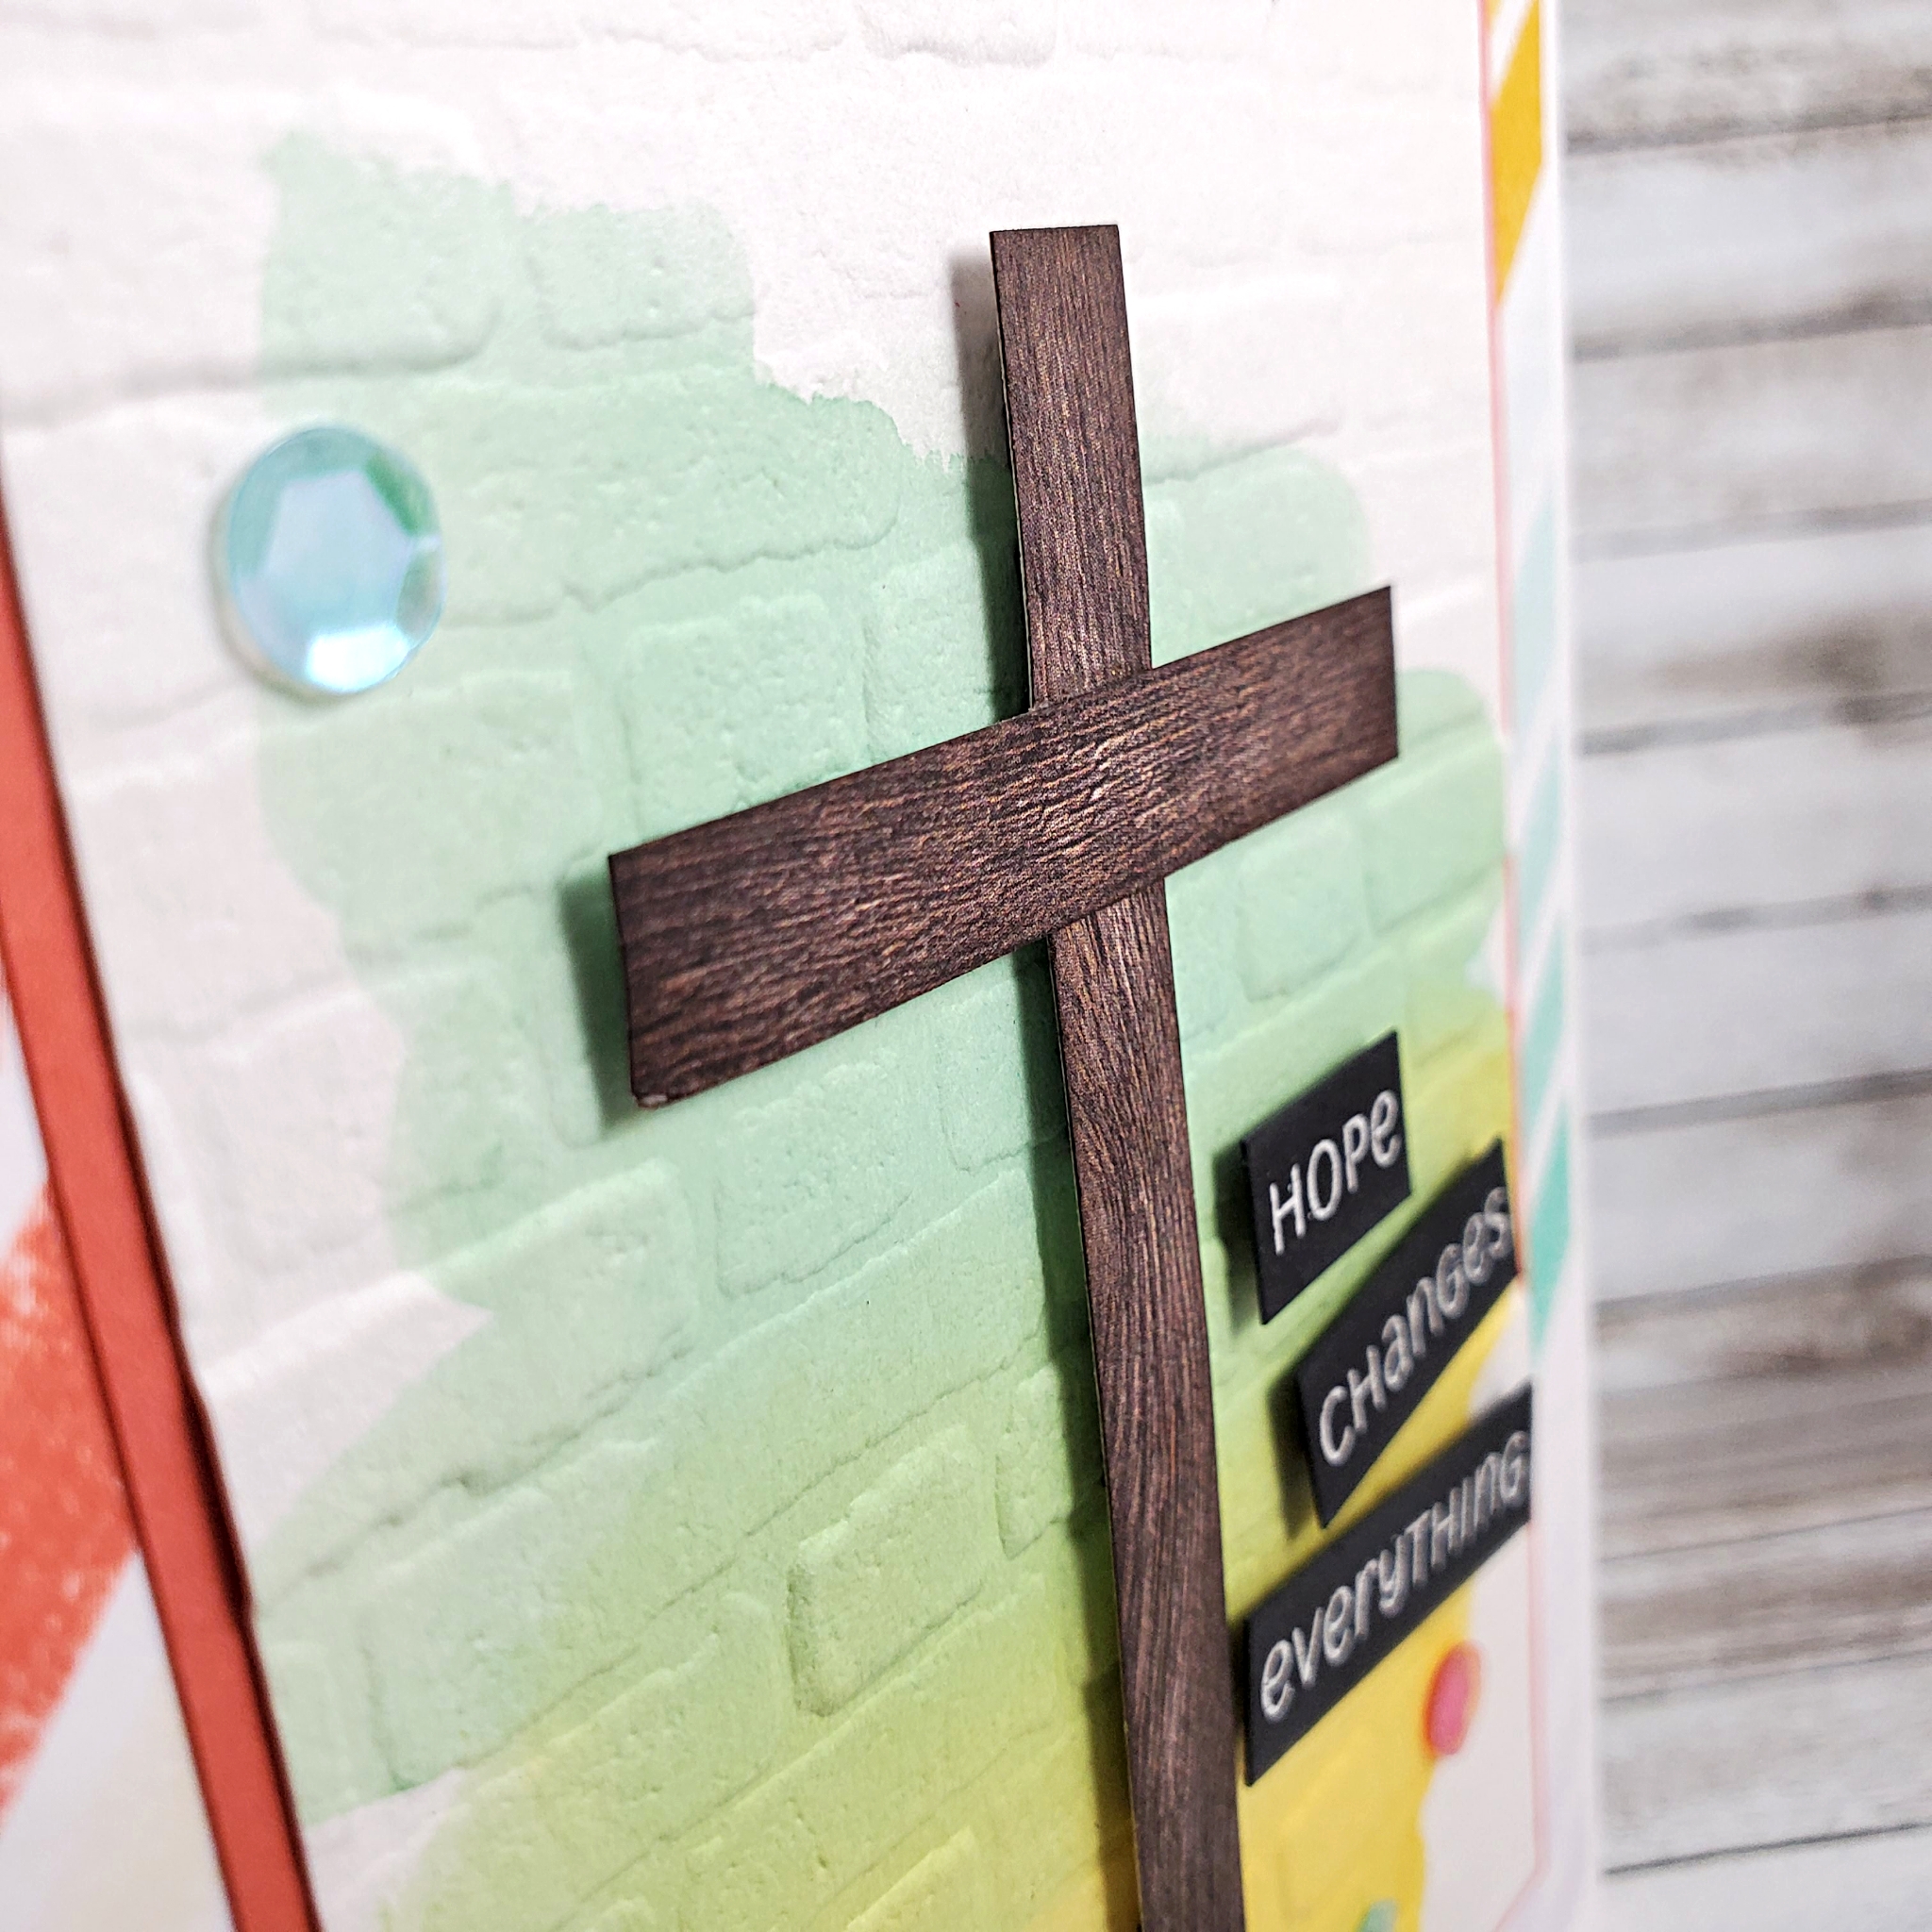
The card base is a clean Thick Basic White cardstock, on which I layered 3/8″ strips and a couple die-cut pieces of the Enjoy the Journey Designer Series Paper from Stampin’ Up!. I used the stitched circle from the Stylish Shapes dies and the hexagon from the Beautiful Shapes dies. The sentiment from the Greatest Journey stamp set is stamped with Versamark Ink, then heat embossed with Black Embossing Power before adhering it to the card front with Stampin’ Dimensionals.

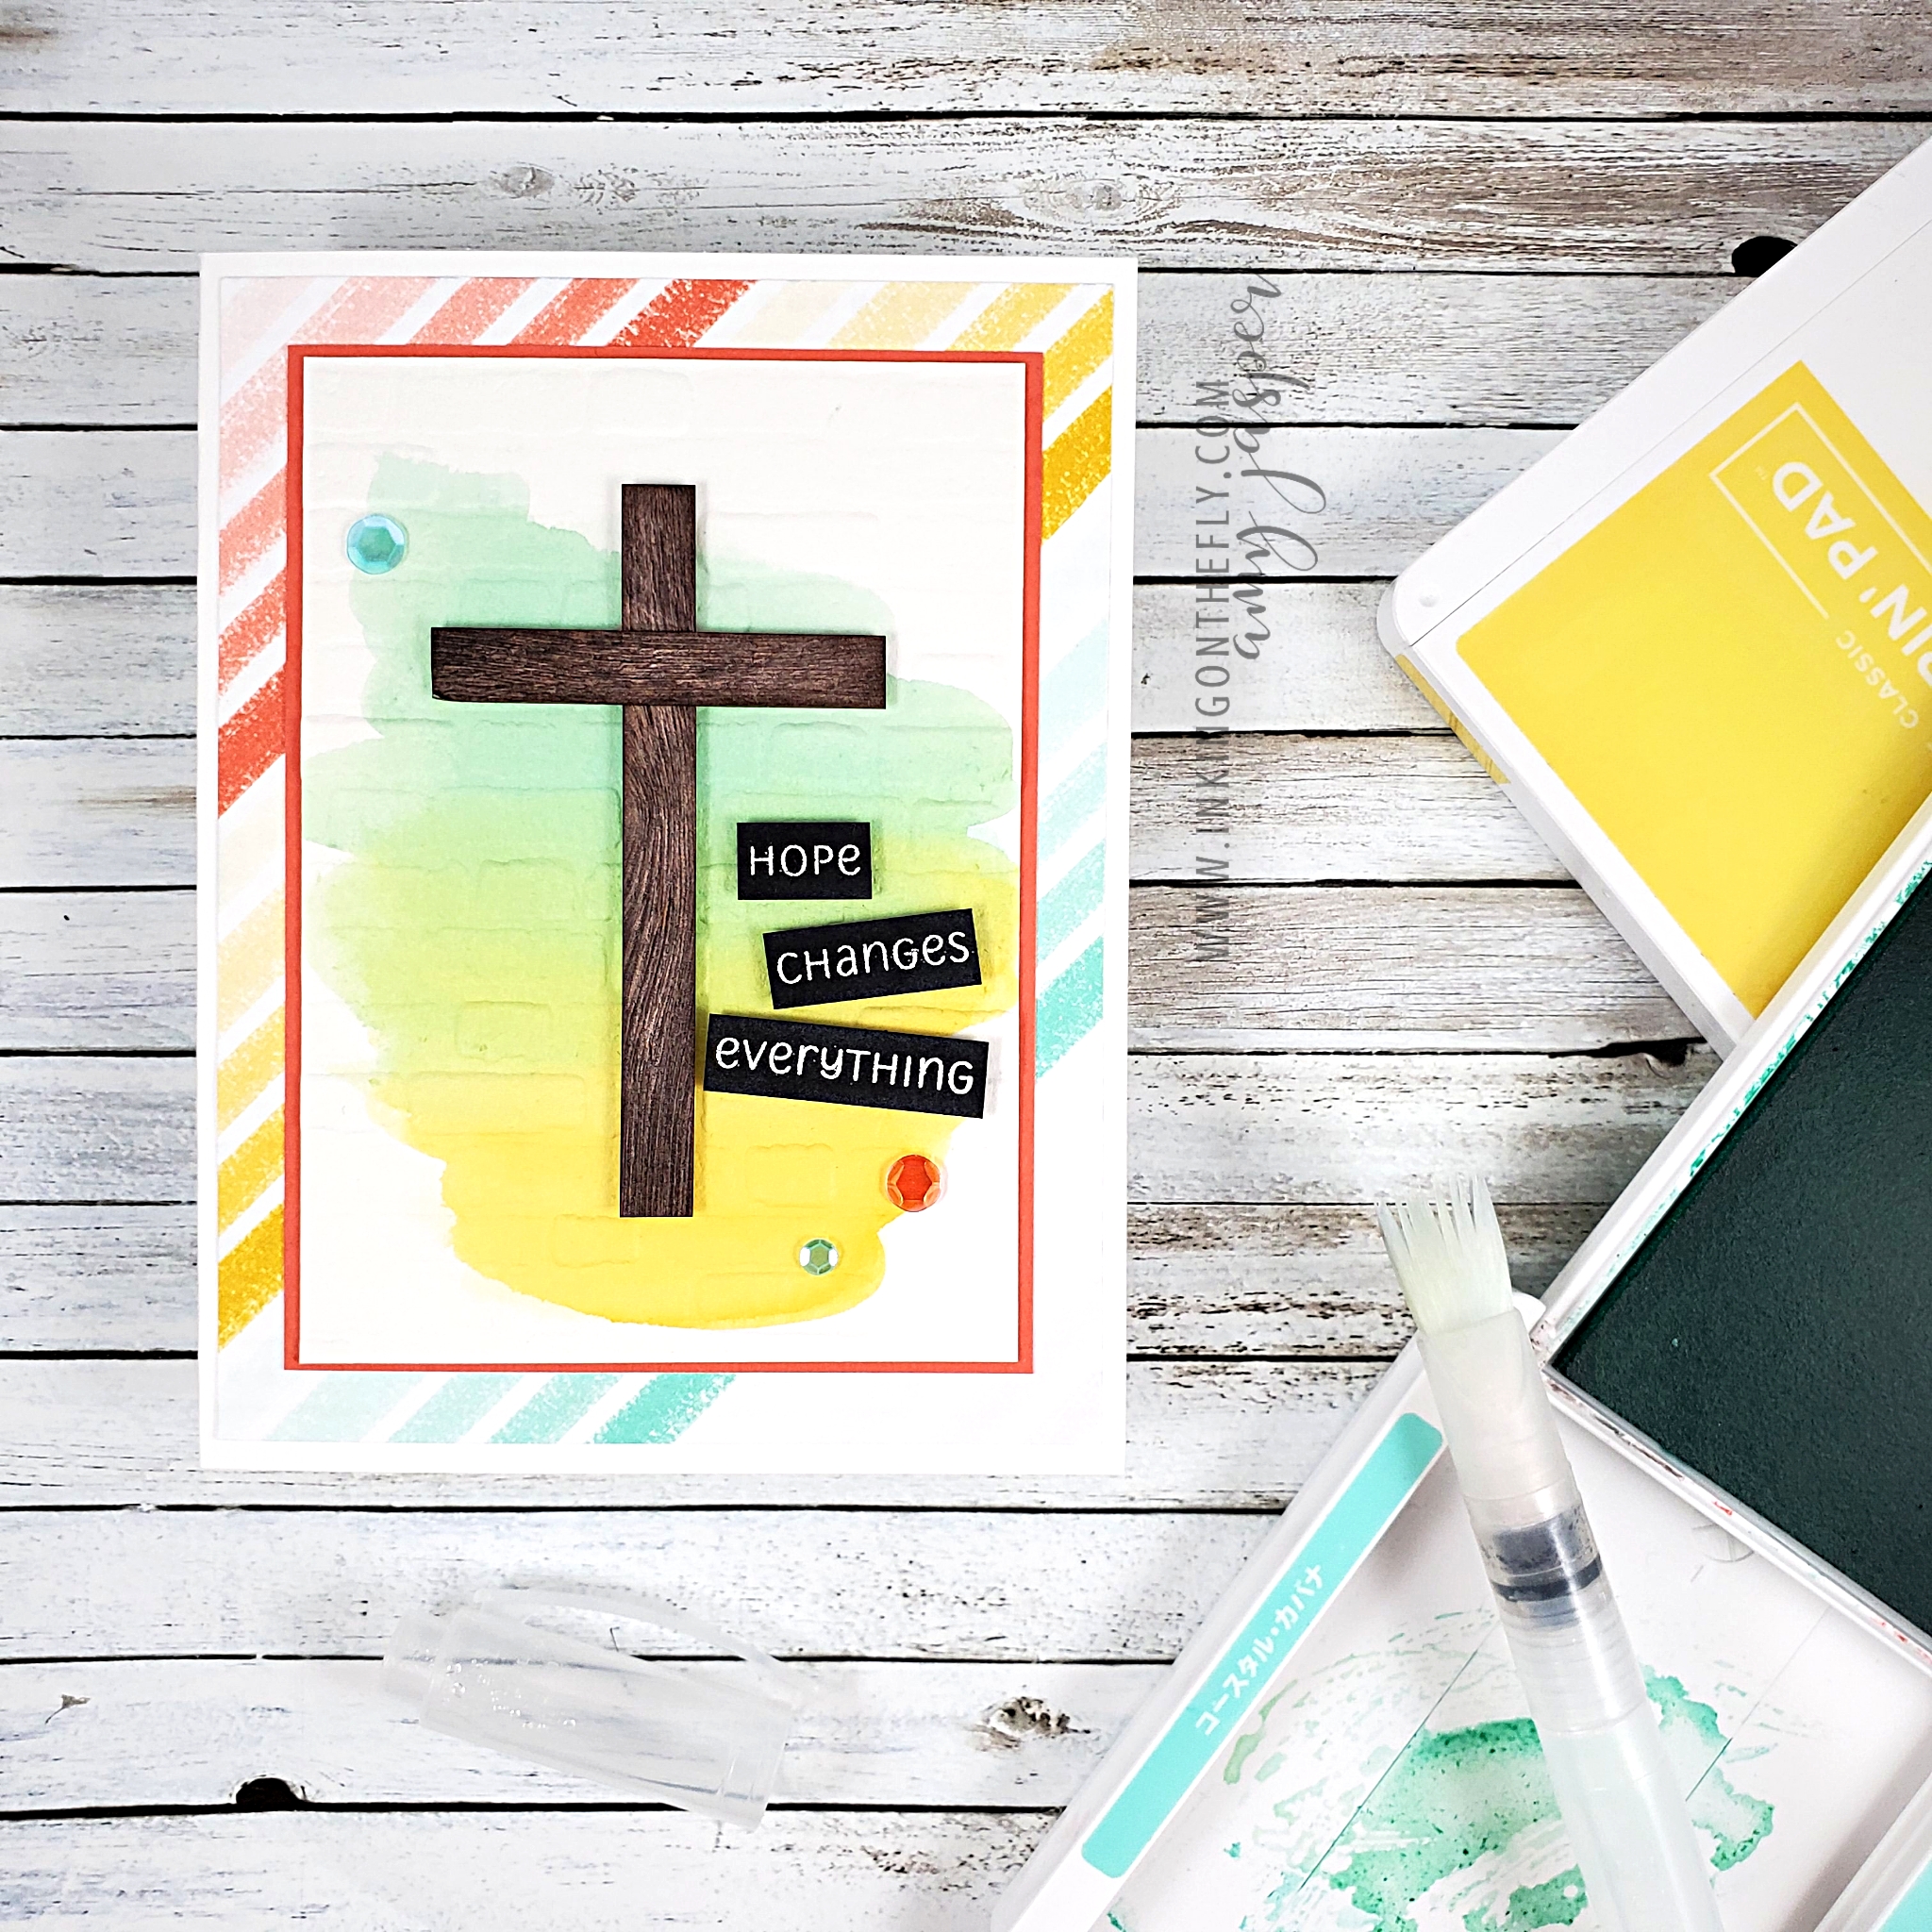
Orange twine from the Three Twine Combo Pack is tied in a large bow and adhered with a Glue Dot just under the hexagon shape. Finally, the Enamel Sticker Icon element was coloured with a Pumpkin Pie Blends Marker before adhering it to the card.

Some of these products are being retired this month! They might already be sold out or they might still be available. The best way to know is to go to the online store for the most up-to-date availability.

Life is good today and it will be better in the days to come.

Hope Changes Everything

This card combines the Playful Patterns Designer Series Paper with the Brick & Mortar 3D Embossing folder from Stampin’ Up! I added some watercoloring and heat embossing to make this design really pop!

I am a designer for the As You See It Challenge Blog. That means that I have the privilege of designing projects for the sole purpose of giving you ideas with the hope of encouraging you to play along with us and share you own creations using the challenge that we present to you.

The challenge today: an Easter themed project!

I don’t really do Easter cards. I don’t have any Easter specific sentiments or images, so I created my own cross using the wood grain patterned paper from the In Good Taste Designer Series Paper from Stampin’ Up!

The card base is Thick Basic White, layered with a piece of patterned paper from the Playing with Patterns Designer Series Paper with a layer of Calypso Coral underneath the Watercolor Paper. I used the wide flat Water Painter to apply Coastal Cabana and Daffodil Delight ink to the Watercolor Paper. When it was fully dry, I ran it through the Stampin’ Cut & Emboss Machine with the Brick & Mortar 3D Embossing Folder.

The cross is created with 3/8″ wide strips of the In Good Taste Designer Series Paper, on which I sponged some Early Espresso ink on the edges to give a rich depth to the colour before gluing it together to form the cross shape. The cross is attached with Black Stampin’ Dimensionals.

The sentiment is from the Love of Leaves stamp set and was stamped on a strip of Basic Black cardstock with Versamark ink, then heat set with White Embossing Powder and my Heat Tool. I cut the words apart and attached them with Black Stampin’ Dimensionals to the card.

Some Artistry Blooms Adhesive Backed Sequins add the final touch to the design.

Now that I’ve made this card, I love it! I might have to make a few more and actually give some Easter cards this year.

Say Hello

I’ve been playing around with the Ice Cream Corner Suite for my Stamp Camp event and am enjoying the cheerful colours in the Ice Cream Corner Designer Series Paper.

I used a Thick Basic White card base and added a 1″ strip of designer series paper to the left of the card. The Rich Razzleberry cardstock on the right side was embossed in the Cut & Emboss Machine using the Brick & Mortar 3D Embossing Folder and attached with Stampin’ Dimensionals. Fabulous texture! The polka dot piece of patterned paper from the Ice Cream Corner Designer Series Paper was cut with the 2 1/4″ Circle Punch from Stampin’ Up! and adhered directly to the Razzleberry layer.

The true delight is in the loops of black and white baker’s twine from the Playful Pets Trim Combo Pack, combined with the bright Magenta Madness 1/4″ Twill Ribbon tied in a bow and the black label with the White Embossed sentiment. The label and sentiment come from the Many Messages Bundle. The big background stamp has a wonderful collection of sentiments and the die cuts them all out at once! It’s brilliant!

You can find all these products on my online store with Stampin’ Up!

The next Stamp Camp event will be May 15th! If you’re in Canada, then be sure to save the date and watch for registration info!