Birdie Soiree
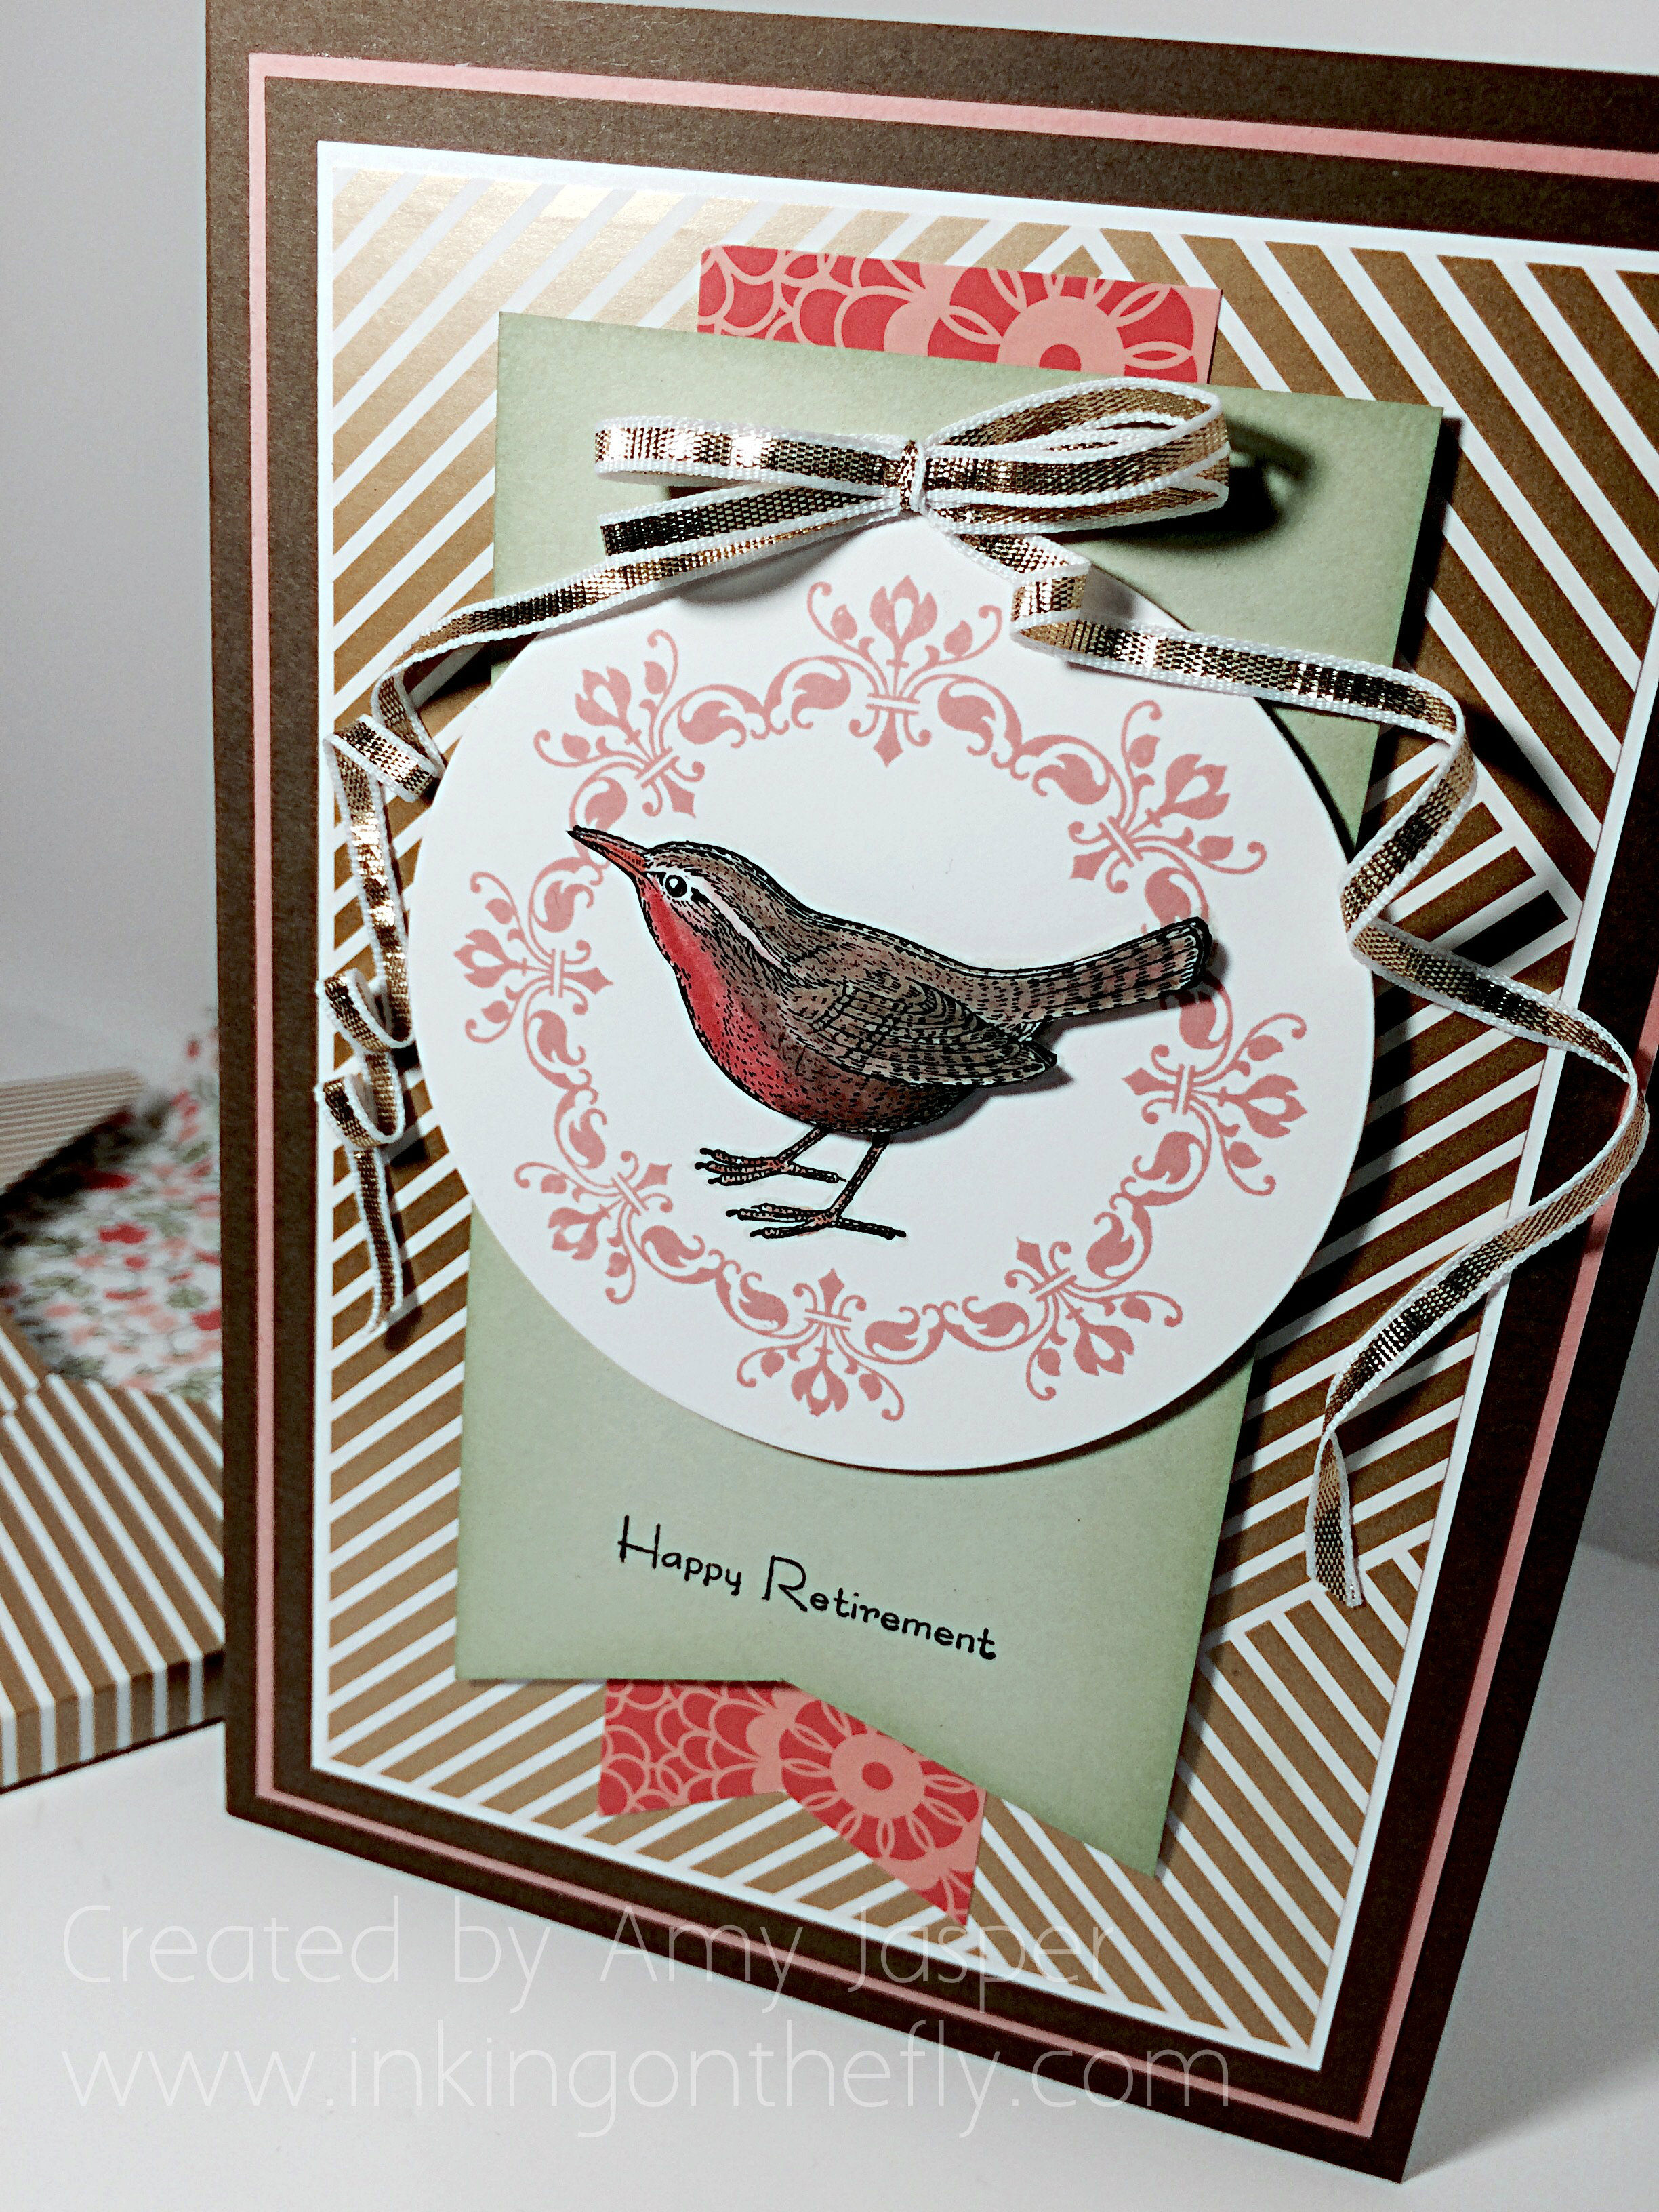
I’ve got what I call an uber-card for you today. Every now and then I get to make something fancy. This one is a 5×7″ retirement card designed for many people to say their well-wishes and farewells to someone who has brought meaning and inspiration to their lives and has earned the title “Retired”. A time where you get to live off of your savings and live out your golden years. I used Gold Soiree Specialty Designer Series Paper and my beloved An Open Heart stamp set from Stampin’ Up!
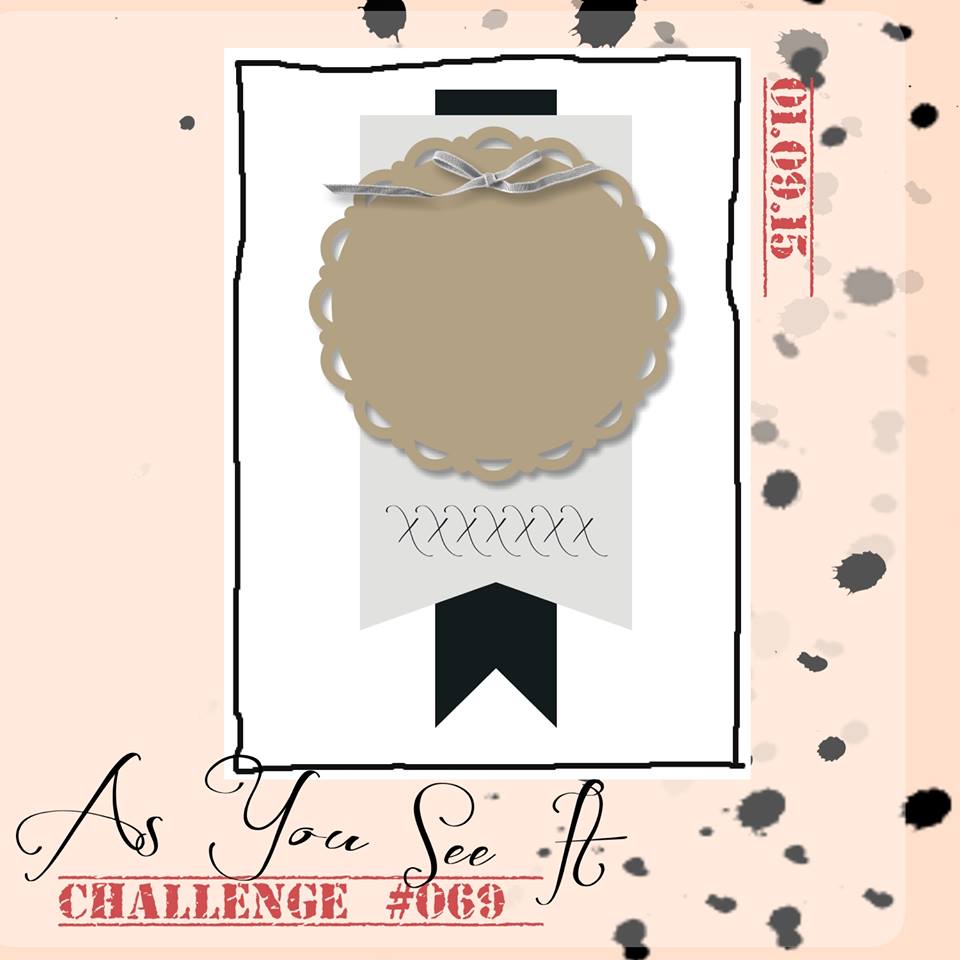
I decided to use a challenge sketch to find some inspiration and creative mojo to get this card going. This is the sketch I used:
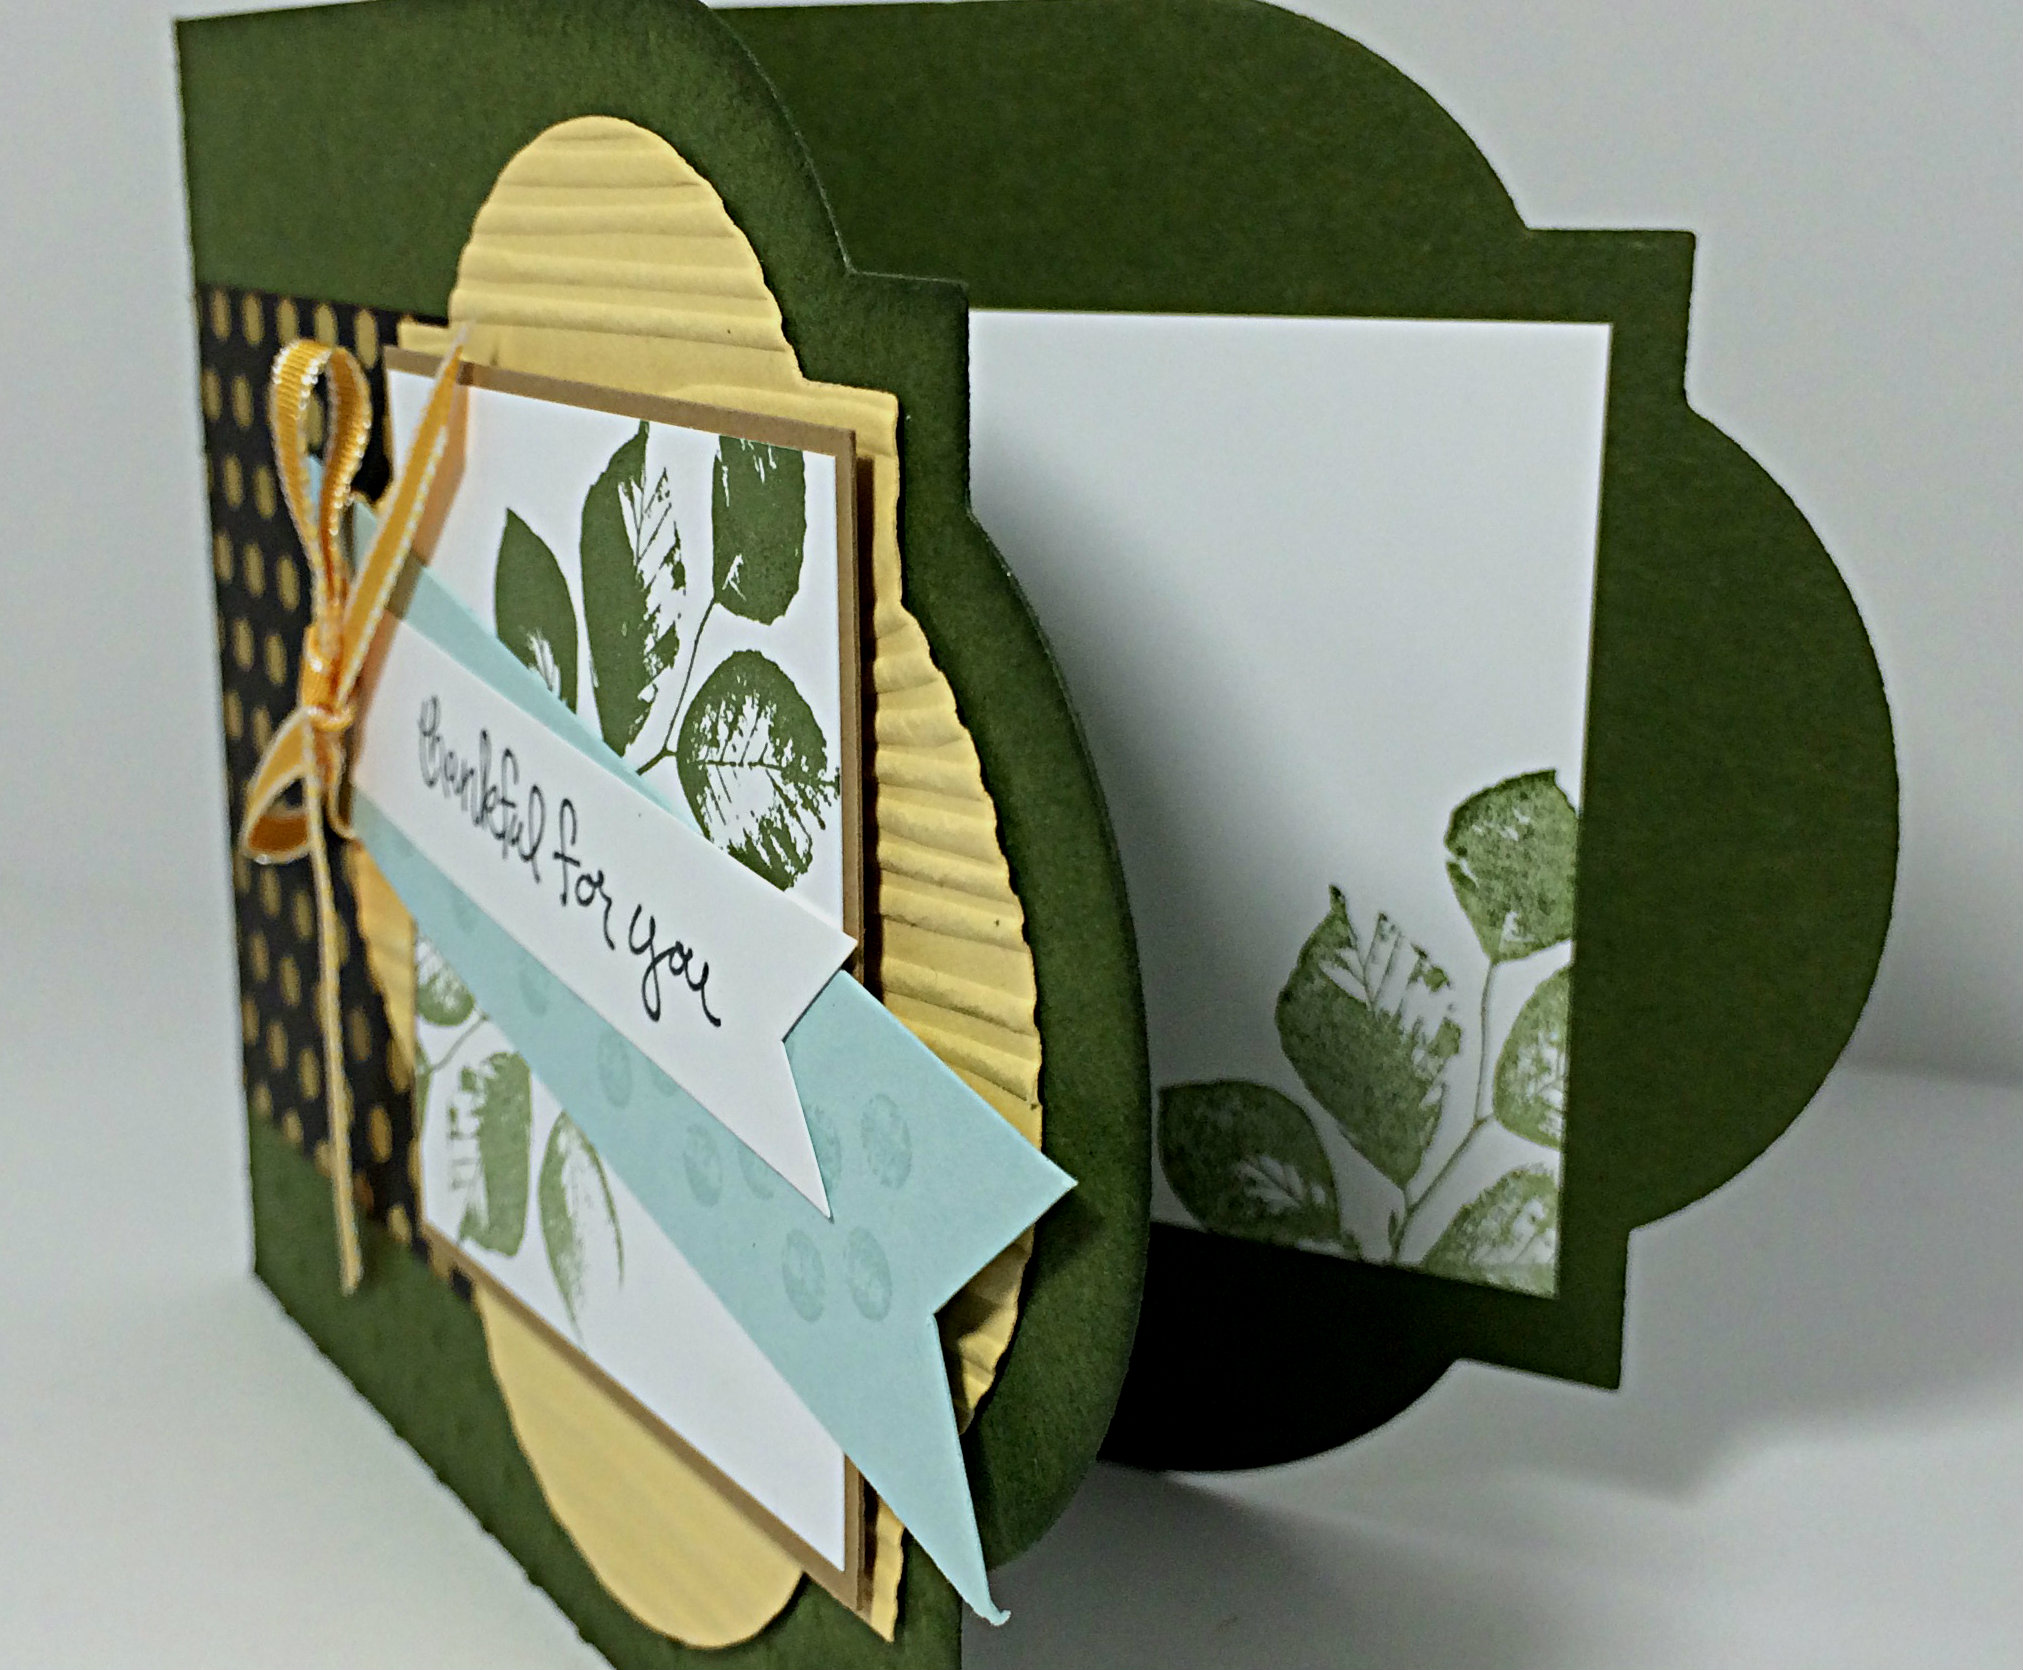
When I make cards with multiple writing pages inside, I like to create the card with a 1/8″ to 1/4″ spine to allow for the extra bulk of the pages. This one started with a 7″x10.25″ piece of Soft Suede cardstock which I scored at 5″ and 5.25″ to make two folds for the book-like shape of the card base.
Unfortunately, I realize that none of the pictures taken of this card allow you to see the spine, but you can see the same extra depth added to the envelope beside the card in the photo above. The spine of the card is narrower, but this gives you an idea of what the spine would look like.
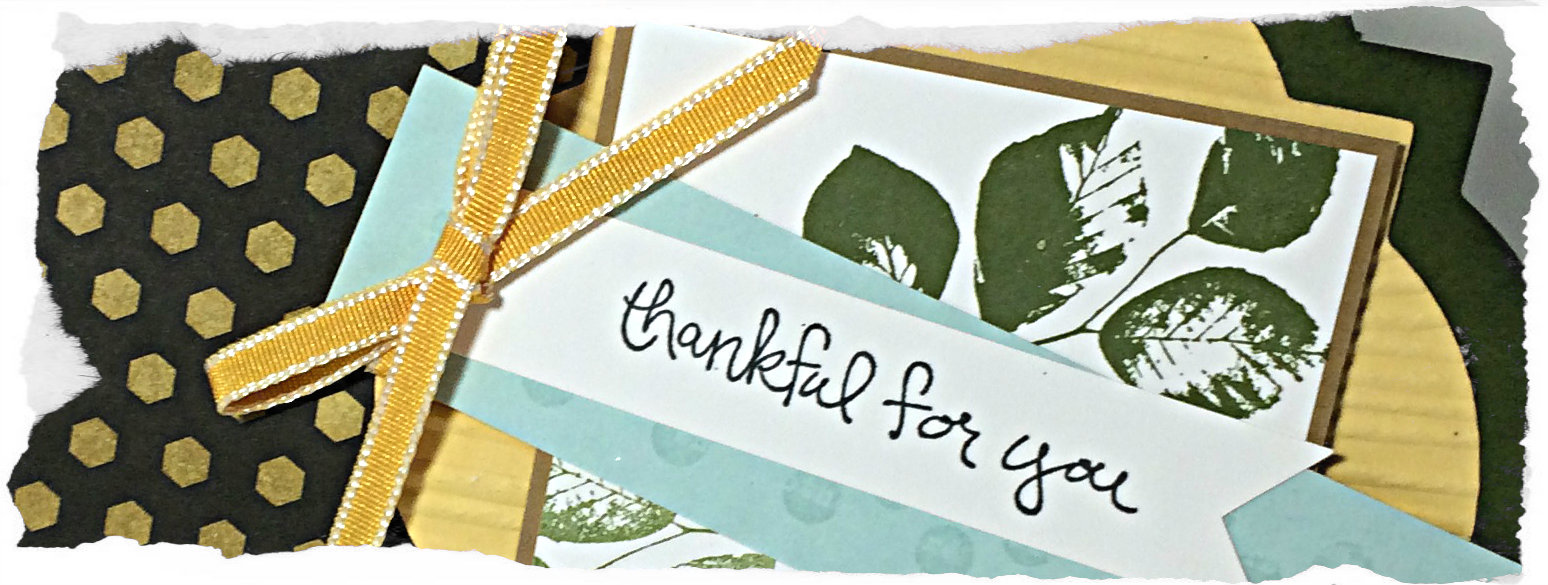
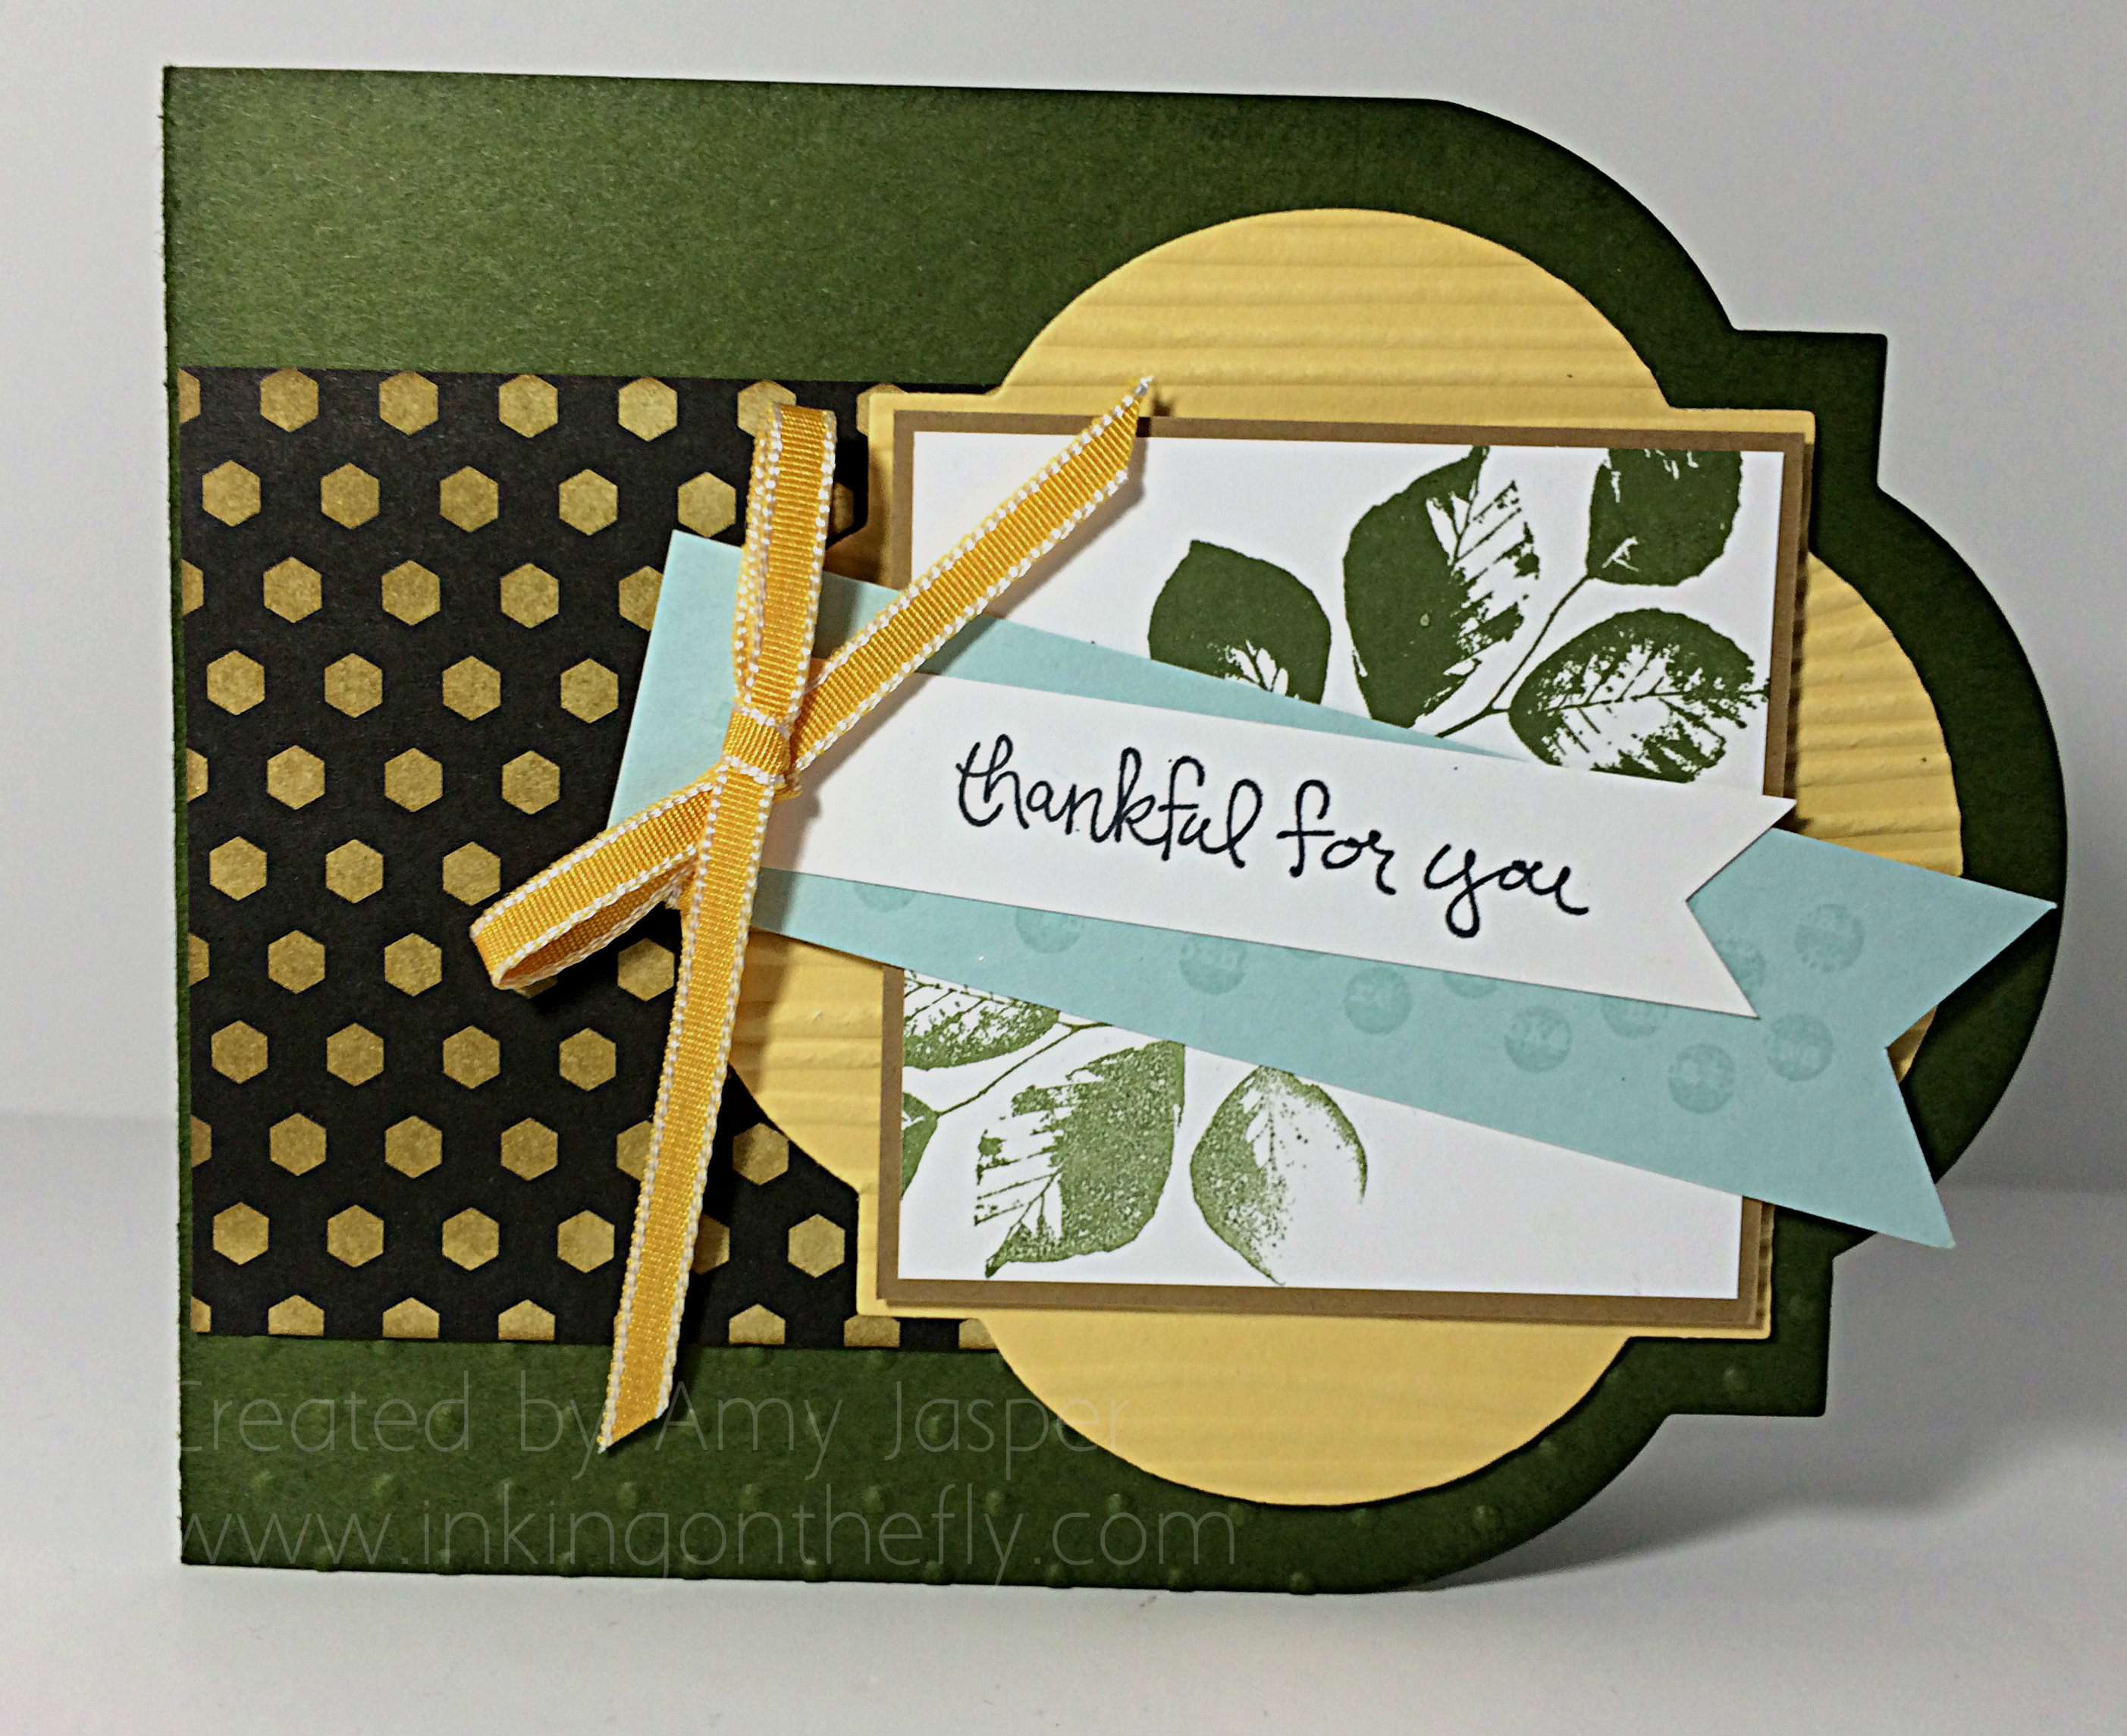
I chose to add some layers on the card base to frame the Gold Soiree Specialty Designer Series paper (DSP). You have the base layer of Soft Suede, the second layer of Crisp Cantaloupe, another layer of Soft Suede, until the final matte of Whisper White cardstock to frame the geometric gold base of the artwork. This Gold Soiree Specialty DSP is very unique as it has a sheen and texture that is cool and smooth, a bit like plastic. It makes for a nice professional finish on your projects.
The bow was created using a fingertip double loop bow technique and the long tails were twisted into submission a bit at a time and strategically adhered with glue dots along the way.
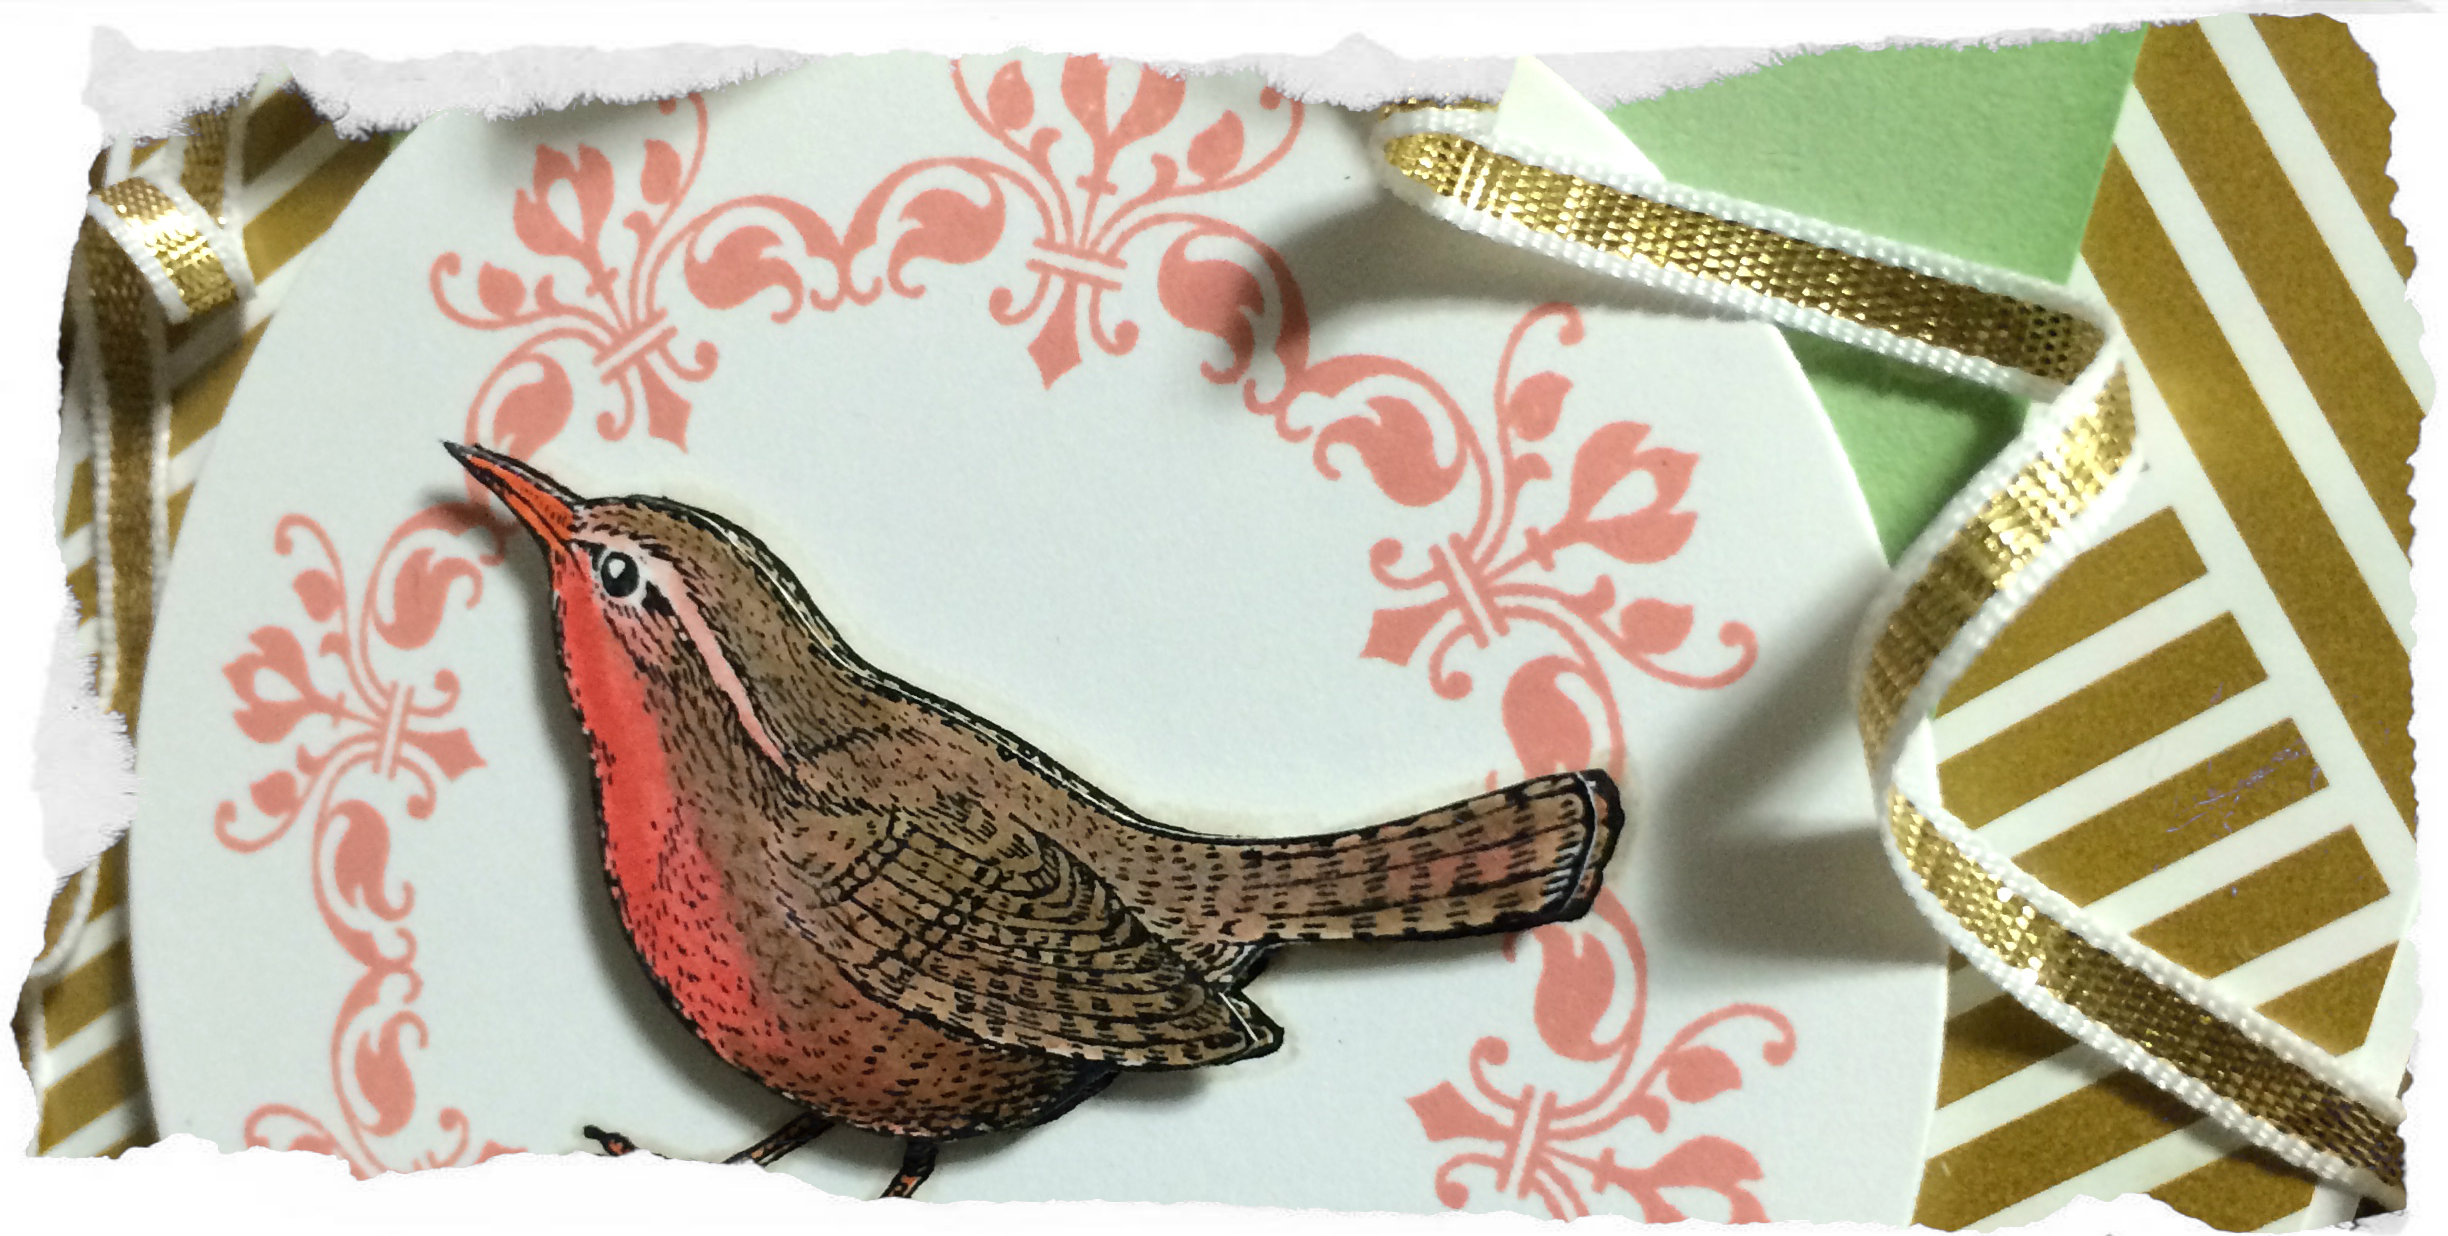
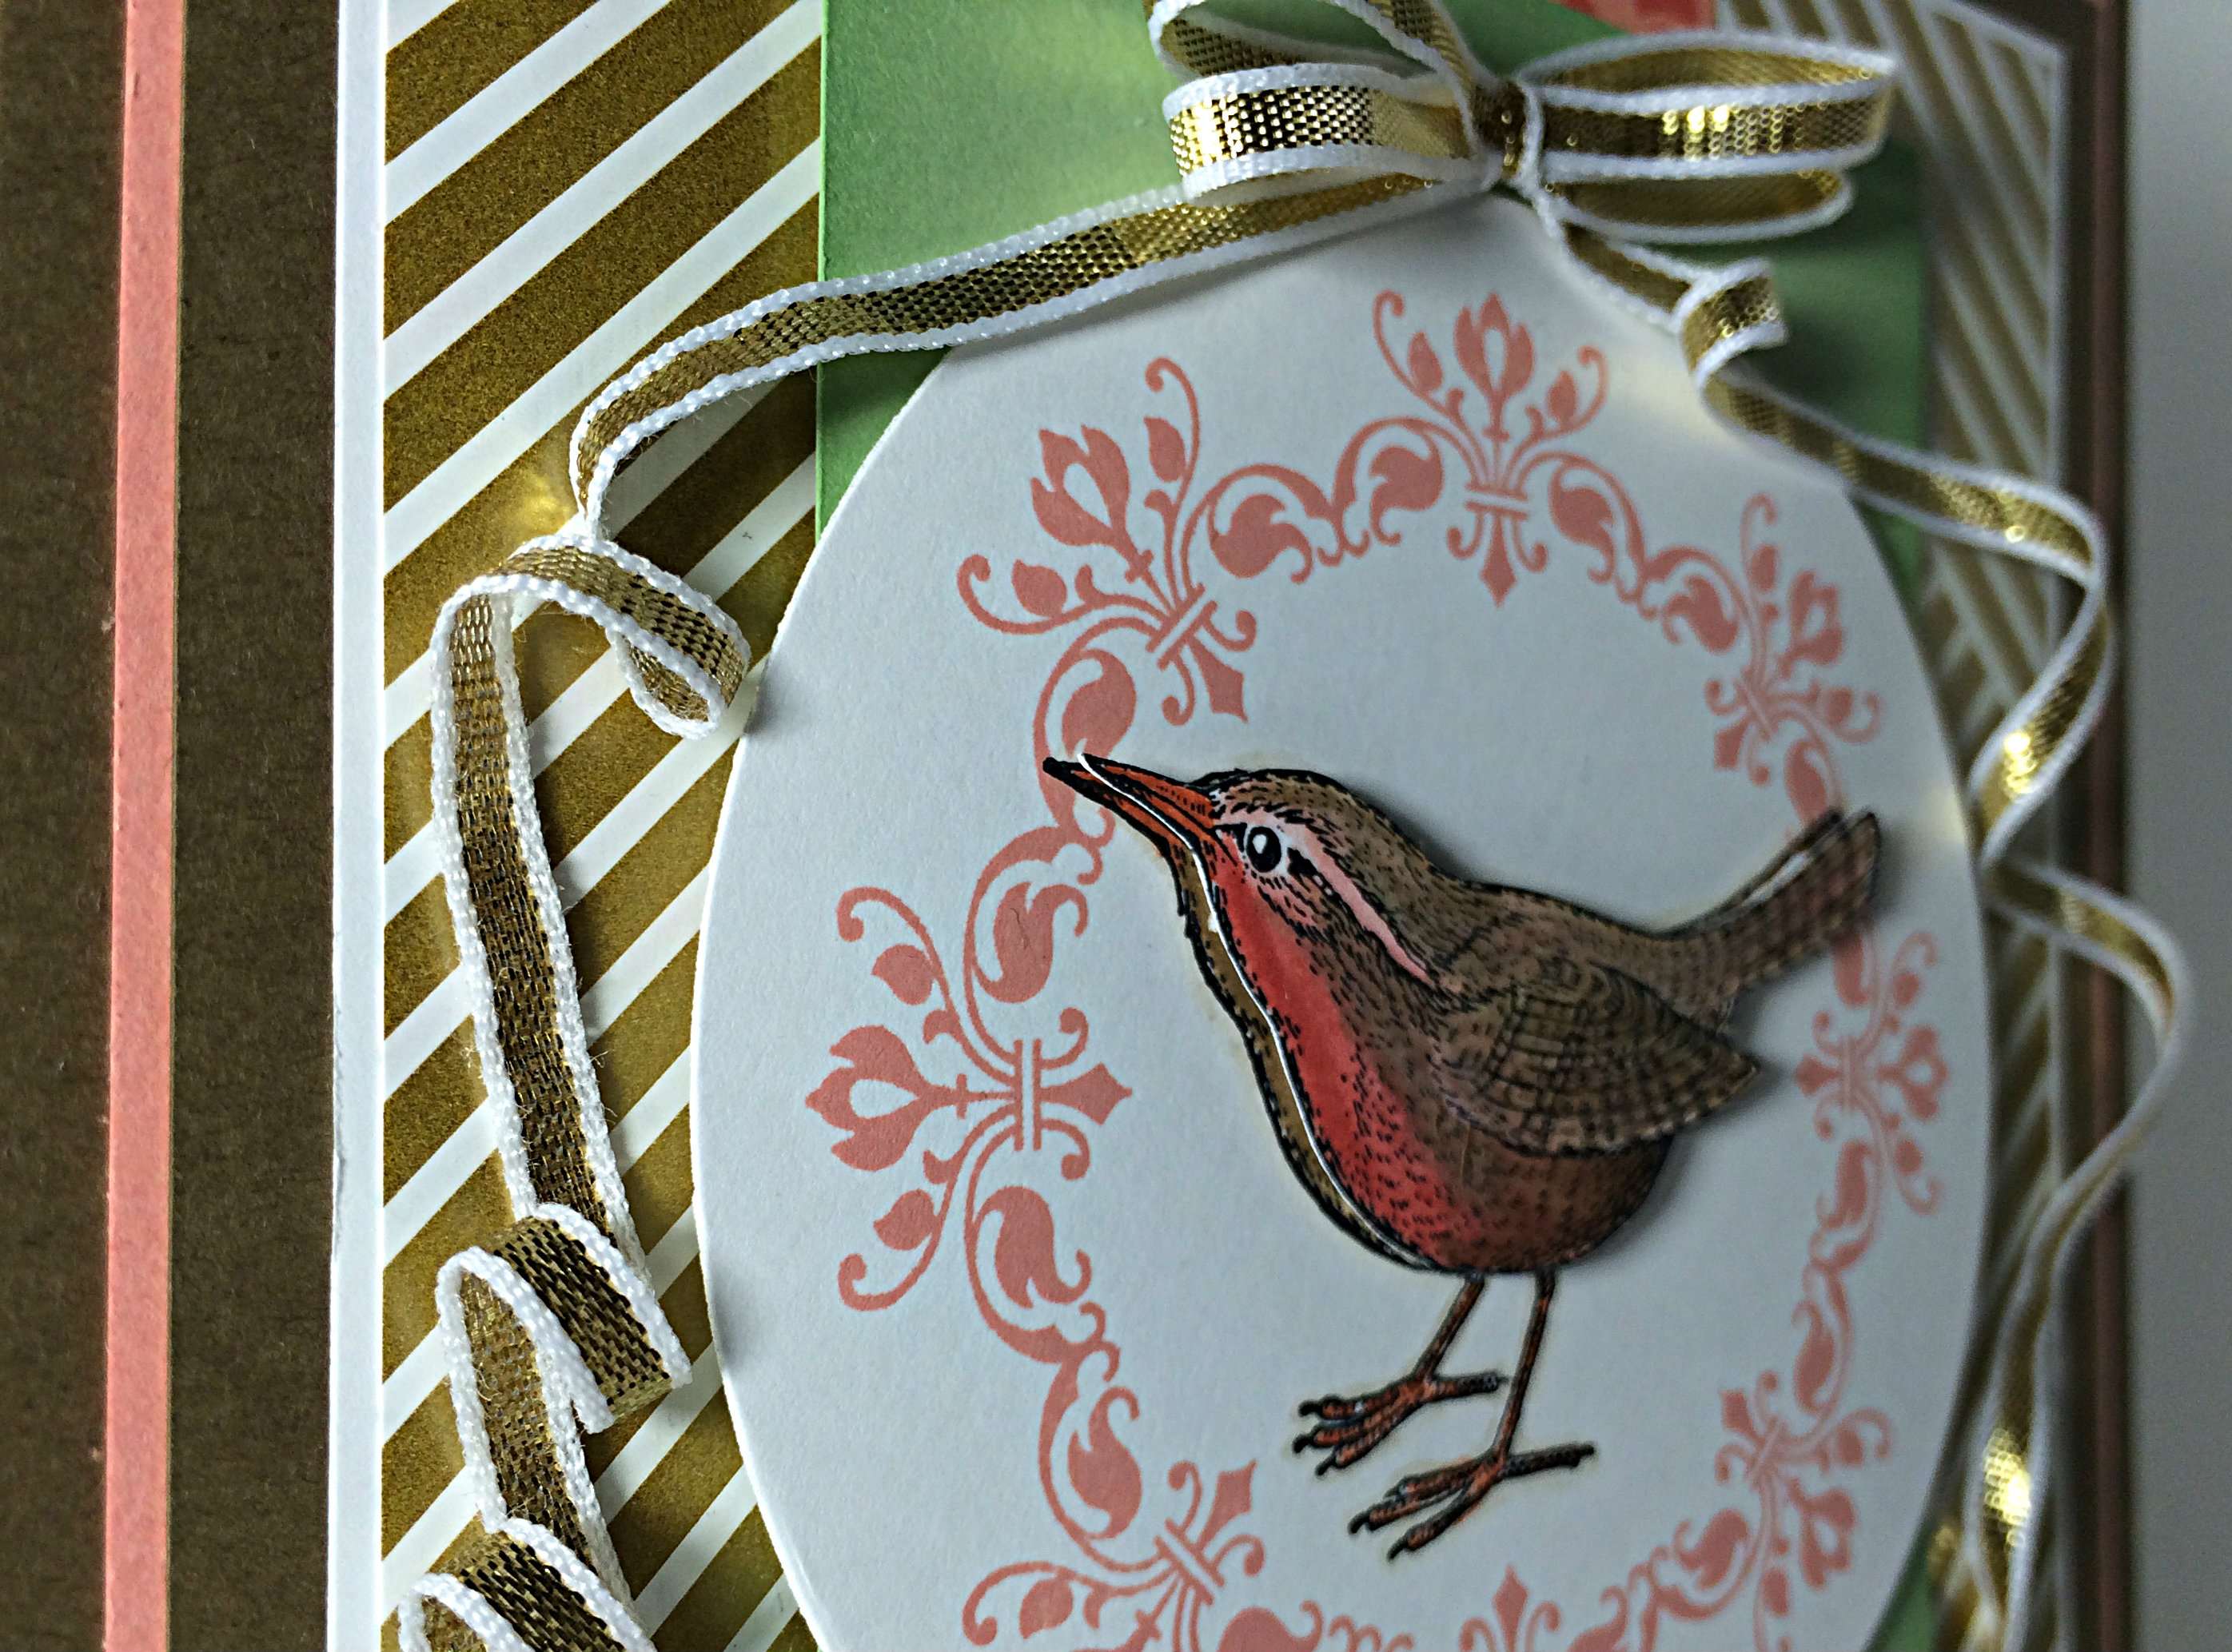
Isn’t that bird from the An Open Heart stamp set cute? You can see that he was stamped twice, once in the center of the circle and again on a seperate piece of Whisper White cardstock from which he was carefully cut out with my Paper Snips (I didn’t cut out the legs, but relied on the legs from the first image). I coloured both birds, with more detail on the top layer, using my inks and blender pens. I chose Calypso Coral for the breast, Tangerine Tango for the beak and feet, and I carefully added a shadow outline with Sahara Sand and a blender pen. That little guy is raised up on Stampin’ Dimensionals.
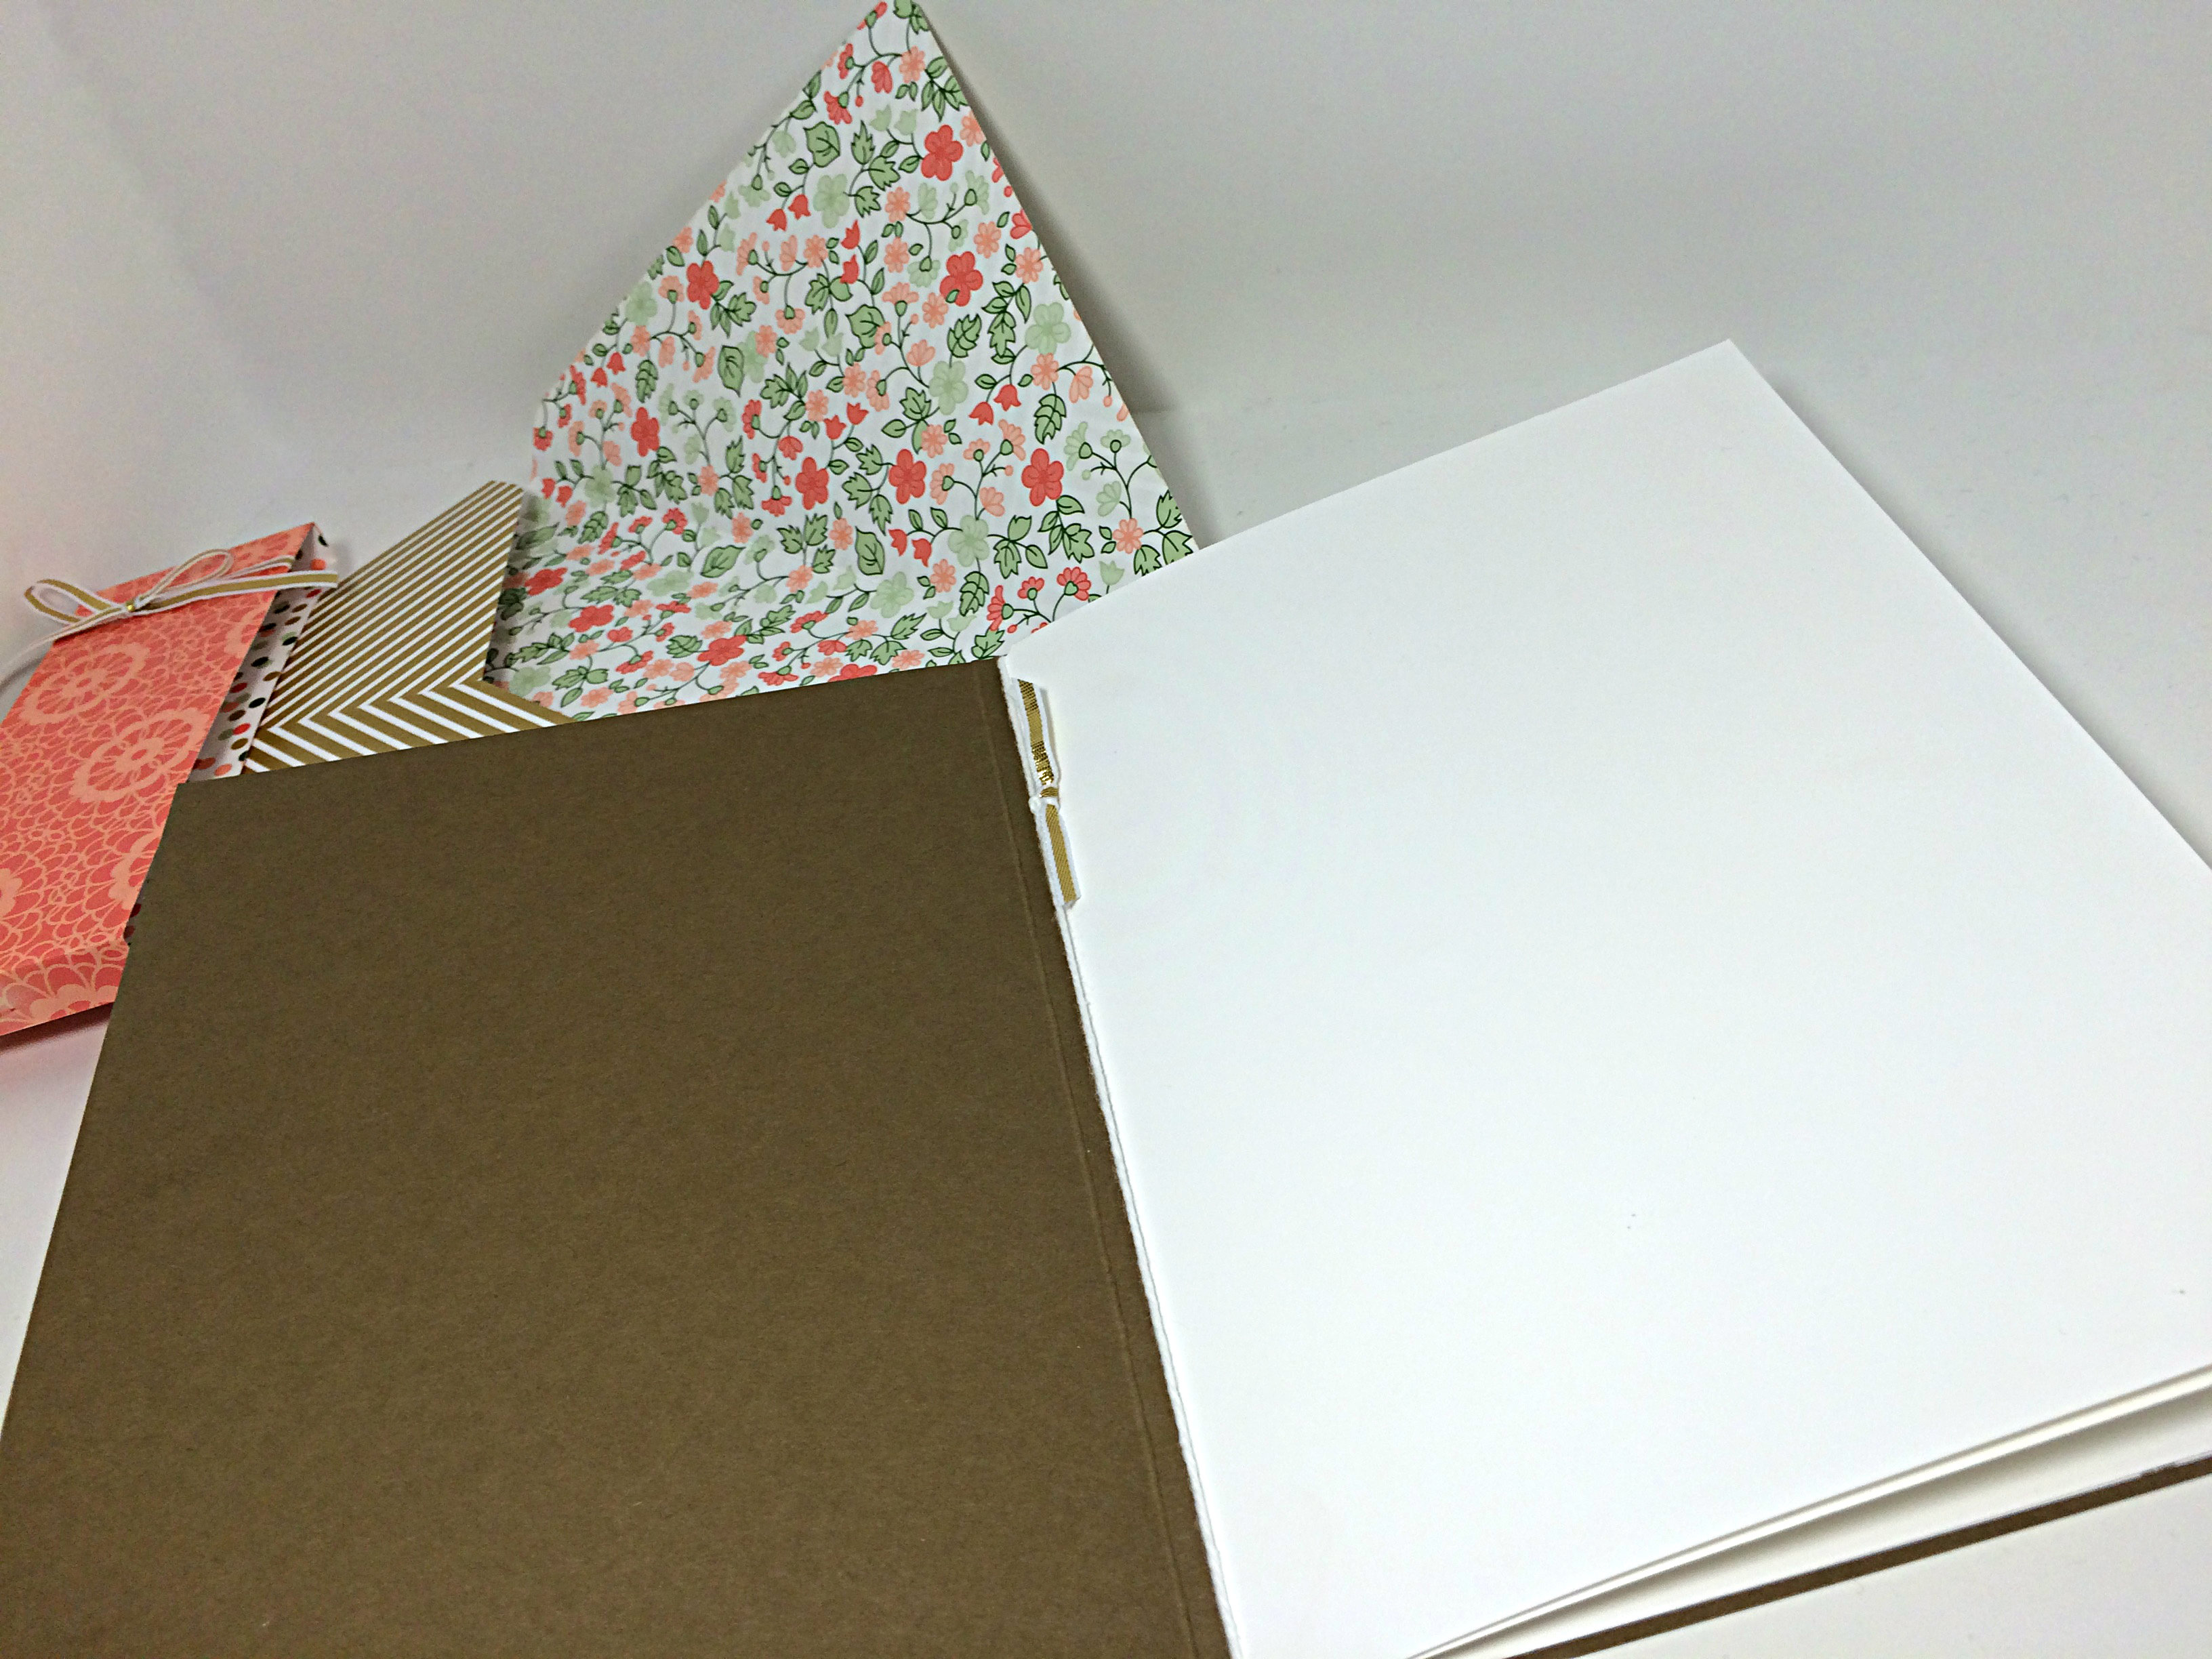
To create the pages of this card, I cut two 6.75″x9.5″ pieces of Whisper White cardstock and scored and folded them to create two 6.75″x4.75″ inserts which were placed one inside the other and tied together at the “binding” with Whisper White bakers twine. I added a little bit of the 1/8″ gold ribbon for a simple embellishment. The back of the last page of this insert was adhered directly to the inside back of the card base, allowing it to be secure inside the card.
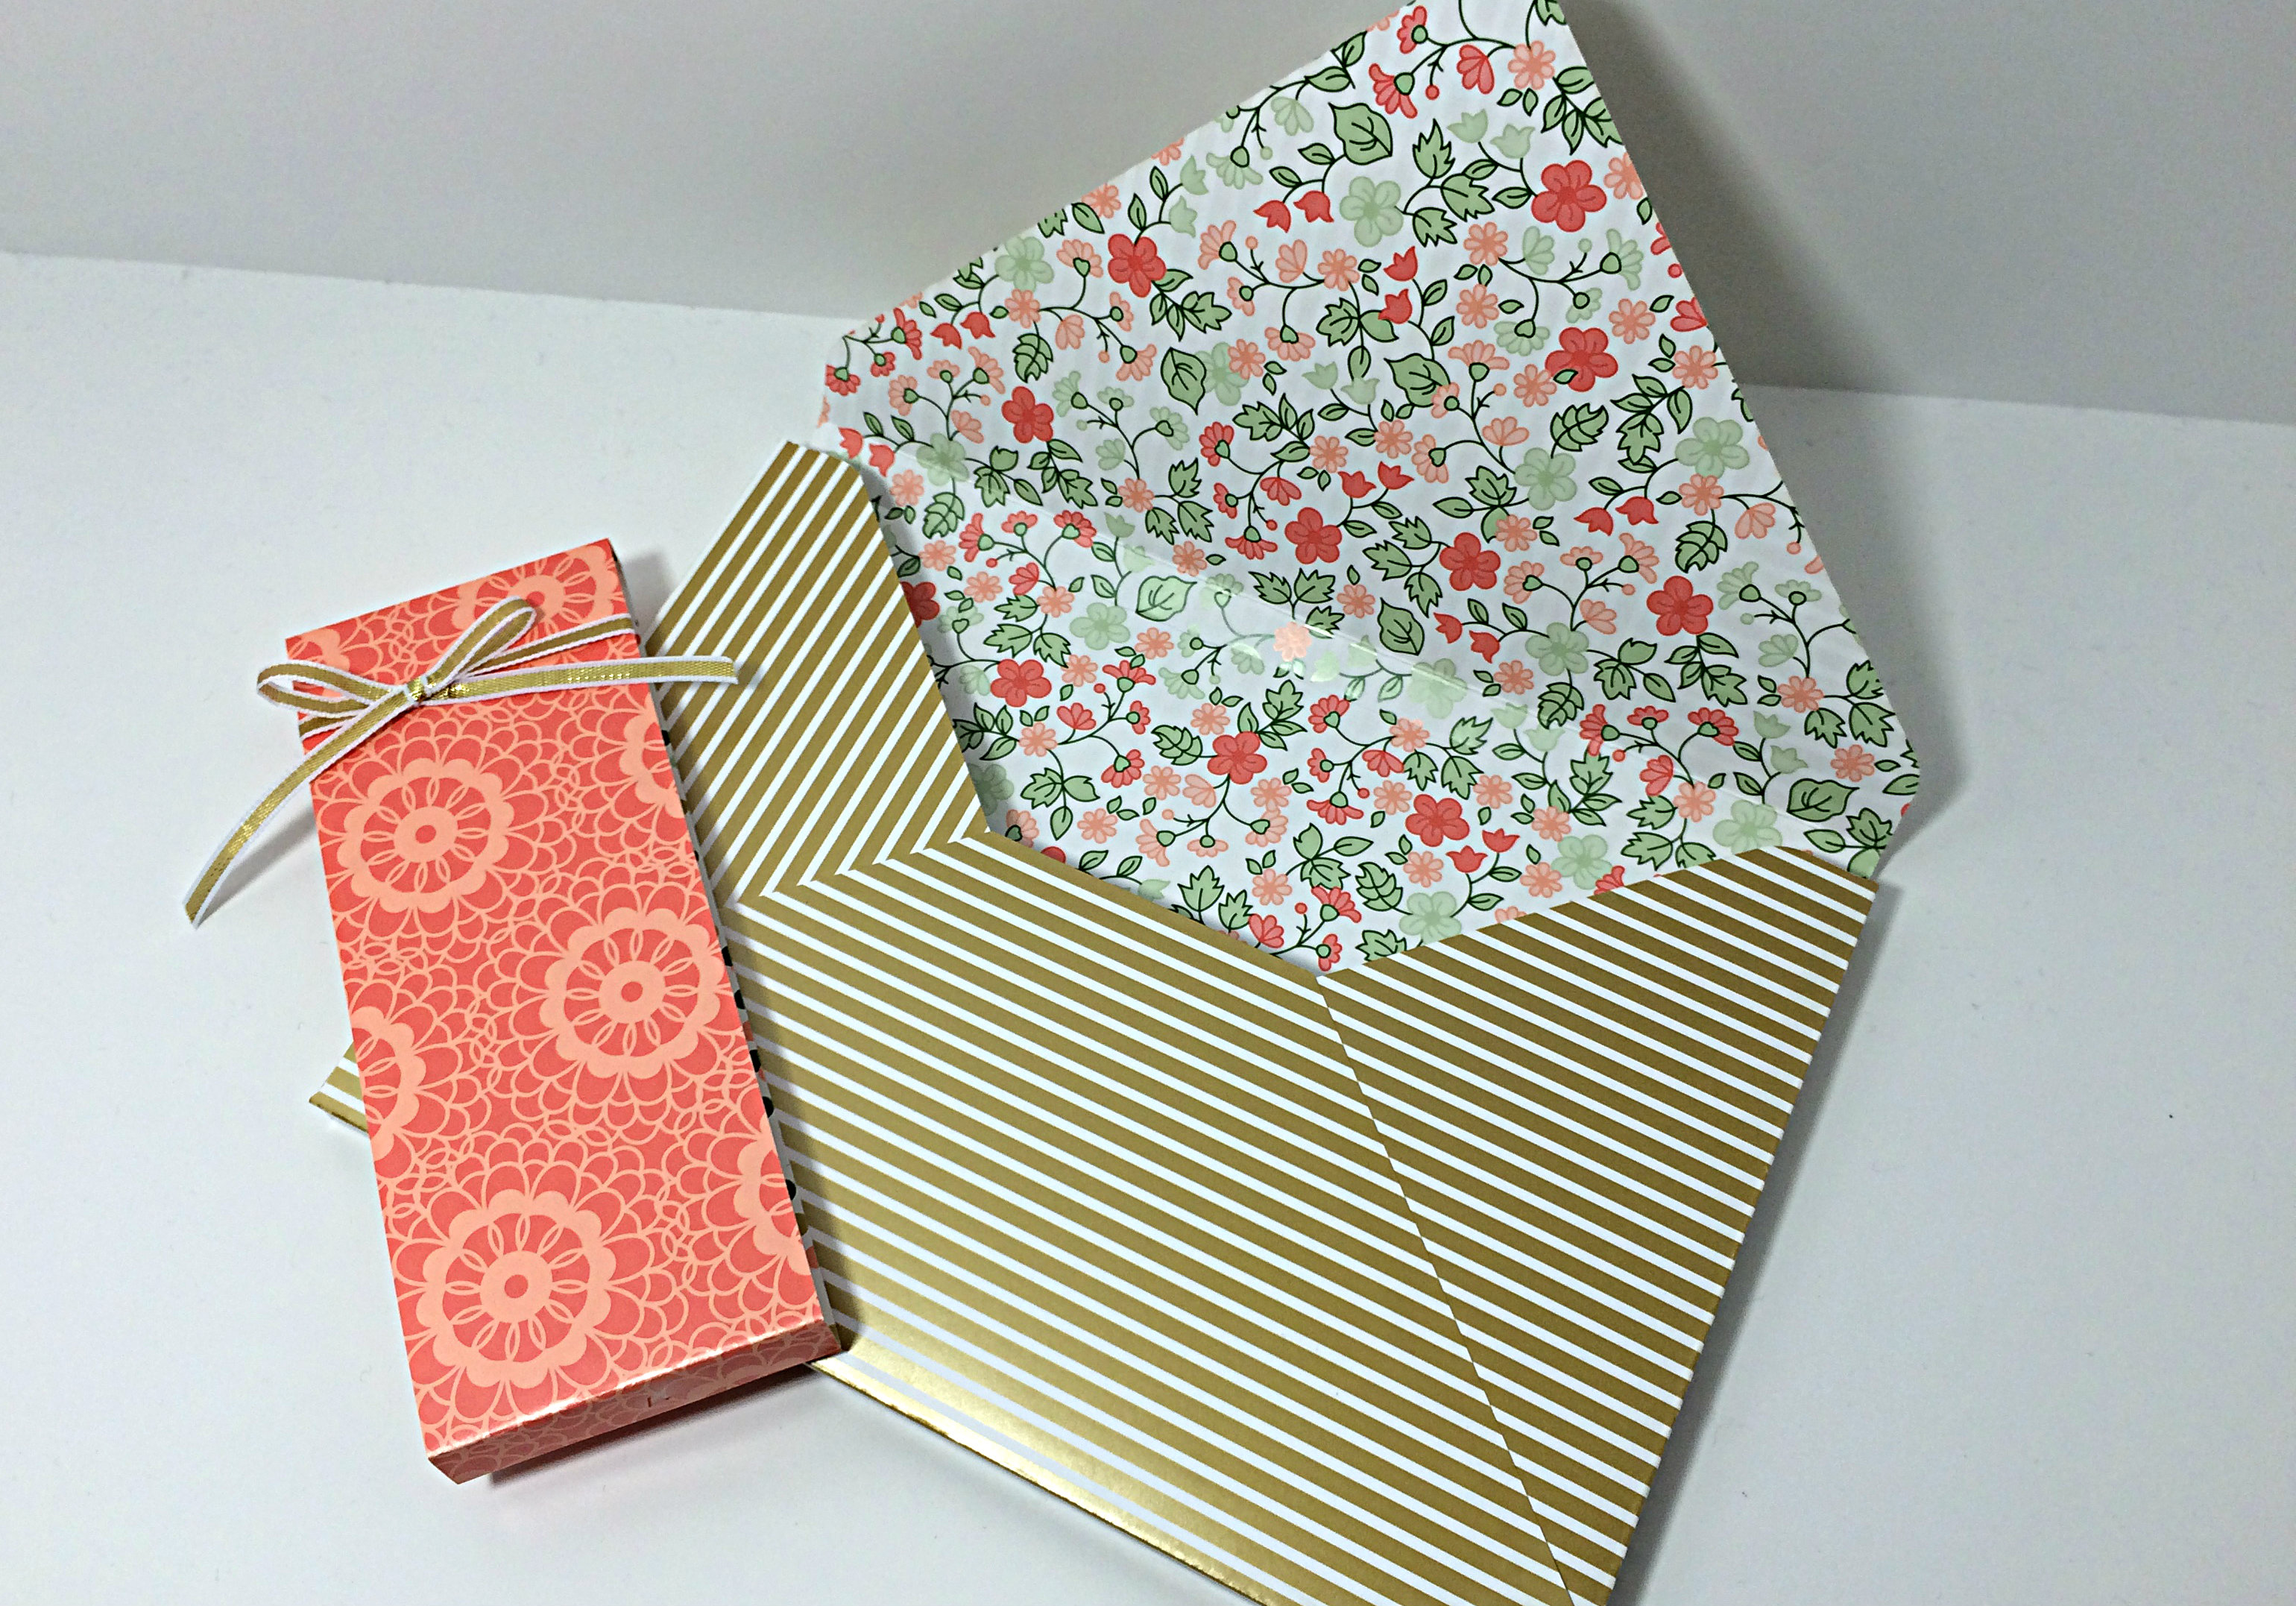
Due to the size of the card, a custom envelope was required. I used the matching Gold Soiree Specialty DSP and my Envelope Punch Board (which just so happens to be on sale this week!) to create a 3D envelope that is deep enough to fit the dimensions of my card. When I do custom envelope that are hand delivered rather than delivered by the postal service, I prefer to close the envelope with a belly band of paper rather than seal it with adhesive. It’s a bit of a prettier presentation, I think.
I hope you give the sketch this week a try and link your creations to As You See It Challenge #69. I love how your designs offer new inspirations each week!
Happy stamping!!
Amy
![]()