It’s Your Party!
It’s time for another challenge! For this happy card, I used the Large Letters Framelits and the Festive Birthday Designer Series Paper from Stampin’ Up!
Here’s the As You See It Challenge sketch that is responsible for my creative mojo:
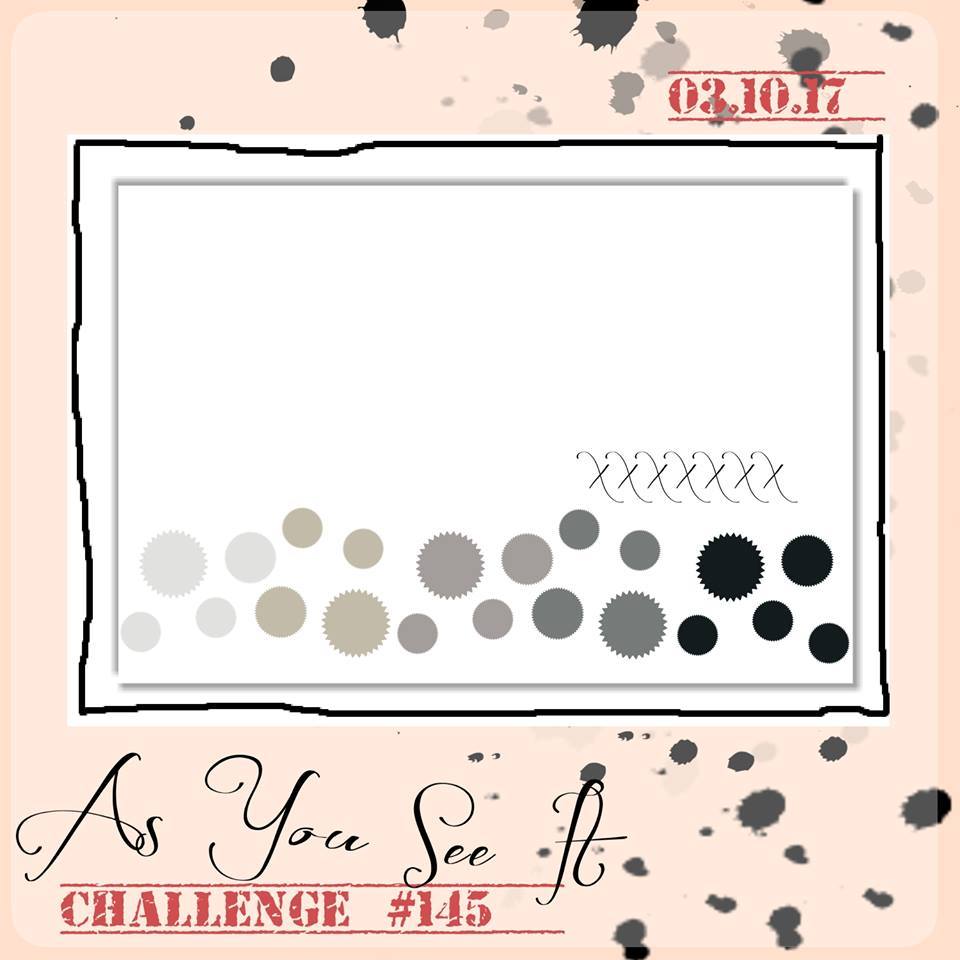 So fun and simple, don’t you think!? At first glance, I liked how the dots on the sketch went light to dark across the page and tried to think of how I could use that in my own design. But my final result rarely goes as planned and I found myself inspired by a deep desire for bright colours to pull me out of the winter blues.
Here’s what I came up with:
 I used the Large Letters Framelits from Stampin’ Up! to cut the letters ‘P’, ‘R’, and ‘Y’ from a piece of Whisper White cardstock and stamped the sentiment from the Endless Birthday Wishes stamp set above the ‘Y’ with Melon Mambo ink. I then adhered a piece of the Festive Birthday Designer Series Paper (DSP) to my Thick Whisper White cardstock base before adhering the stamped and die cut Whisper White layer over the DSP with Stampin’ Up Dimensionals.
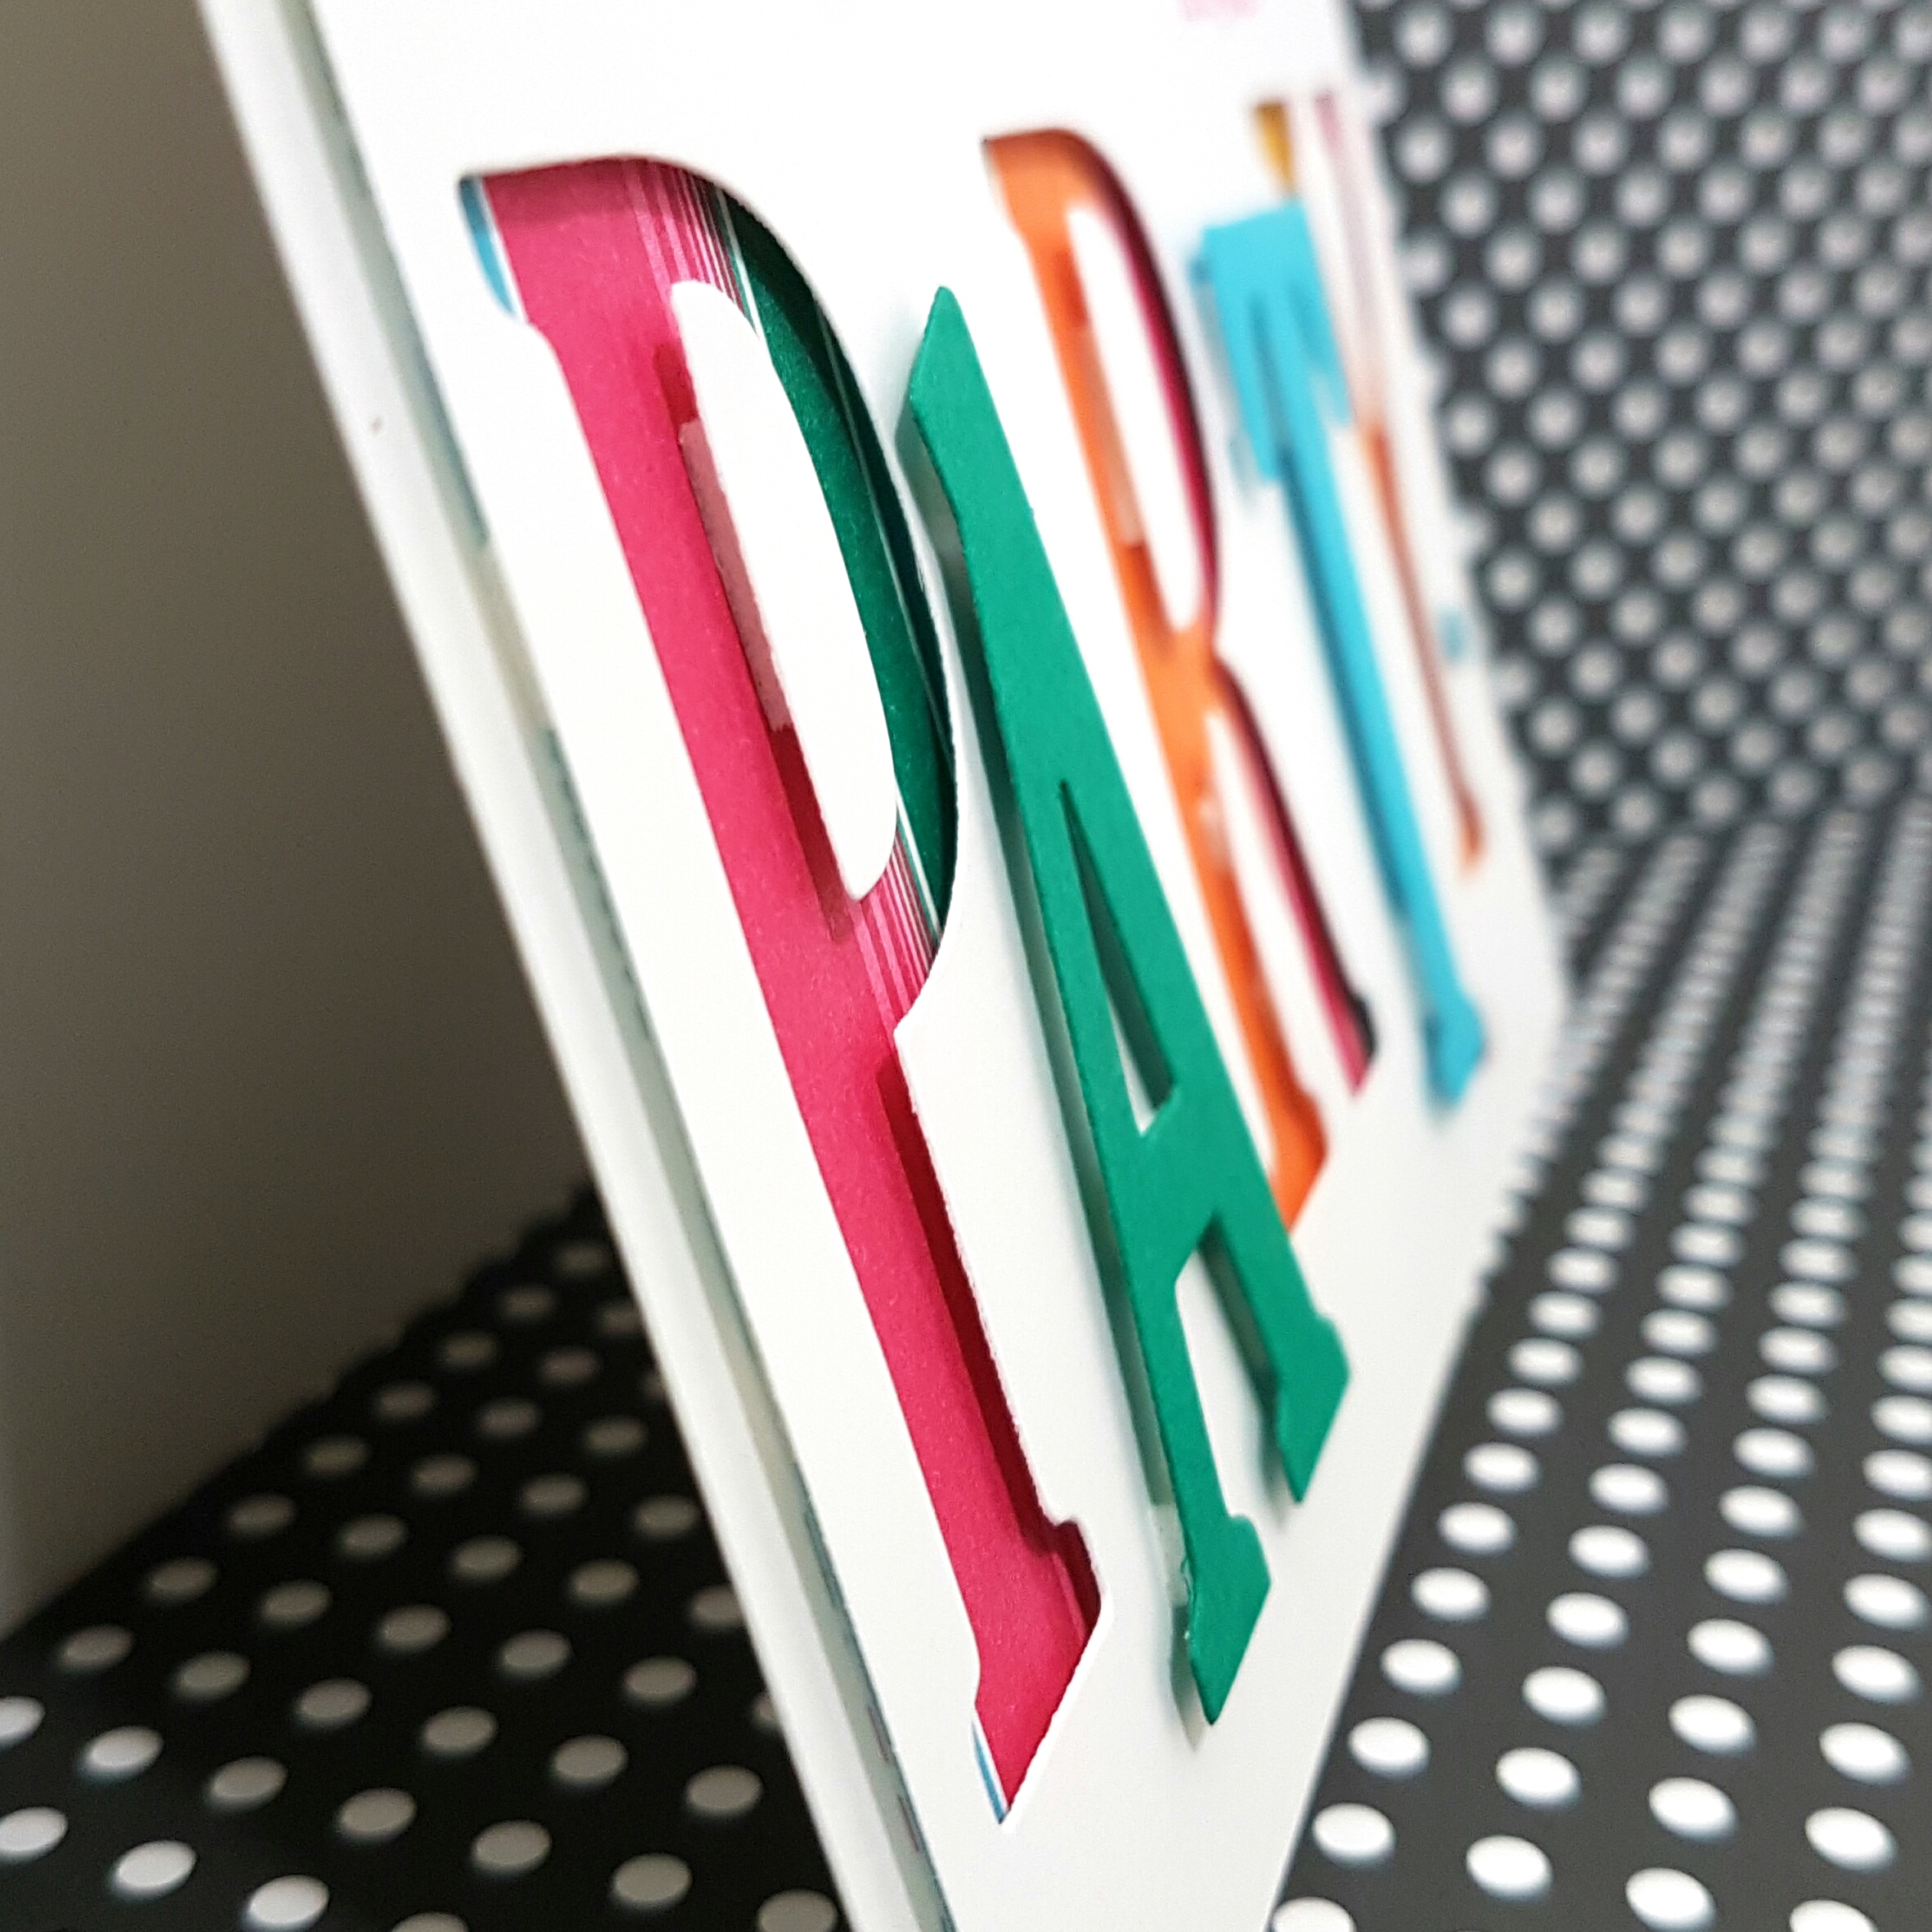 I added the inside of the letter ‘P’ and ‘R’ using Dimensionals cut in half because those pieces are so narrow. The letter ‘A’ is die cut from Emerald Envy cardstock, while the letter ‘T’ is cut from Tempting Turquoise cardstock. These letters were added to the front of the card using Stampin’ Up! Dimensionals.
 For a festive confetti-like flare, I added some Brights Candy Dots. Sadly, these are no longer available, but the current Brights Enamel Dots would be perfect for this card. In fact, if I had them, I would have used the star shapes to make this card even more fun!
I like how this card is appropriate for anyone, male or female and of any age. This one will be for my son, who’s turning 13 this month!
I’m going to have a TEENAGER!!! ACK!!