lighthearted leaves

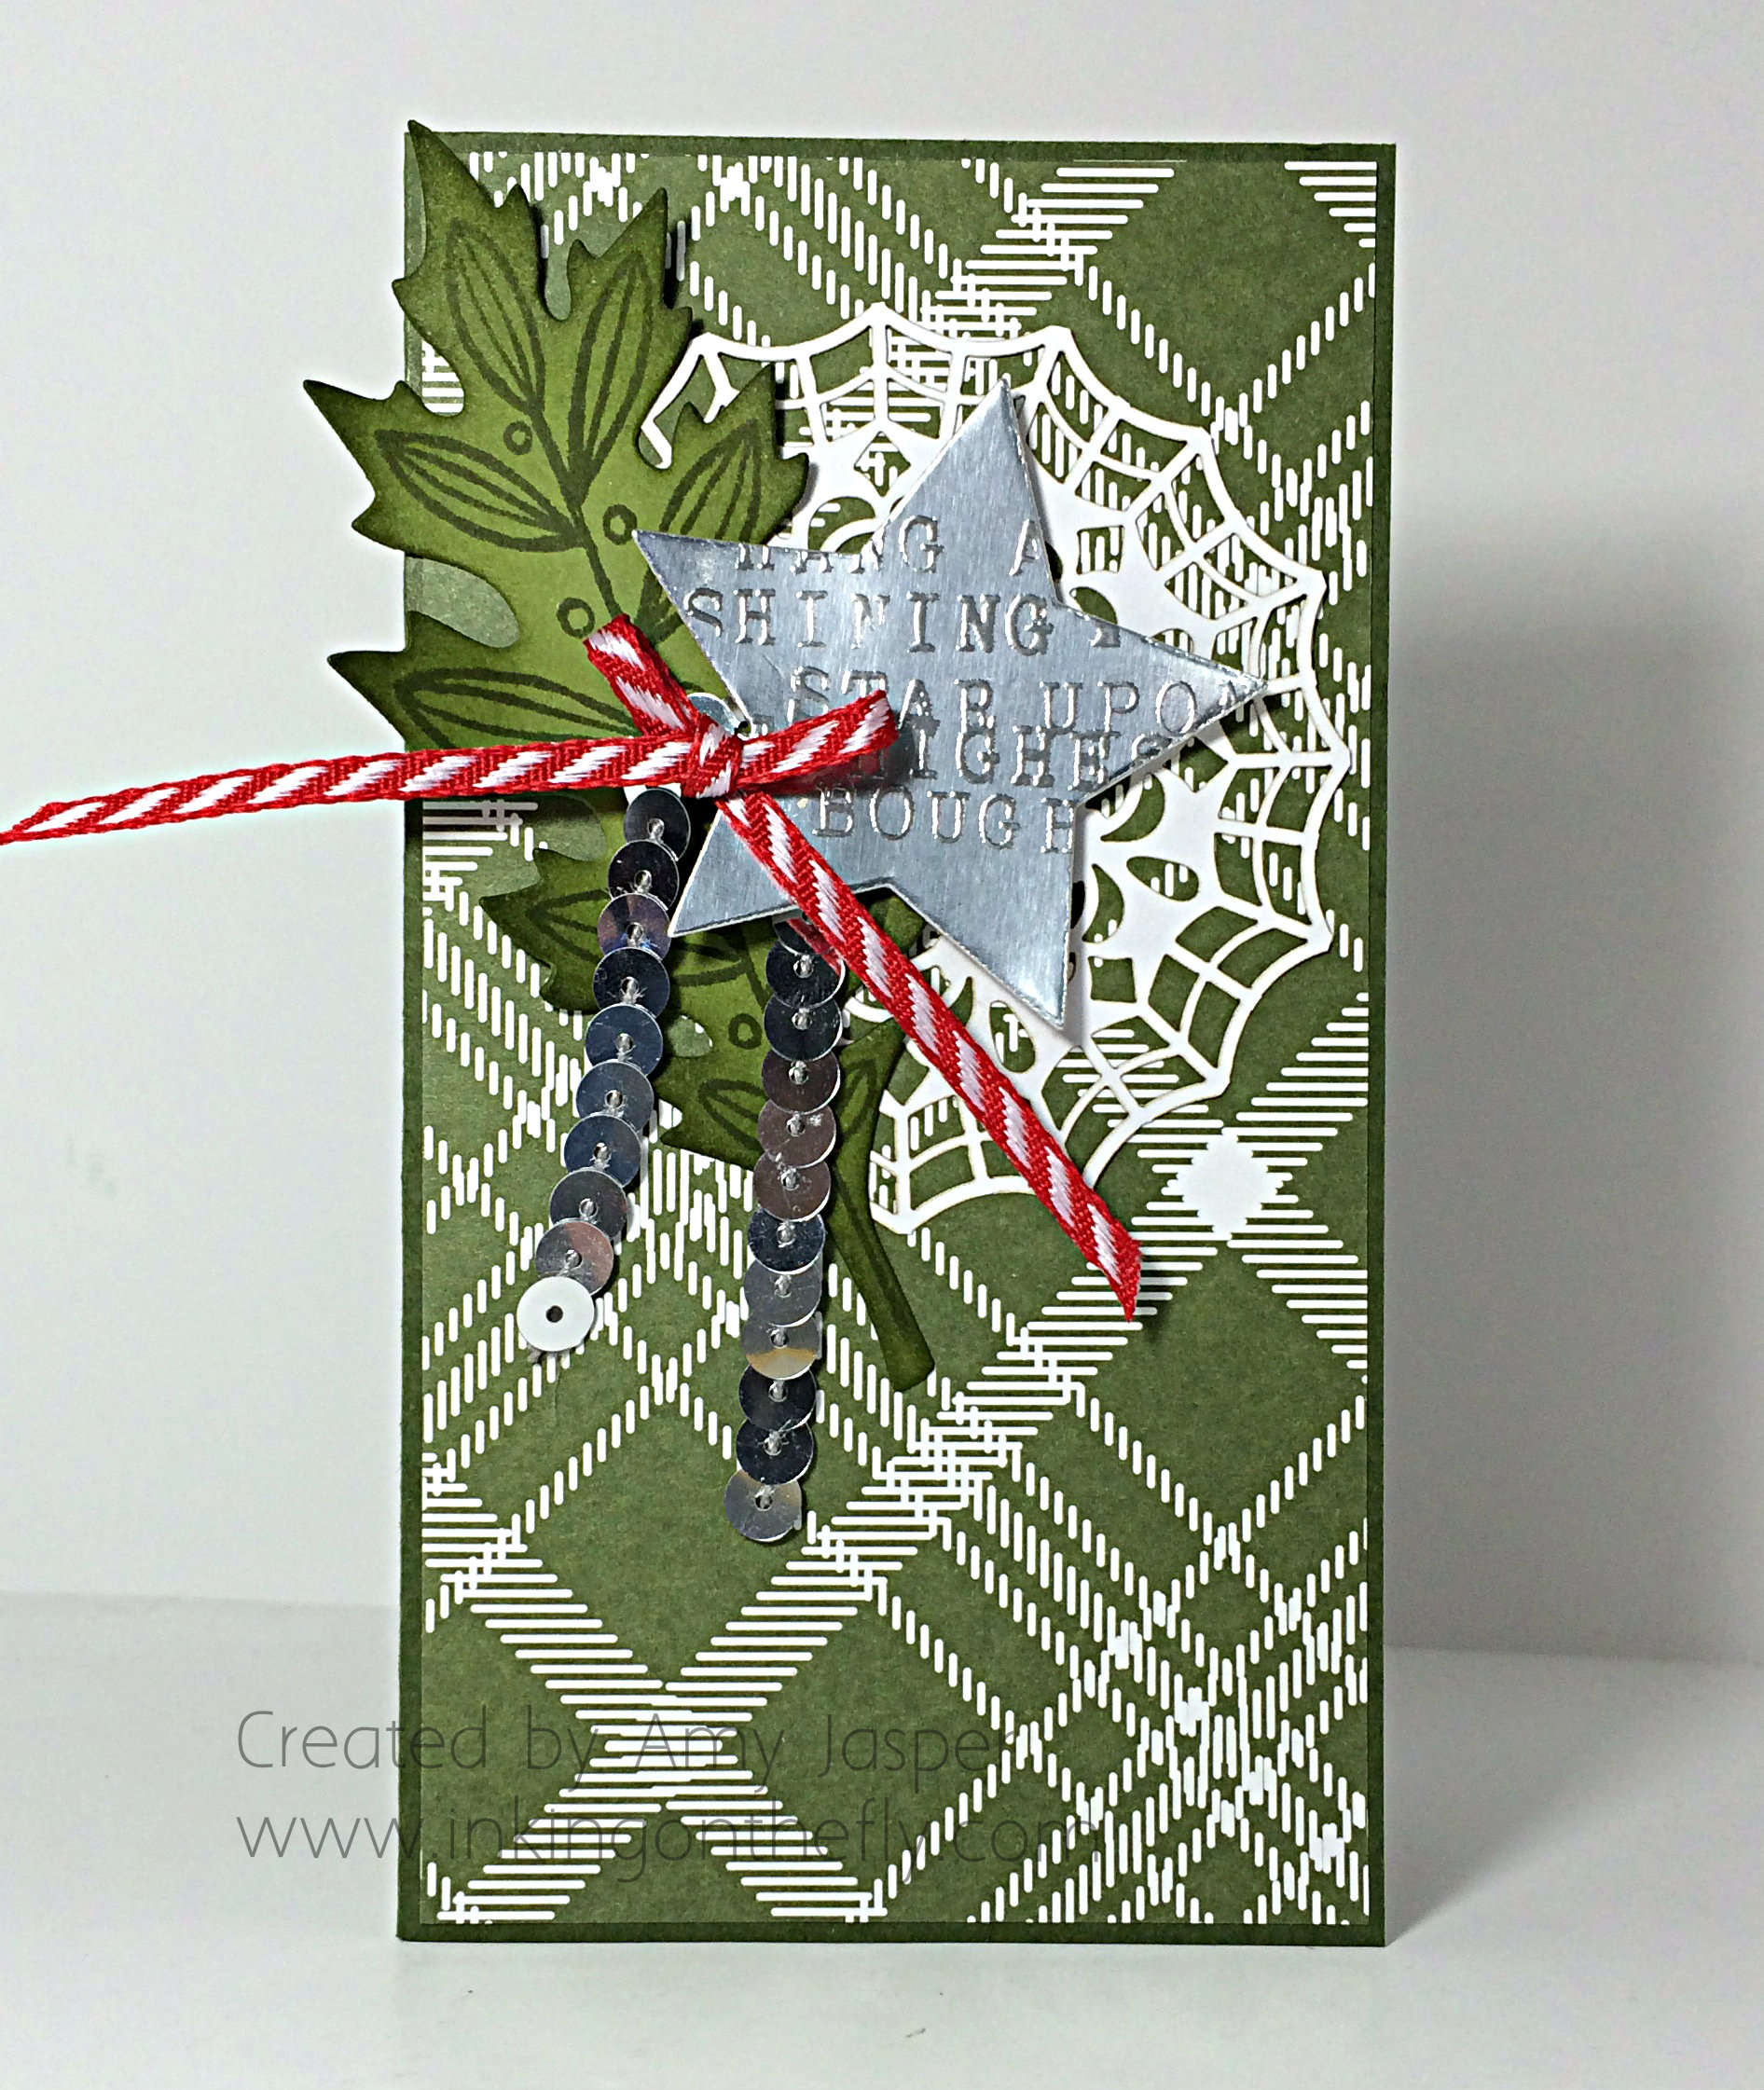
Hang a Shining Star

My favourite thing about a song, especially Christmas songs, is when someone says something in normal conversation and it sparks a song in your mind that you absolutely MUST sing out loud. As it was said in the movie, ELF, “The best way to spread Christmas cheer is singing loud for all to hear.”

My hope is that my card today will cause a Christmas song to be placed in your mind when you read the words. (Basically, I’m working on developing my talents in mind-control.)

Don’t forget to check out my previous post, Fleecy Caribou and Blog Candy, for a chance to win a stamp set! Winner will be announced on Tuesday!

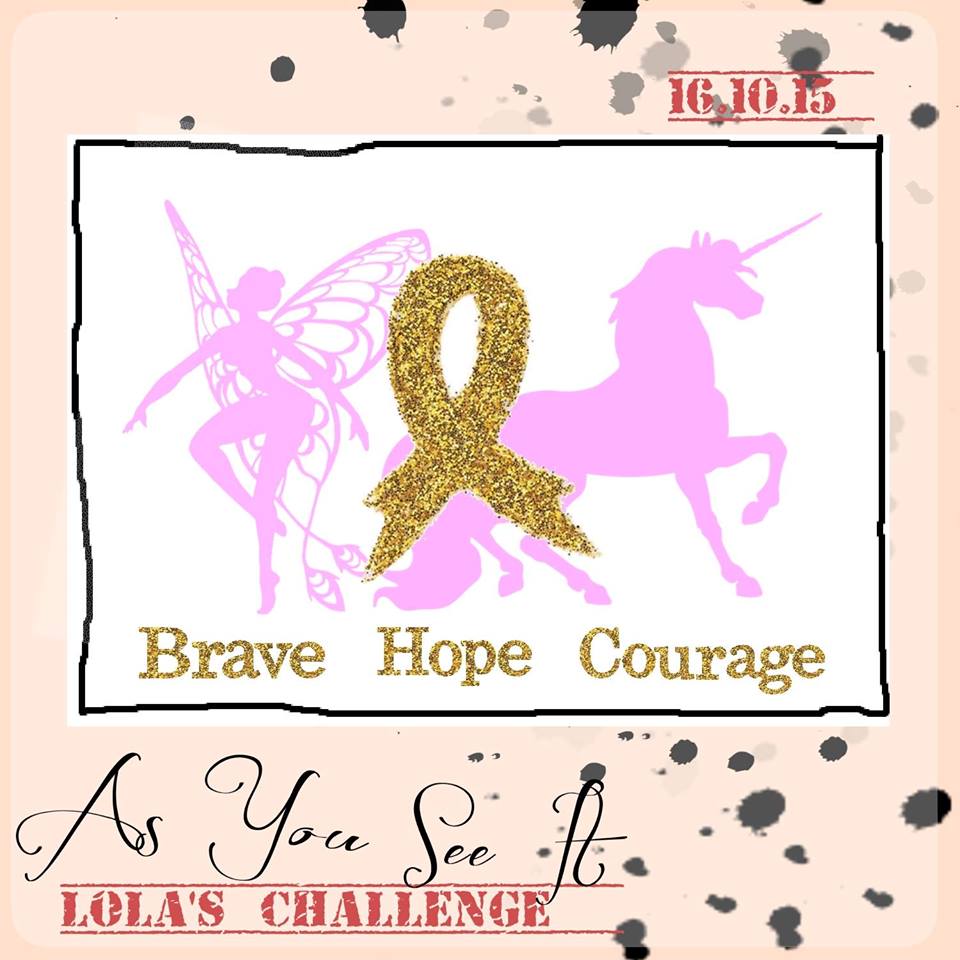
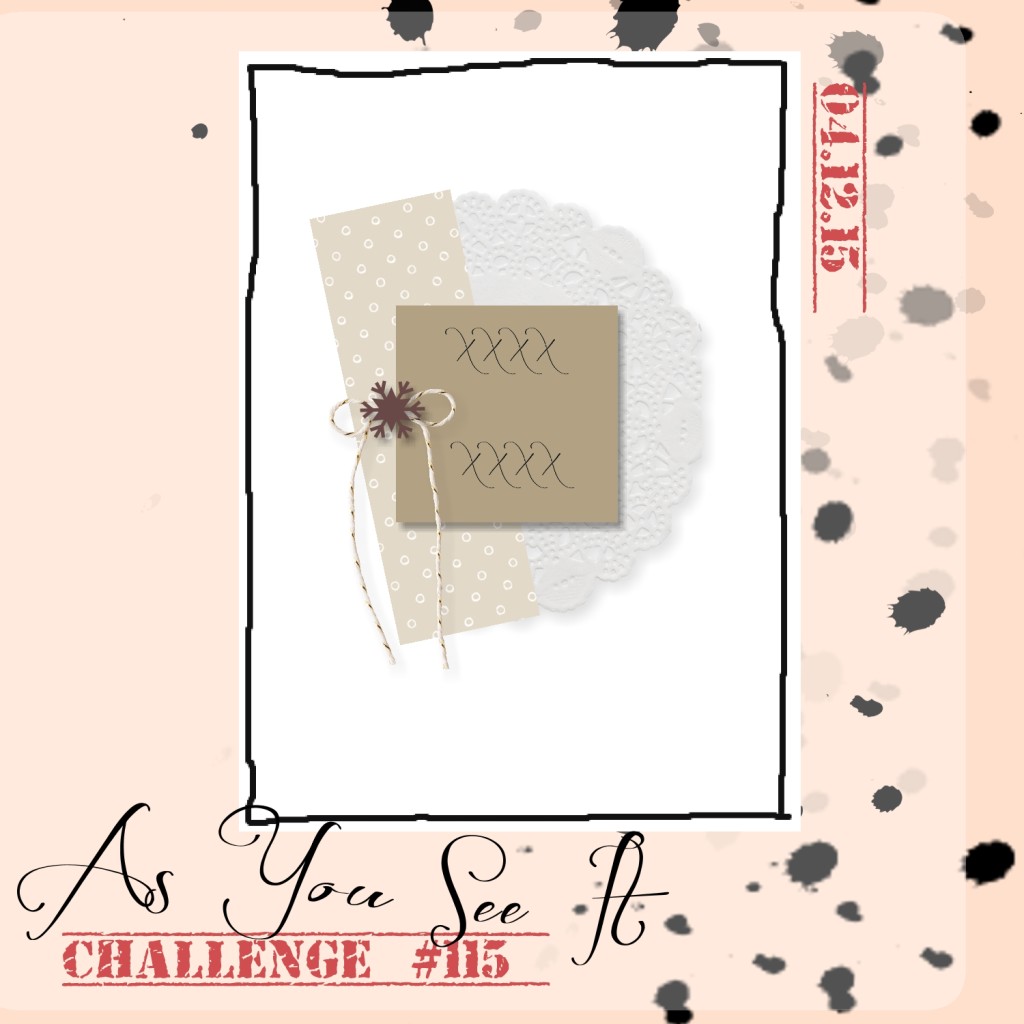
Here’s today’s sketch from the As You See It Challenge blog:

AYSIChallenge115-1024x1024

The card I have to share with you today is a 3″ x 5.5″ card. The elements that I chose simply demanded to be on a narrow card design. Seriously, the cards should just make themselves if they’re going to be so demanding!!

Hang a Shining Star Card by Amy Jasper www.inkingonthefly.com

It begins with a 3″ x 5.5″ Mossy Meadow card base and the layer of patterned paper from the Merry Moments Designer Series Paper. The next layer is a Spider Web Doily that has been trimmed and turned around to show the white side rather than the black side of the doily. This, of course, was adhered with the Fine-Tip Glue Pen.

Next, the leaf image from the Lighthearted Leaves stamp set was stamped with Old Olive Ink onto Old Olive cardstock. This was then die cut on the Big Shot, using the Leaflets Framelits. I happily sponged away on the edges of my newly cut leaf using Stampin’ Up Sponges and Old Olive ink. Before adhering the leaf, I took a moment to gently curl and shape its edges.

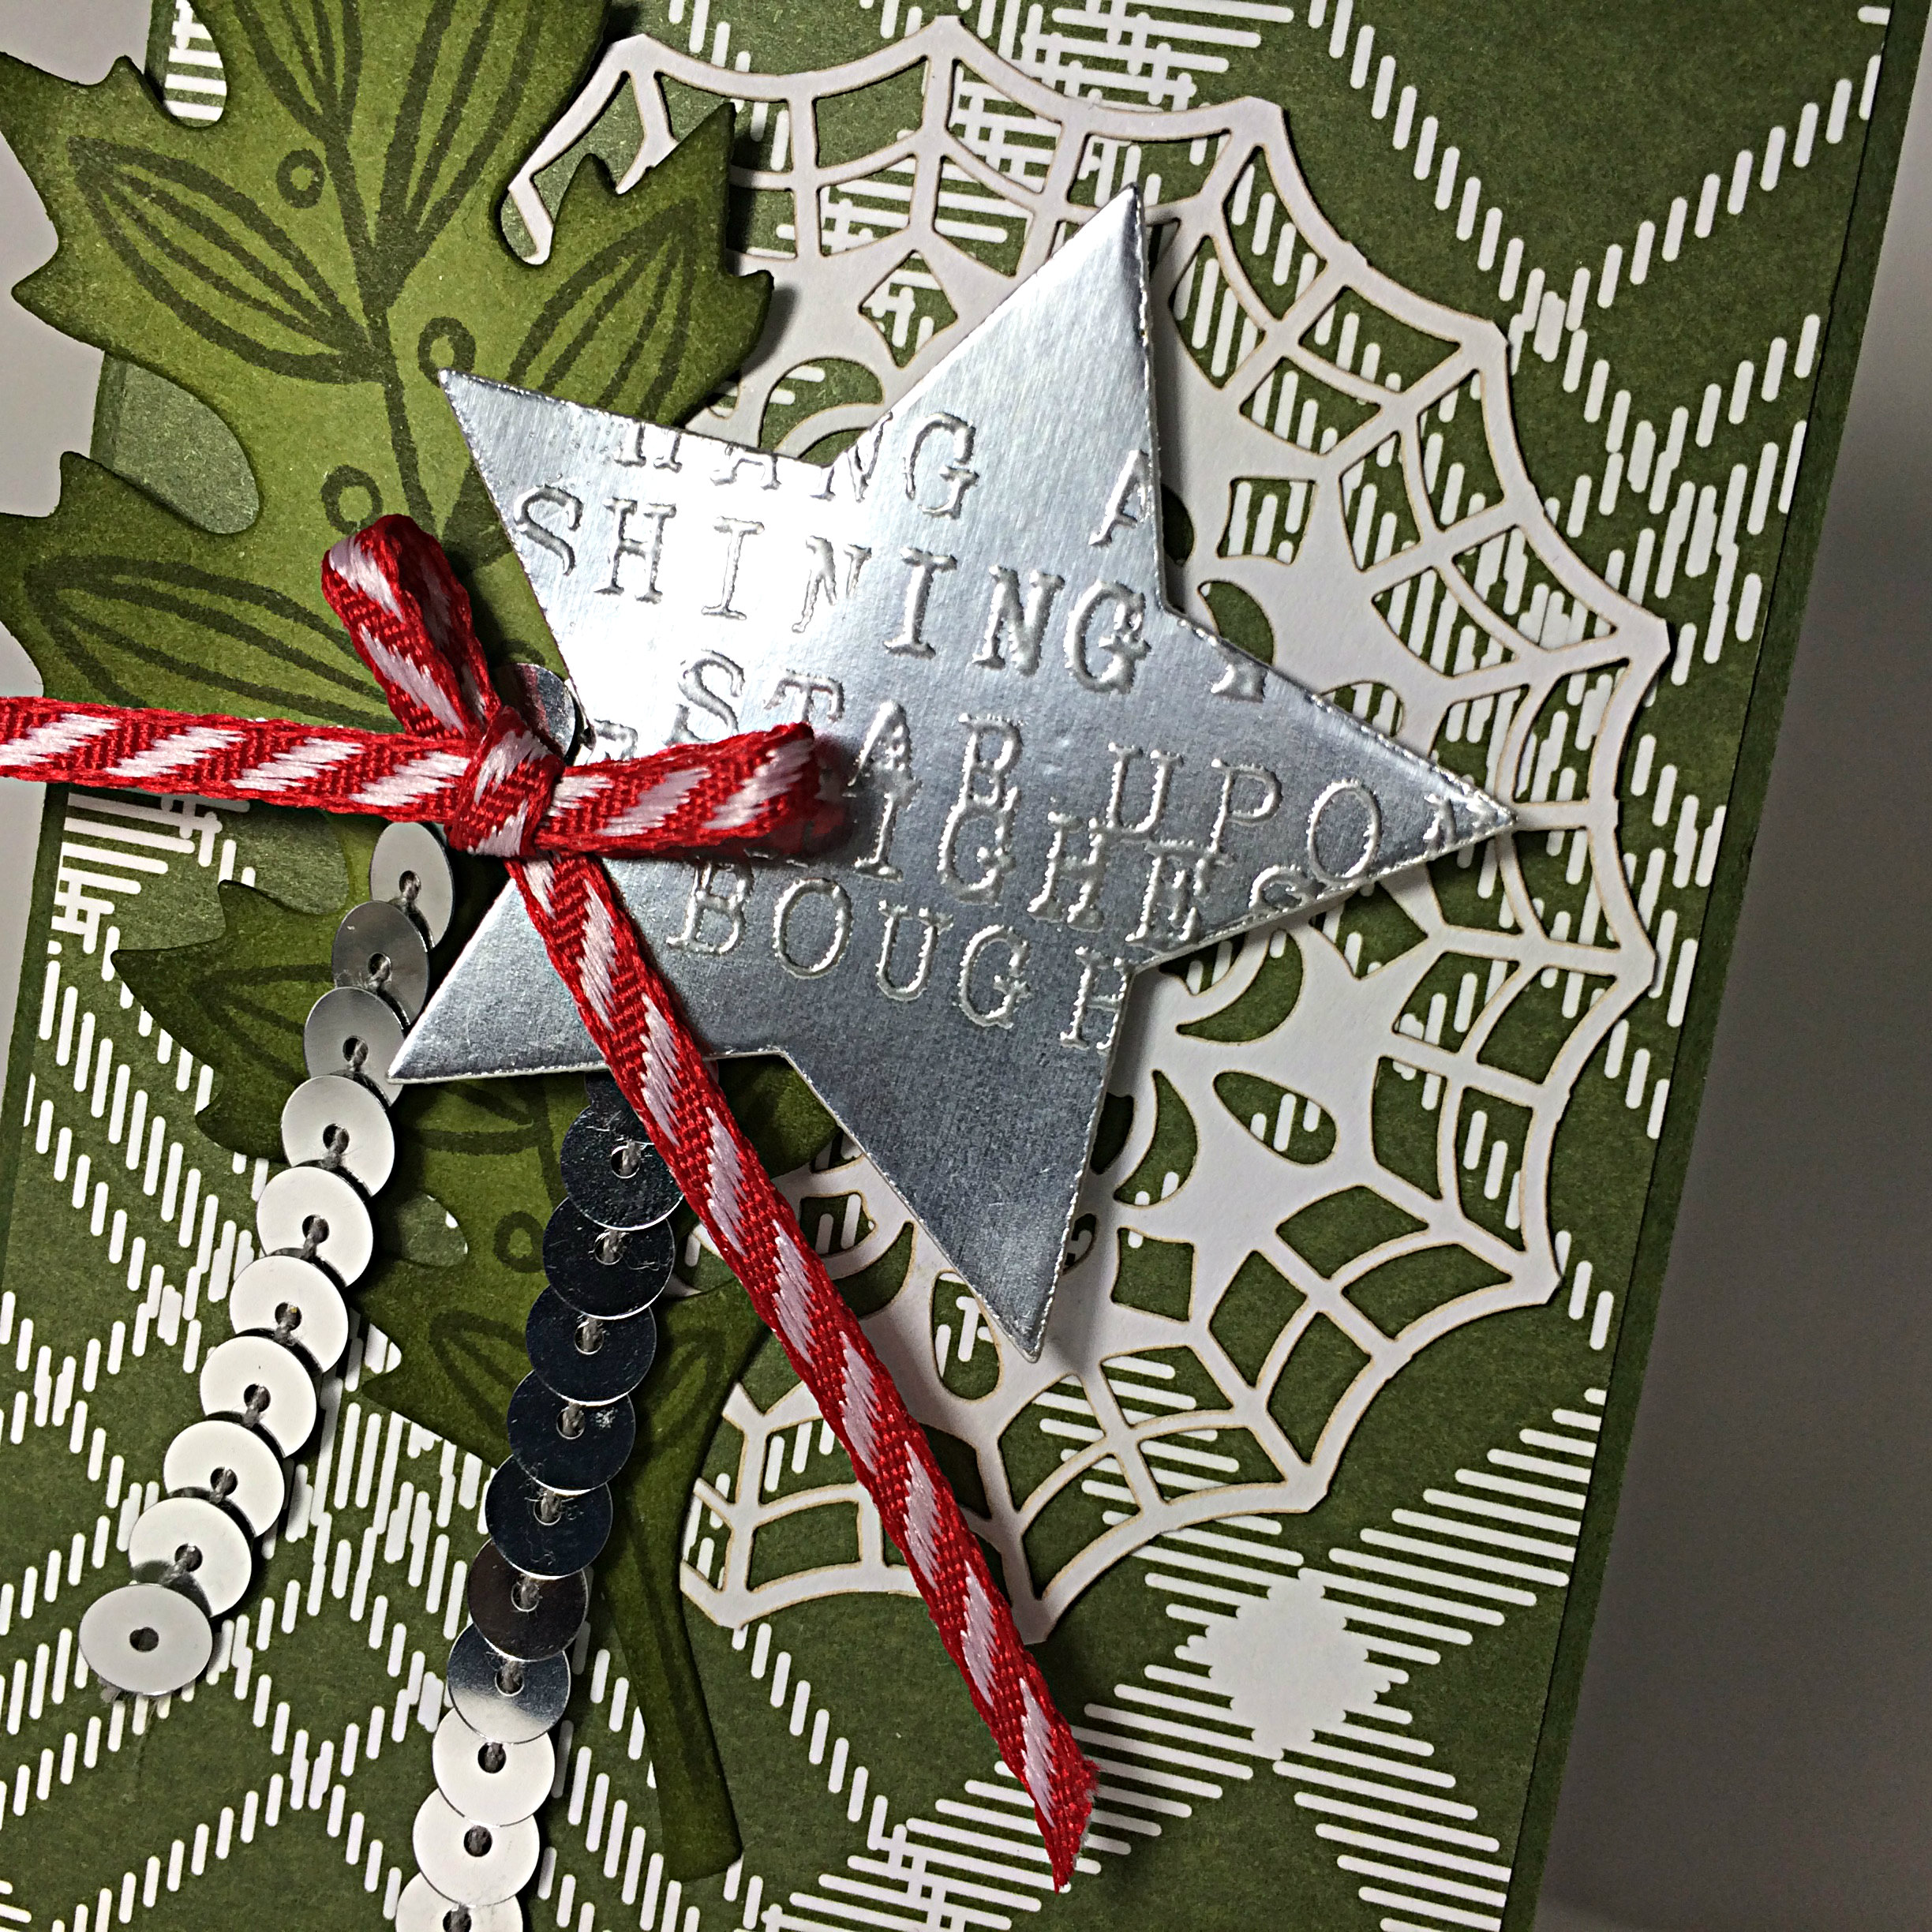
Hang a shining star by Amy Jasper www.inkingonthefly.com

The star on this card is die cut from Silver Foil paper, using the Star Framelits. After using my Embossing Buddy to remove static, dust, and finger prints from the Silver Foil paper, I used the Alphabet Rotary stamp to create the words and stamped them on the star with Versamark Ink. Then they were heat embossed with Silver Embossing Powder and a Heat Tool.

I saw my crooked words and decided to go for it anyway. I think it adds an authentic, kind of, stamped metal look.

The star is adhered with Stampin’ Dimensionals to pop it up off the page. The Silver Sequin Trim and the Real Red 1/8″ Striped Ribbon were attached using a Mini Glue Dot.

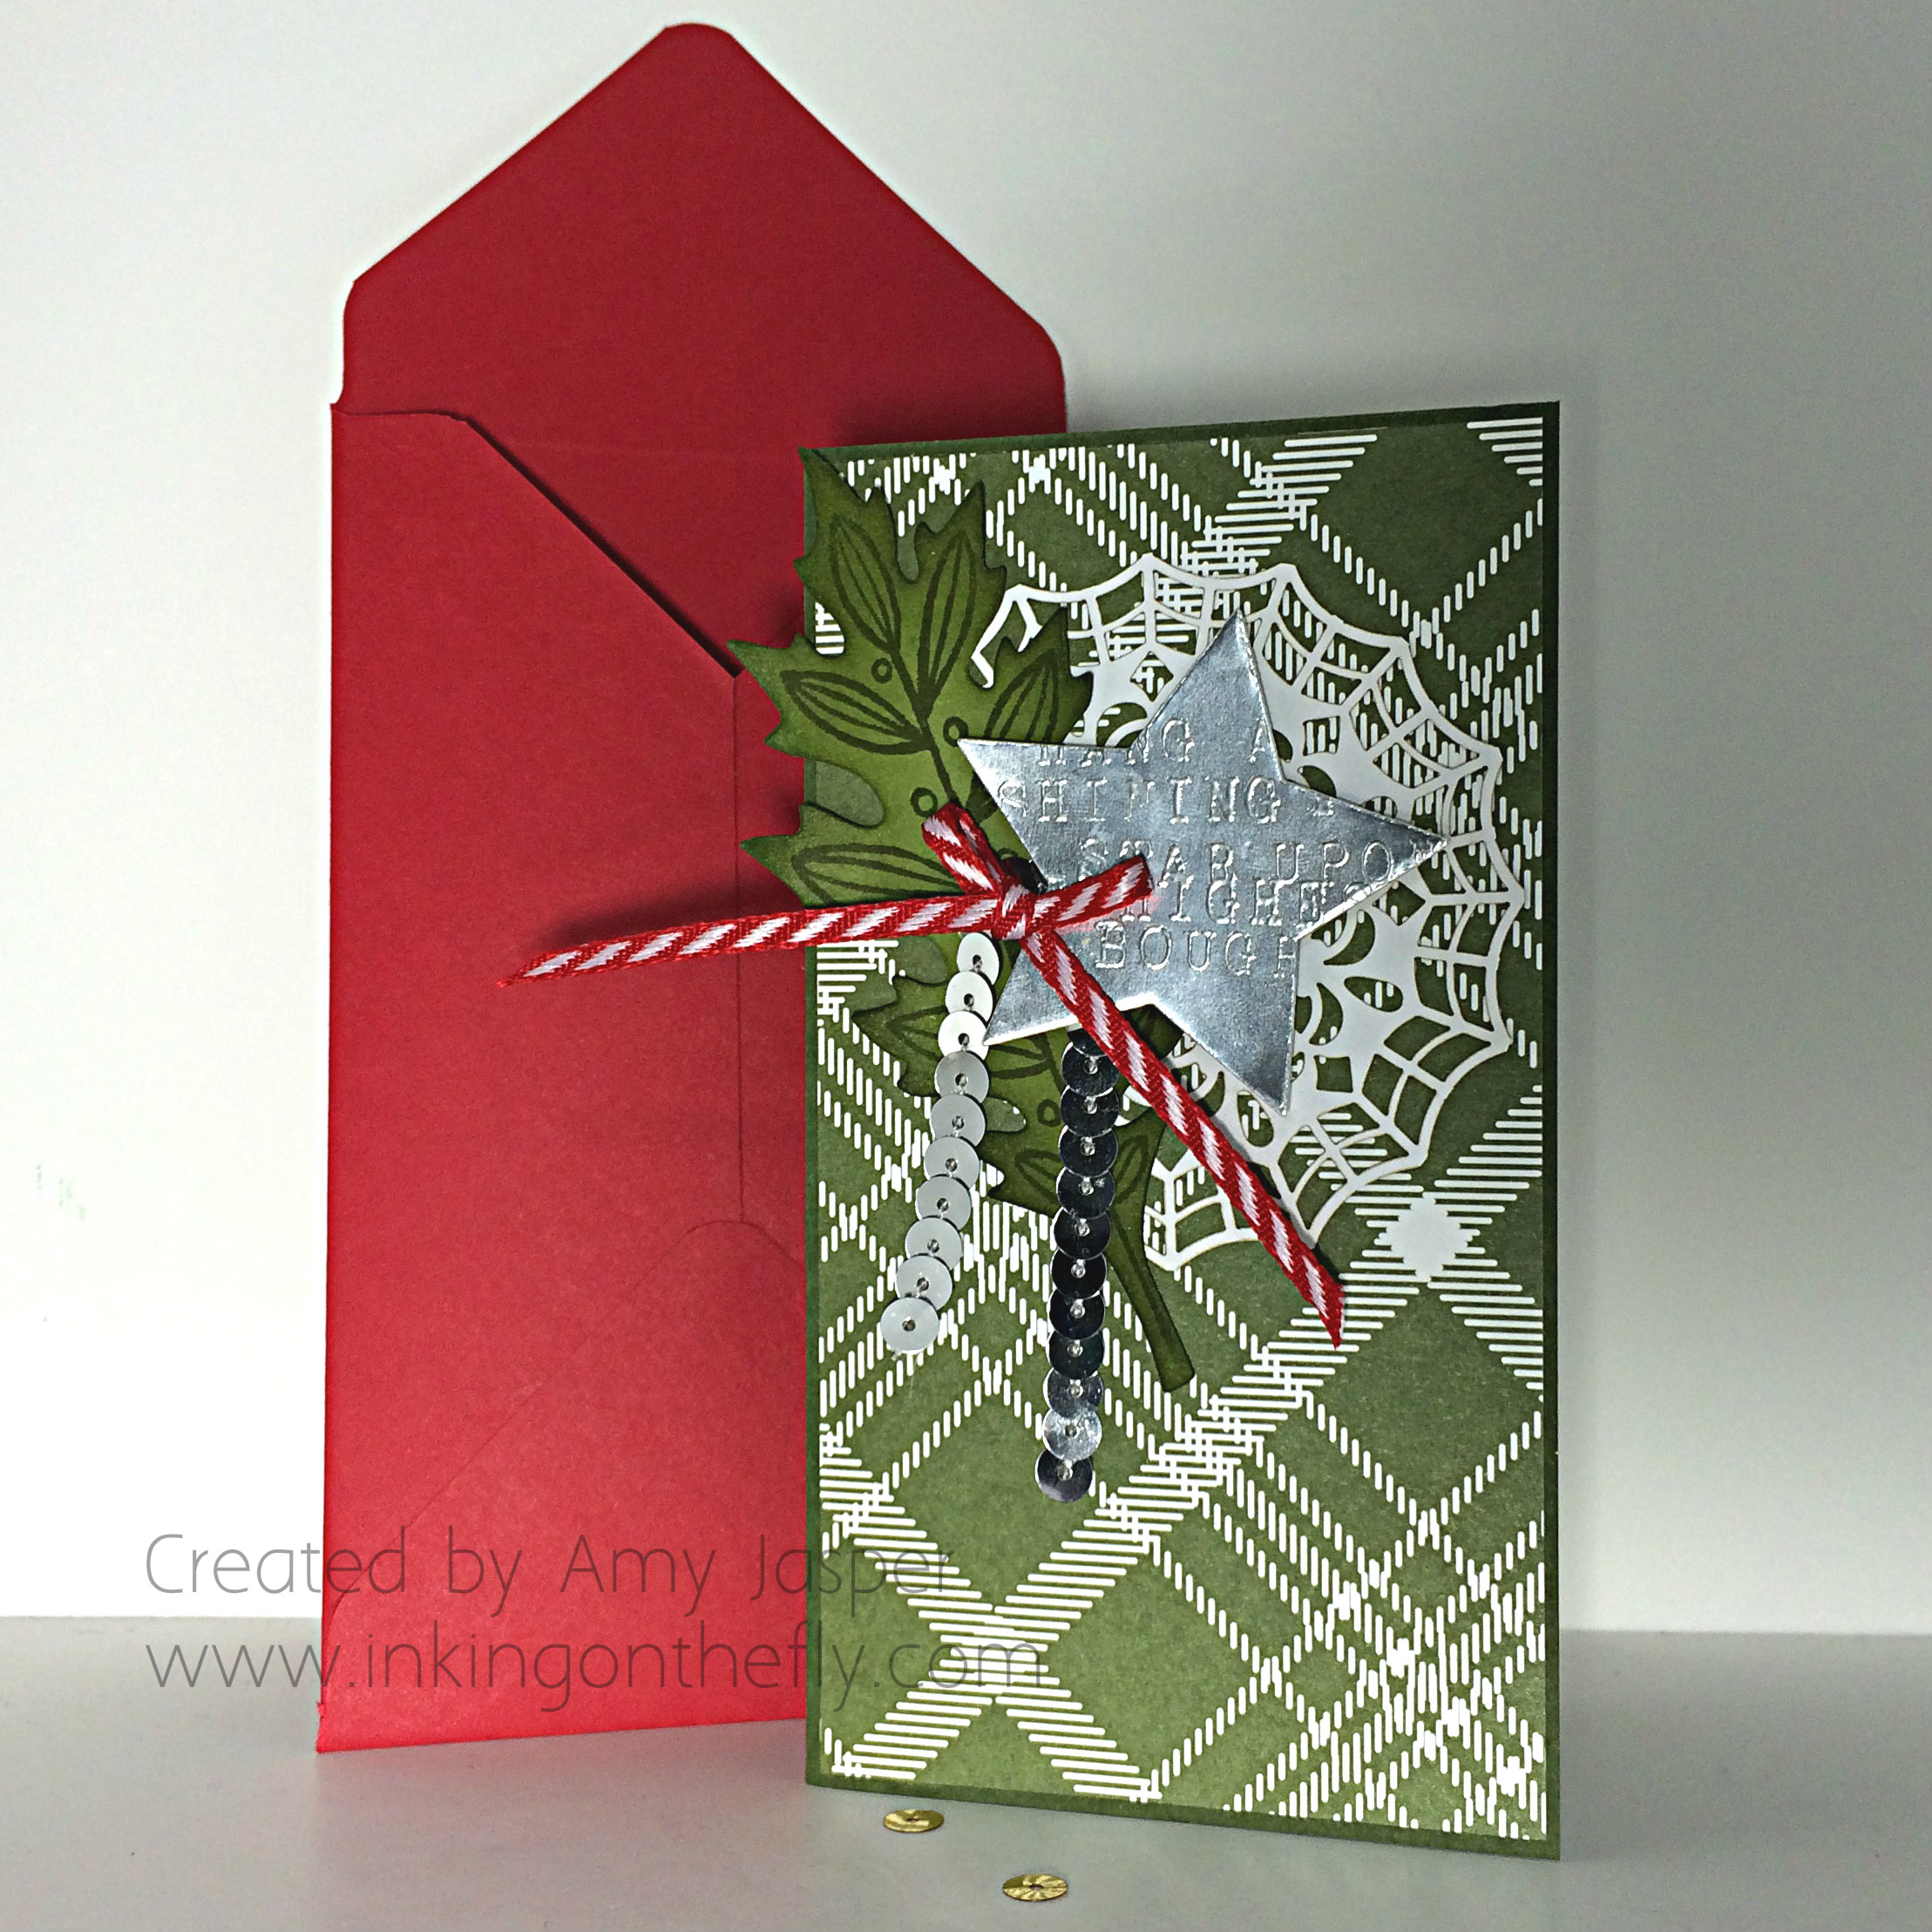
Hang a Shining Star card and envelope by Amy Jasper www.inkingonthefly.com

Because I had an unusually-sized card, I needed to make a custom envelope to go with it. The Envelope Punch Board is the perfect tool for just that very thing. Unfortunately, the envelope sizes available on the punch board still didn’t match what I needed. I played around a bit, changing the starting size of the paper and the different positions for scoring and punching and determined this:

To create an envelope for a 3″ x 5.5″ card, start with a piece of 7.5″ x 7.5″ paper (Red Envelope Paper, in this case), using the Envelope Punch Board, punch and score at 2 7/8″. Then carry on with the punch board as you normally would until your envelope is complete.

I also took the time to trim one of the side flaps on my envelope to give it a professional finish. I just drew a pencil line where I wanted to cut, then used my paper trimmer to remove the unwanted bit of paper.

This sketch is simple and cute. You should give it a try and share it with us on the As You See It Challenge blog. We love to see your take on our challenges!!

Did my card make you sing out loud? The words on the star are from one of my favourite Christmas tunes, “Have Yourself a Merry Little Christmas”.

Do you have a favourite Christmas song? Leave a comment and let me know!
A Fairy for Lola

I’m so excited to share my card with you today. Because today, I get to show my support for a brave 9 year old girl whom I’ve never met. Lola has been battling Leukemia since 2011. You can learn more about her on the Team Lola Facebook Page.

The As you See It Blog has dedicated the card challenge to Lola this week. I hope you will show your support to her and her family by making a card for her, too. Just imagine the smile on that beautiful face as she sees all of the cards and projects created just for her!

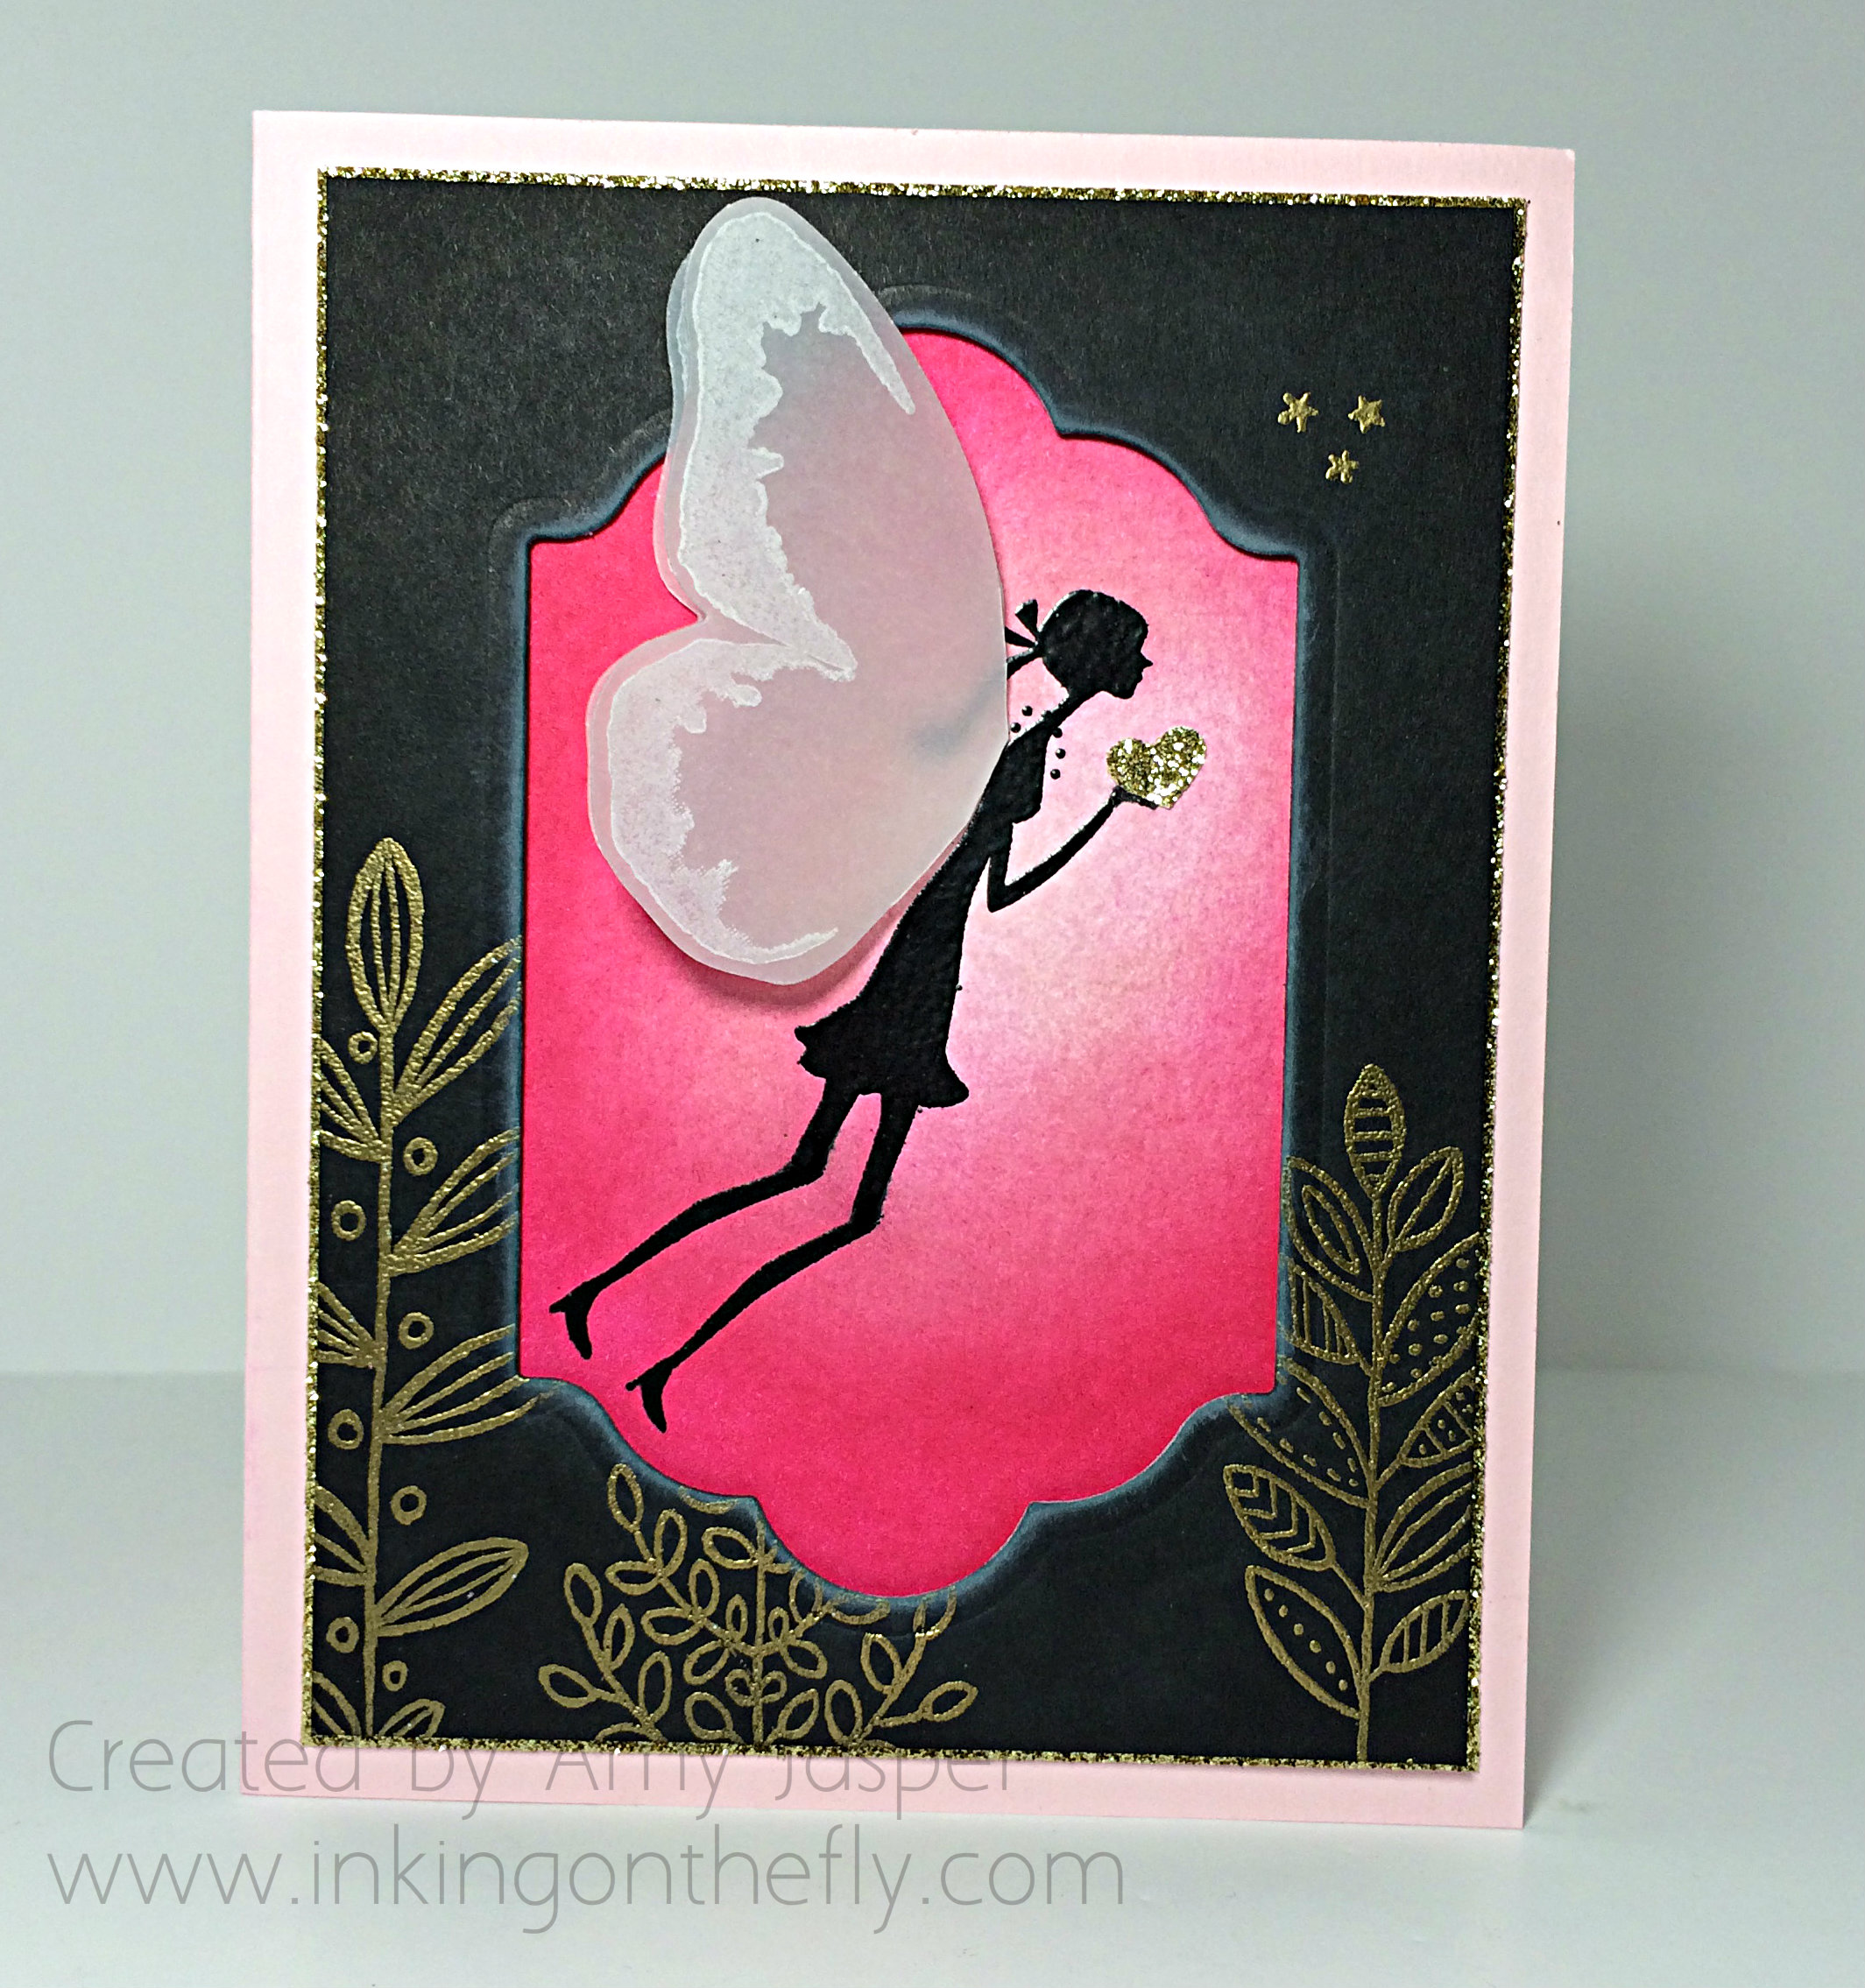
Lola, I chose to use pink and to put a fairy on my card for you. Not everyone knows that Gold is the colour to represent childhood cancer, so I have lots of gold on my card for you, too. I hope you like it!

Lola's challengeI love fairies, so of the images for this challenge, I decided to do a fairy card.

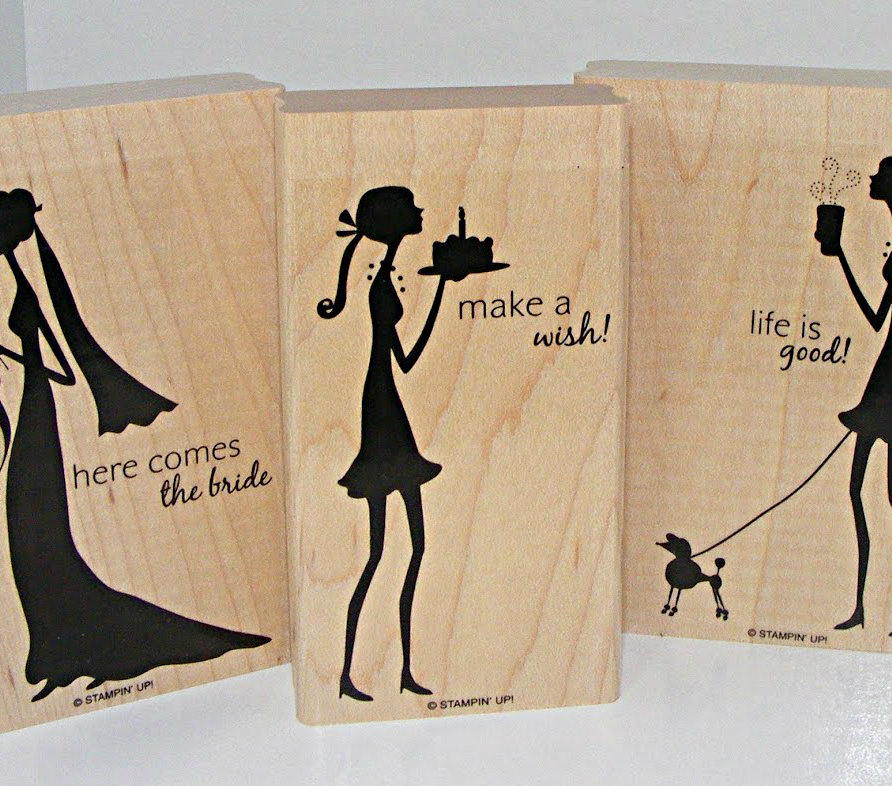
Only problem was that I didn’t have any fairy stamps – I have butterflies (lots of butterflies), I have dragonflies, I have dinosaurs, I have robots and I even have gnomes, but no fairies and no unicorns anywhere. But I did have a retired stamp set that I’ve loved forever that had images of people – specifically, of the girl variety of people.

Shes all thatThe set is called “She’s All That” and, though it’s not available from Stampin’ Up anymore, you can actually purchase it on Ebay.

Now, the image wasn’t perfect for my needs; as you can see, she was originally walking upright and holding a cake! However, I was able to do a bit of crafty work to stamp the image without her cake and with her legs bent to give a bit of the impression that she was not touching the ground. All I’m going to say is that it involved some scotch tape and the Stamp-a-ma-jig from Stampin’ Up.

Amy Jasper www.inkingonthefly.com

If I had the Confetti Hearts border punch, I would have had multiple little hearts blowing off her hand like kisses in the wind.

I don’t have that punch.

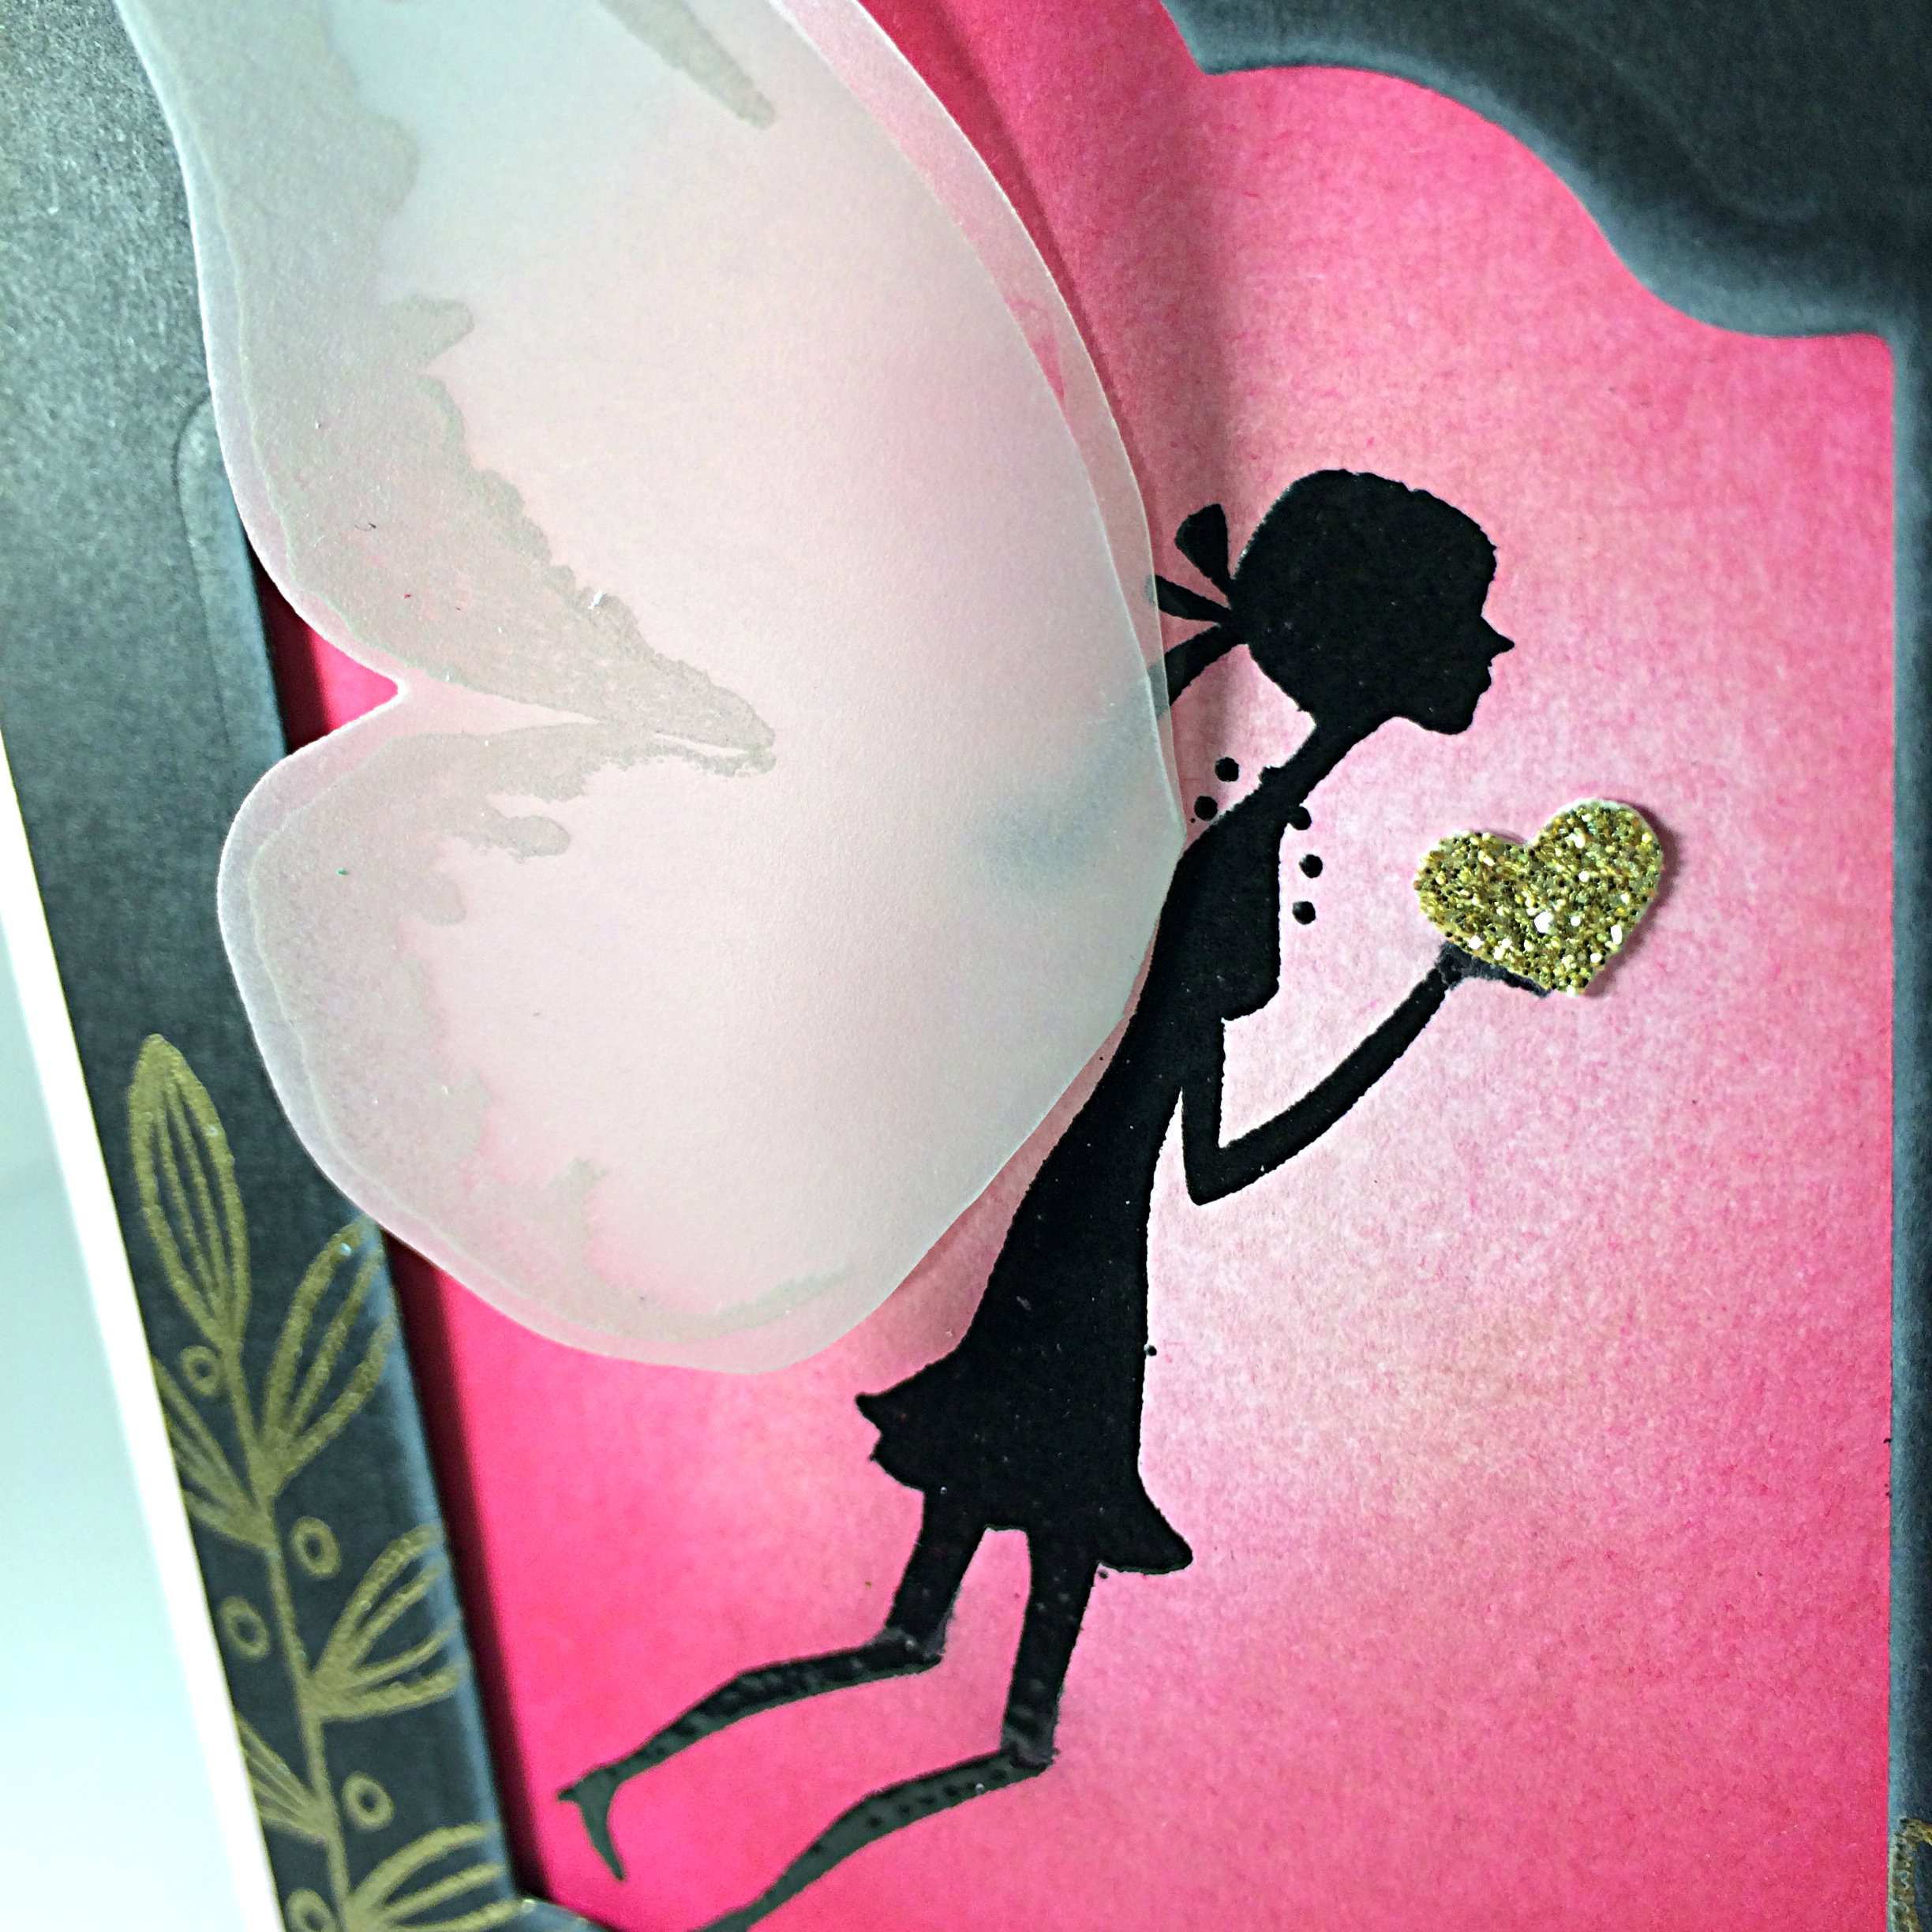
Instead, I used the Hearts Border Punch and took one of the little hearts from that for my fairy to hold.

Amy Jasper www.inkingonthefly.comThere are a lot of artistic elements to this card (which means I was having a lot of fun!). I first stamped the girl on Whisper White cardstock with Versamark ink so I could heat set Black Embossing Powder over the image so she could be very black and shiny. Then I got to work with a sponge and three pink inks (Pink Pirouette, Blushing Bride, and Melon Mambo) to sponge my background.

The fairy wings are created with Vellum Cardstock, White Stazon ink, the Watercolour Wings stamp set and my Big Shot with the Bold Butterfly framelits. The butterfly die cut image was then folded in half and the body of the butterfly was trimmed away before adhering the wings to my wee lassie. I used Fast Fuse, but you can totally see it if you lift that top wing out of the way.

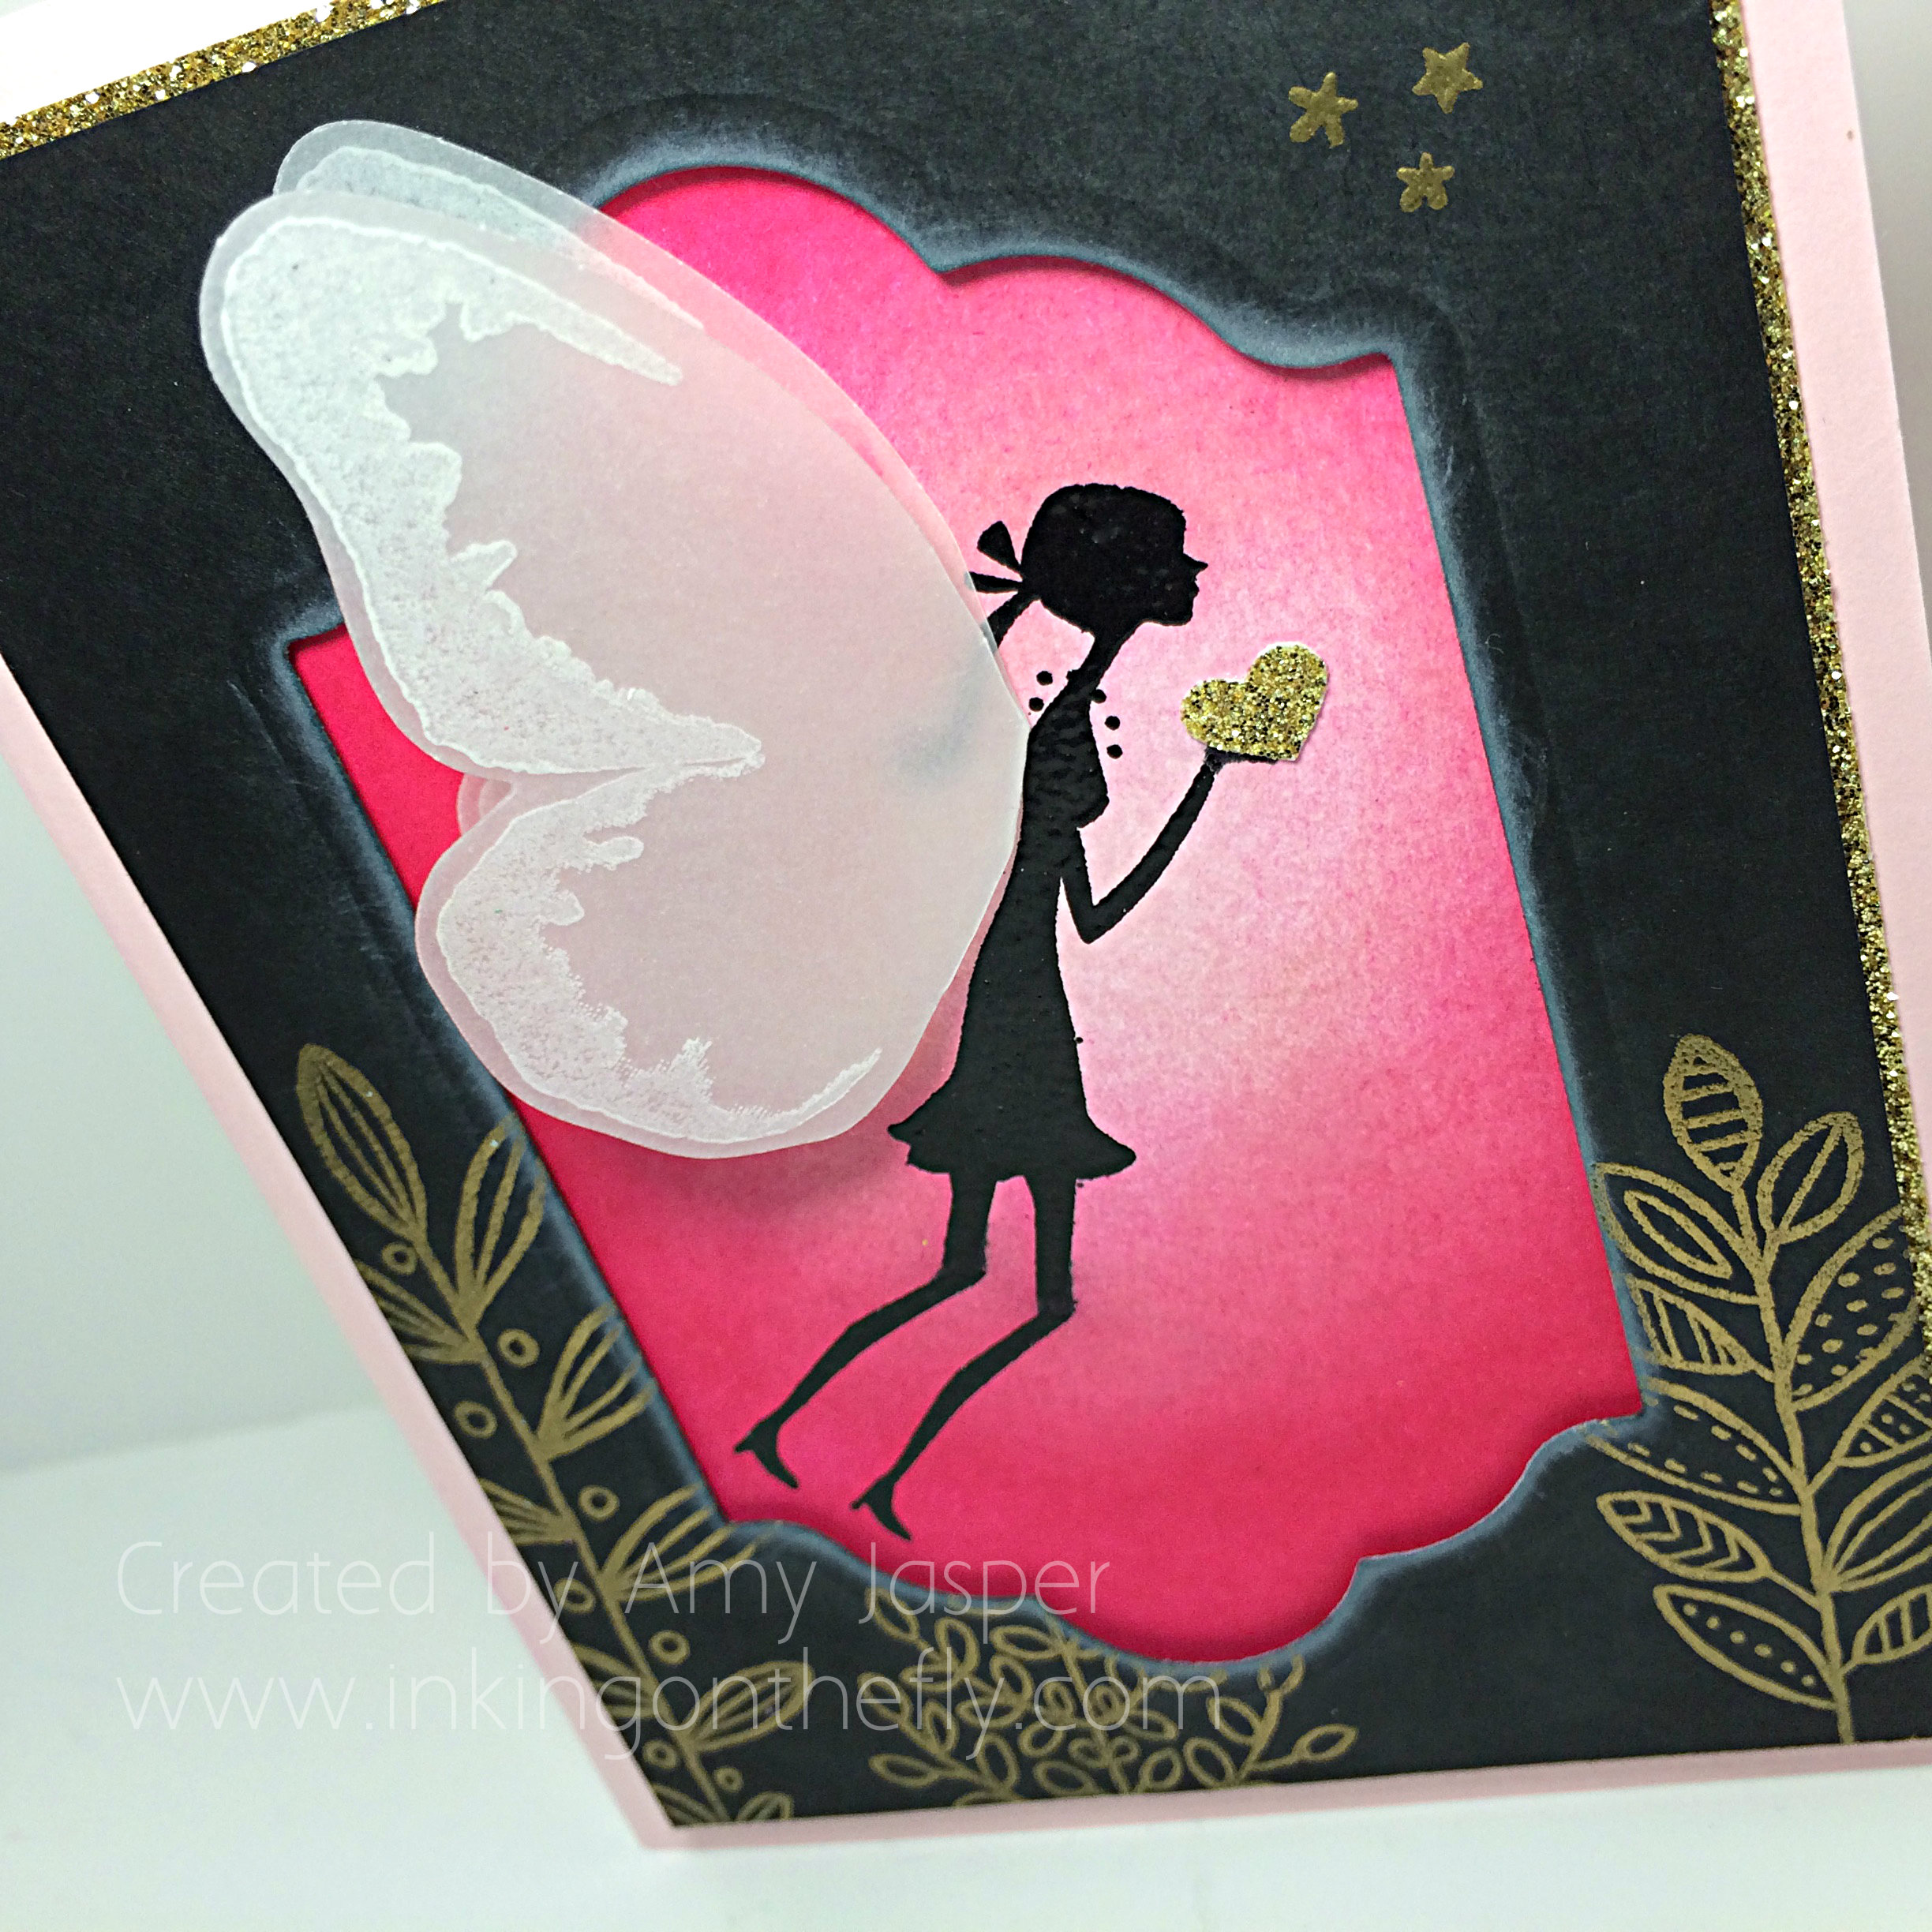
My black frame was created with Basic Black cardstock, the Big Shot, and the largest of the Lots of Labels framelits. After cutting out the center of the cardstock, I used my Lighthearted Leaves stamp set with Versamark ink (by the way, I always use my Embossing Buddy before I stamp for heat embossing!) and stamped them on the card, heat setting them with Gold Embossing Powder. I also added the three wee stars from the Jingle All the Way stamp set and embossed them with gold.

Amy Jasper www.inkingonthefly.comWhisper White Craft ink was lightly sponged around the inside edge of the frame, which was then adhered over the fairy image using Stampin’ Dimensionals. All of this was matted with Gold Glimmer paper before adhering it to the Pink Pirouette cardstock card base.

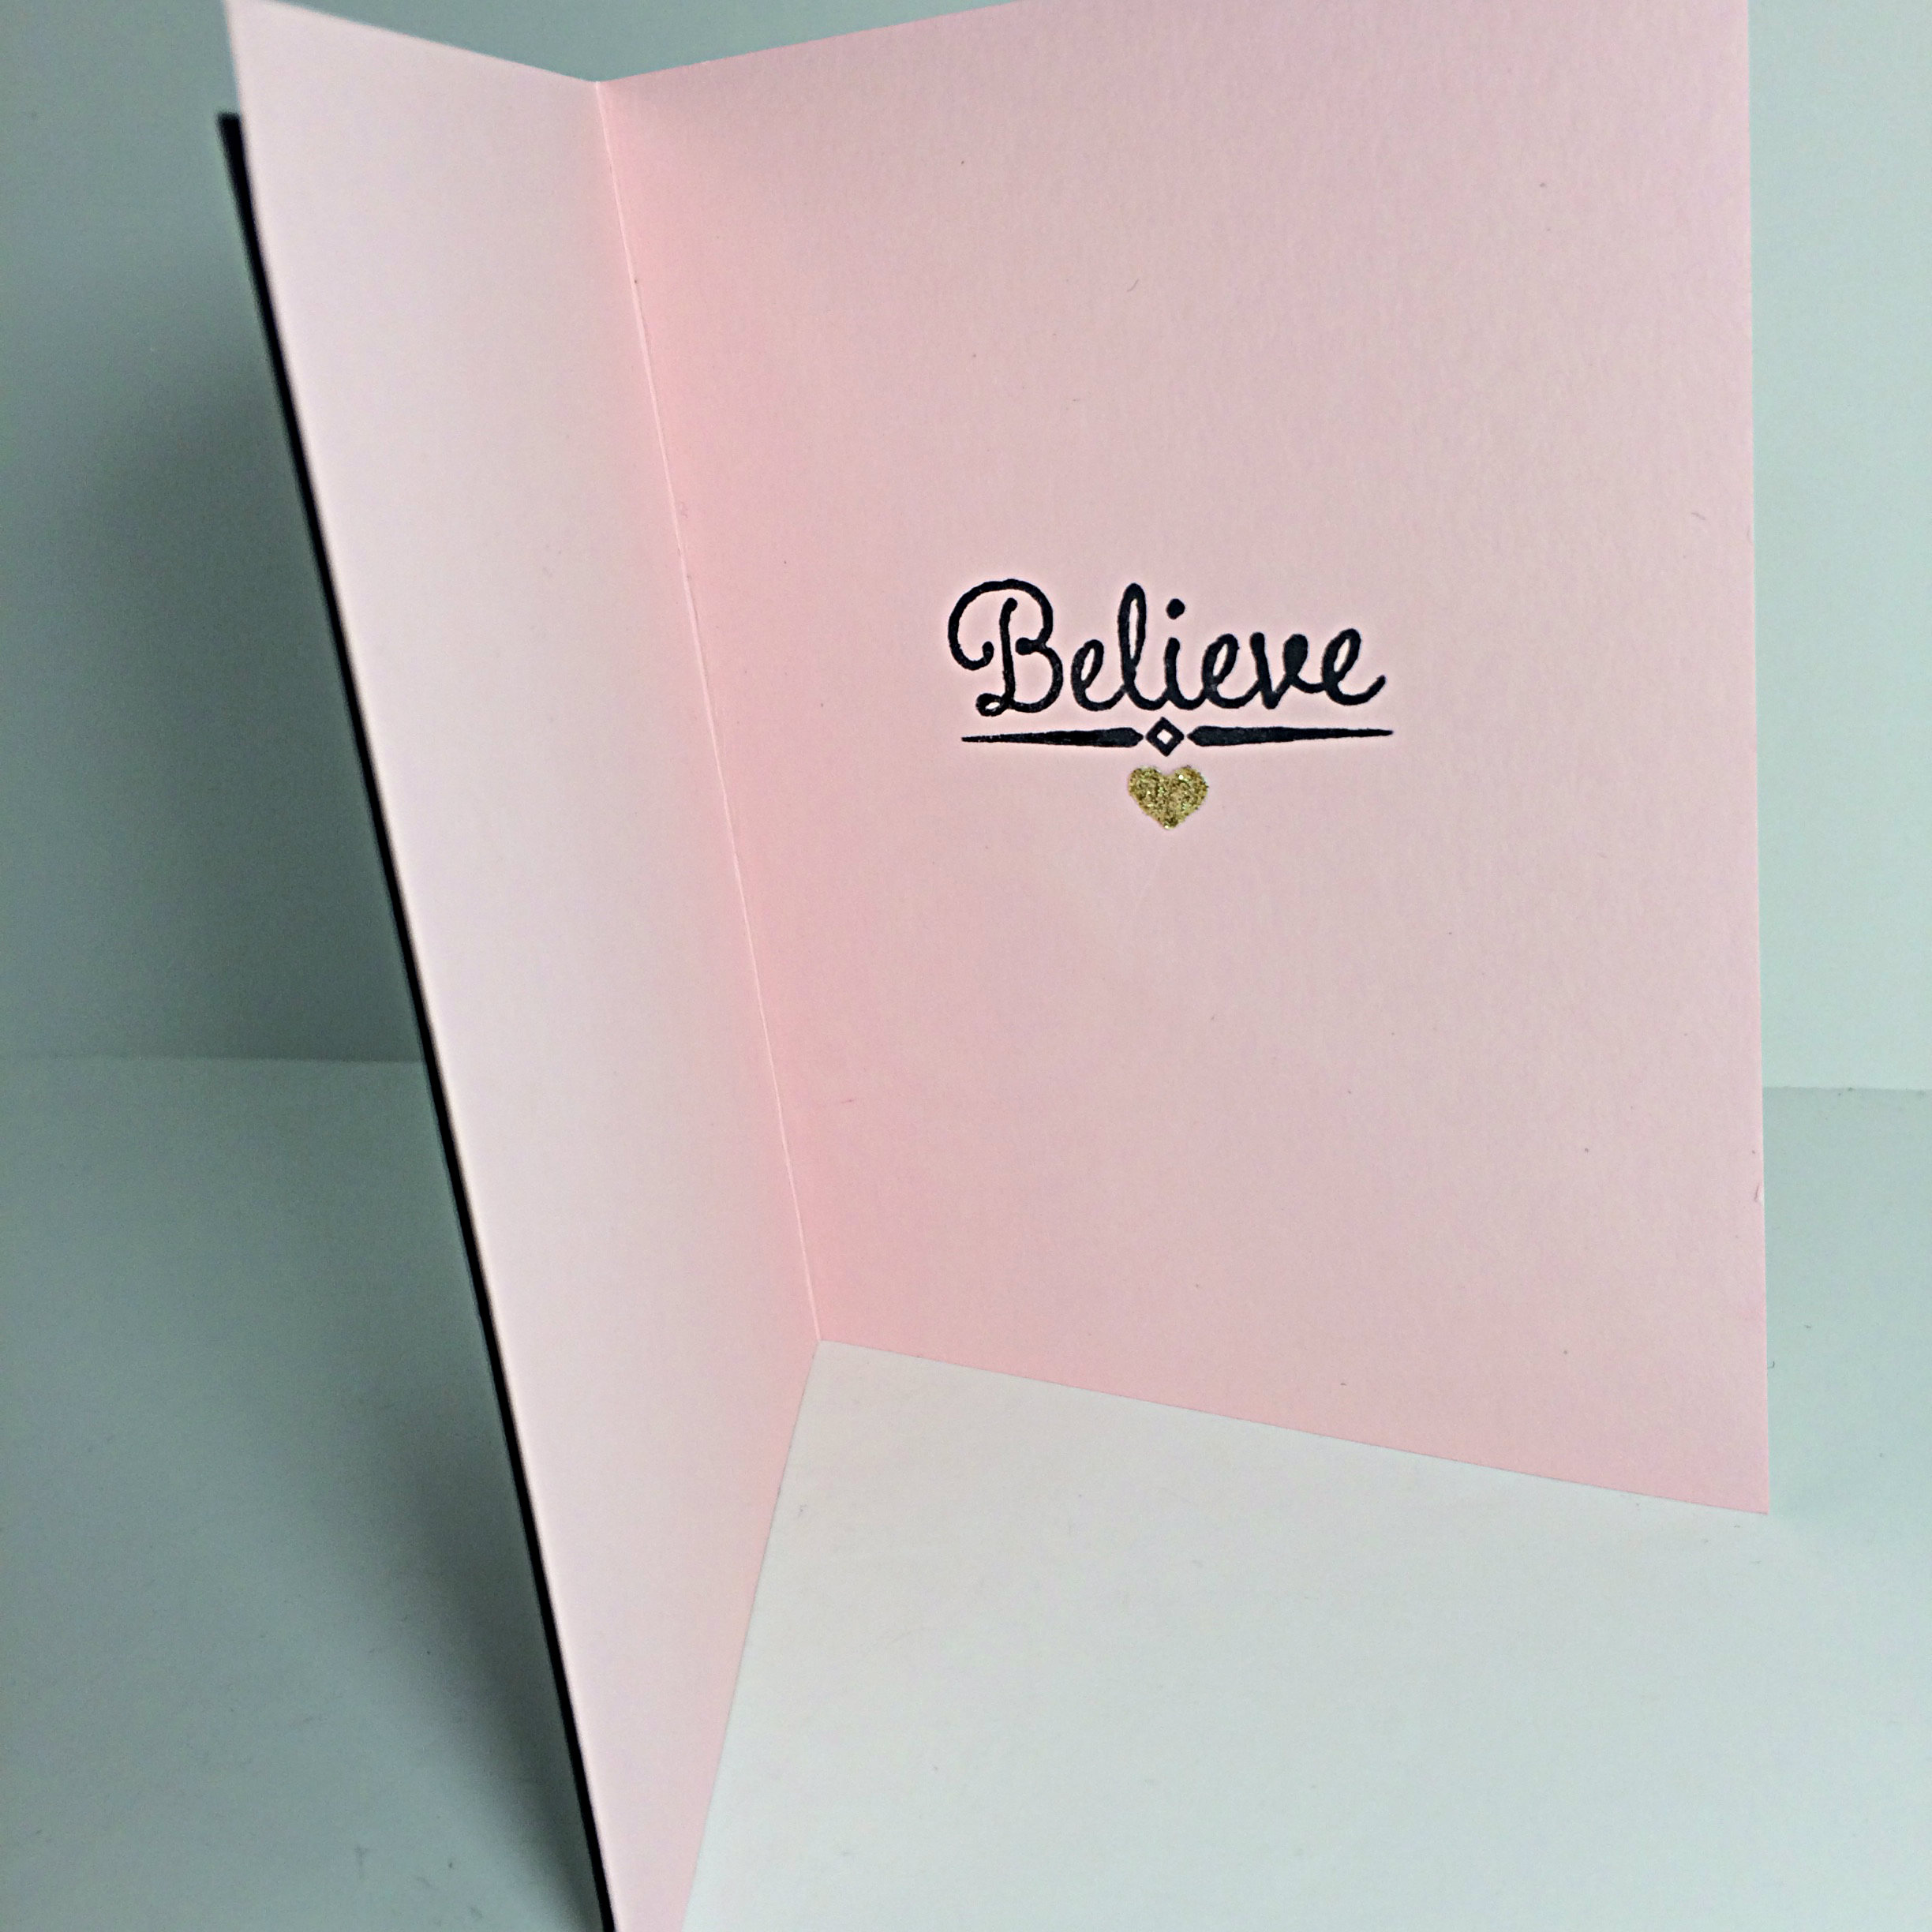
LolainsideOn the inside of this card, I stamped the ‘believe’ sentiment and added another Gold Glimmer heart to embellish it.

I do believe in fairies, I do, I do!

Hang in there, Lola. We’re all rootin’ for you, praying for you, and sending love your way.

And, dear readers, don’t pass on the opportunity to bless a brave girl with digital cards of support and encouragement. Do the challenge this week and share your finished project on the As You See It Challenge blog so Lola can enjoy your gift to her!

Amy Jasper www.inkingonthefly.com