Winter Joy

I love designing with my Stampin’ Up! inks, paper, stamps, and tools. I’ve fallen in love with this beautiful sponged winter landscape technique using Lovely as a Tree.
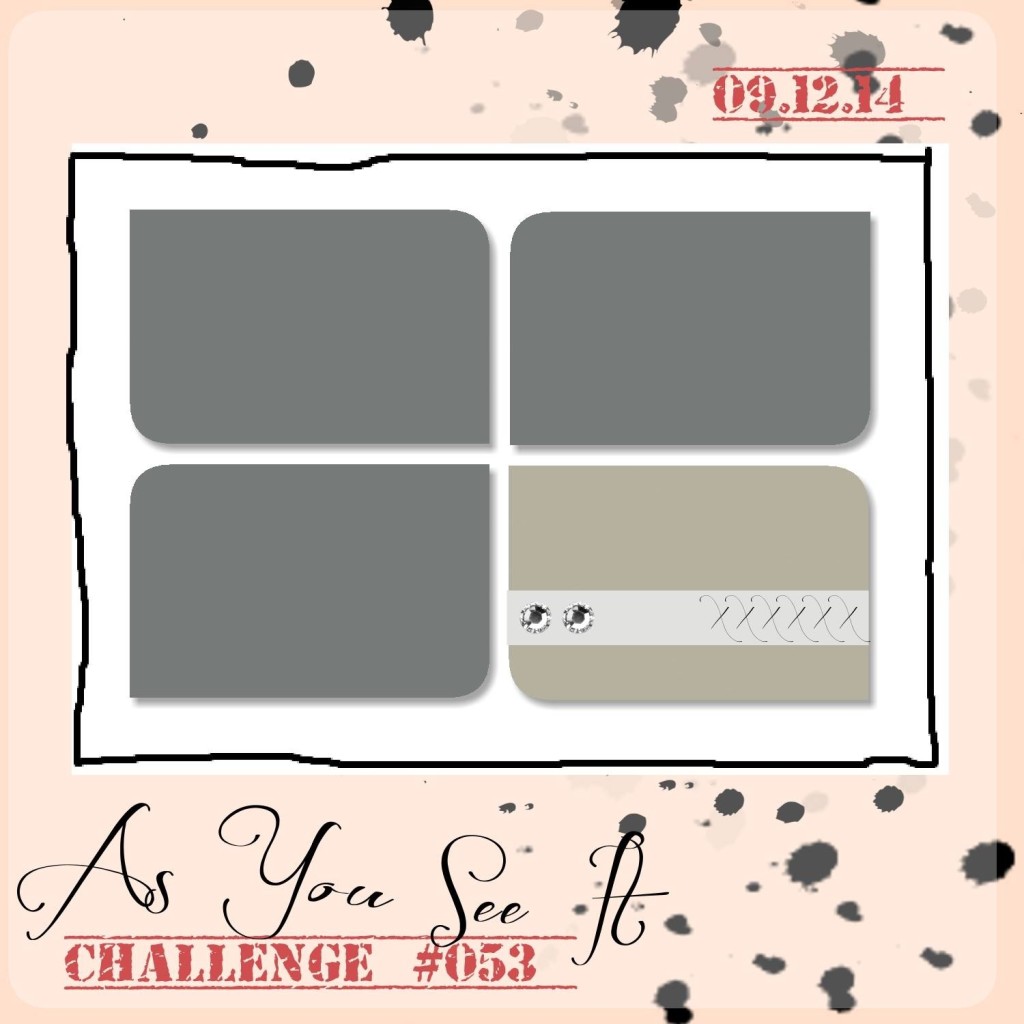
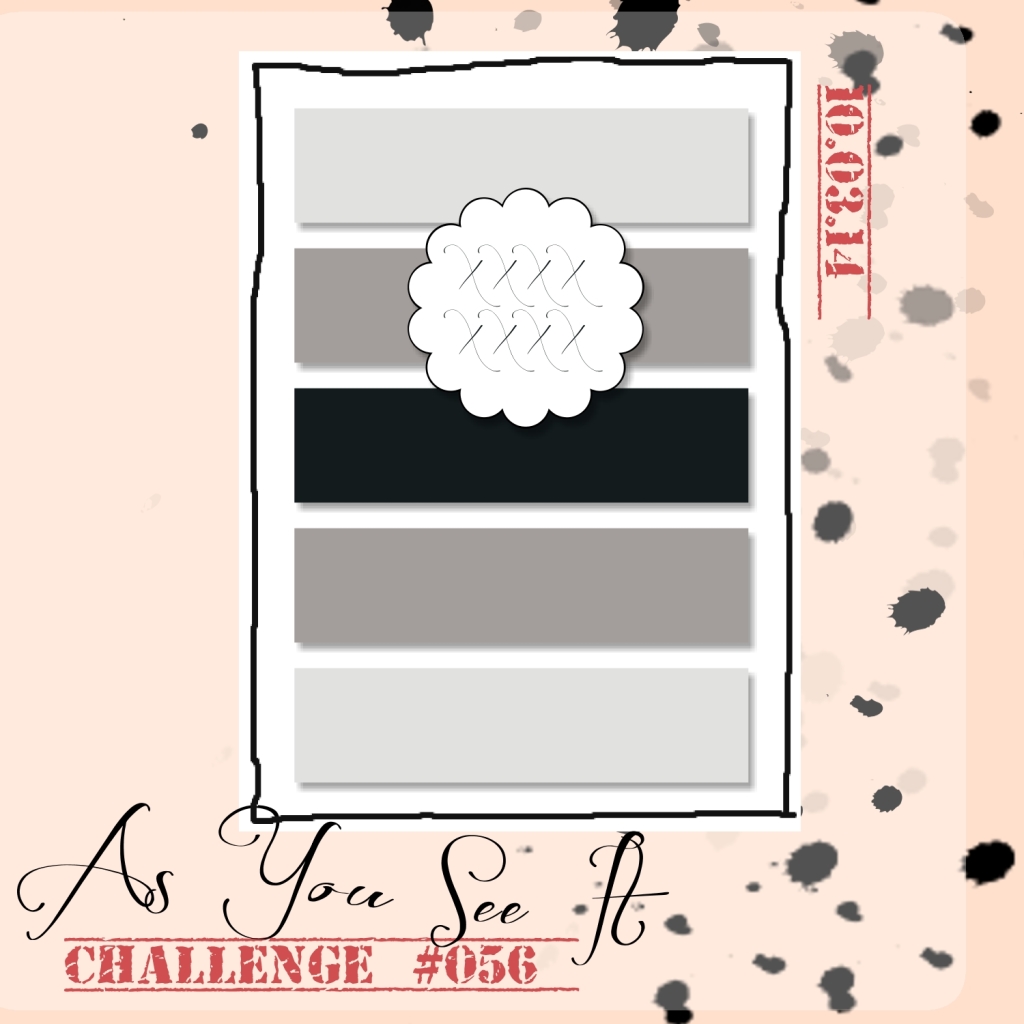
It’s Friday, which means it’s time for another As You See It Challenge card. We’re on challenge #56.
I was teaching a technique card class last night and we were working on a project using the technique in this video and remembered I needed to design a card for the challenge blog today. I thought I would use this great sponged landscape technique and add my own touch and style for my As You See It design.

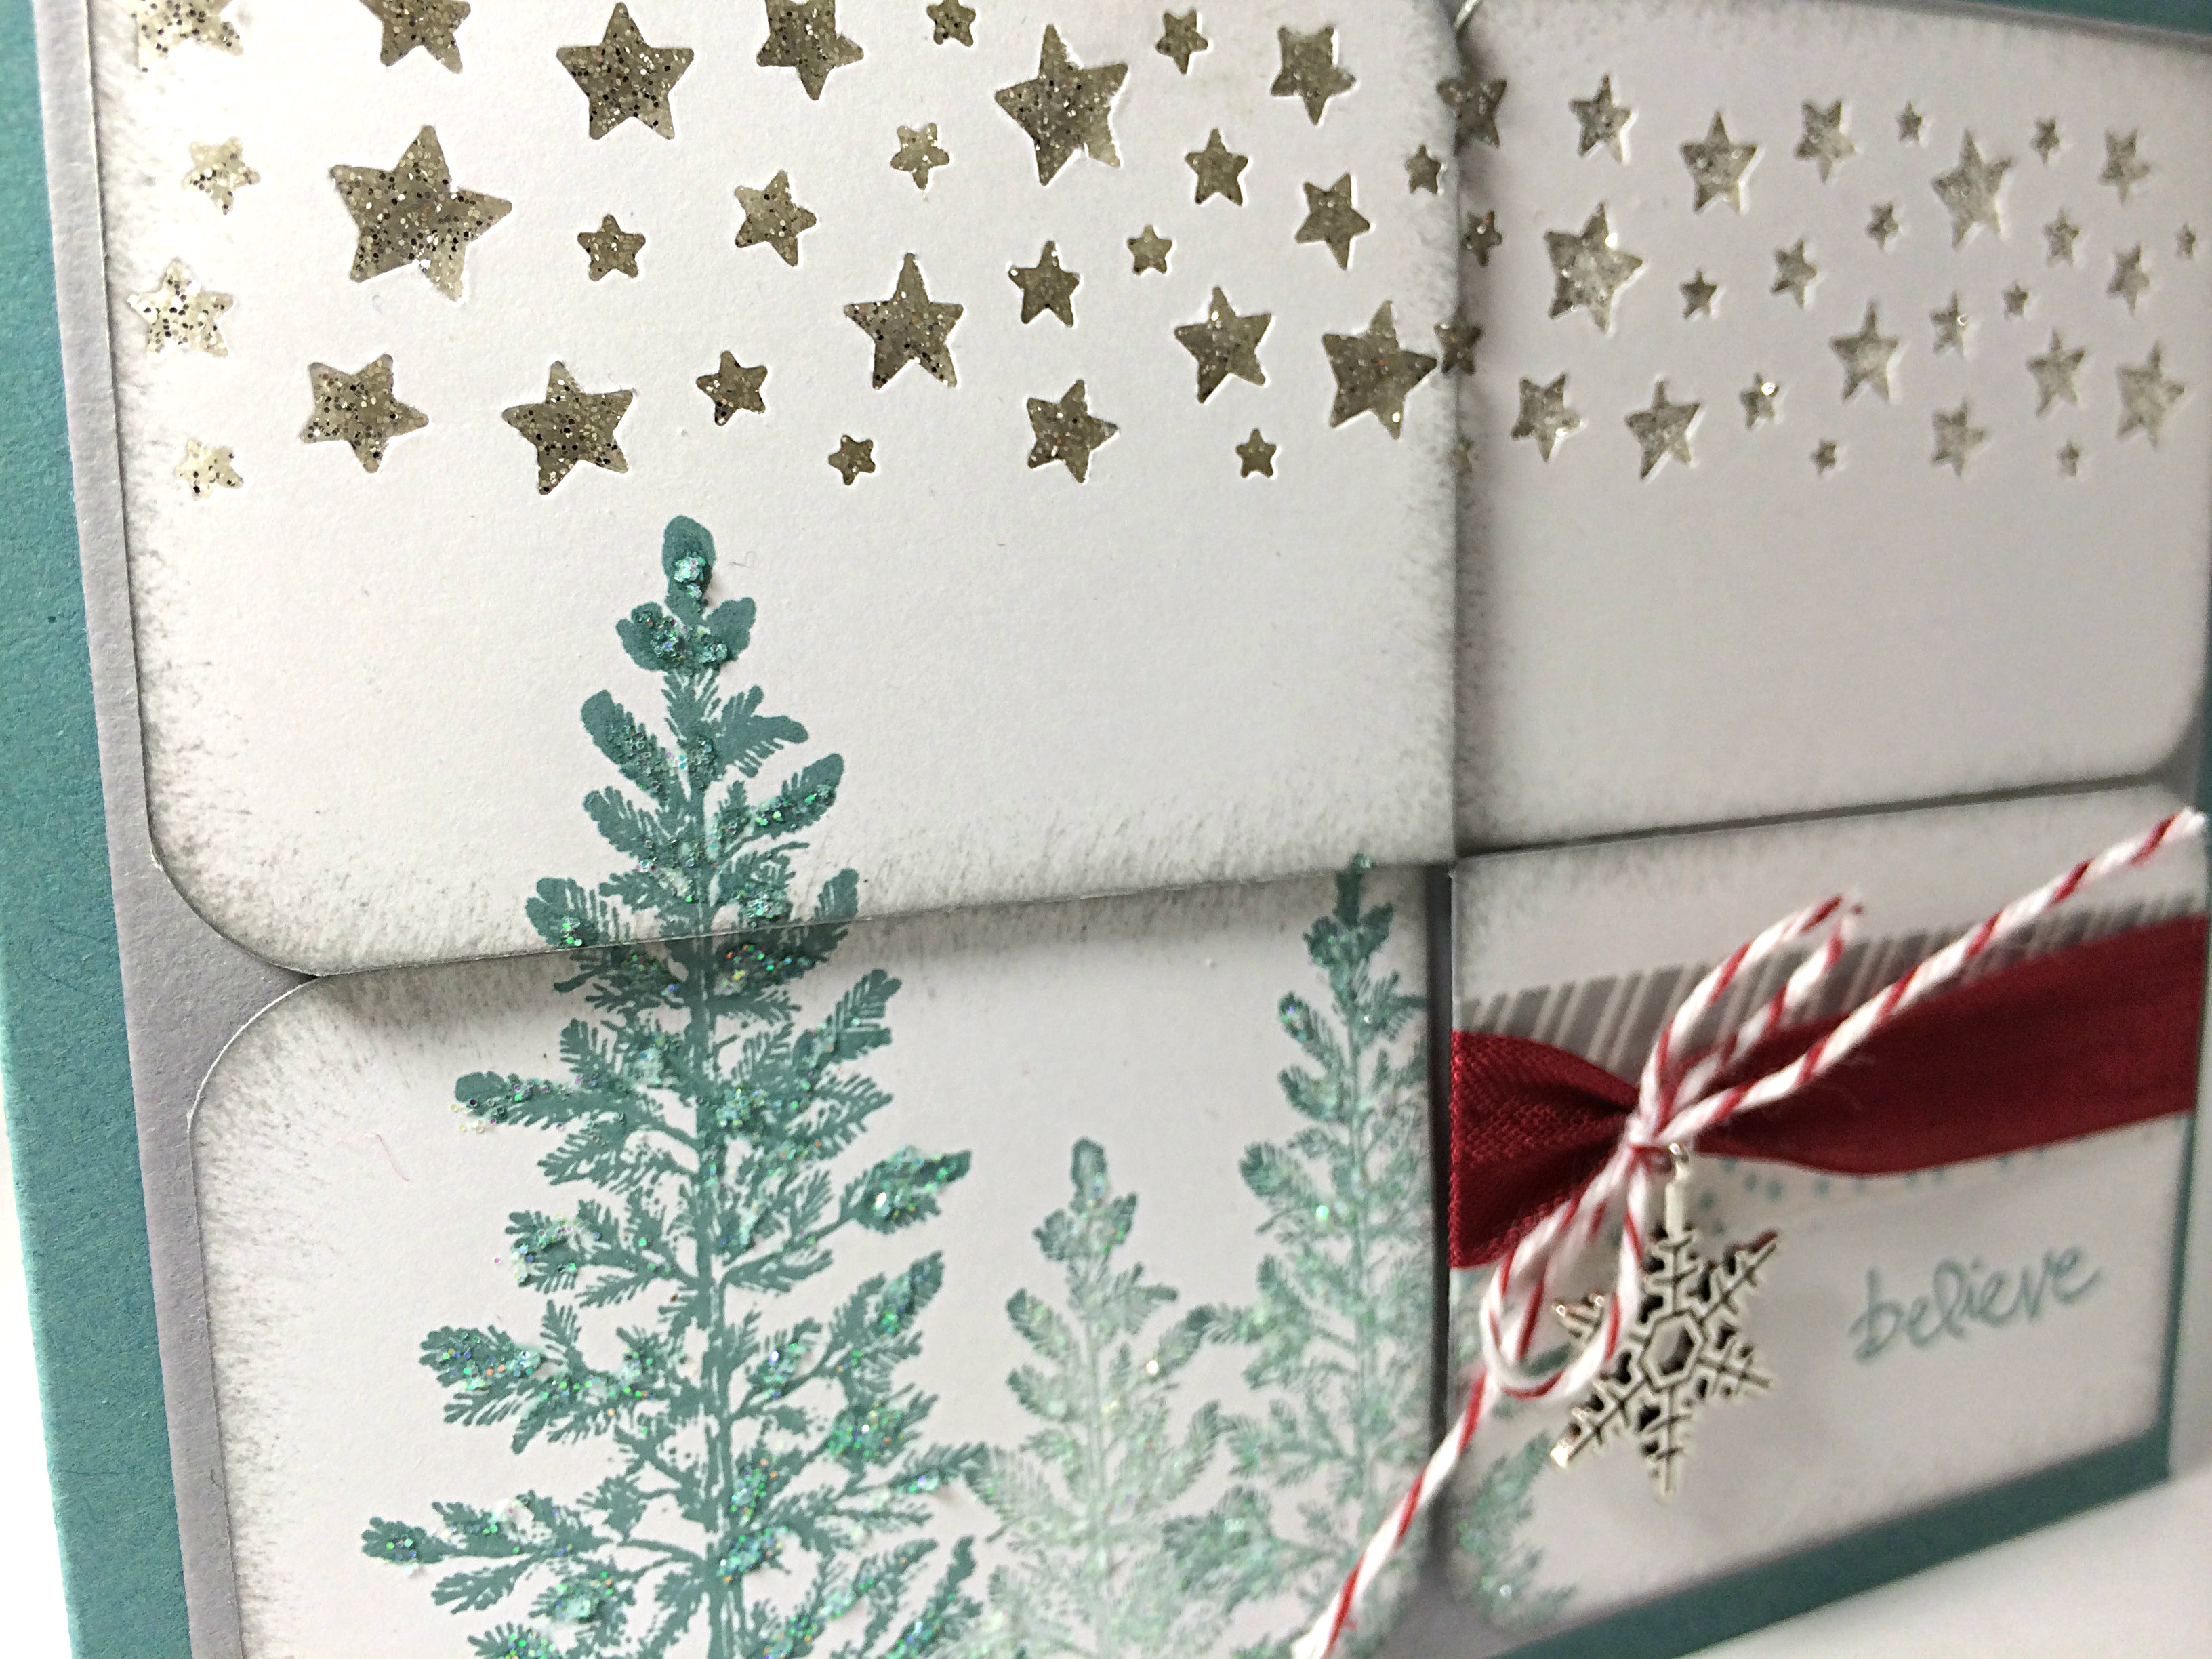
If you click on the link for the video above, you’ll see how the trees and hills were created. I used Island Indigo and Night of Navy for my sponged hills. Mossy Meadow ink was used to stamp the coniferous trees while Night of Navy ink was used for the deciduous trees. For the snow, I simply used one of the splatter images from the Gorgeous Grunge stamp set and stamped it multiple times over the completed winter scene with Whisper White craft ink.

You can see in the above picture that my JOY cutout (from the Wonderful Wreath framelits) looks a little bit different than a regular die-cut piece of cardstock. We were shown this technique at a workshop at the Inspire.Create.Share Stampin’ Up! Convention this last July. The look is achieved by layering 5 or so cuts of the same framelit or punch. To make it easier to adhere each layer together, you can apply an Adhesive Sheet to your cardstock before cutting out your image. I chose to use Night of Navy cardstock for the bottom layers, then top it with Whisper White cardstock for my JOY image.

I added some Basic Rhinestones to the tree in the foreground and a little Silver Glimmer paper star on the top that I cut using my Star Confetti Border Punch.
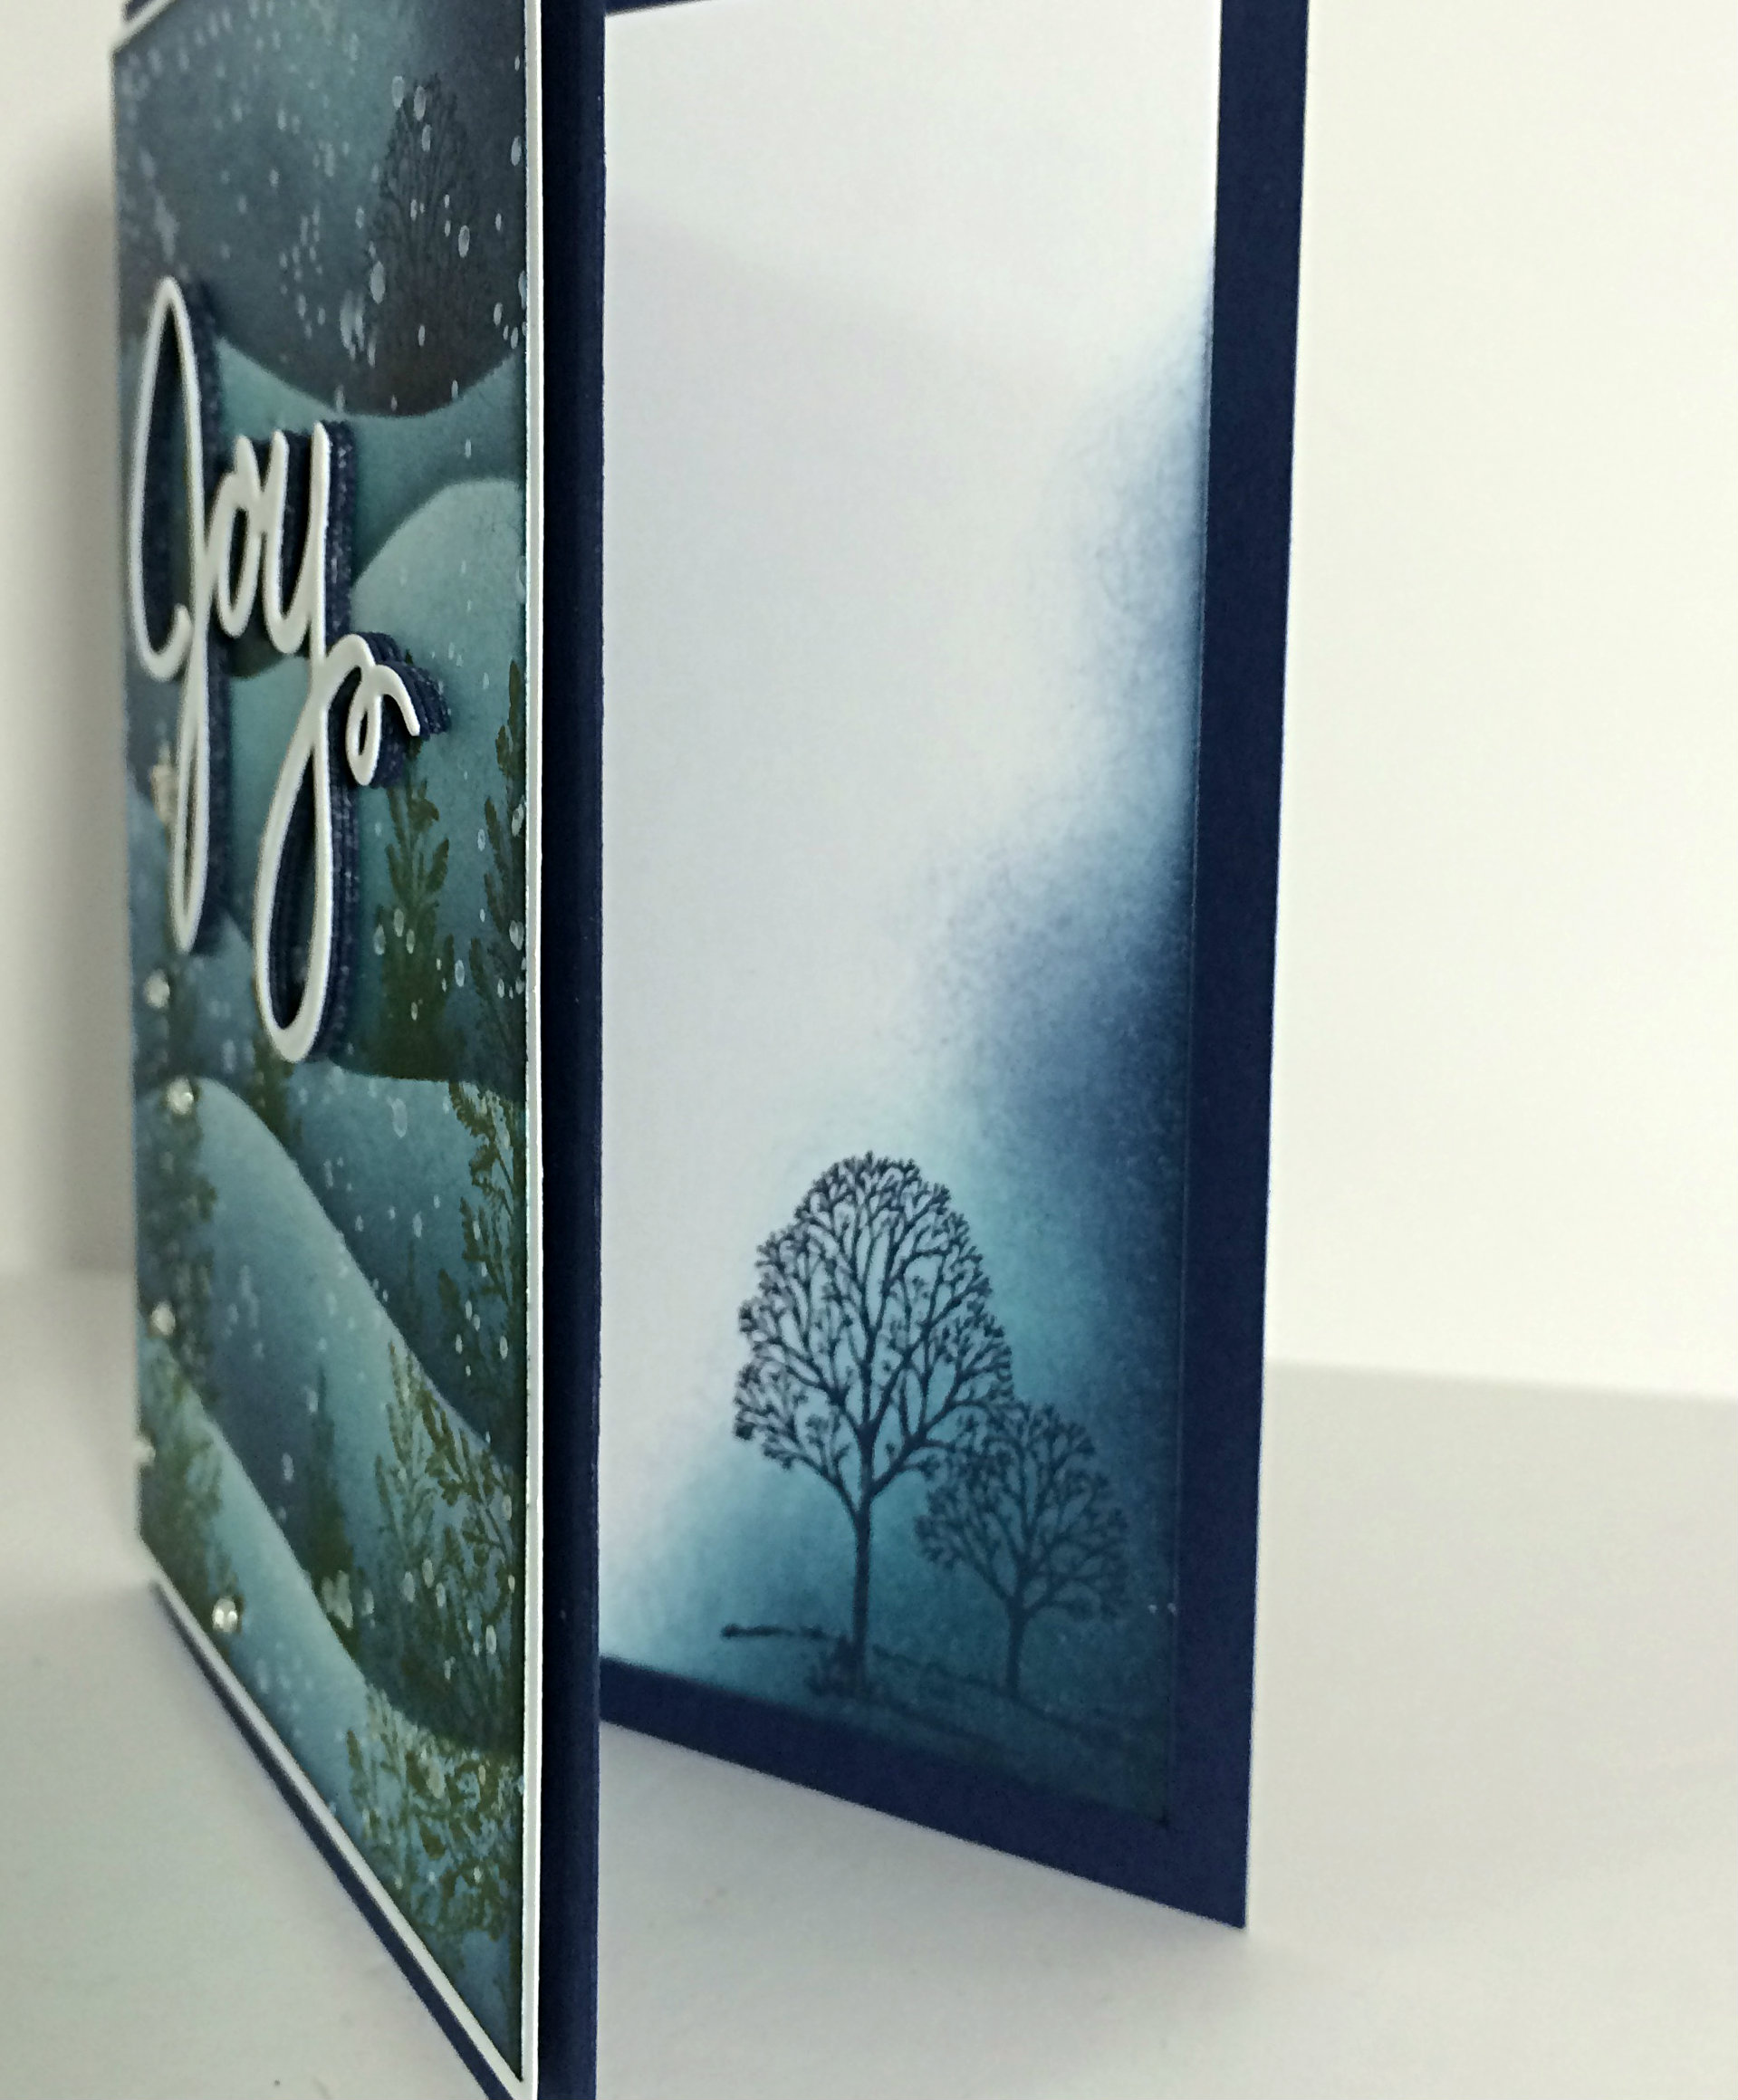 The inside layer of my card shows a couple of trees stamped with Night of Navy ink, then sponged over top with the Island Indigo and Night of Navy combo of inks to coordinate with the card front.
Hmm. Now I’m thinking I should have added snow to those little trees inside my card. I might just go back and add that yet!
And, of course, I really like Stampin’ Up Dimensionals, so I used them to pop up the white matted layer over the Night of Navy card base.
I hope you’ll try this cute sketch! Go on over to the As You See It Challenge Blog and check out what the other designers have done. Then give it a go yourself!!
Amy
![]()