Cosy is a Feeling
Let’s begin with a discussion on the English language, shall we? LOL!
I’m Canadian. Canadian culture, language, and numerical systems are a bit … wonky. We’ve been strongly influenced by both our British connection and our American neighbours. Thus, the title of this post uses the British influenced spelling of “cozy”, even though my spellcheck underlines it in an irritated, red squiggly line! However, I will continue to measure my cardstock in inches, my height in feet, and my weight in pounds. Celsius stands firm, though, because I will never understand what any number in Fahrenheit means! I will spell “favourite”, not “favorite”, “catalogue”, not “catalog” and “counsellor”, not “counselor”. We’re weird like that.
Let’s just call it a cute little quirk and move on.
So, how ’bout we talk stamping!
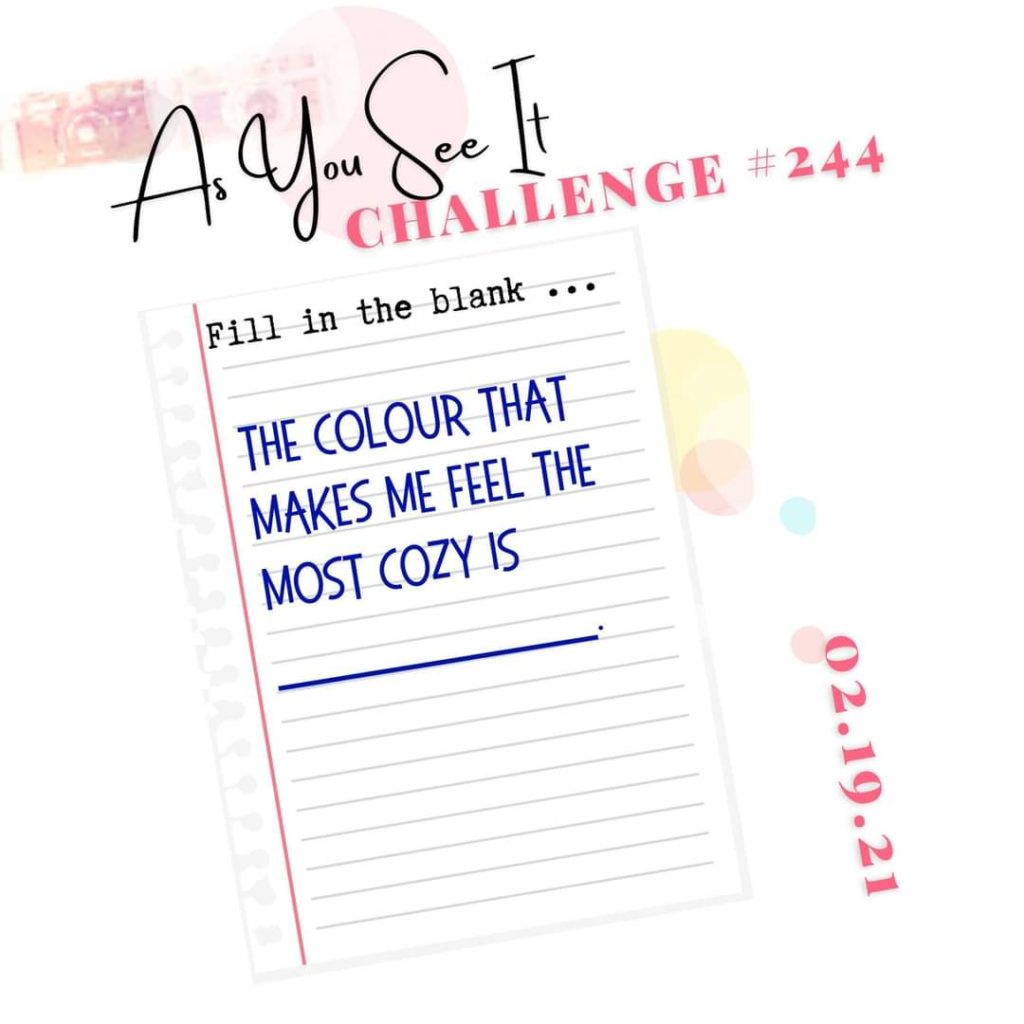
The card for today’s post is inspired by the As You See It Challenge, which happens to be, what we like to call, a “fill in the blank” challenge.

I had to really think about what it means to me to be cosy. Often it’s about being warm, comfortable, and becoming one with the couch (or do you prefer “sofa”, “settee”, or “chesterfield”, LOL!). But, as I considered what colours make me feel the most cosy, I realised it’s less about the colour and more about the environment. So, I thought, “which environments make me feel the most cosy and what colours are associated with those environments?”.
I’m pretty sure I’m overthinking this, LOL!
I feel cosy curled up under a blanket watching the flames dance in the fireplace while sipping a hot beverage from my favourite mug. I couldn’t really associate a colour with that image, though.
My final thought was the cosy comfort and security of a glowing light source in the deep colours of the evening sky.
I found my colour. The deep colours of the evening sky!

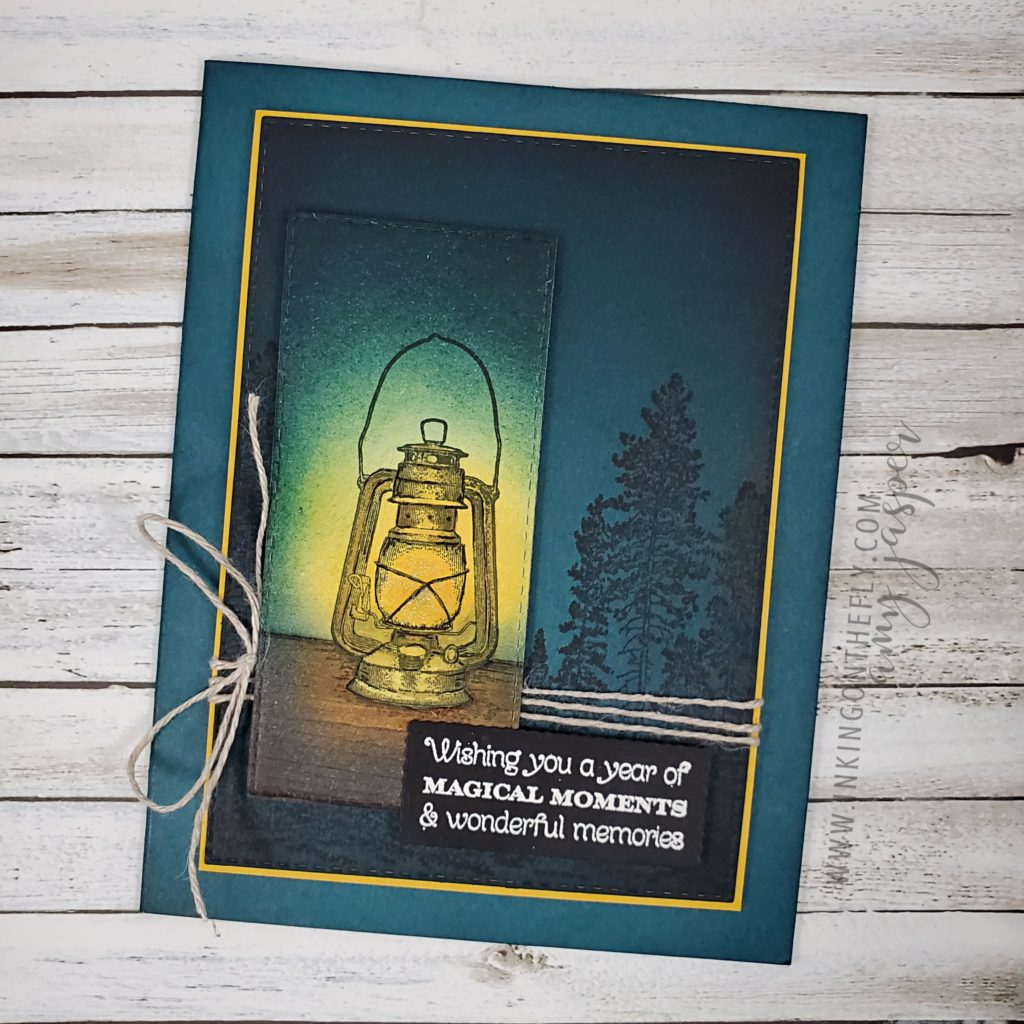
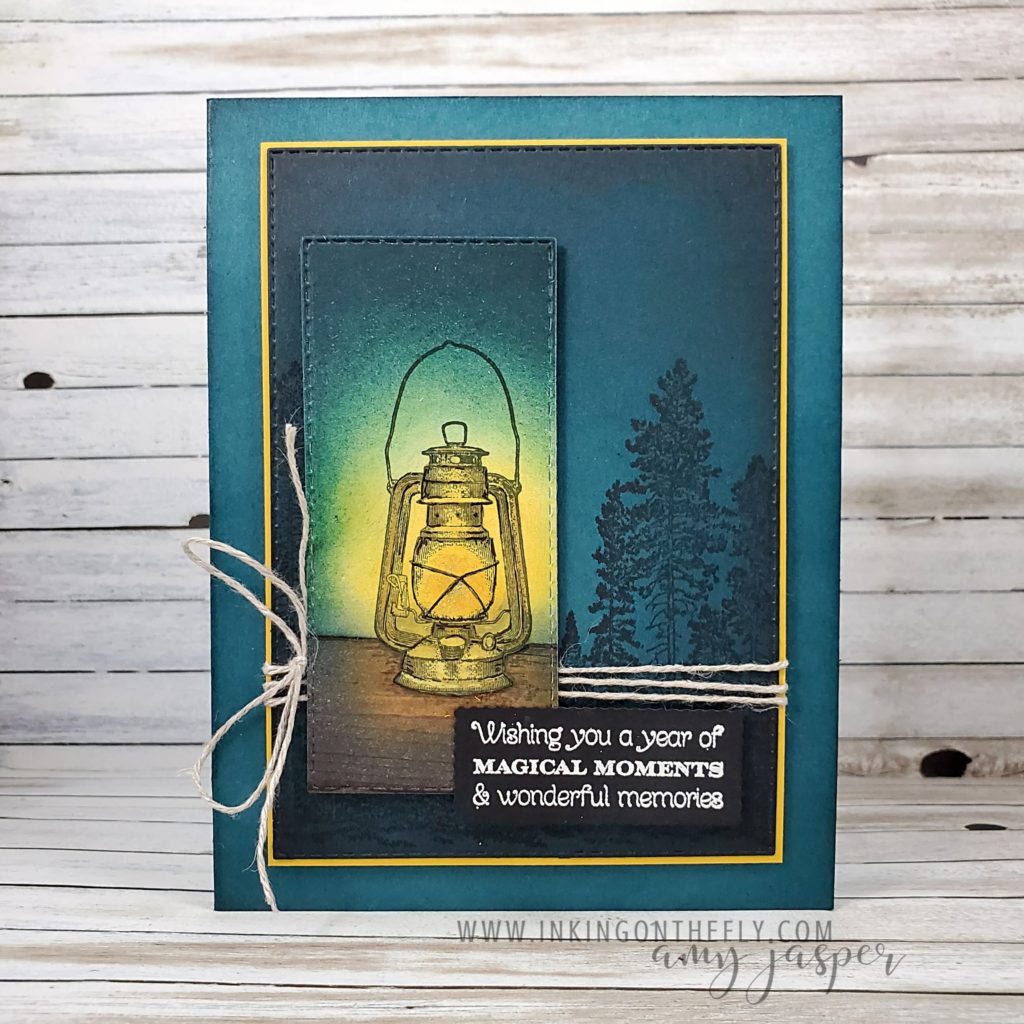
Pretty Peacock is the closest I have of this colour. When paired with the contrasting warmth of Bumblebee, it’s as cosy as cosy can be!
I enjoyed all the sponging on this card! I started with a piece of Pretty Peacock and sponged around the edges with Pretty Peacock ink, Night of Navy ink and Tuxedo Black ink. I stamped the trees from the Campology Stamp Set with Tuxedo Black ink on the Pretty Peacock, then die-cut the paper with one of the rectangles from the Stitched Rectangle Dies and the Stampin’ Cut and Emboss Machine. That was layered on Bumblebee cardstock, wrapped with Linen Thread, and attached with Stampin’ Dimensionals to the Pretty Peacock cardbase which I had lightly sponged around the edges with Pretty Peacock ink to add a bit more of a rich and full colour.

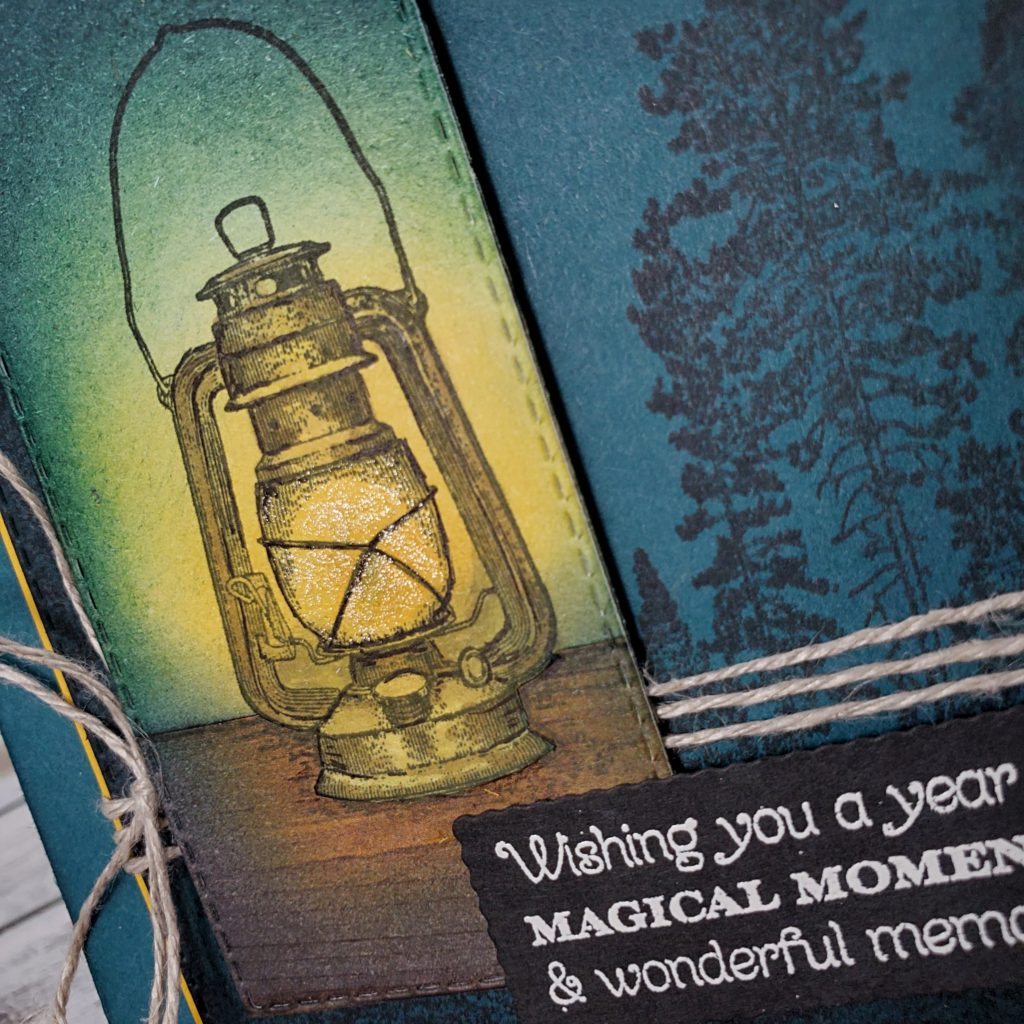
I fully admit to going a little crazy with the details around the lantern image from the Campology Stamp Set. I first stamped it with Tuxedo Black ink on Basic White cardstock. Then I used a Sponge Dauber to apply Mango Melody ink to the centre of the light and used circular motions to blend the colour out as I increased the circumference of the circle. I then went in with the Pretty Peacock and Night of Navy to darken the surrounding areas on the Basic White. I coloured the lantern a bit here and there with some Stampin’ Blends. I used a bit of Bronze, Soft Suede, and Crumb Cake. I even went in with my Basic Black Stampin’ Write Marker to sharpen up some of the black lines in the image. I finished the lantern by applying a bit of sparkle to the glass on the image with my Wink of Stella Brush.
Now this is where it gets a little crazy …
I cut around the bottom of my lantern and straight out from the sides so that I could attach that piece to some woodgrain patterned paper in the In Good Taste Designer Series Paper, giving the lantern a picnic table to stand on. This piece needed to match the colouring of the lantern piece, so I grabbed my sponges again and applied the Mango Melody, Pretty Peacock, and Tuxedo Black.
When the lantern felt cosy enough, I used another of the rectangles from the Stitched Rectangles Dies and cut it out so I could adhere it to my card with Stampin’ Dimensionals.

The final touch was to grab the sentiment from my stash. This sentiment is from the awesome background stamp called Many Messages. What makes it so awesome, is that it is one stamp with … well… exactly that – many messages. I had already stamped all these sentiments on Basic Black cardstock with Versamark ink and heat embossed all of them at once using White Embossing Powder and my Heat Tool. Then (now this is the coolest part) I used ONE die, to cut out ALL of the sentiments at once! Now I have a little stash of sentiments on labels ready for me to use at my greatest of convenience! If you haven’t considered the Many Messages Bundle, check it out on my online store or have a look in the January – June Mini Catalogue on page 35. I love it!
I’m so glad you visited me today. Be sure to take a moment to leave a hello in the comments so I know you stopped by!

March 16, 2021 @ 9:05 pm
I agree with the others, you are an artist. Lovely work!
March 17, 2021 @ 6:25 pm
Aw. Thank you!
February 25, 2021 @ 7:41 am
This is so incredible! I don’t think I could recreate this as well as you but I’m going to try. Ty very much for sharing.
March 3, 2021 @ 10:57 am
Yes! Do try it! If you do, I’d love for you to share it with me. Email me a photo! amy@inkingonthefly.com
February 19, 2021 @ 1:26 pm
Beautiful, Amy! I love the way you’ve re-created that gorgeous lamp glow in sponged ink.
March 3, 2021 @ 10:52 am
Thanks Jan! I always enjoy working with ink to create the illusion of light.
February 19, 2021 @ 8:10 am
Wow! You are, quite simply, an artist, and an amazing one at that! This is breathtaking with such attention to detail!
March 3, 2021 @ 10:48 am
Thanks Heather. I really enjoy getting a bit more involved in the details on cards. I almost feel like a real artist! If I could only be better at drawing … LOL! Thank goodness for rubber stamps, so the drawing is done for me!