Posts by Amy Jasper:

Brusho City

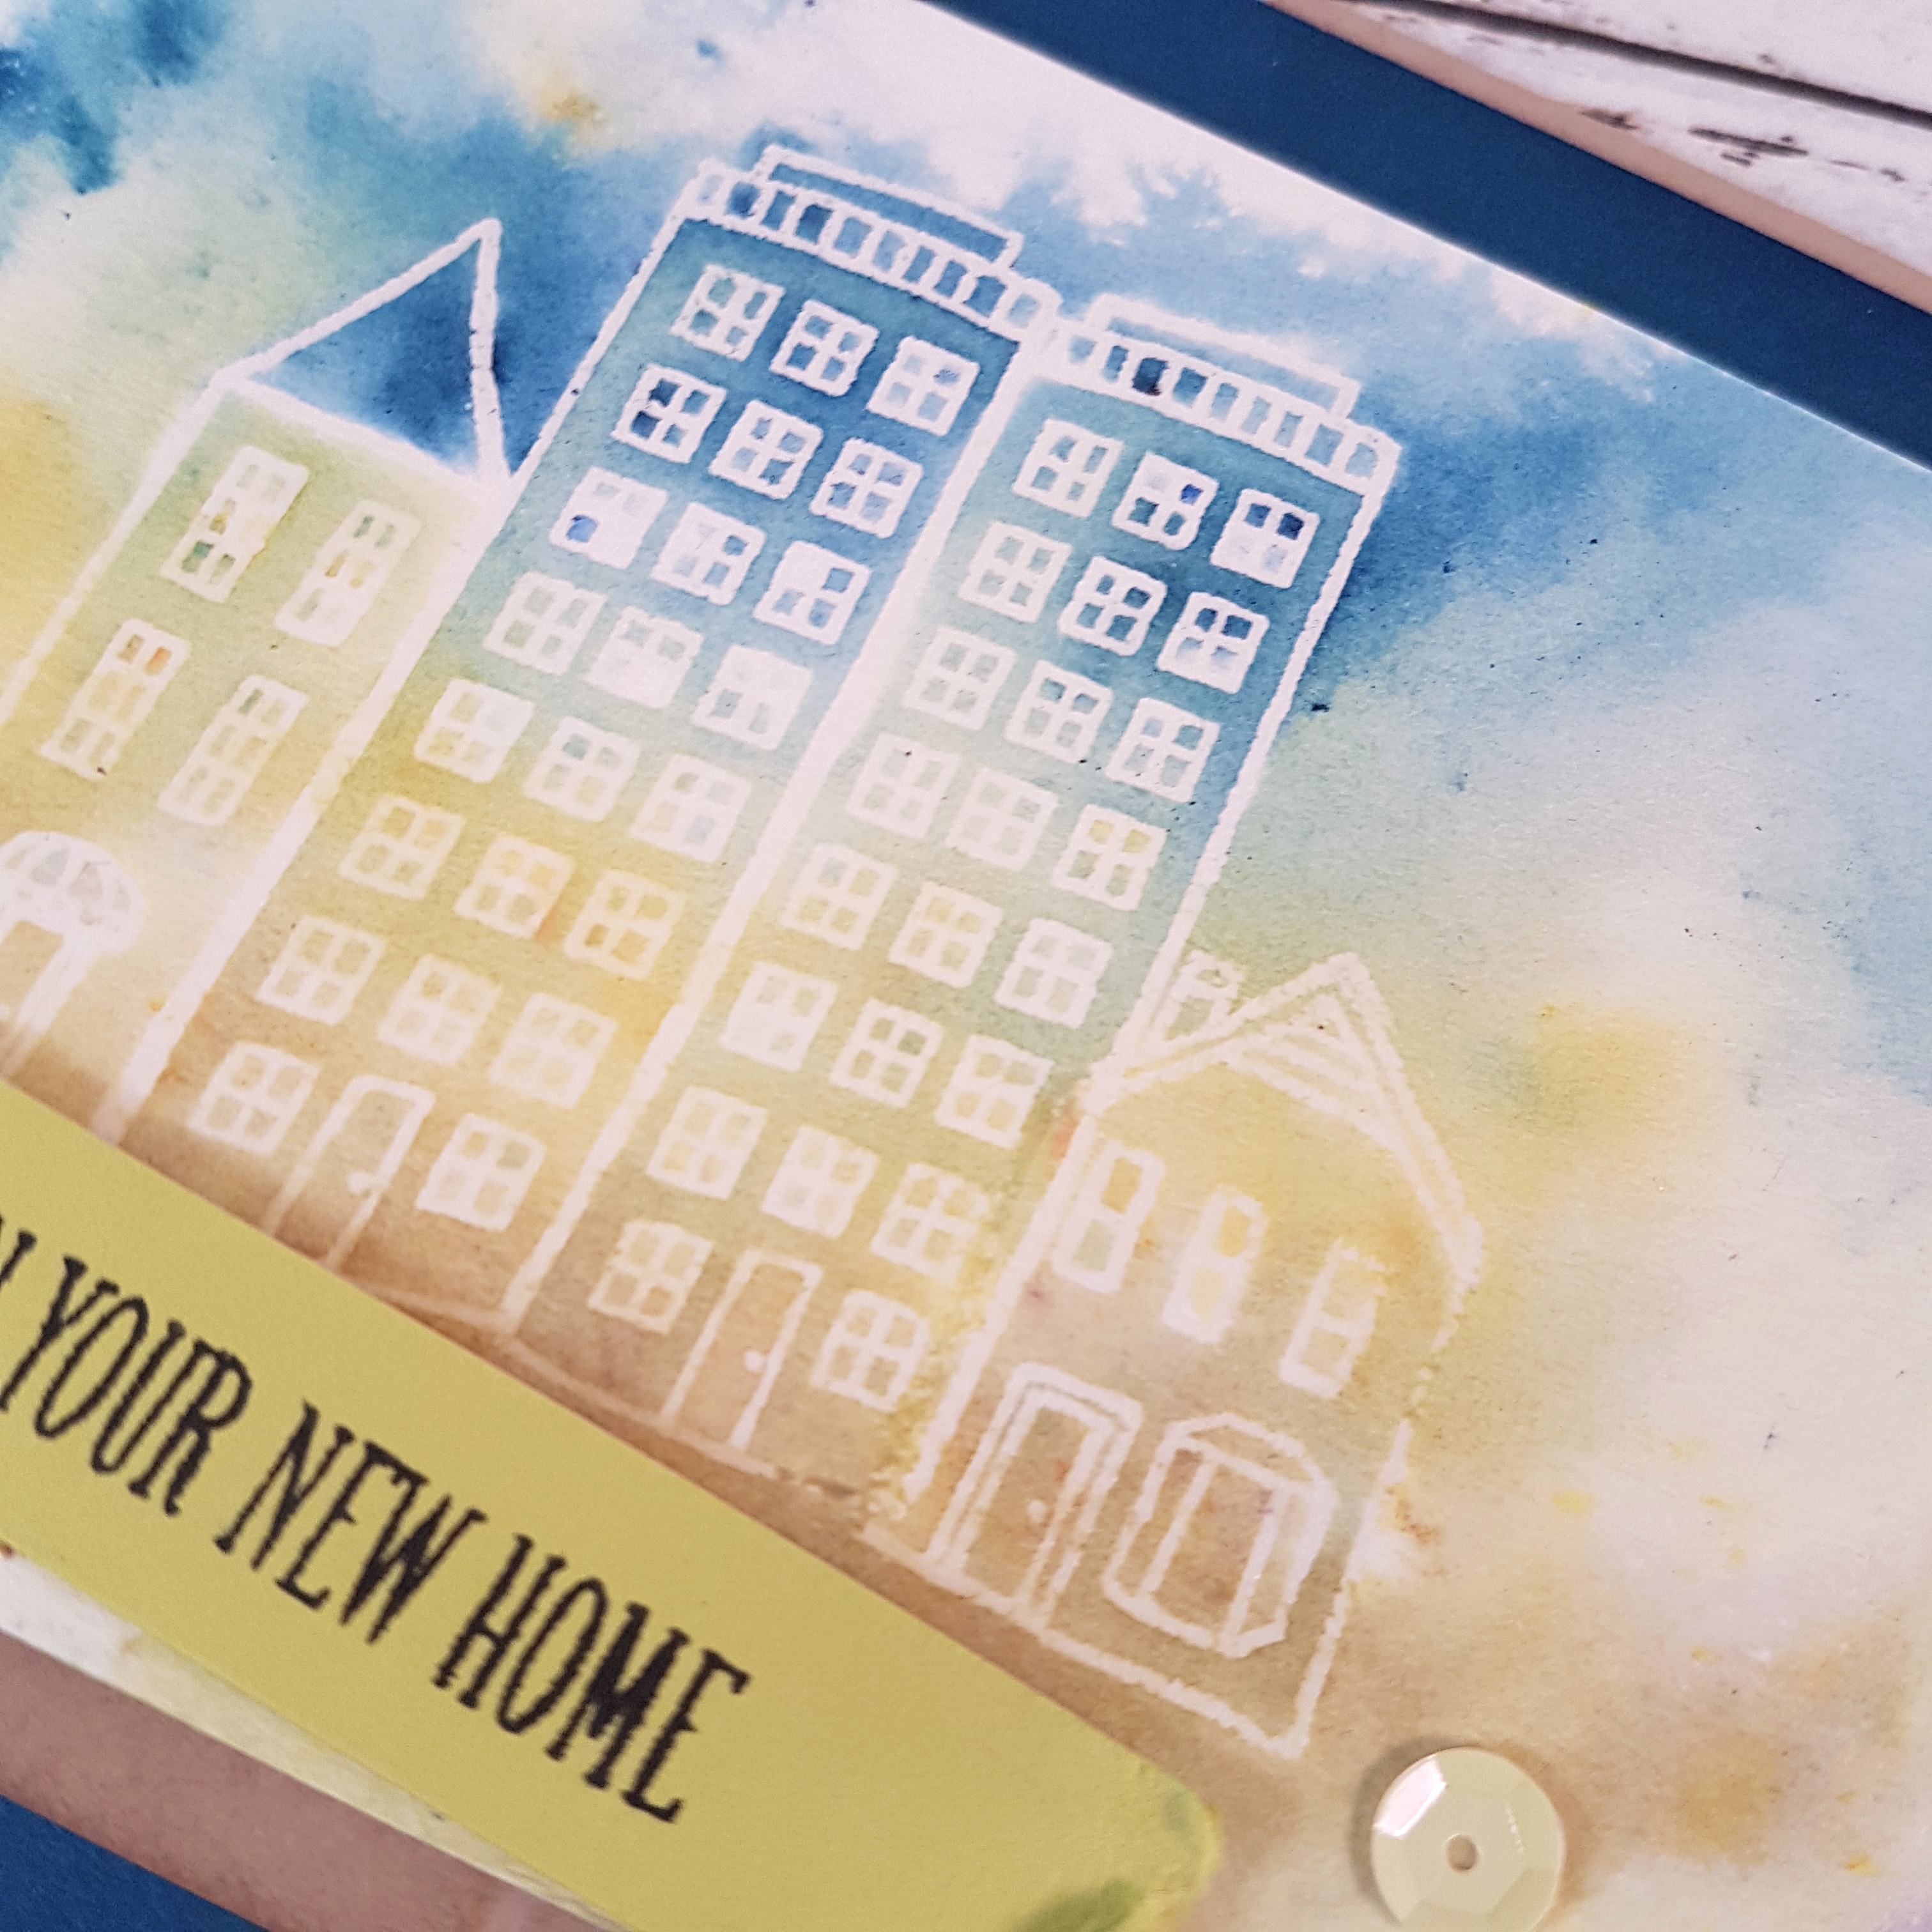
Today’s design is inspired by the As You See It Challenge blog. I decided to use my hostess stamp set “In the City” and an emboss resist technique, which is probably one of my favourite techniques ever!!

I stamped the images with Versamark ink on the Watercolor Paper, then applied the Clear Embossing Powder and heat set it. Then, I sprinkled the three colours of Brusho Powder over the embossed image: Moss Green near the bottom, Prussian Blue at the top, and Yellow in the middle. Then I spritzed the paper with water to activate the colour crystals. A paintbrush tip helped me to move the colour around the windows of the image, while the edge of a piece of paper towel helped me to wick away a little of the extra water that pooled in certain areas. Nobody wants wet puddles on the paper getting out of hand and ruin a perfectly good watercolour design!!

I chose to tear the edge of the Watercolour Paper for added texture.

The card base is Crumb Cake Cardstock and has a layer of Dapper Denim over it of which I sponged the edges with Dapper Denim ink to add some depth of colour. The next layer is a strip of Crumb Cake Cardstock that I ran through the Big Shot with the Brick Wall embossing folder then sponged with Crumb Cake ink around the edges.

Over these layers, I adhered the completed Watercolor Paper piece with Stampin’ Dimensionals.

The sentiment from the “At Home with You” stamp set was stamped on the Lemon Lime Twist strip of cardstock with Tuxedo Black Momento ink. The Basic Black Baker’s Twine was tied around the end and a triple loop of Black Metallic Thread was attached before adhering the strip, which is also torn on the end, to the card front.

The final touch was to apply the yellow Adhesive Backed Sequin to the card.

This card is designed for a friend and fellow Stampin’ Up! Demonstrator who recently moved into a new place. Big congrats to her and her new home adventures!!
Coloured Black Ice

The snow is almost fully gone now, the sun is shining, the roads are covered in dirt from the sand trucks, the winter boots have been replaced with running shoes, and toques have been replaced with sunglasses.

It’s about time!! What a crazy, long and snowy winter we’ve had. It felt more like 3 winters put together!!

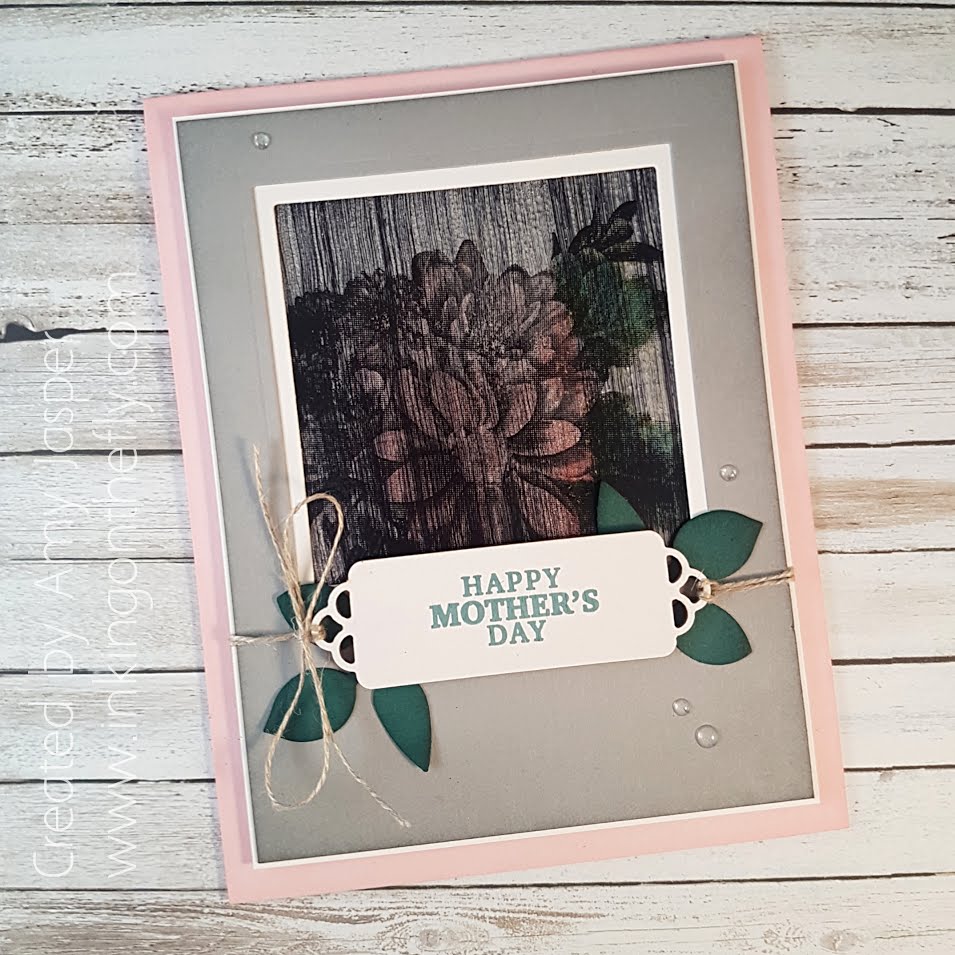
The card I have to show you today features a technique called Black Ice. Melissa Kerman did a wonderful video tutorial on this technique (the link can be found at the end of this post). My design adds a little twist to her technique.

I used the latest As You See It Challenge as my starting point for this card.

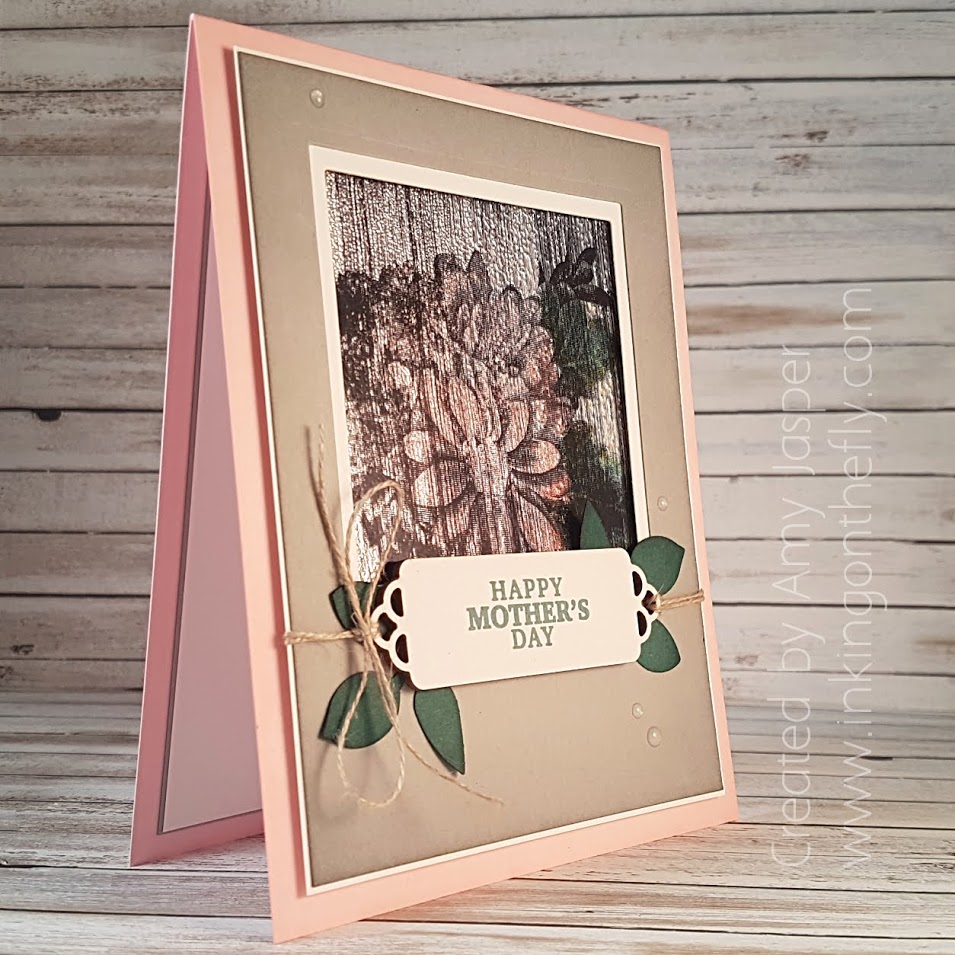
These colours are very pretty together – so soft and feminine. I used Pink Pirouette for the card base and sponged more Pink Pirouette ink around the edges. This adds a rich depth to the colour. I sponged Smoky Slate around the Smoky Slate cardstock layer on the card as well.

When you watch the black ice tutorial (see below), you will see that it involves Foil Paper (I used Silver Foil), Basic Black Archival Ink, then a layer of clear embossing over top. I used the Heartfelt Blooms stamp set as my image in this technique. You can only get this stamp set until the end of March (it’s Free with a $60 purchase!!), so if you love it, don’t miss out!

My take on the black ice technique for this card was to add colour over the completed black ice image using my Blends Markers. I used Pink Pirouette for the flower and a combination of Old Olive and Night of Navy Light for the leaves to try to achieve a semblance of the Tranquil Tide colouring. I did find that the alcohol markers seemed to take away the shine of the clear embossing, so I repeated the end of the black ice technique by pulling my Versamark ink pad across and re-applying the Clear Embossing.

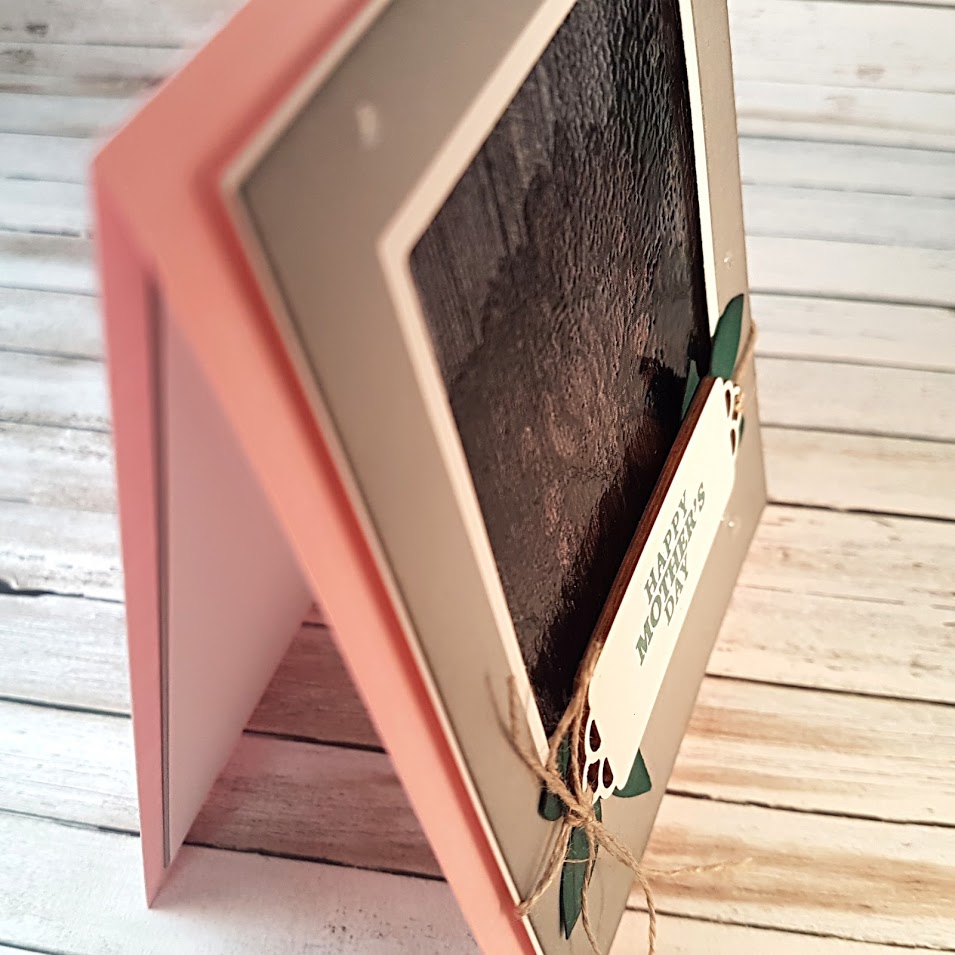
The black ice image is recessed in a square cut out through the layers of Smoky Slate and Whisper White cardstock. The squares were cut using the Big Shot with the Layered Squares Framelits from Stampin’ Up. I adhered these two layers together, then attached them over the black ice image (this was adhered directly to the card base, of course).

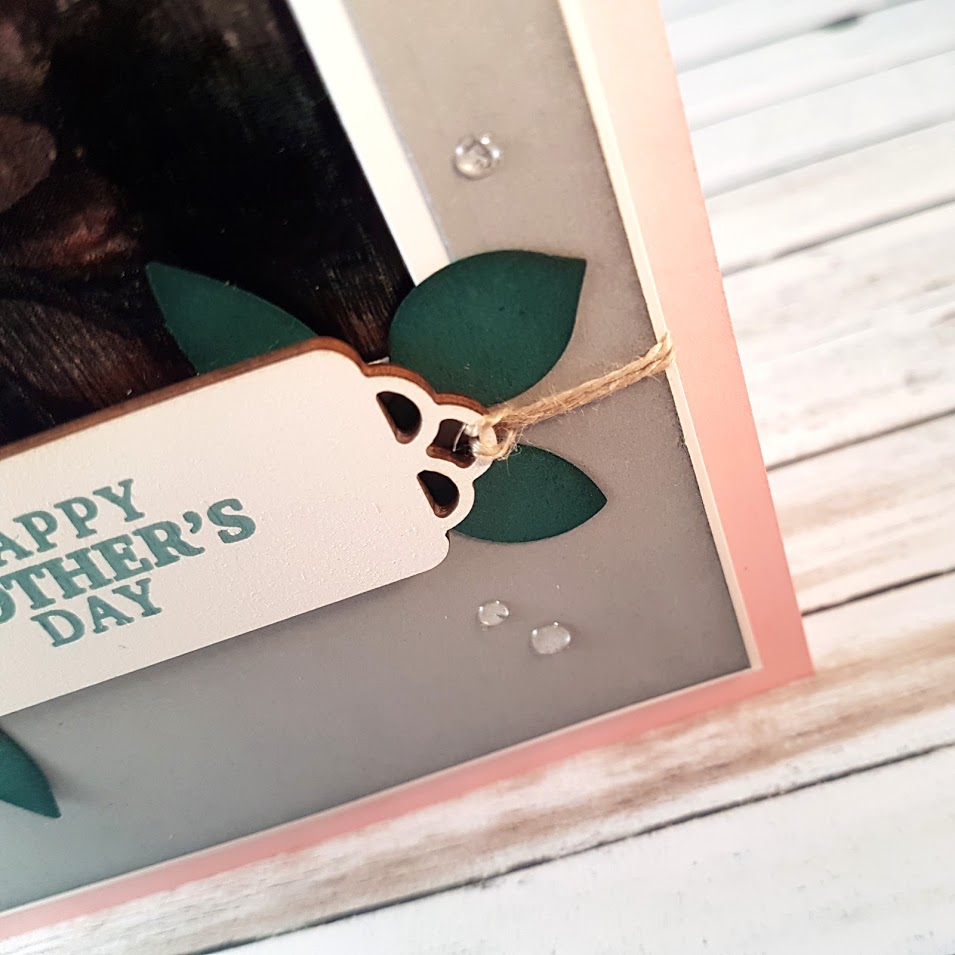
The leaves are punched from Tranquil Tide cardstock using the Leaf Punch from Stampin’ Up!. I lightly sponged the edges with Tranquil Tide ink before adhering the leaves to my card so that they would tuck underneath the pretty wood label. That, my dears, was one of the wood pieces that were a gift from Stampin’ Up, received by anyone who purchased the March Paper Pumpkin kit! These wood die cuts are white on one side (as shown) and natural wood coloured on the other side. The sentiment stamped with Tranquil Tide ink on the wood label is also from the March Paper Pumpkin kit. Linen Thread was attached to the wood label and wrapped around the back of the top two layers of the card before using glue dots to adhere the label to the card front, then tying the linen thread in a bow.  The completed layers were attached to the Pink Pirouette card base with Stampin’ Up Dimensionals.

The final touch was to add the dew drop look achieved by the Glitter and Clear Epoxy Shapes from Stampin Up!.  I love how these look!!

Be sure to visit my online store if you want to purchase any of the products shown on this card. Sale-a-bration ends on March 31st! Don’t miss out!!

Here is Melissa Kerman’s tutorial on the Black Ice technique. Enjoy!

When Skies are Grey

Do you get the February blues? I sure do!! The socked in weather in our valley makes everything feel grey all the time – even me. We’ve actually had a couple beautiful sunny days show up in the last couple weeks and they are GLORIOUS! The brilliant blue sky is such a crisp and stunning contrast to the white snow on the ground. I love how the snow glistens when the sun shines, like someone scattered diamonds all over the ground.

Most of the time, though, we don’t have sun and I crave its warmth and bright happiness in the normally dreary days of February. I guess my card today gives me a little hope for some sunshine because when the weather isn’t taking care of me like I wish it would, I have my family, my husband, my children, my friends, and my dog – they are my sunshine when skies are grey.

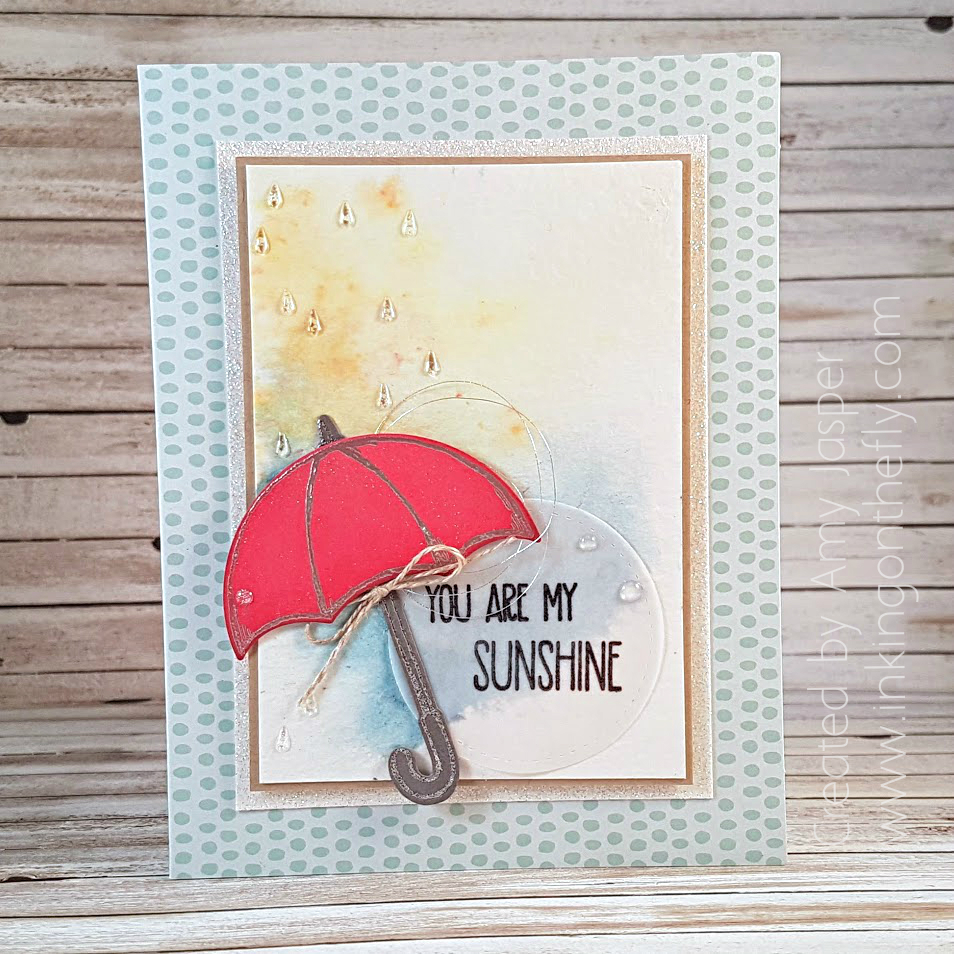
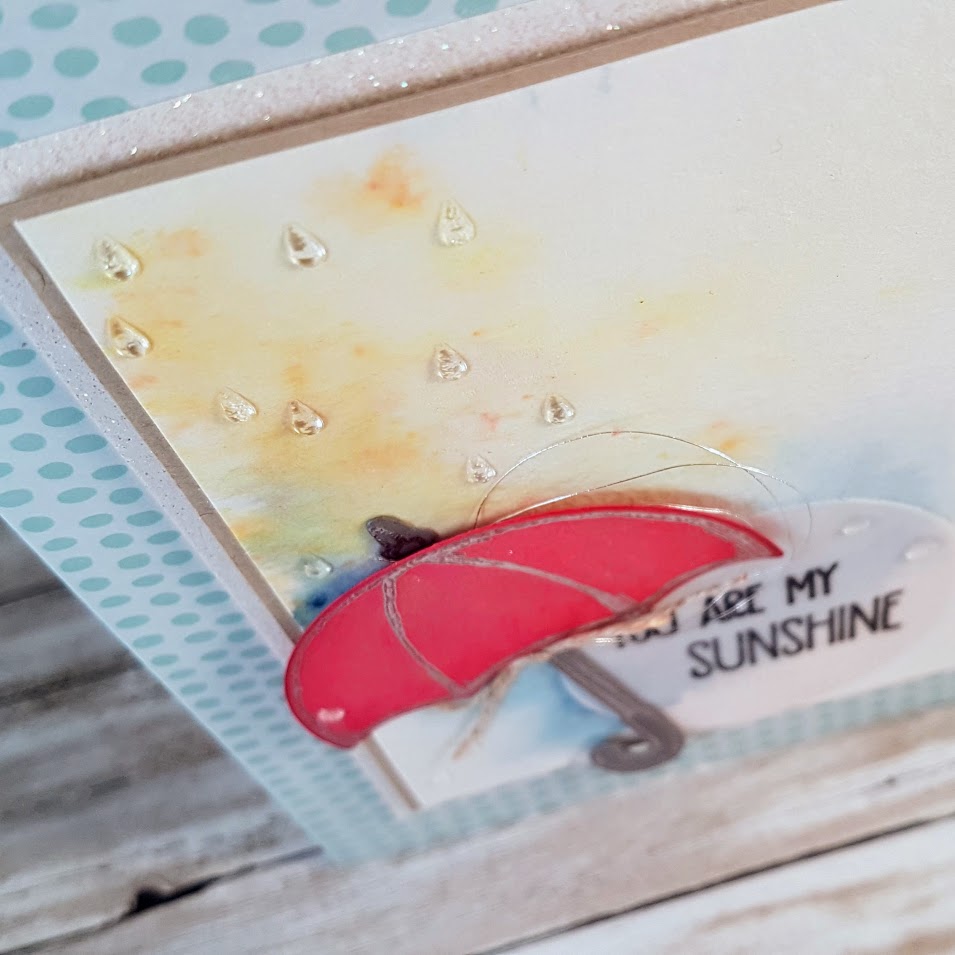
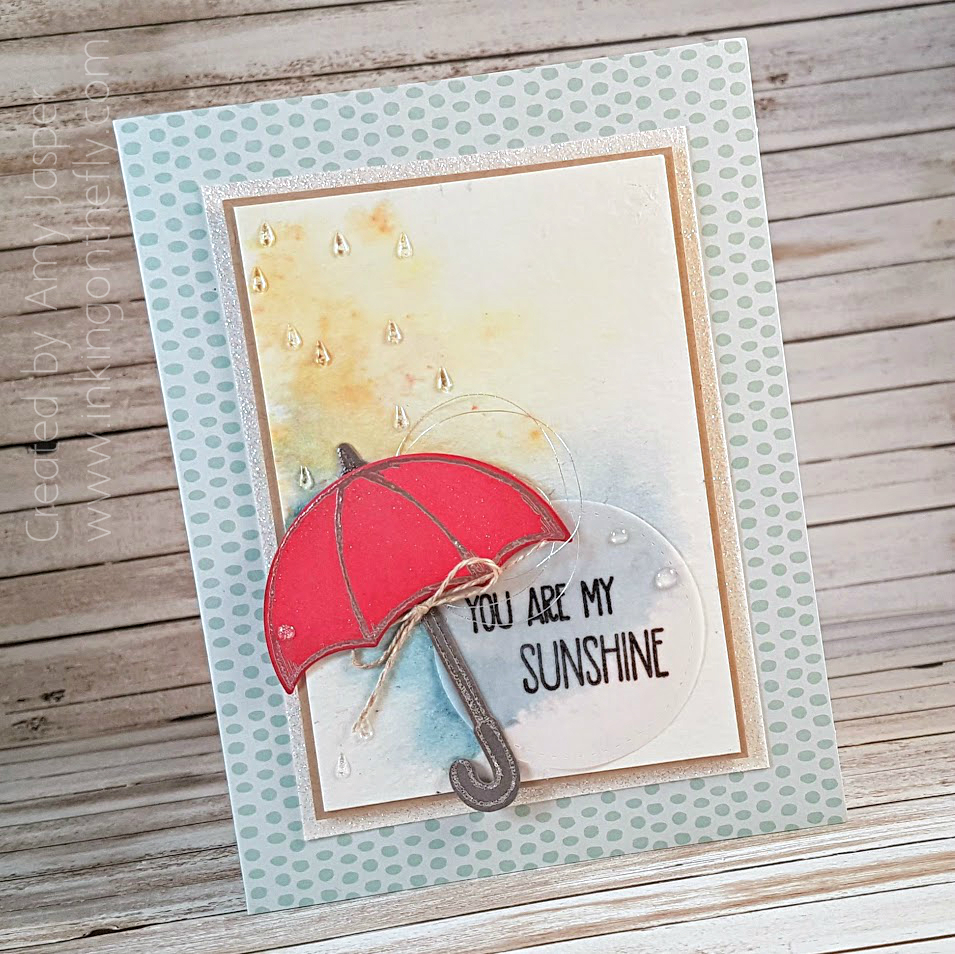
Here’s the As You See It Challenge for today’s design:As soon as I looked at this sketch, my mind immediately saw raindrops falling. I love the Glitter and Clear Epoxy Shapes from Stampin’ Up! and knew they were going to be a part of my card design. Aren’t the raindrops divine!! I also love the look of the clear and glitter circles – like water droplets or dew drops. Can you imagine them on a flower petal or a leaf image? LOVE!

I enjoyed playing with the Brusho Watercolor Crystals for the background on the Watercolour Paper. I used Prussian Blue, Yellow, and a wee bit of the Gamboge. I wanted it to look splashy and sunshiny at the same time.Do you recognize the card base? I really like the versatility of the Tutti-Frutti Cards and Envelopes that you can get for free during Sale-a-bration. They have helped me tremendously in my creations by giving me instant designing superpowers! You can see that I layered some Dazzling Diamonds Glimmer paper and Crumb Cake cardstock underneath the Watercolour Paper,

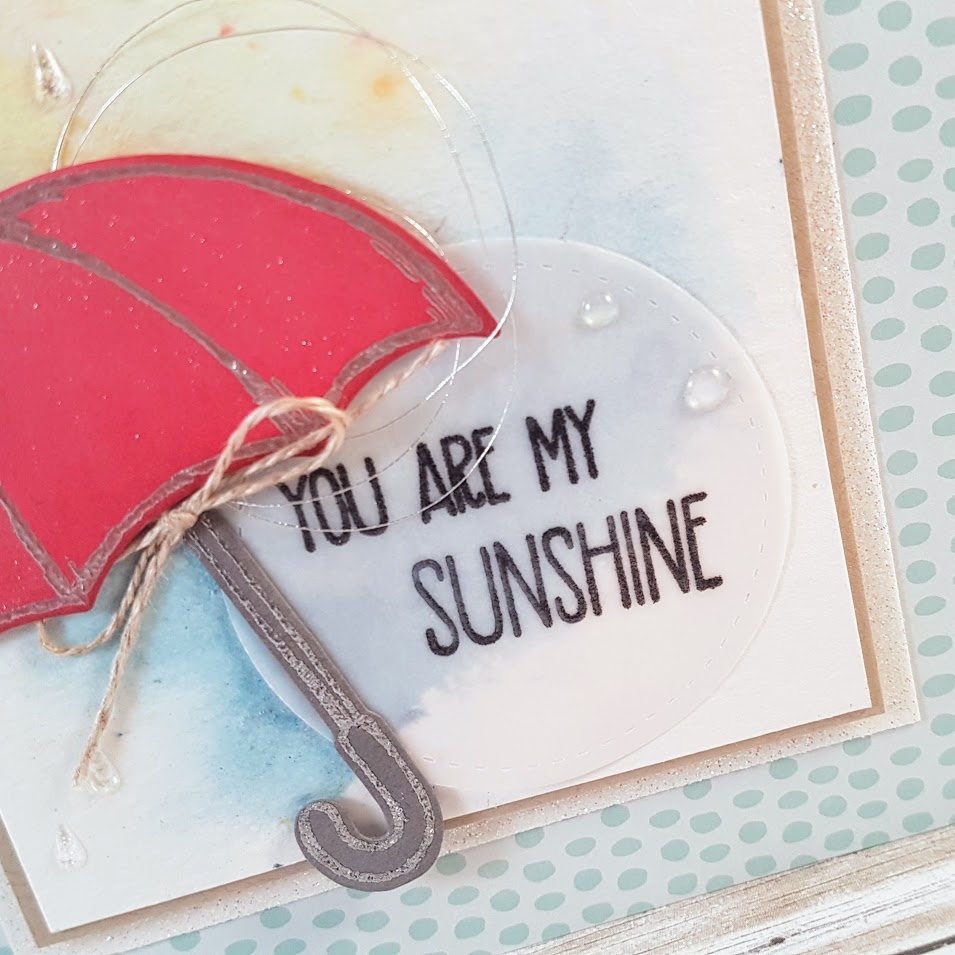
The umbrella image from the Weather Together stamp set was stamped in Versamark on Melon Mambo cardstock and Basic Gray cardstock, then embossed with the Silver Embossing Powder before getting die cut with the coordinating Umbrella Weather Framelits Dies. I sponged a little bit of Melon Mambo ink around the edges of the umbrella canopy and added Clear Wink of Stella for a greater sense of rain shimmering in the sunshine. The sentiment from the Sunshine Sayings Stamp Set was stamped on the Vellum cardstock with Archival Black ink, then embossed with Clear Embossing Powder to give it some pop! I used a circle die from the Stitched Shapes Framelits to cut the vellum circle and attached it to the card front with tiny dabs of Multipurpose Liquid Glue under the letters and the epoxy dots.The final touches were the Linen Thread bow, which I attached using a rolled up glue dot, and the subtle loop of Silver Metallic Thread (oh, how I love that thread!!).

What gives you hope when you are surrounded by grey skies?