Tip Top Birthday
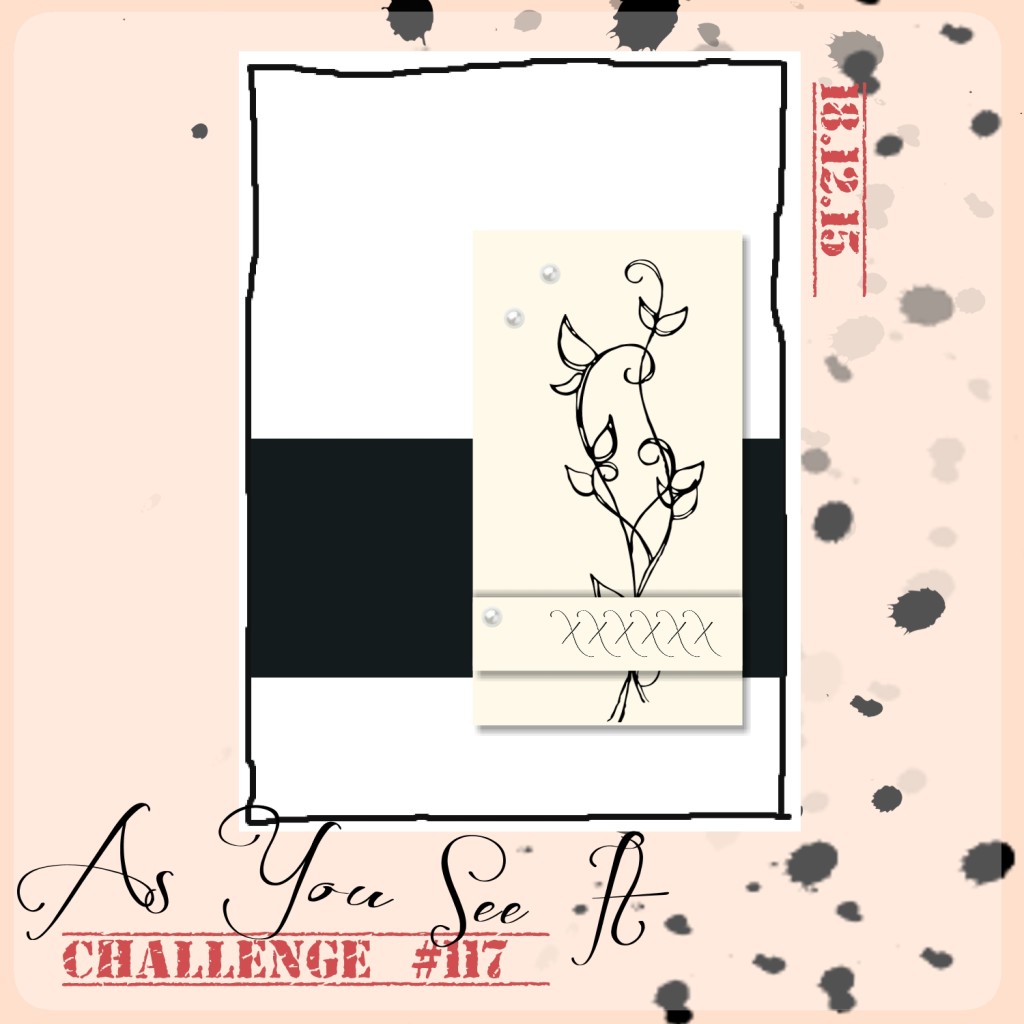
It’s time for another card design for the As You See It Challenge Blog!
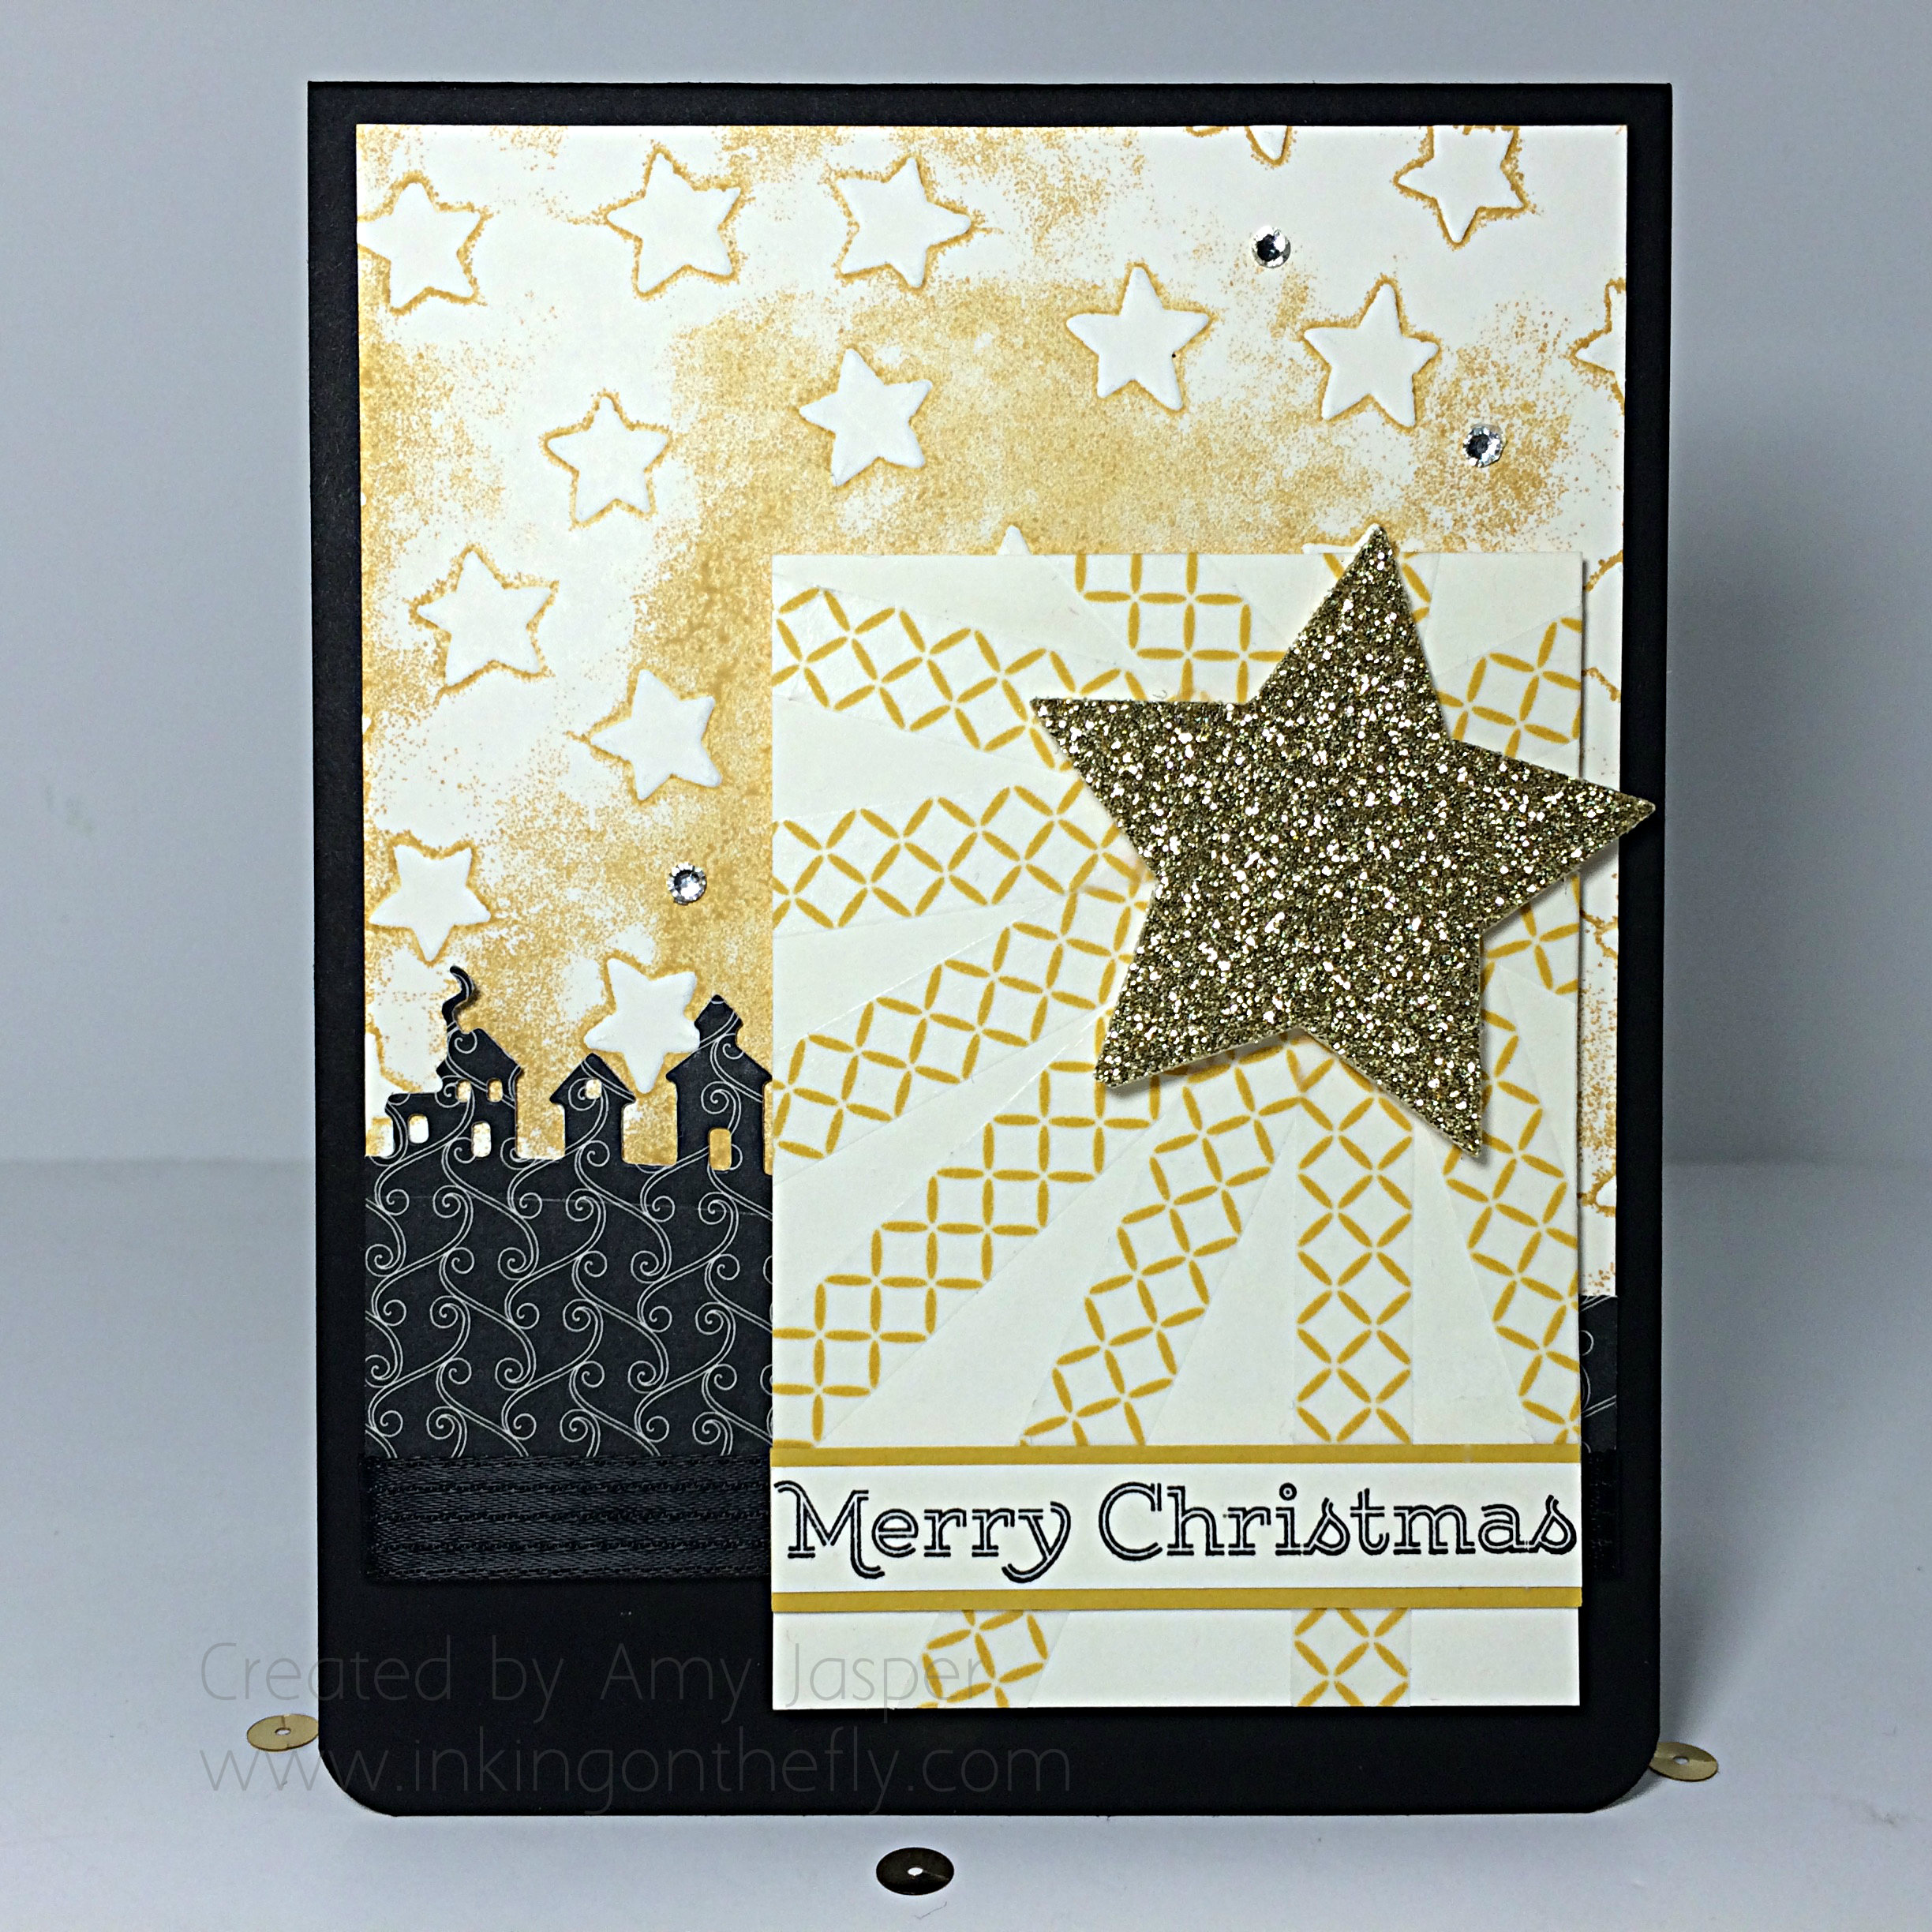
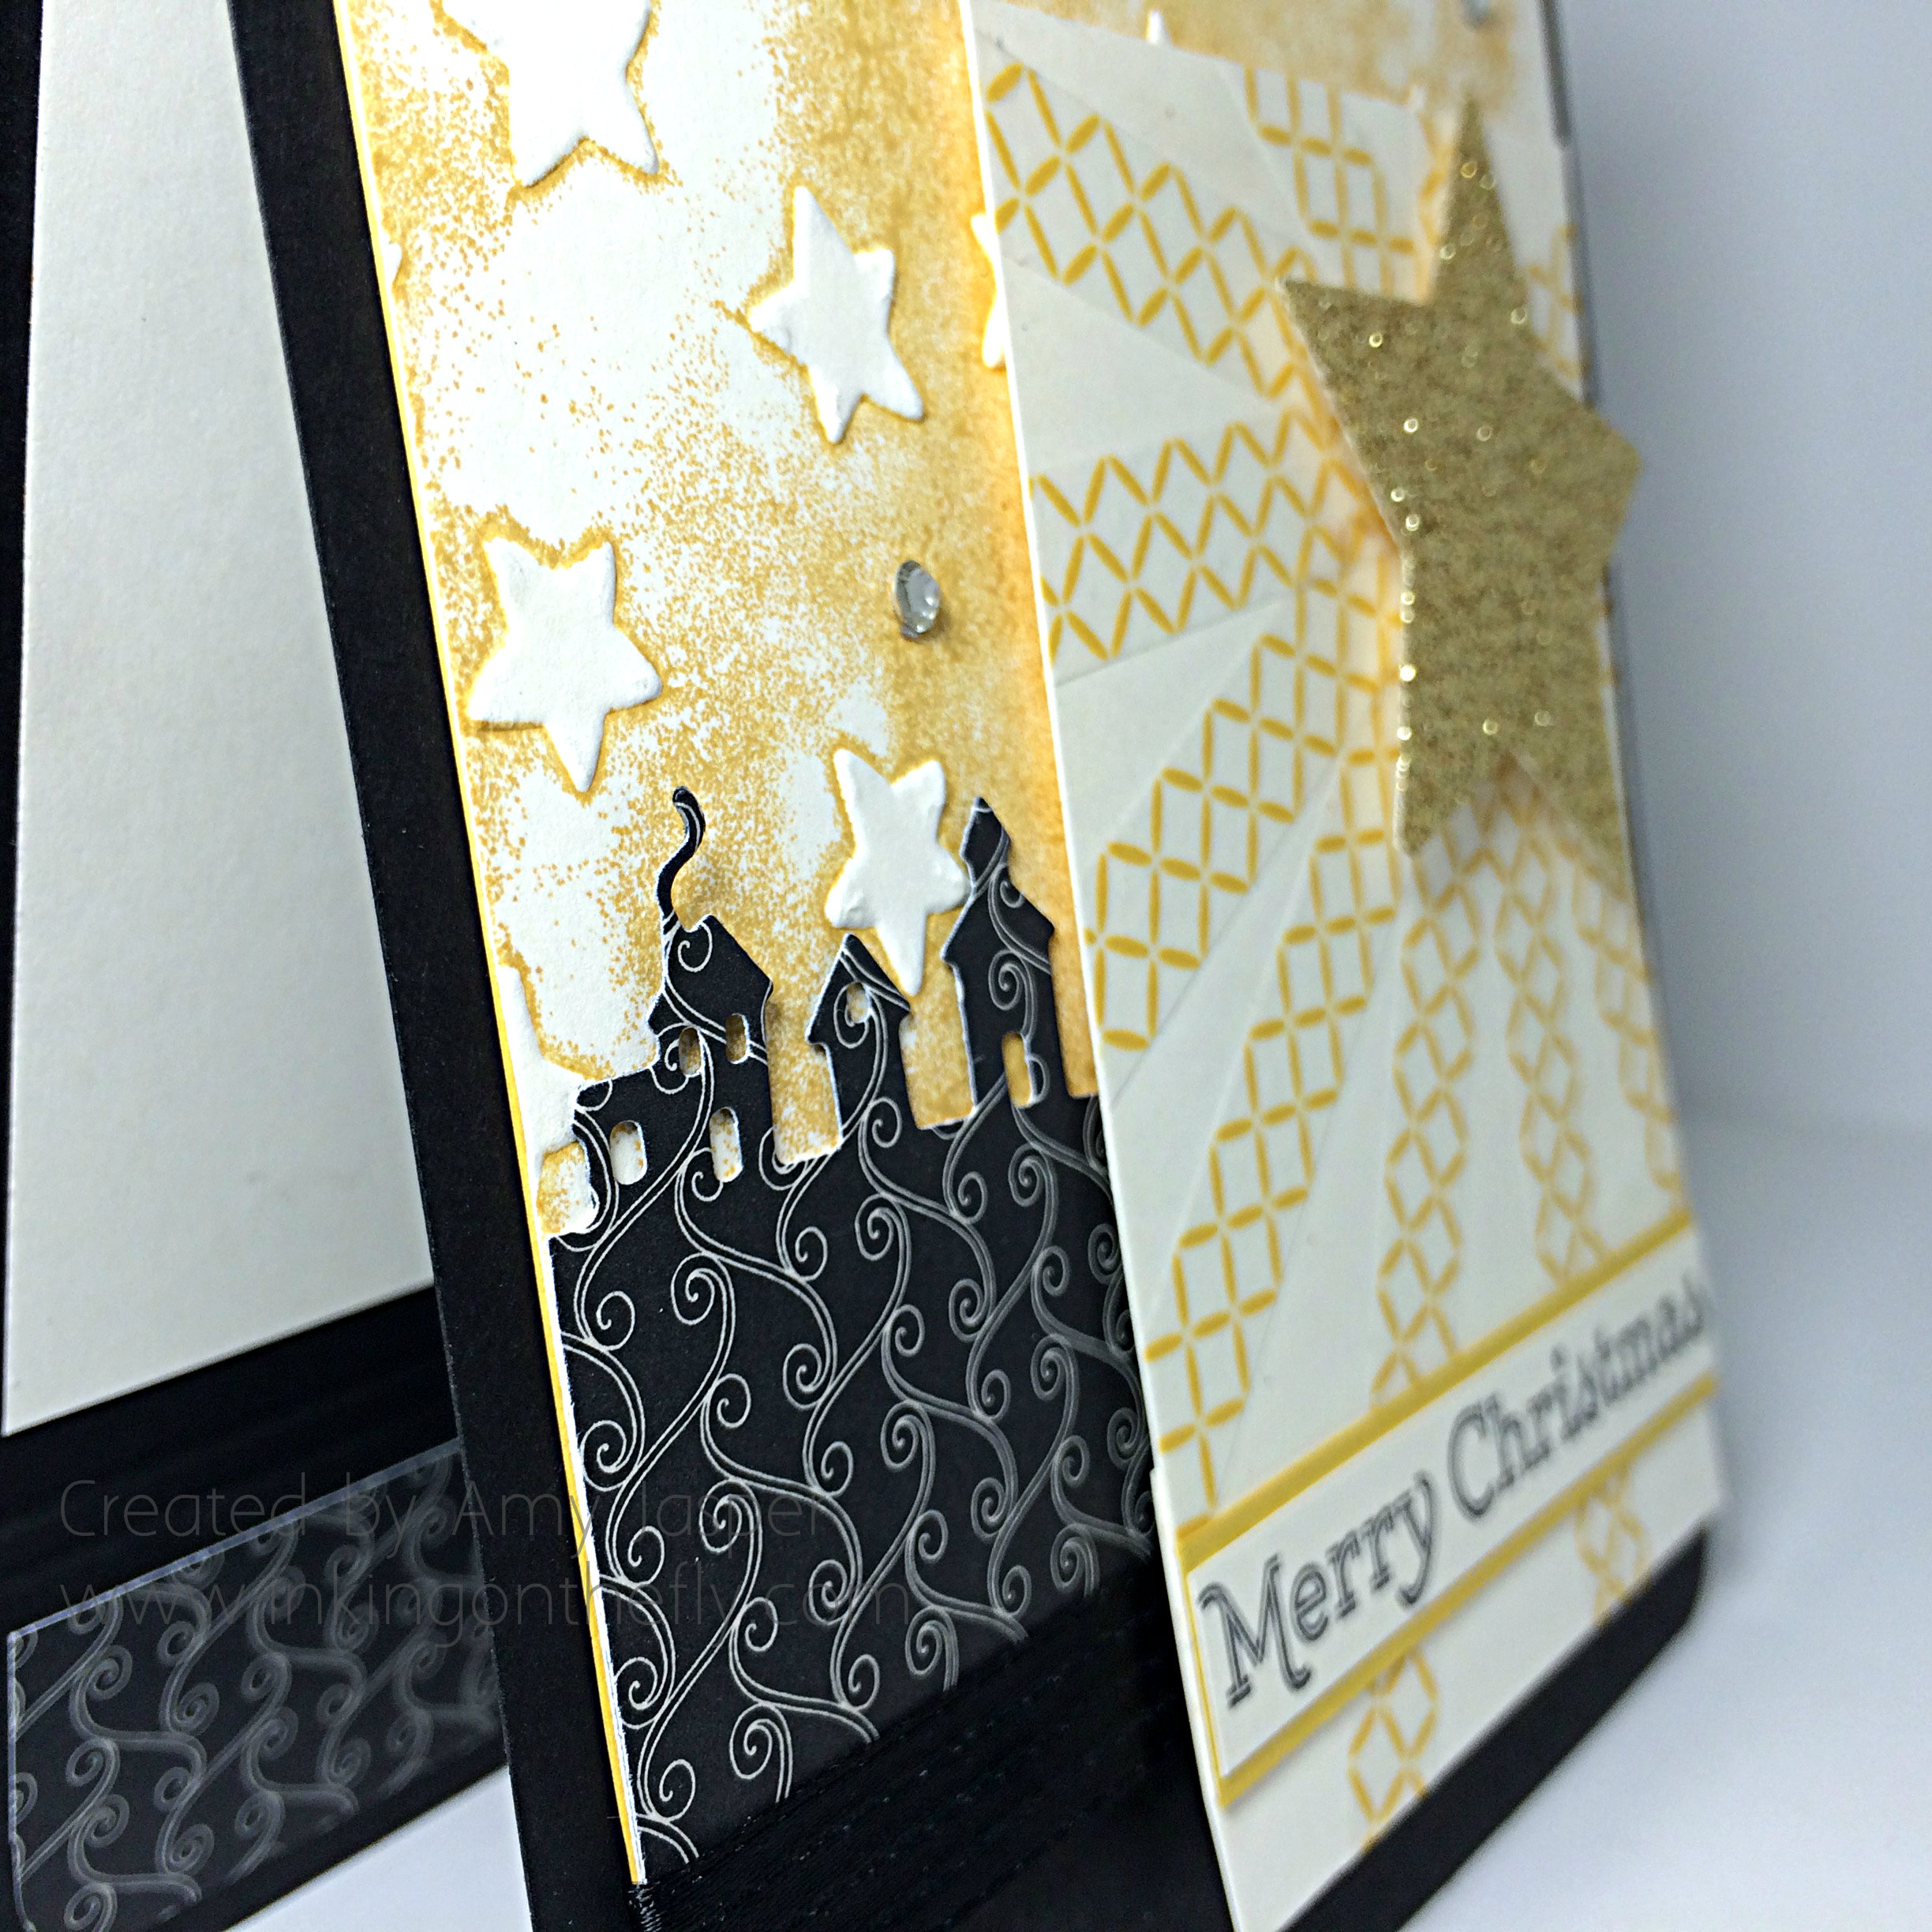
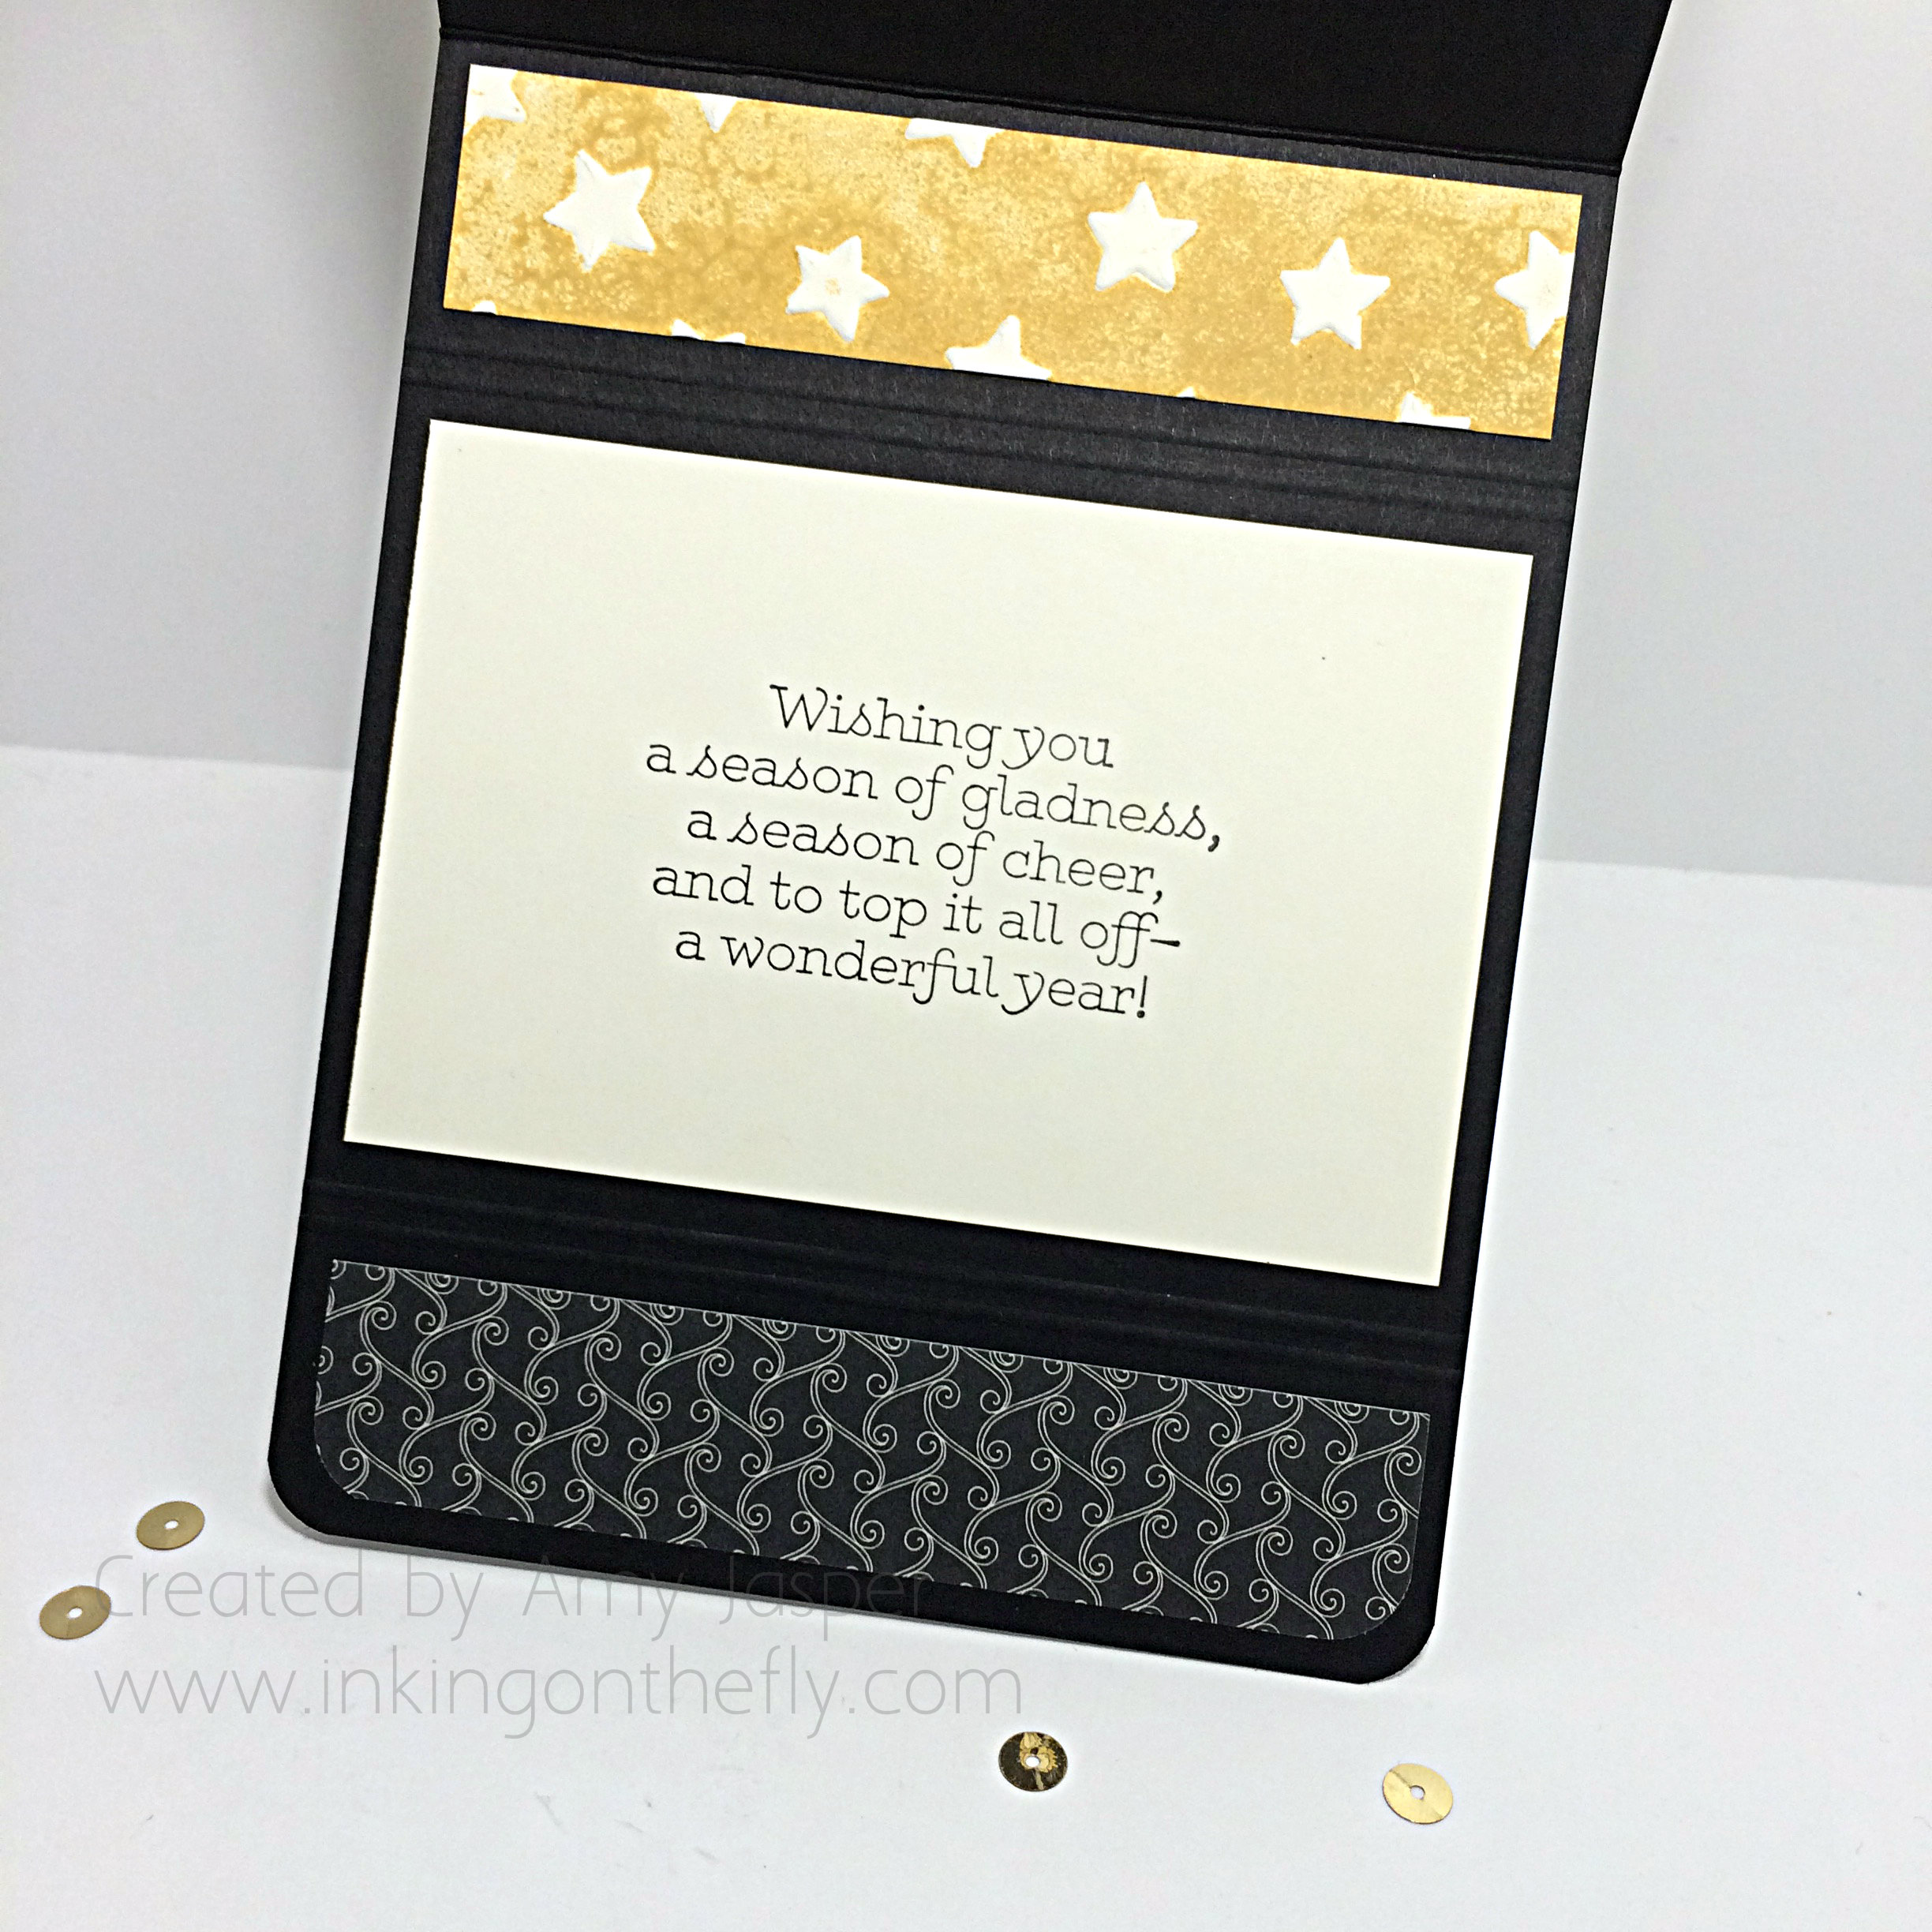
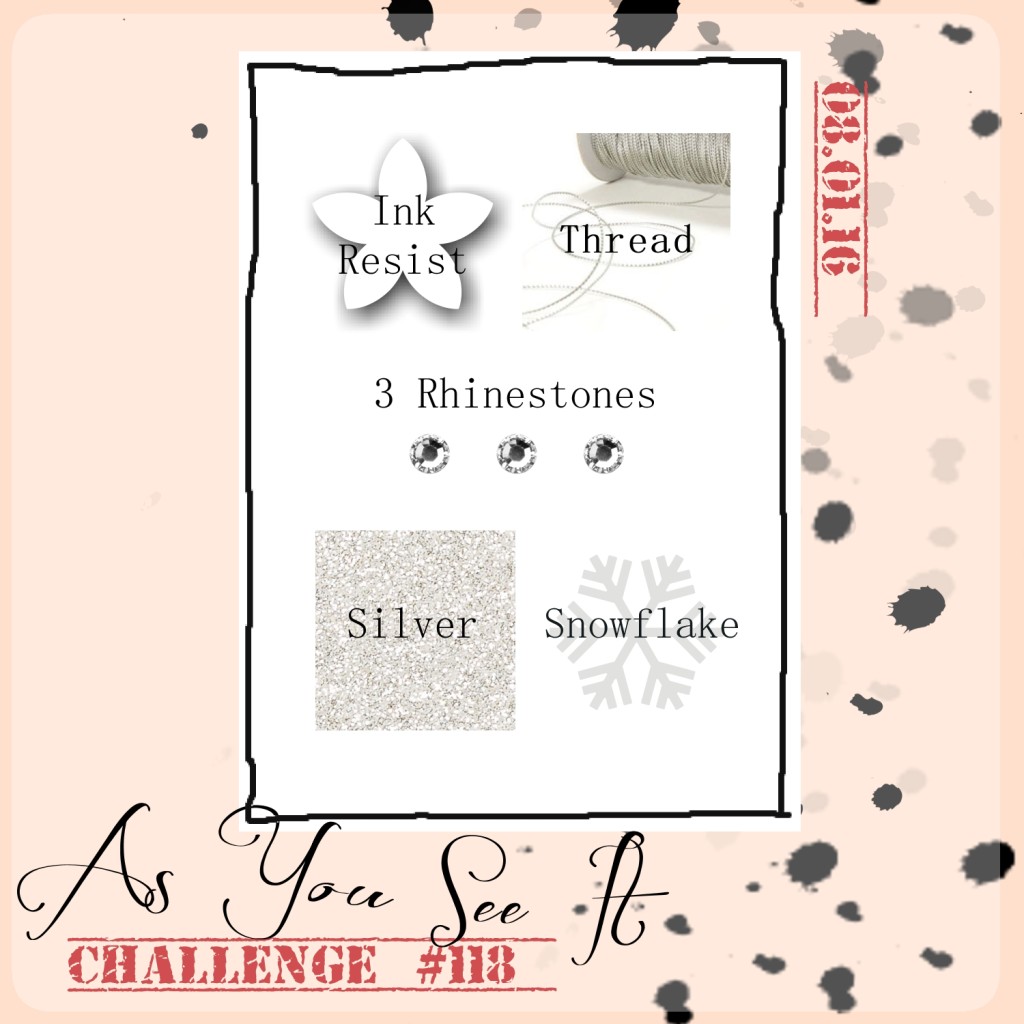 This is called an assortment challenge and you have to have each of these elements incorporated into your card, scrapbook page, or 3D item. After that, it’s up to you! I decided to go with an elegant monochromatic card for a friend’s birthday.
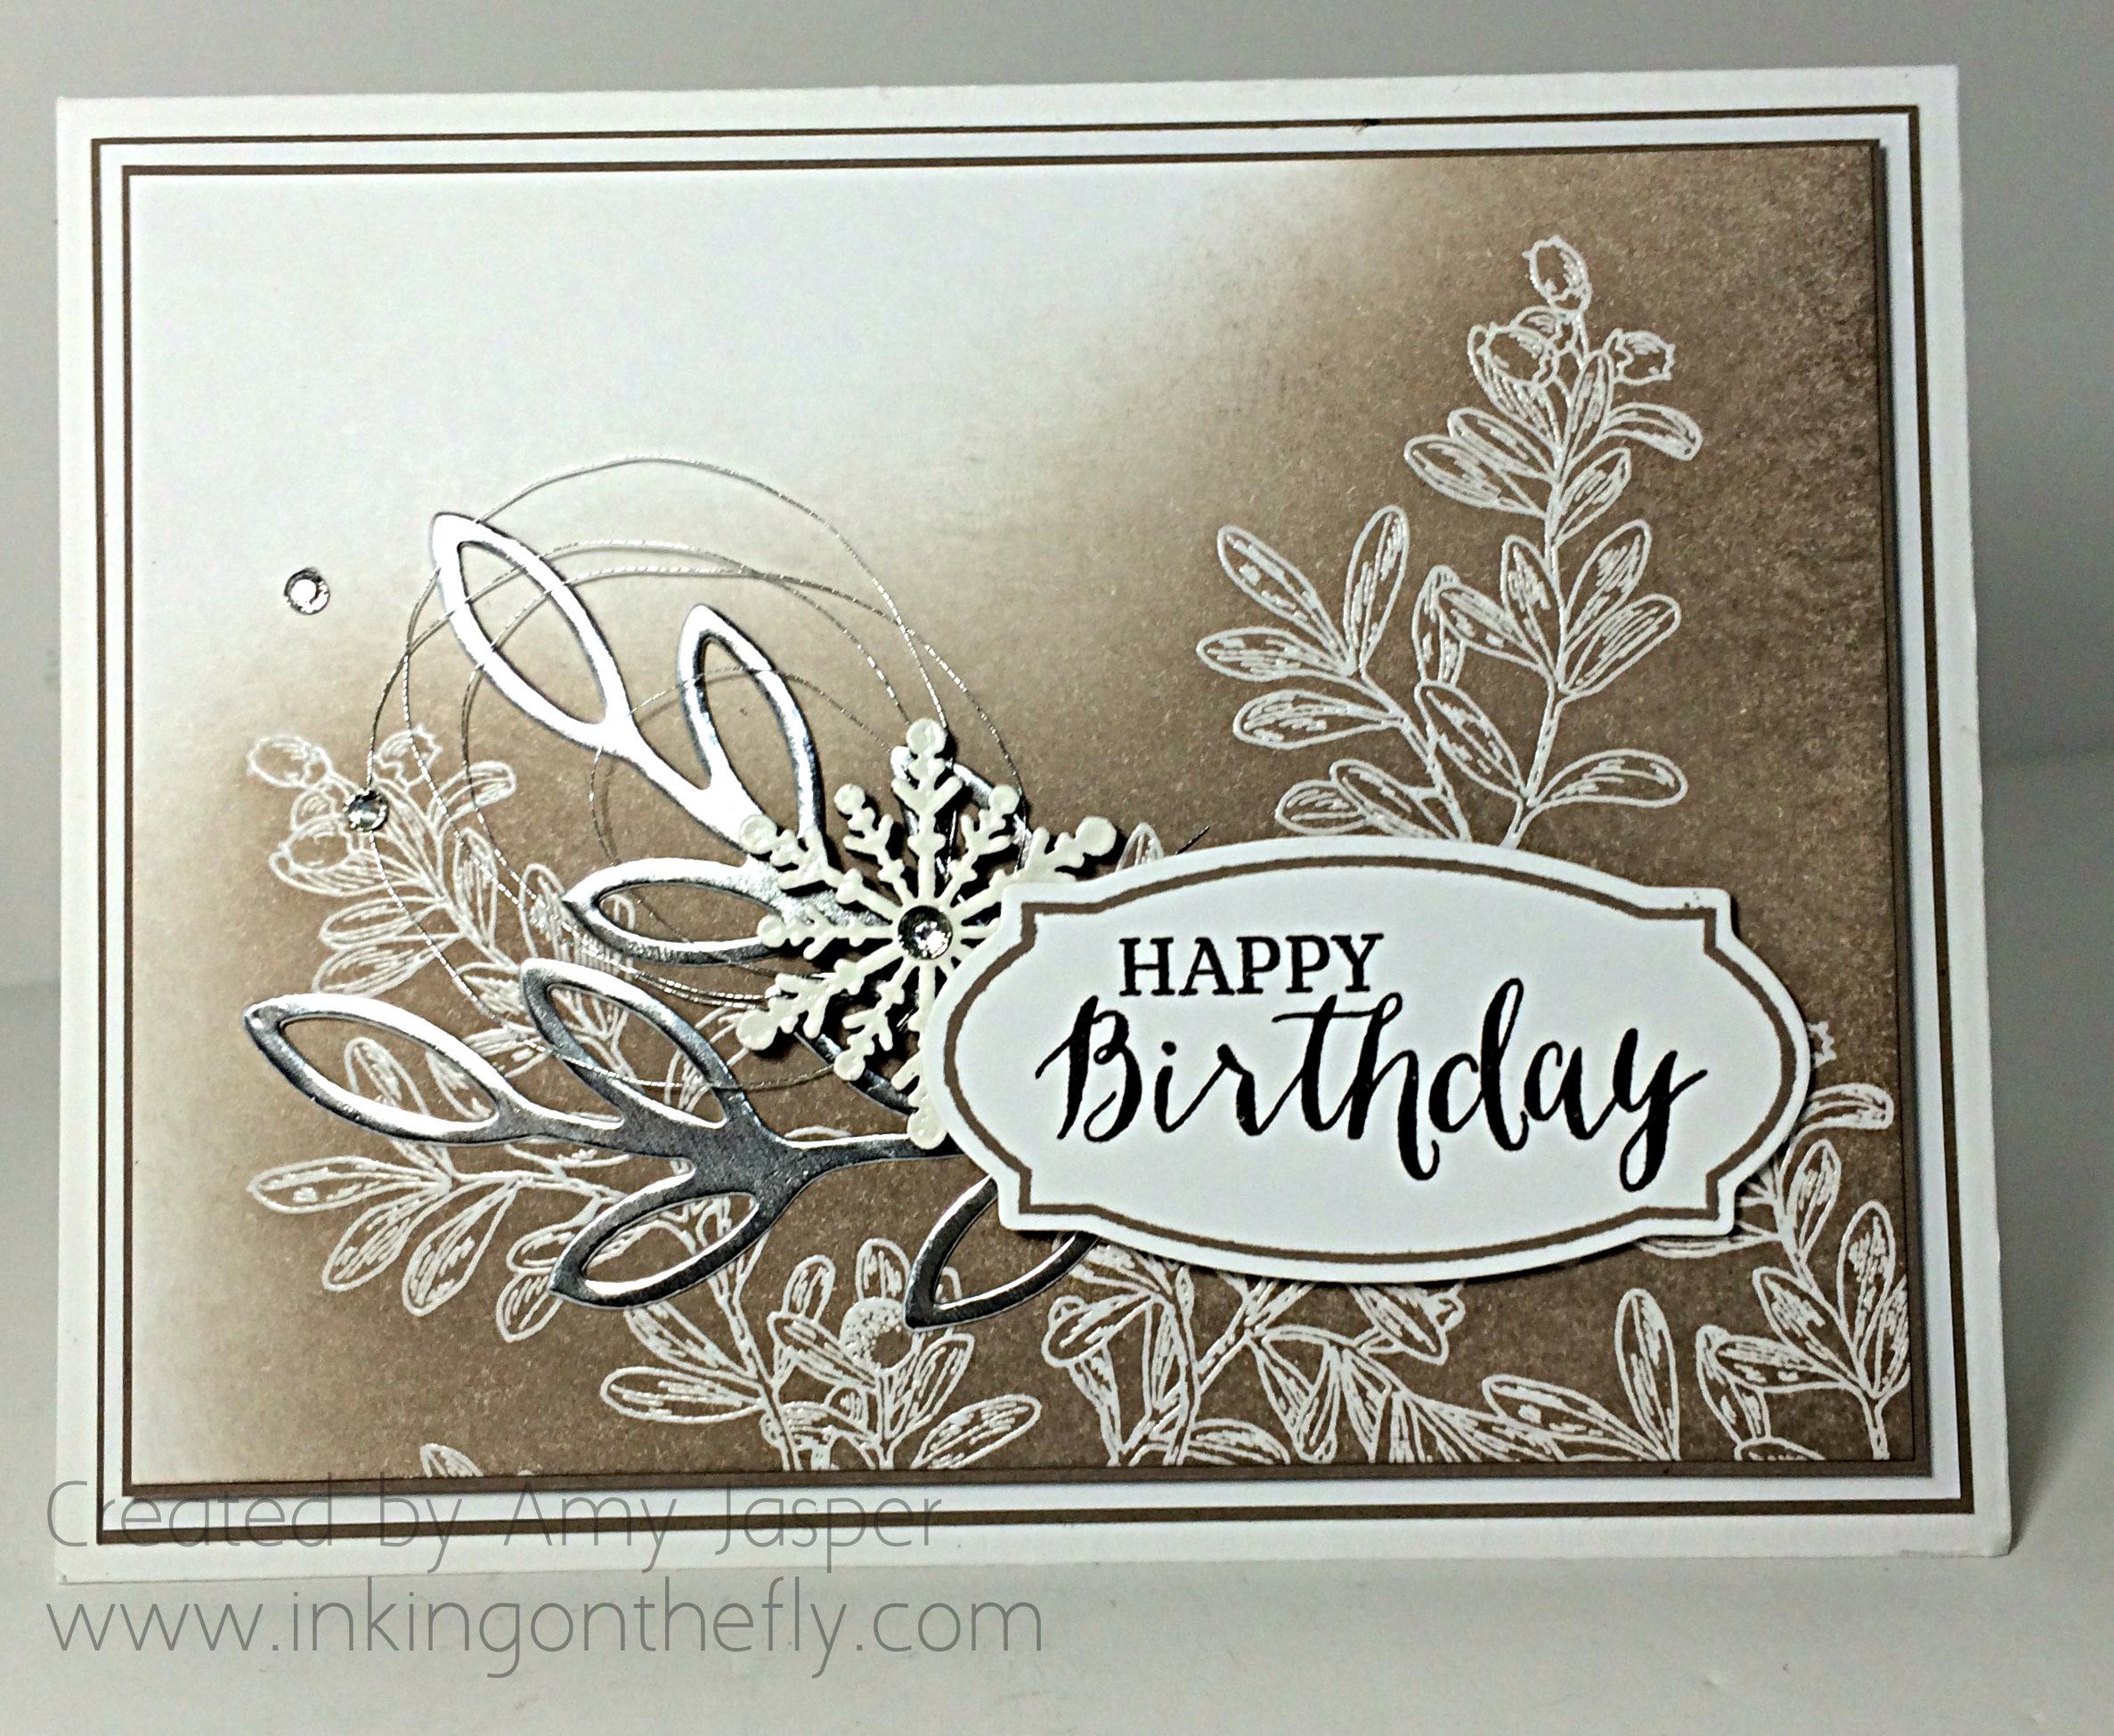 I used Thick Whisper White cardstock for the card base, then layered Tip Top Taupe, Whisper White, and Tip Top Taupe again before adding the last later of Whisper White cardstock. I like how it frames the central image.
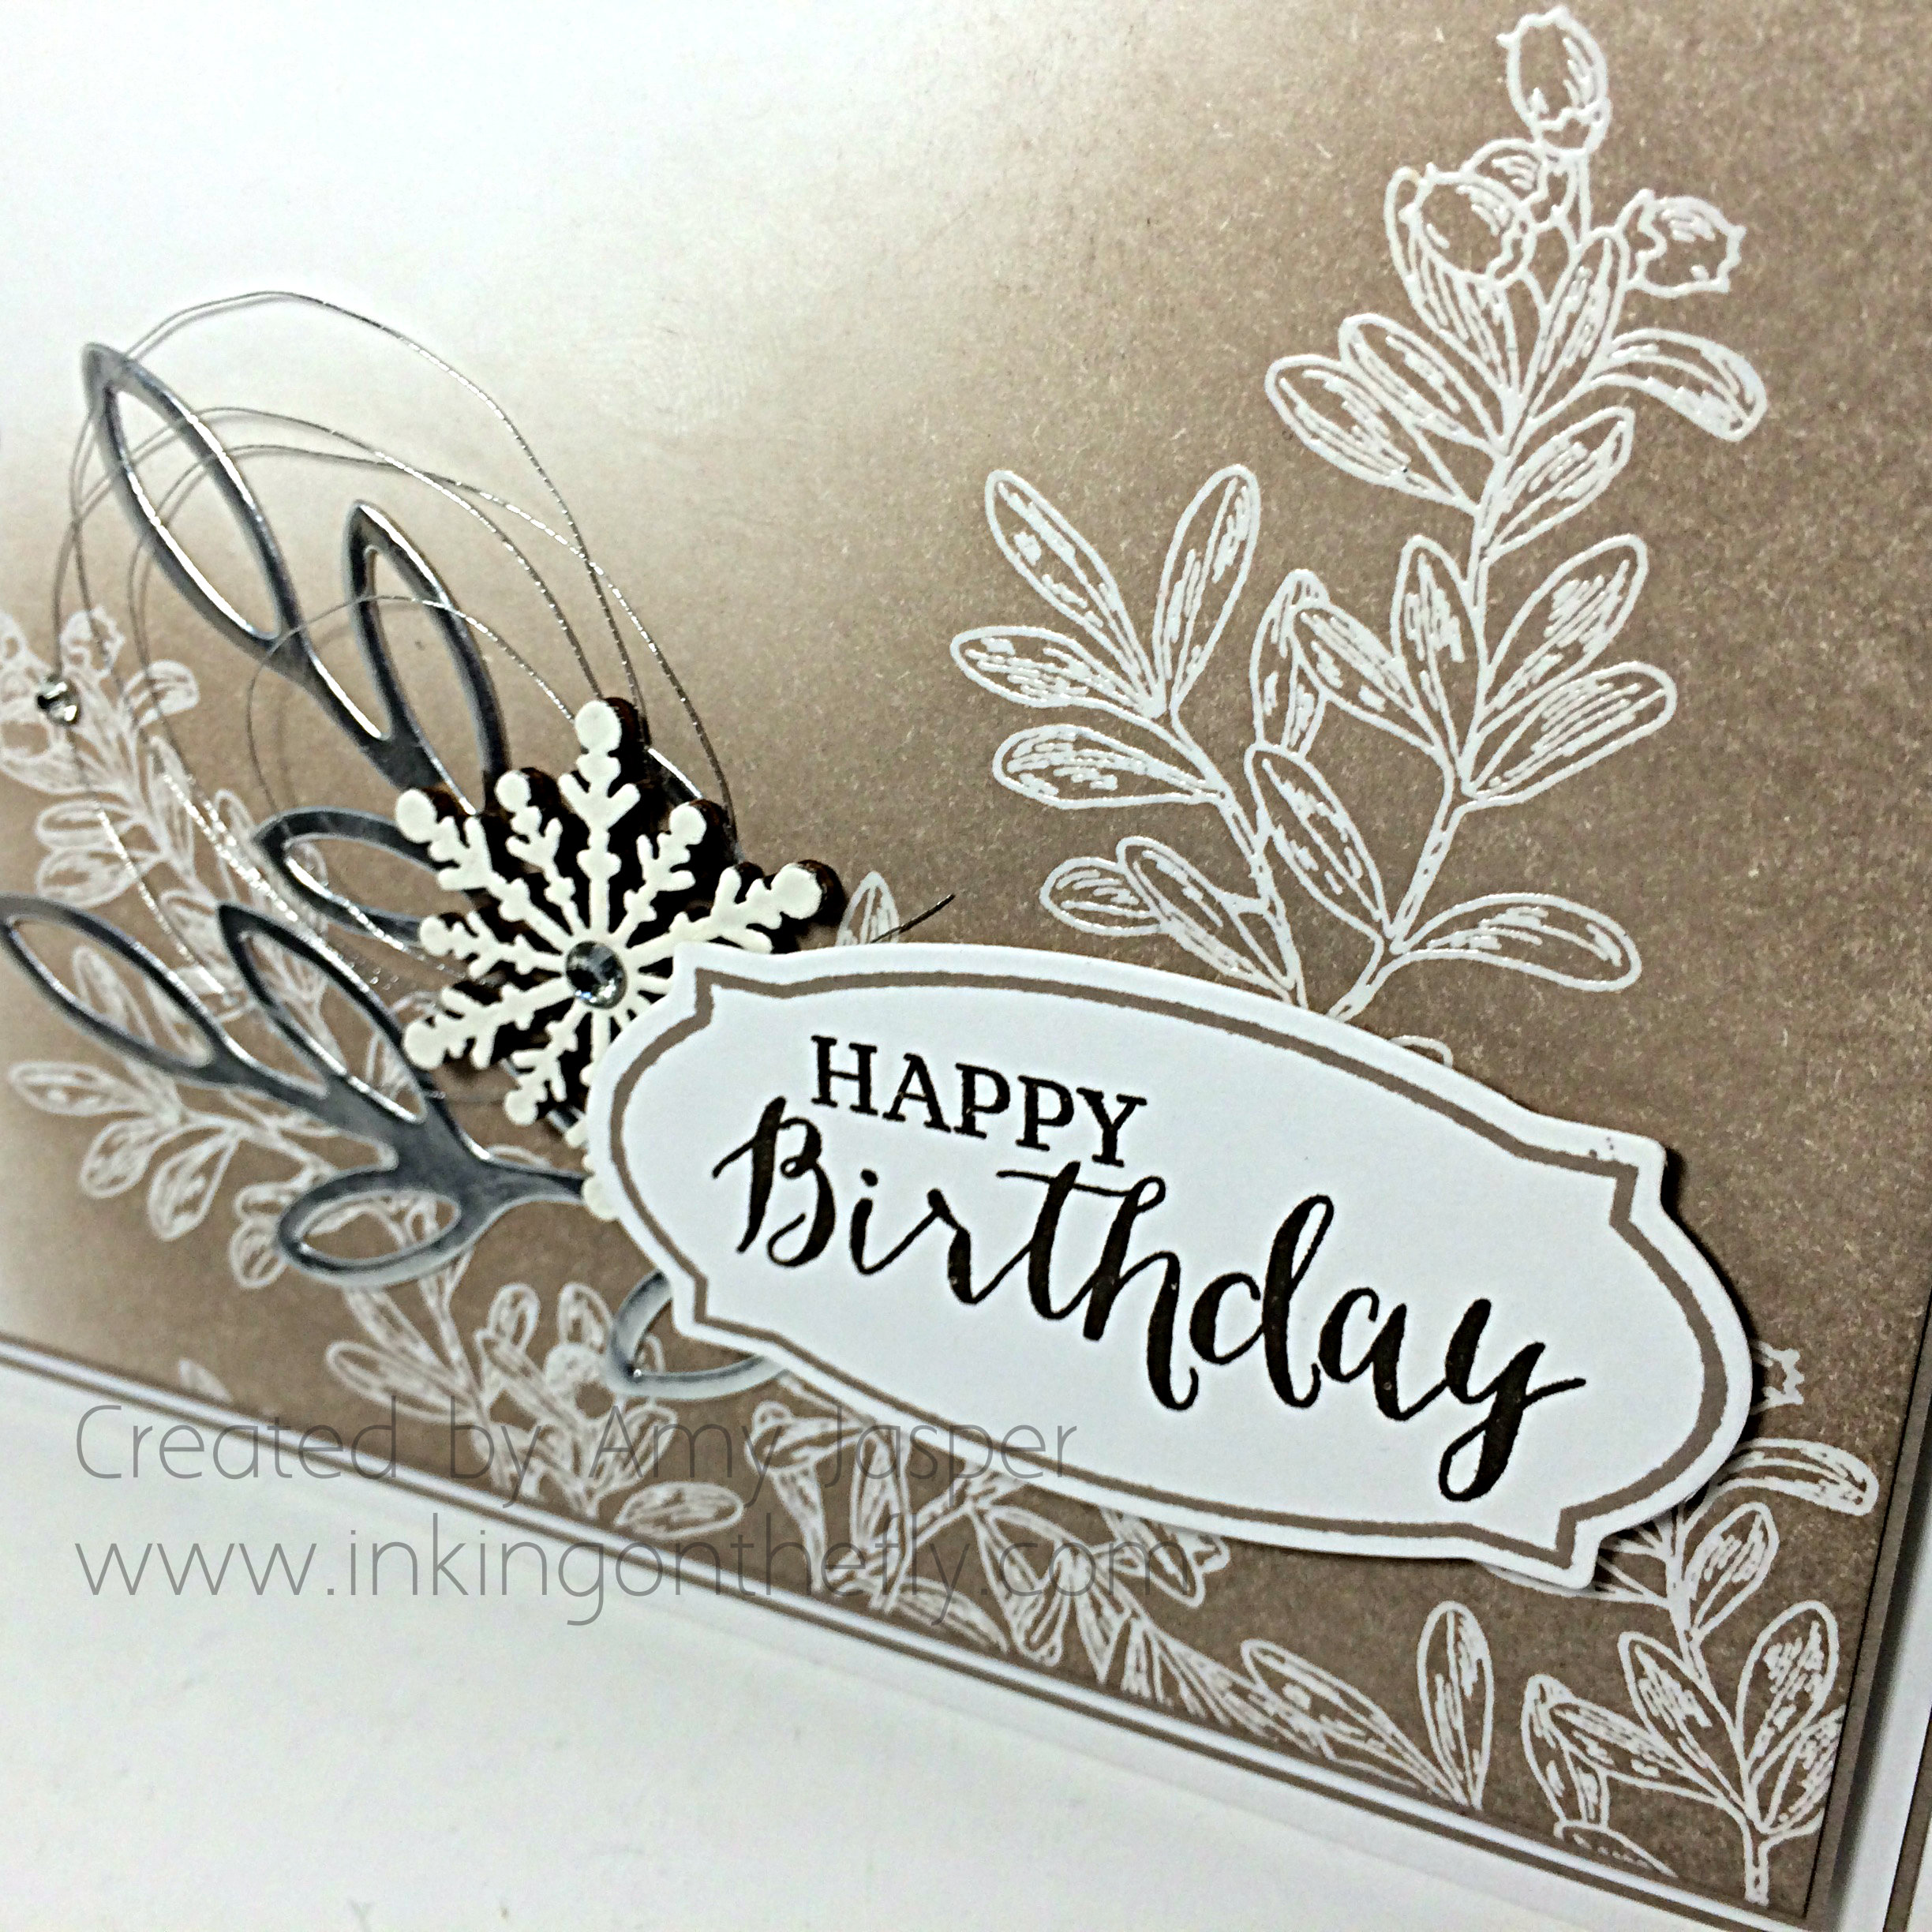 The background image is from An Open Heart stamp set and was stamped with Versamark ink and heat embossed using Clear Embossing powder. The ink resist (a requirement for the challenge) comes into play when Tip Top Taupe ink was sponged over the embossed images which do not absorb any of the water-based ink like the paper does. It’s such a fun and simple technique with a very pretty effect.
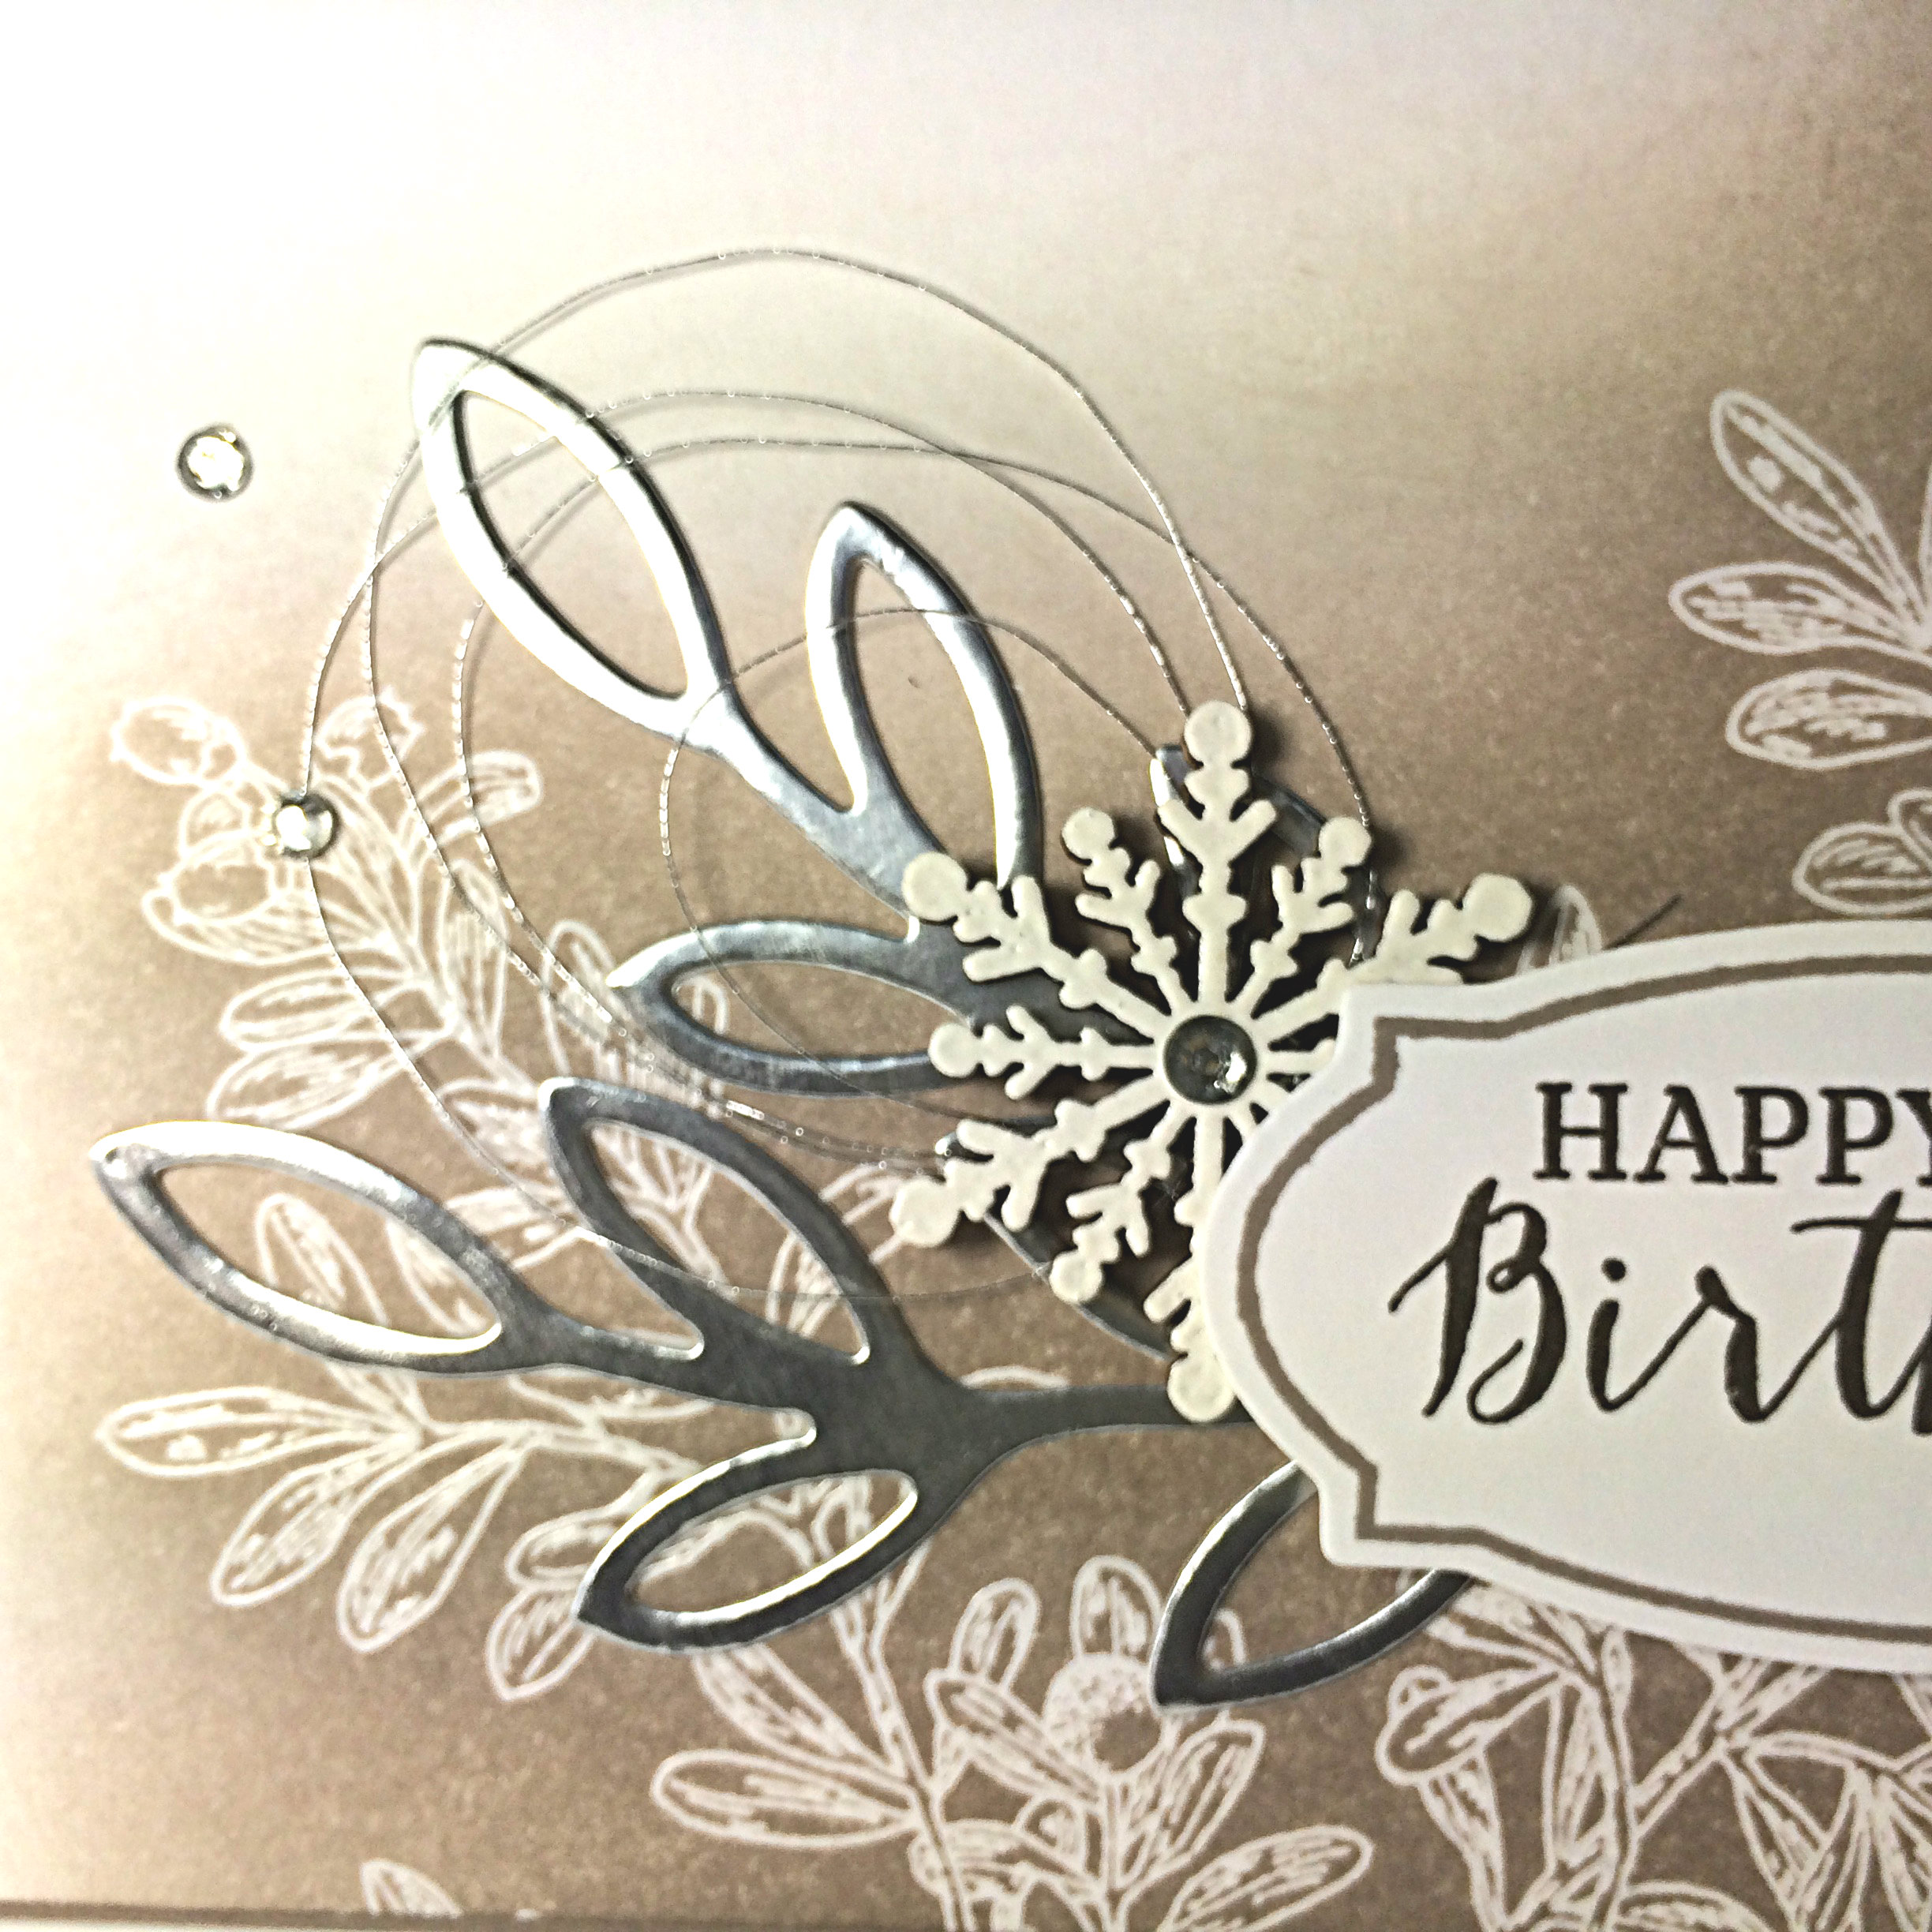 I also embossed the wood snowflake element by gently covering it in Versamark ink, then embossing it with White embossing powder. To get the best coverage, I allowed the heated embossing to cool, then covered it in Versamark again, added more white embossing powder, and heat set it a second time. This gives a nice smooth enamel finish.
Those Silver Foil leaves are cut using the new Rose Wonder Thinlits and the Big Shot. The label is also cut using the Rose Wonder Thinlits. The sentiment from the Rose Wonder photopolymer stamp set is stamped with Early Espresso ink, while the frame around the sentiment (also from the Rose Wonder set) is stamped with Tip Top Taupe ink. You can purchase the stamp set and the thinlits together in a bundle, making it more affordable to get them together! Yay!
 That’s my take on this assortment challenge. It’s all there, folks!
Now, I get to enjoy an evening with my husband who’s been so very sick over the last few evenings that he has just gone to bed after supper. Tonight, I get my husband back! I think we’ll watch some “Chuck” on Netflix. I know, we’re a pretty exciting couple, lol!
Why not give this challenge a go? Don’t forget to show it off on the As You See It Challenge blog!


