simple and cute

Toile Tidings

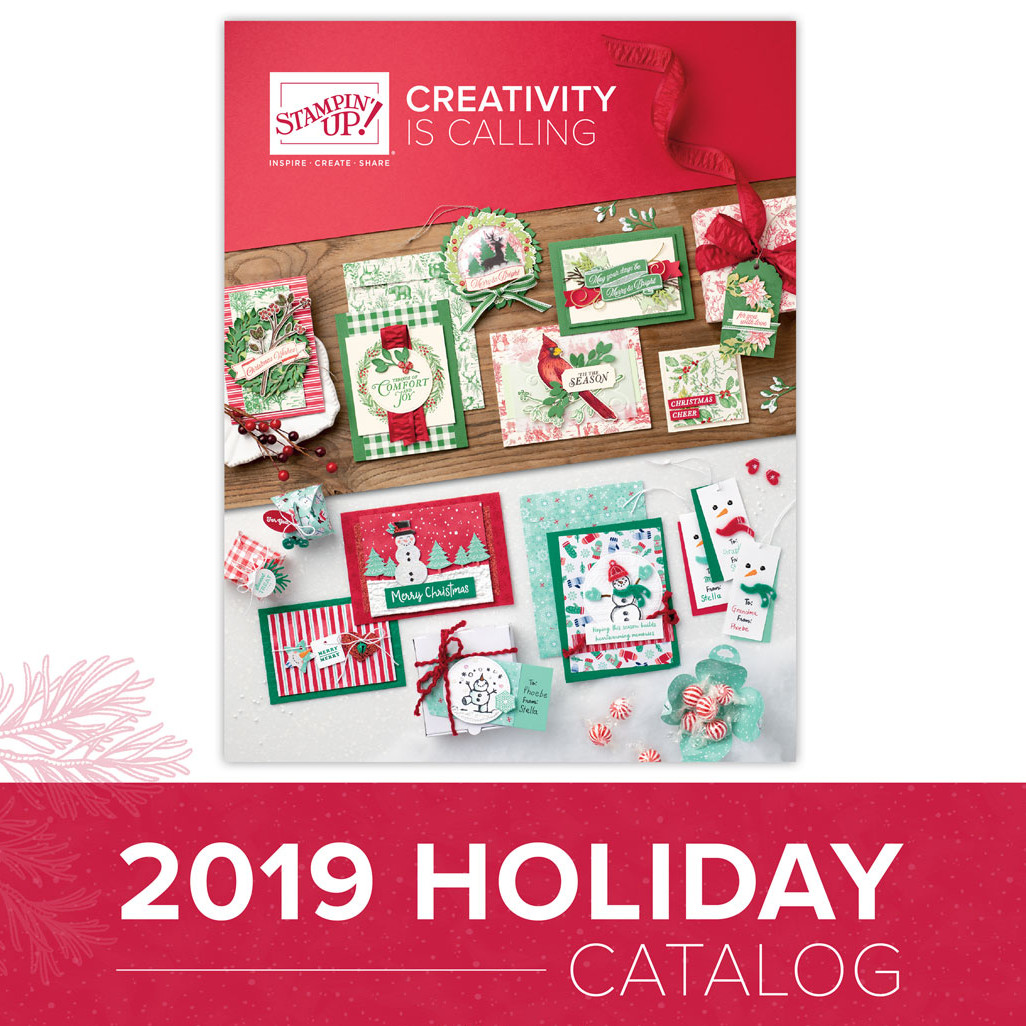
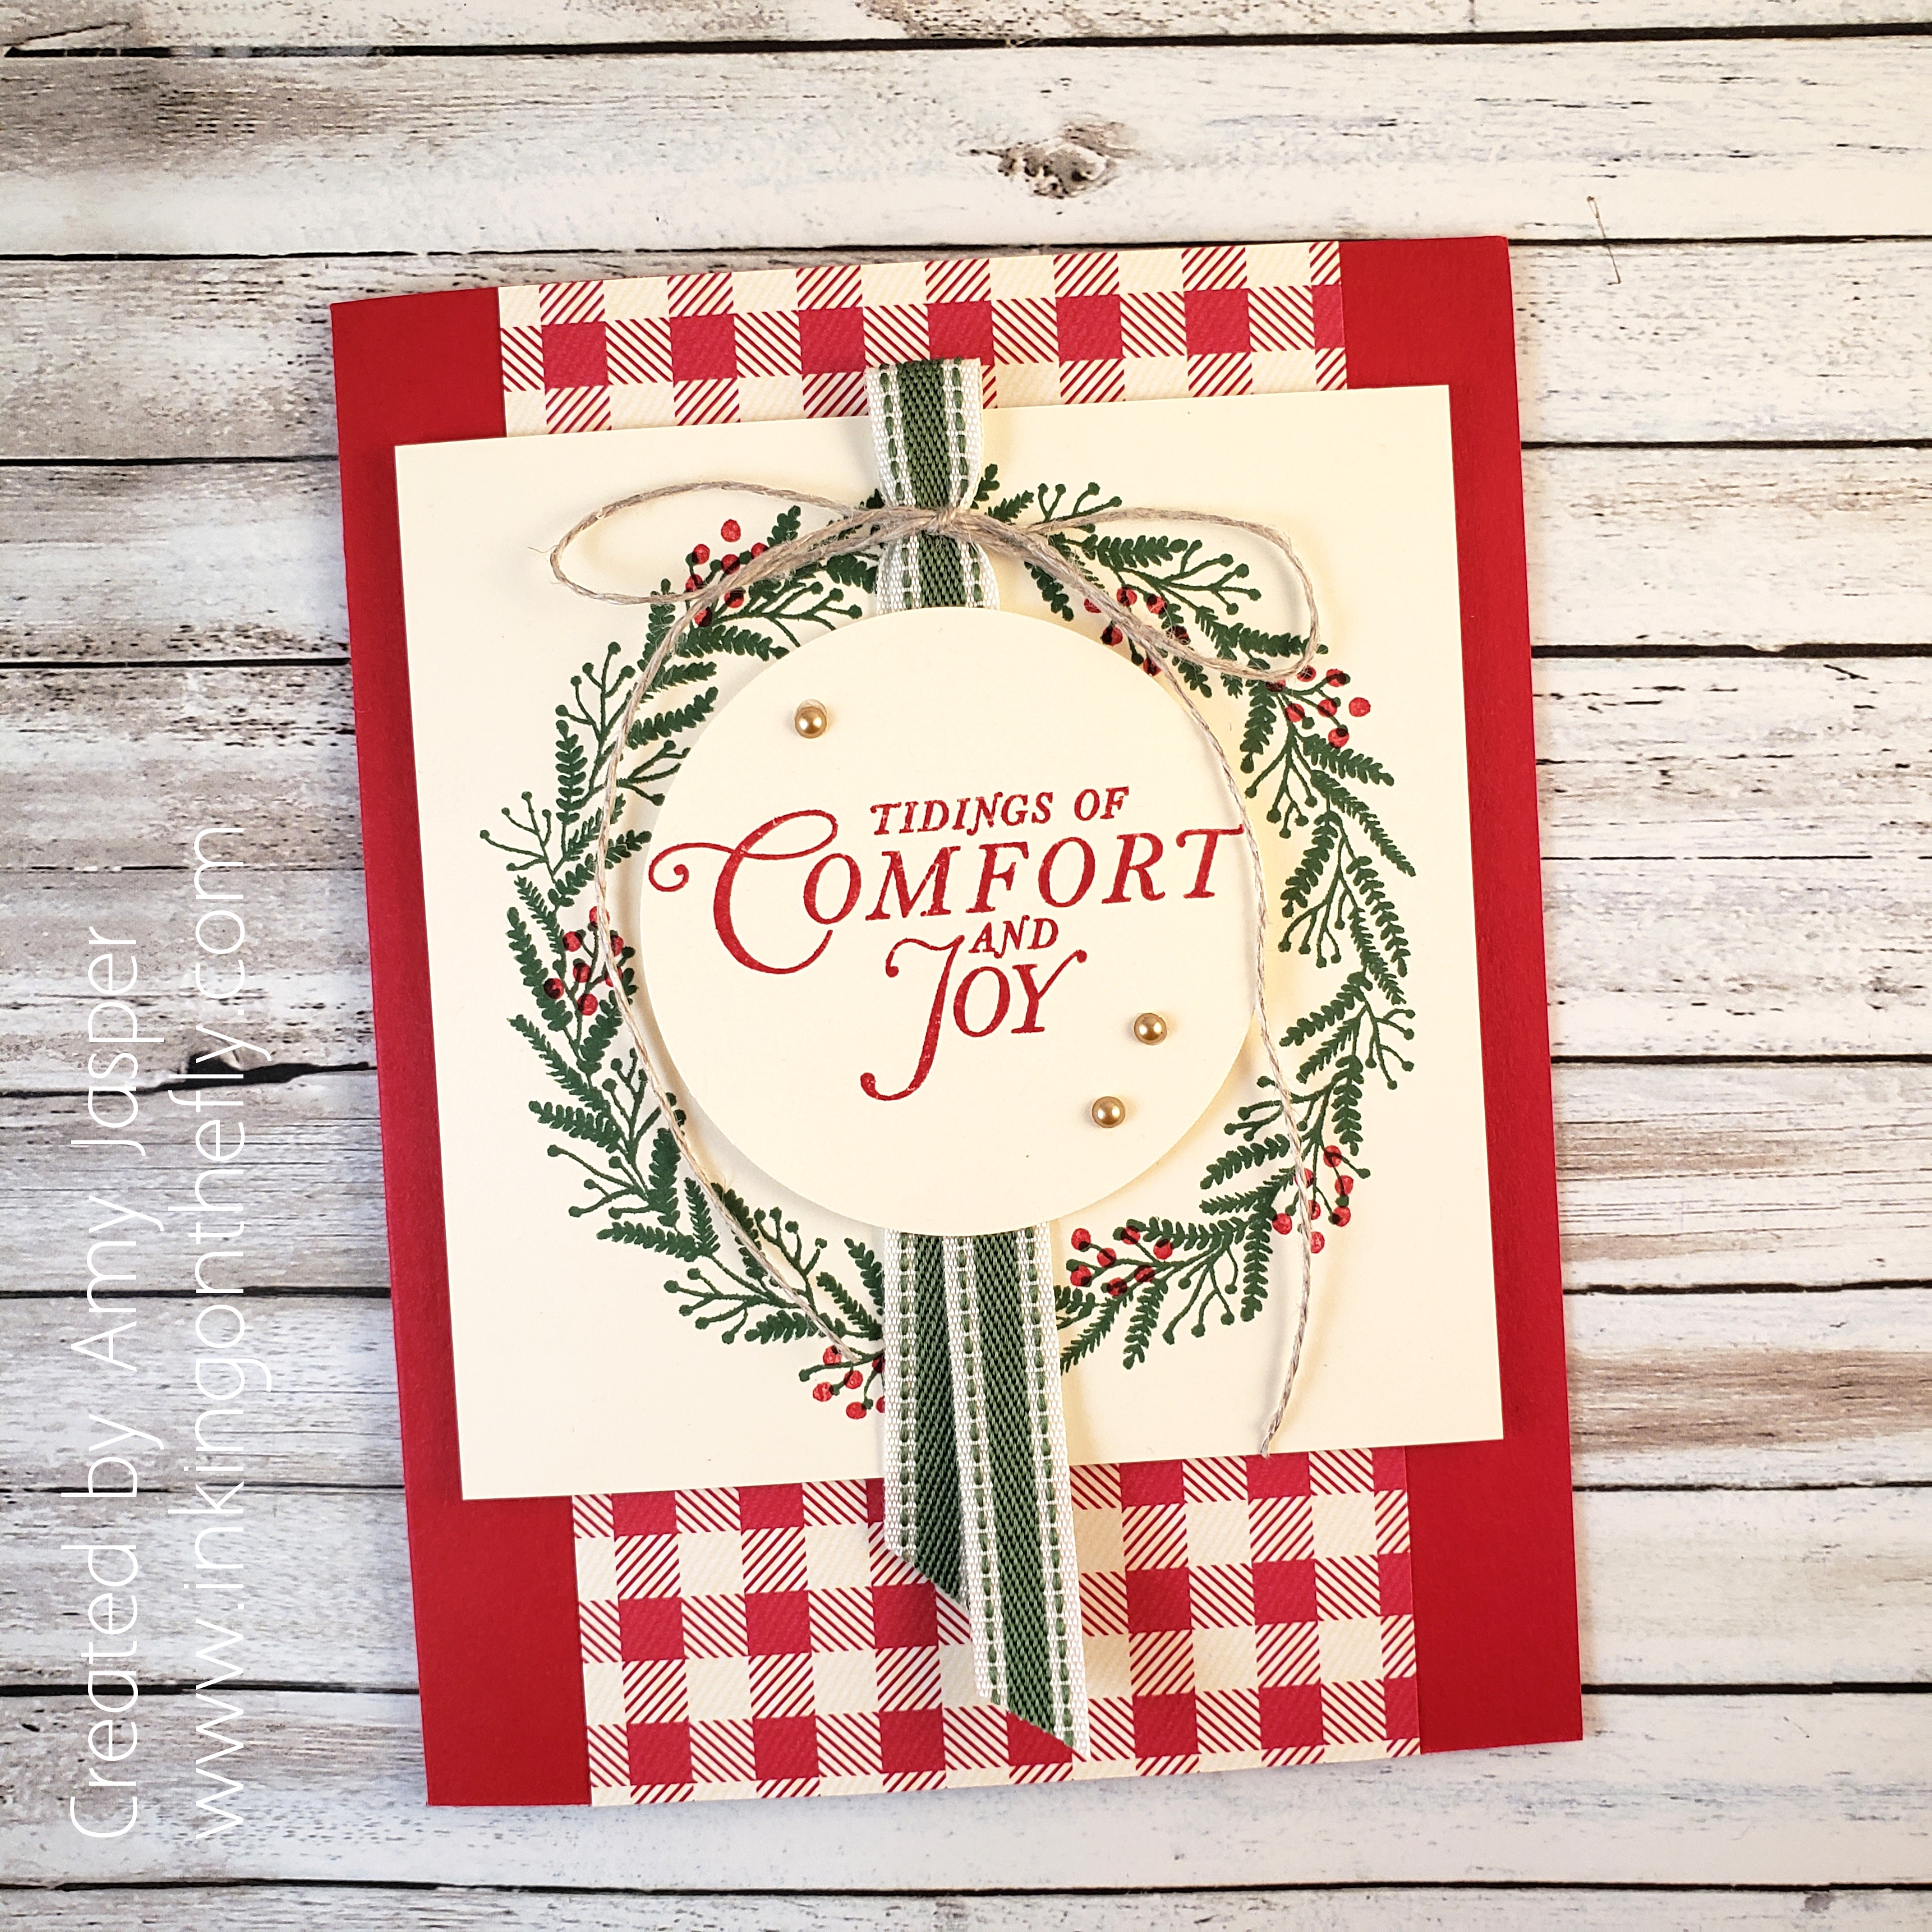
The Stampin’ Up! catalogues are not just catalogues of stamping and art supplies that you can purchase, but they are a great resource for ideas and inspiration! My card design today is one that I copied from the cover of the Stampin’ Up! Holiday Catalogue. I changed out the colours a bit and made some other minor changes, but it’s a copy. And I LOVE it!!

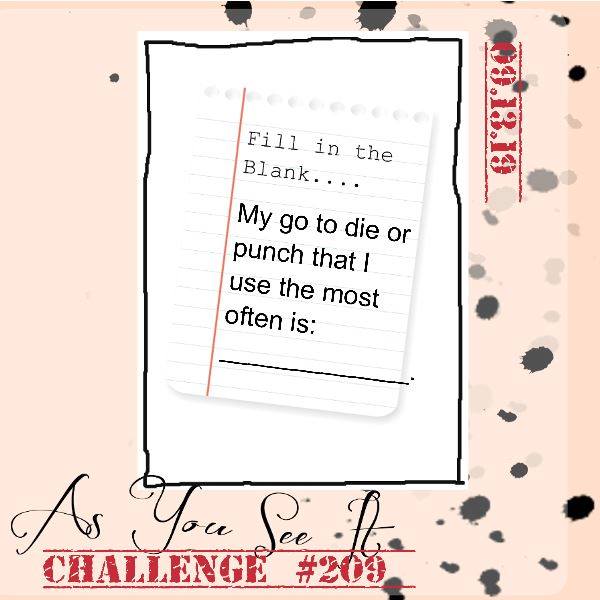
Today’s blog post is also inspired by the As You See It Challenge Blog which challenges participants to create a card using their most used punch or die.

What’s your go-to die or punch?

My favorite is the large 2-1/4″ circle punch from Stampin’ Up! I love how quick and easy it is to use punches instead of a die cutting machine. There are fewer steps to using a punch, which makes it easier and faster to create a card (and especially multiple cards) with a punch, rather than a die.

When I saw the card on the cover of the Stampin’ Up! holiday catalogue, I was immediately drawn to the plaid designer series paper and the square/circle combination with the layers on the card.

Can you spot the card on the cover that inspired me!?

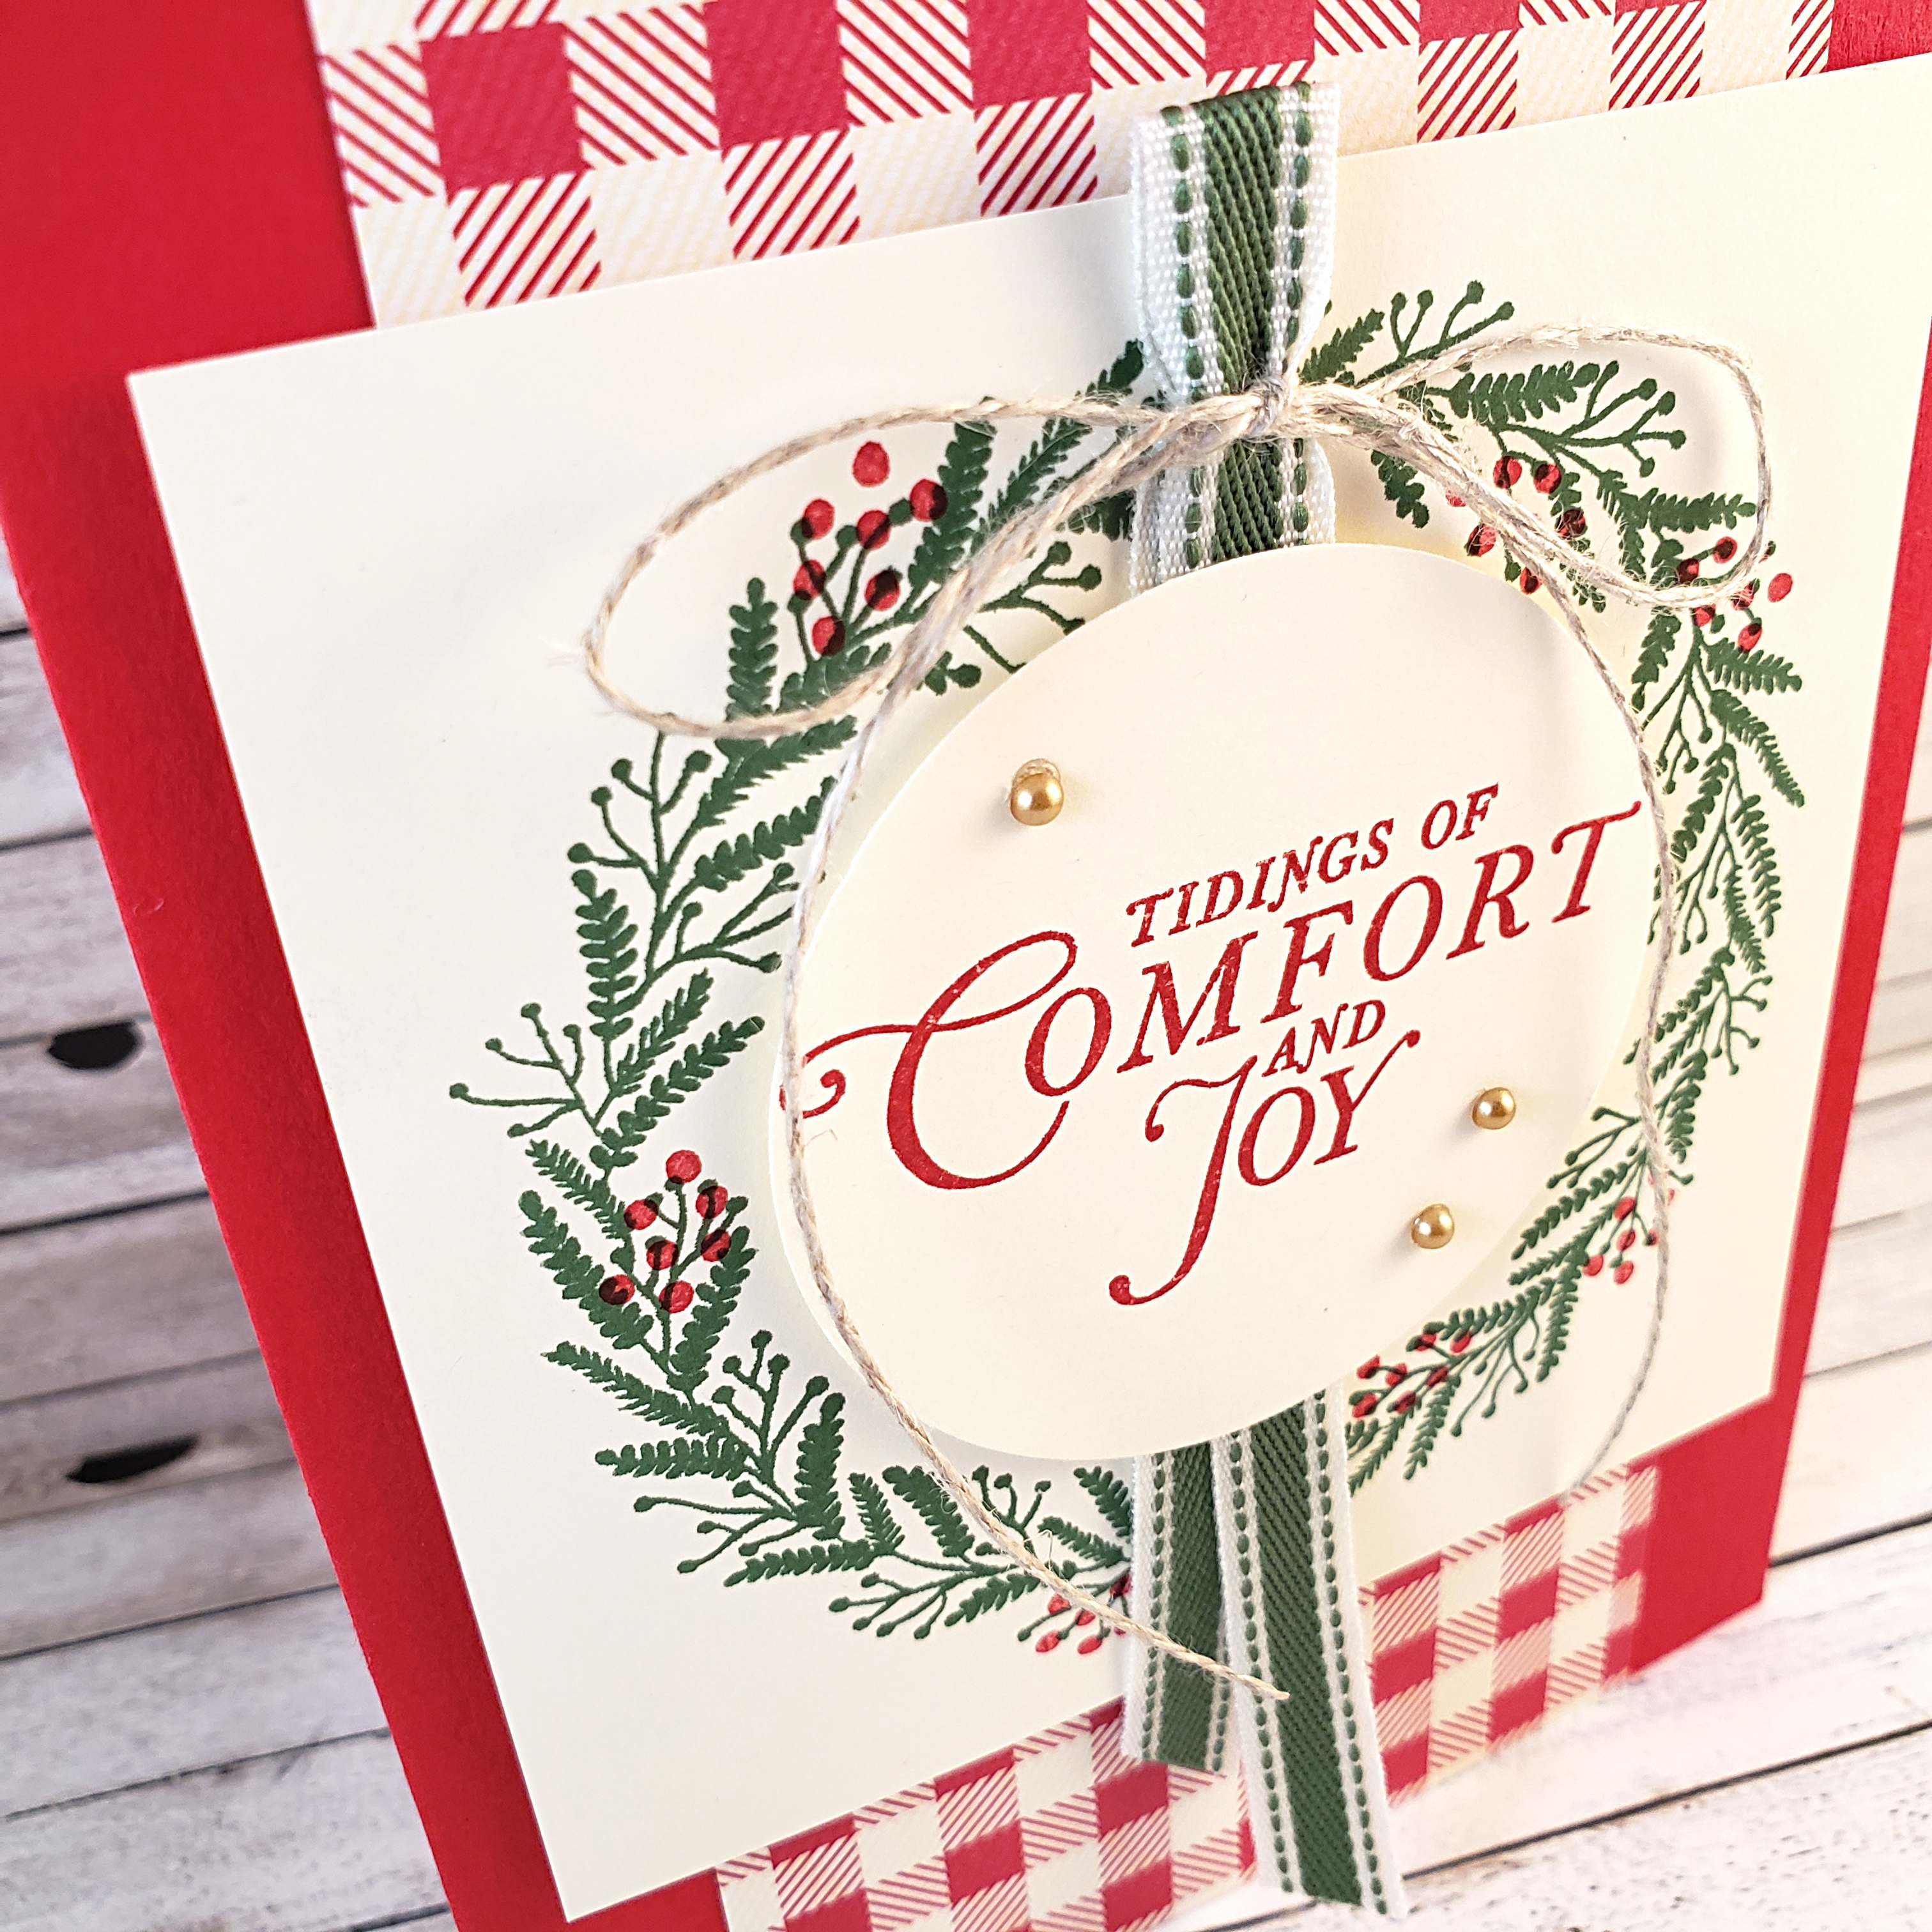
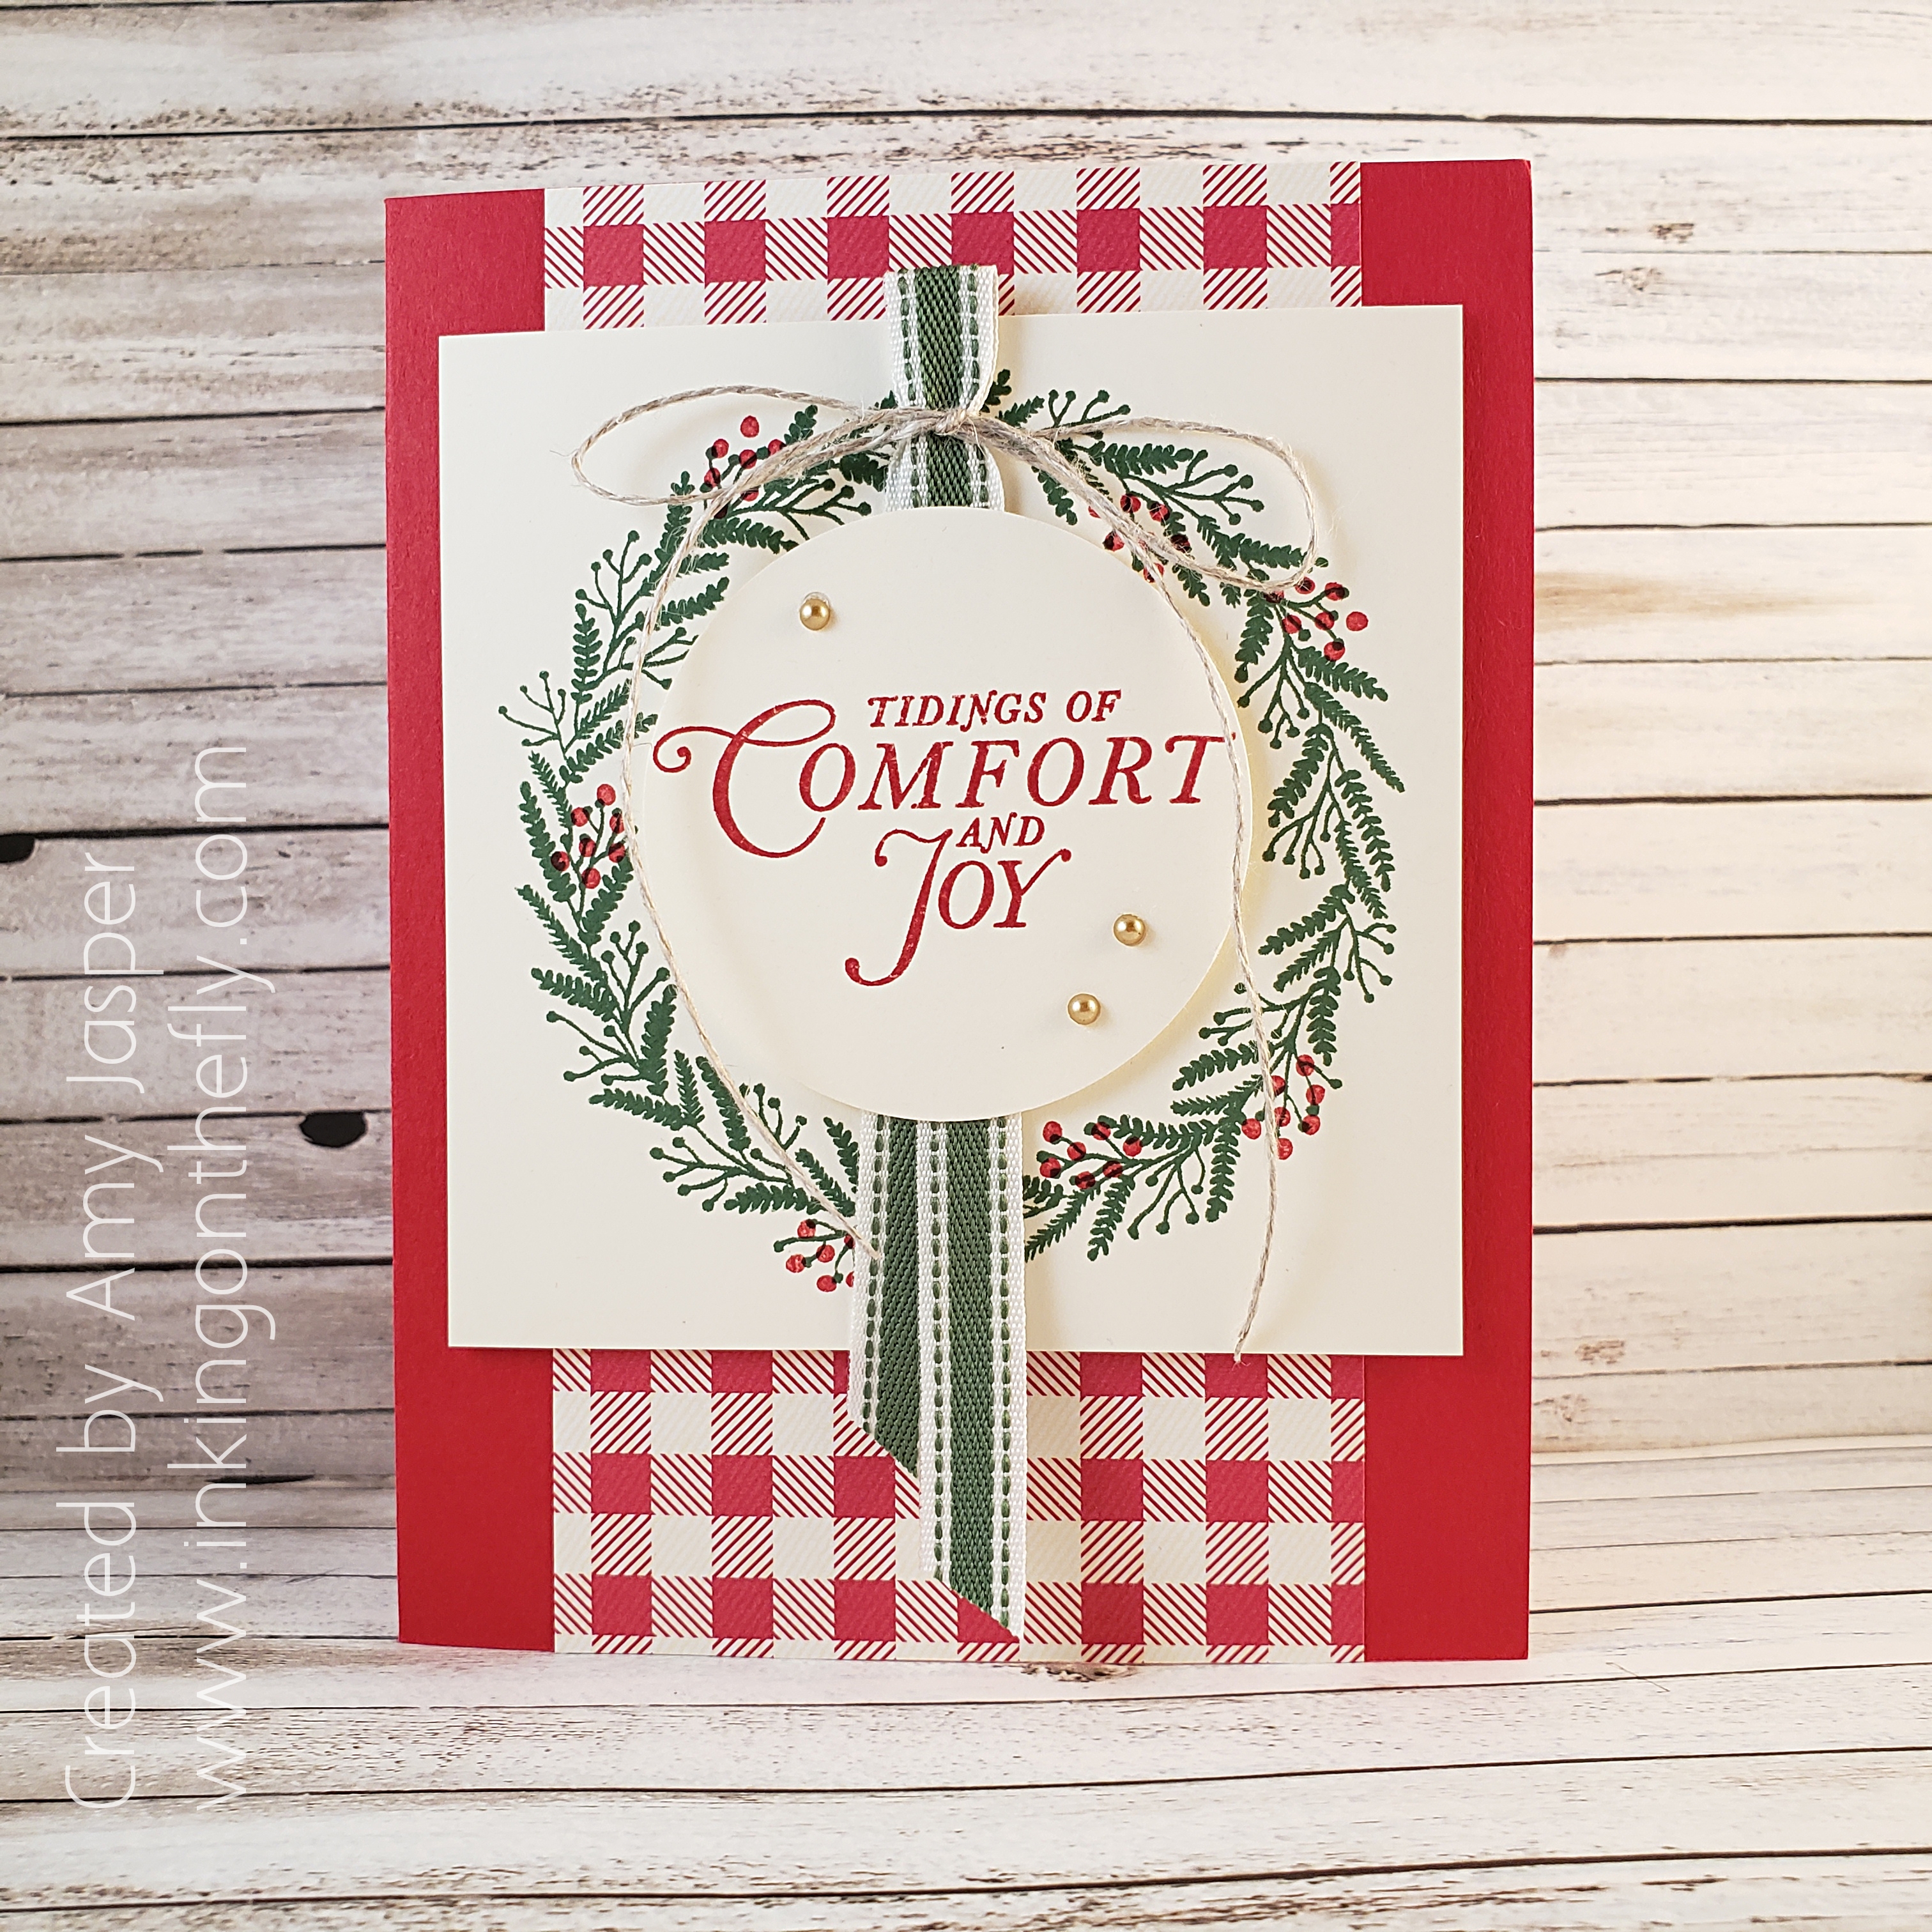
Now, I do have nearly all of the products shown on that sample, but I wanted to put my own spin on the design. I started with Real Red cardstock for the card base, then added the 3″ x 5.5″ piece of the red plaid (or is it gingham?) patterned paper from the Toile Tidings Designer Series Paper pack.

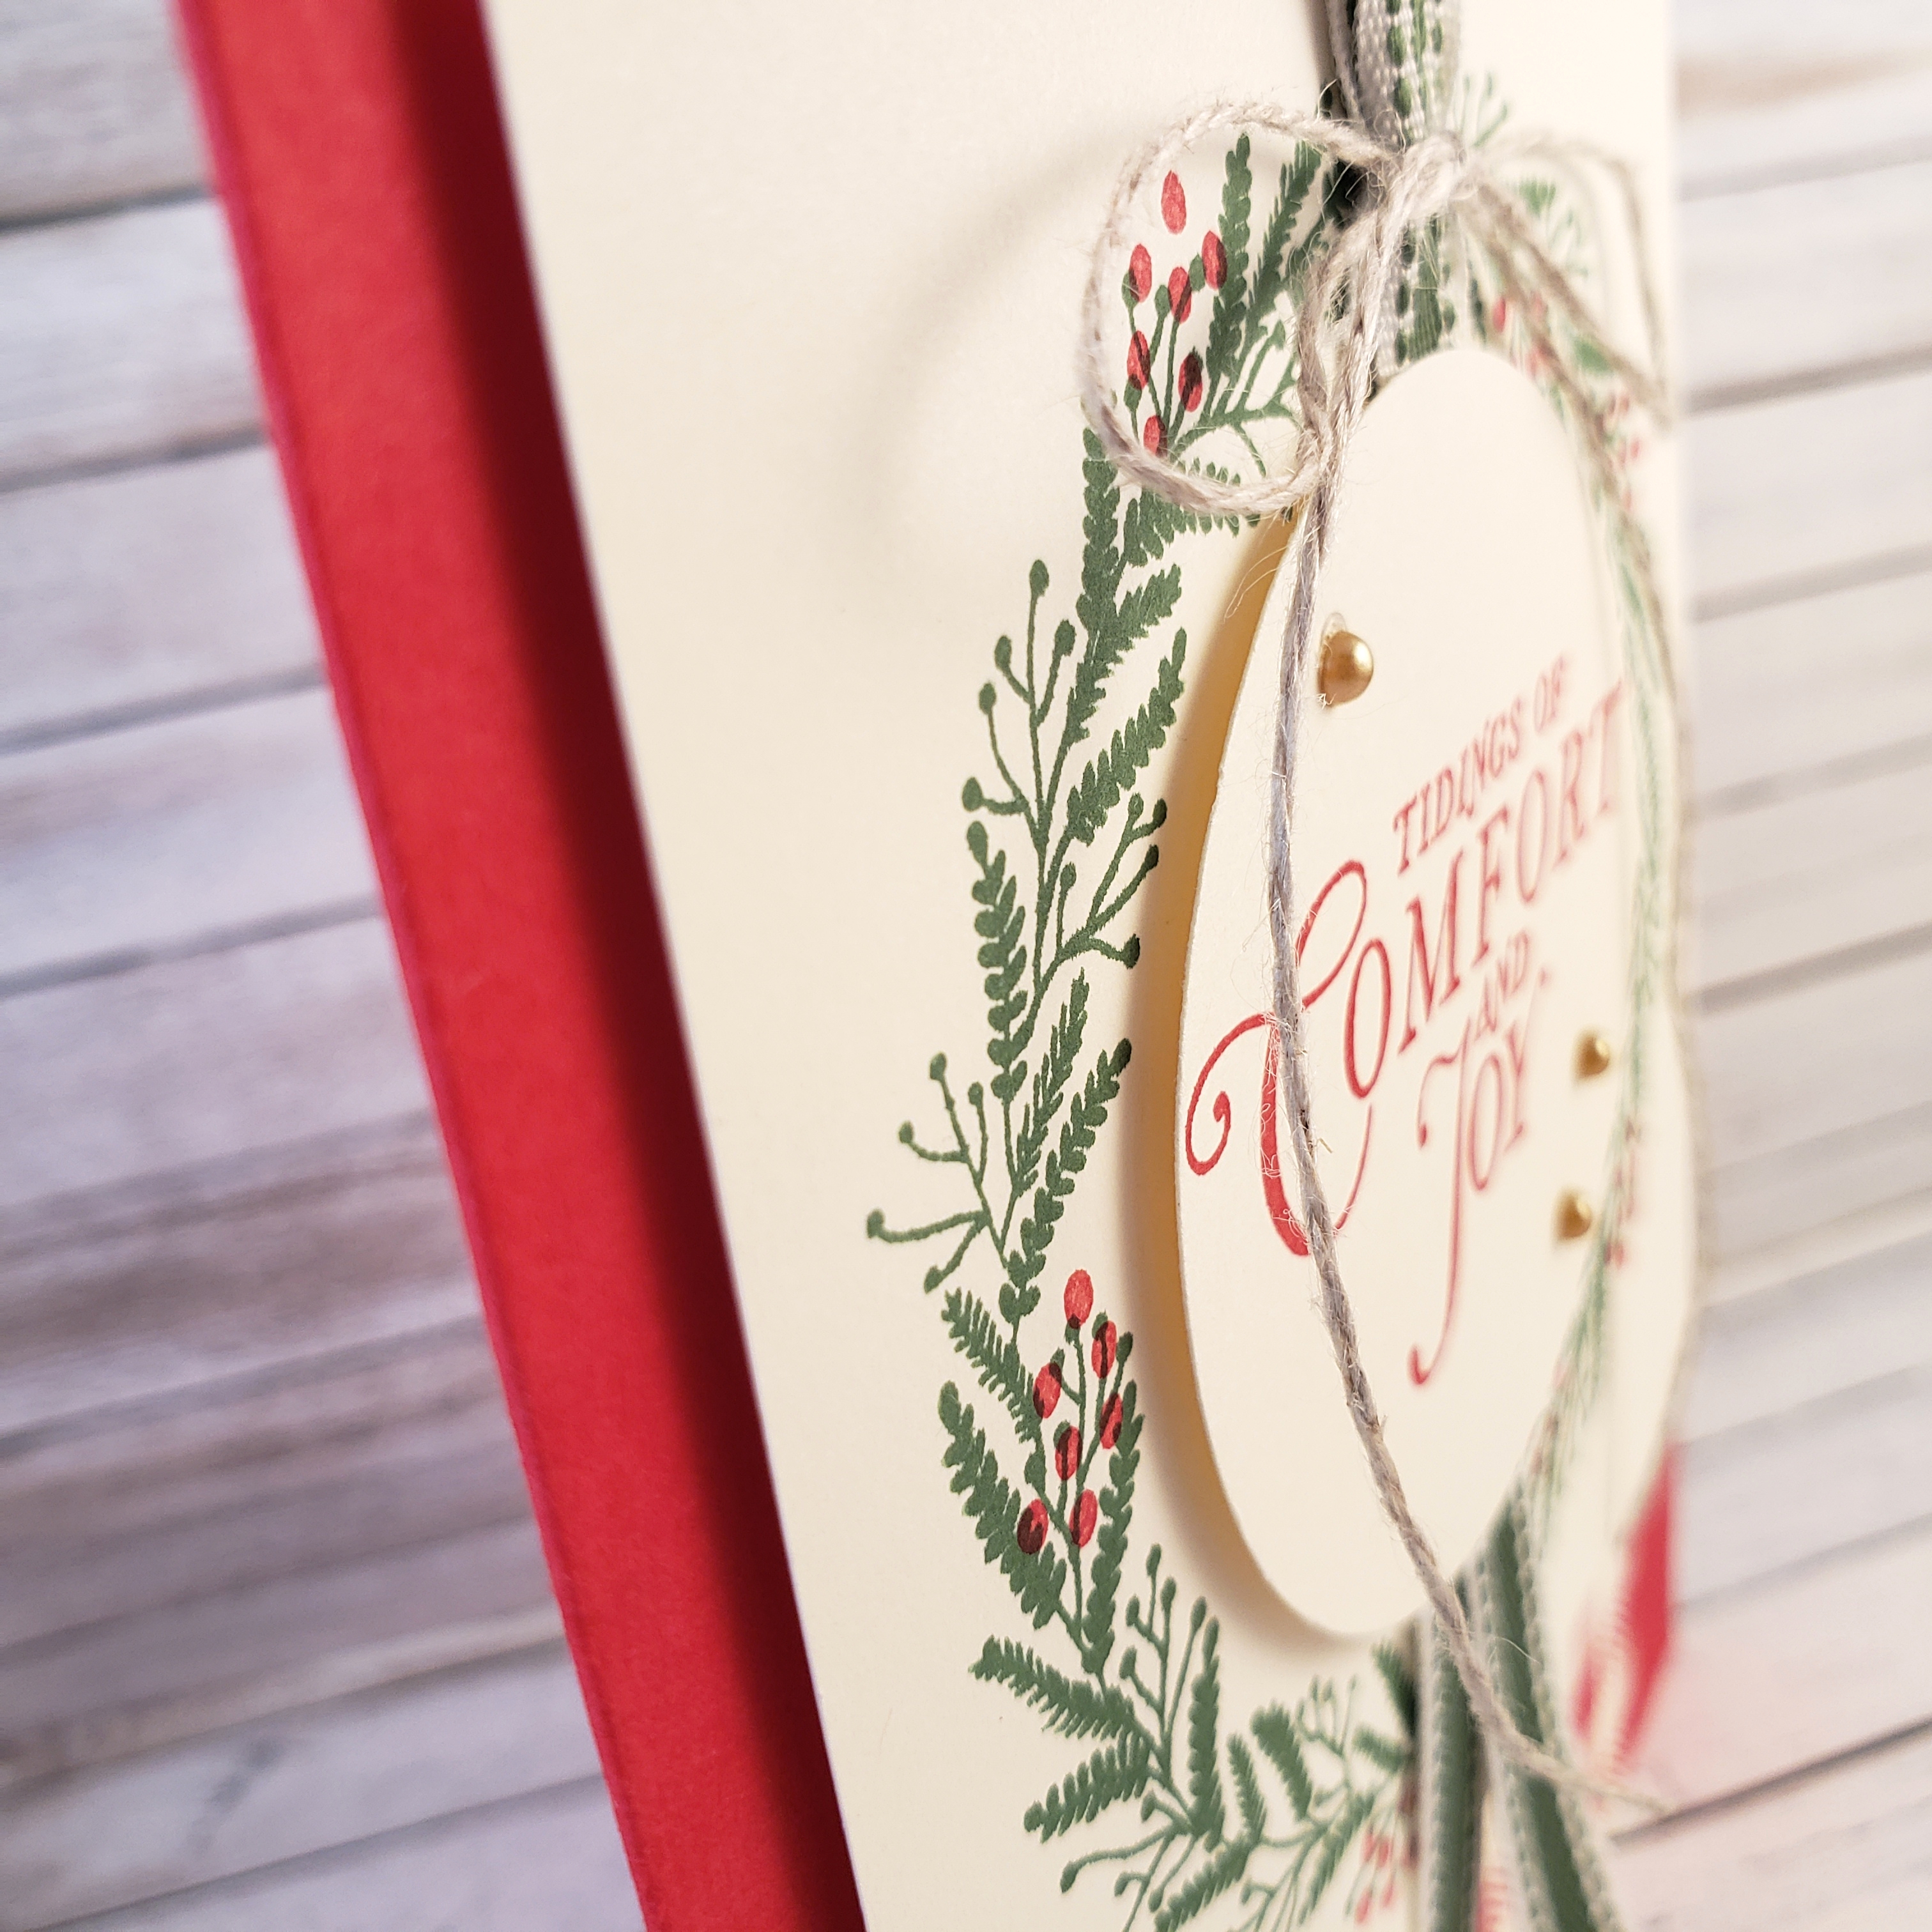
Next was to cut a 3-3/4″ square of Very Vanilla cardstock and stamp the wreath image from the Tidings All Around stamp set in Garden Green ink. To this, I stamped multiple berries from the same stamp set using Real Red ink. The square is adhered to the card front using Stampin’ Dimensionals. Then I added a piece of the Garden Green 3/8″ Double-Stitched Ribbon, approximately 8.5″ long, folded in half over the wreath image. Mini Glue Dots made attaching the ribbon super easy!

I love how the bow of Linen Thread tied onto the top of the folded ribbon adds an extra touch of a country cottage style. Of course, the circle of Very Vanilla cardstock is created using my favourite 2-1/4″ Circle Punch from Stampin’ Up! First, I stamped the sentiment with Real Red ink onto a piece of Very Vanilla cardstock, then used the punch so that the sentiment would be centered in the circle. This was then attached over the ribbon to the middle of the stamped wreath image with Stampin’ Dimensionals.

The final touch was to add the three gold Metallic Pearls around the sentiment.

Do you have a punch or die that you find yourself using quite a lot more than the others?  Let me know in the comments on this post. Or, why not just make a card with it and share it on the As You See It Challenge Blog! We all want to see how you use your go-to cut-out!

As always, you can order these products by going to my Online Store. Just click on the SHOP option on the top menu of the page or click on the SHOP circle on the side bar on your computer or scroll down to find it at the bottom of this post if you’re on your mobile device.
Purple Wonder

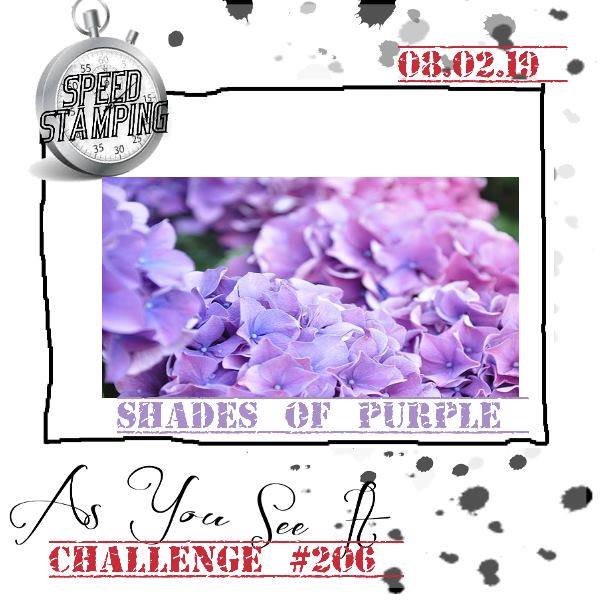
Purple is a tough colour for me to work with, so when I saw that the As You See It challenge this time was a speed challenge with shades of purple, I wasn’t very excited.

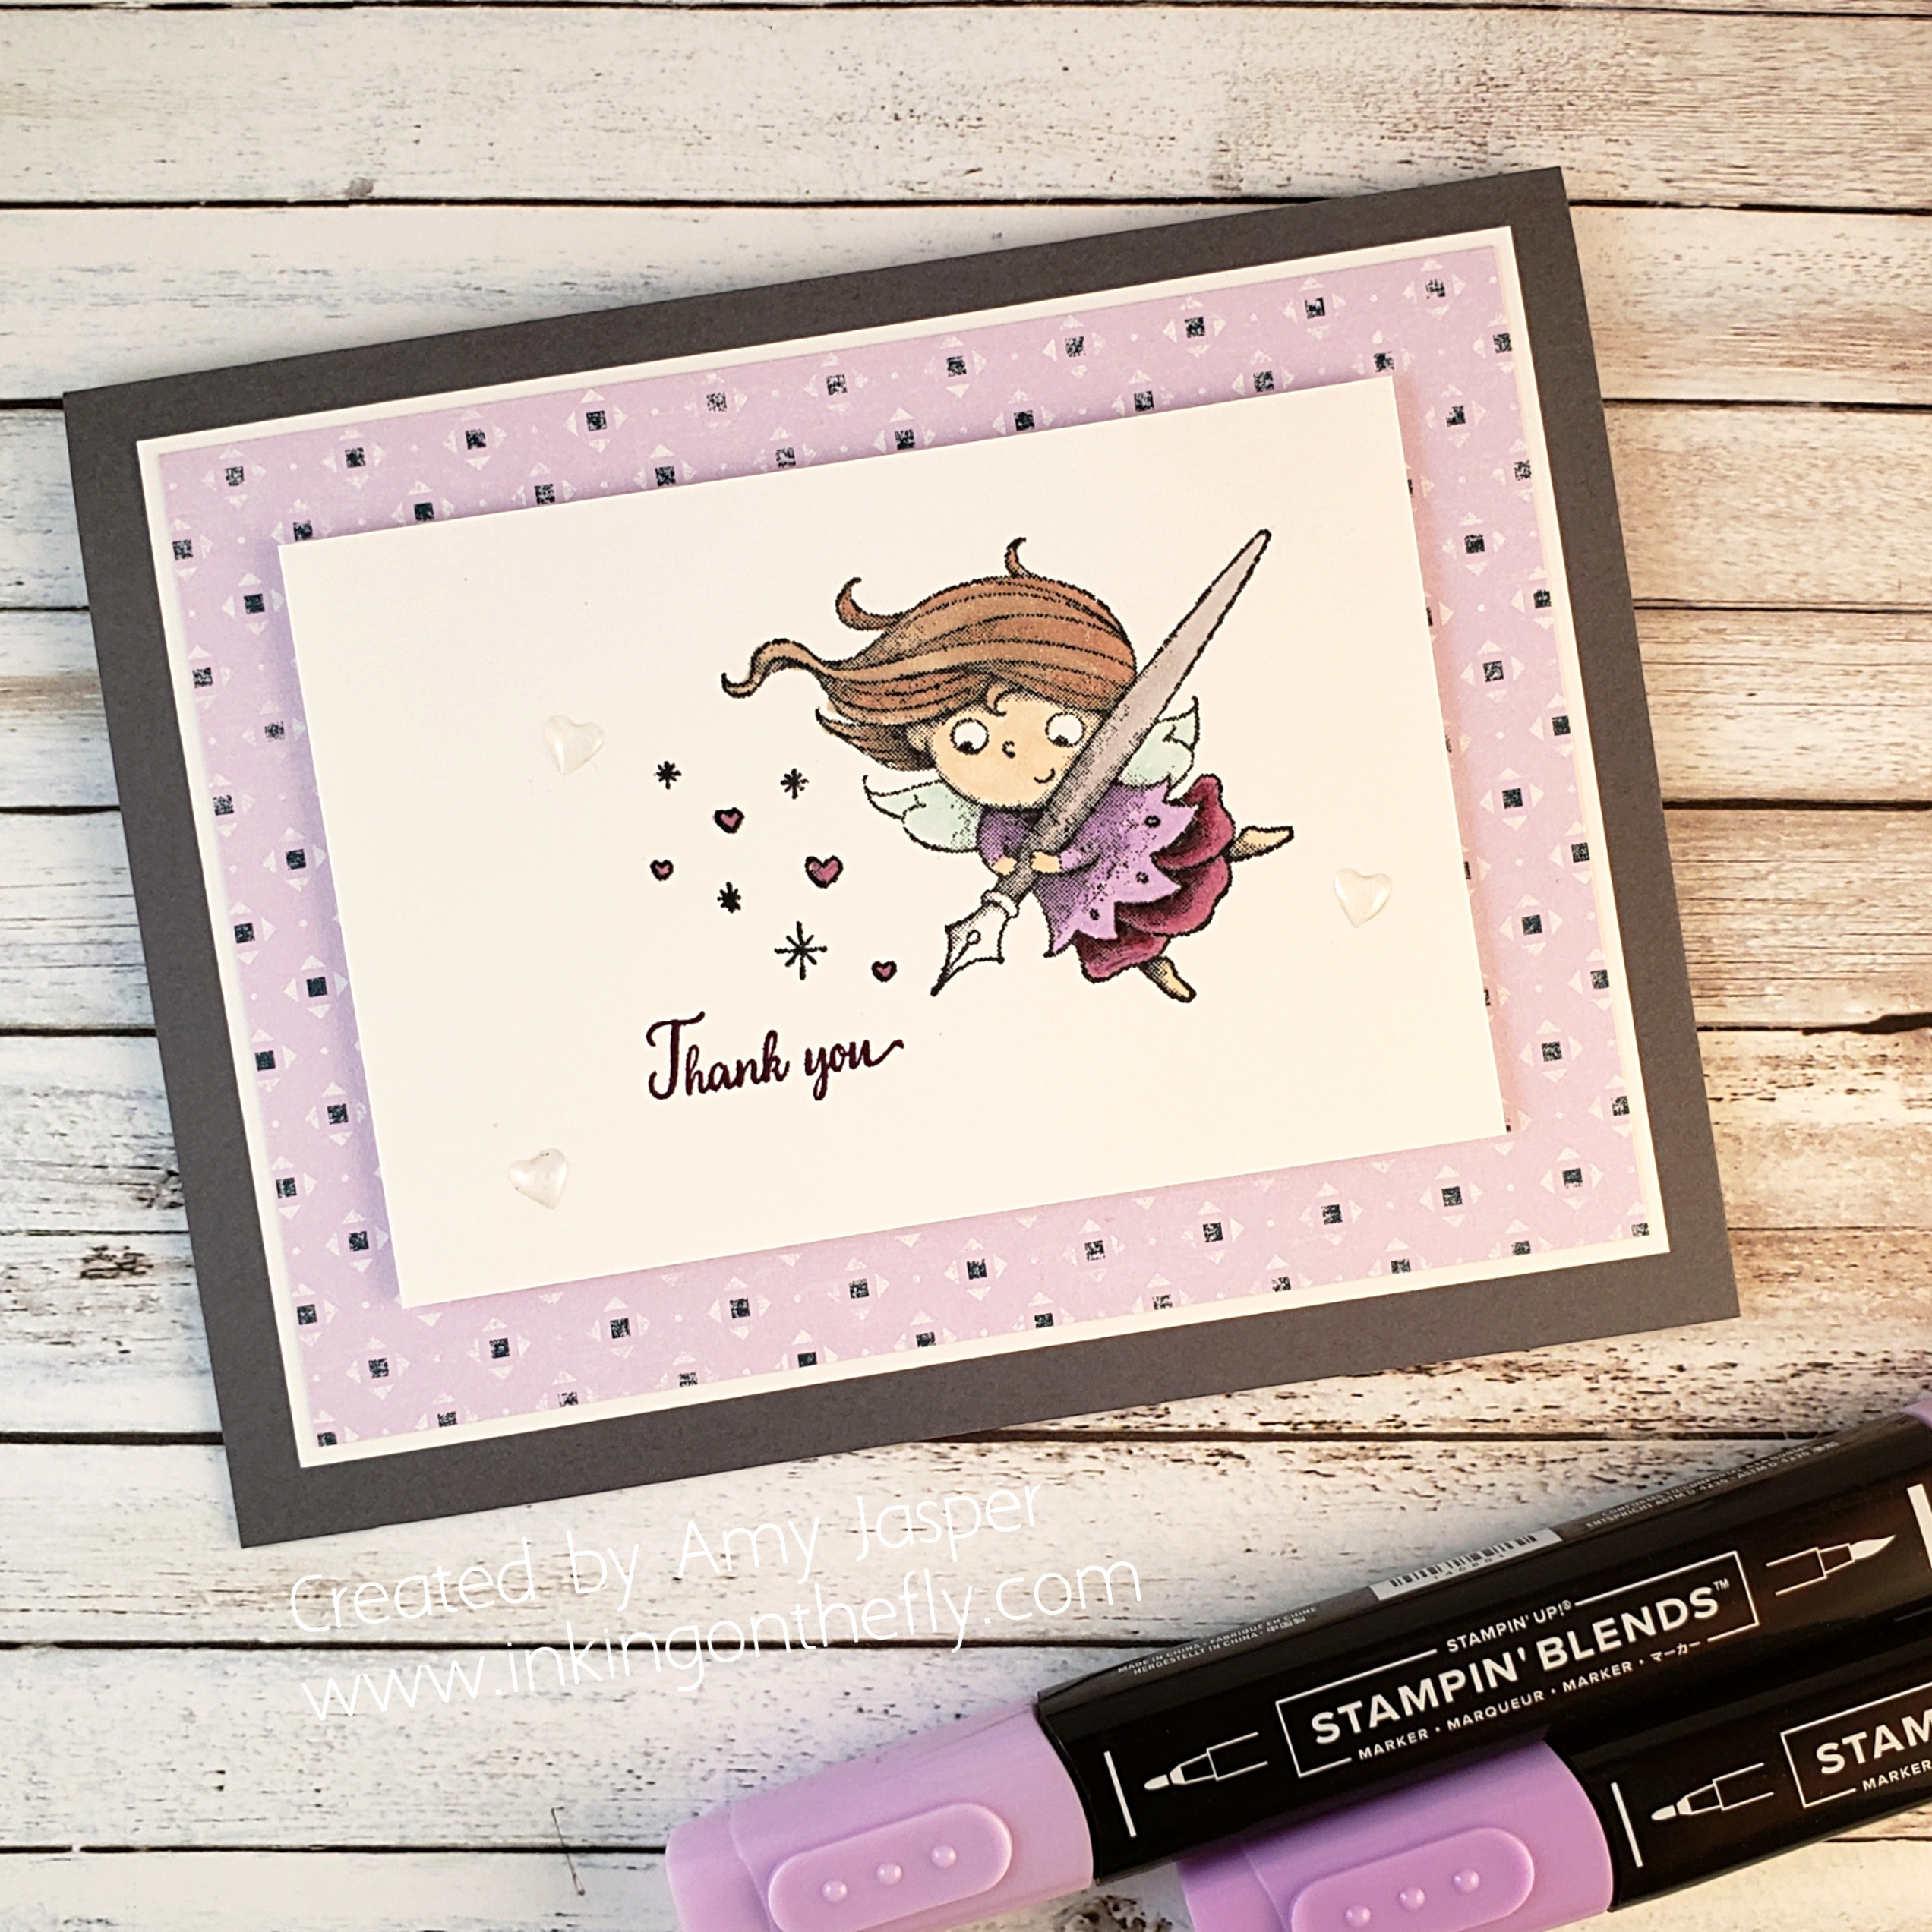
But then I remembered the piece of Designer series paper from the Woven Threads paper that was purple! Not just any purple, but the new In Color from Stampin’ Up! called, Purple Posy. The rest of my idea for my card pulled together easily after that and I was able to create a sweet and whimsical card.

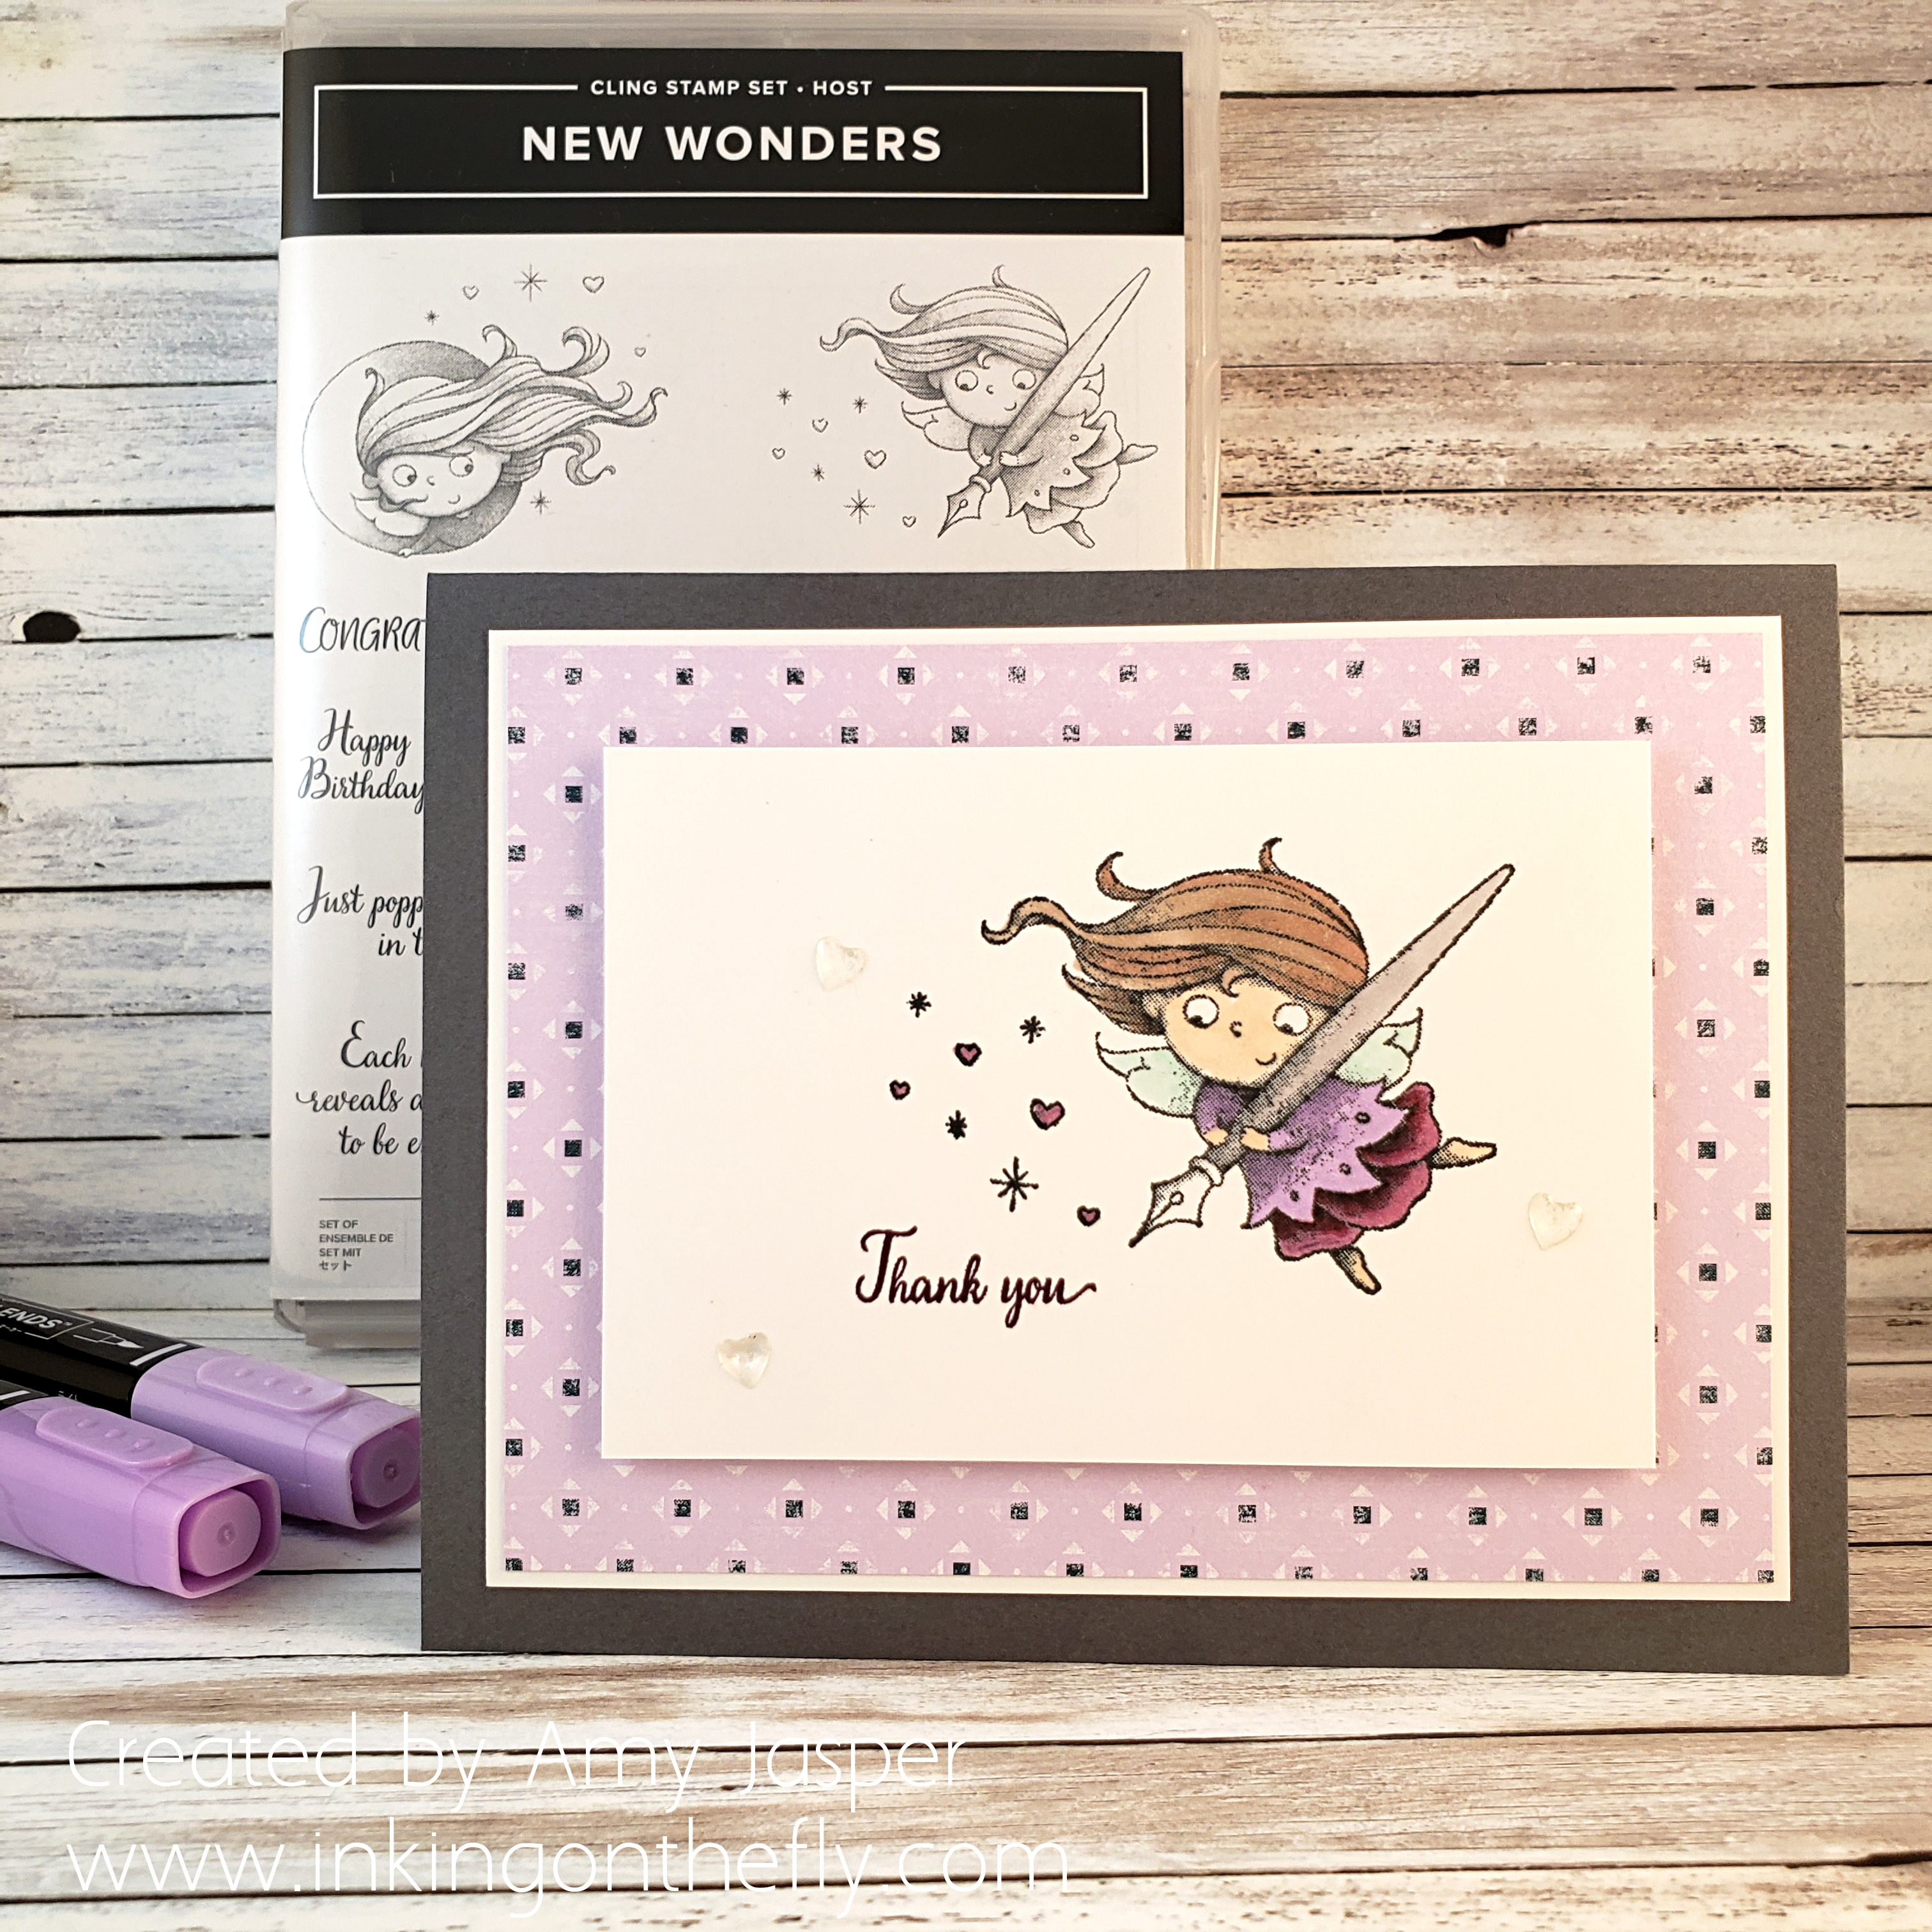
After coming up with my plan, I started the stopwatch with the aim to complete my card in less than ten minutes. I know from past experience that to keep within the time frame, I should avoid ribbon, die cutting, and colouring, because they can steal time from me and catch me up. You can clearly see that I managed to avoid all but one of those things. I just had to colour the sweet image from the New Wonders hostess stamp set from Stampin’ Up!.

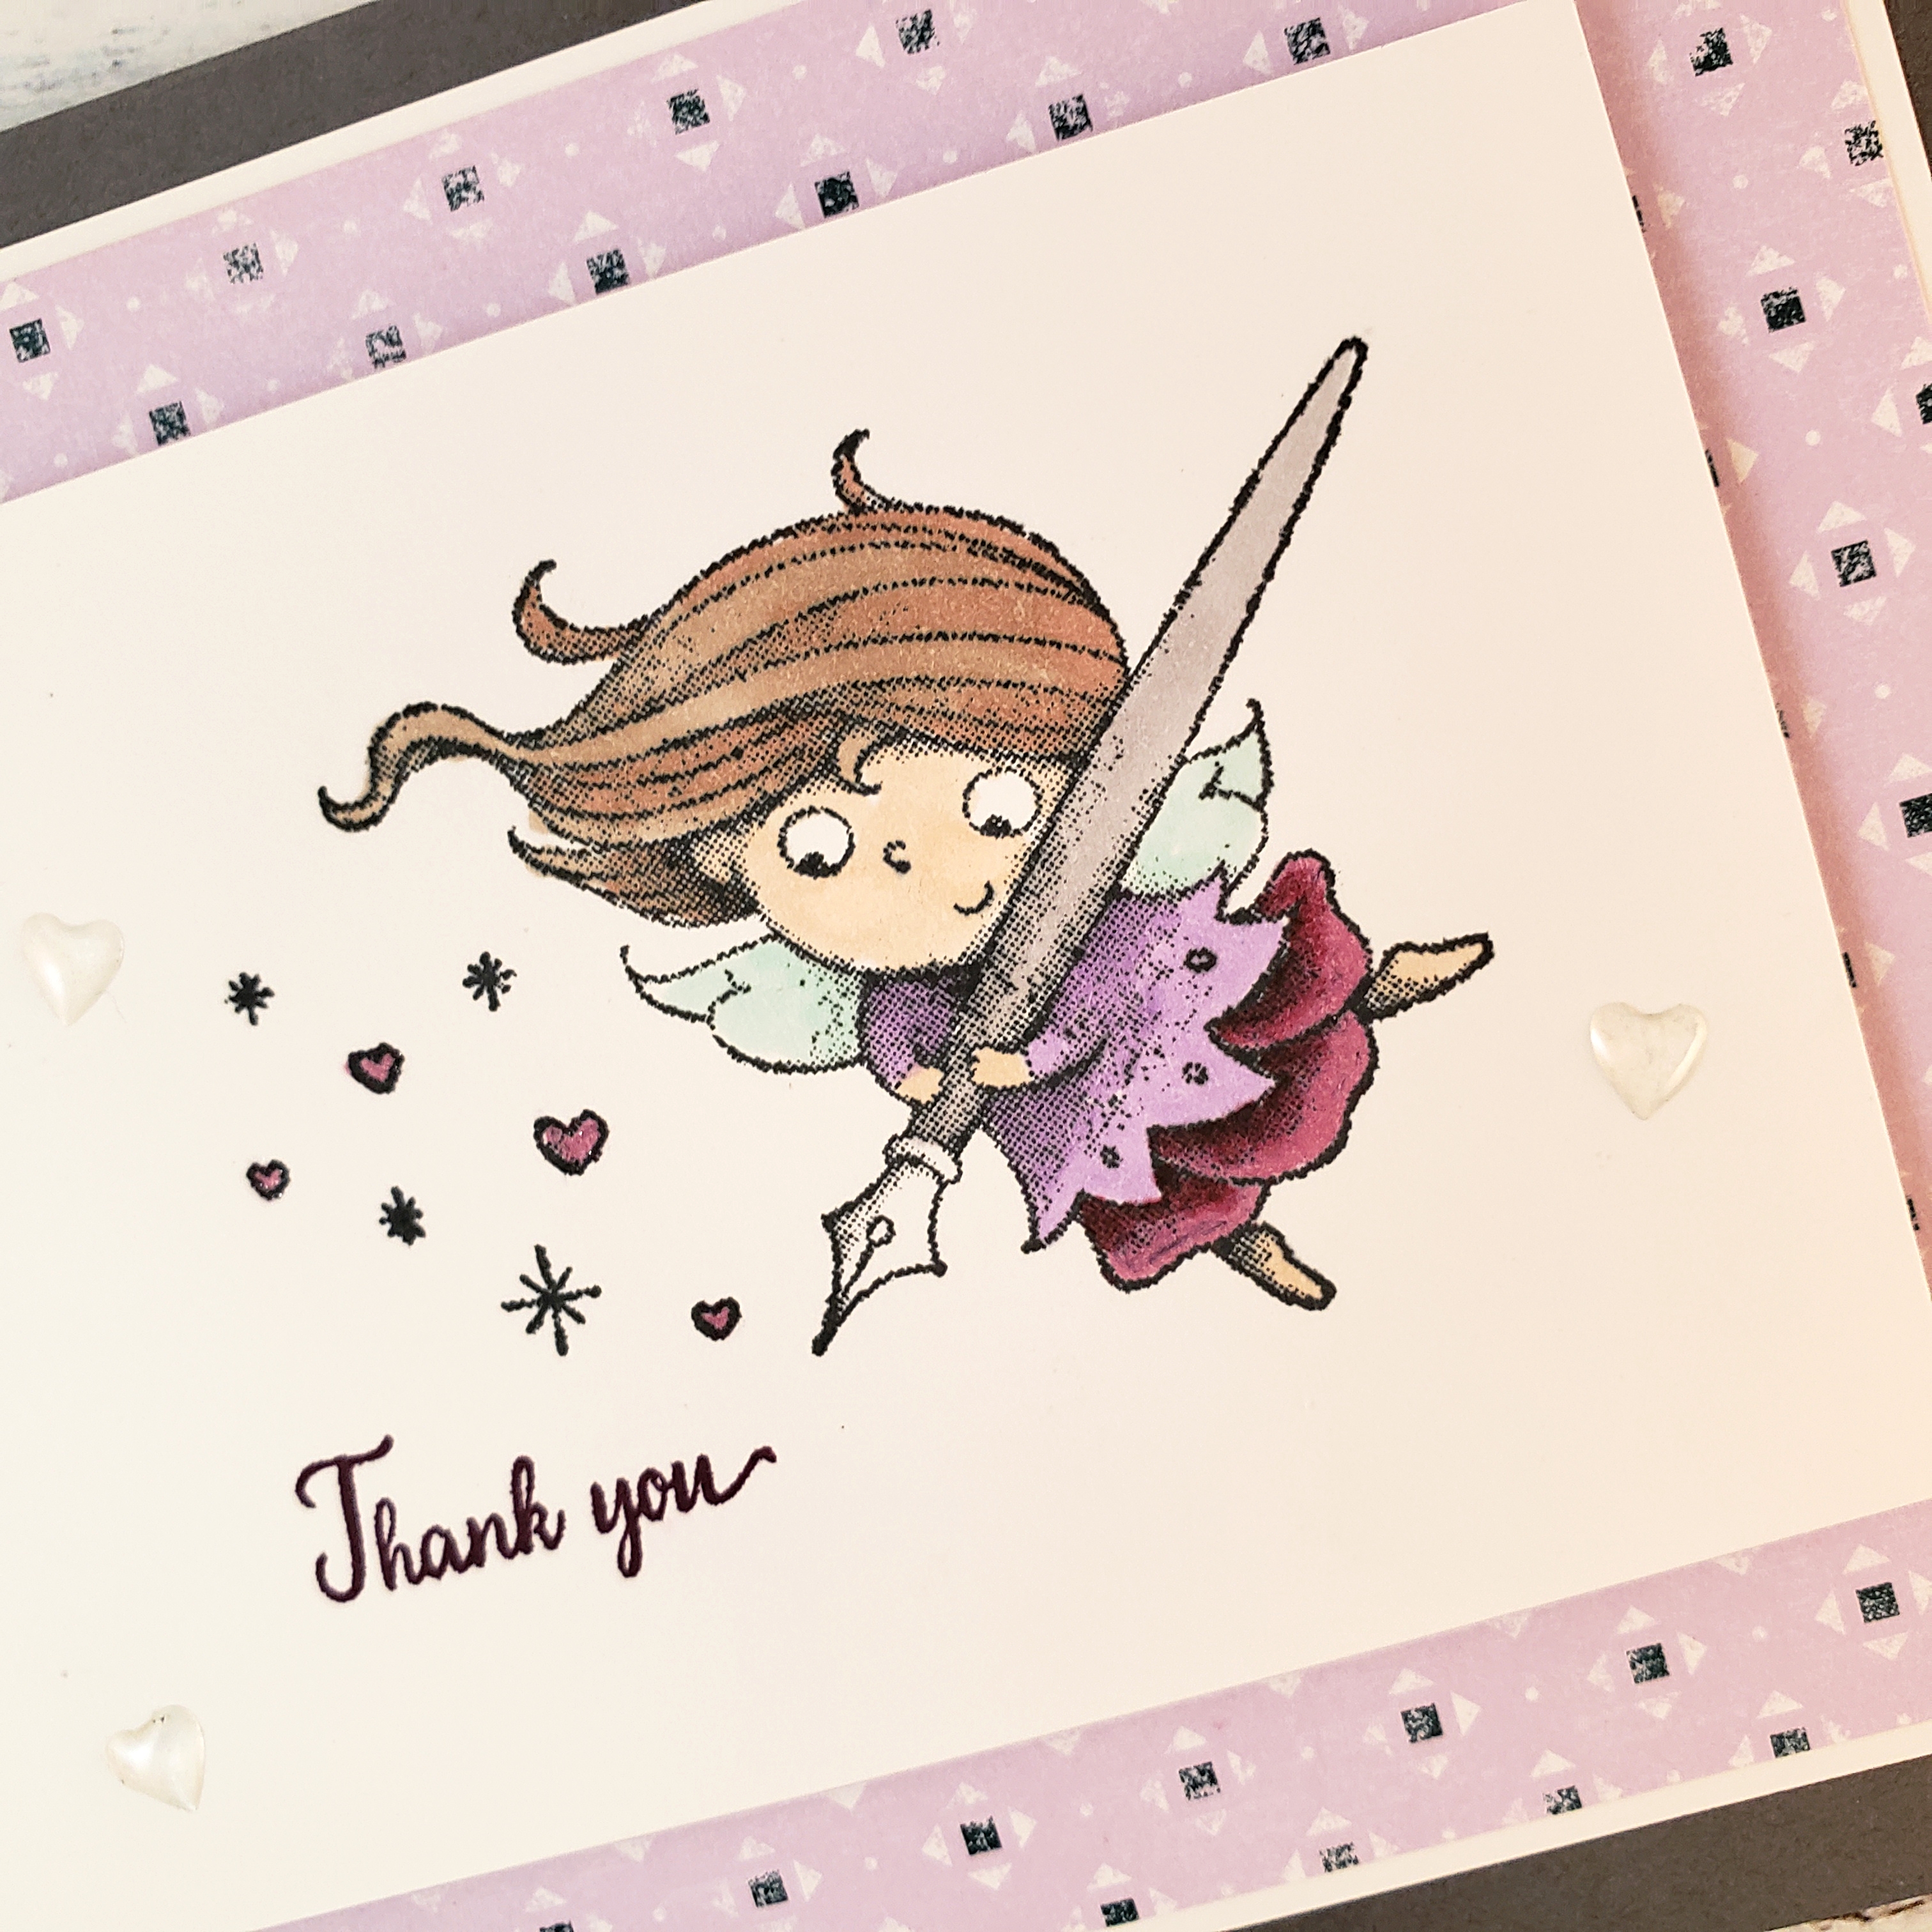
I stamped the fairy image on Whisper White cardstock using Momento Tuxedo Black ink, then used an assortment of Blends markers to colour the image: Ivory, BlackBerry Bliss, Highland Heather, Pool Party, Crumb Cake, Bronze, and Smoky Slate. Isn’t she sweet!?

I stamped the thank you sentiment with Blackberry Bliss ink and added a few small Clear Epoxy Hearts around the images.

Then I assembled. The card base is Basic Grey cardstock, then there is a matte of Whisper White behind the Woven Threads Designer Series paper. The stamped piece of Whisper White was adhered with Stampin’ Dimensionals to finish the card.

No ribbon. No die cuts. Just some basic stamping and some Stampin’ Blends Markers. Definitely a sweet and simple card.

I’m pretty happy with myself. It only took me 8 minutes and 10 seconds to finish and I actually like it!

The New Wonders stamp set can only be purchased by those who either purchase $200 of Stampin’ Up! product or who host a workshop where the total product purchased by all the guests reaches a minimum of $200. So if you like this stamp set, contact me to find out how we can make that happen! You can also order at my online store by clicking on the menu on my page and accessing the SHOP button.

Punches and Patterned Paper

What is a simple card for you? I often find it difficult to create a simple card design, but I think I’m getting better at it, mostly out of necessity as I frequently find myself in a hurry. I call my business Inking on the Fly for just that reason – I’m often doing things on the fly! I don’t like it that way. I much prefer to have the time to enjoy the process – to get lost in my creations. Inking on the fly is better than not inking at all!

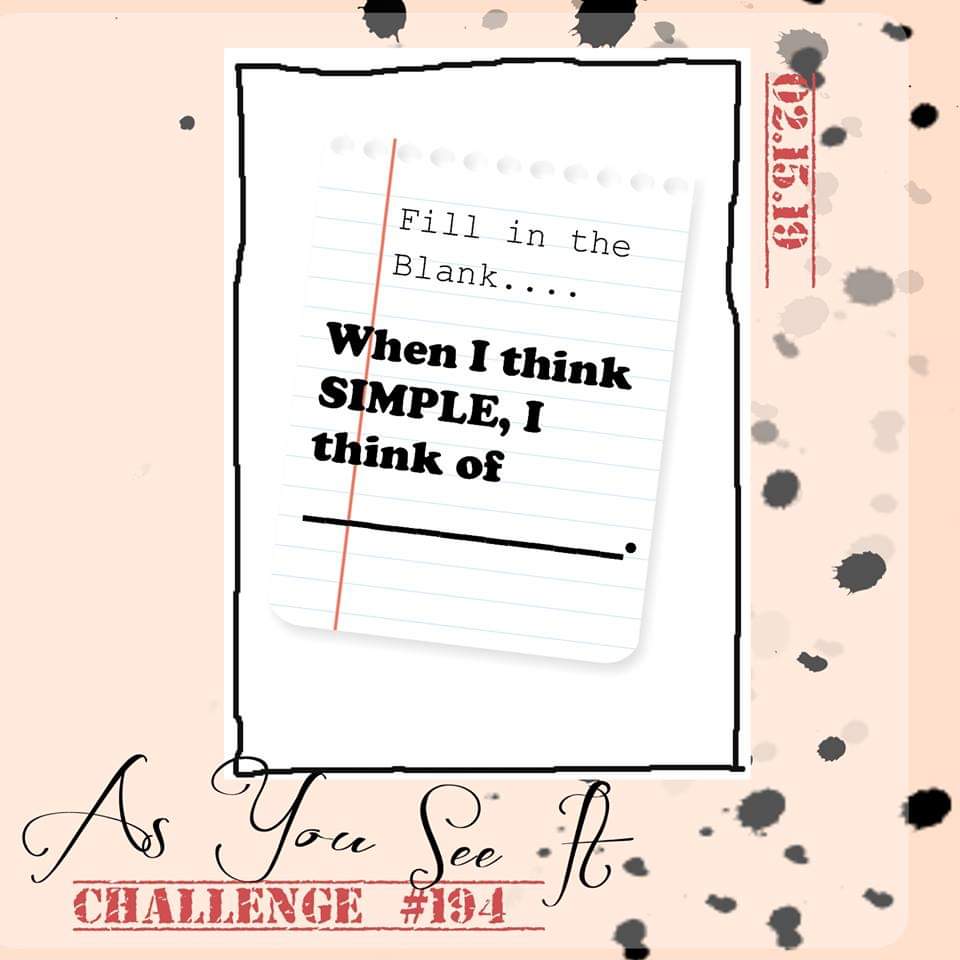
The As You See It Challenge this time, asks us to fill in the blank:

When I think simple, I think of punches and patterned paper. No Big Shot, no sponging, no fussy cutting, and limited or no colouring.

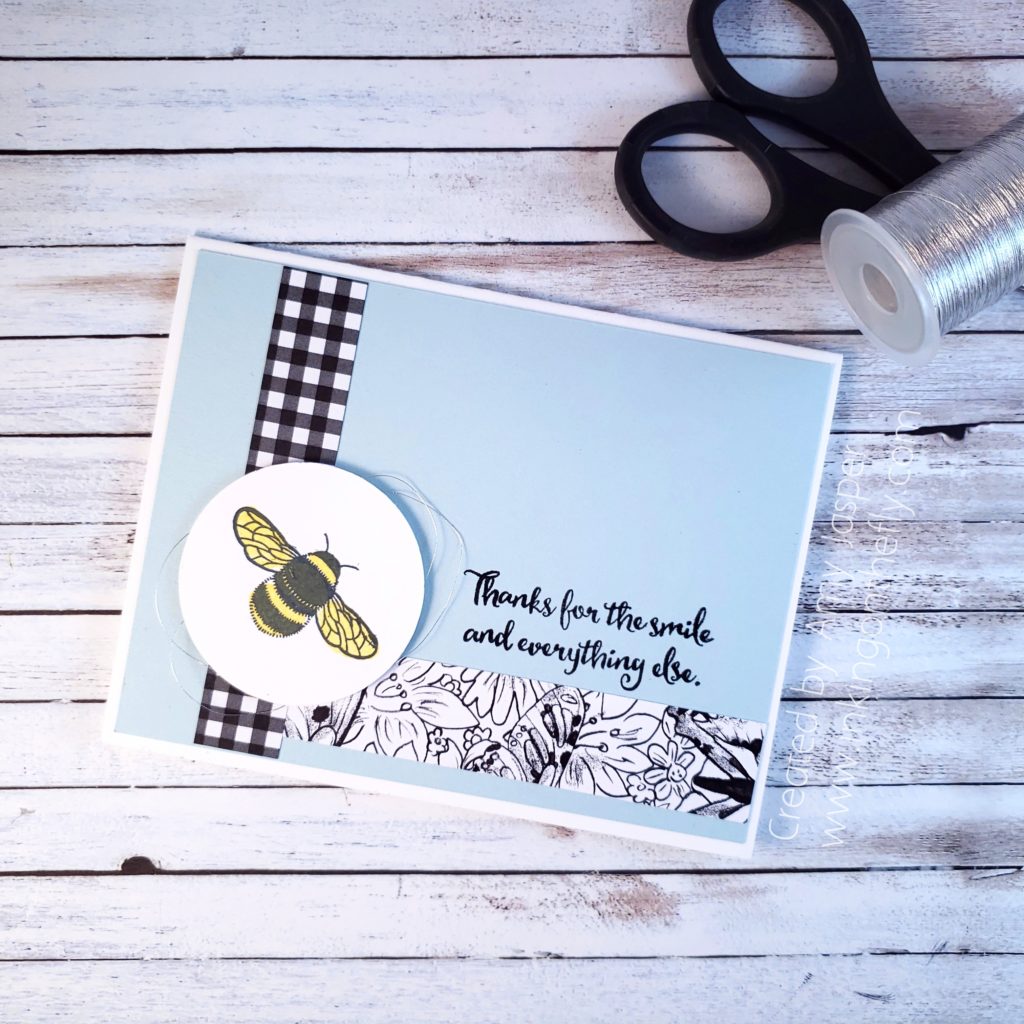
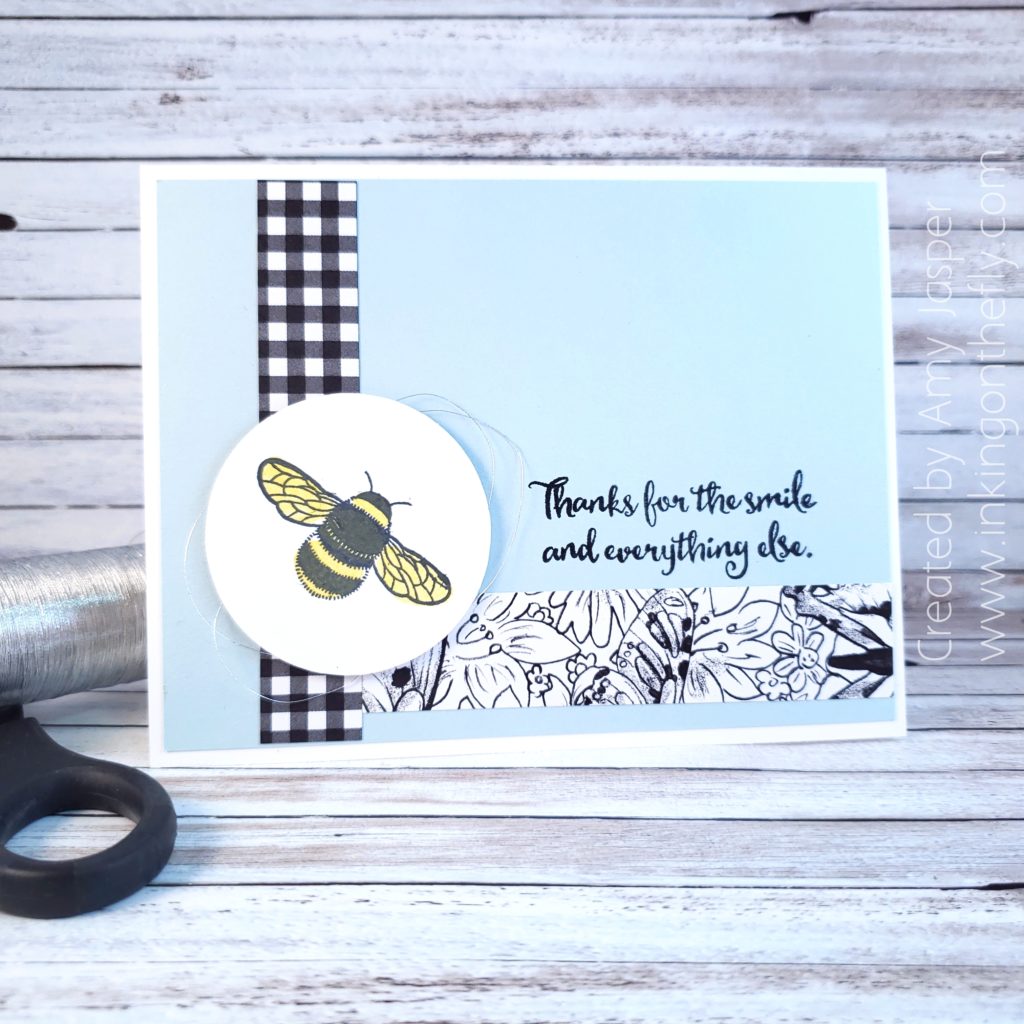
I used Thick Whisper White for the card base, then added a layer of Pool Party cardstock. The black and white strips of Botanical Butterfly Designer Series Paper add a touch of interest. You can get this beautiful paper for FREE with a $60 purchase until the end of March. Sometimes, stock runs low, so I don’t recommend waiting until the end. Get your paper soon!

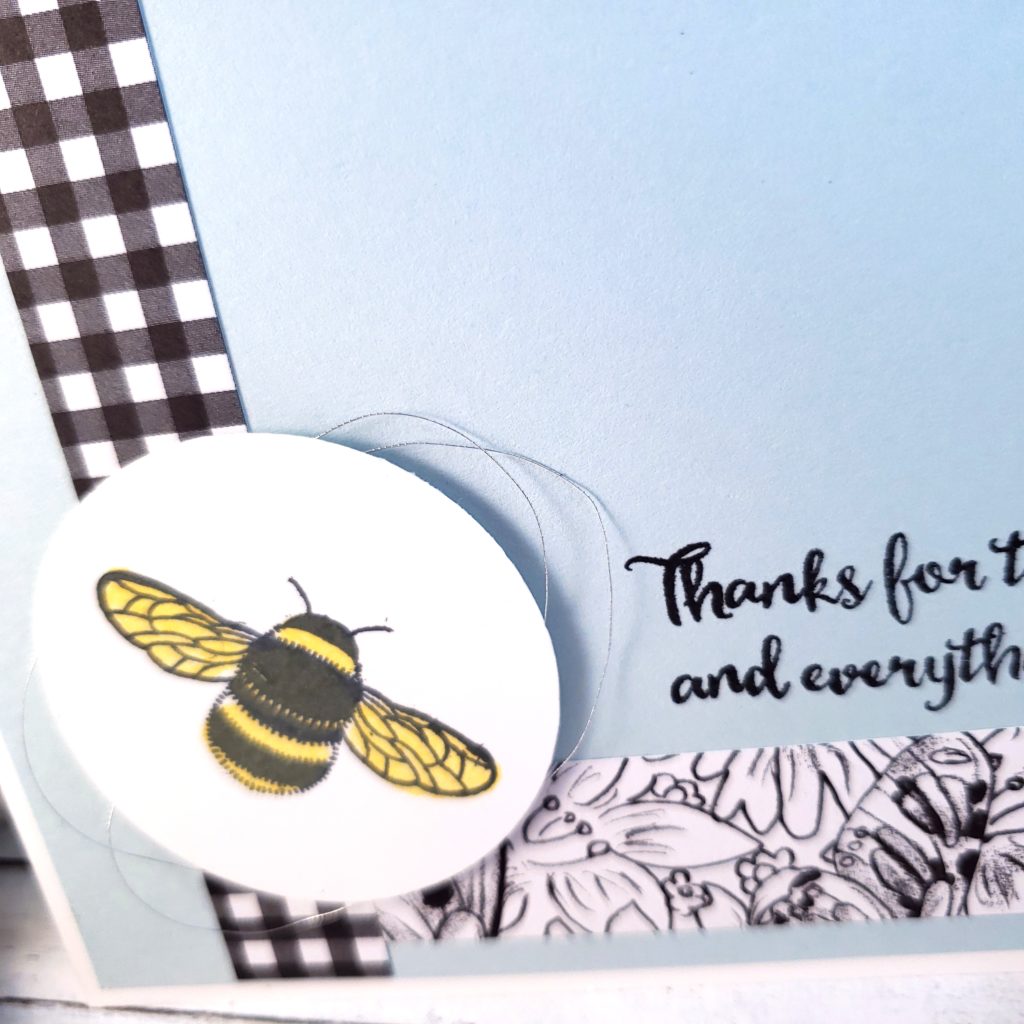
The sweet little bumble bee from the Dragonfly Dreams photopolymer stamp set is a two-step stamp process with Daffodil Delight and Momento Tuxedo Black inks. After stamping on the Whisper White cardstock, I used the 2″ circle punch for the quick cut out and attached it to my card with Stampin’ Up! Dimensionals. Of course, being me, I had to also add the loops of Silver Metallic Thread to the back of the circle first, to give my card that little something-something without complicating the design.

The final element was to add the sentiment from the Dragonfly Dreams stamp set using Momento Tuxedo Black ink.

So quick and so simple. Don’t you think!?

What do you think of when you think “simple”? Why not share that with us over at the As You See It Challenge blog? We’d love to see your creations!

If you like any of these products, be sure to head on over to my online store by clicking on the menu on my blog and click on the SHOP option. You can browse products there and see what suits your fancy! Contact me if you have any questions.

(If you are shopping from outside of Canada, sadly, you will not be able to shop with me, but I’m sure you will be able to find a Stampin’ Up! Demonstrator in your area who would be happy to help you.)