Soaring Birthday
It’s FRIDAAAAAY!!!
Today, I get to share with you one of the new Sale-a-bration stamp sets that are only available for a short time. This one is particularly great for masculine cards, but is also suitable to congratulate anyone who reached a goal in their lives.
As usual, my Friday blog post starts with a challenge from the As You See It Challenge blog for which I am a designer. I love being part of this design team because of the weekly push to create from a different angle than I’m used to. You’d think it gets easier as I go along (and it does come easily sometimes), but it can be like pulling teeth when I get stuck trying so hard to fit in a particular element required by the challenge.
This week we have a sketch. These are often the hardest for me, I think. However, some of my best cards start with a sketch.
 I wanted to use some of my new items from the Stampin’ Up Occasions catalogue and the Sale-a-bration brochure for this sketch. I chose the Sky is the Limit stamp set and the World Traveler Textured Impressions Folder.
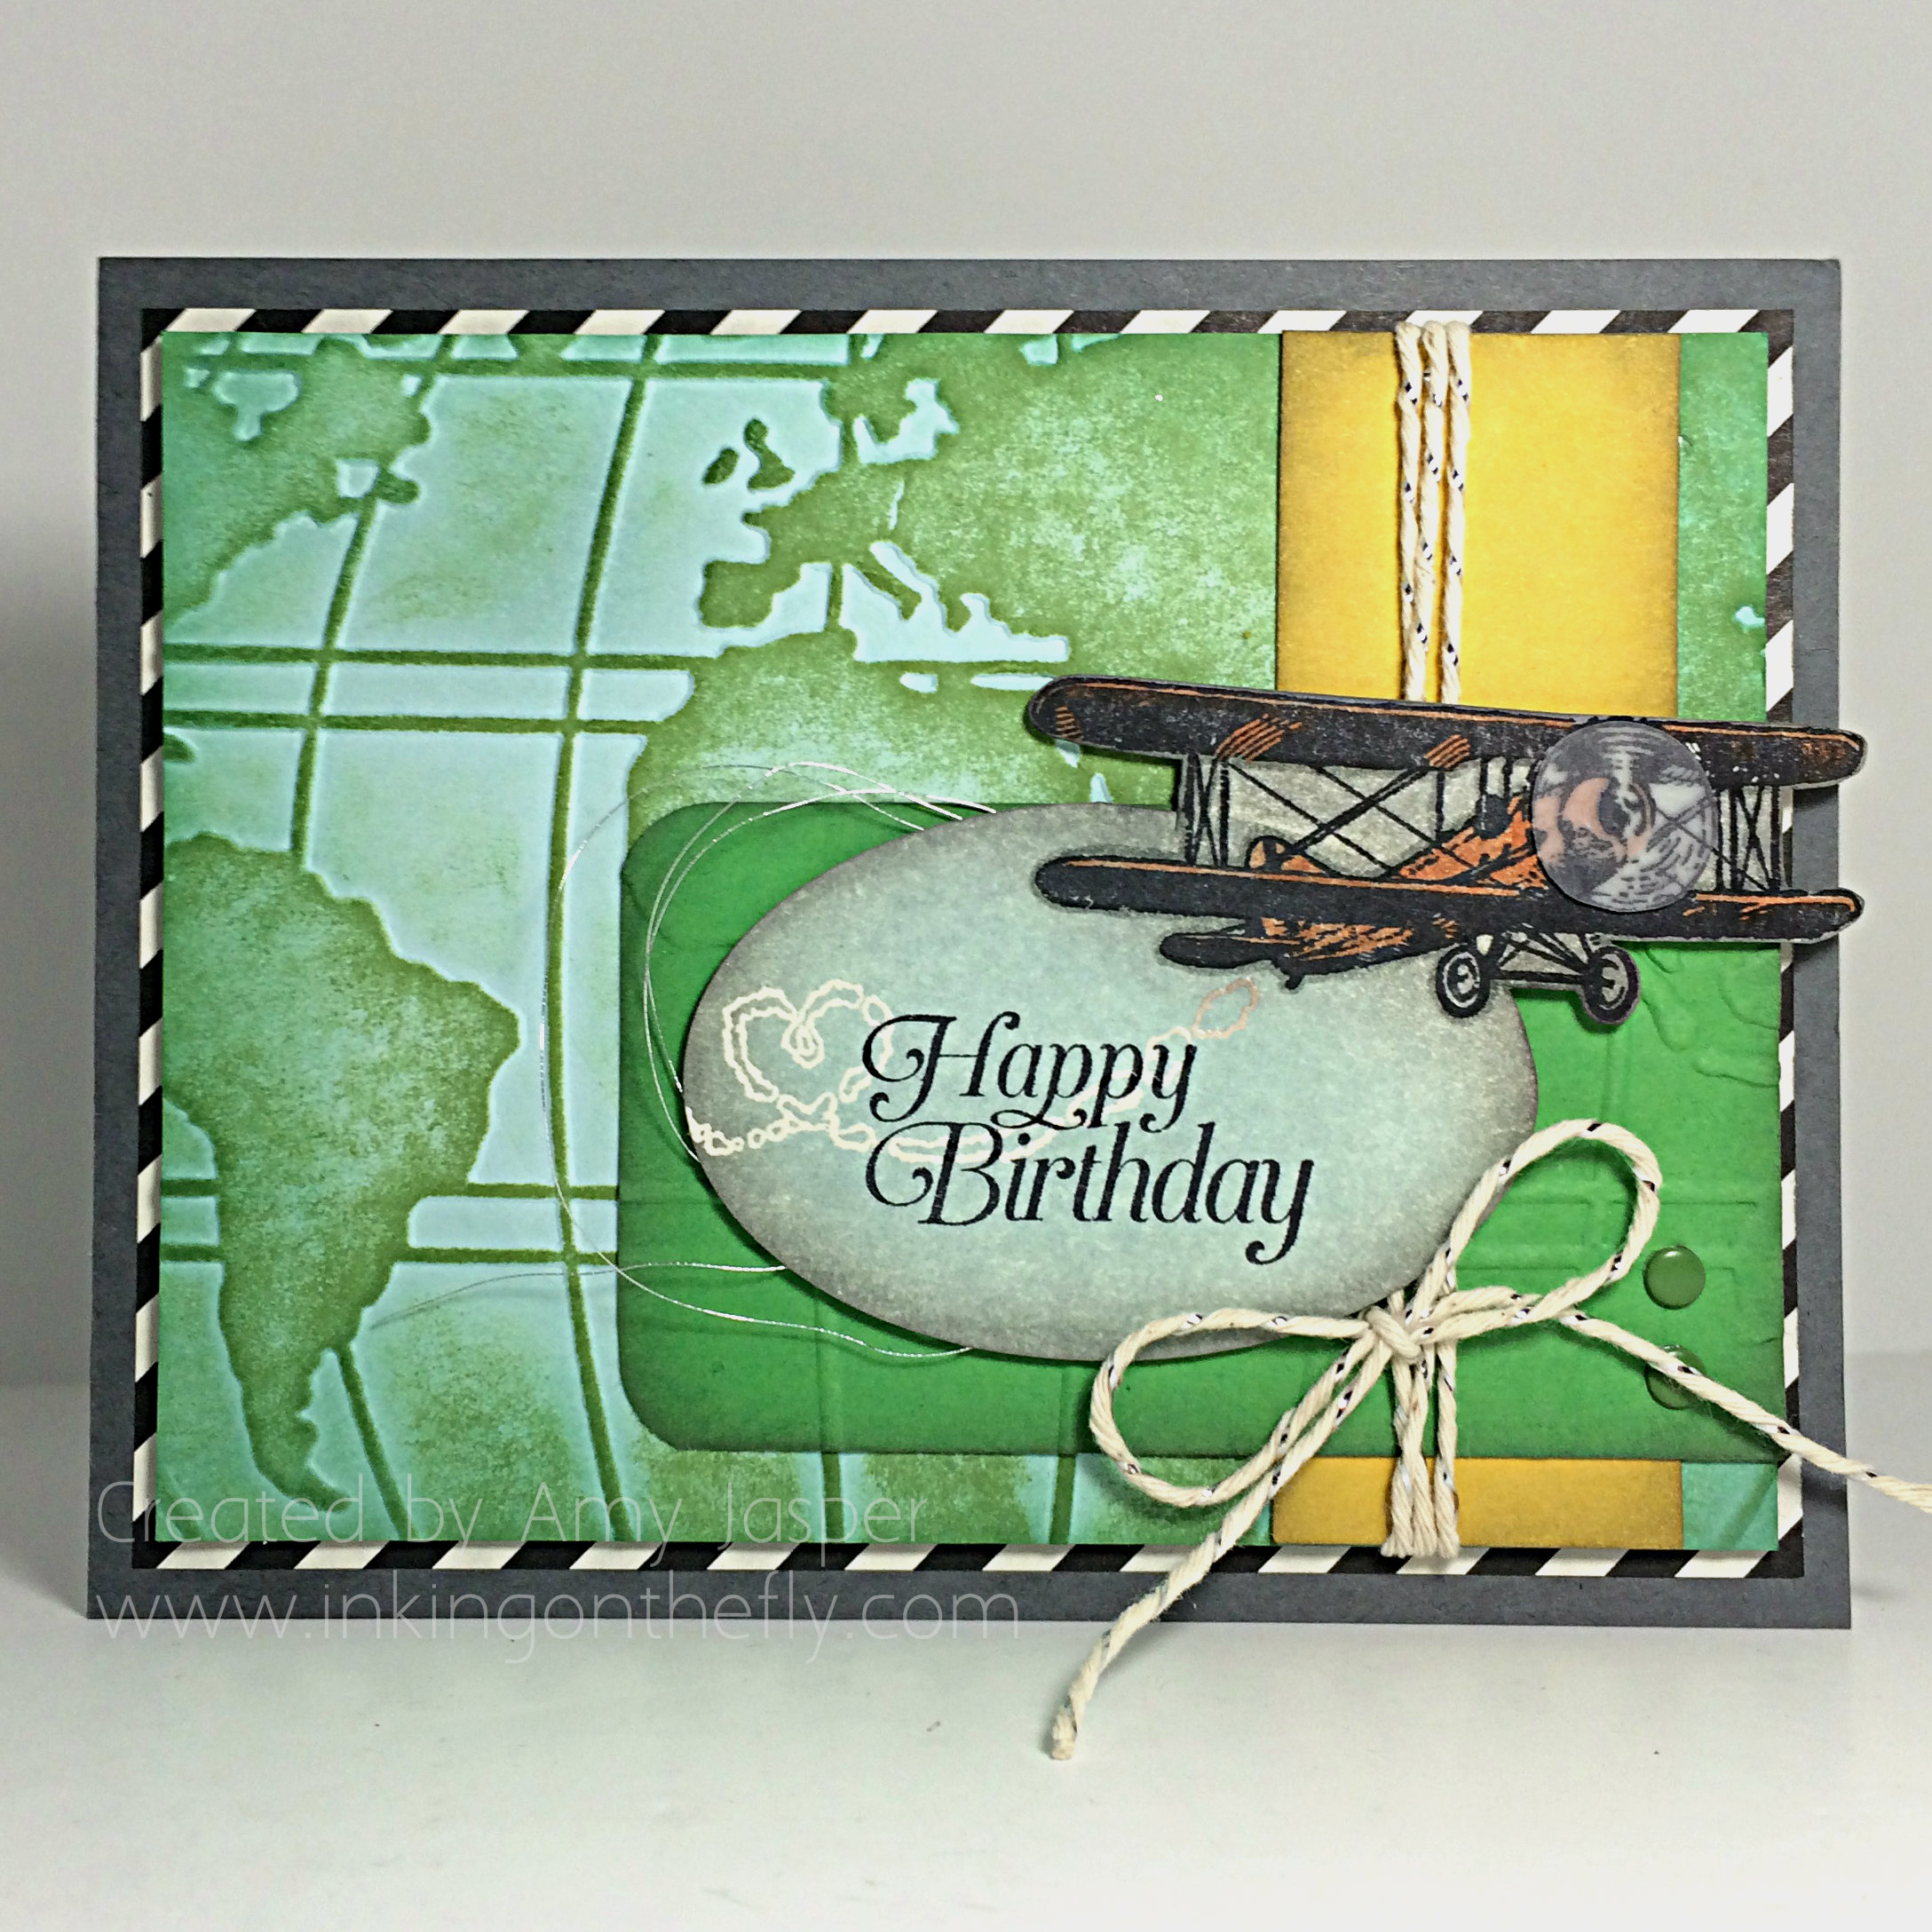 The card base is Basic Grey cardstock. I put a layer of the Typeset Specialty Paper over that to matte the world image created with the embossing folder. Before embossing the cardstock, I inked the folder using my brayer and Wild Wasabi ink. Then, I carefully placed the Soft Sky cardstock in the folder and ran it through my Big Shot to transfer the ink to the cardstock and get the look I wanted.
A strip of Hello Honey cardstock was sponged around the edges with Smoky Slate ink and a Sponge Dauber, then attached to the World Traveler embossed piece. The piece of Cucumber Crush cardstock with two corners rounded using the Project Life Corner Rounder punch was sponged around the edges also and embossed with the World Traveler folder in the Big Shot, being careful to match the pattern of the background (it’s a subtle touch, but I’m all about the fussy details).
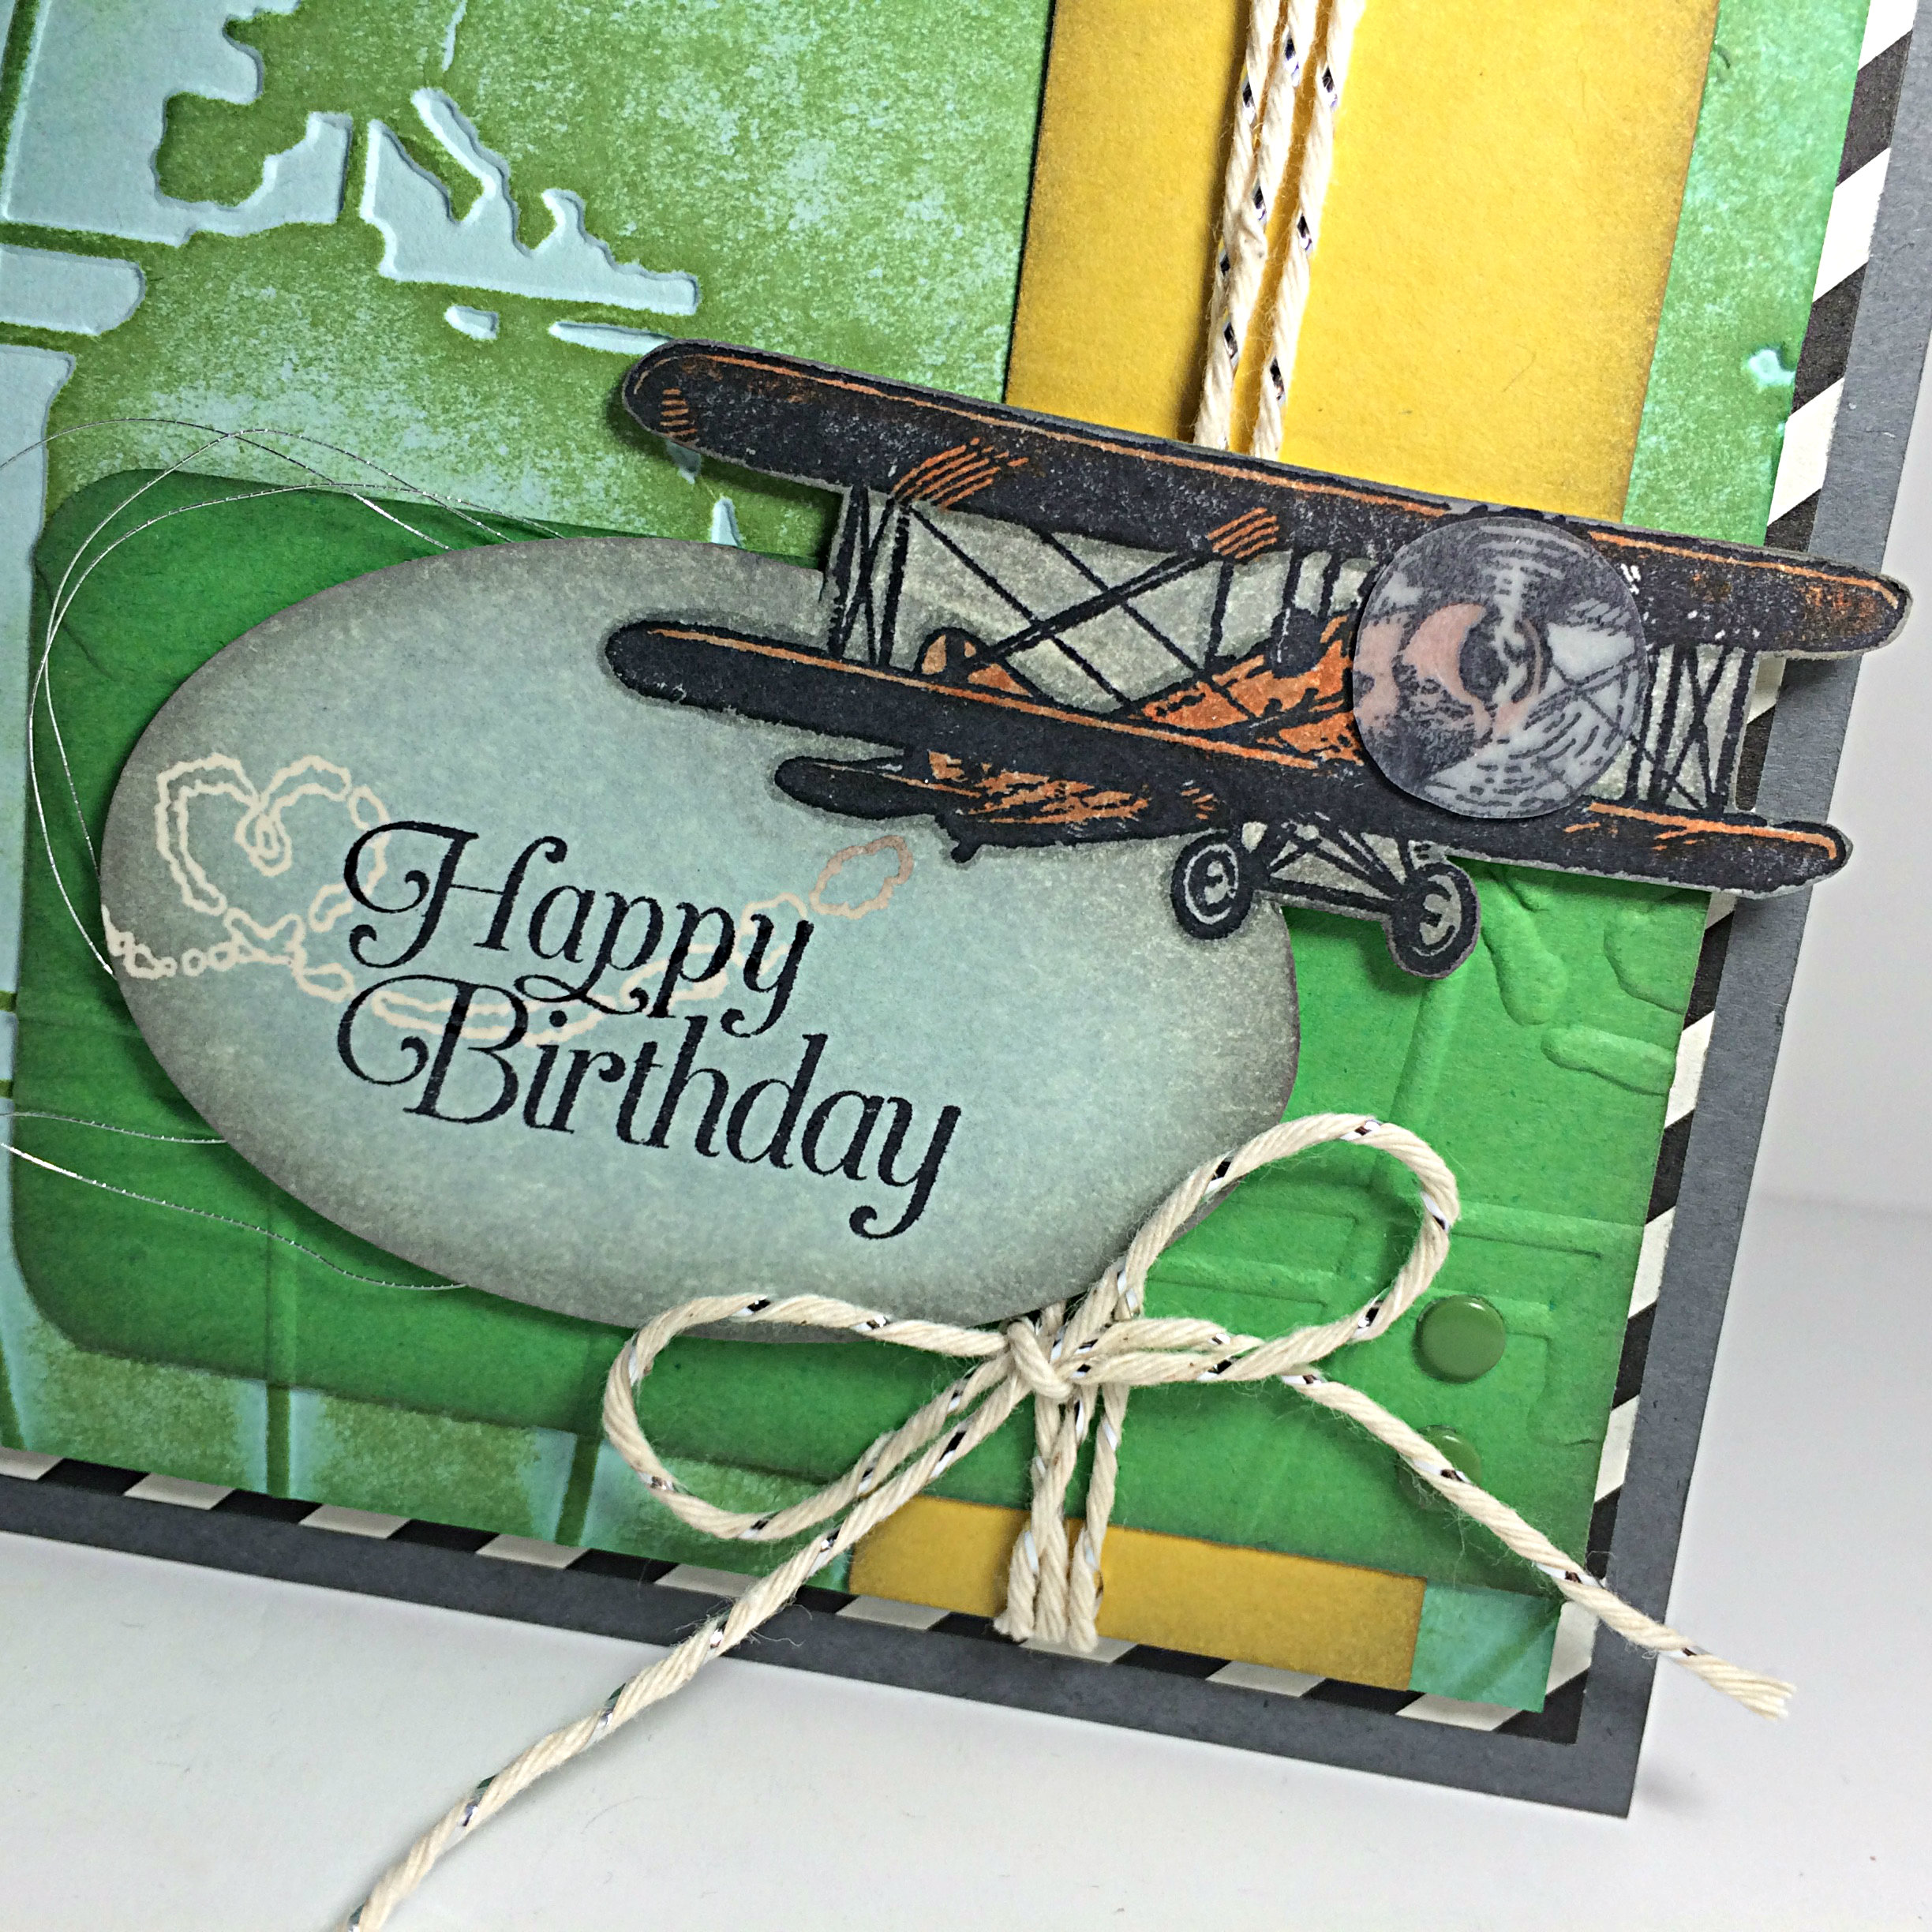 I wrapped the Silver Baker’s Twine around these layered pieces three times, finishing it with a bow. You can also see the two Garden Green Candy Dots applied to the bottom right of the piece of Cucumber Crush (in order to be true to the elements in the sketch). The layers over and including the embossed World Traveler cardstock were attached with Stampin’ Up Dimensionals to the Typeset Specialty Designer Series paper layer.
Now comes the accent piece – the focal point of the card. I started with a piece of Very Vanilla cardstock (larger than I needed, just to be sure), and stamped the airplane image in Black Stampin’ Up Archival ink. Then I placed one of the Oval Framelits over the cardstock so that it intersected with the image. I used a pencil to mark where the image would overlap the oval.
(I’m so sorry I don’ t have pictures to help explain this process!)
I fussy cut around the image ONLY to where the oval would be cut, then I placed the oval framelit over the image where I wanted it with the image sticking out OVER the Oval Framelit so that the image wouldn’t be cut off.
Oh my gosh, does this make ANY sense? LOL!
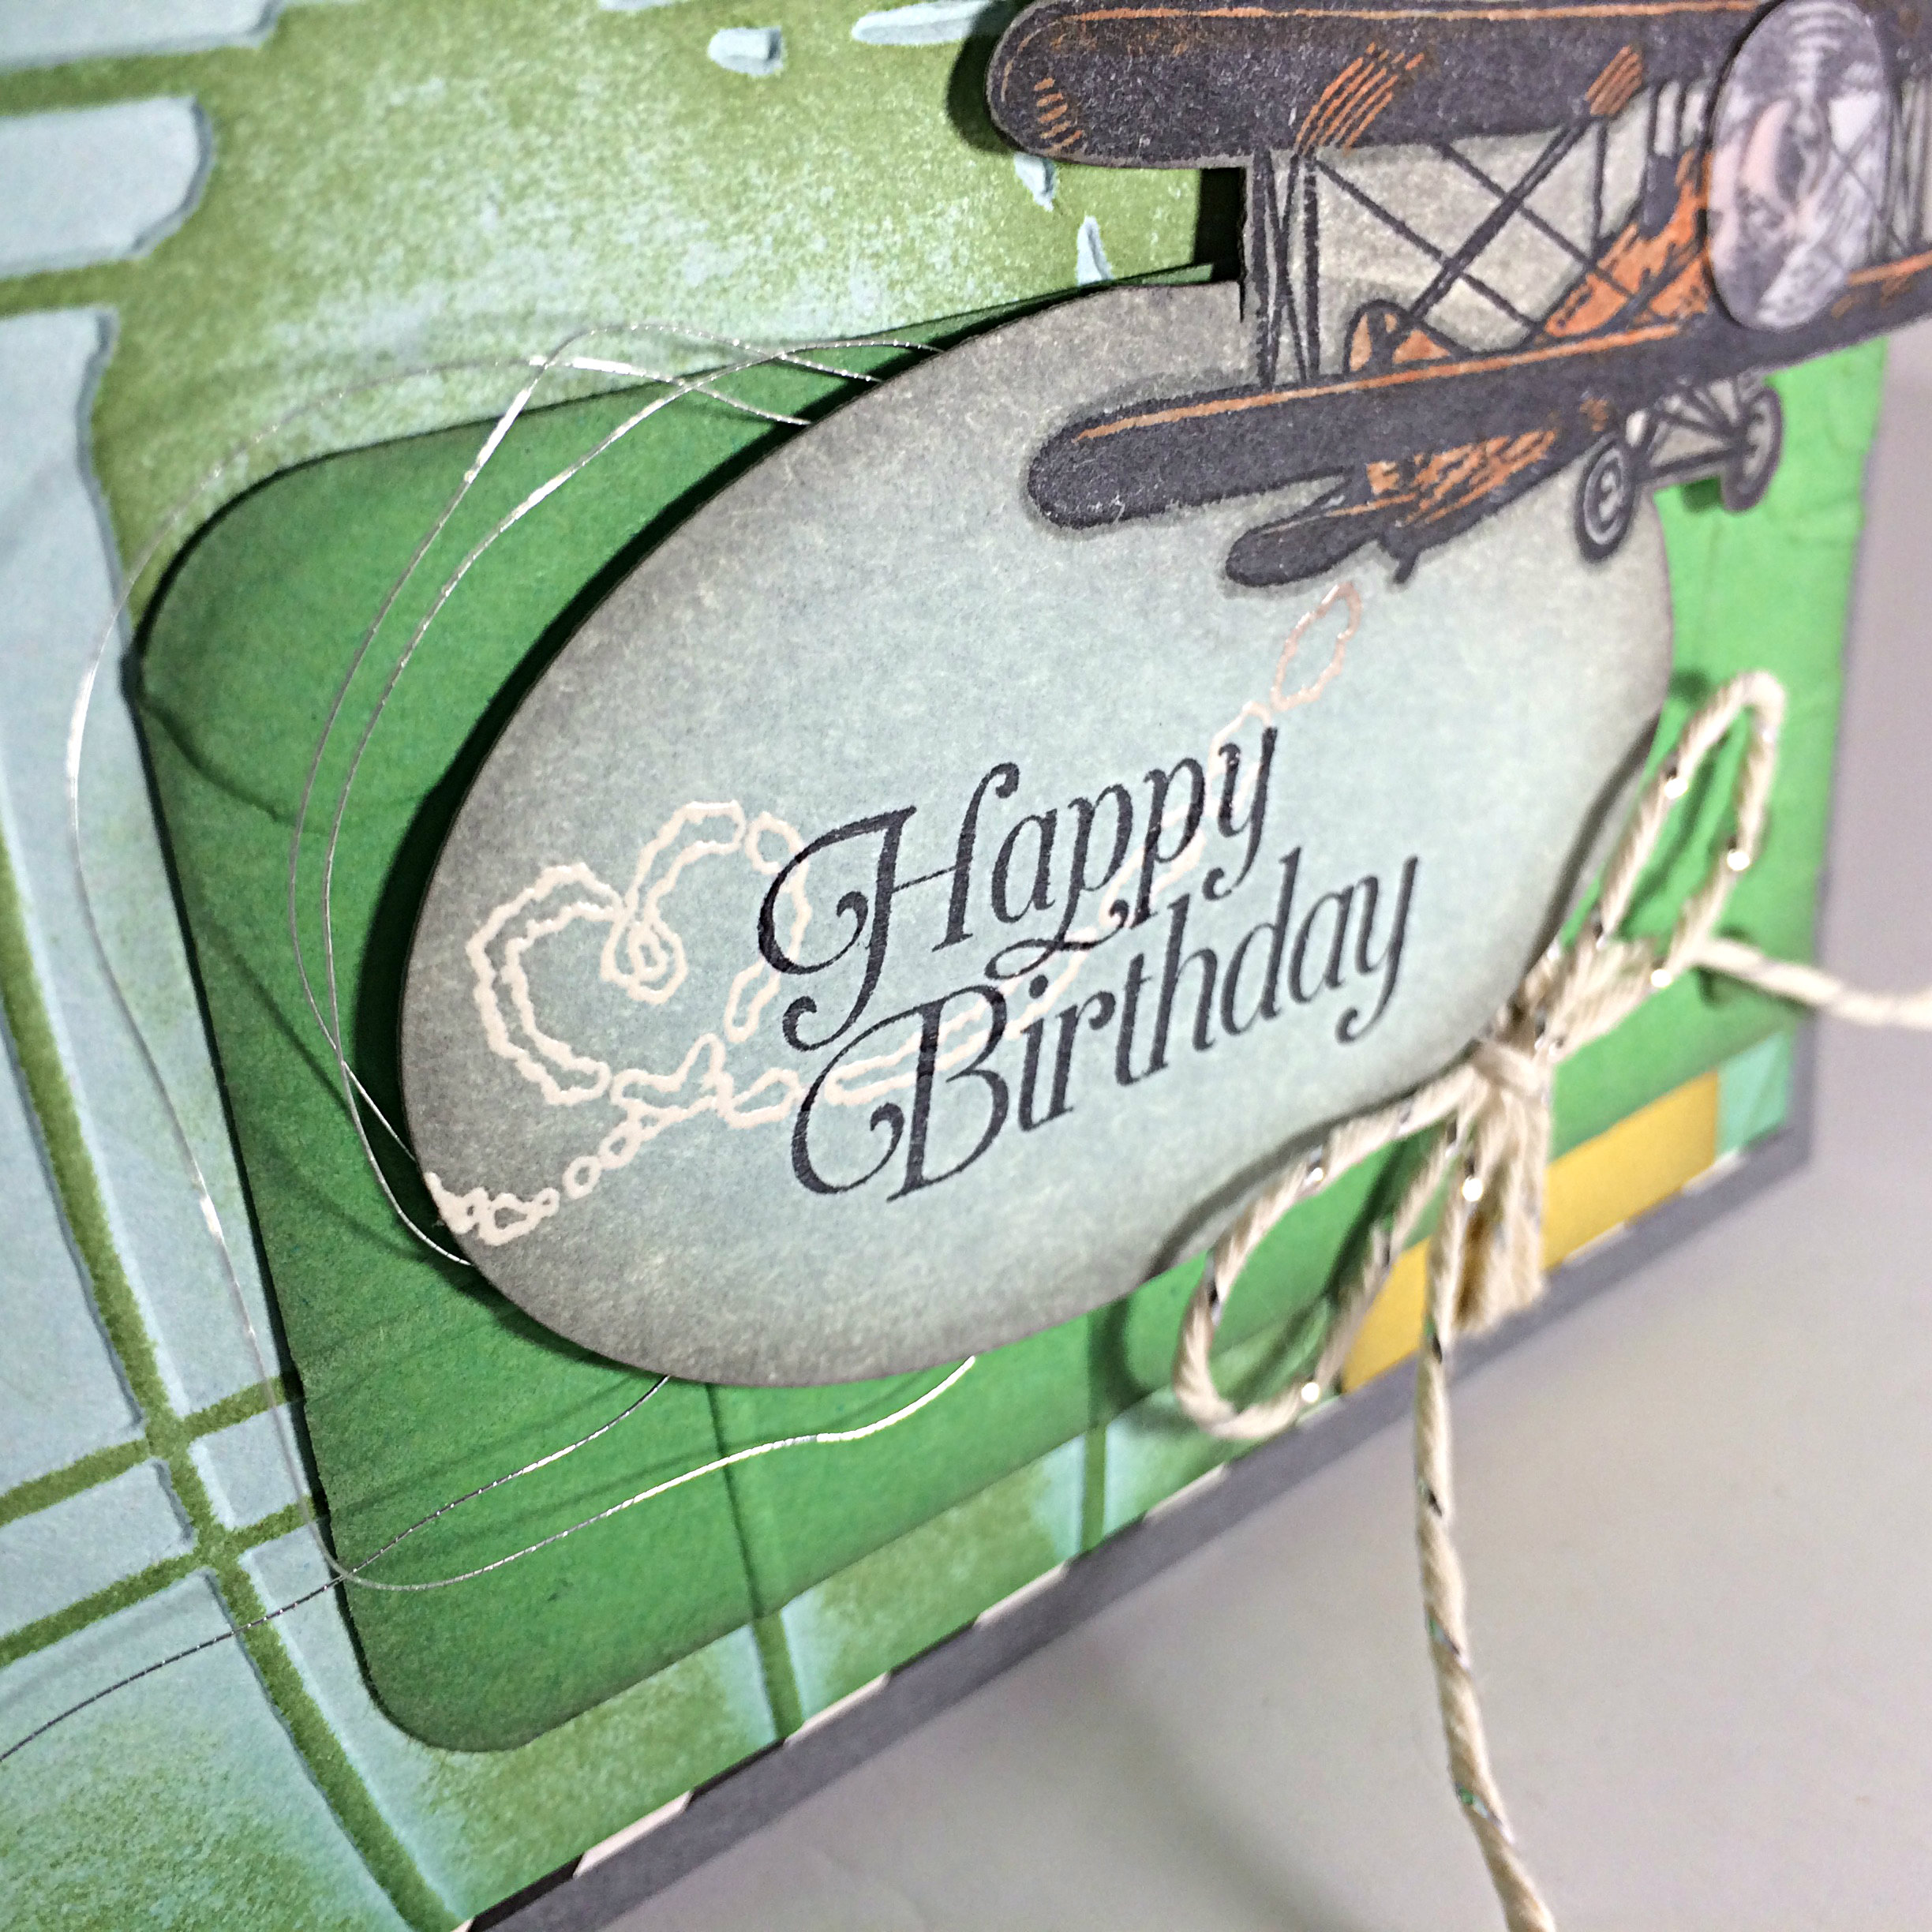 After I cut it out with my Big Shot, I tidied up the area around the image with my Paper Snips. Next, the Happy Birthday sentiment was stamped with the Stampin’ Up Black Archival ink before running my Embossing Buddy over the entire area in preparation for the heart-shaped smoke image to be stamped with Versamark ink and heat embossed with Clear Embossing powder and the Heat Tool. With that completed, I sponged over the entire area with Soft Sky ink. The ink doesn’t stick to where the clear embossing powder is (Emboss Resist Technique), allowing the smoke image to remain the colour of the Very Vanilla cardstock.
I added some more sponging around the edges of the oval and the airplane with Smoky Slate ink and coloured the airplane with my Stampin’ Up Tangelo Twist marker. I also did an outline around the image with my Stampin’ Up Smoky Slate marker to give the image more pop. The finishing touch on the airplane was to stamp the image again on Stampin’ Up Vellum and fussy cut around the propeller, then to attach the propeller with a Mini Glue Dot.
 I tried to throw on a splatter of glitter or something shiny on the upper left of the card, but it didn’t like it, so I took it off and added the Silver Metallic Thread loops under the oval piece before attaching it with Stampin’ Up Dimensionals to the card front.
Who would have thought that it would take this long to explain it all! PHEW! Sorry about that. I won’t be offended if you don’t read it all, lol!
If you like the Sky is the Limit stamp set, you can get it for FREE! All you have to do is order $60 in Stampin’ Up product through my online store and then you can choose that Sale-a-bration stamp set as a FREE item! This particular stamp set is only available until February 15th, so don’t wait too long!
I just love this time of year! Free stuff makes me happy!!
Amy
