Coffee is a Perk
Welcome to my blog where I share my love of designing using Stampin’ Up! paper, ink, stamps, and tools! I design for the As You See It Challenge blog and it’s time for challenge #44!
I love coffee, especially latte’s from Starbucks. My new summer treat is a Caramel Ribbon Frapp! So so soooooo yummy!
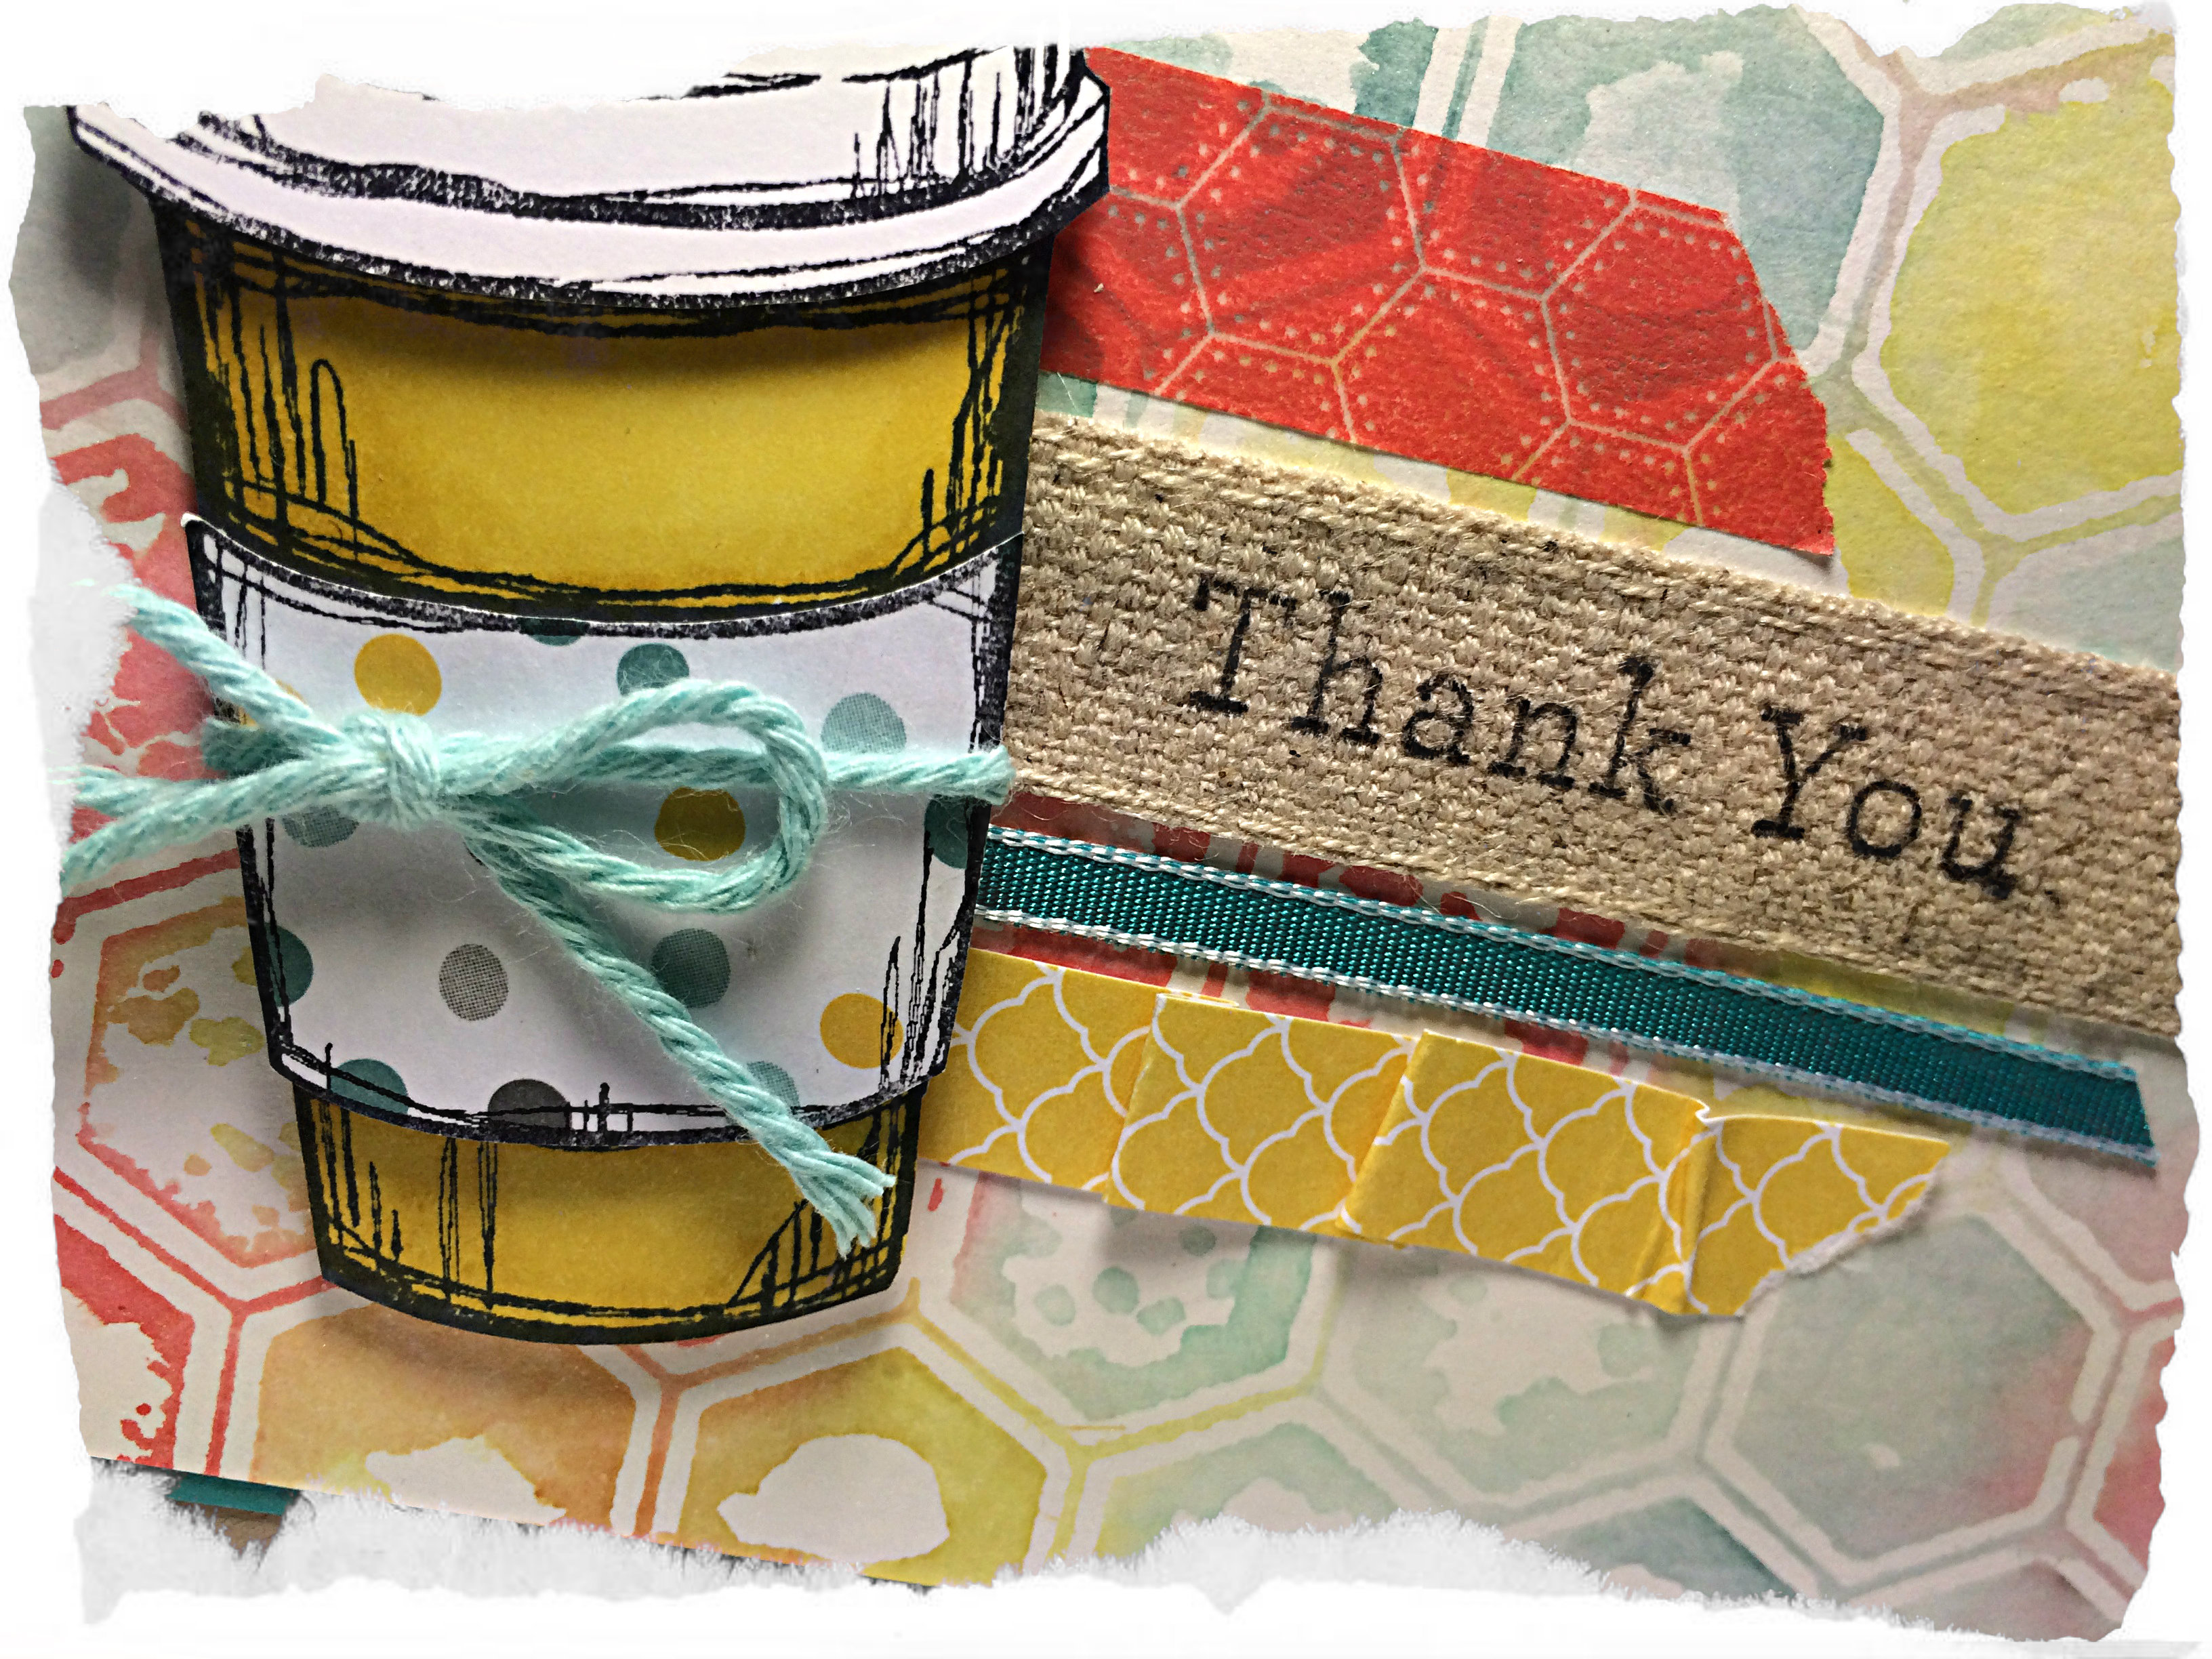
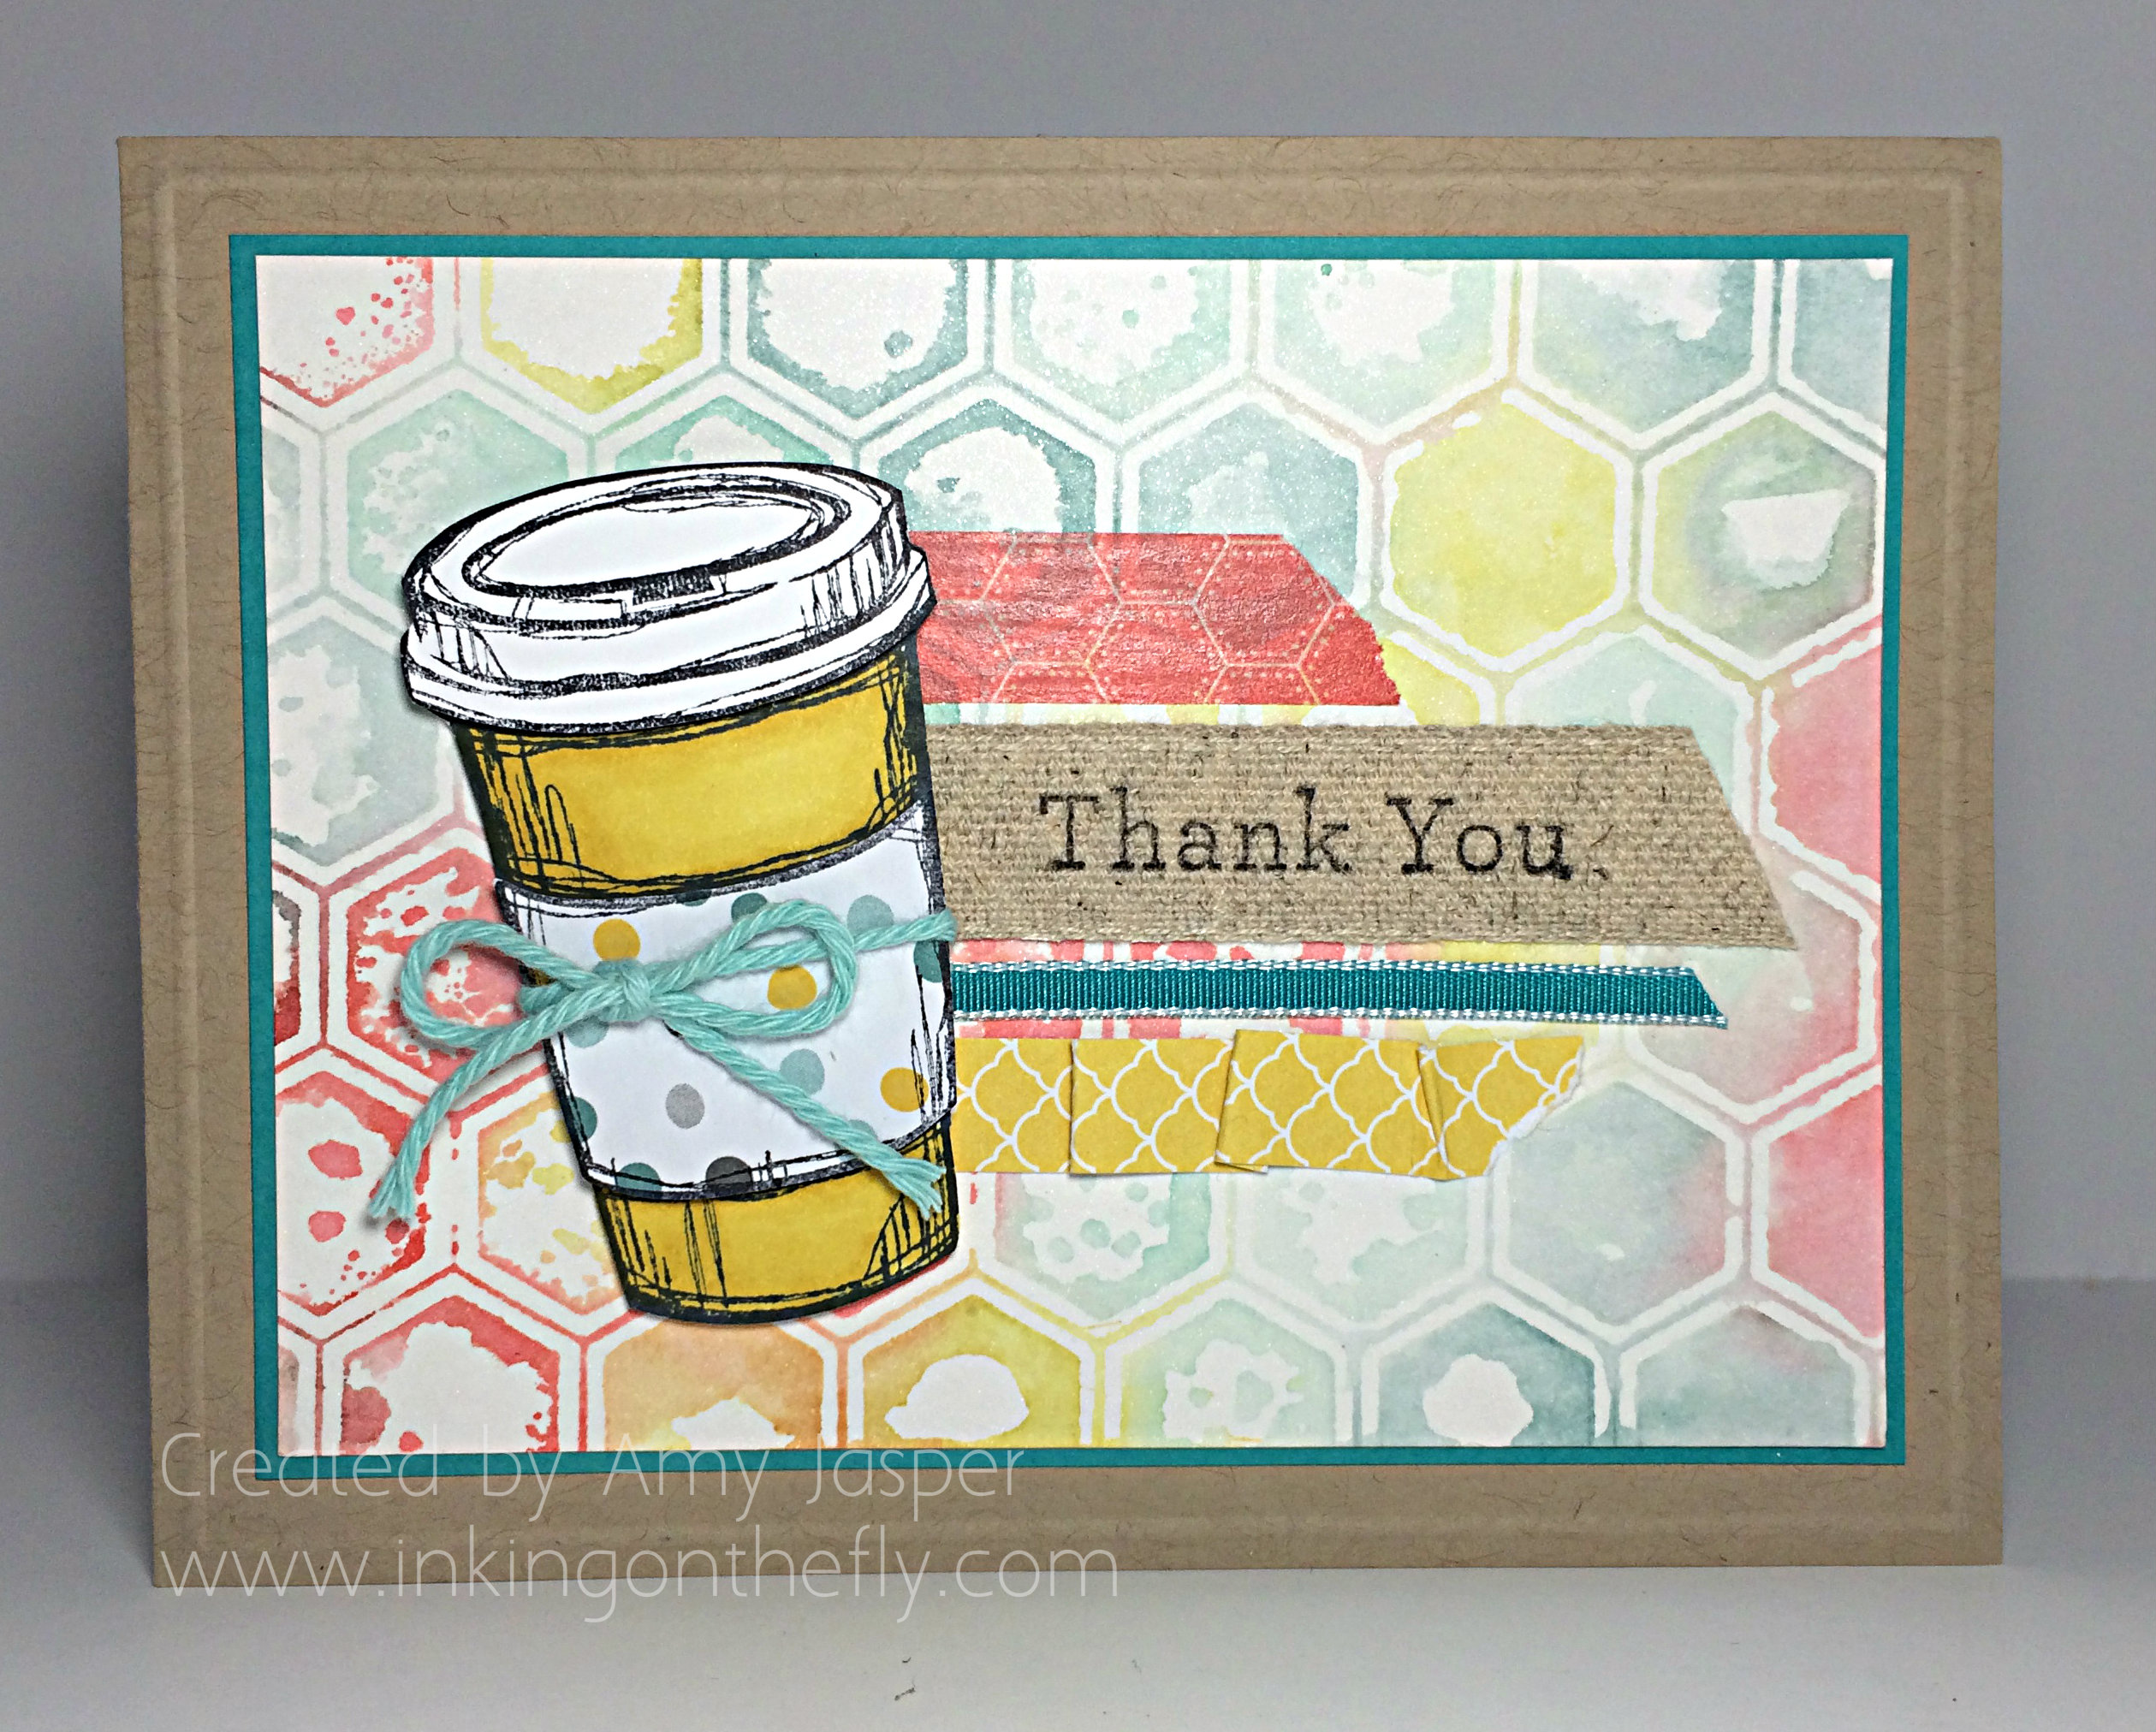
Because I love coffee, I thought I would get some use out of my new Perfect Blend stamp set. I stamped the coffee cup image once on Whisper White cardstock with the Momento black ink, then coloured it with the Daffodil Delight Blendability markers and cut it out with my Paper Snips. Then I stamped the image again so I could cut out just the lid and attach it with Dimensionals. I stamped the image a third time on the Moonlight Designer Paper, so I could cut out just the coffee sleeve and attach it with Dimensionals as well (after adding the Coastal Cabana baker’s twine, of course).
You can see that I used the Epic Day washi tape, the BACK side of the Chevron Natural ribbon (which I stamped on with Stazon Black ink using the sentiment from the An Open Heart stamp set), Bermuda Bay 1/8″ taffeta ribbon, and finally a folded strip of Daffodil Delight patterned paper from the Brights Patterned Paper Stack.
The card base is Crumb Cake cardstock, which has an embossed outline 1/8″ all around the card that was created by using the Simply Scored tool and stylus. I matted that cool background with a thin layer of Bermuda Bay cardstock.
As for the cool background… how ’bout a quick photo tutorial:
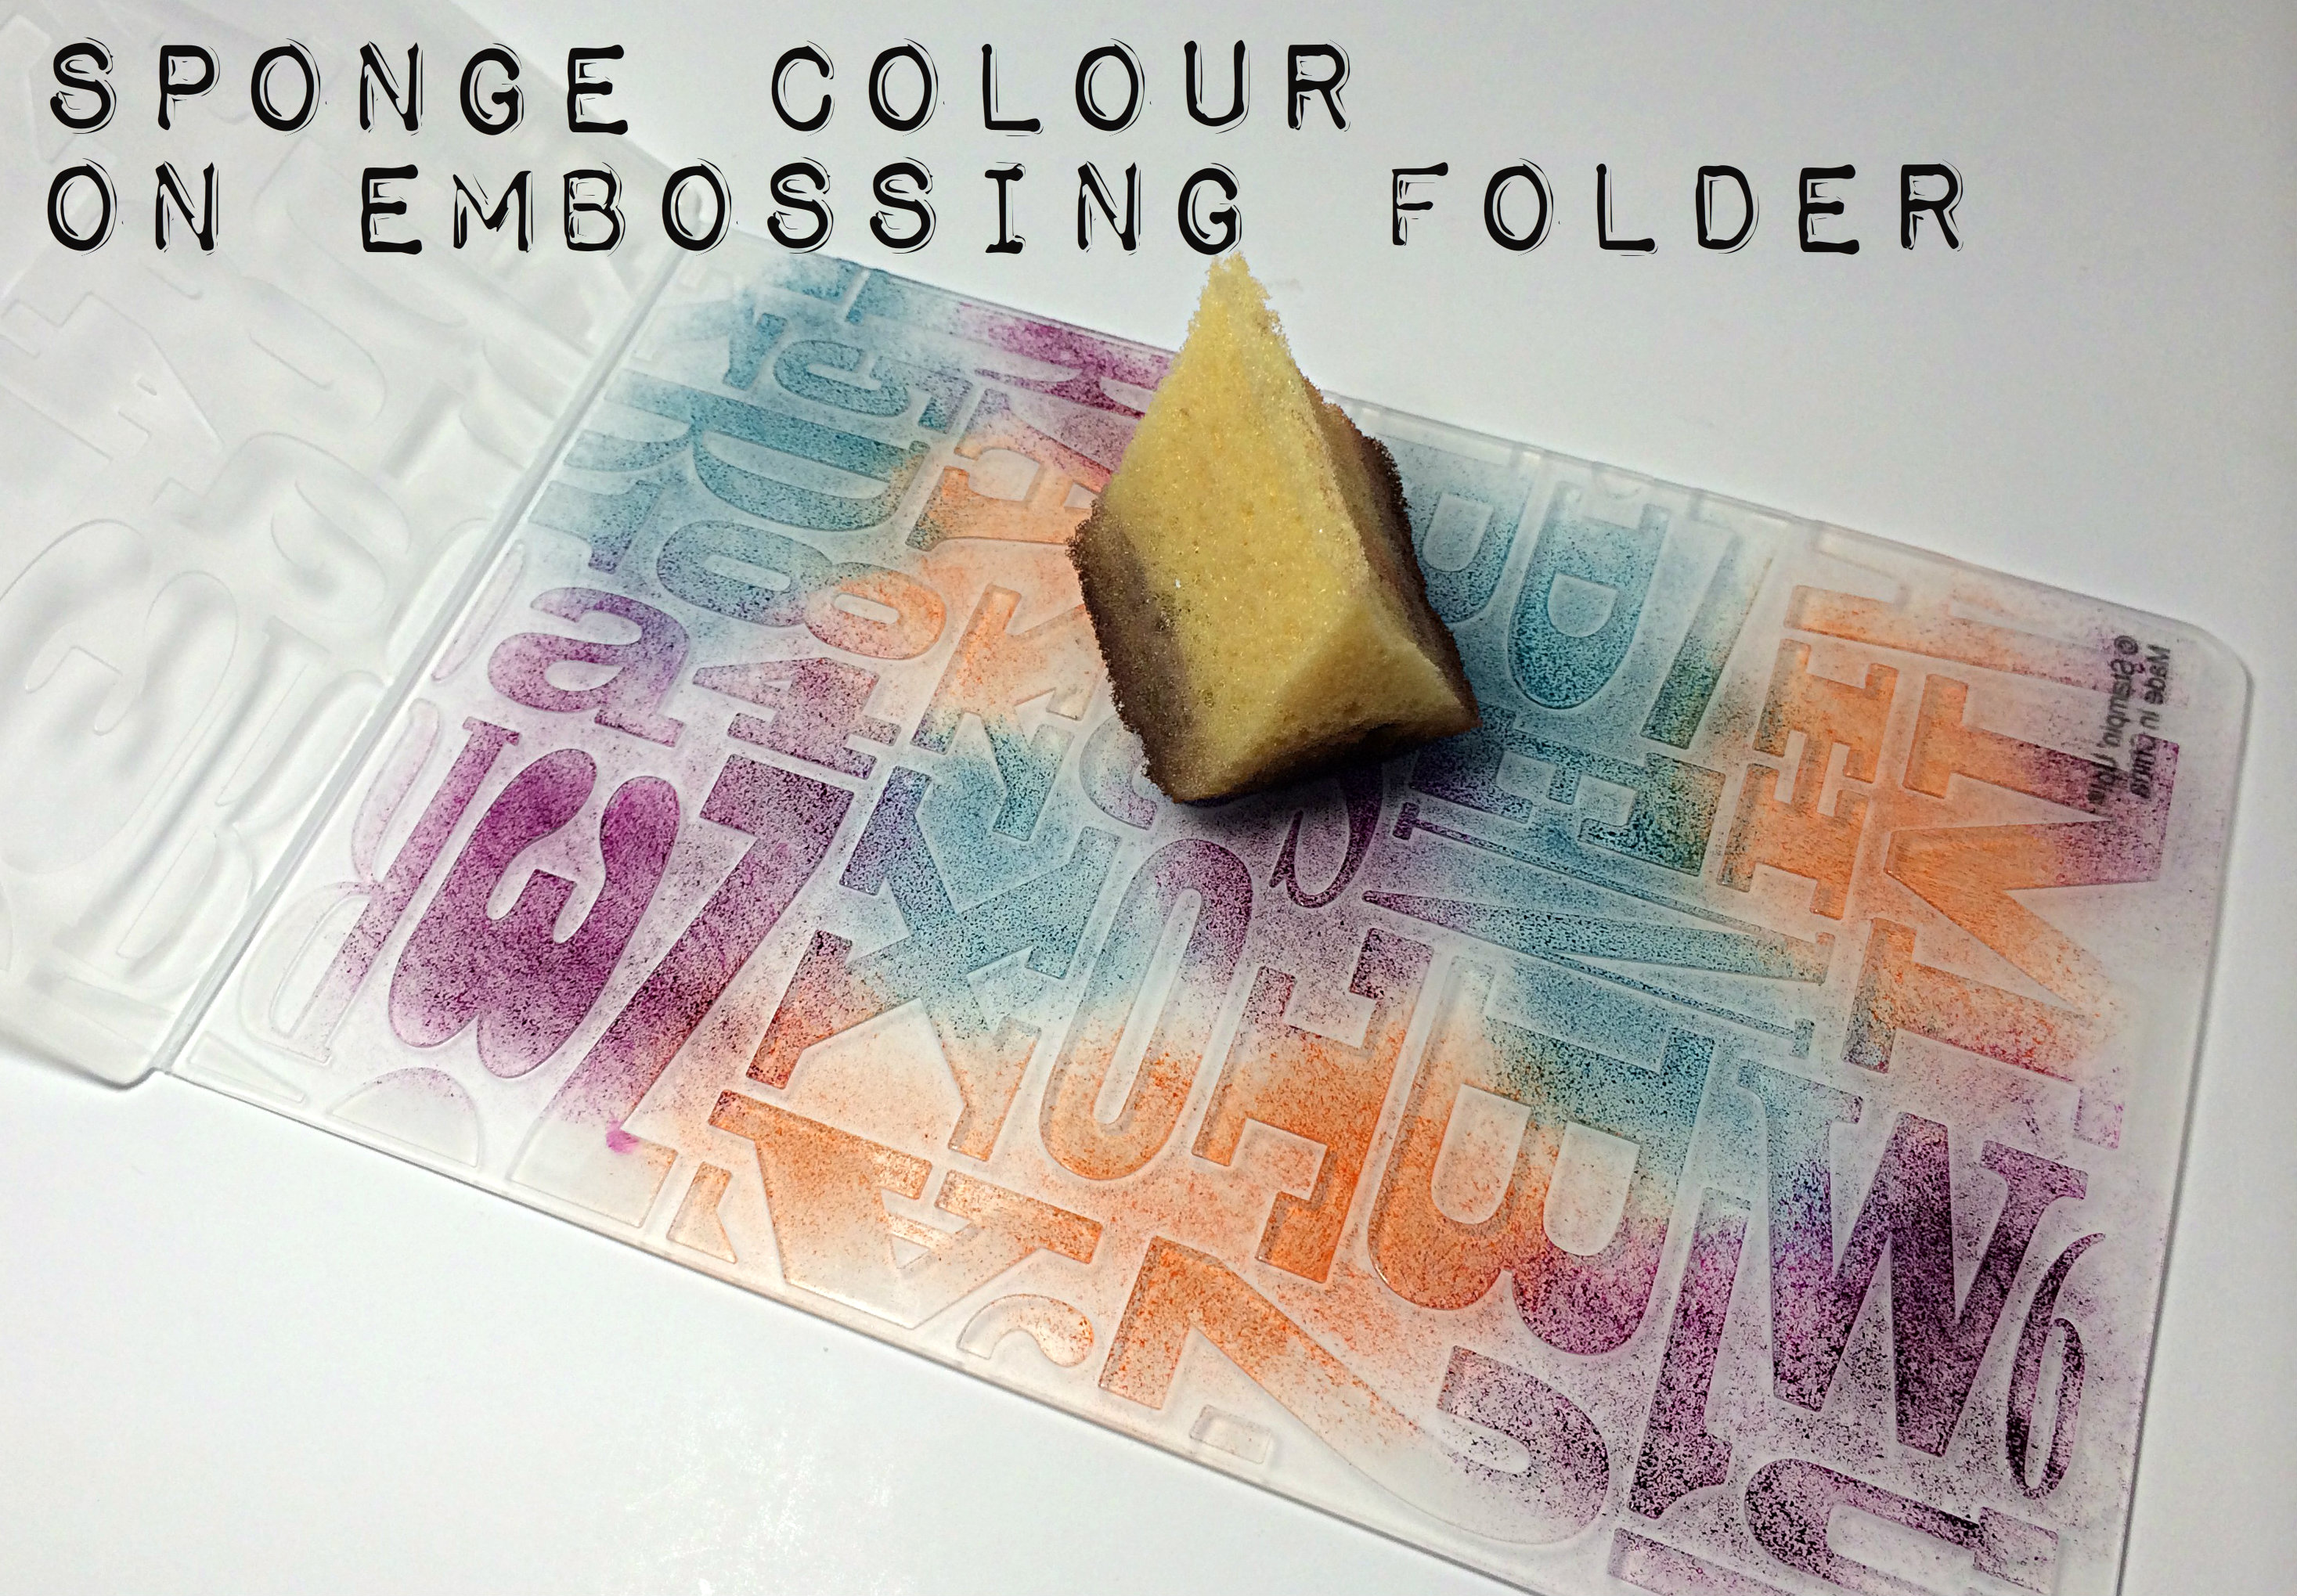 My challenge card uses the Honeycomb folder, but this would work for any embossing folder. And you don’t even need the Big Shot for this because it doesn’t get embossed! Just pick which side of the folder you want to use (keep in mind that the raised area that you sponge is what will press colour onto your cardstock).
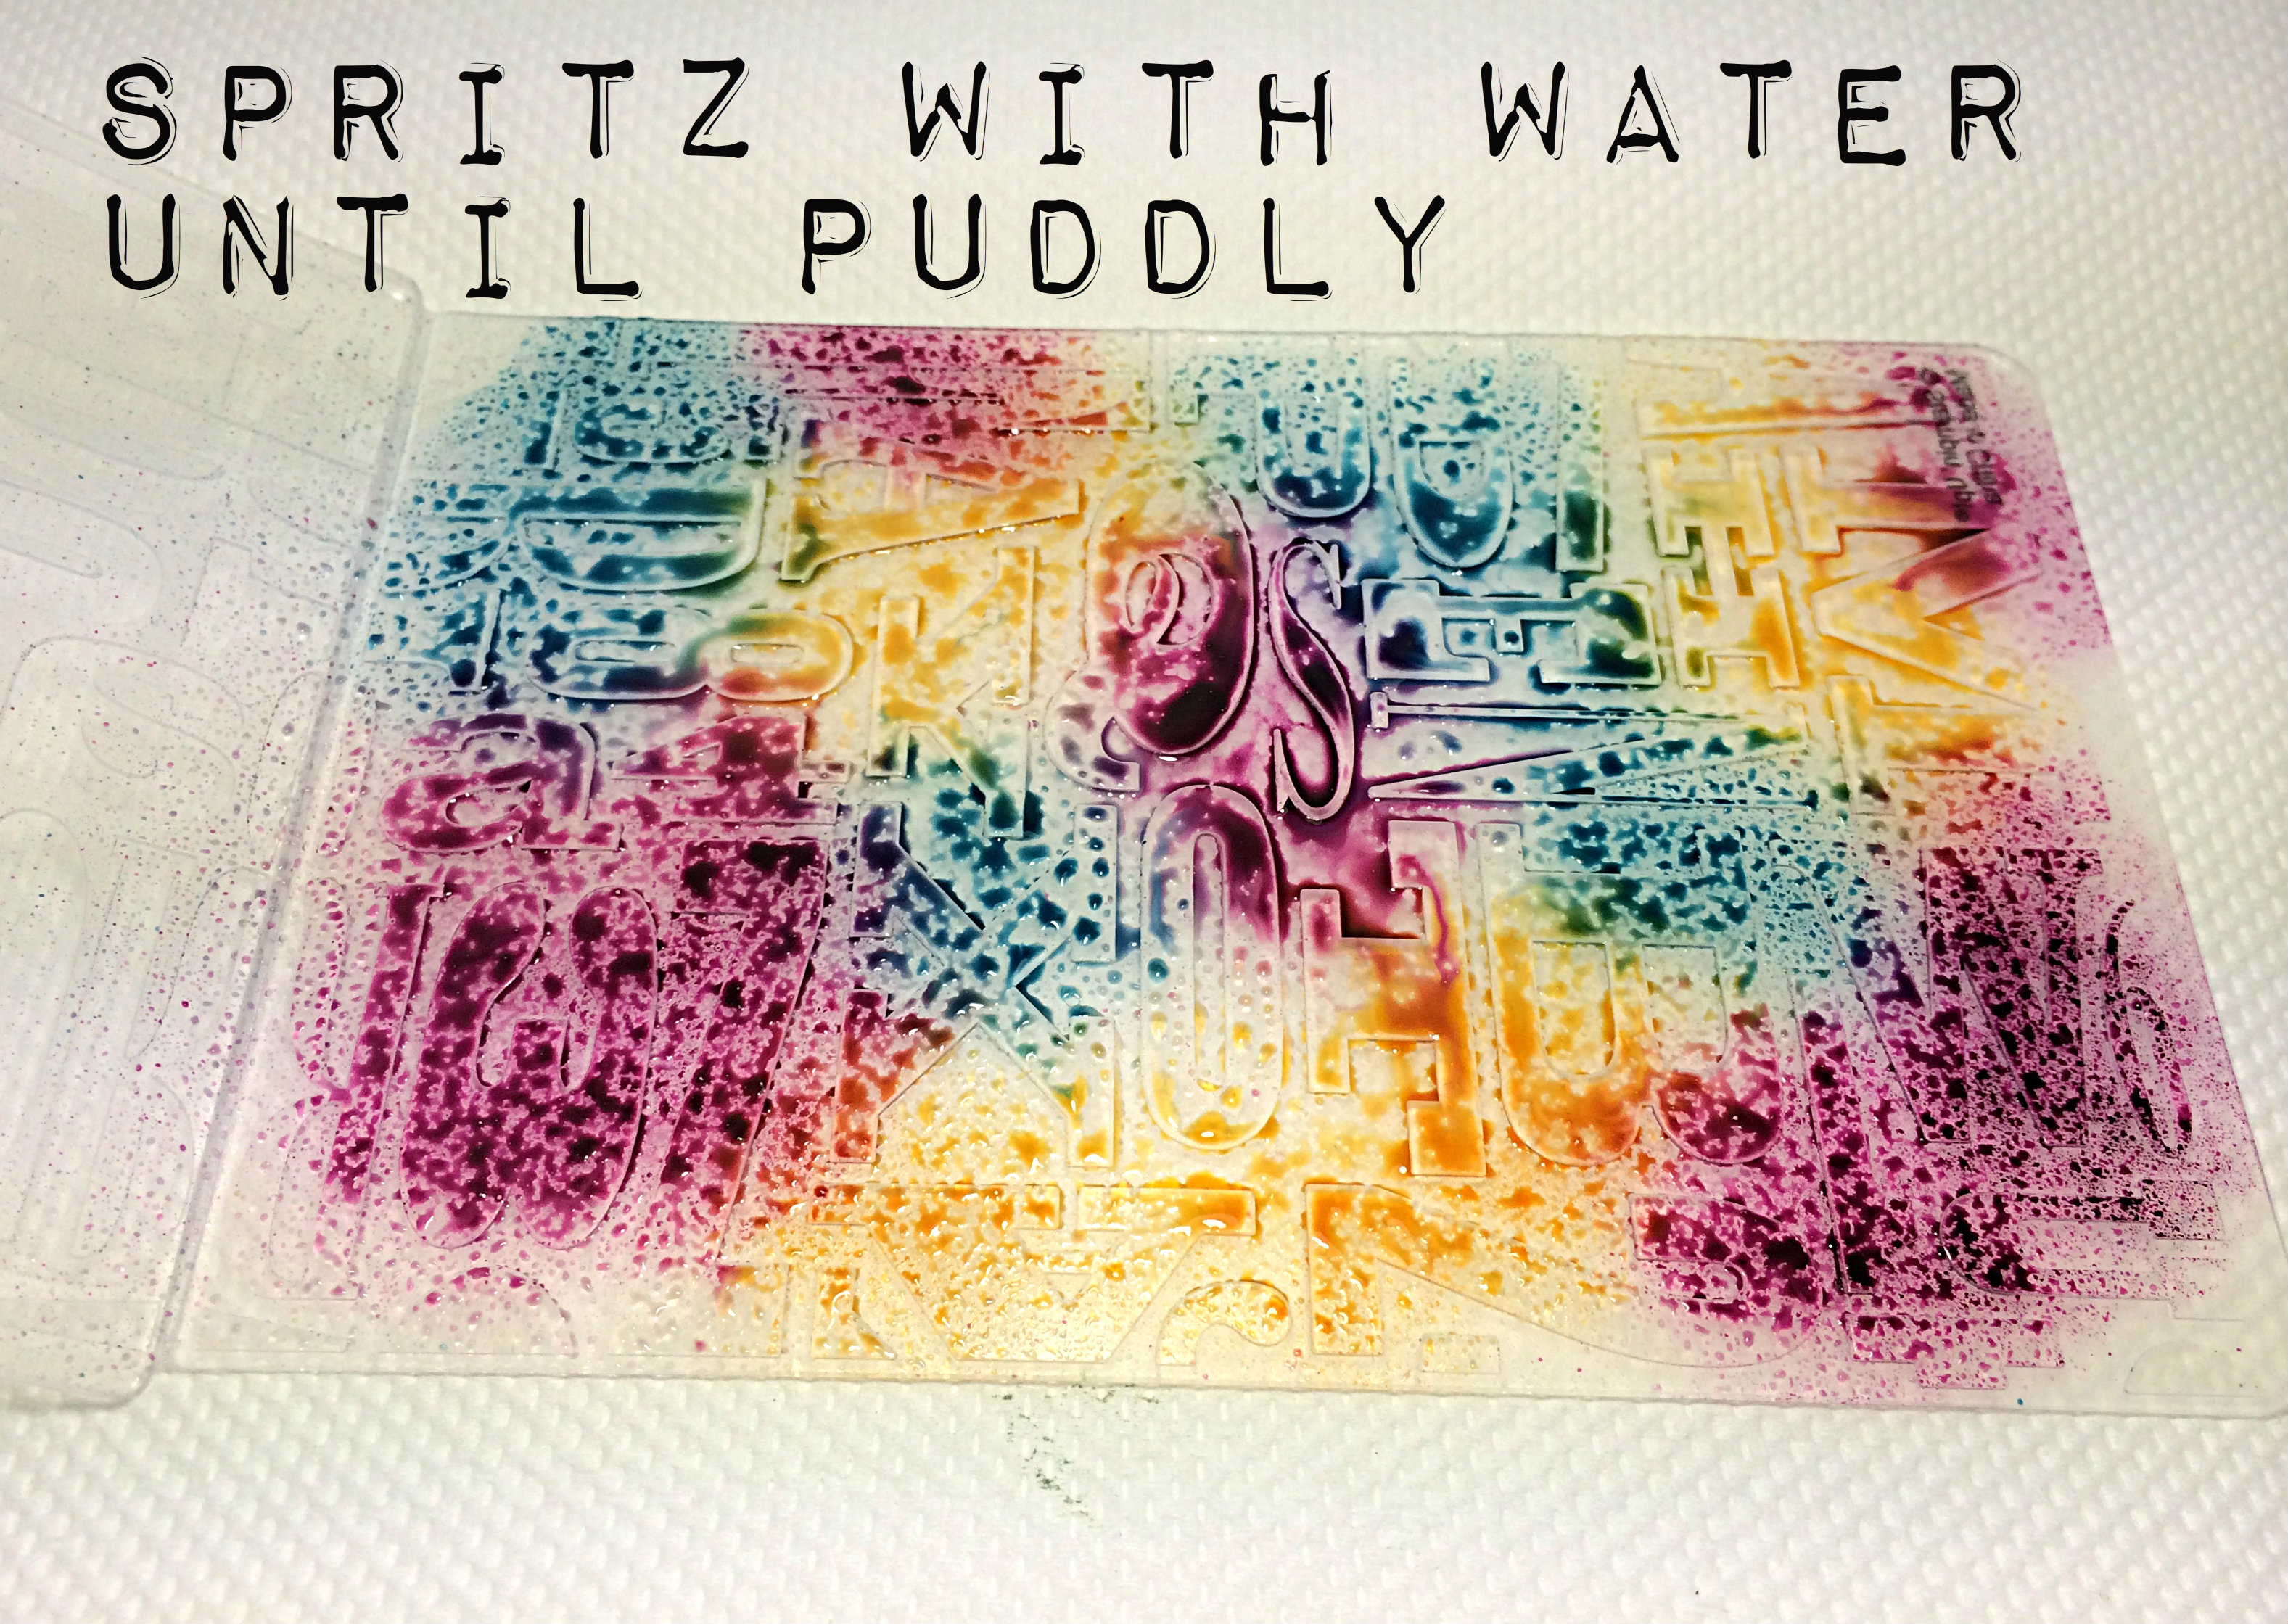
Spritzing with water is fun! The amount of water you add will determine how blended your colours are. If you want a softer, more watercoloured look, then use lots of water and make it more puddly. If you want a bolder colour, then spritz it only until the colour starts to bead on the folder. You’ll get a different look entirely based on the amount of water.
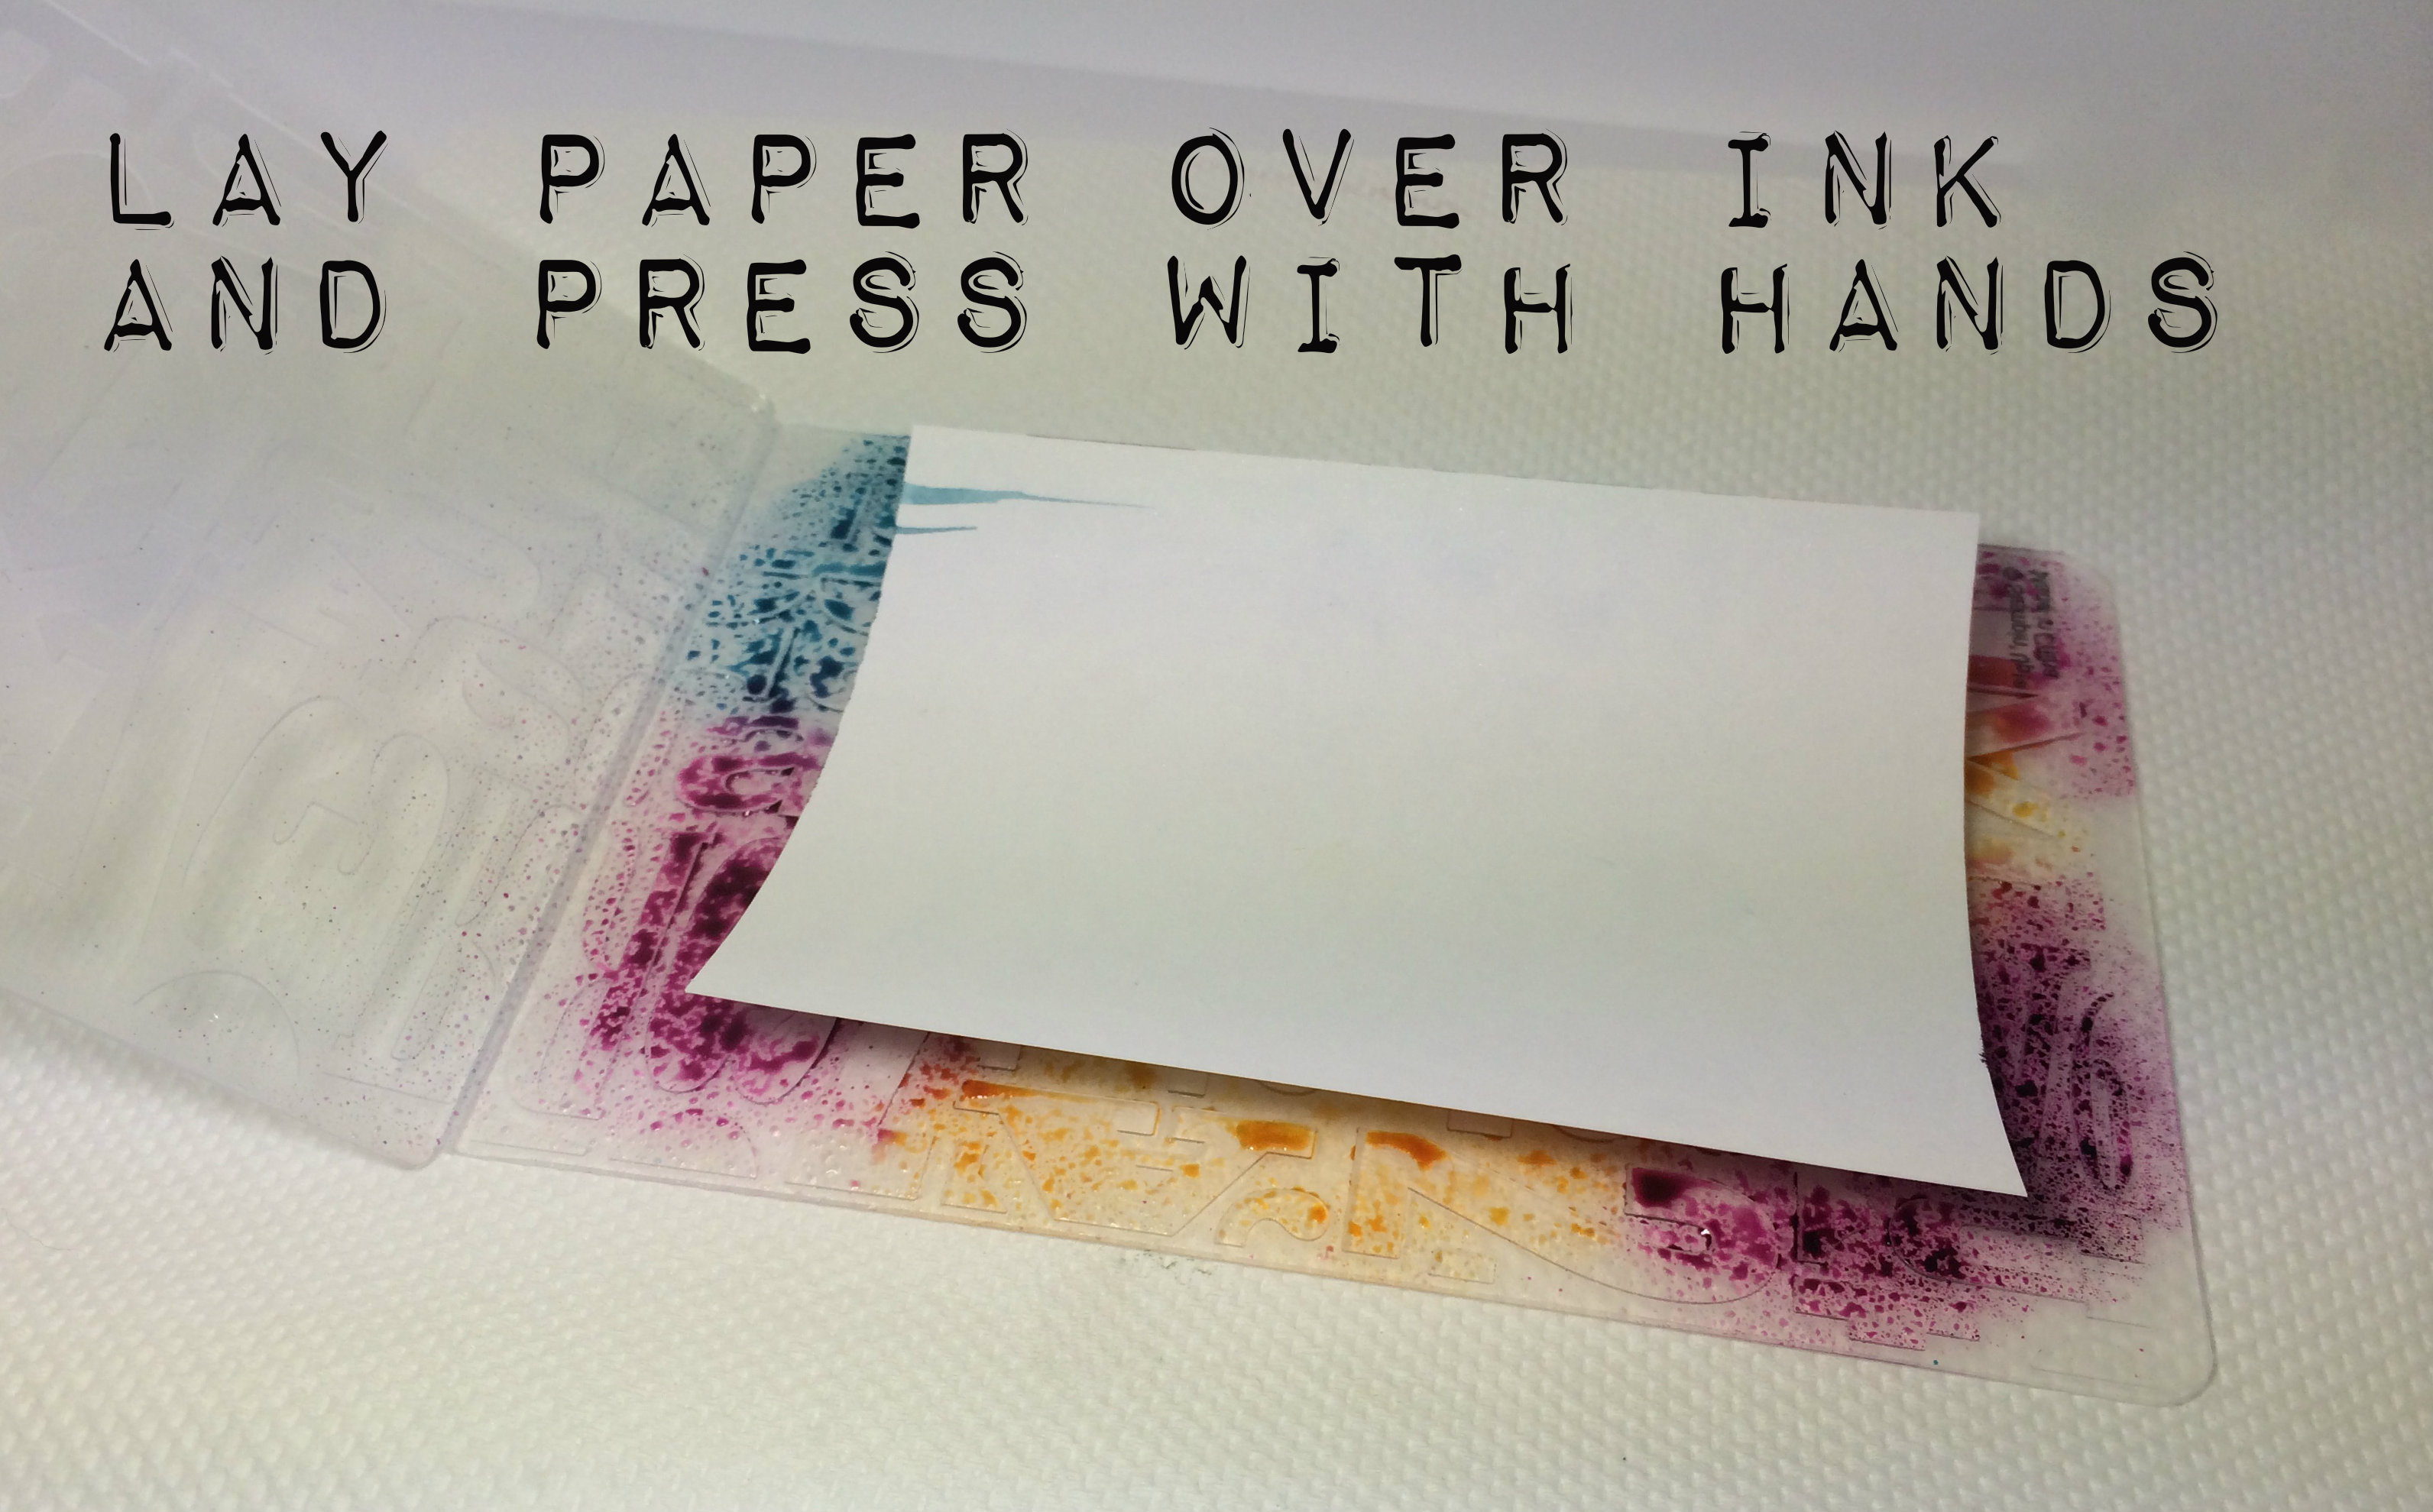
Lay your cardstock over the ink and press gently with your hands. I used Shimmery White cardstock as it takes water well, but is more white than watercolour paper is … I tried this with Whisper White as well, but it warps the paper a bit – still works, though.
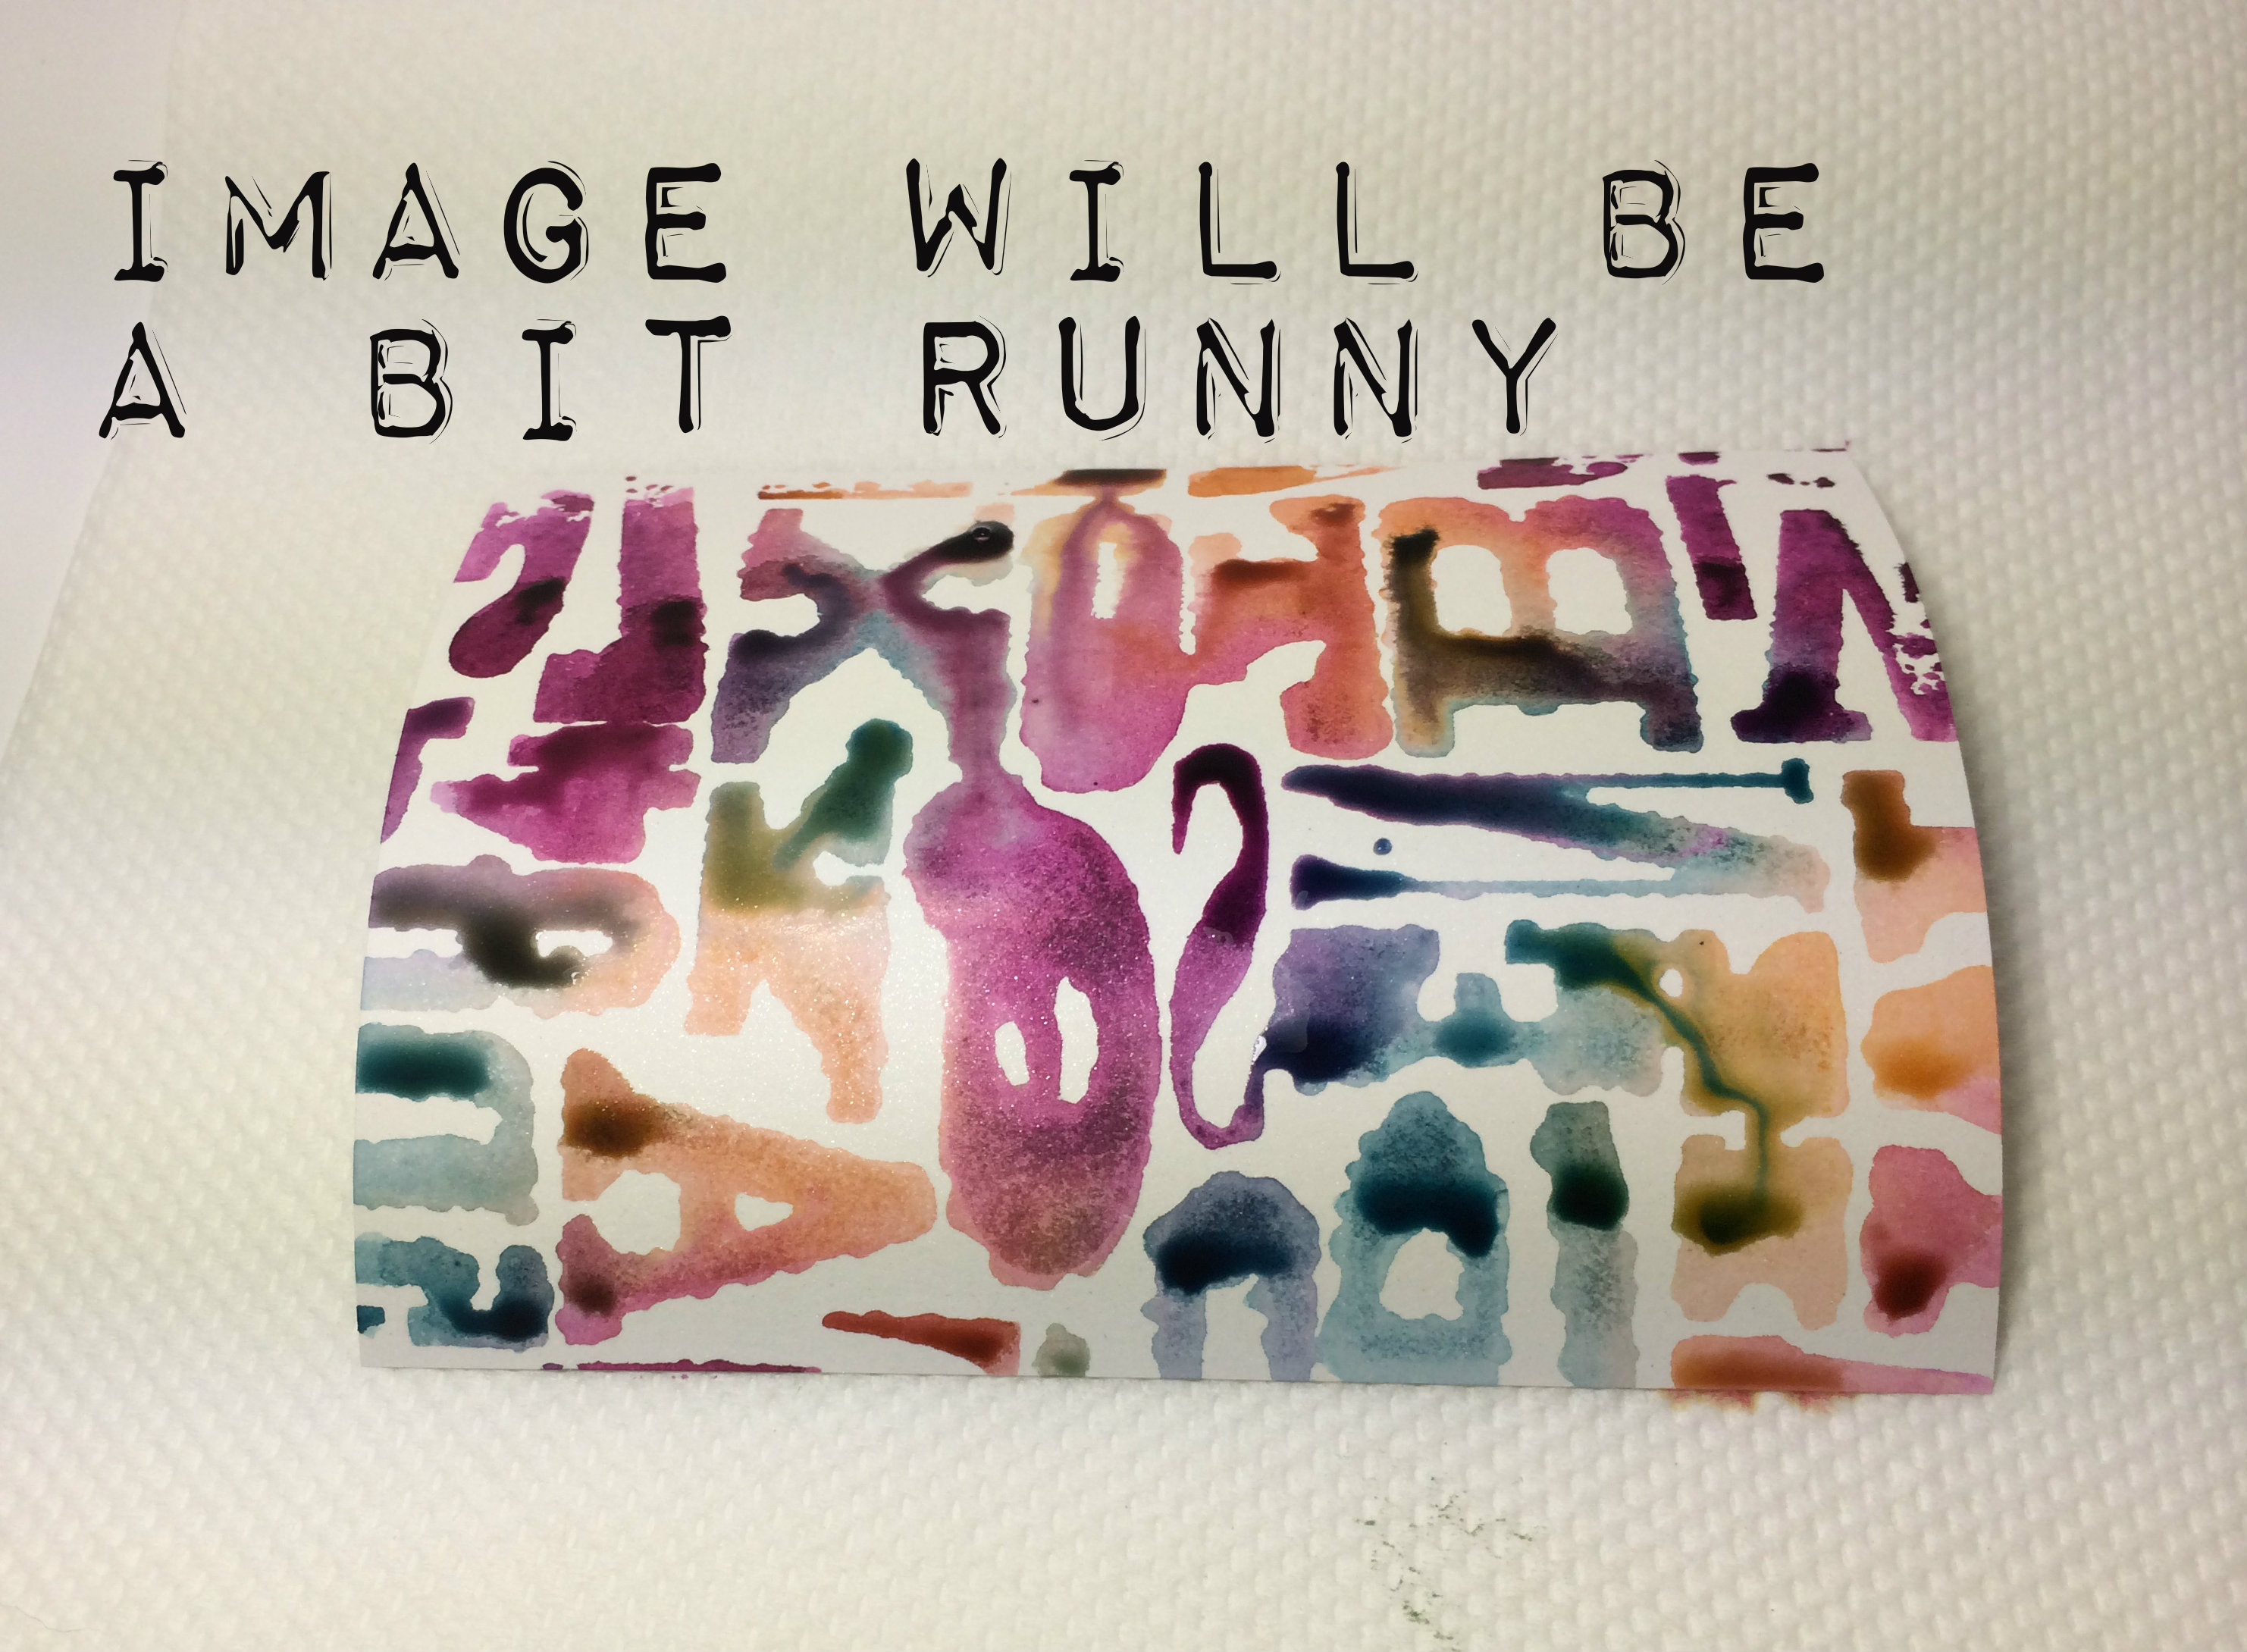 When you remove your cardstock, it will be quite runny if you used a lot of water. No worries…
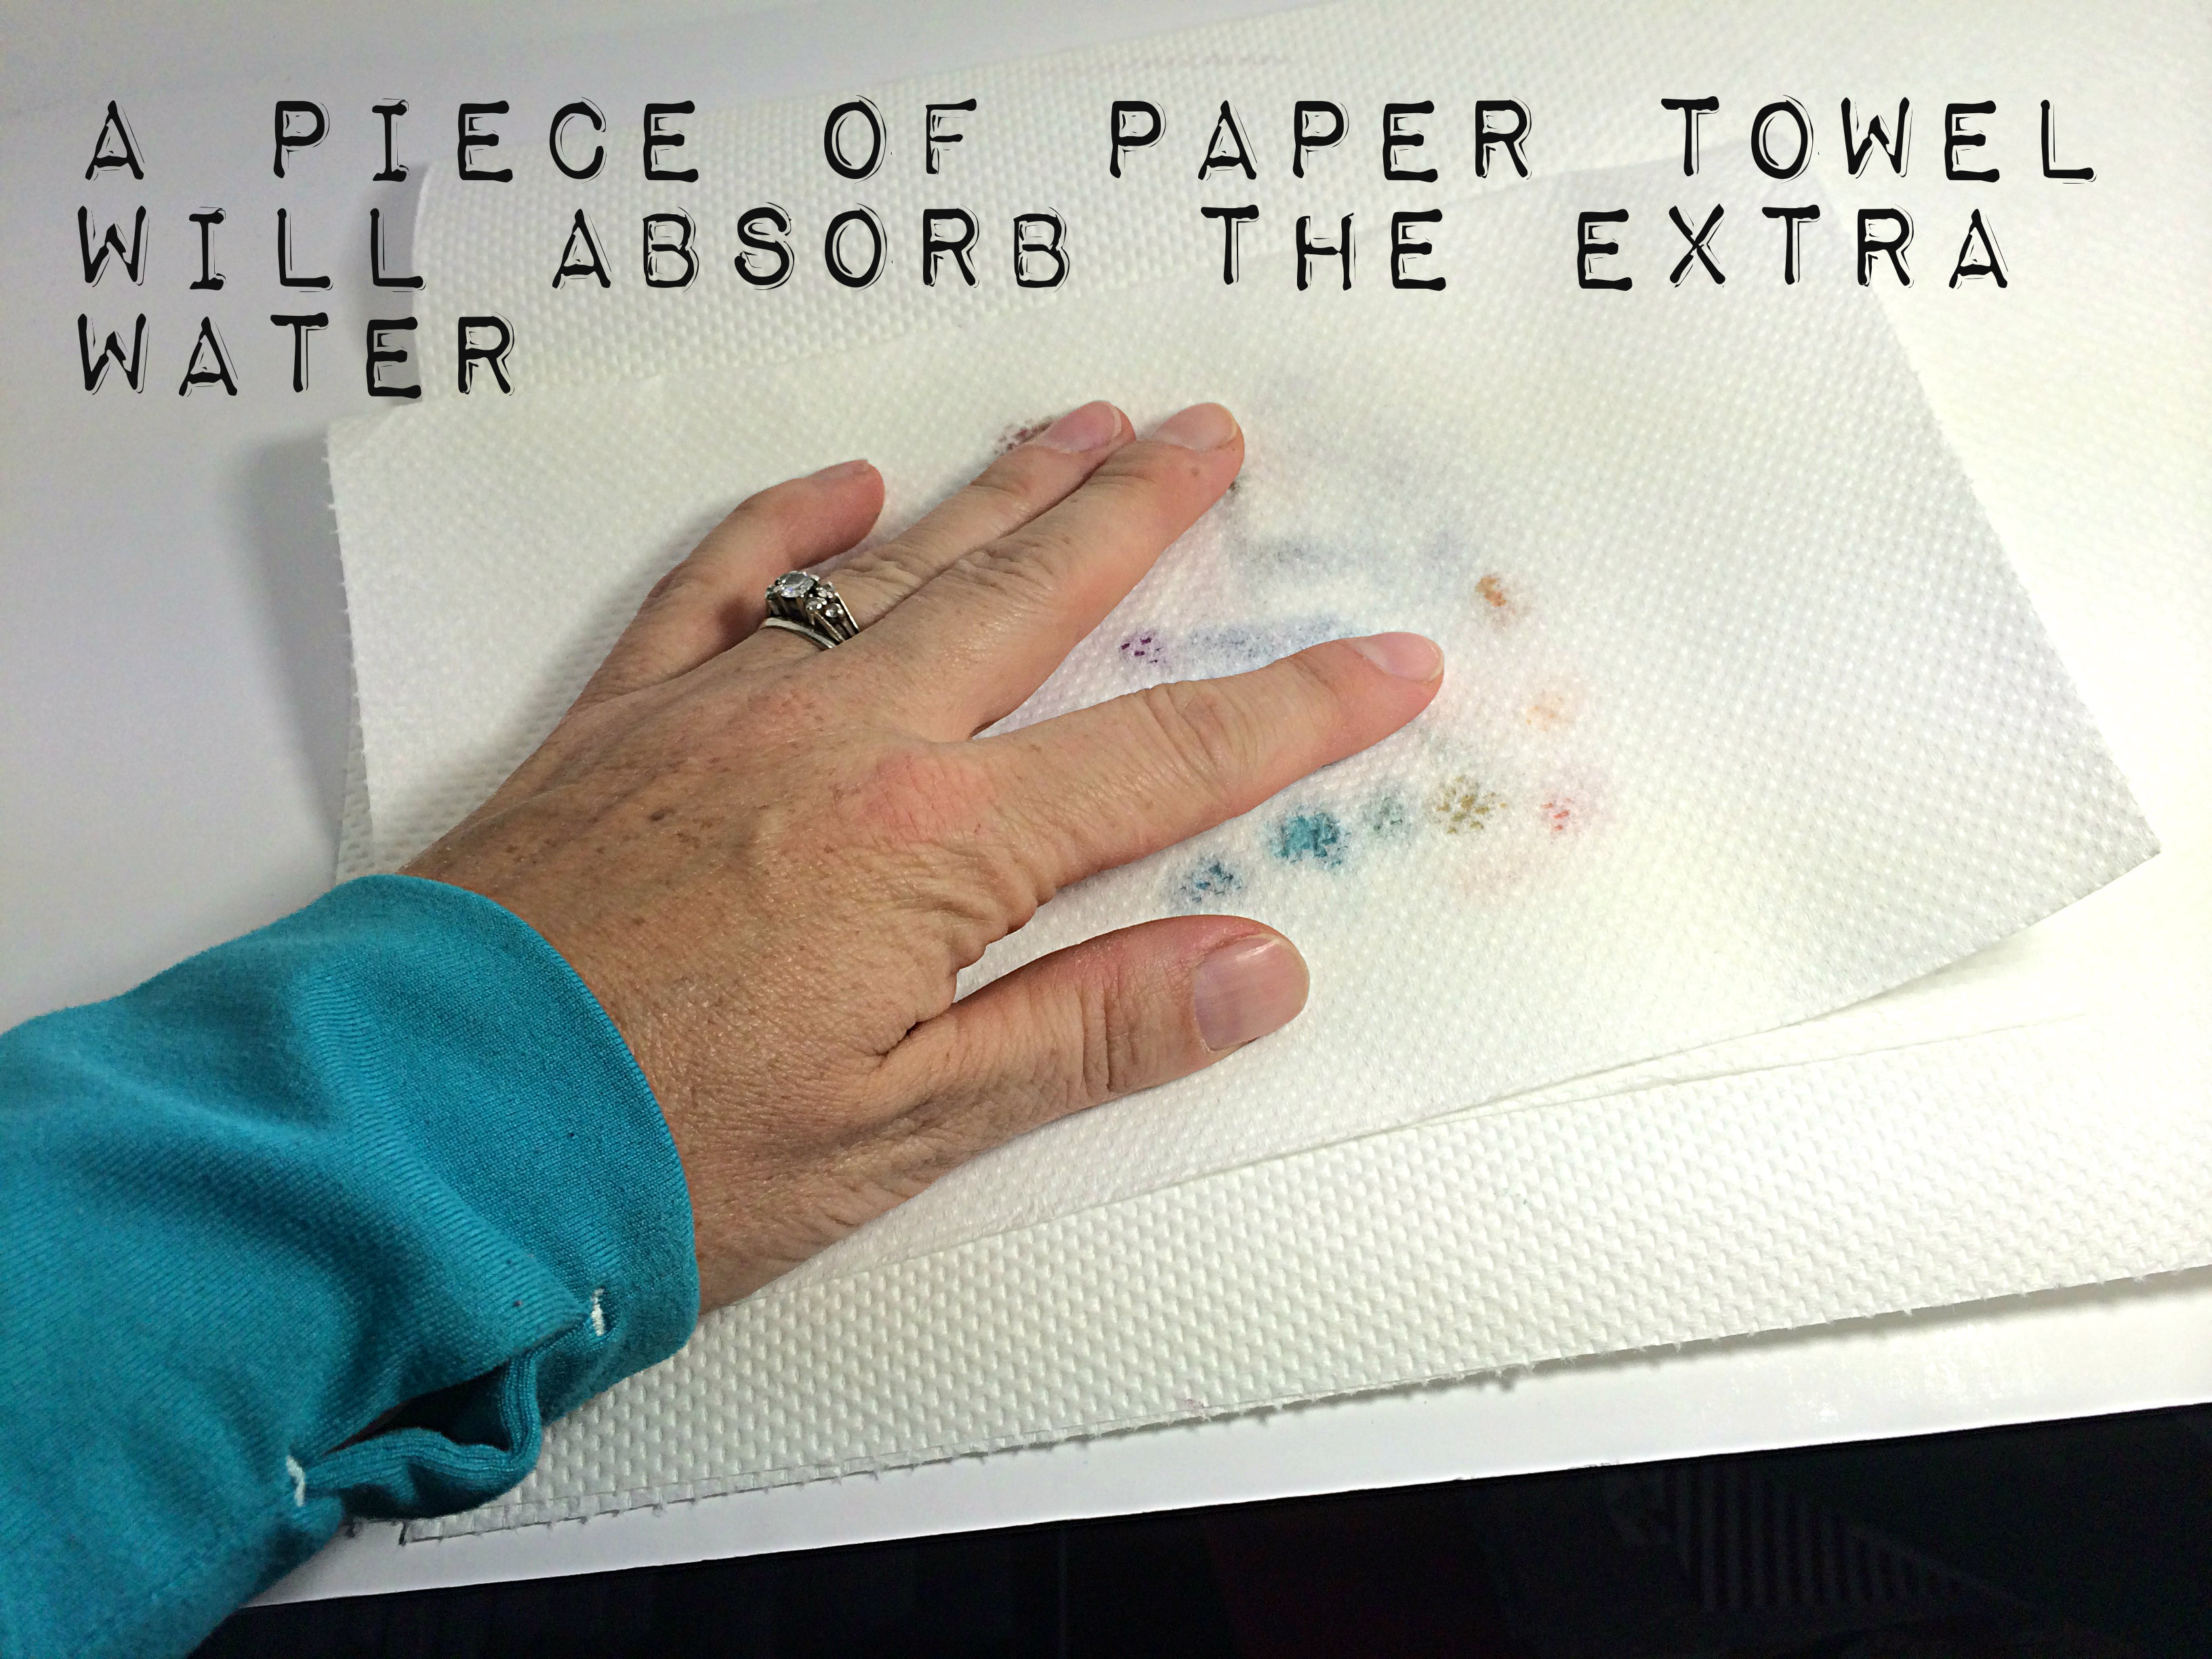 You can pick up that extra water by carefully pressing some paper towel over the image to absorb the excess.
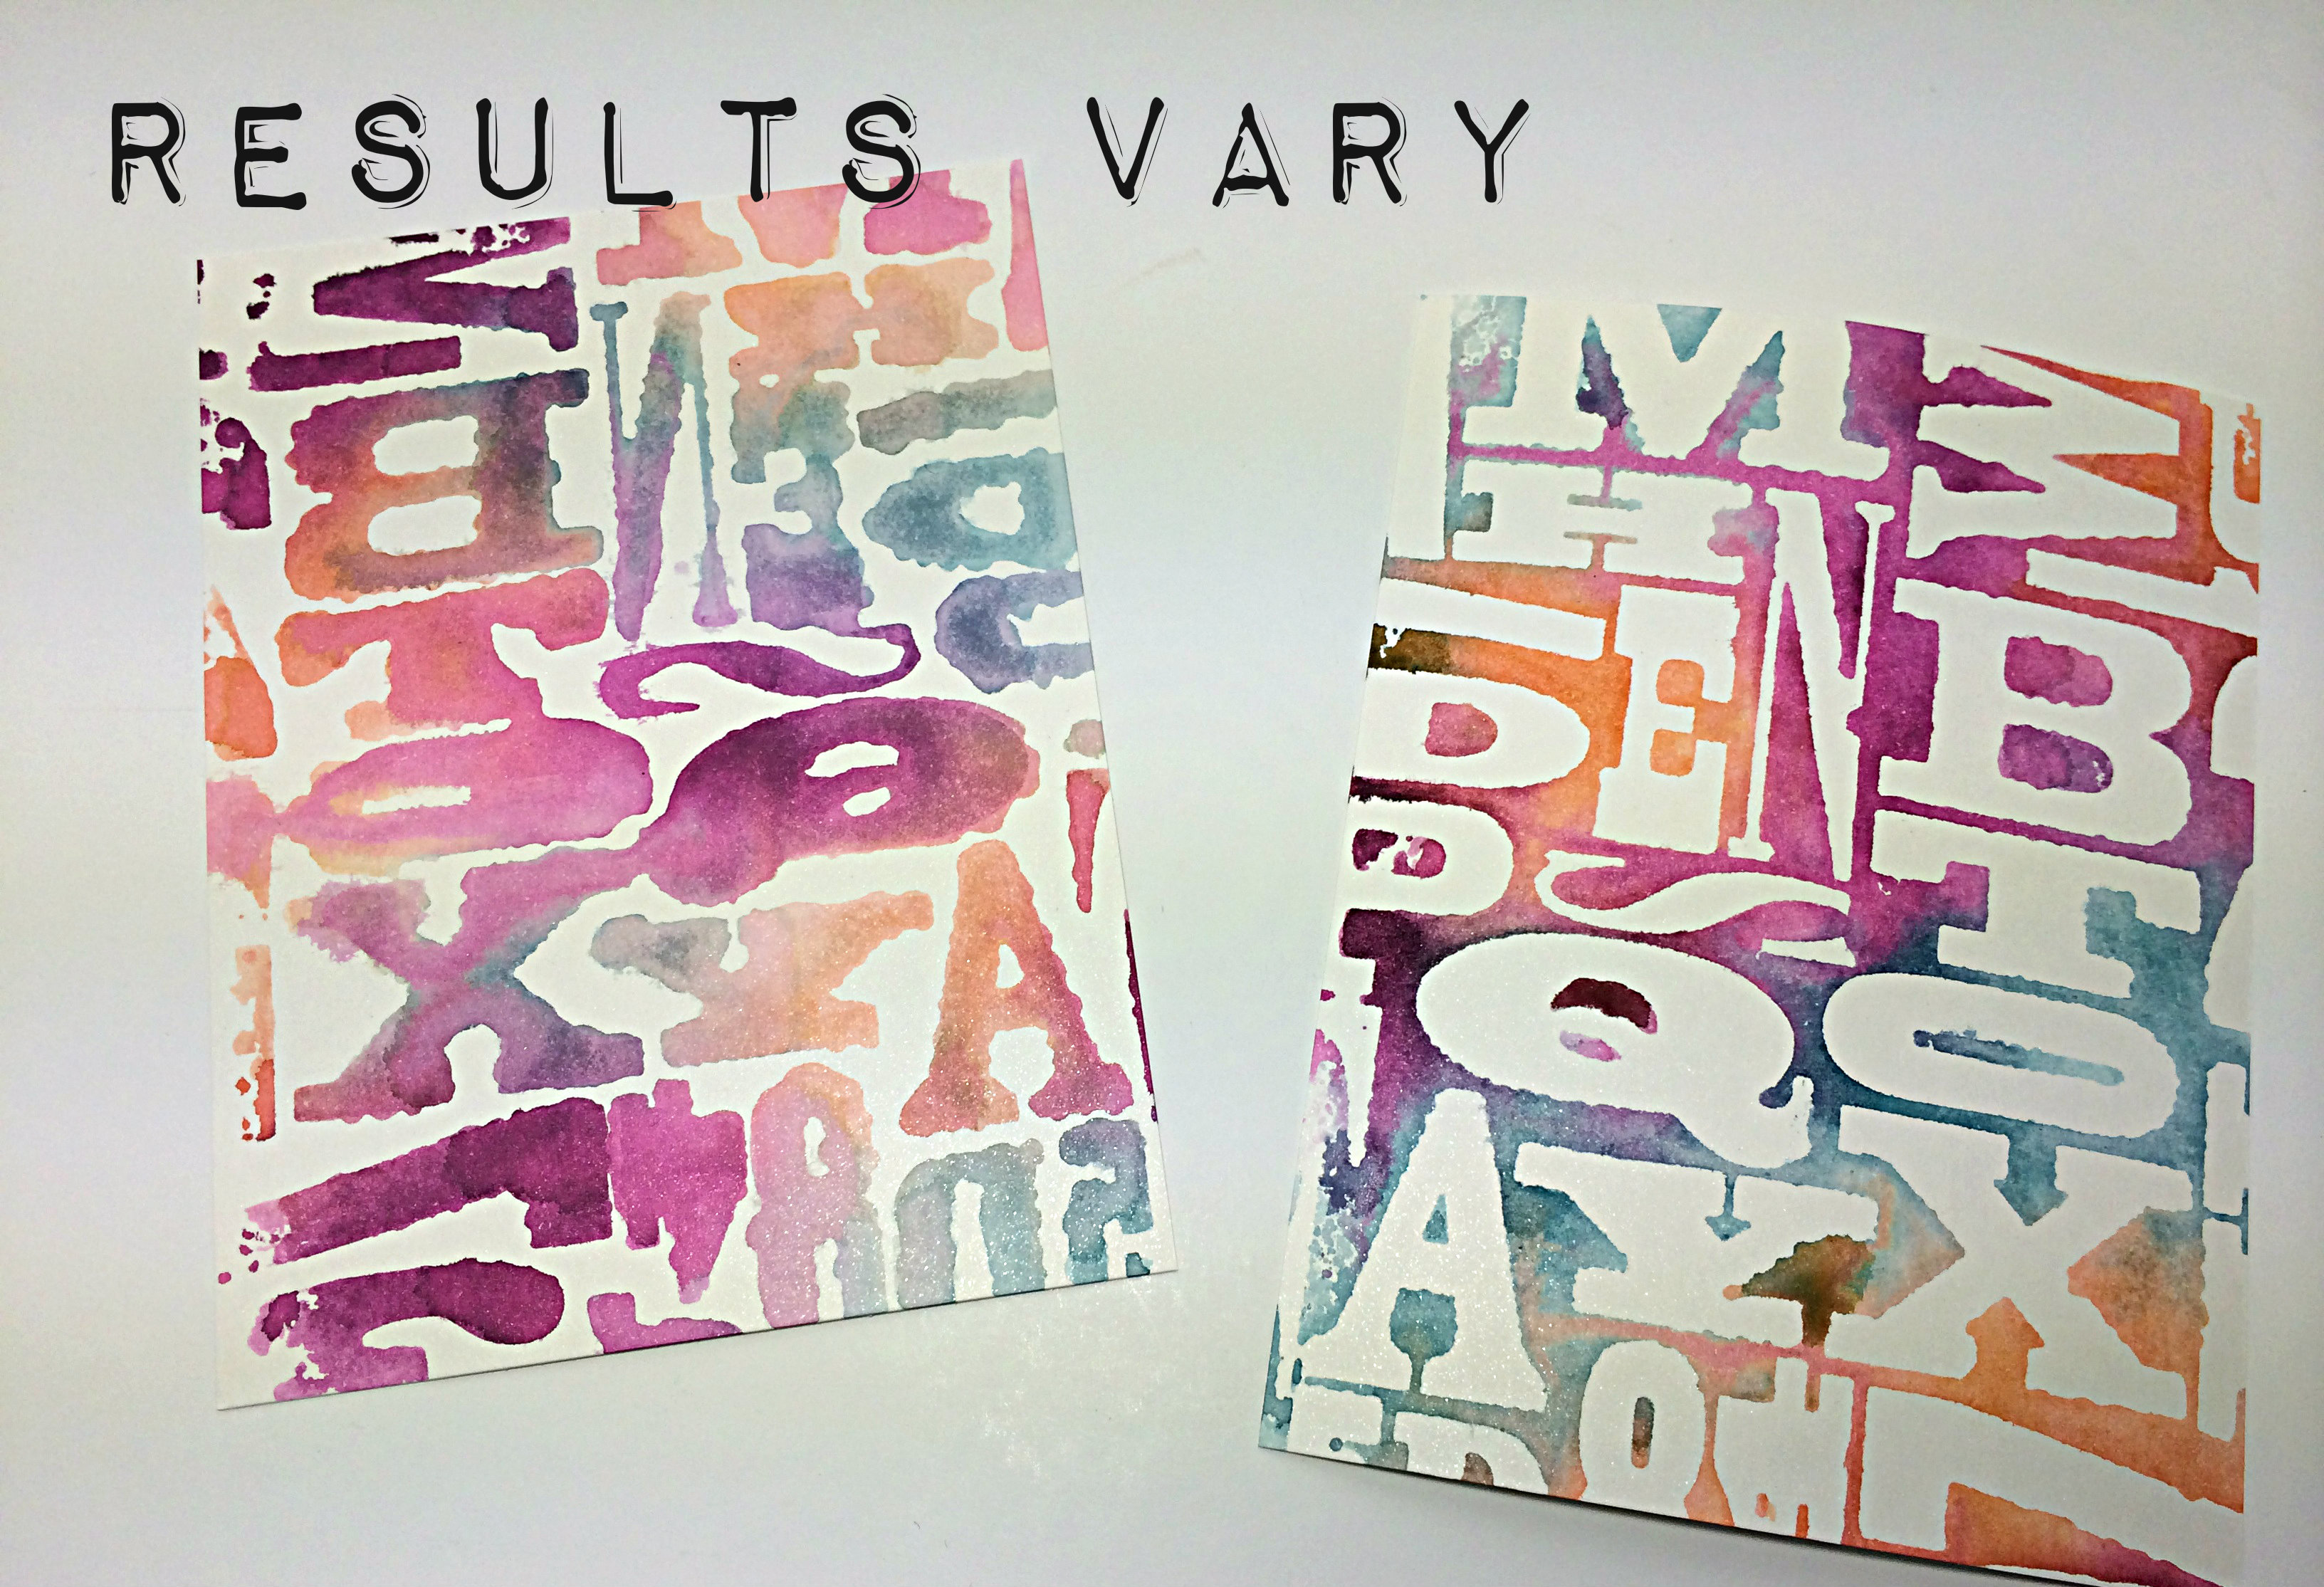 I used a little bit more water on the left image than I did on the right image. Also, you should take note that with this particular folder (the Alphabet Press), it actually makes a big difference because the image on the left has backwards letters, lol!
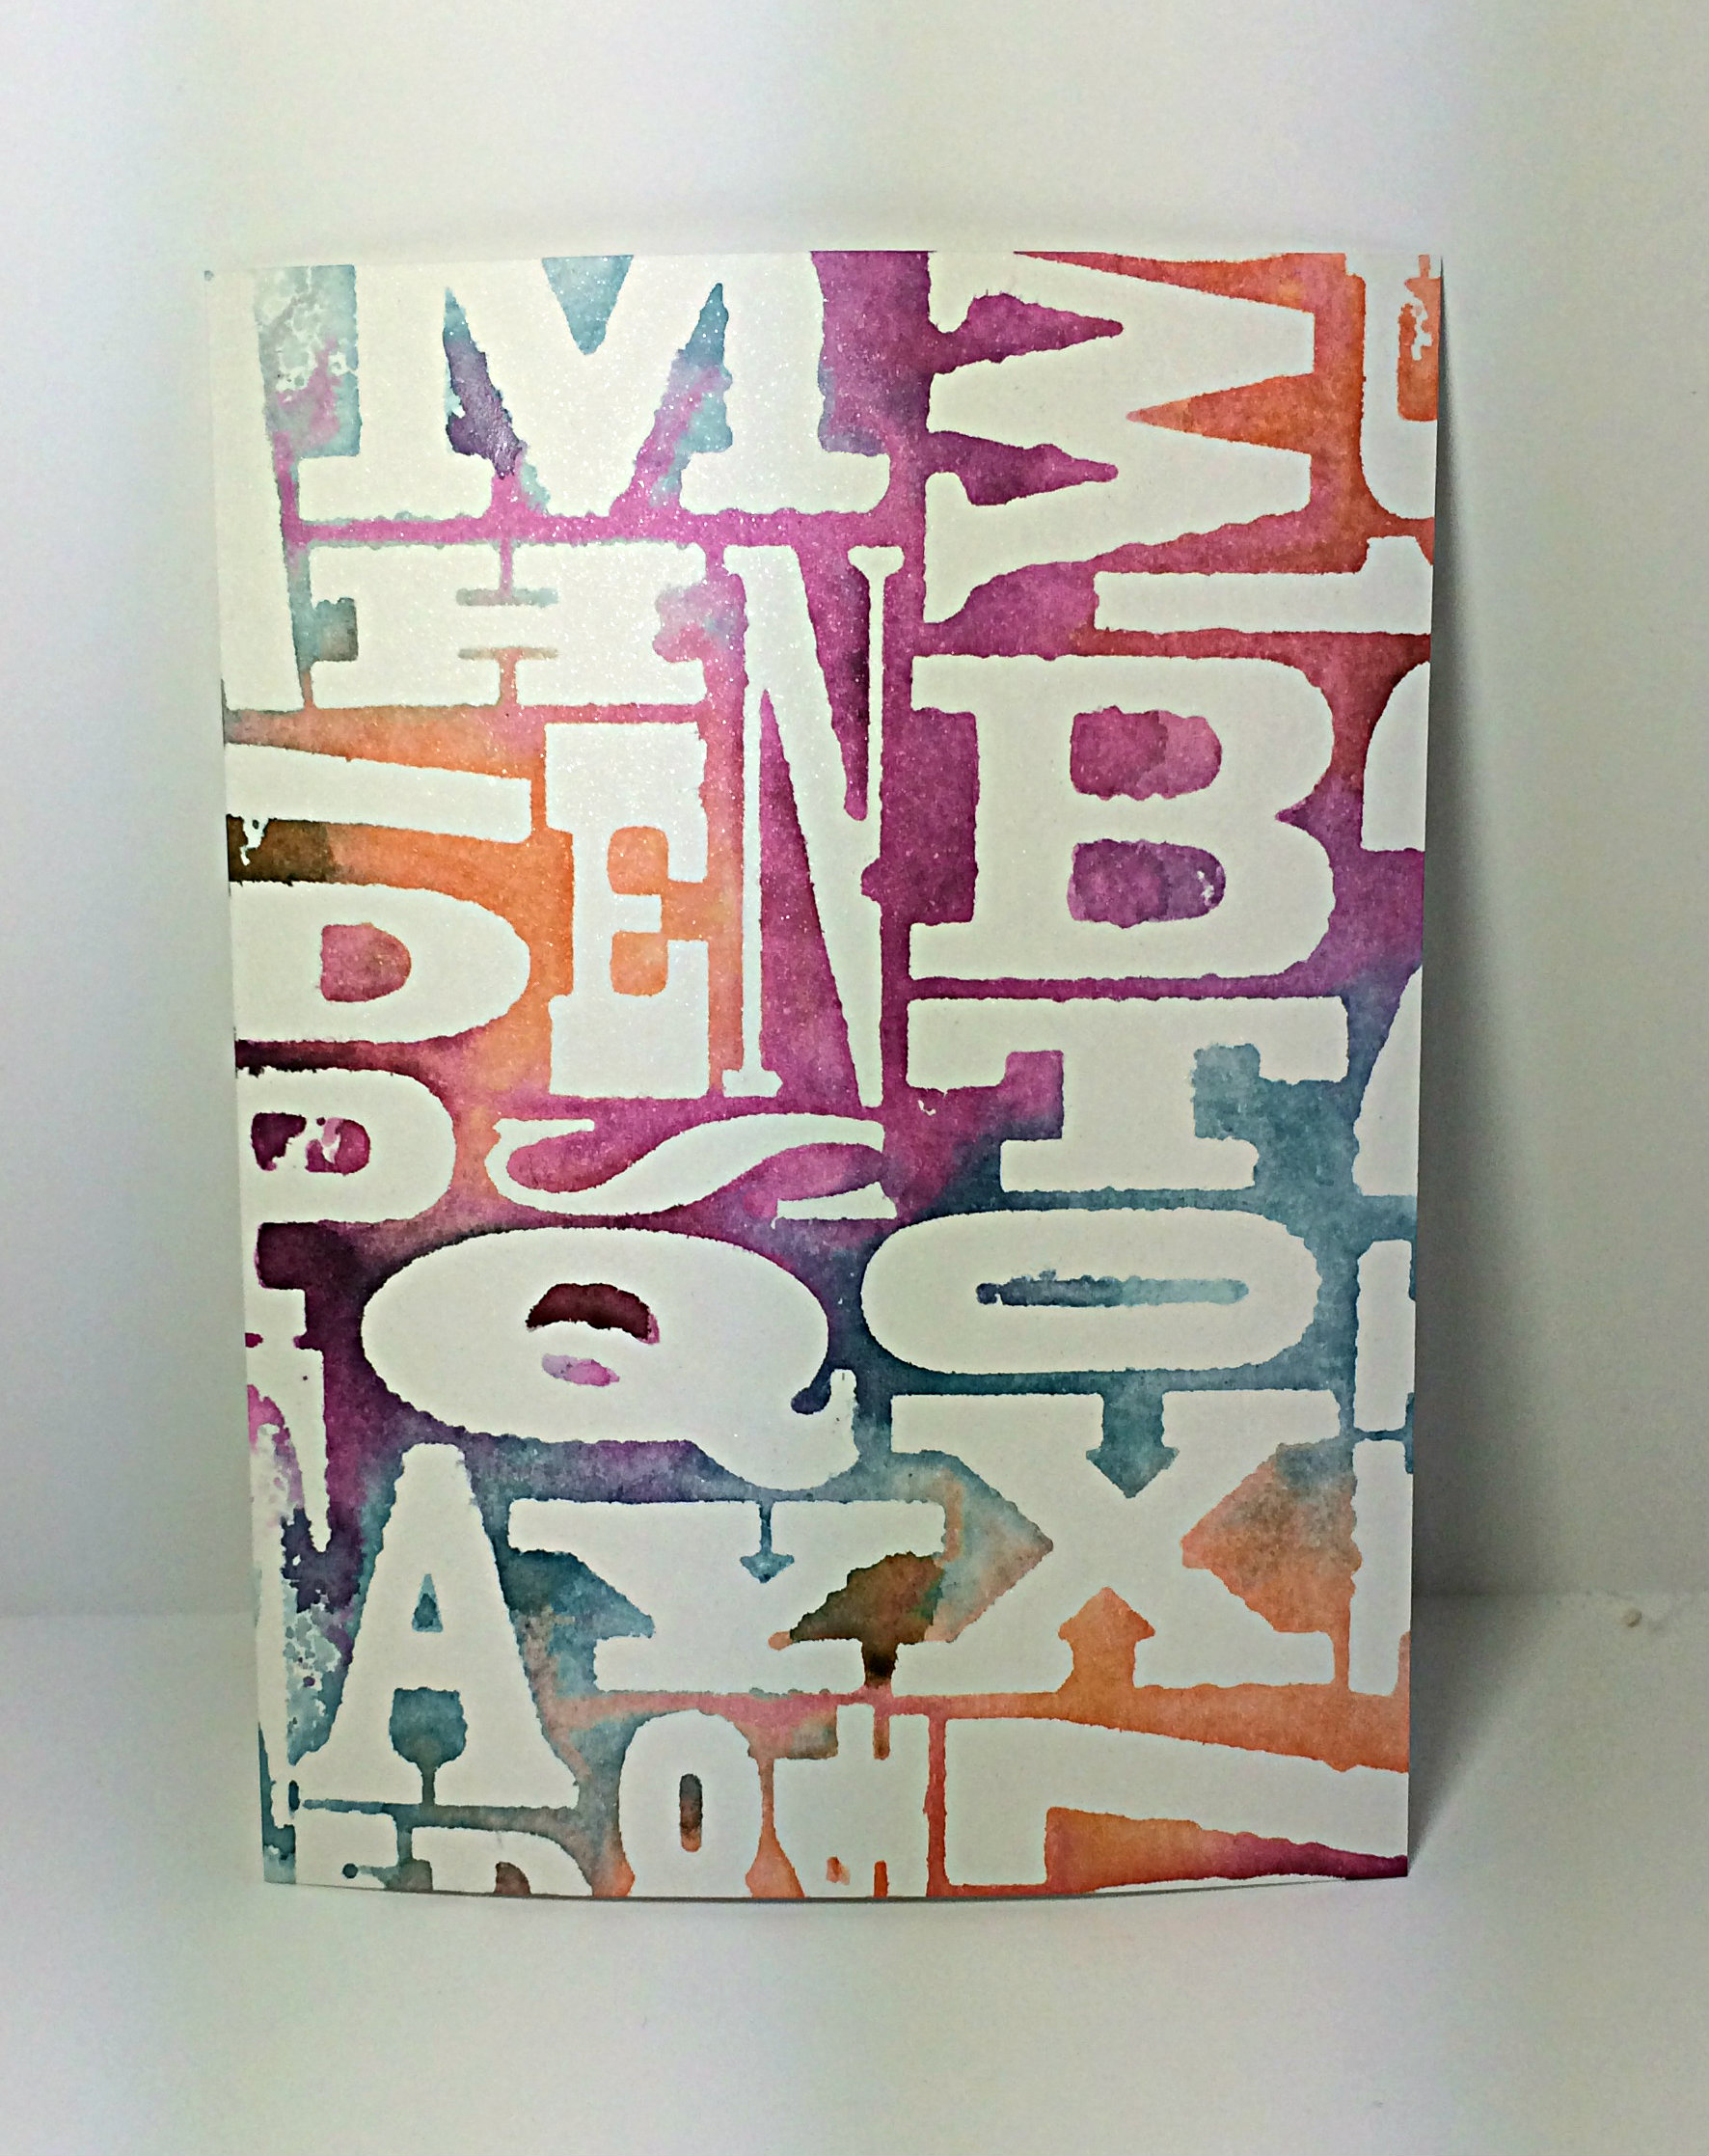 So, this is the final result. I used Tangelo Twist, Blackberry Bliss and Island Indigo inks on this one. My card above used Coastal Cabana, Calypso Coral, Lost Lagoon, and Hello Honey inks.
Let me know what you think and, please, play along with the sketch challenge this week! I am always inspired by every card I see and I look forward to being inspired by yours!
So go on over to the As You See It Challenge Blog and load up your design of this week’s sketch!!
Amy.



July 7, 2014 @ 1:30 pm
Great technique – I’m all about those! Also love the border you have around the card. Wonderful detail!
July 7, 2014 @ 1:13 am
I love this technique!!
July 6, 2014 @ 5:17 am
I LOVE your card, Amy! The tutorial is great, and I will be using this technique! It looks amazing on your card! I love coffee, too! I always say, “I sleep, so I can get up and drink coffee!” Any coffee lover would love to receive this card! XX
July 6, 2014 @ 5:46 pm
Thanks for your comment, Claire! I have often gone to bed with joyful anticipation of my morning latte, lol! Glad you liked the tutorial. Let me know how it turns out 🙂
July 4, 2014 @ 8:50 pm
Love this card! Can’t wait to play around with this technique :). It is a well done tutorial Amy.
July 4, 2014 @ 1:05 pm
OH MY! Great looking new website Amy… I guess I haven’t been by recently.
On another note, thanks so much for the super helpful photo tutorial of the background… it was exactly what I was looking for when I clicked 🙂 So pretty on your challenge card!
July 4, 2014 @ 7:40 pm
I’m one who prefers a photo tutorial to the video tutorials. That way I can skip ahead more easily, lol! Glad you stopped by to have a look. I was just over at your blog and checked out the t-shirt that you definitely need to buy (or you should DIY one! It wouldn’t be difficult with your e-cutter!)
July 4, 2014 @ 7:27 am
The sponging on embossing folder technique is so simple but so effective. You get your very own designer paper every time. If you don’t have the right colour of DSP for a project you can make some. Eureka!