Music Note of Thanks
I like thank you cards.
I like to say “thank you”.
I am Canadian, after all, eh. “Thank you” and “sorry” are some of the most frequently spoken words in my vocabulary.
Sorry that I didn’t post a card for the previous As You See It Challenge. Thank you for coming back to visit my blog even though I’m not very consistent in posting.
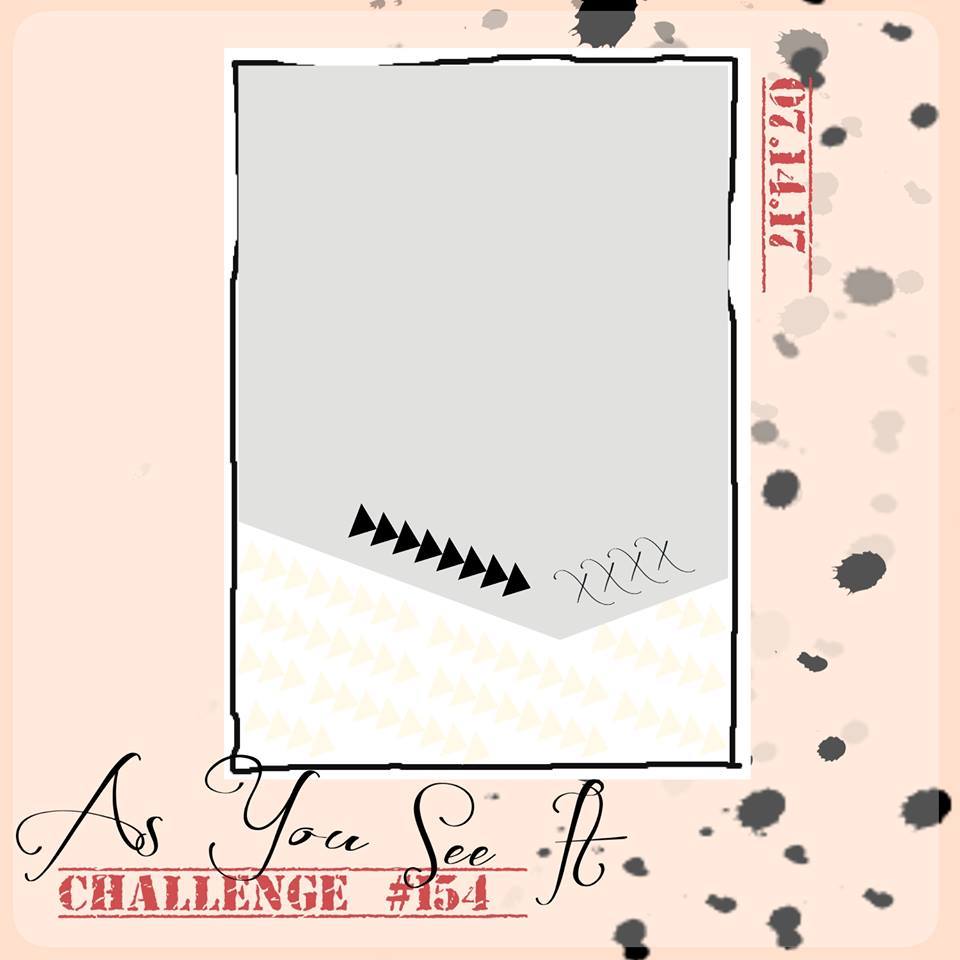
I have a cute and sweet thank you card to share with you today that I designed for the As You See It Challenge blog. Here’s the sketch that inspired this design:
 I wanted to use my new favourite Stampin’ Up! product, the Embossing Paste. I love this stuff so much and need more! More paste and more masks! So fun!
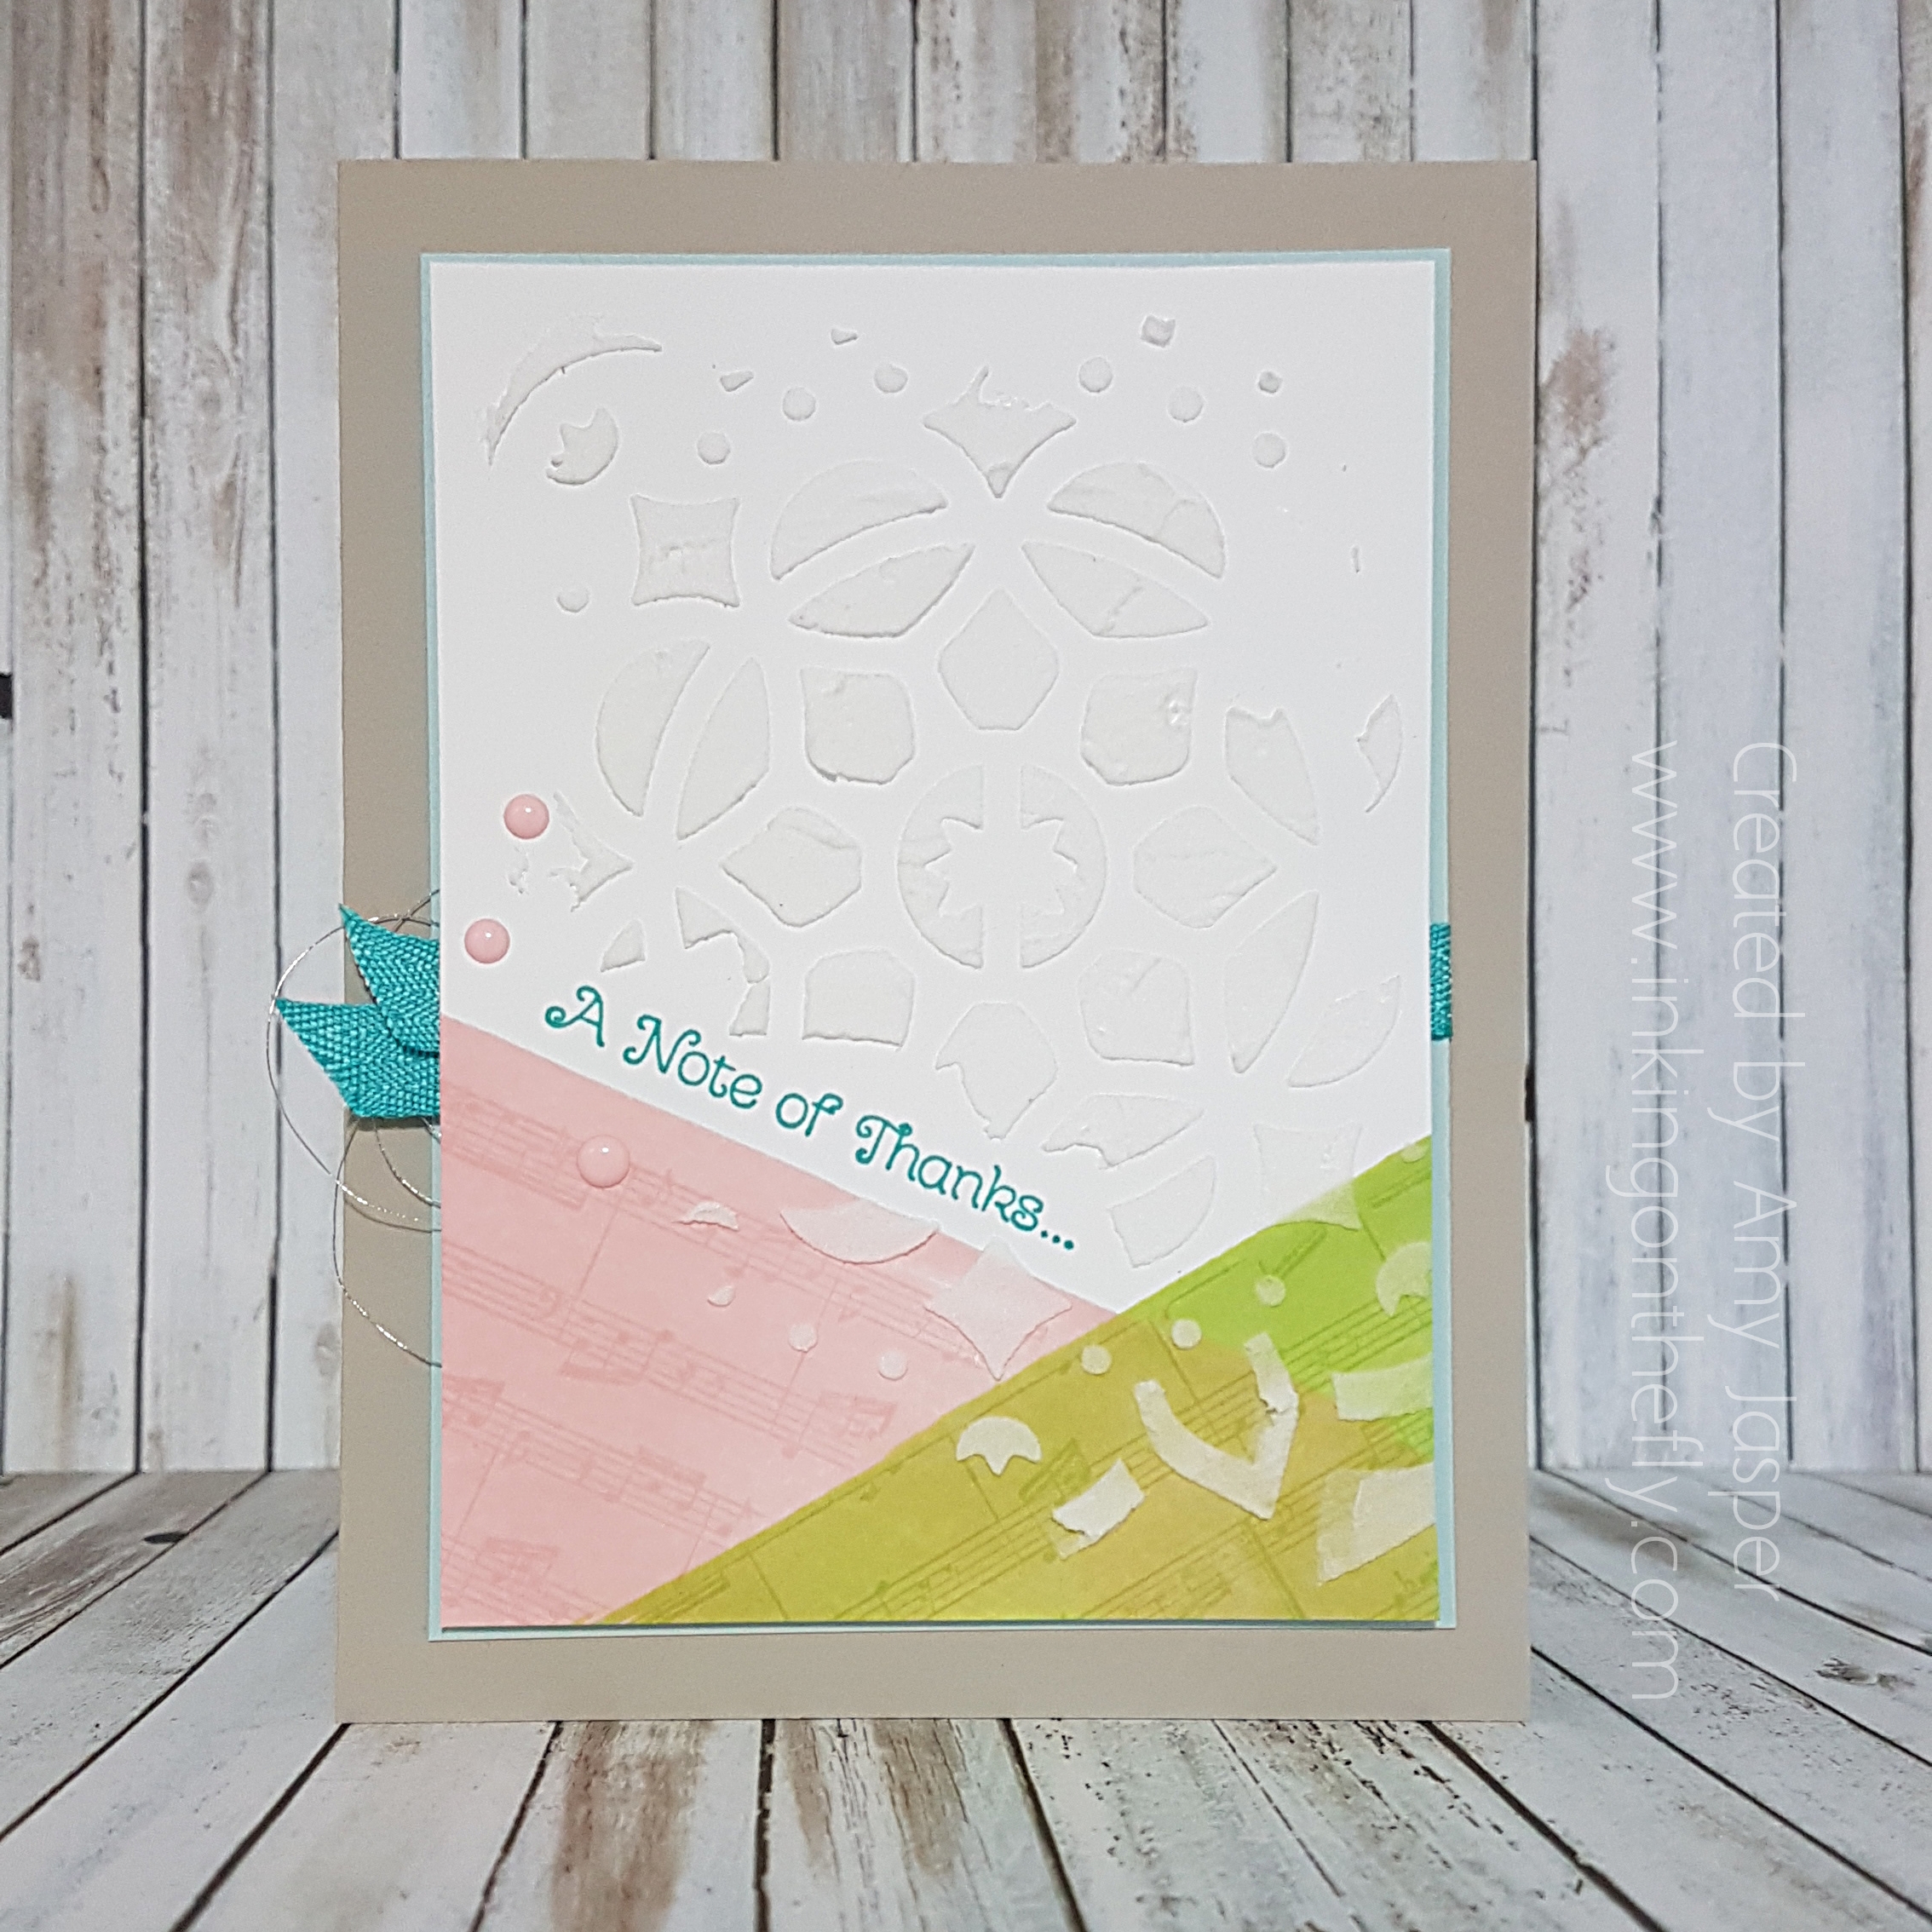
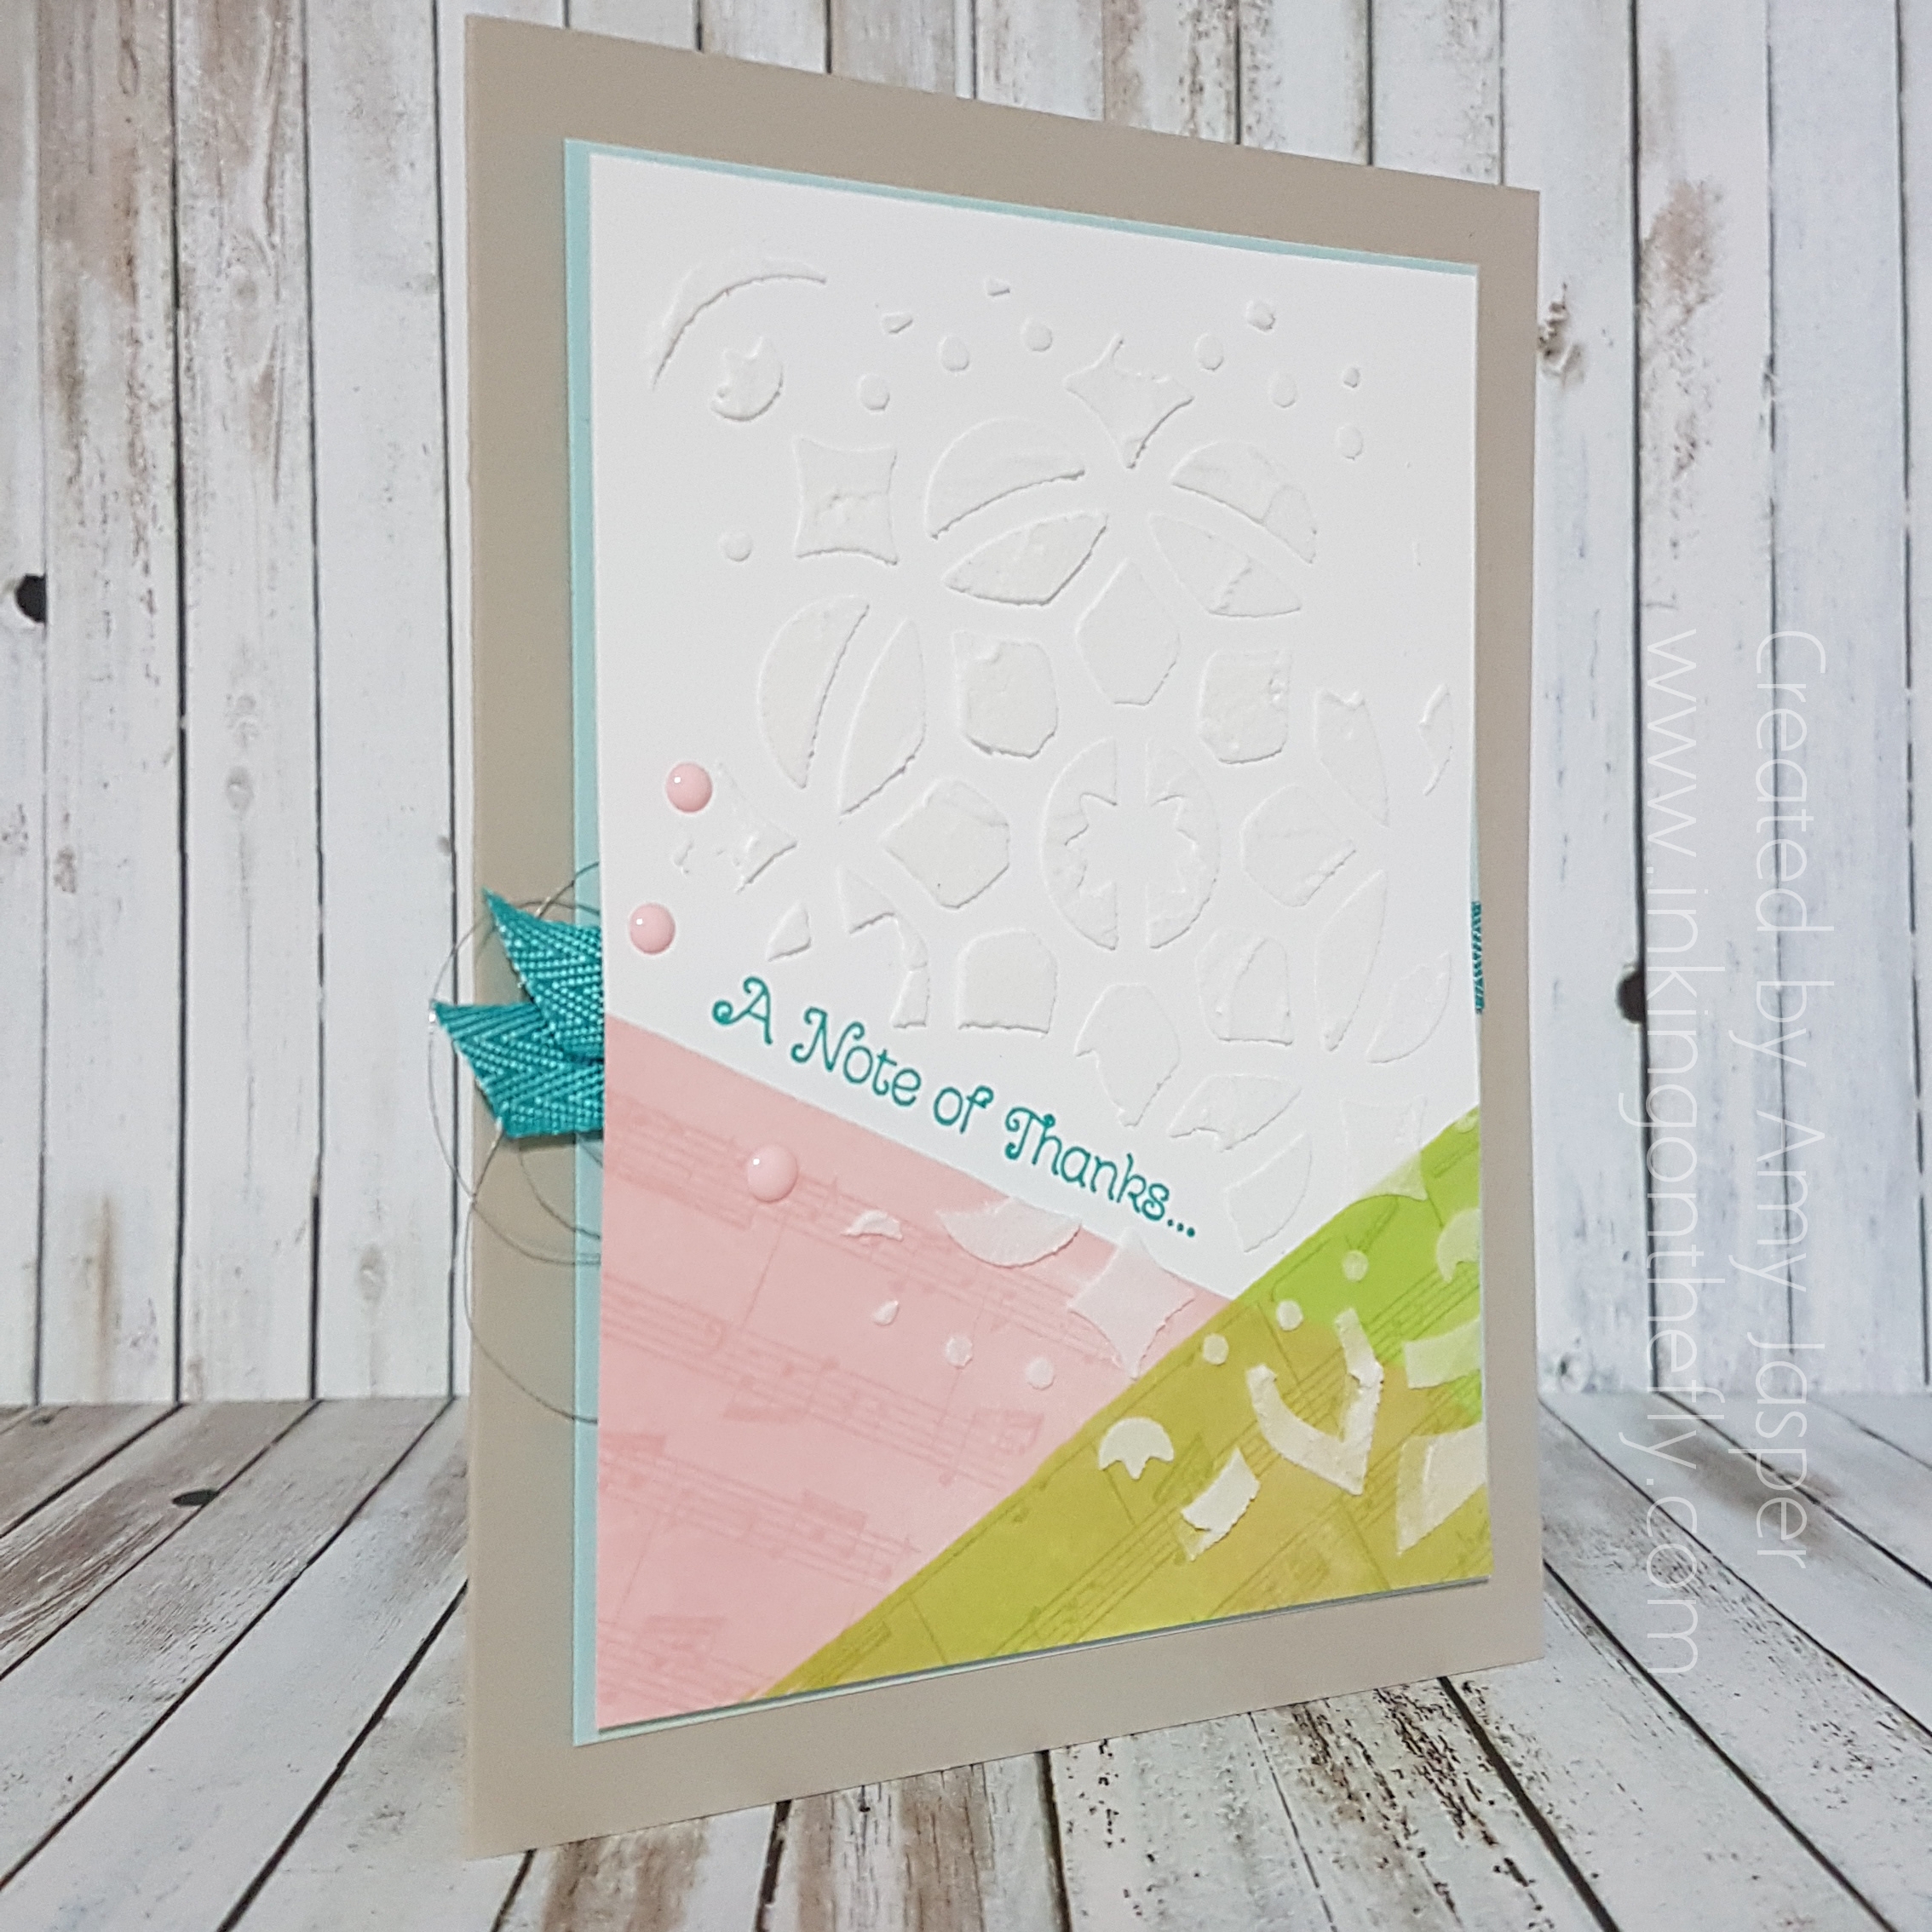
I started this card with the 3.5″ x 4.75″ piece of Whisper White cardstock and dragged my Powder Pink ink pad across the bottom at an angle. Then I dragged the Lemon Lime Twist ink pad across the bottom of the cardstock at the opposite angle. I covered the Lemon Lime section with a scrap piece of paper while I stamped the Sheet Music Background stamp in Powder Pink ink over the Powder Pink section. Then, I covered the area above the Lemon Lime Twist section with a scrap piece of paper so I could use the Lemon Lime Twist ink to stamp the same background stamp over the Lemon Lime Twist area. This turned out way cuter than I expected.
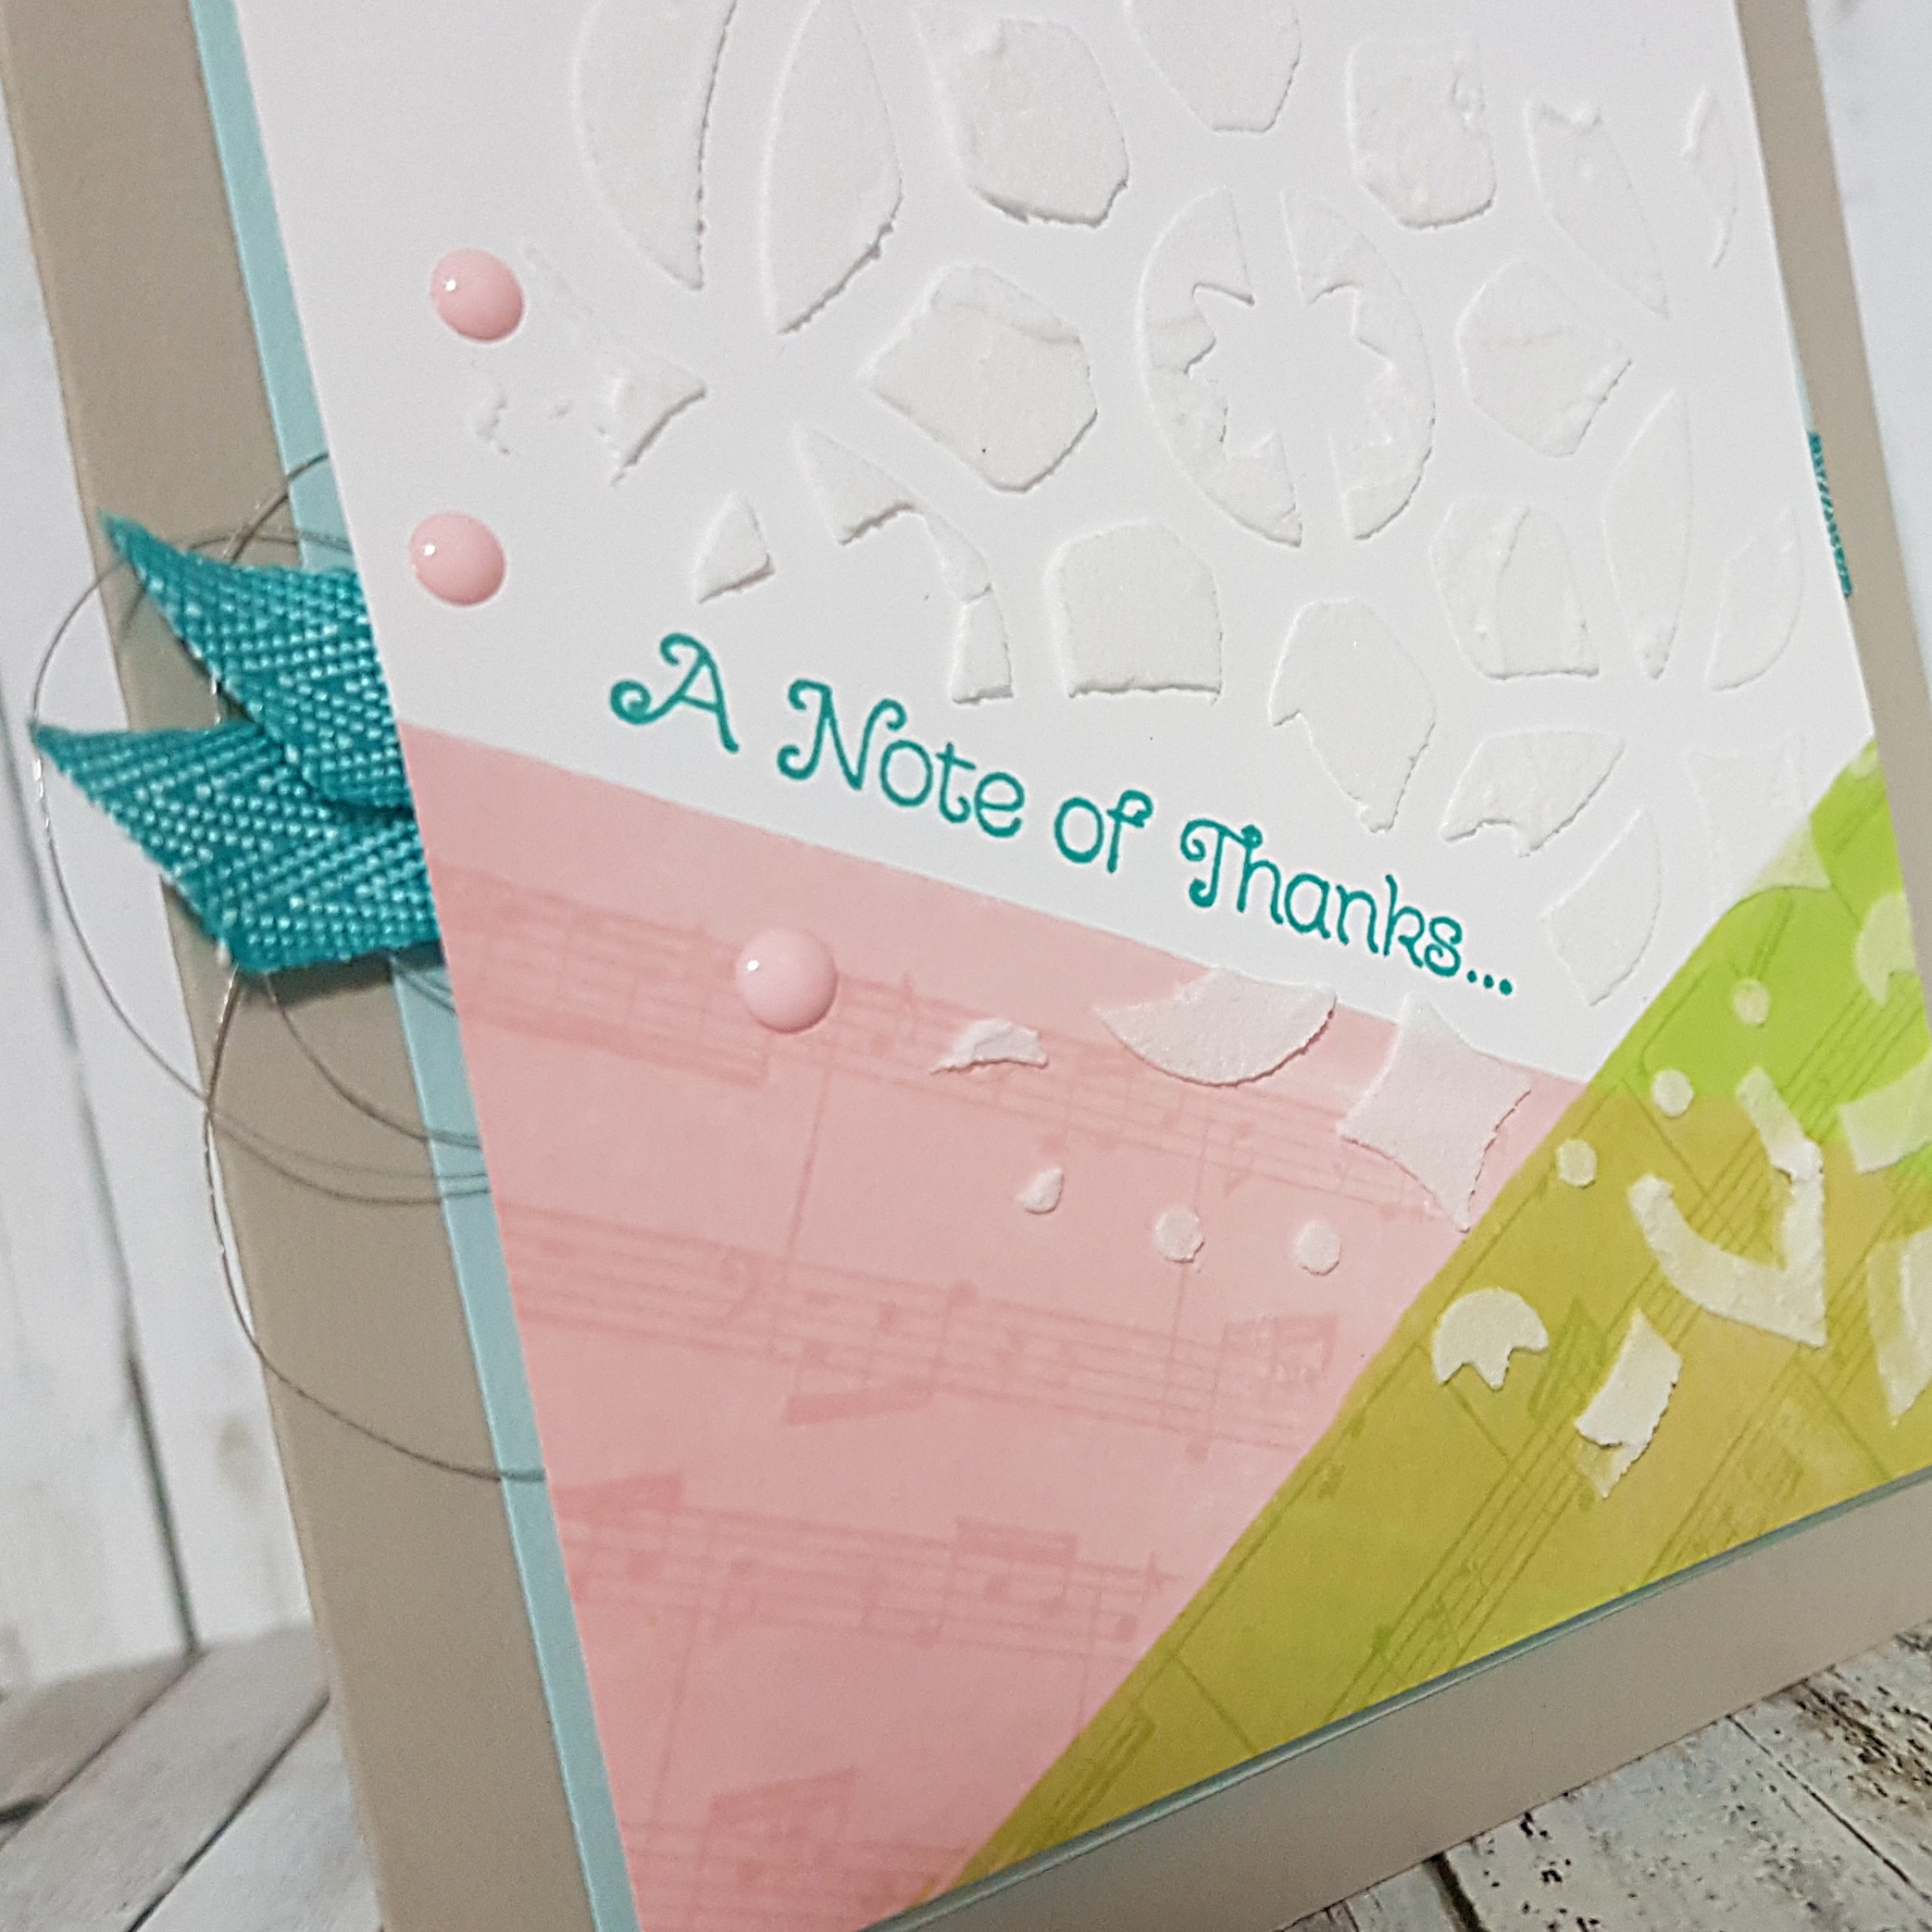
Bermuda Bay ink was used for the sentiment from the Thankful Thoughts stamp set. This sentiment was the perfect pun to use along with the Sheet Music background stamp set (more than one note of thanks!). I was delighted to discover that this sheet music is a section from Beethoven’s Fur Elise. A brilliant score!
Once the stamping was complete, I chose the medallion mask from the Pattern Party Decorative masks from Stampin’ Up!. Even though you can add ink to the embossing paste and make it coloured, I decided to keep it white for a quieter impact. If I were to create this card again, I think I would use some scrap pieces of paper to mask off my angles at the bottom, for a cleaner look. The way it is in this picture adds a little bit of character, though, which I also like. The paste takes about 15 minutes to dry. Once dry, I added a few of the Pink Pirouette Subtles Enamel Shapes. A couple 1.5″ pieces of Bermuda Bay 3/8″ Mini Chevron Ribbon were used to add some extra pop to the card. Each piece was folded in half and attached to the sides of the card. The one on the left side was trimmed with angled ends, folded in half and attached with a couple Mini Glue Dots to the back to the stamped and pasted Whisper White cardstock so that the ends would be peeking out from the left edge of the card front. The one on the right side was simply folded over the edge of the Soft Sky cardstock layer and adhered with Tear and Tape. This gives the impression that the ribbon goes all the way across the card.
It’s a cheat. I’m a rebel that way.
I also added a loop of Silver Metallic Thread to the left side of the card and attached it with Stampin’ Up! Dimensionals to the back of the Whisper White cardstock. Finally, it was all ready to be assembled. The Whisper White cardstock was attached to the Soft Sky cardstock with Stampin’ Up! Dimensionals. The Soft Sky cardstock was attached to the Sahara Sand card base with Multipurpose Liquid Glue.
Check out the other designs created using this sketch from the As you See It Challenge blog. You just might feel inspired to try it for yourself!
