Sequin and Burlap

It’s time for another As You See It Challenge design!

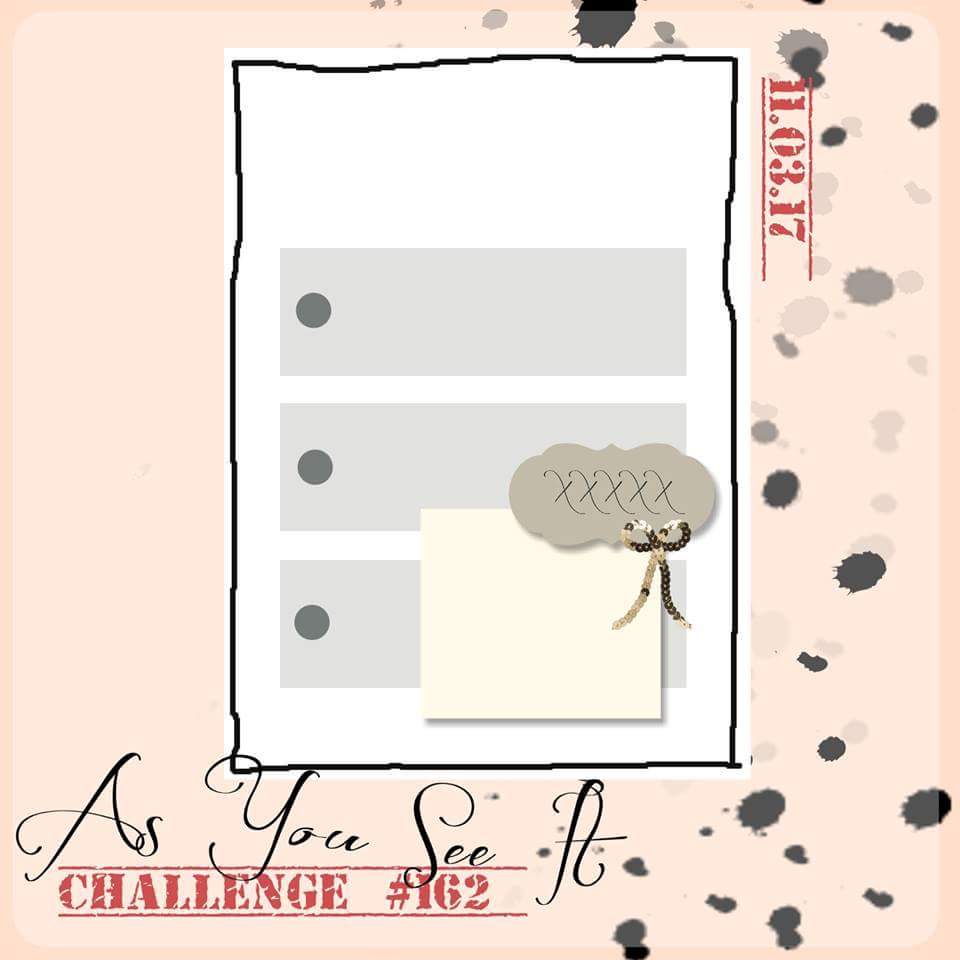
Here’s the challenge sketch:

I decided to use the Lots of Labels Framelits for this one. Here’s my take on the challenge:
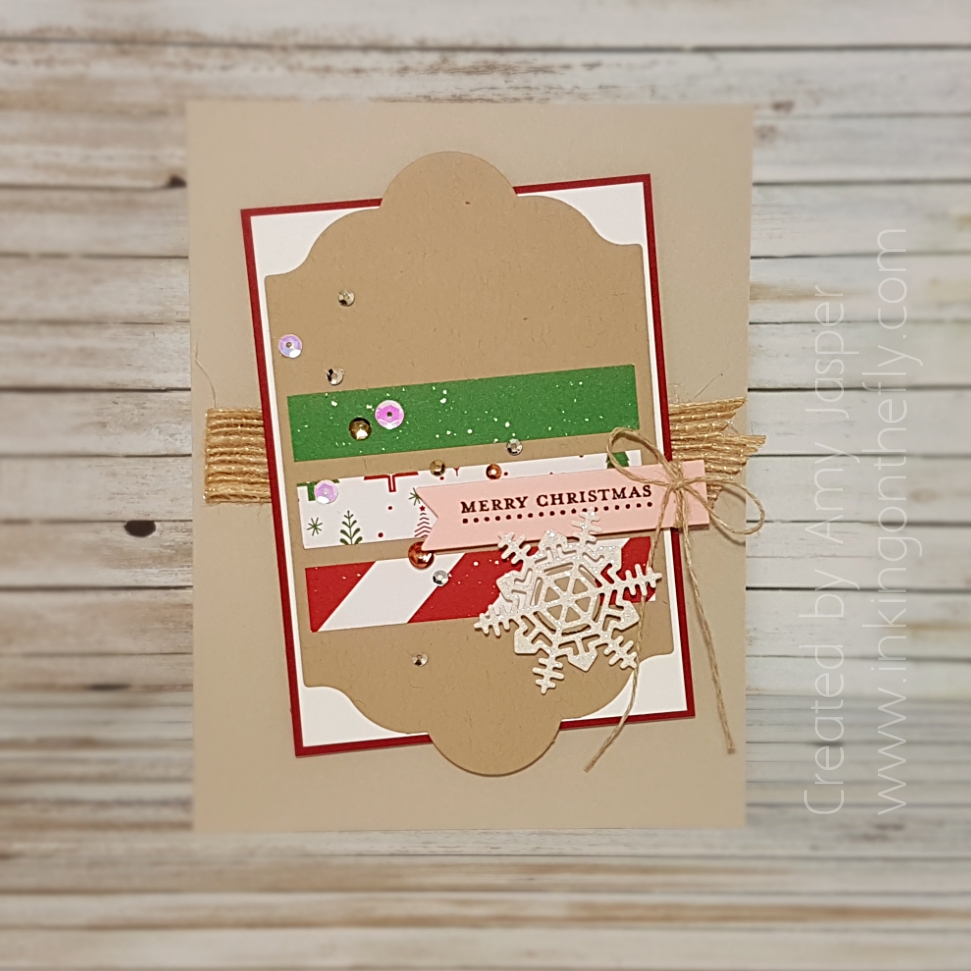
I wanted to use some of the Be Merry Designer Series Paper, but I find the Garden Green/Cherry Cobbler/Whisper White colour combo a bit dull on its own. That’s when I decided to add the Powder Pink, Crumb Cake and Sahara Sand into the mix. I think the iridescent pinky colouring of some of the Metallic Sequin Assortments is what makes the Powder Pink cardstock work quite well.
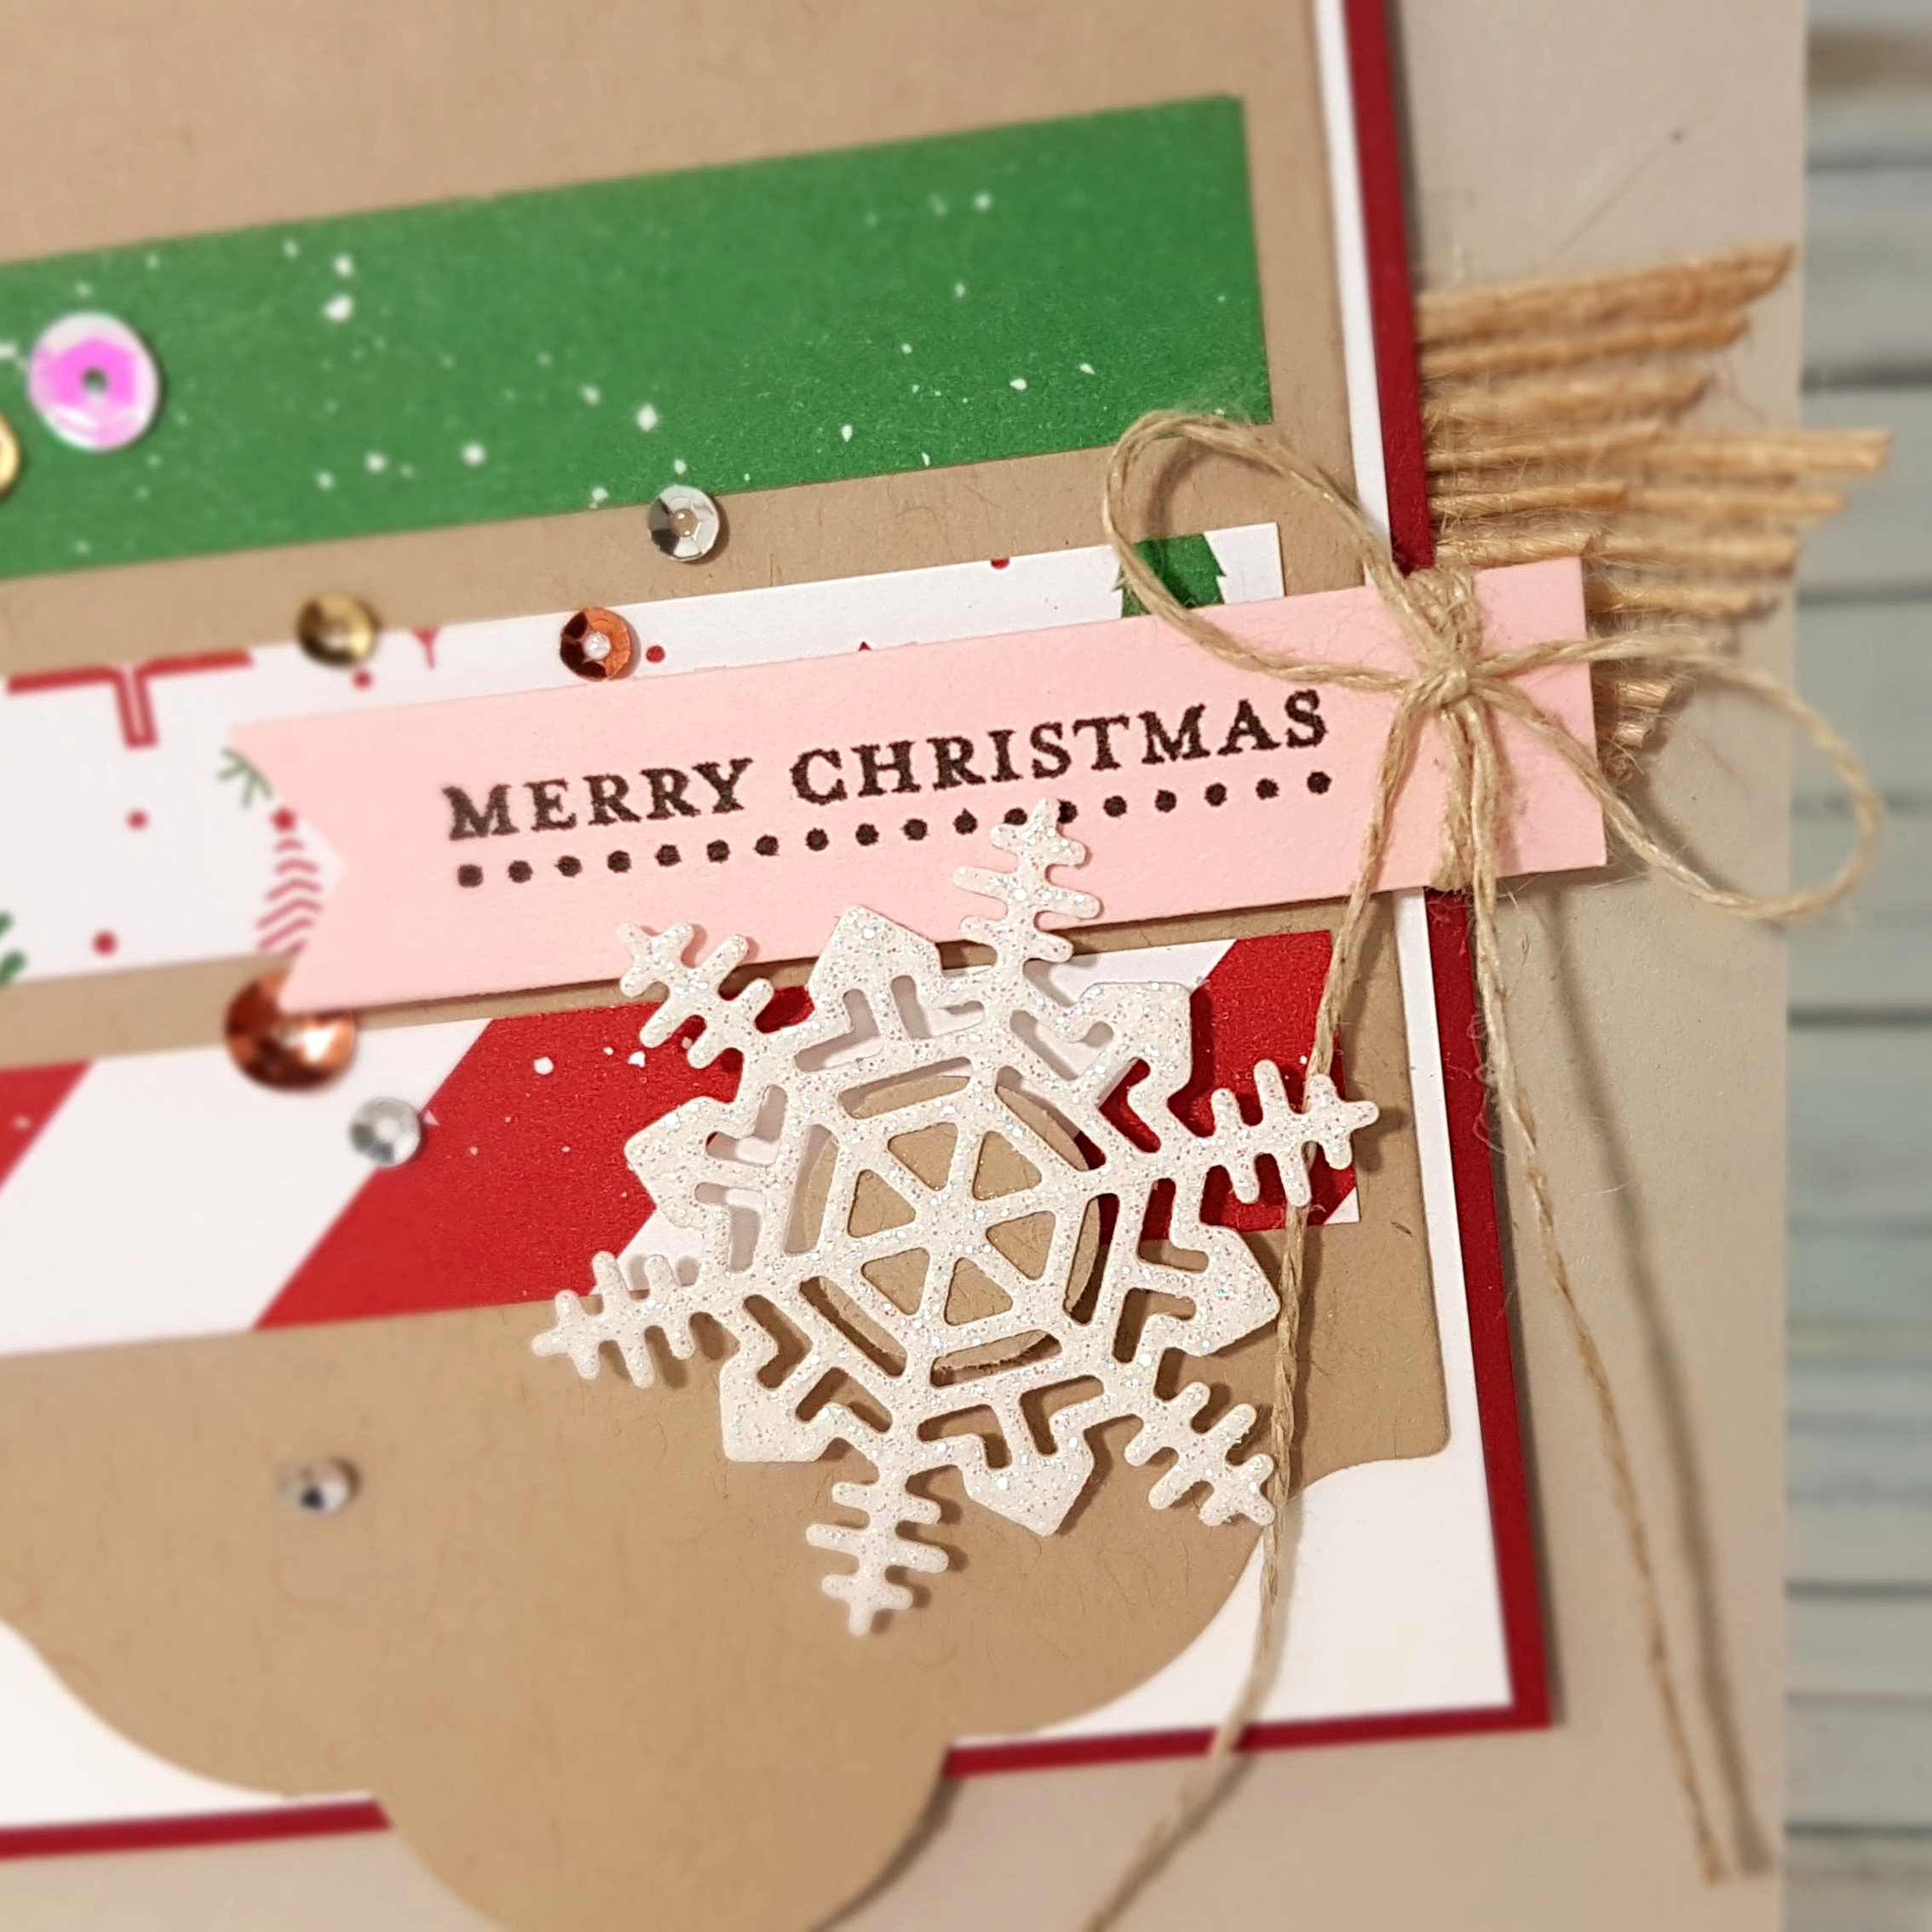
I don’t know if you can really see it in the photos, but the snowflake die from the Seasonal Layers Thinlits is cut from the Dazzling Diamonds Glimmer Paper and is so pretty and sparkly! I wanted it to be popped up off the page, but it’s too delicate to hide a Stampin’ Dimensional behind it, so I first adhered a 1/2″ Crumb Cake circle to the back of the snowflake with the Multipurpose Liquid Glue. After that, I could hide a Dimensional behind that circle without losing the delicate design of the snowflake.
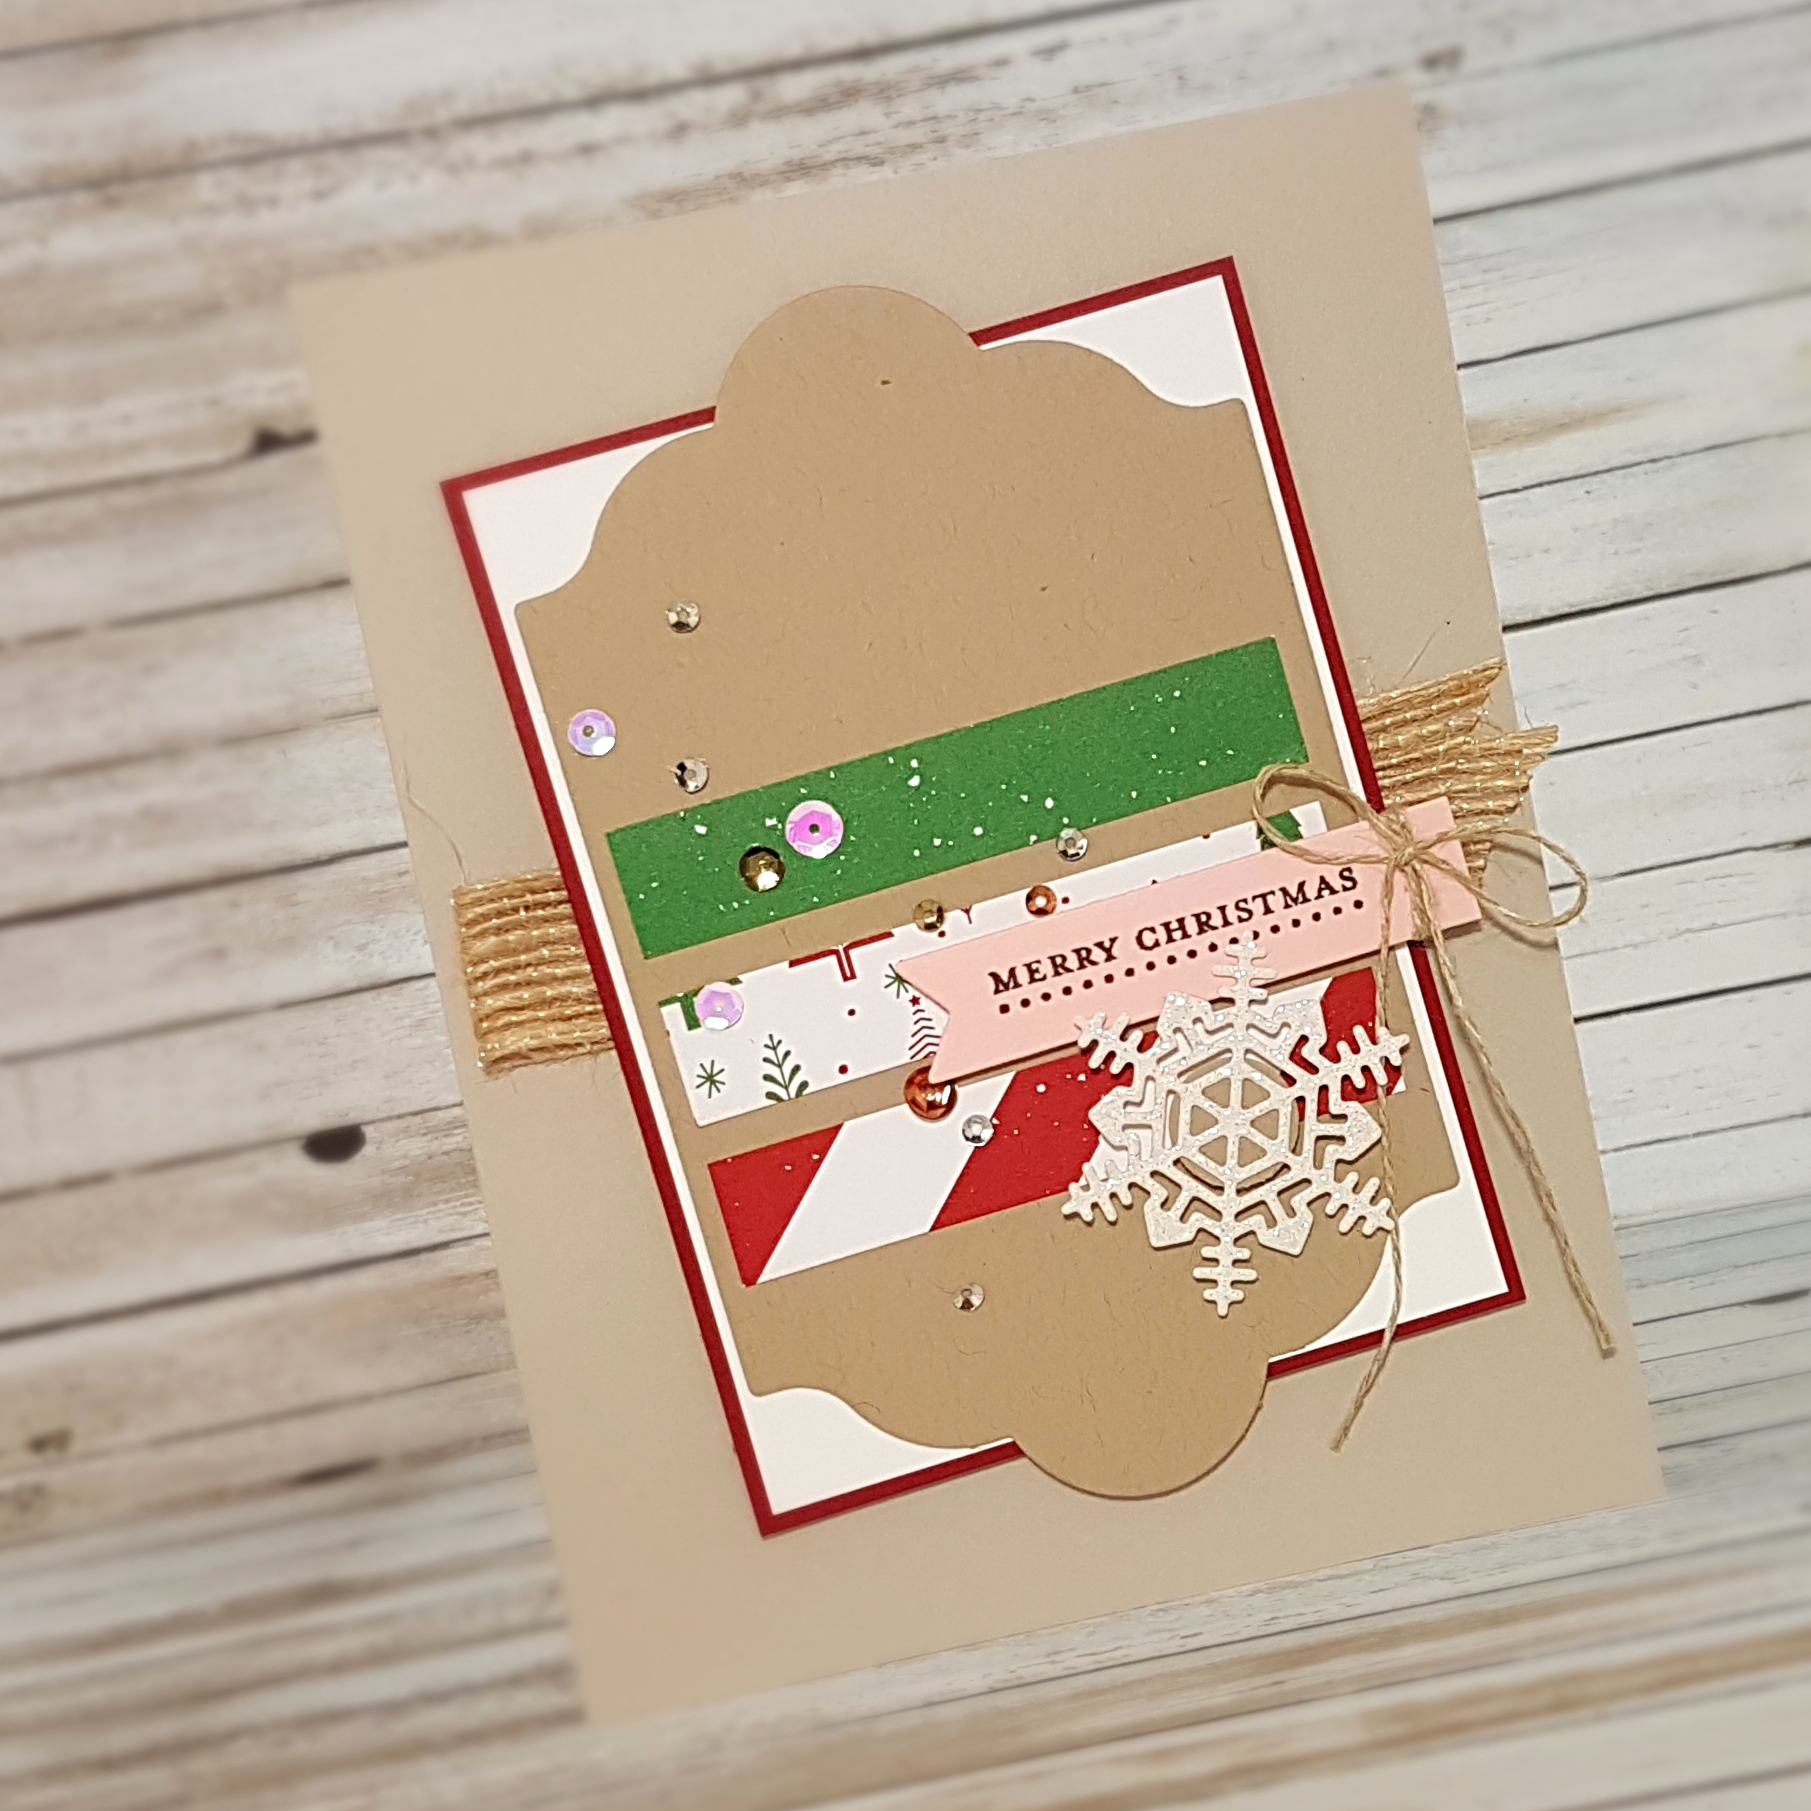
The sentiment from the Teeny Tiny Wishes stamp set, was stamped on the Powder Pink cardstock using Early Espresso ink. Then, it was die cut with a banner die from the Bunch of Banners Framelits for that perfect flagged end (I cut the other end off – two perfectly flagged ends would have been more than this card could handle. lol!
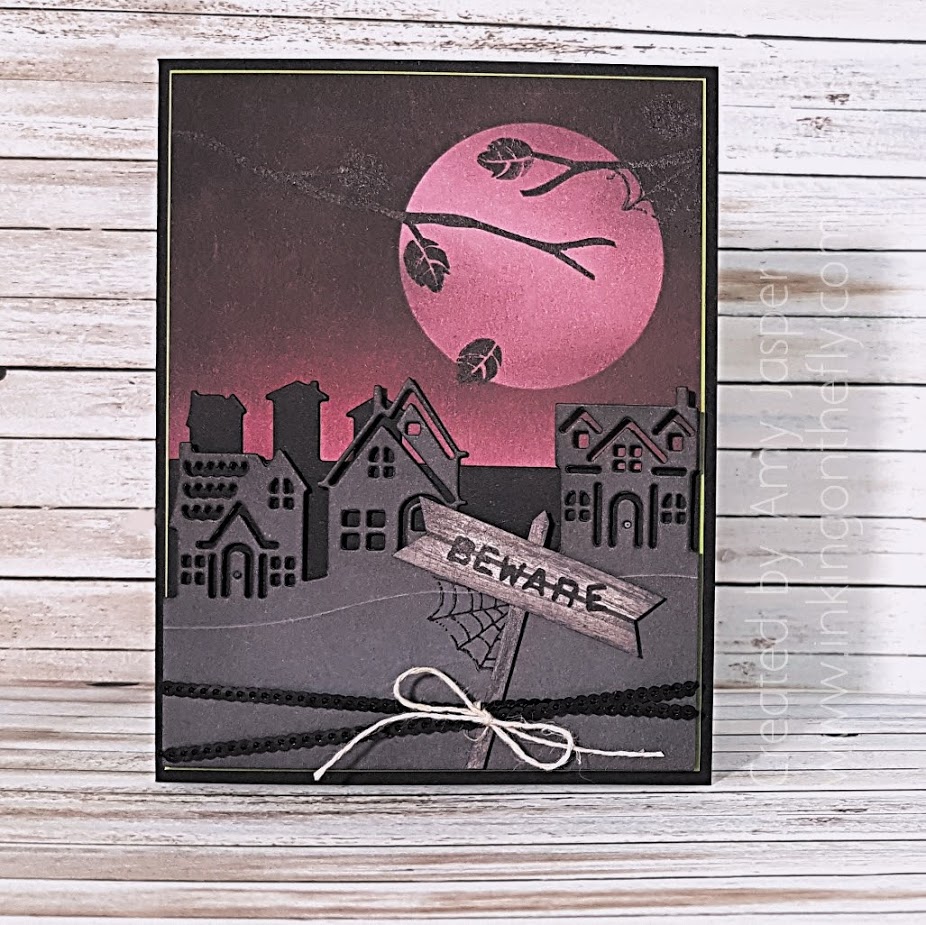
Beware!!

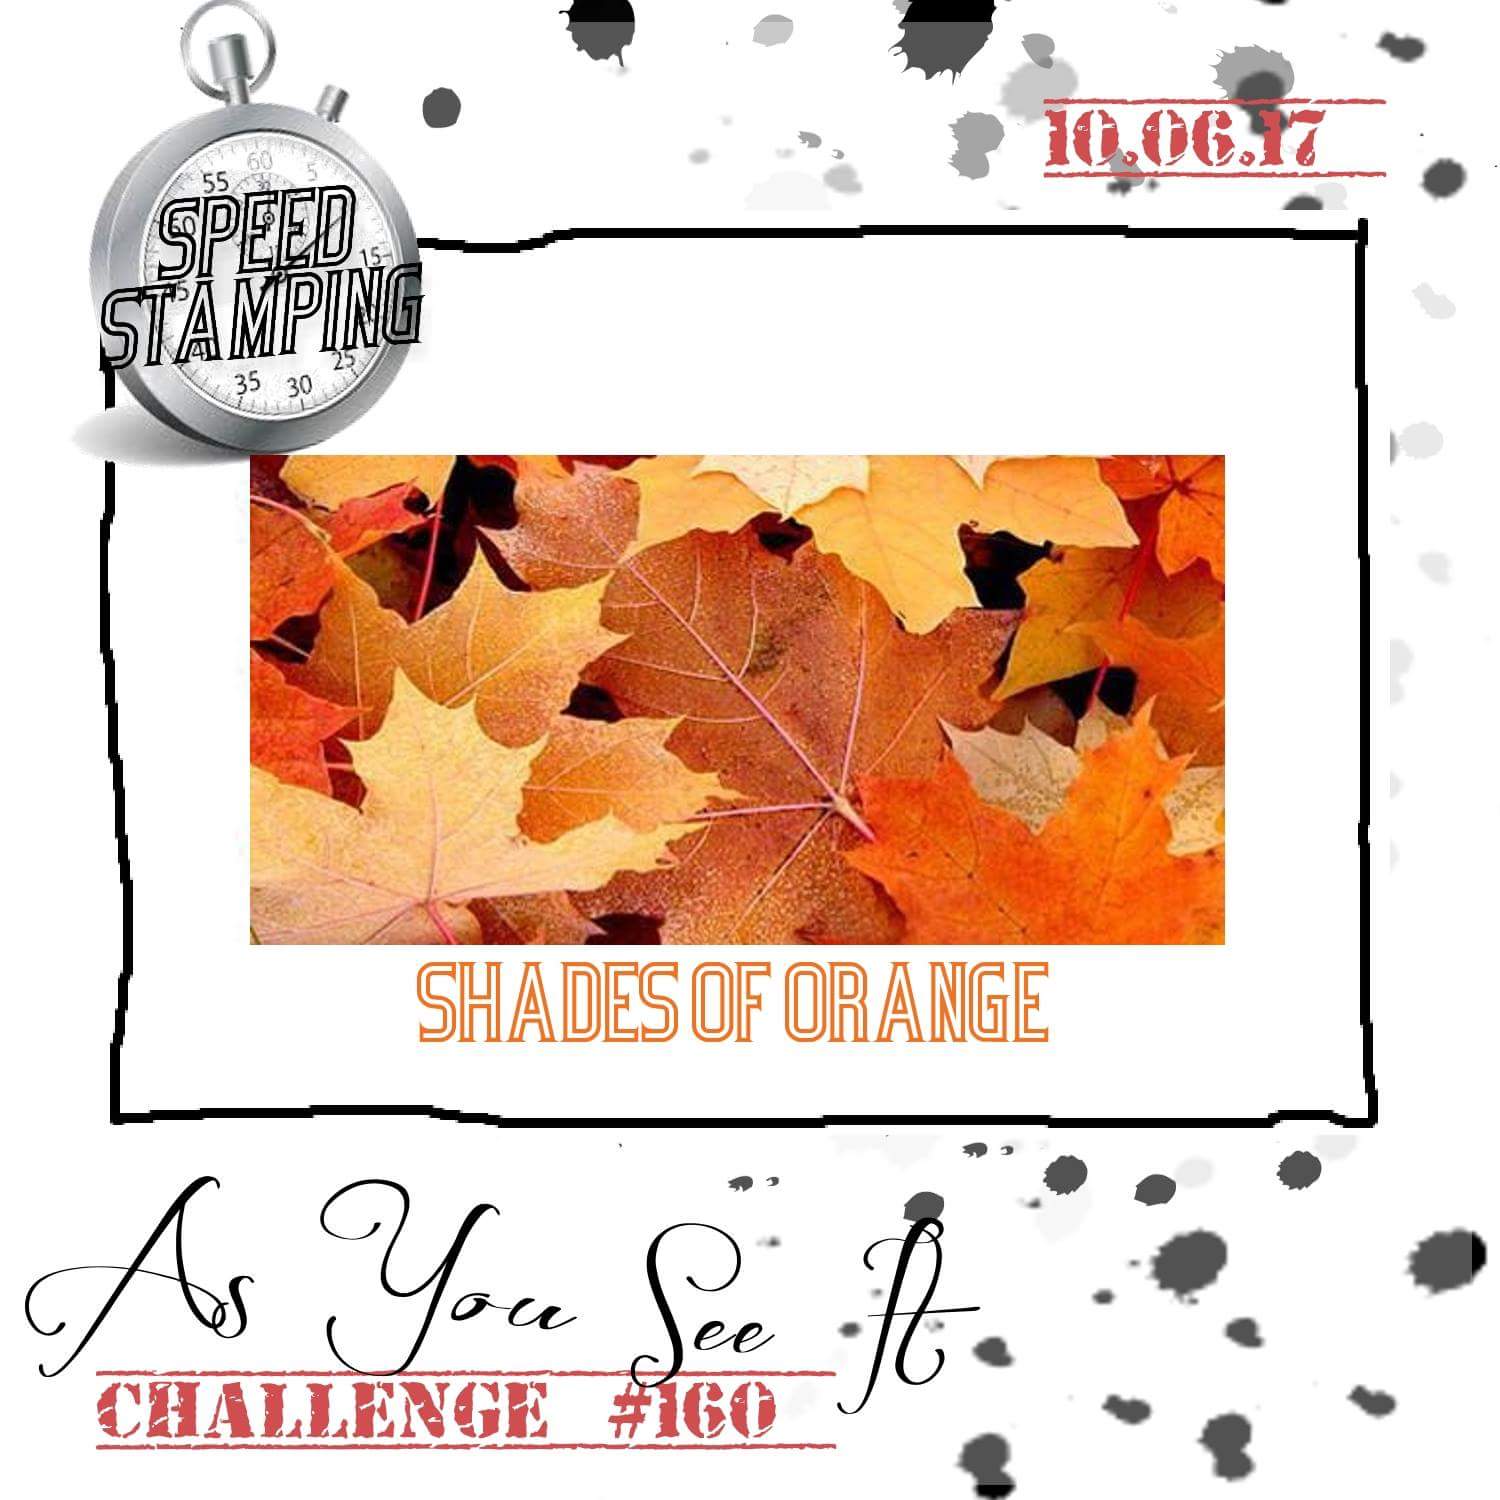
The theme for the As You See It Challenge this time is SCARY!!!

So fun!

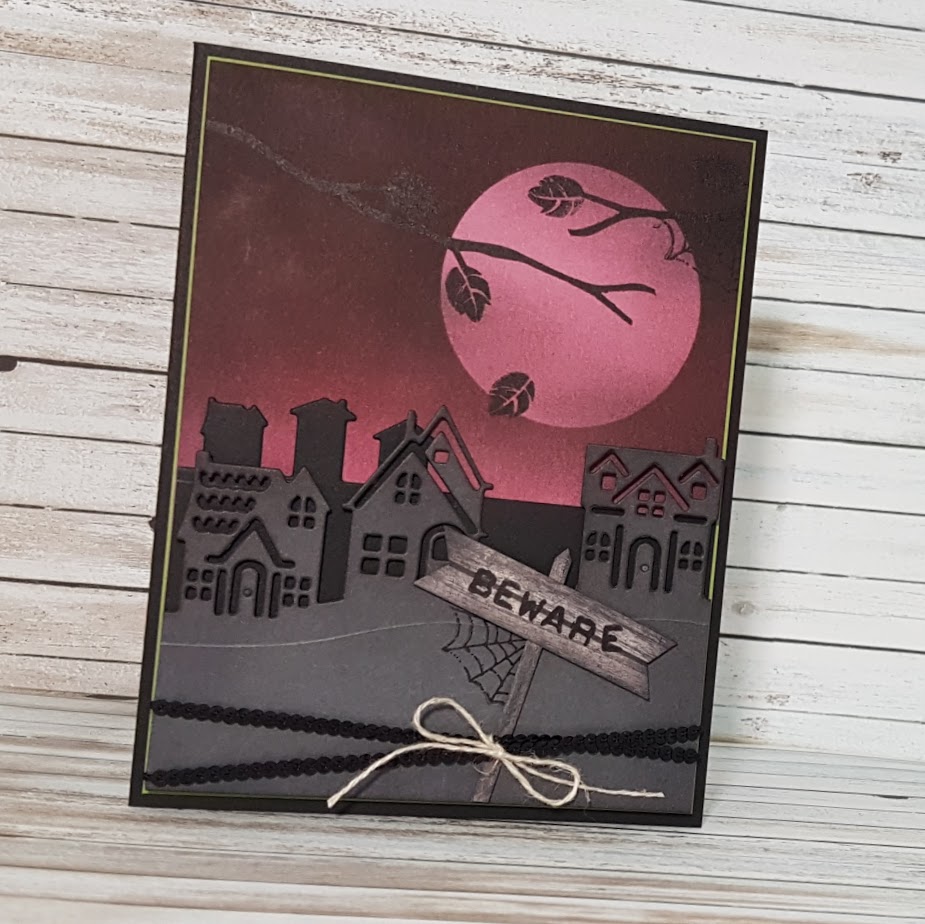
I decided to use the Hometown Greetings Framelits to create a spooky night time scene. Even those these framelits are designed with Christmas themes in mind, they can be used for so many other occasions!

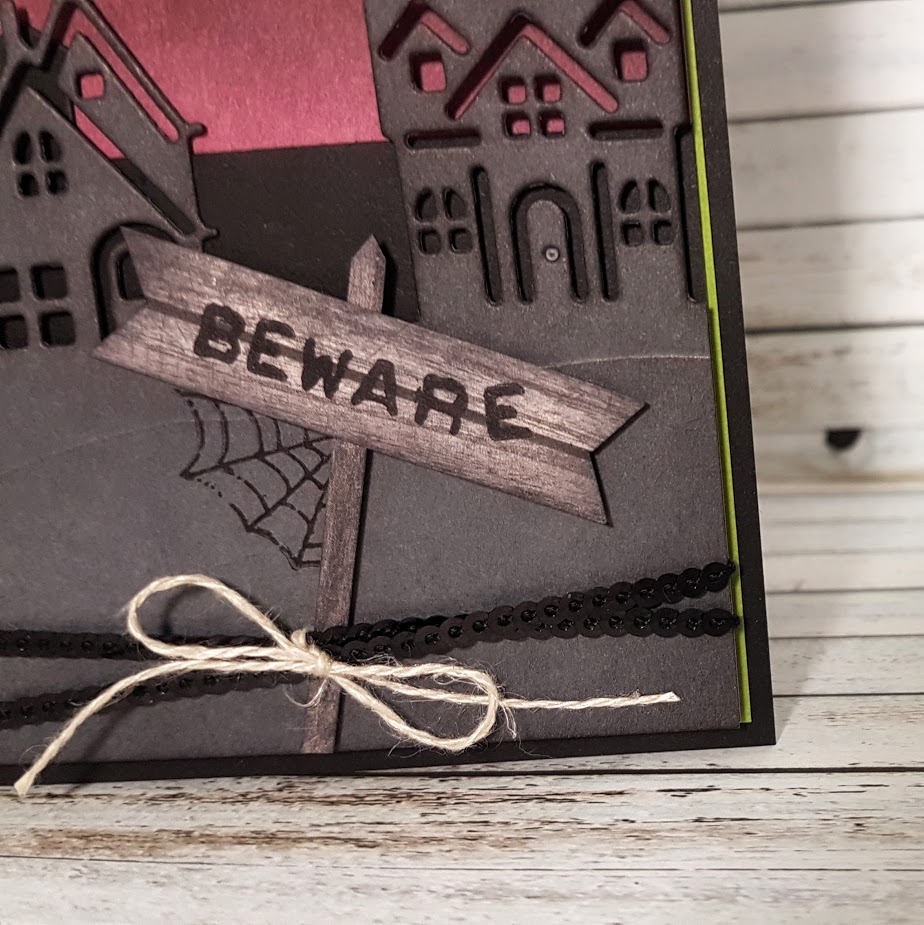
Basic Gray was used for the houses in the front and were sponged lightly with Basic Black ink. The BEWARE sign was created with a piece of Wood Textures Designer Series Paper with the letters from the Labeler Alphabet Stamp Set using Basic Black ink.

I punched out a circle from a sticky note and placed it on the Sweet Sugarplum cardstock before sponging with Fresh Fig ink and Basic black ink to create the spooky night sky. After removing the sticky note, I sponged a little bit more over the moon to blend it with the sky a wee bit more.

The spooky web from the Merry Cafe stamp set, was stamped a couple times on this card with Basic Black ink. I also used the leaf image from that same stamp set to accent the branch image that I used from the Colorful Seasons stamp set.

Behind the layer of my spooky scene, I used Old Olive for a mat and Basic Black cardstock for the card base.

The finishing embellishments include the Black Mini Sequin and Linen Thread.

Of course, I used Stampin’ Dimensionals to pop up the gray set of houses as well as the BEWARE sign.

And that’s it! Now stop looking at other people’s cards and go stamp something!!


Speedy Thanks

Hello hello!

Today’s post is about the As You See It Challenge:

Its a speed challenge, which means you have to complete it in 10 minutes or less. These challenges can be stressful, but also very freeing and pretty much ALWAYS get your creative mojo pumping. I think they are definitely my favourite challenges to do. I almost always am not perfectly happy with my final result, but I often do a spin-off card after the speed run. These push me to think fast and fuss less.

For your entertainment, I recorded my process of creating my challenge card.

You can watch the short video here:

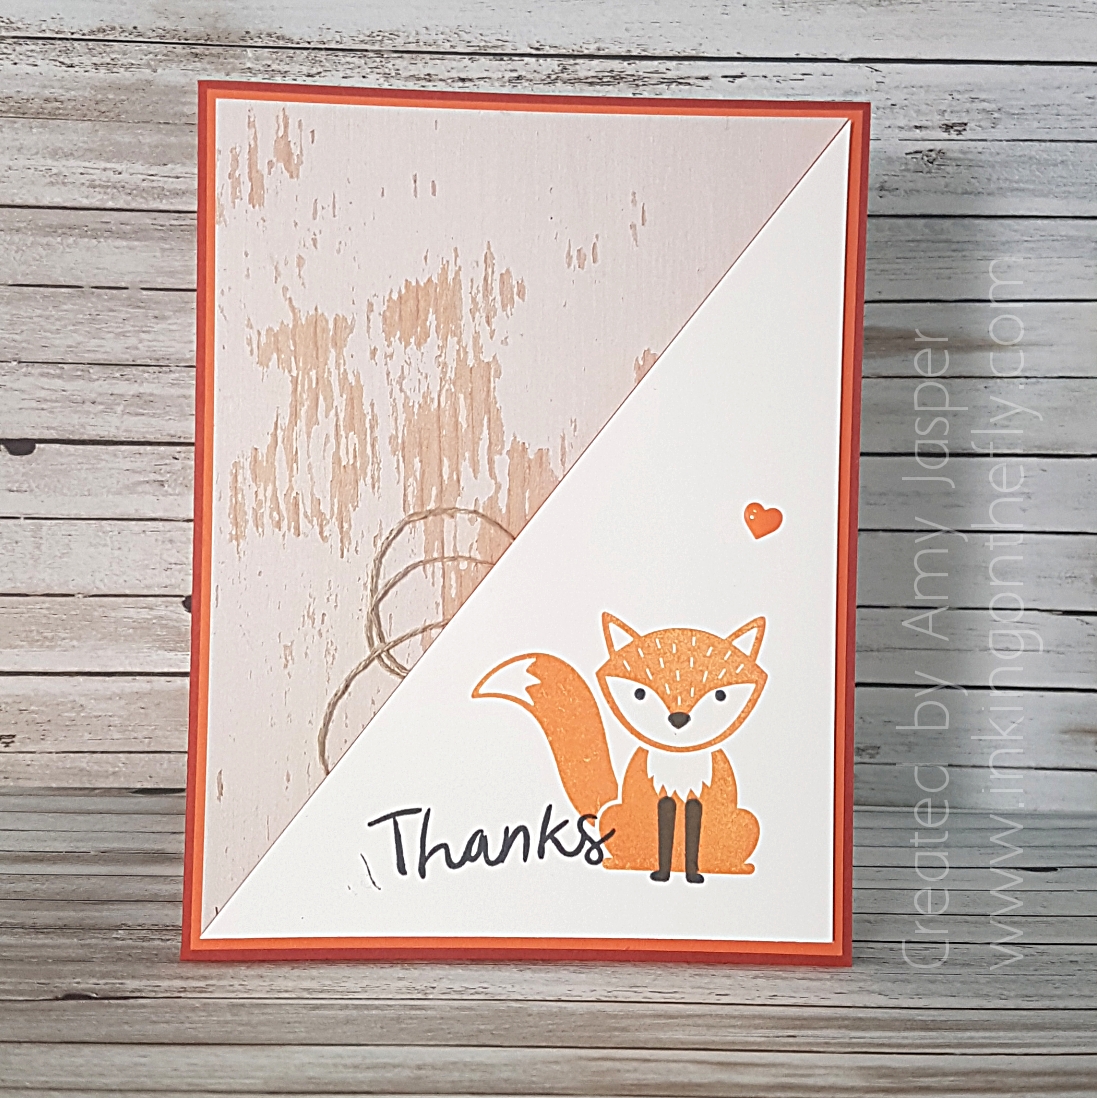
I actually am quite happy with this cute and simple design. I used the Foxy Friends stamp set with Pumpkin Pie ink. The cardstock colours include Whisper White, Cajun Craze, and Pumpkin Pie. The wood patterned paper is from the Wood Textures Designer Series Paper Stack. The thanks stamp is from the Thankful Thoughts stamp set.

Here’s my finished product:

The little heart embellishment is from the Brights Enamel Shapes pack. You can see my usual little swirl of twine (Linen Thread, in this case) to add a little bit of fun.

Part of the chaos of speed stamping means smudged ink sometimes and there it is for all to see right beside my “thanks”. That’s what happens ahen you stamp after attaching the cardstock with Stampin’ Dimensionals!

I encourage you to try speed stamping.  Its a little crazy, but really ramps up your creativity!