Convention Adventures – Part Three

Home again, home again, jiggity jig.

Can you believe it’s been over two weeks since I returned home from the Inspire.Create.Share Stampin’ Up Convention?  It’s always nice to be back home with my husband and three children after being away for a week of adventure. Normal, regular, everyday life definitely has its comforts! I have to say, though, I’m more than ready for school to start. Our teachers have been on strike, though, so we might have an extended summer break. You may think that’s a good thing, and it can be, but our kids need more structure. My sanity demands that our summer isn’t extended too long!

The camera on my phone didn’t take great pictures of the events and classes on stage. The sessions were great and we learned a lot. Feeling motivated to push myself just a bit more and see if I have any chance at achieving that Grand Vacation on that Mediterranean Cruise! If I don’t reach that, I’m bound to get somewhere worth while with a little hard work!

Here are a few more photos from my week in Salt Lake City, Utah.
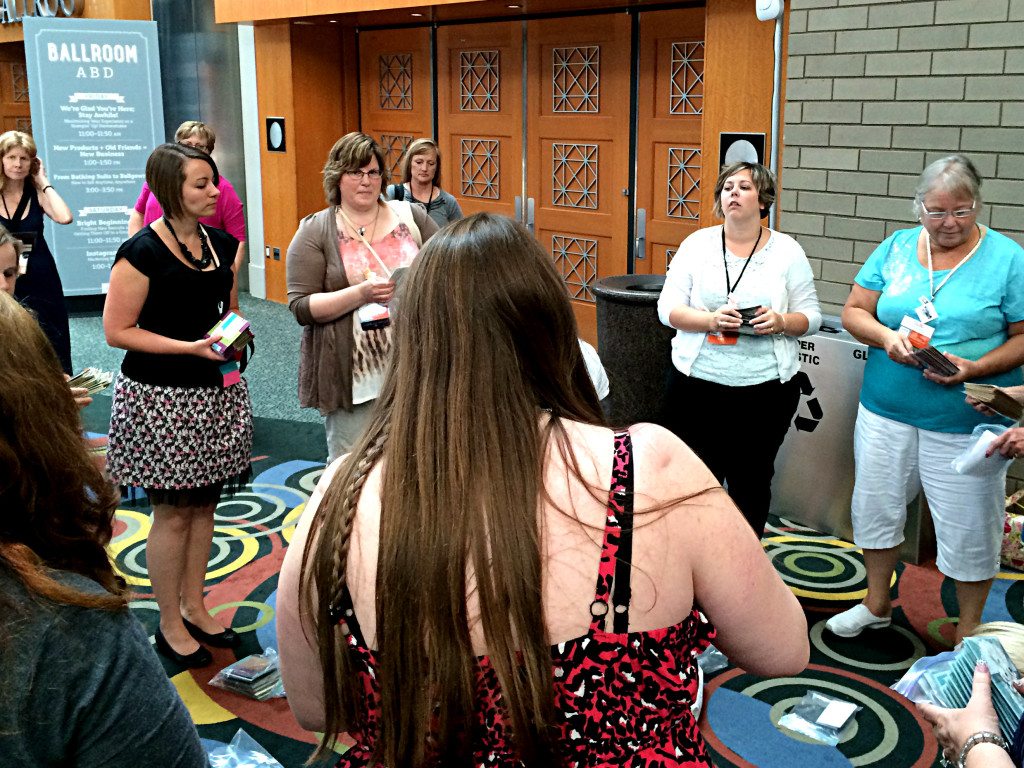
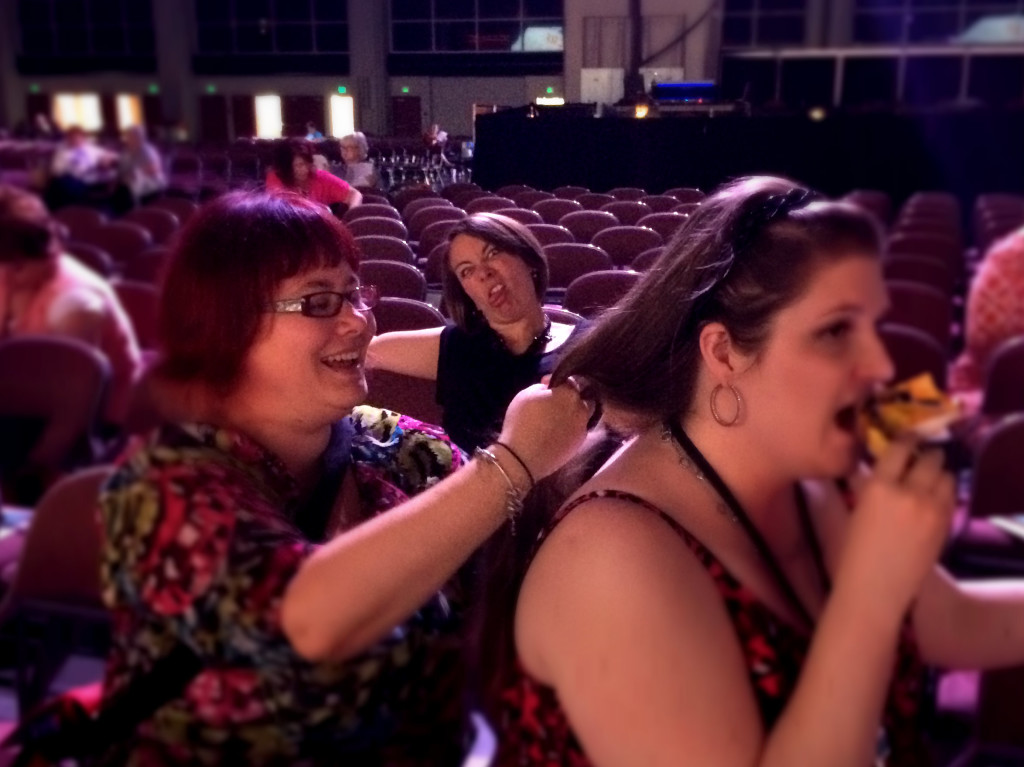
Convention braids and photo bombing

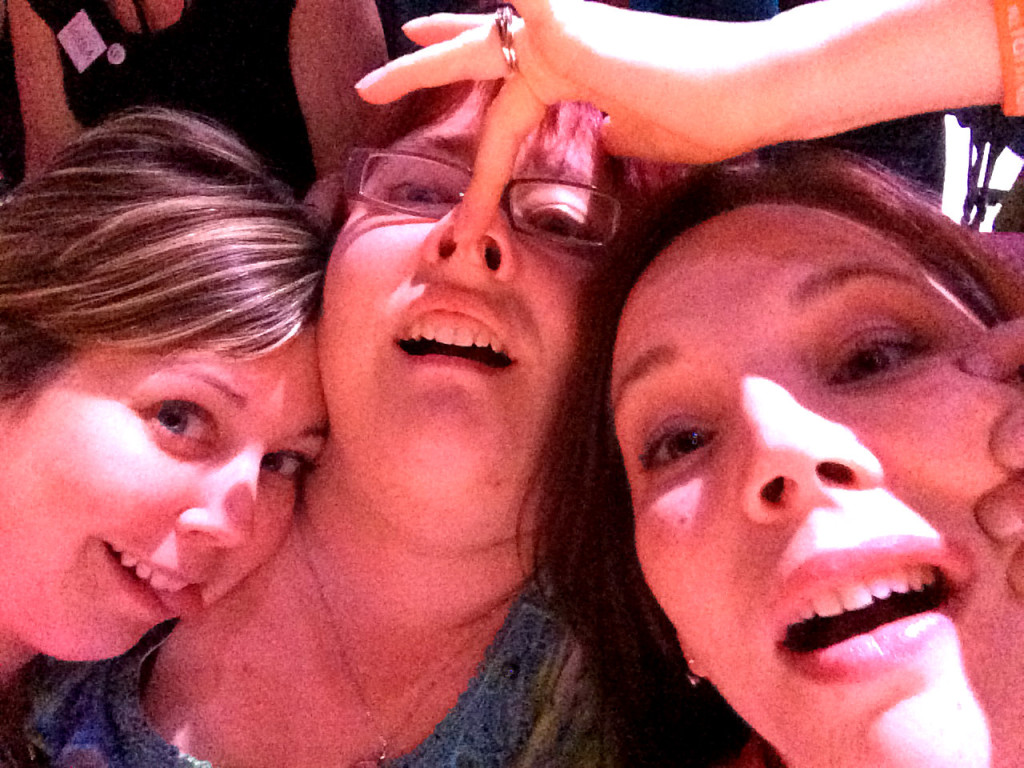
Braids and Photobombs

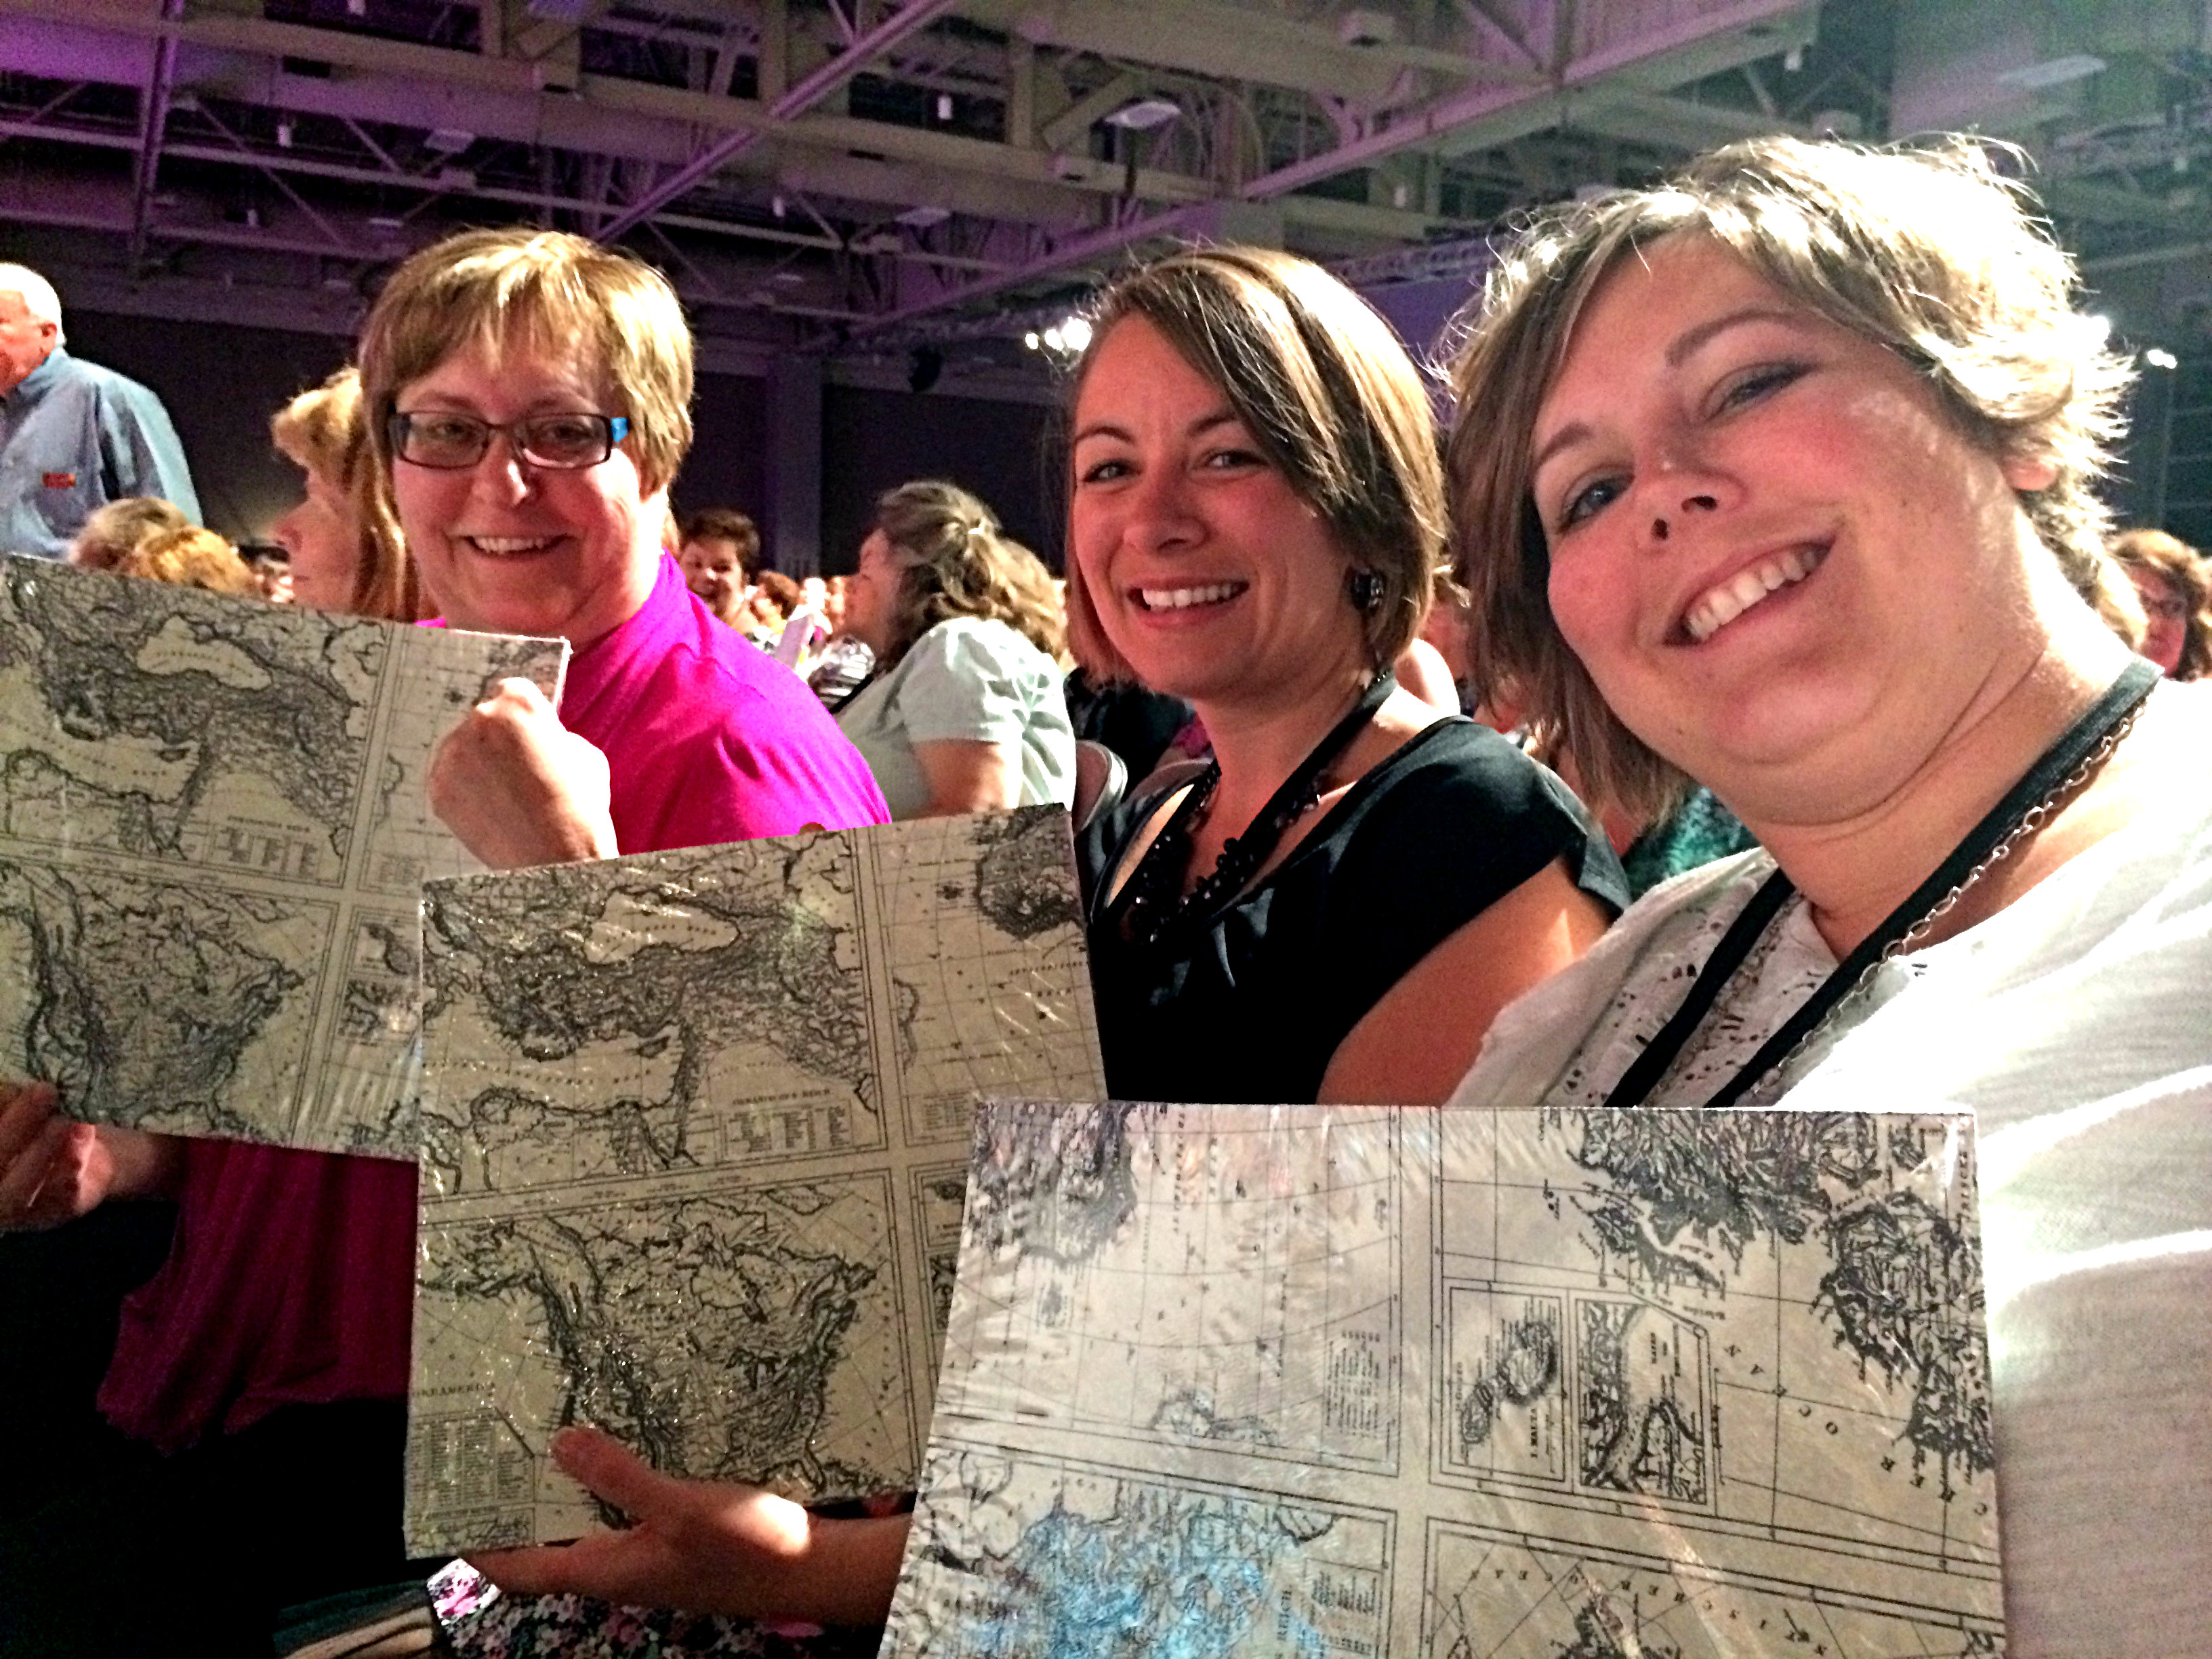
Convention free stuff!

All-attendee Prize Patrol!!

Convention swapping

Swapping cards

Convention unflattering pose

Unflattering poses are the thing to do

Convention unflattering pose again - Copy

What else to do when your waiting, but more unflattering poses

Convention unflattering pose again again

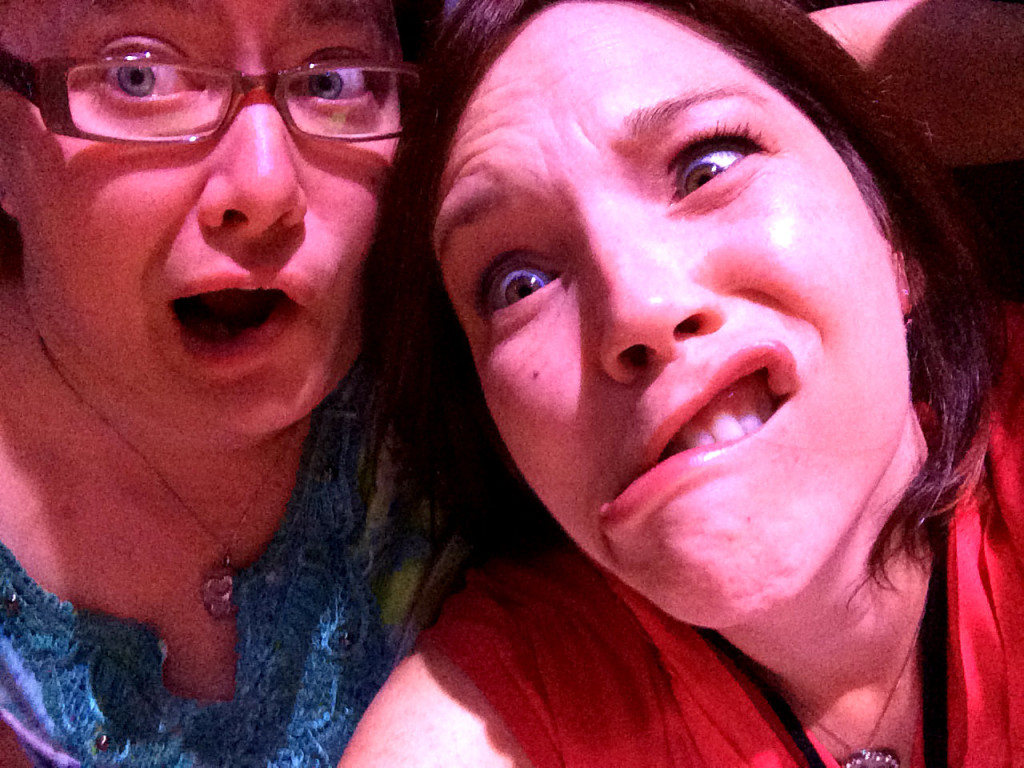
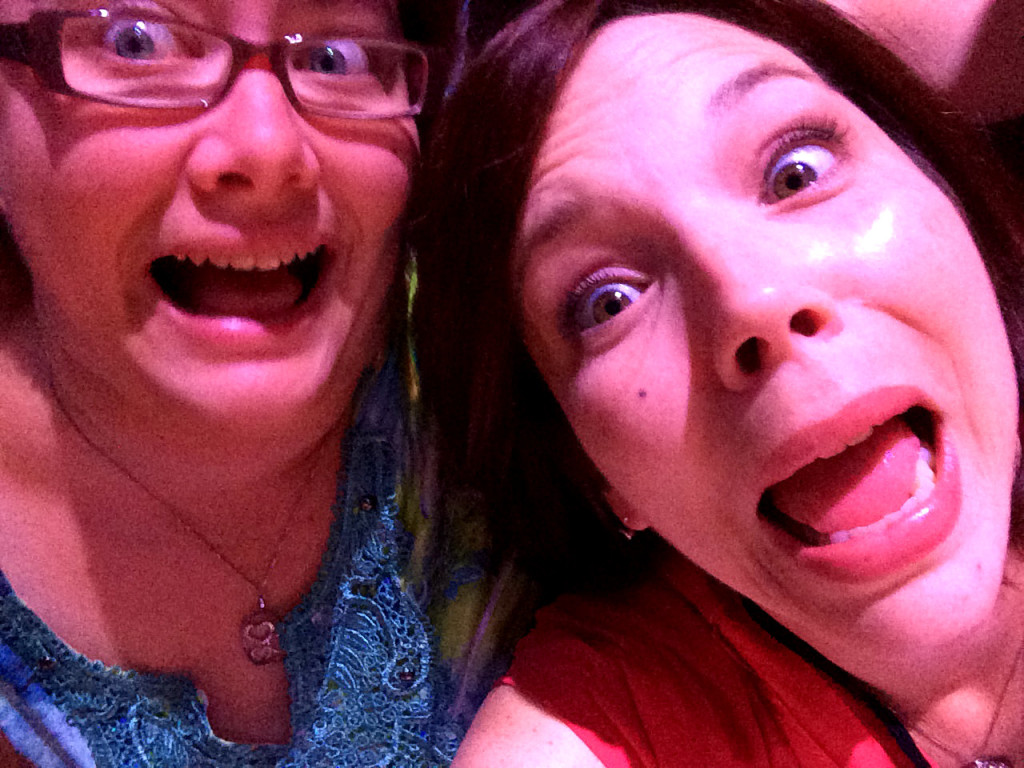
We look frightened, but we’re just entertaining ourselves while we wait for general session to start.

Convention unflattering pose yet again

Oh, the endless source of entertainment!

Convention good at these unflattering poses

Okay, I know, real mature (hehe). We’re getting good at this.

Convention guilty chocolate hoarder

Someone may or may not have dumped a stash of chocolates into her purse from the Recognition room (no names)

Convention I found him!!

I found him!!!

Convention awards night

Awards night! No awards for us, but PARTY ON!!

Convention prize patrol

Prize Patrol means free stuff!!

Convention no prize patrol

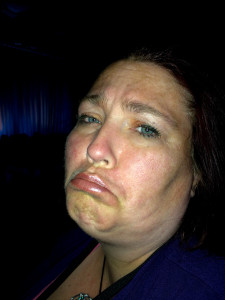
But no free stuff for this sad face 🙁

Convention no prize patrol either

…. or this sad face 🙁

Convention not a single prize patrol

No prize patrol for these sad sad faces either 🙁

Convention Yay for all attendee prize patrol

But wait!!! There’s another all-attendee give away!! Yay!!!

Convention friends

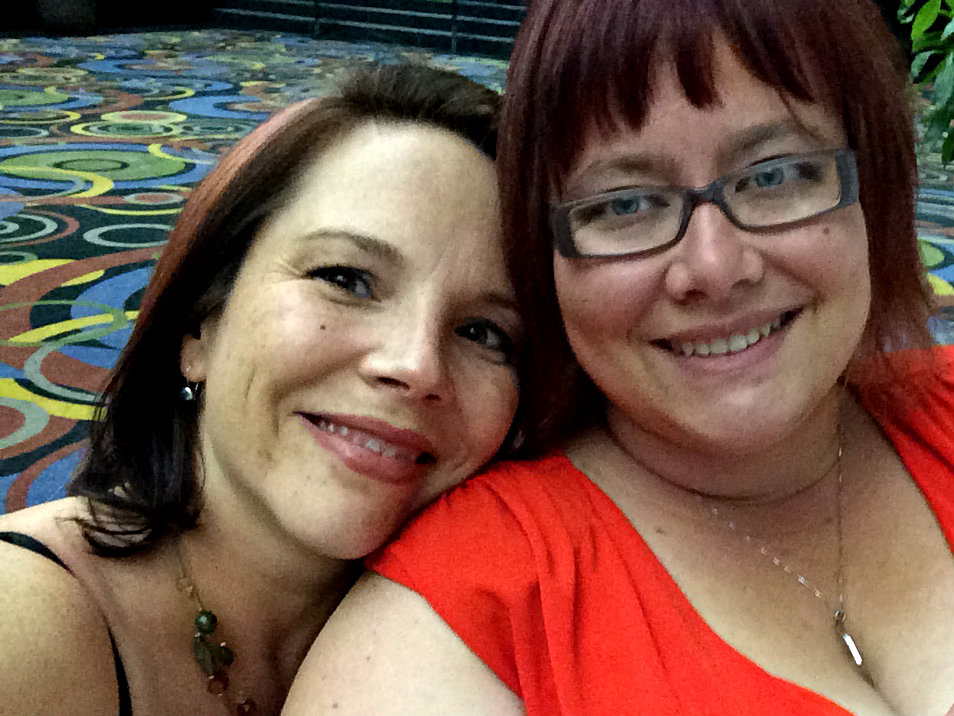
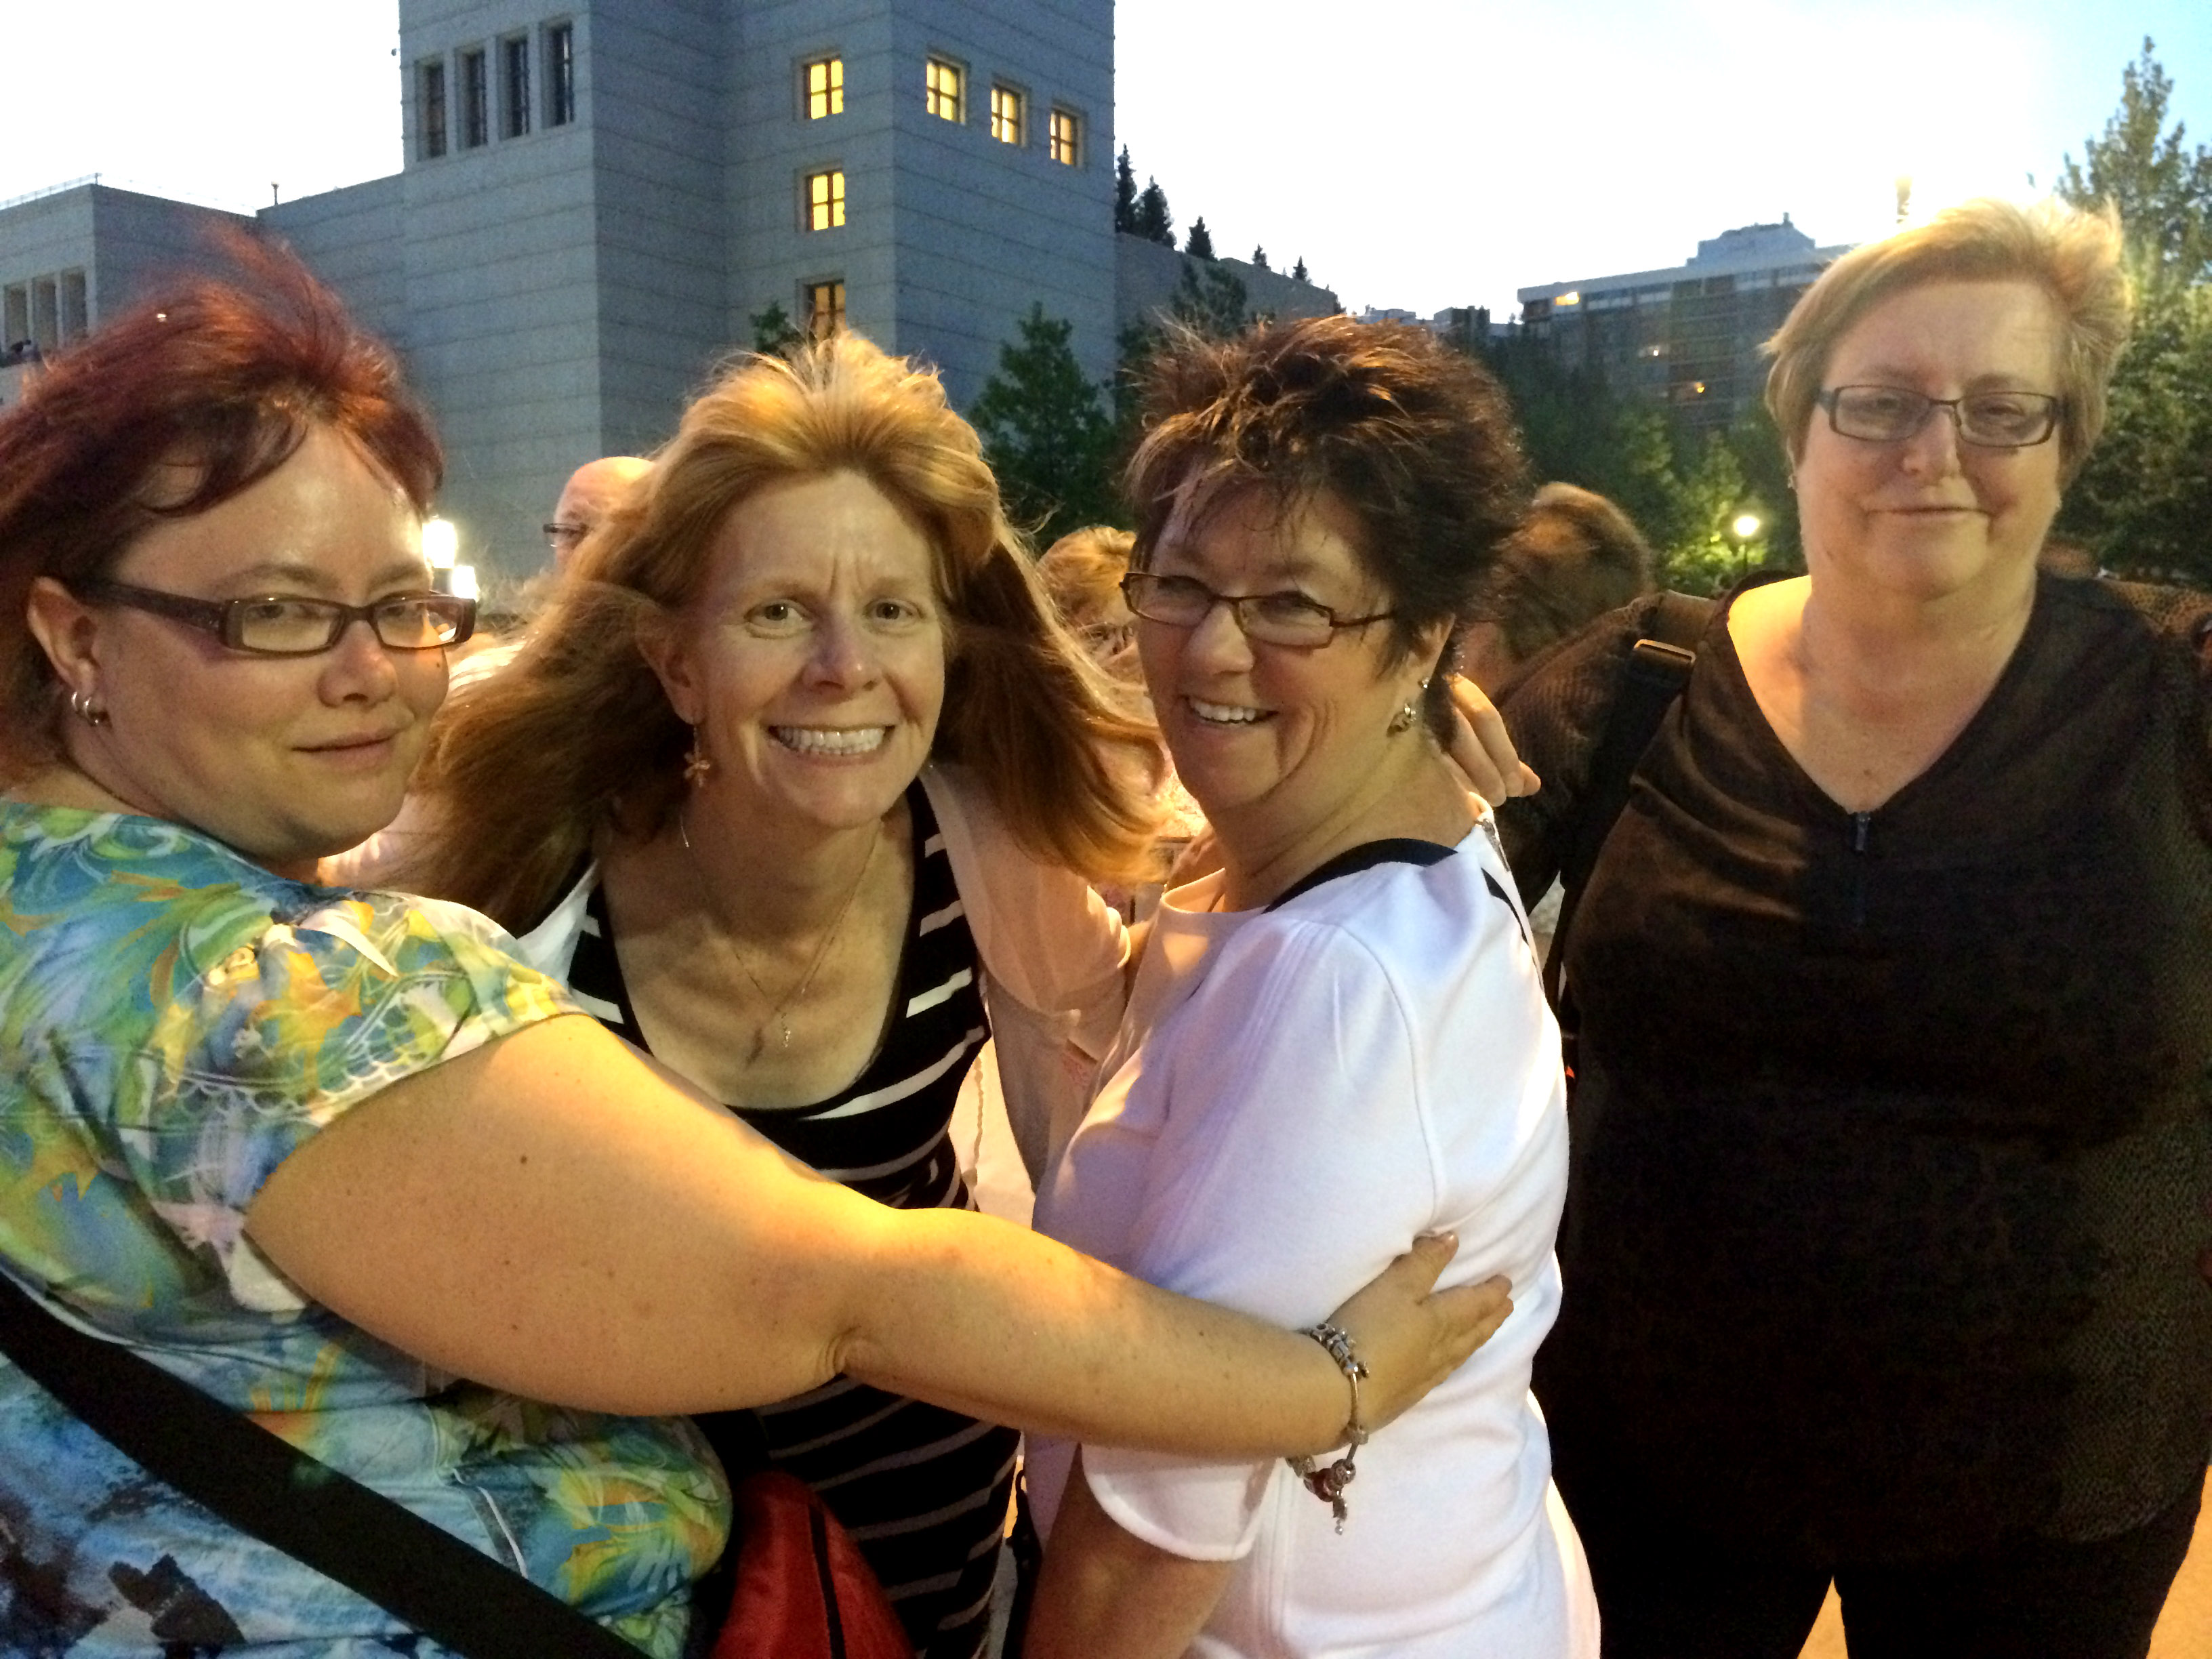
The best part about Stampin’ Up! Convention is hanging out with friends. AWW. Love these gals!

Random out-of-context quotes from Convention:

“the thingy agrees with me. did you hear how it got all fired up?”

“it’s not my fart”

“she’s the nicest person and she’s not even Canadian”  -said by our American friend

“I can see you being a German pornstar”

“I pretend to be a rich person in my private pool”

“This baby’s gonna be half Canadian!”

“Don’t get the meat sweats”

“I have your peacock in Seattle”

“I think your bum just asked me a question”

“Crotch sniff!!”


I Think My Moose is Smiling

047header

Welcome to my blog where I share my love of designing using Stampin’ Up! ink, paper, stamps and tools!!

Today is the As You See It Challenge #47 – a sketch!

#47

I’m so sorry that I don’t have enough time to share my process with you yet. I will edit this post later today and give you the details on this card. For now, you can try to guess all of the steps and supplies involved, lol!

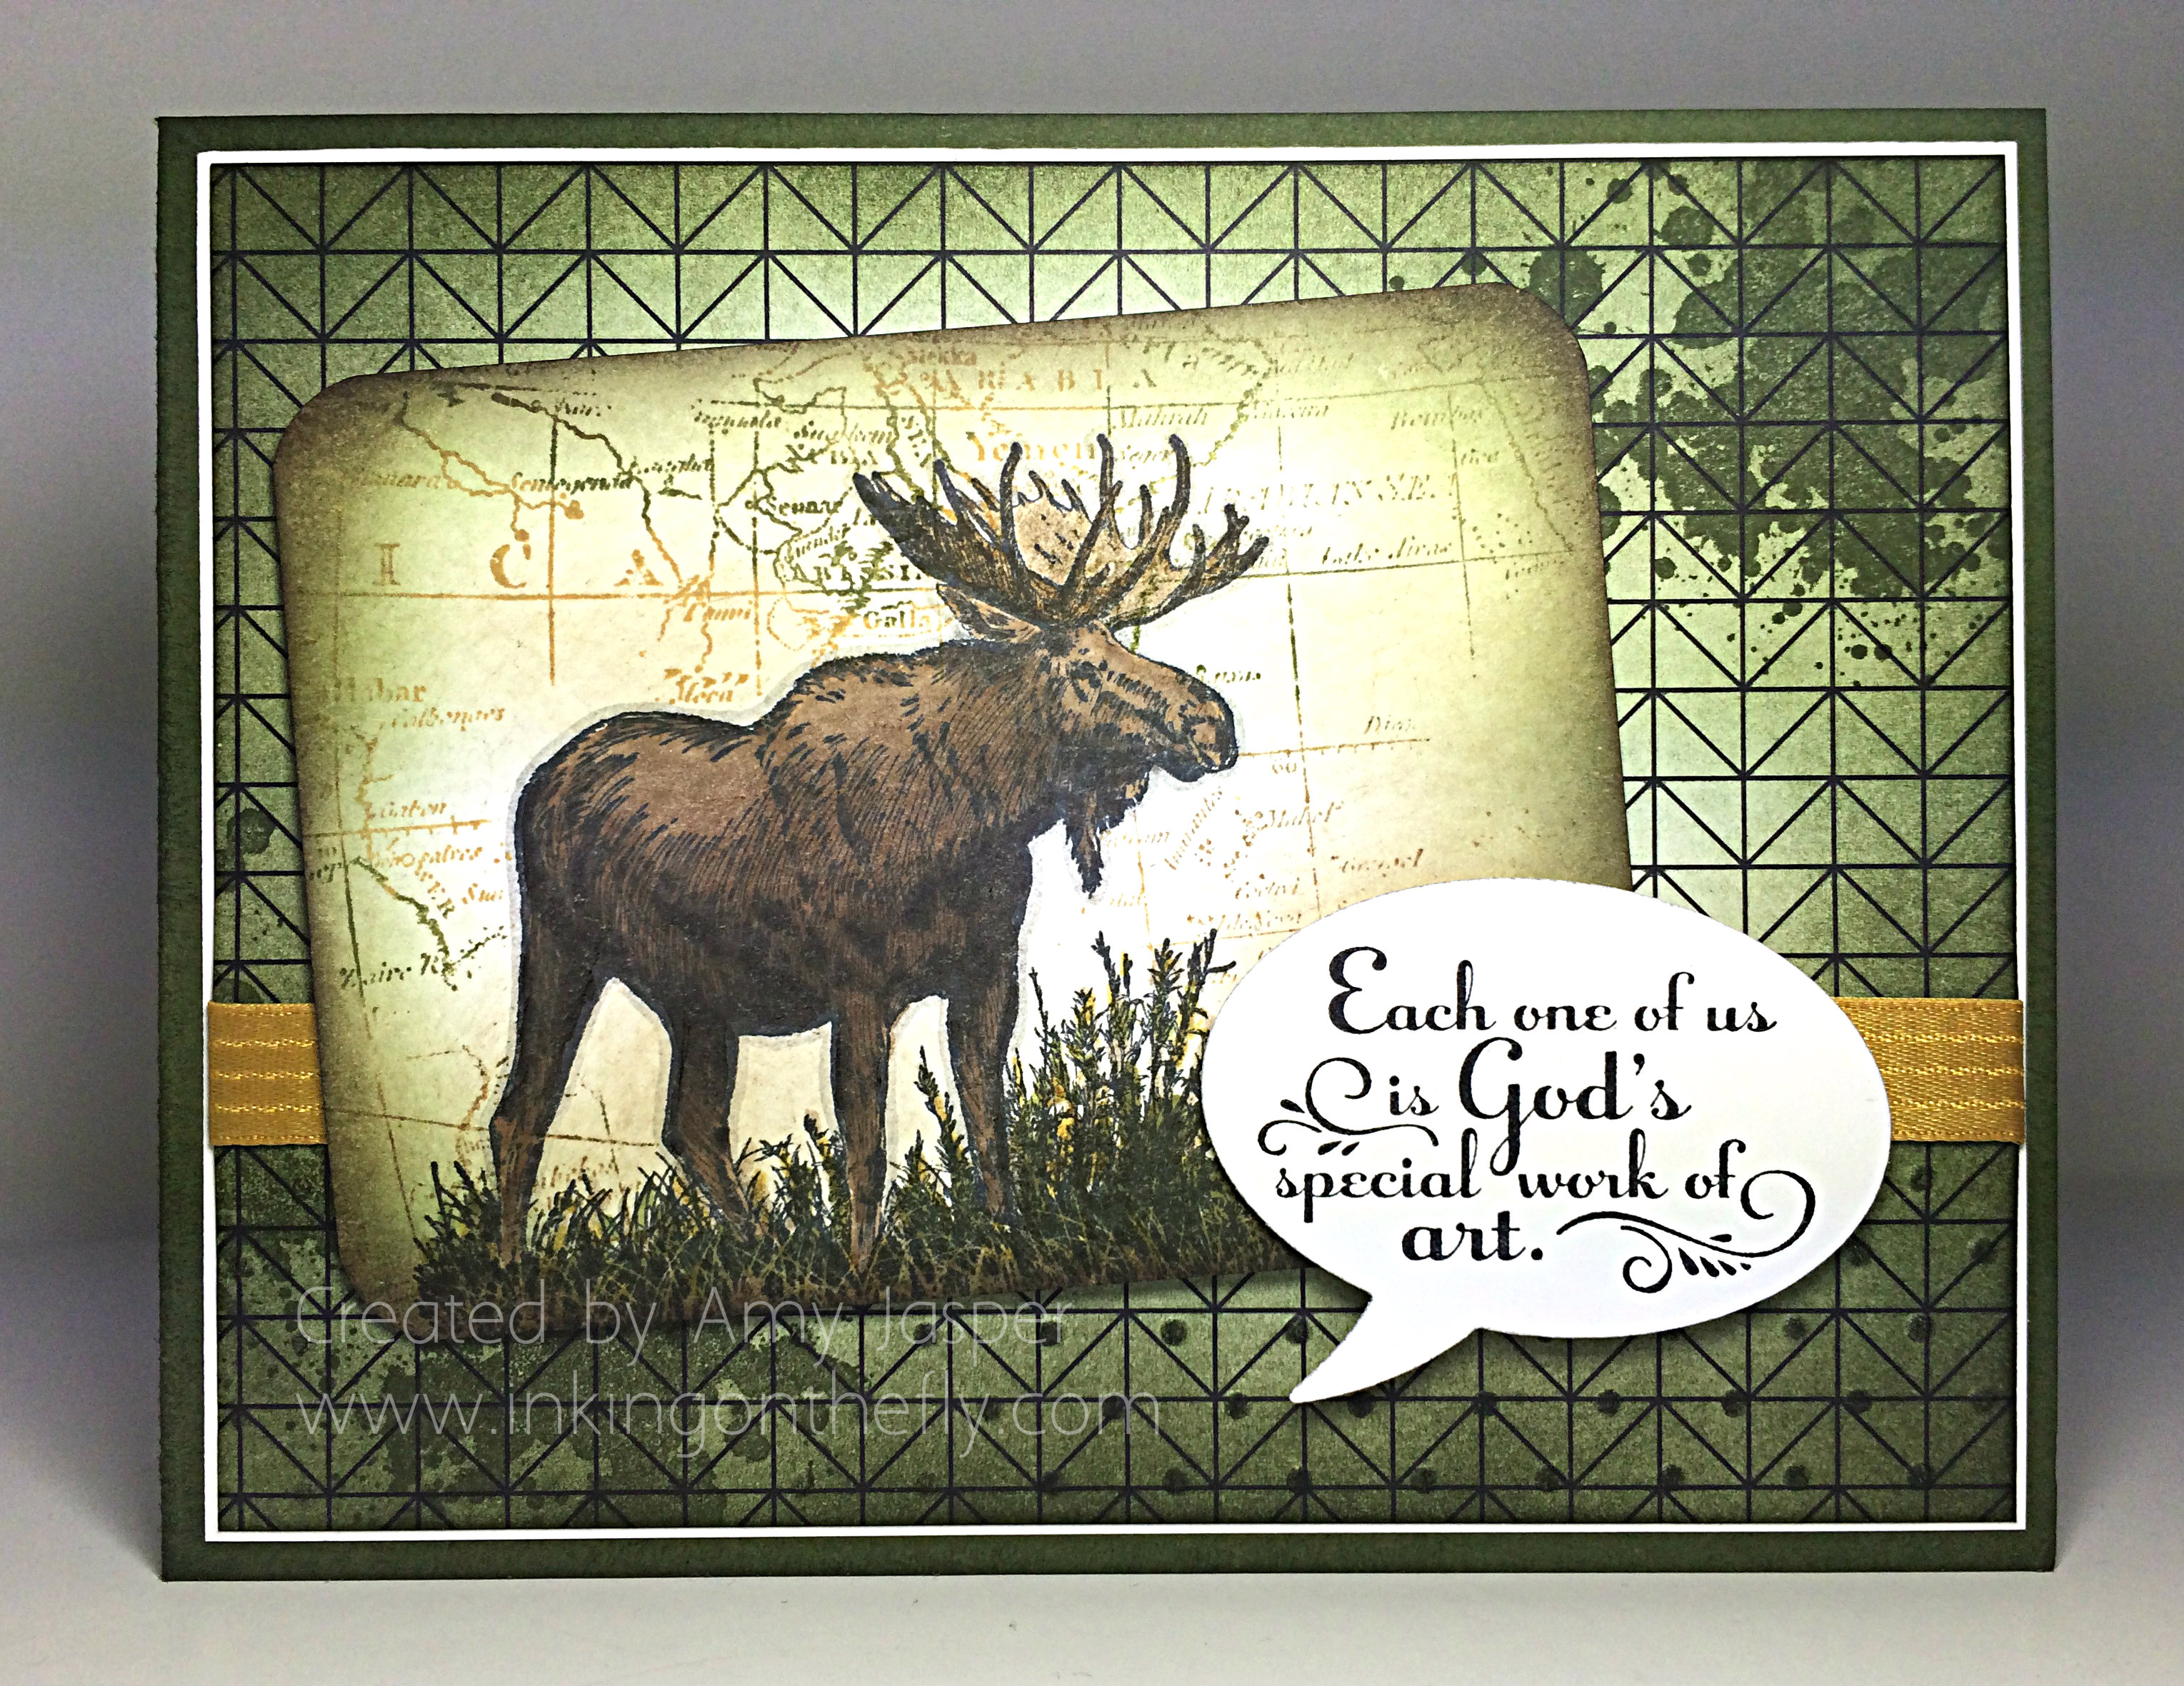
Thank you for your patience! This moose card has a Mossy Meadow cardstock base, then the thin Whisper White mat under the Back to Black Designer Series Paper which I sponged with Mossy Meadow ink. I also added the Gorgeous Grunge splatter in Mossy Meadow AND I used the Perfect Polka Dots embossing folder on the lower portion of that designer series paper.

047Amy

That gorgeous ribbon is the Hello Honey Satin Ribbon. I’m really loving yellow these days and that ribbon has been one of my favourites for a pop of sunshine on my projects!

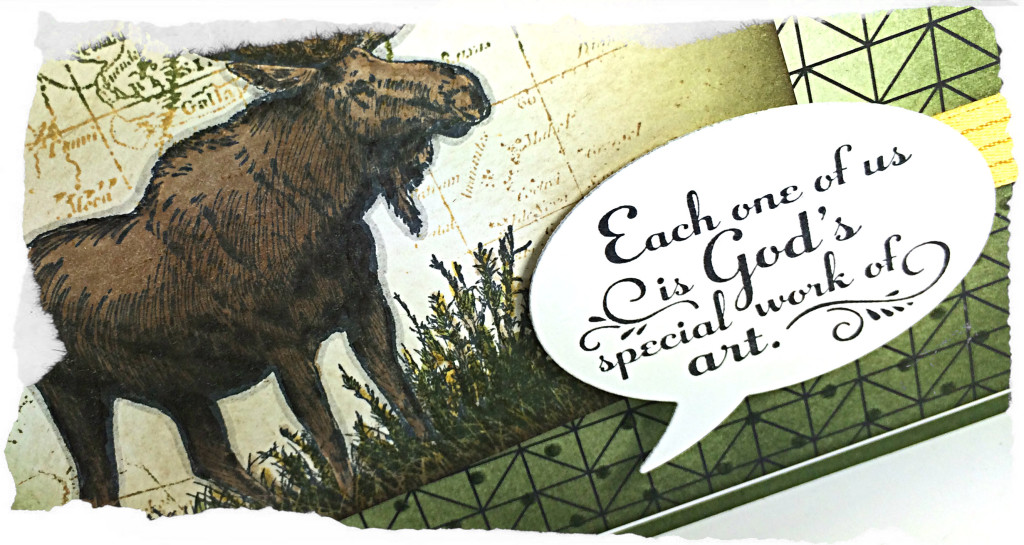
My moose is definitely the art piece on this card. The image is from the Walk in the Wild stamp set. I stamped it on Whisper White cardstock with Momento Black ink and coloured him with my Crumb Cake Blendabilities (which are much darker than Crumb Cake, working in my favour here). Instead of using the Blendabilities for his antlers, I just used my Crumb Cake Stampin’ Write marker and my Baked Brown Sugar Stampin’ Write Marker. I used the Old Olive Blendabilities for the grass and threw in some random Crumb Cake and Hello Honey Stampin’ Write Markers for depth and a bit of variation in the foliage. I also outlined my moose with the Smokey Slate Stampin’ Write Marker to give him a bit more of a 3D look.

The paper that I stamped my moose onto has rounded corners, which I did with the corner punch on my Envelope Punch Board. I used three different colours to sponge the edge of the paper in this case: Mossy Meadow, Soft Suede and a touch of Early Espresso on the very edge. The World Map stamp was inked randomly with these same colours. I didn’t want a solid map image, so I just placed the stamp on my table so the rubber was facing up, then laid my cardstock lightly on the rubber and just touched it in a few places with my fingertips. This transfers the ink to my cardstock darker in some places, lighter in others and not in all in others still. It’s a great technique for a vintage-style project.

The sentiment is from the stamp set, Trust God, and was stamped on Whisper White with Stazon Jet Black ink. I used my Big Shot and my Word Bubbles framelits to cut out the image. Of course, Stampin’ Up Dimensionals were used to adhere both the word bubble and the moose image to the card front.

I think my moose is smiling!!

There are many strange animals on this earth (humans are pretty strange, too). God, the Creator, is the ultimate artist. He must have had a lot of fun designing a moose with it’s massive body, huge head and antlers, and it’s scruffy scrawny stick legs! I think by the time He created the moose, He was tired of the usual design and wanted to change things up a bit. (things like the Platypus would have been one of His last animals, when He was REALLY bored, lol!)

Don’t forget to give the sketch a try for yourself and load it up to share it with us over at the As You See It Challenge Blog!!

Amy


Designer-Badge

Celebrate with Wisteria

046header

Welcome to my blog where I share my love of designing with Stampin’ Up! paper, rubber stamps, inks and tools!

I still have one more post of Convention photos to share with you, but now that I’m home again, it’s difficult to find the time to load the photos and share them with you. It was great fun to get away with my Stampin’ Up girls. Now I’m back to the real world and it’s real busy! If I want to reach the Grand Vacation to the Mediterranean (it’s a HUGE jump for me, so we’ll see how it goes), then I need to make time for my Stampin’ Up! business. Hope you’ll help me for the ride!!

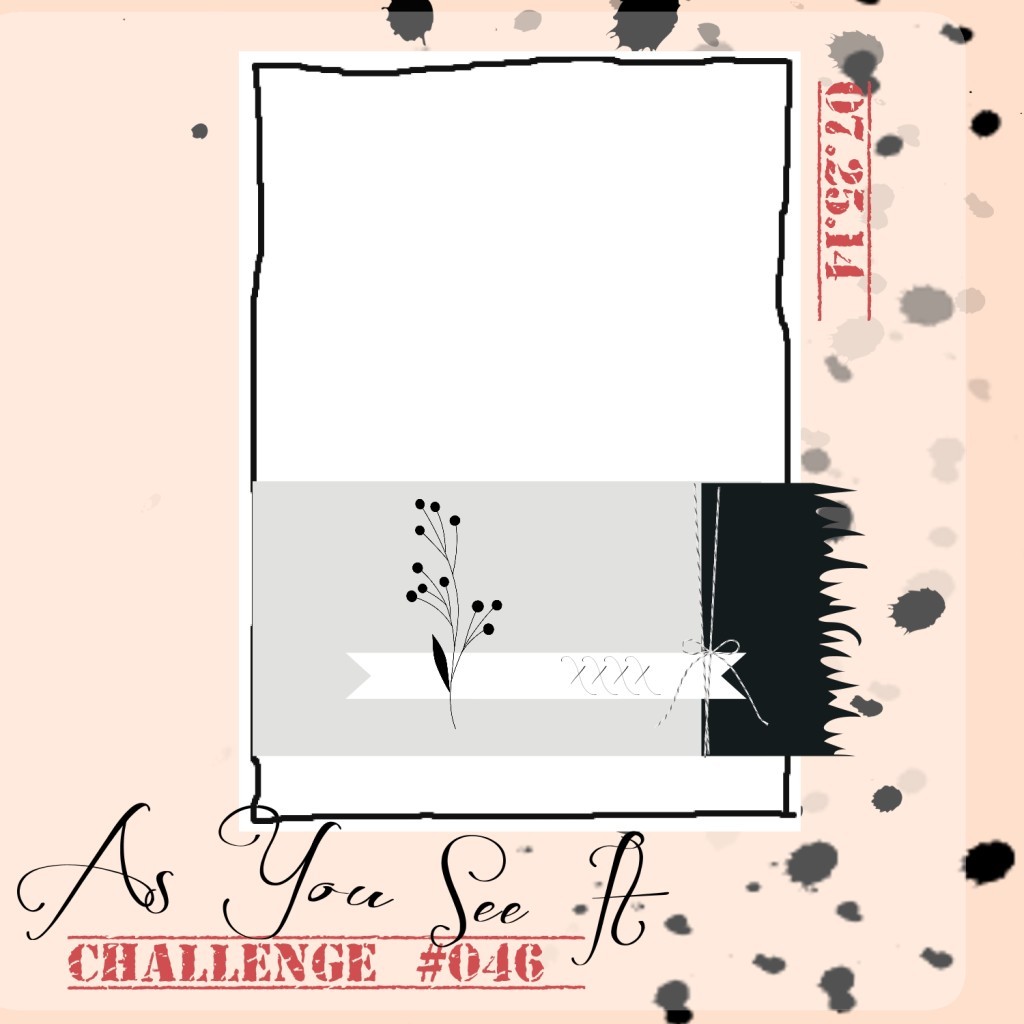
It’s been a couple weeks since we had an As You See It Challenge. Have you missed us?

AYSIChallenge046-1024x1024

This sketch is super cute, don’t you think? If I had the fringe scissors (which, shockingly, I don’t … yet!), I would have used them for that little side fringe. Instead, I chose to do the ol’ fashioned tearing technique.

046Amy

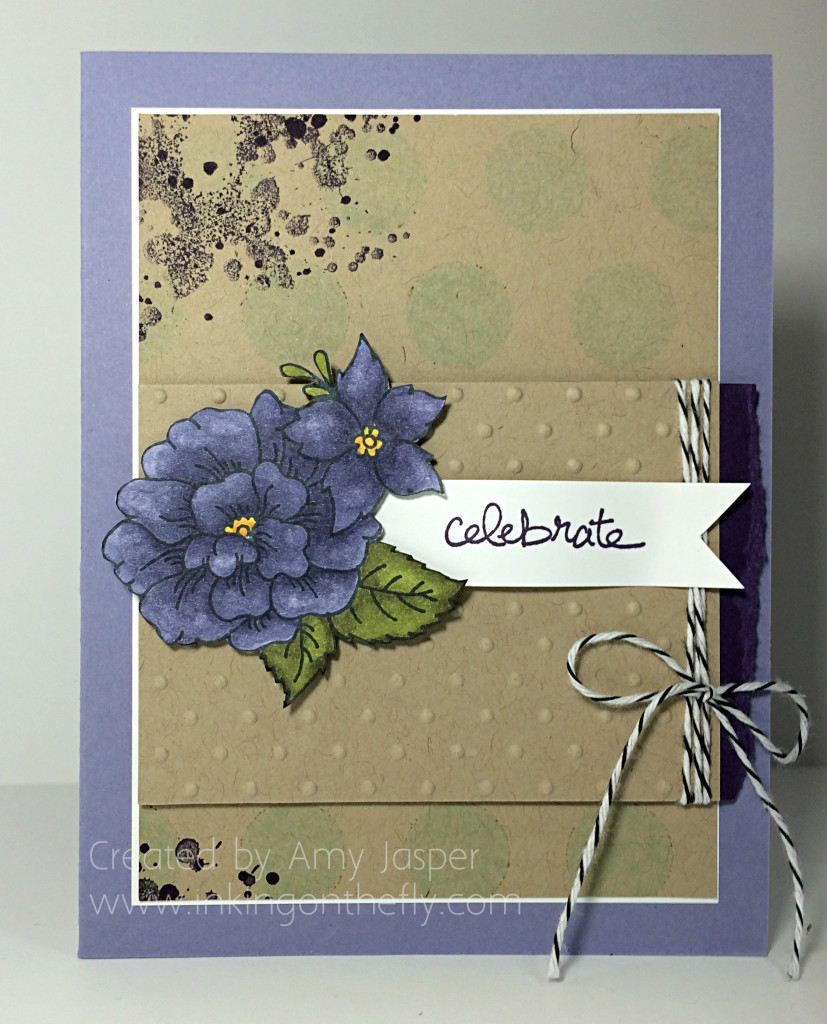
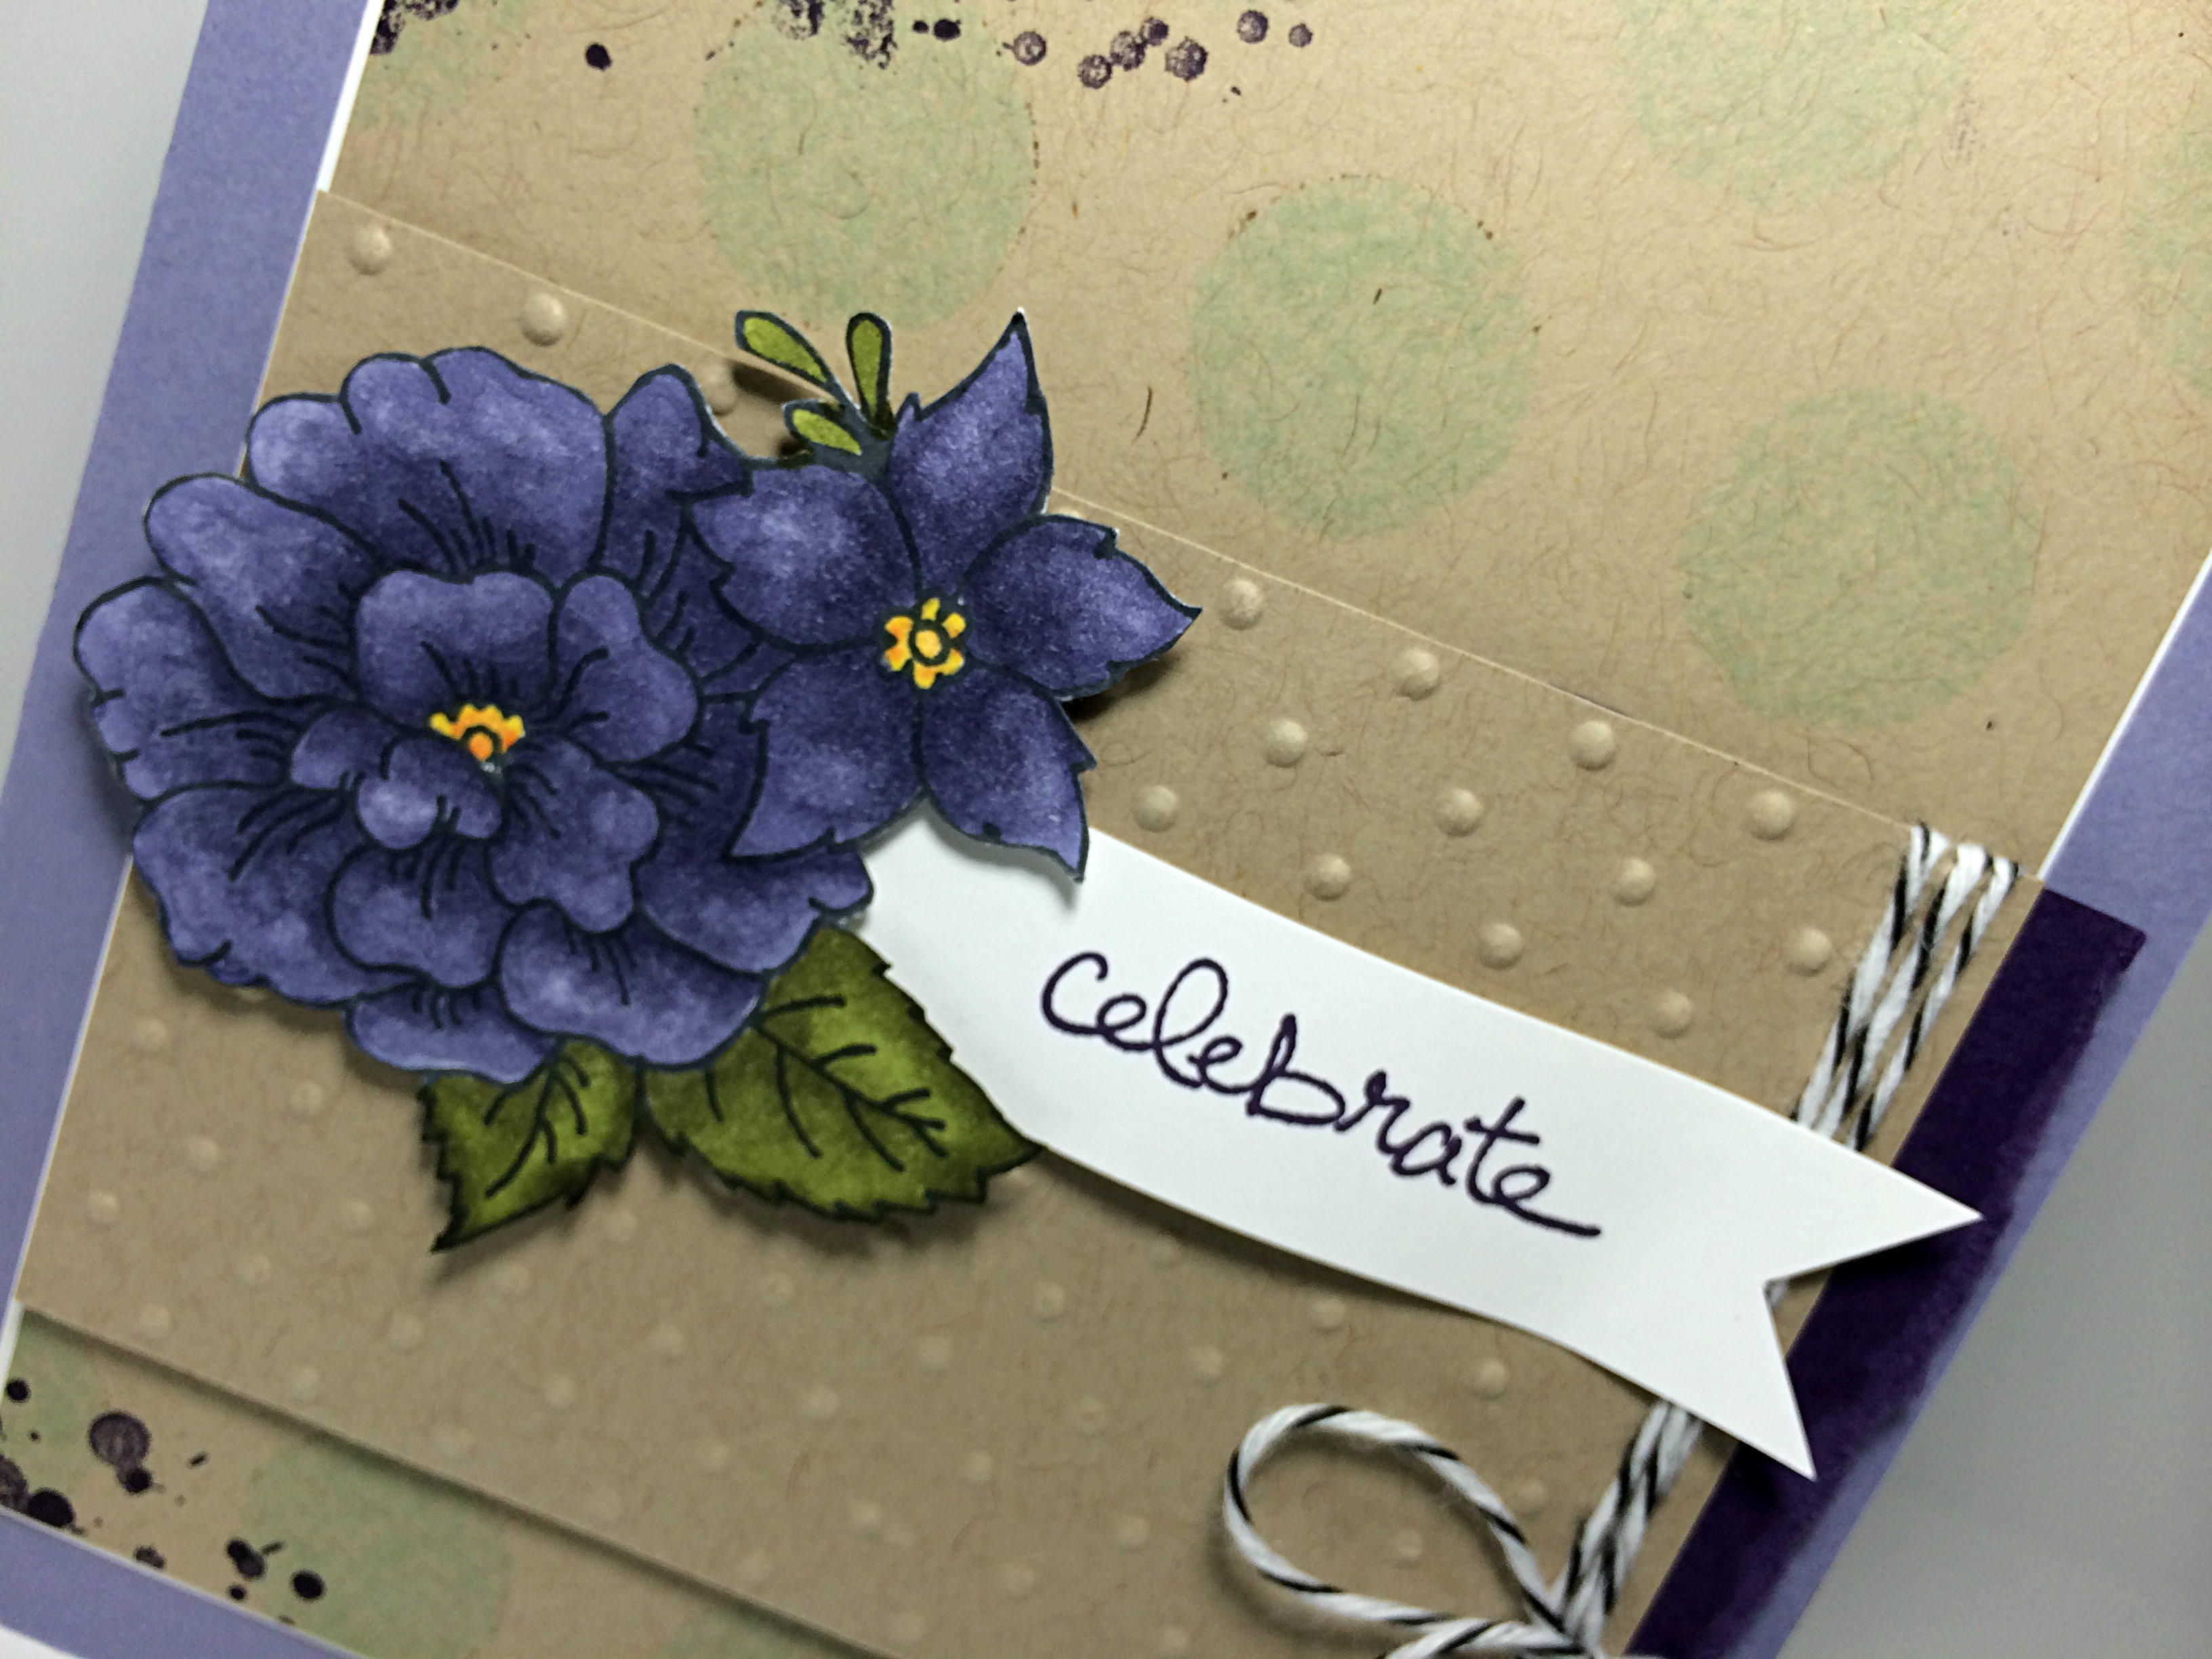
Purple isn’t my favourite colour to work with, but this card decided it wanted to be purple. I tried really hard to make it Island Indigo and Pool Party, but it didn’t let me.

I used a Wisteria Wonder card base. You can see that I used two layers of Crumb Cake cardstock. One is matted with a thin layer of Whisper White cardstock with some large polka dots. These were added using the Dots and Stripes Mask. I positioned the dots mask over my cardstock, then spritzed it with Pool Party ink that I had mixed in a Stampin’ Up! spritzer with a bit of rubbing alcohol. I added the splotches of Elegant Eggplant ink with my Gorgeous Grunge stamp set only after I accidentally dropped my ink pad on the corner of my cardstock (oops). Oh well, it worked out in the end, lol!

The smaller layer of Crumb Cake cardstock was embossed with the Perfect Polka Dots embossing folder. I added the torn piece of Elegant Eggplant to the edge of that and tied on the Black Baker’s Twine before adhering it with Stampin’ Up Dimensionals to the card.

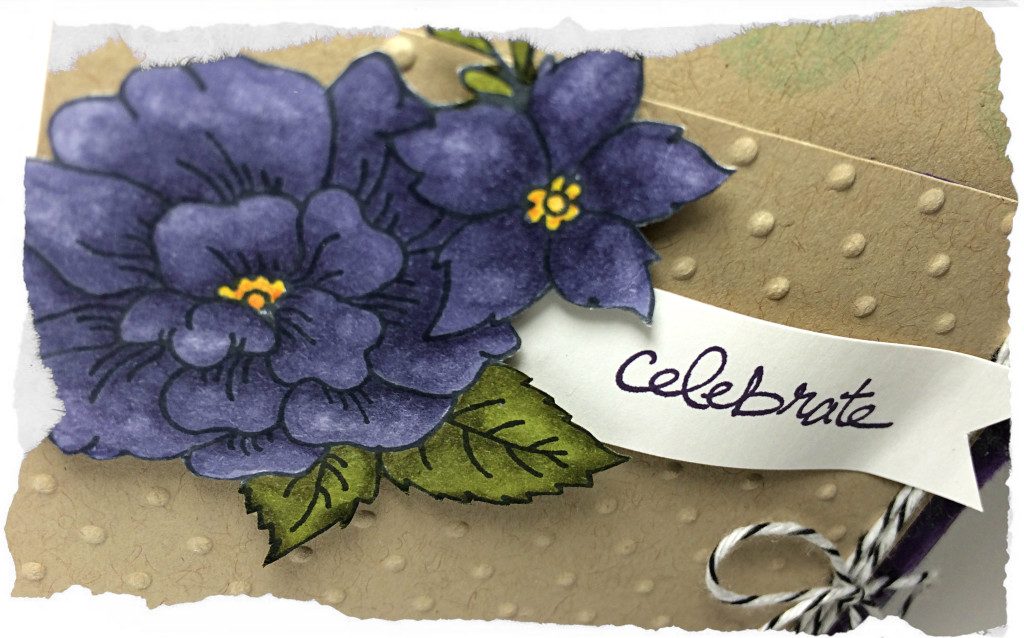
046closeThe flower is from the hostess set called “I Like You”. It’s perfect to use with the new Blendabilities. In this case, I used the Wisteria Wonder, Old Olive, and a combination of Daffodil Delight and Pumpkin Pie for the center of the flowers.

The sentiment on the banner is from the Good Greetings stamp set (not yet available) which I received for free from Stampin’ Up! for team leadership. I love free stuff!! I used my Bone Folder to curve the banner and give it a bit of shape before adhering it to my card.

Now it’s your turn! Give the sketch a try and share your creation on the As You See It Challenge page for Challenge #46. I can’t wait to be inspired by your design!

Amy

Designer-Badge