As You See It

Jingle Jingle Little Star

My title makes me chuckle. Not that clever of a title, really, but I chuckle just the same.

It’s been a CRAAAAZY week. My family has hardly seen me. When they have, they find me completely distracted and disengaged from reality. I’ve been working on my preparations for the BC Crop for Kids event which takes place in Abbotsford this weekend.  I am sponsoring a class and hosting my own vendor table on Saturday. I haven’t participated in this particular event, making it all new to me. I also don’t do vendor shows often – maybe once per year, so it takes a lot to get organized. The class I’ve chosen to do has a TONNE of prep, but I have been incredibly blessed with friends who gave their time to cut the gazillions of pieces of paper, ribbons, and dies to help me. Not only that, but many of them also donated supplies toward the class in honour of the BC Children’s Hospital foundation, for which the event is raising funds.

So, I want to give a shout out and a HUGE THANK YOU to all of those gals who spend hours at my house cutting and embossing!

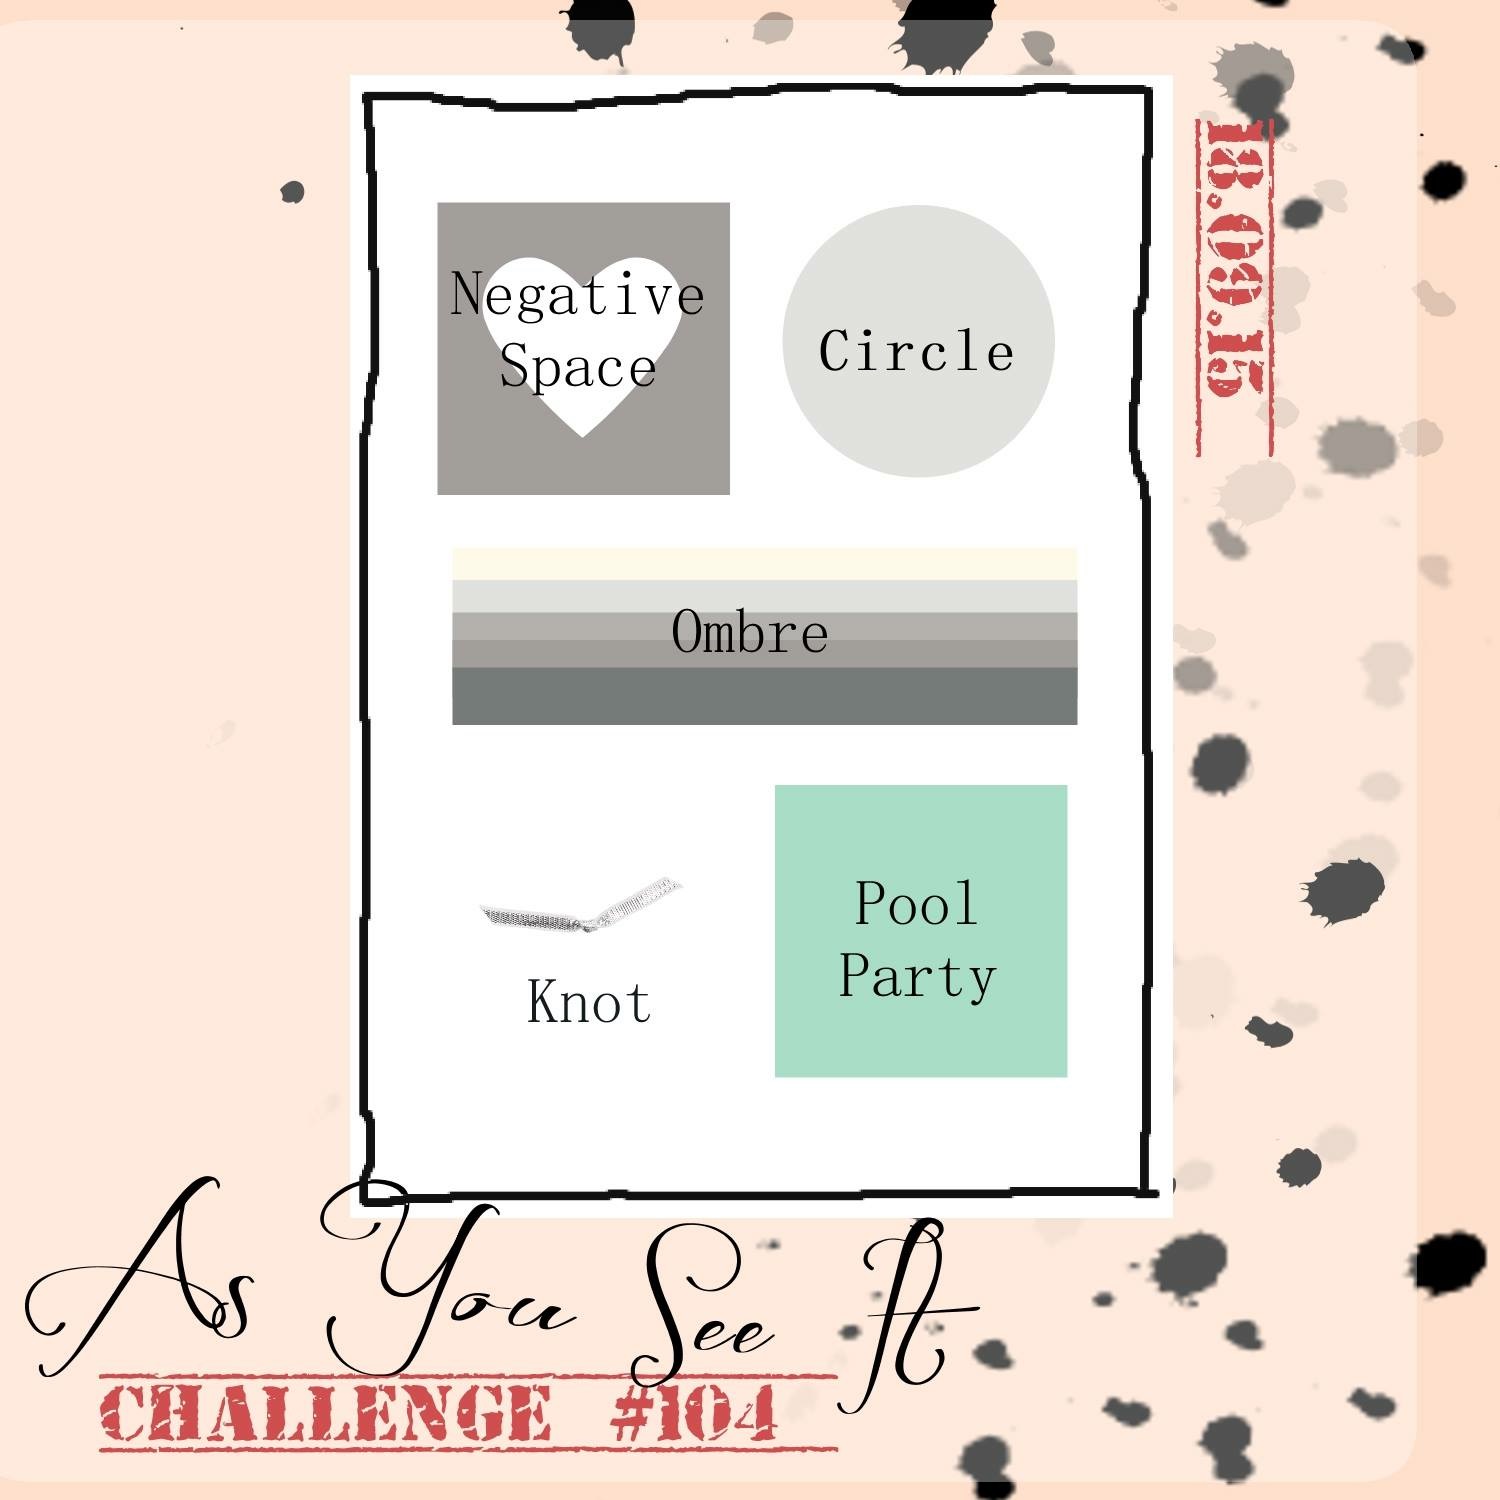
Part of my prep involved having a make and take project at my vendor table for 40-50 ladies to enjoy. The As You See It Challenge this week seemed like a good opportunity to hit two birds with one stone. Here’s the challenge sketch:

005

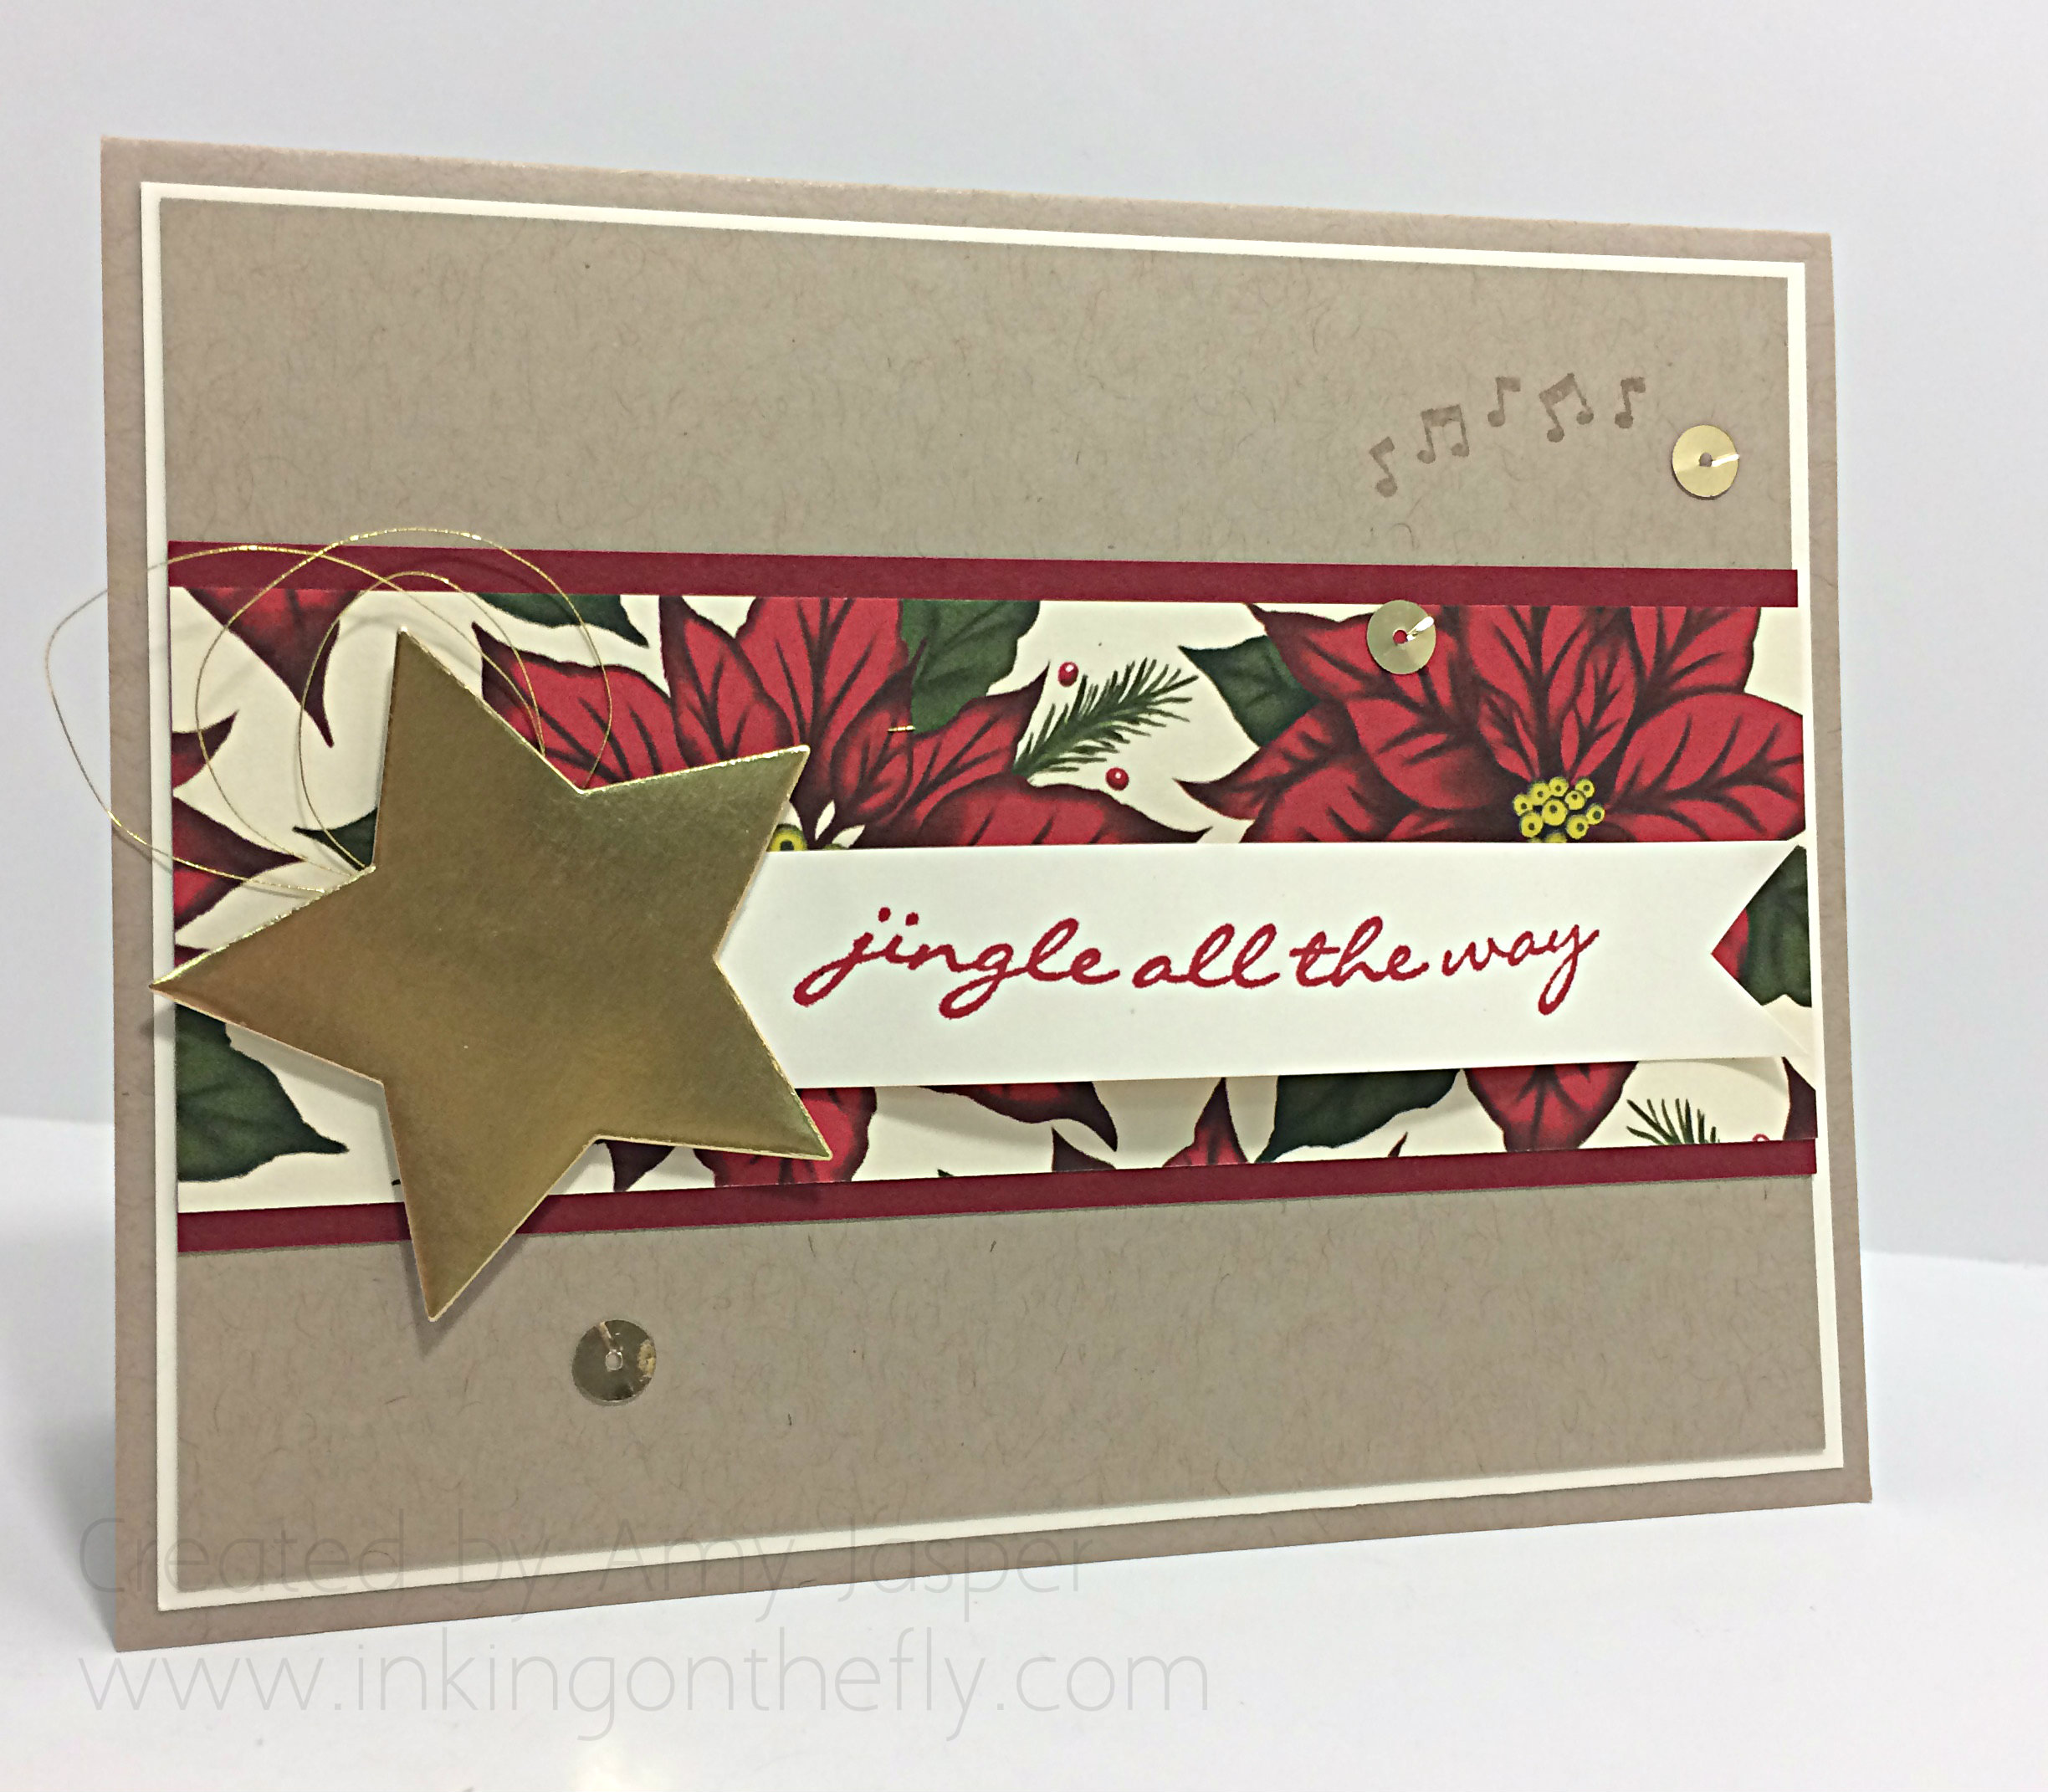
My make and take card will be very similar to this one, but the patterned paper will vary, of course.

106AmyJ

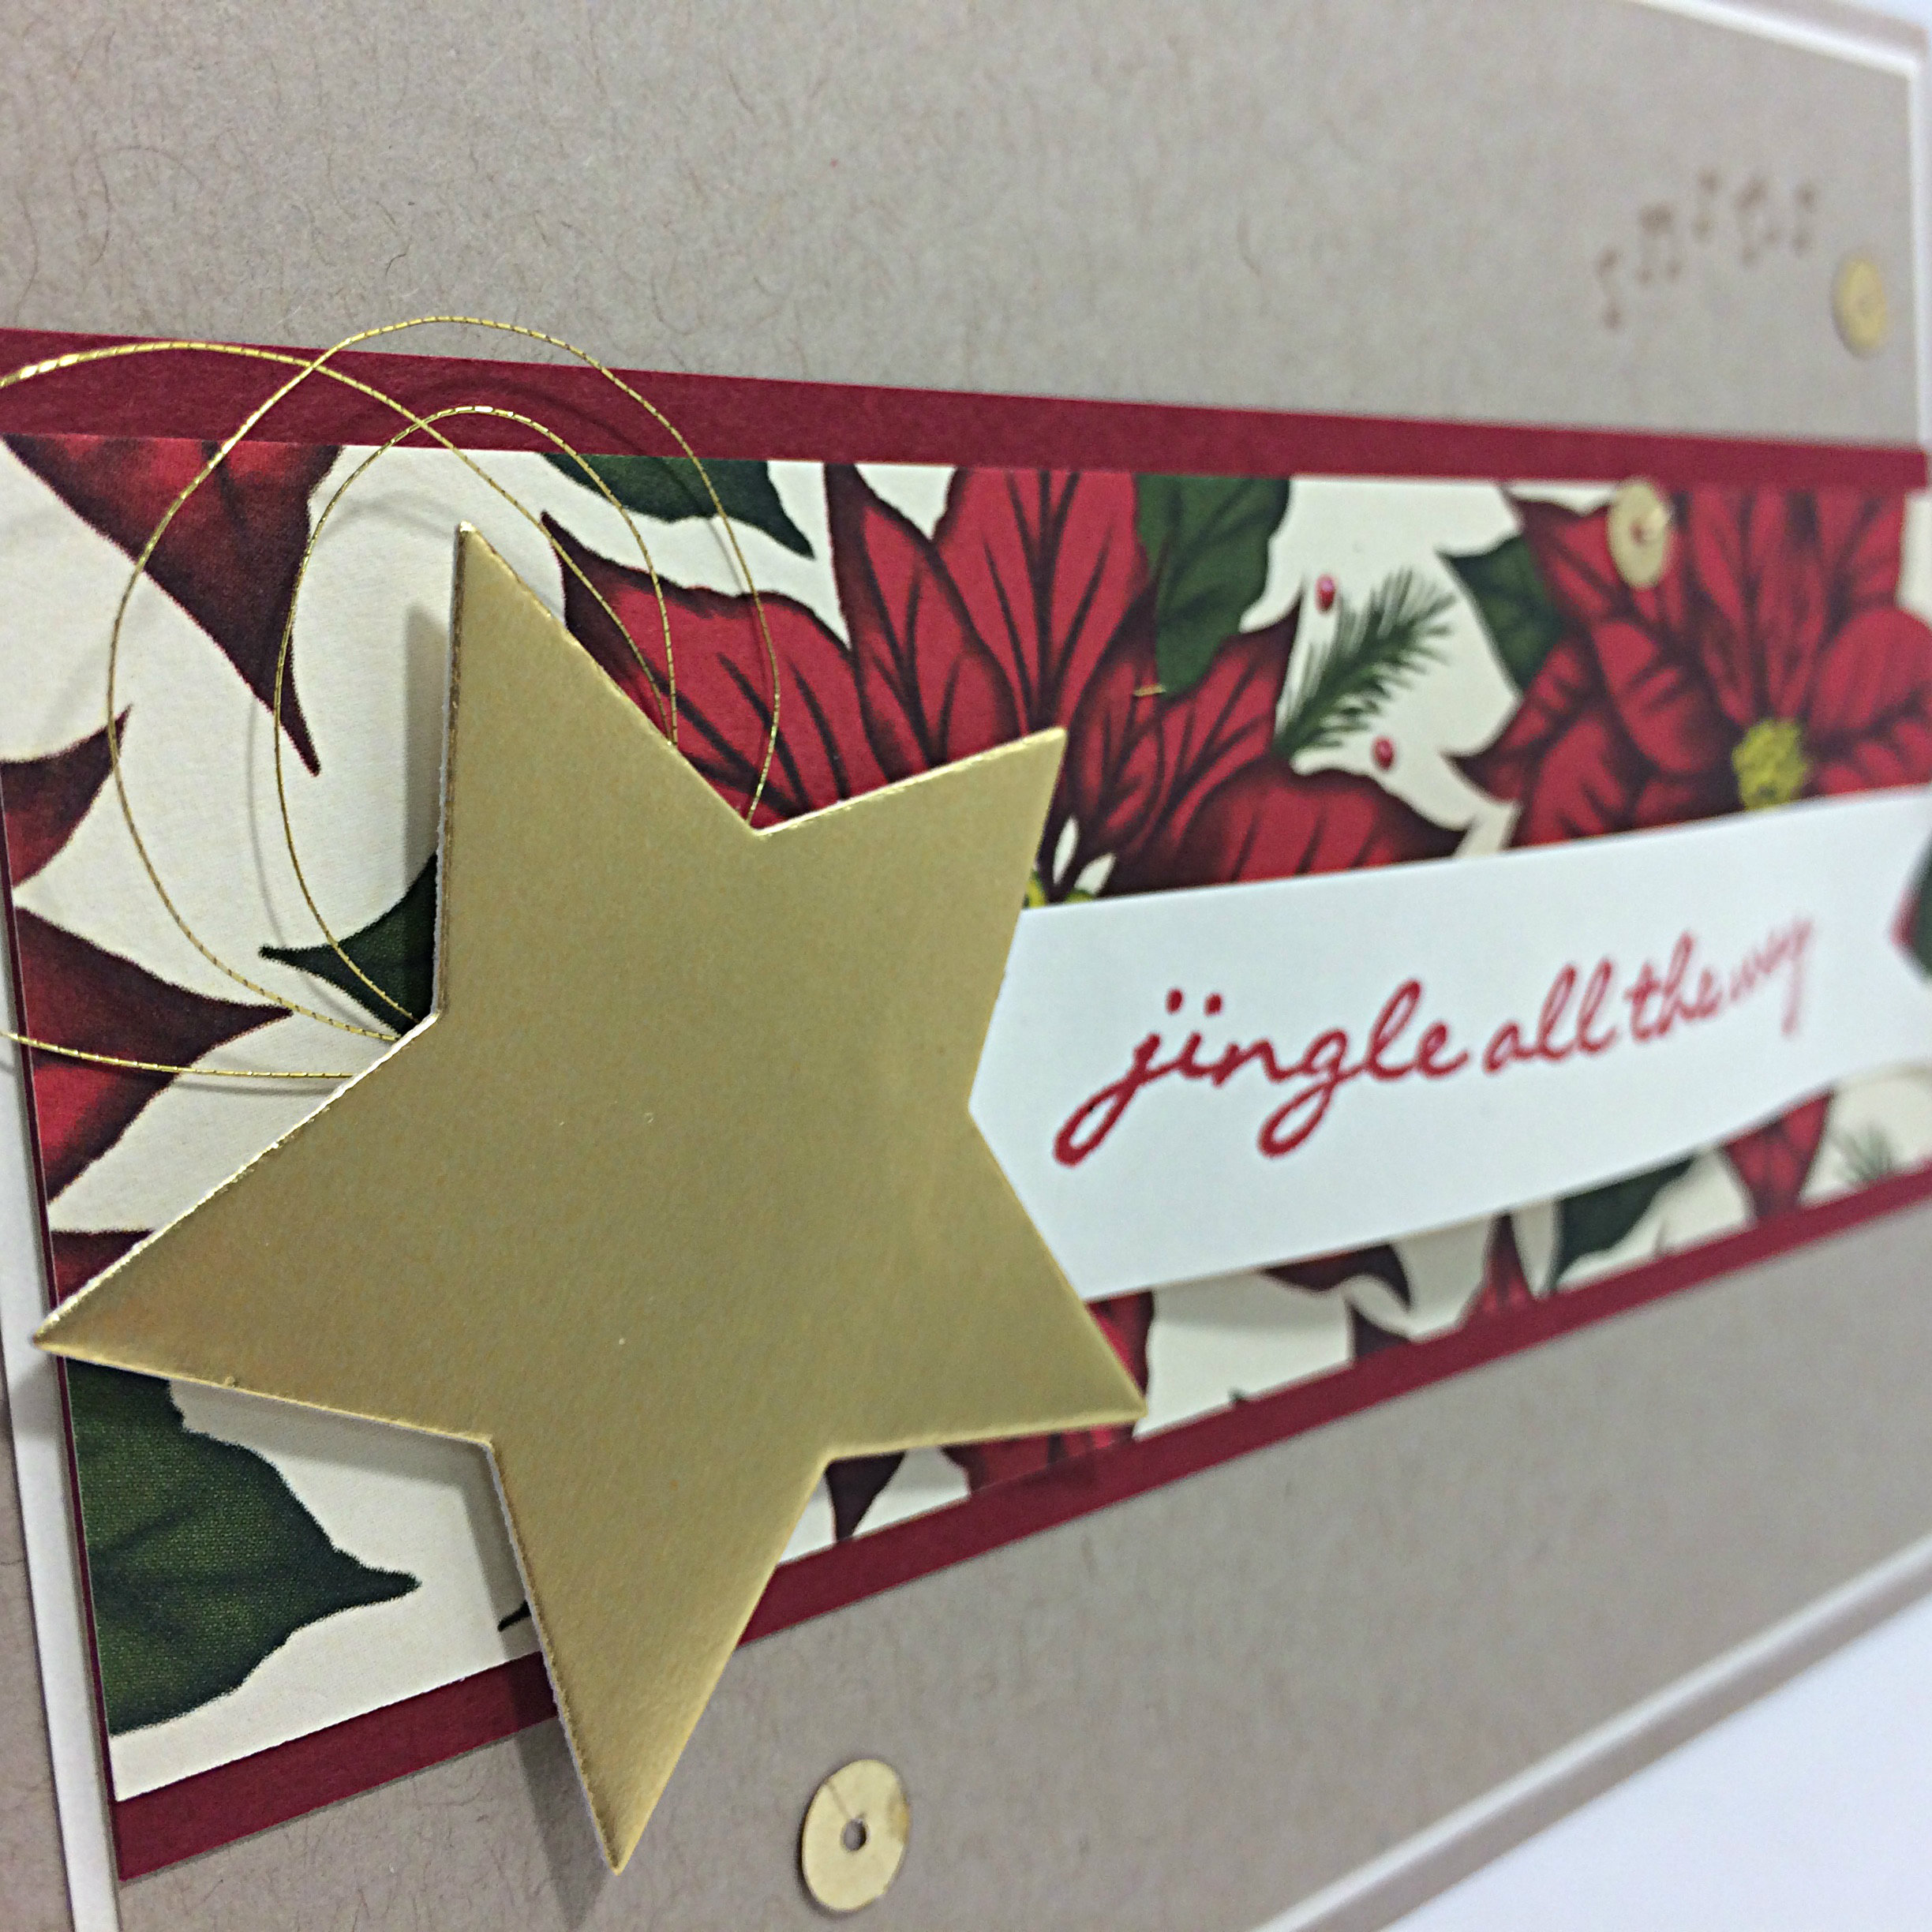
I used Crumb Cake cardstock for my card base, then a Very Vanilla mat under another layer of Crumb Cake cardstock. The next two layers are Cherry Cobbler and a strip of Home for Christmas Designer Series Paper.

106star

I used some Gold Foil paper with my Star Framelits and embellished it with a triple swirl of Metallic Gold Thread. I used Stampin’ Dimensionals to pop it up off the page a bit.
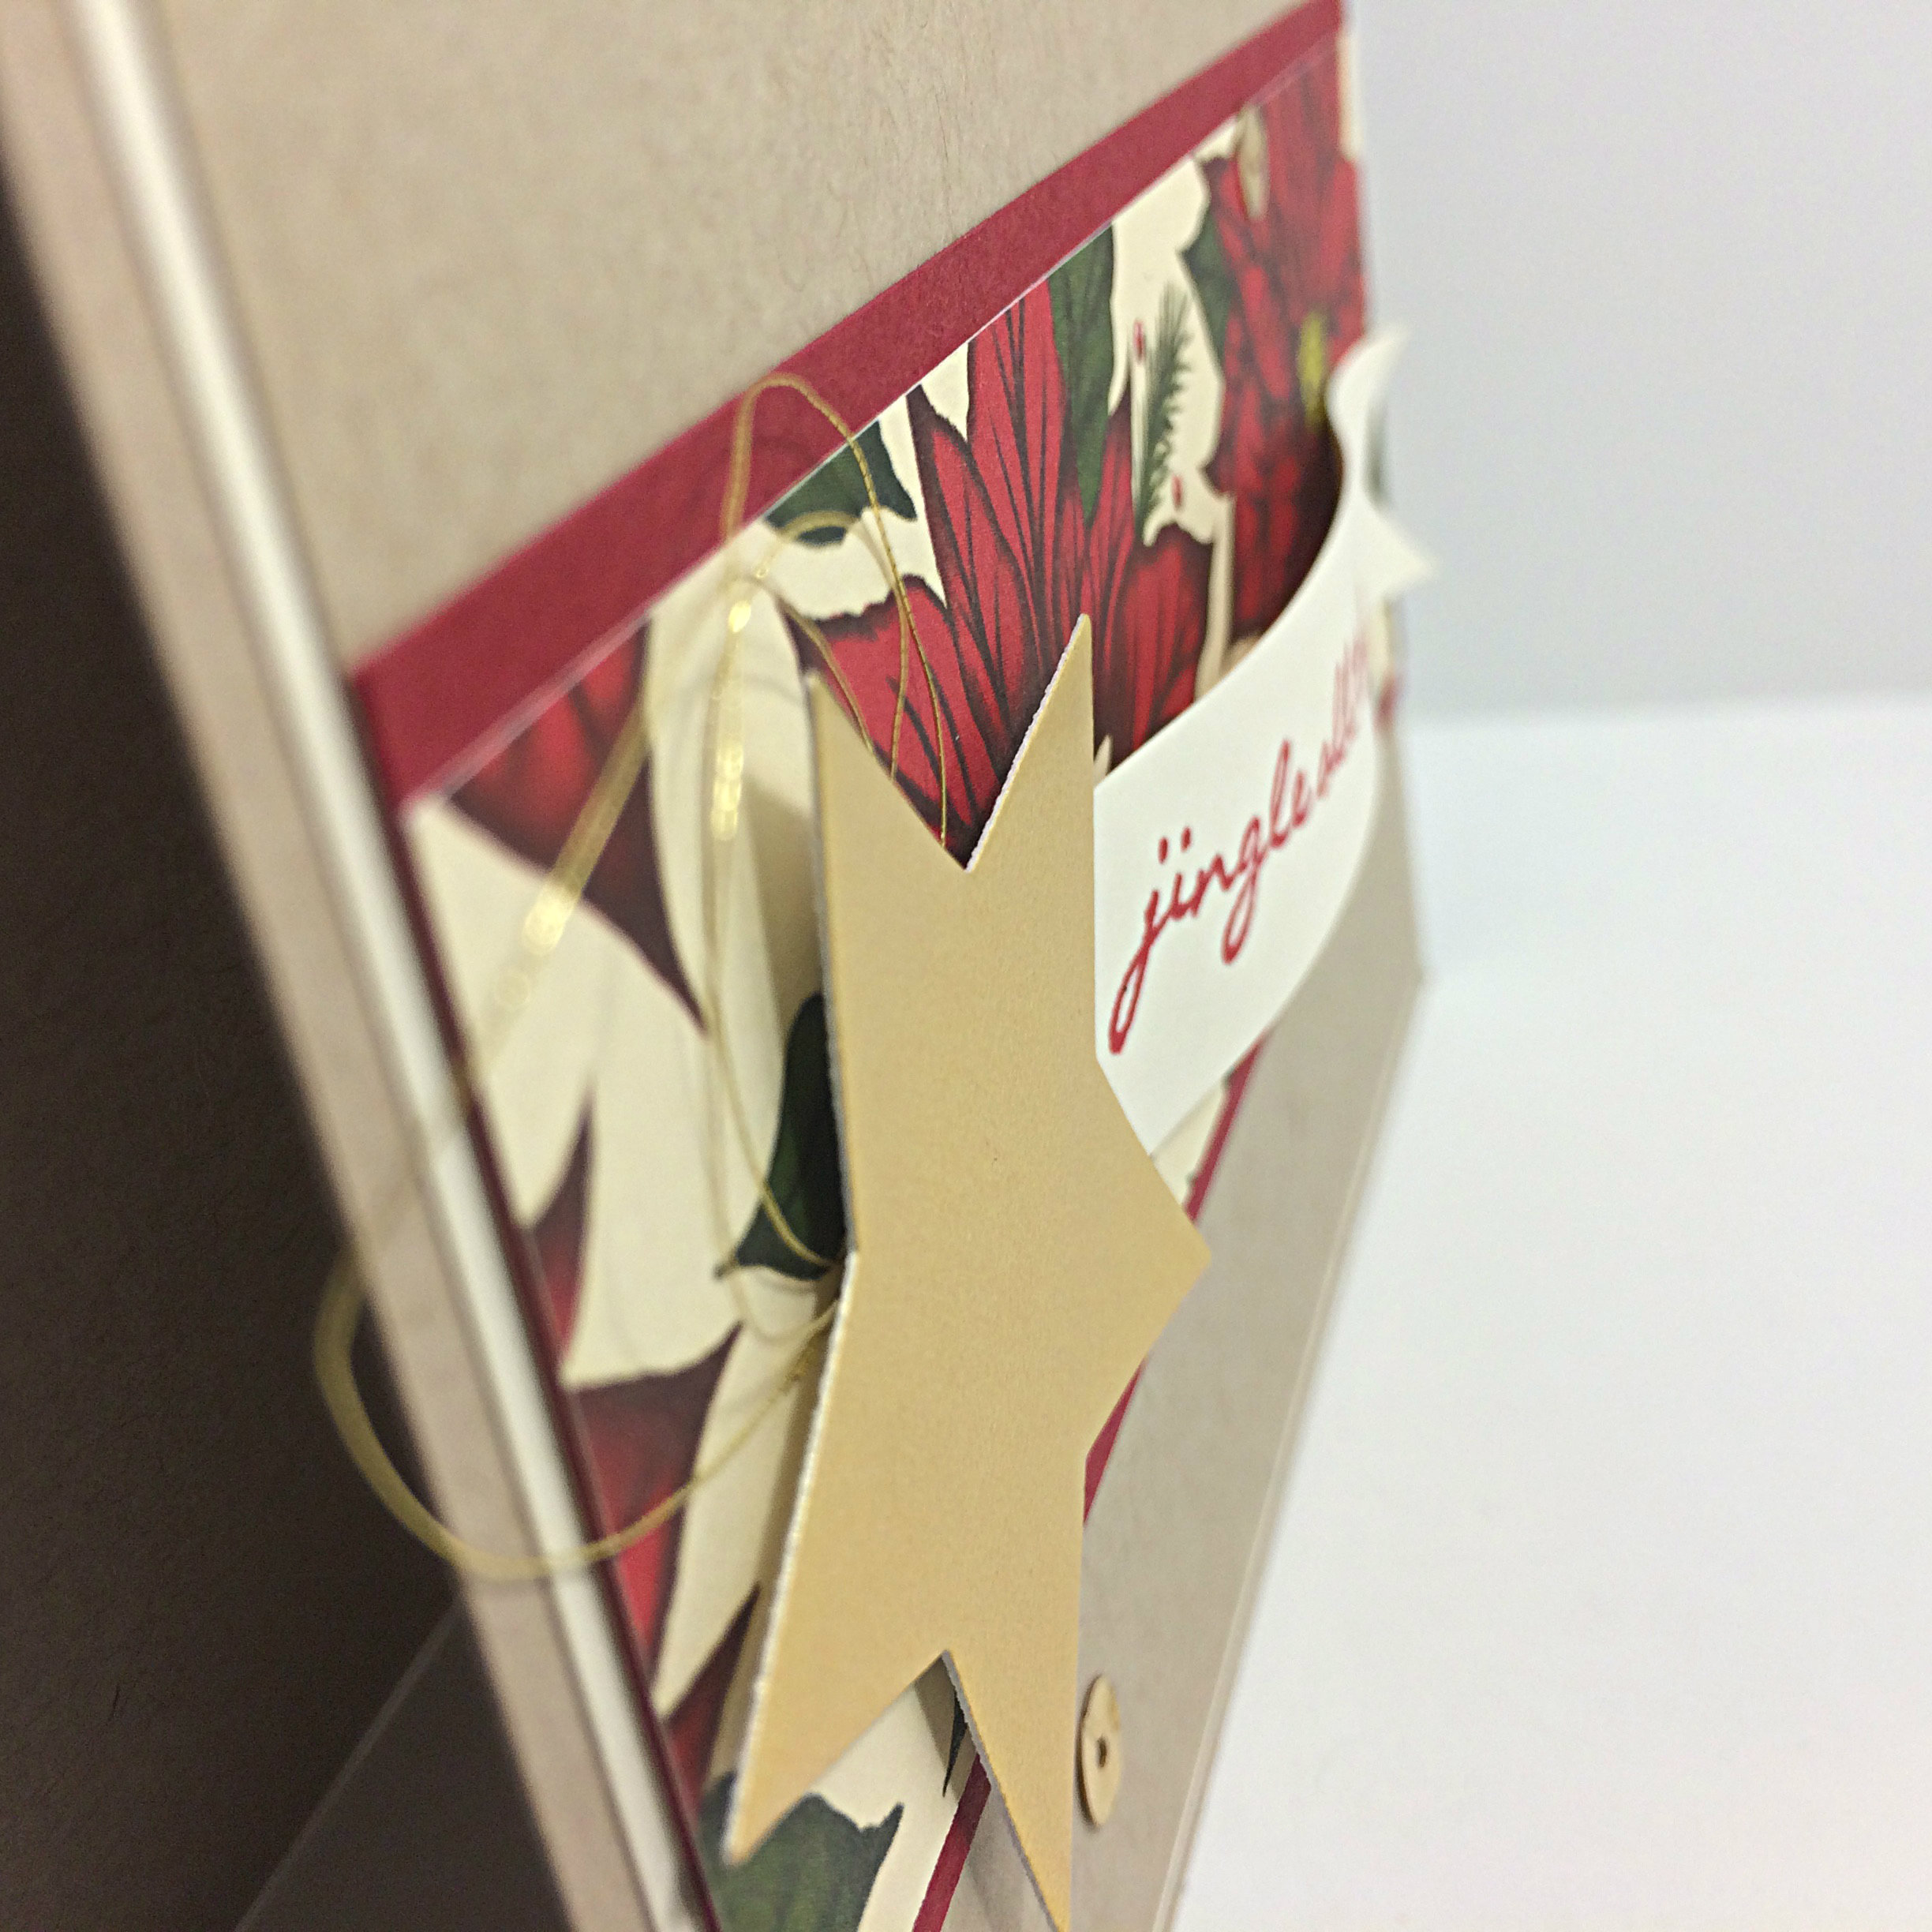
106bannerIn the image above, you can see how the Very Vanilla banner is curled a bit. I did this by sliding the banner between a bone folder and my thumb until the paper curved to my satisfaction. I tacked down the ends of the banner to the paper with Tombo Multipurpose Liquid Glue.

106AmyJ

The stamped images are from the Jingle All the Way stamp set. I used Real Red ink for the sentiment and Crumb Cake ink for the musical notes.

The final step was to add the Gold sequin with my Fine Tipped Glue Pen.

I think that’s the fastest post I’ve ever written! Back to prepping and planning. I have to be ready to go by one o’clock today. EEK!

 

Winter Wonderland Sleigh Ride

Busy busy busy.

That’s my little life in September every year and EVERY year I forget that I shouldn’t plan any extra activities. With the kids back in school, there’s plenty of tasks to do that keep me hopping. I don’t need to add more… yet that’s what I do every year, lol!

Being busy is a good feeling. Feeling stressed and overwhelmed is NOT. It can be difficult to find a balance. So, last week I didn’t do the As You See It Challenge and didn’t post to my blog. What I did instead was continue planning for the fundraising event for which I have volunteered to sponsor and teach a class. This is a new experience for me and is very unfortunate to be occurring in September when life is already so busy. My hope is that it will be a rewarding experience and that I will come away from it ready to plan for the next one! As long as I can get through the next couple weeks!

The As You See It Challenge blog has an assortment challenge this week.

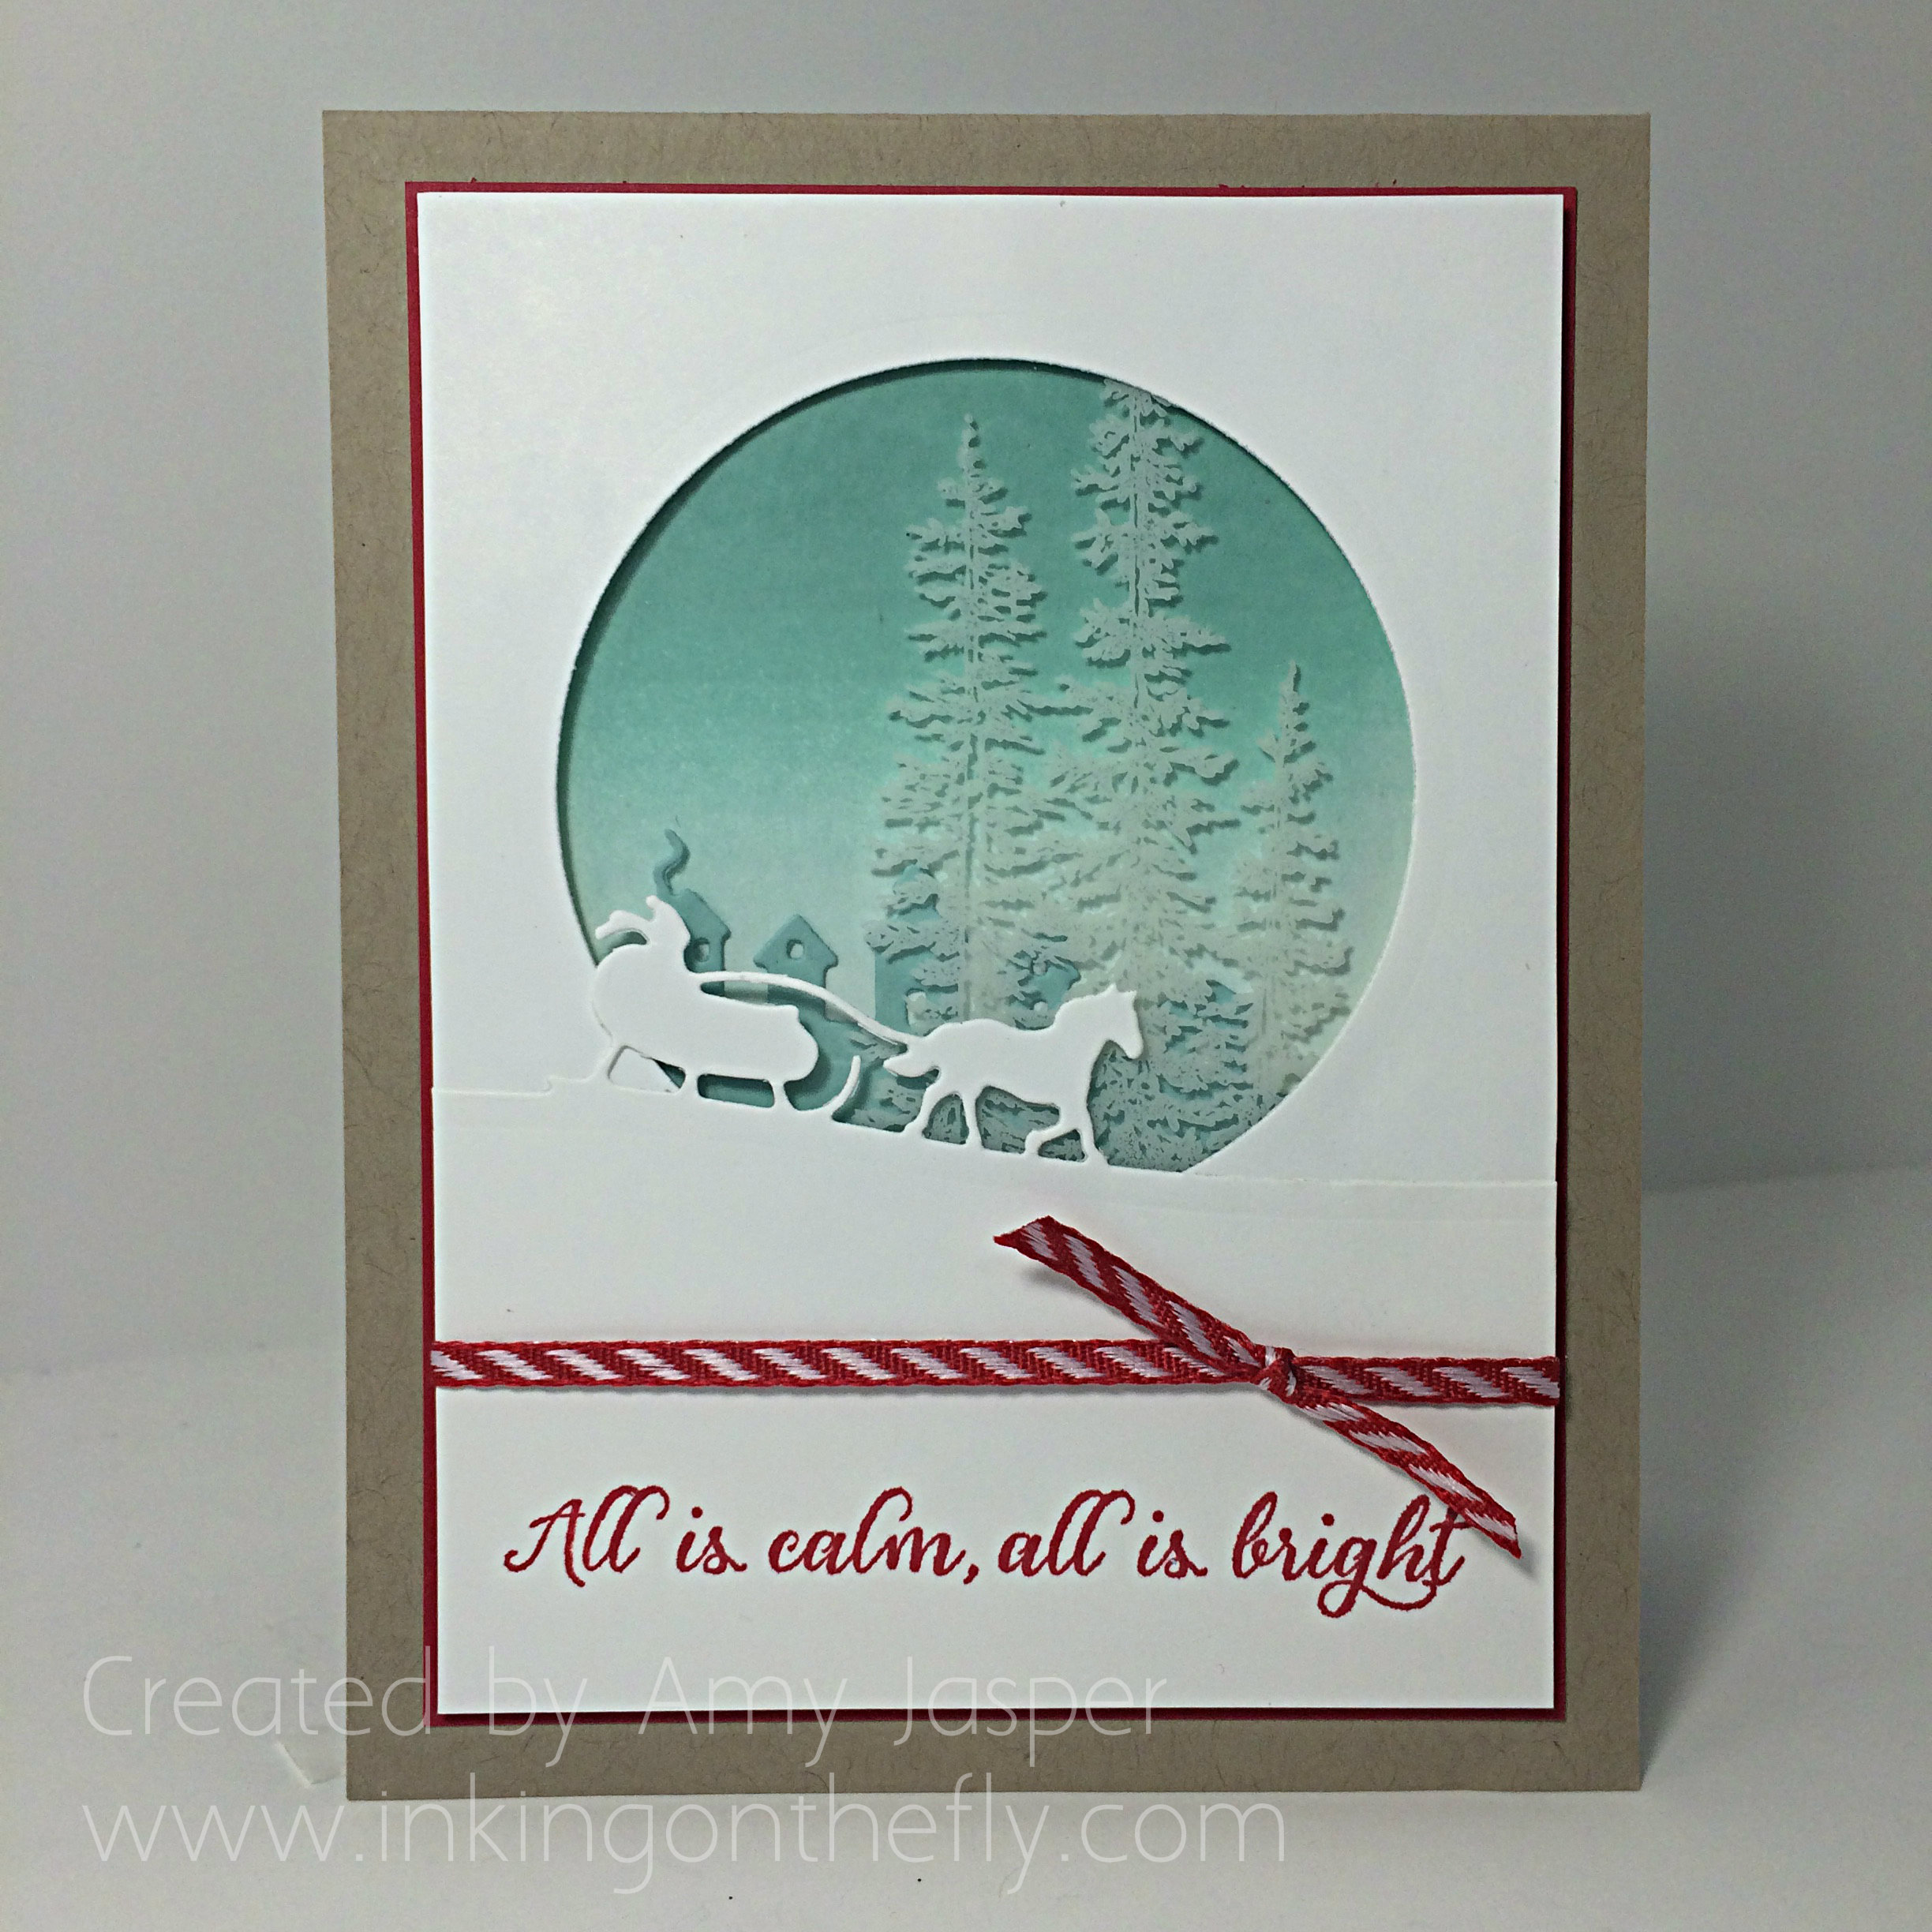
IMG_6664With my current level of stress, I’m not surprised that I chose this colour scheme, these images, and this sentiment. I’d be able to handle things being a bit calmer and a bit brighter. Who wouldn’t!?

Winter sleighI’m not sure if I captured the true meaning of “negative space” in this project. I looked it up to make sure I understood it, but I think it’s a pretty abstract concept that is open to interpretation anyway. So I’m using the cutout circle AND the silhouette of the sleigh for my negative space.

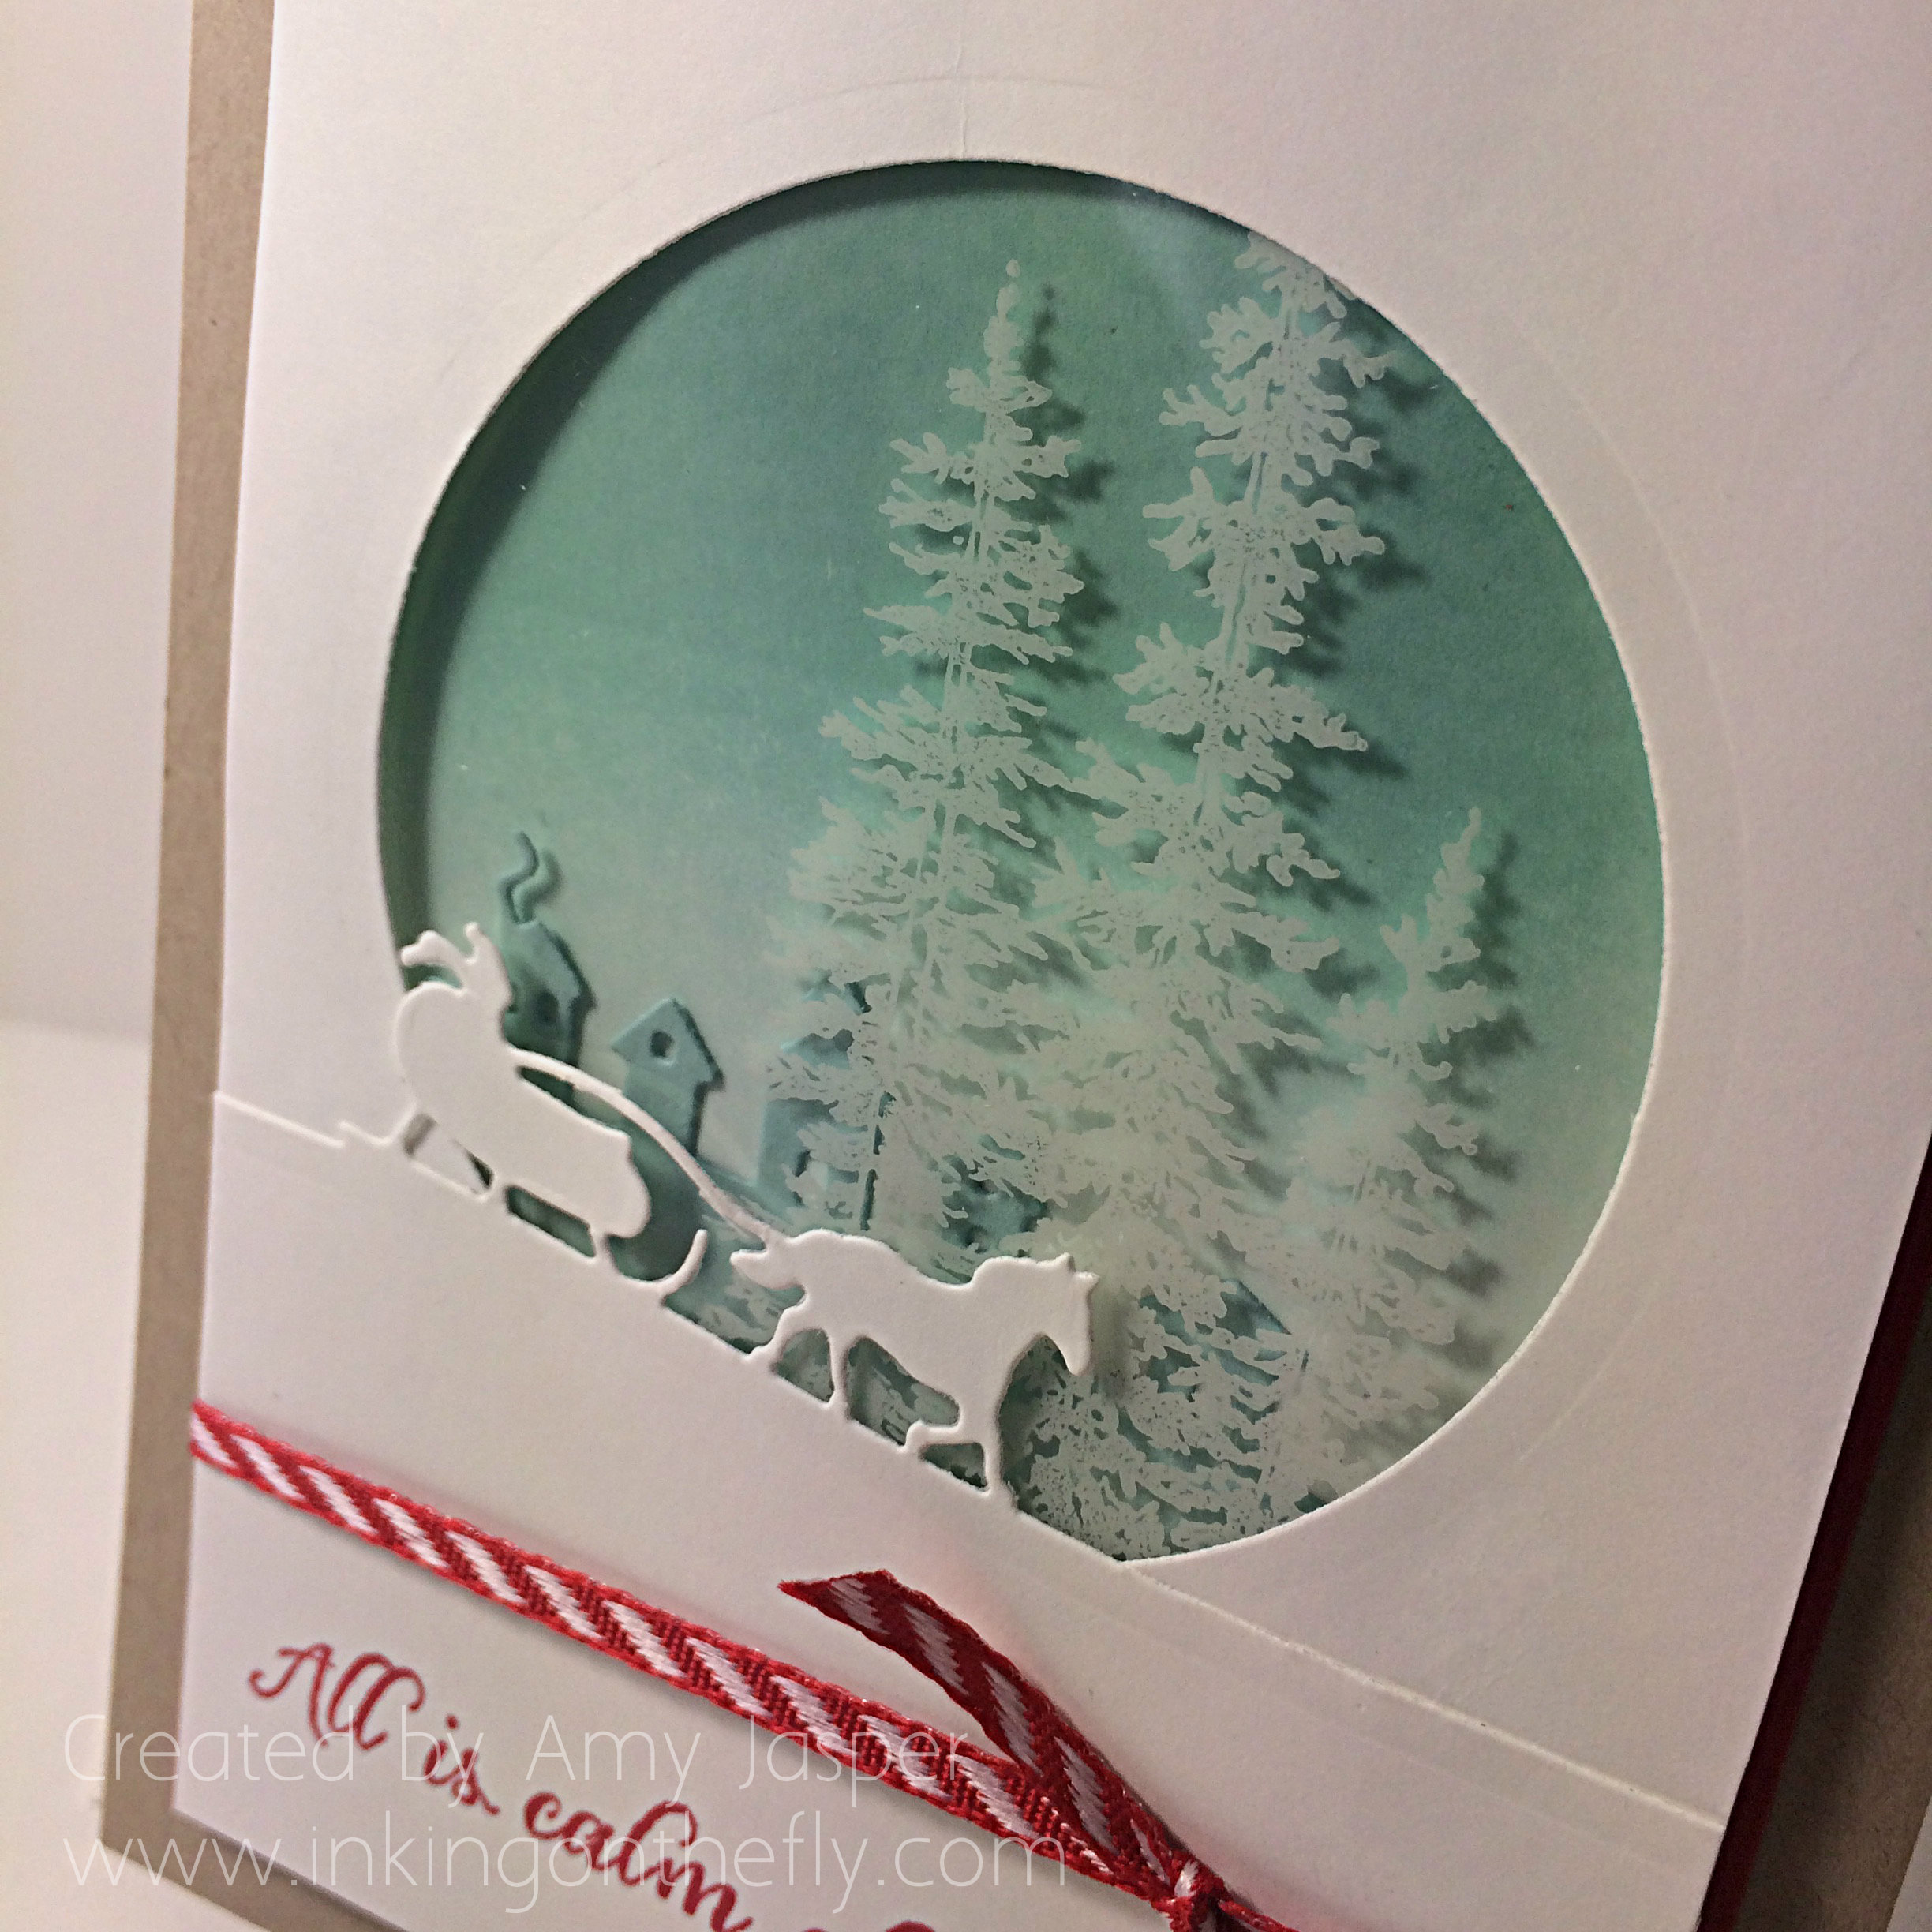
I used a brayer to create the ombre effect in the background with Pool Party ink over Whisper White cardstock. A piece of Window Sheet has been stamped in White Stazon ink with the tree image from the Winter Wonderland stamp set and covers the circle cutout. The lovely Sleigh Ride Edgelits create this winter scene with the houses in the background and the sleigh in the foreground.

103close

One of my favourite colour combinations for the winter is Pool Party and Real Red. It somehow portrays the peaceful coziness of those frosted days.

What colours make you think happy thoughts of winter?

Amy.

Halloween Mini Album Page

I have been working on a Halloween Mini Album with all of the amazing pre-order supplies that I ordered! I don’t usually do much in the way of Halloween cards, but I love Halloween/goth designs, so I thought I’d try my hand at a mini album using a simple and effective method of binding that is new to me. I’m not going to go into detail in this post, but will just share one of my pages with you that was designed with this week’s As You See It Challenge sketch in mind.

IMG_6661[1]The sketch is lovely and simple this week, offering so many possibilities. Because an album can be time consuming, I chose to use this sketch pretty close to the simplicity that it is. When you have many pages to design, simple allows it all to pull together nicely.

IMG_6680I used some products for this album that will be available to you by September 1st with the new Stampin’ Up Holiday mini catalogue. I’m so excited for the new products in this catalogue. This time of year is definitely my most inspired with all cozy holidays to look forward to.

IMG_6678

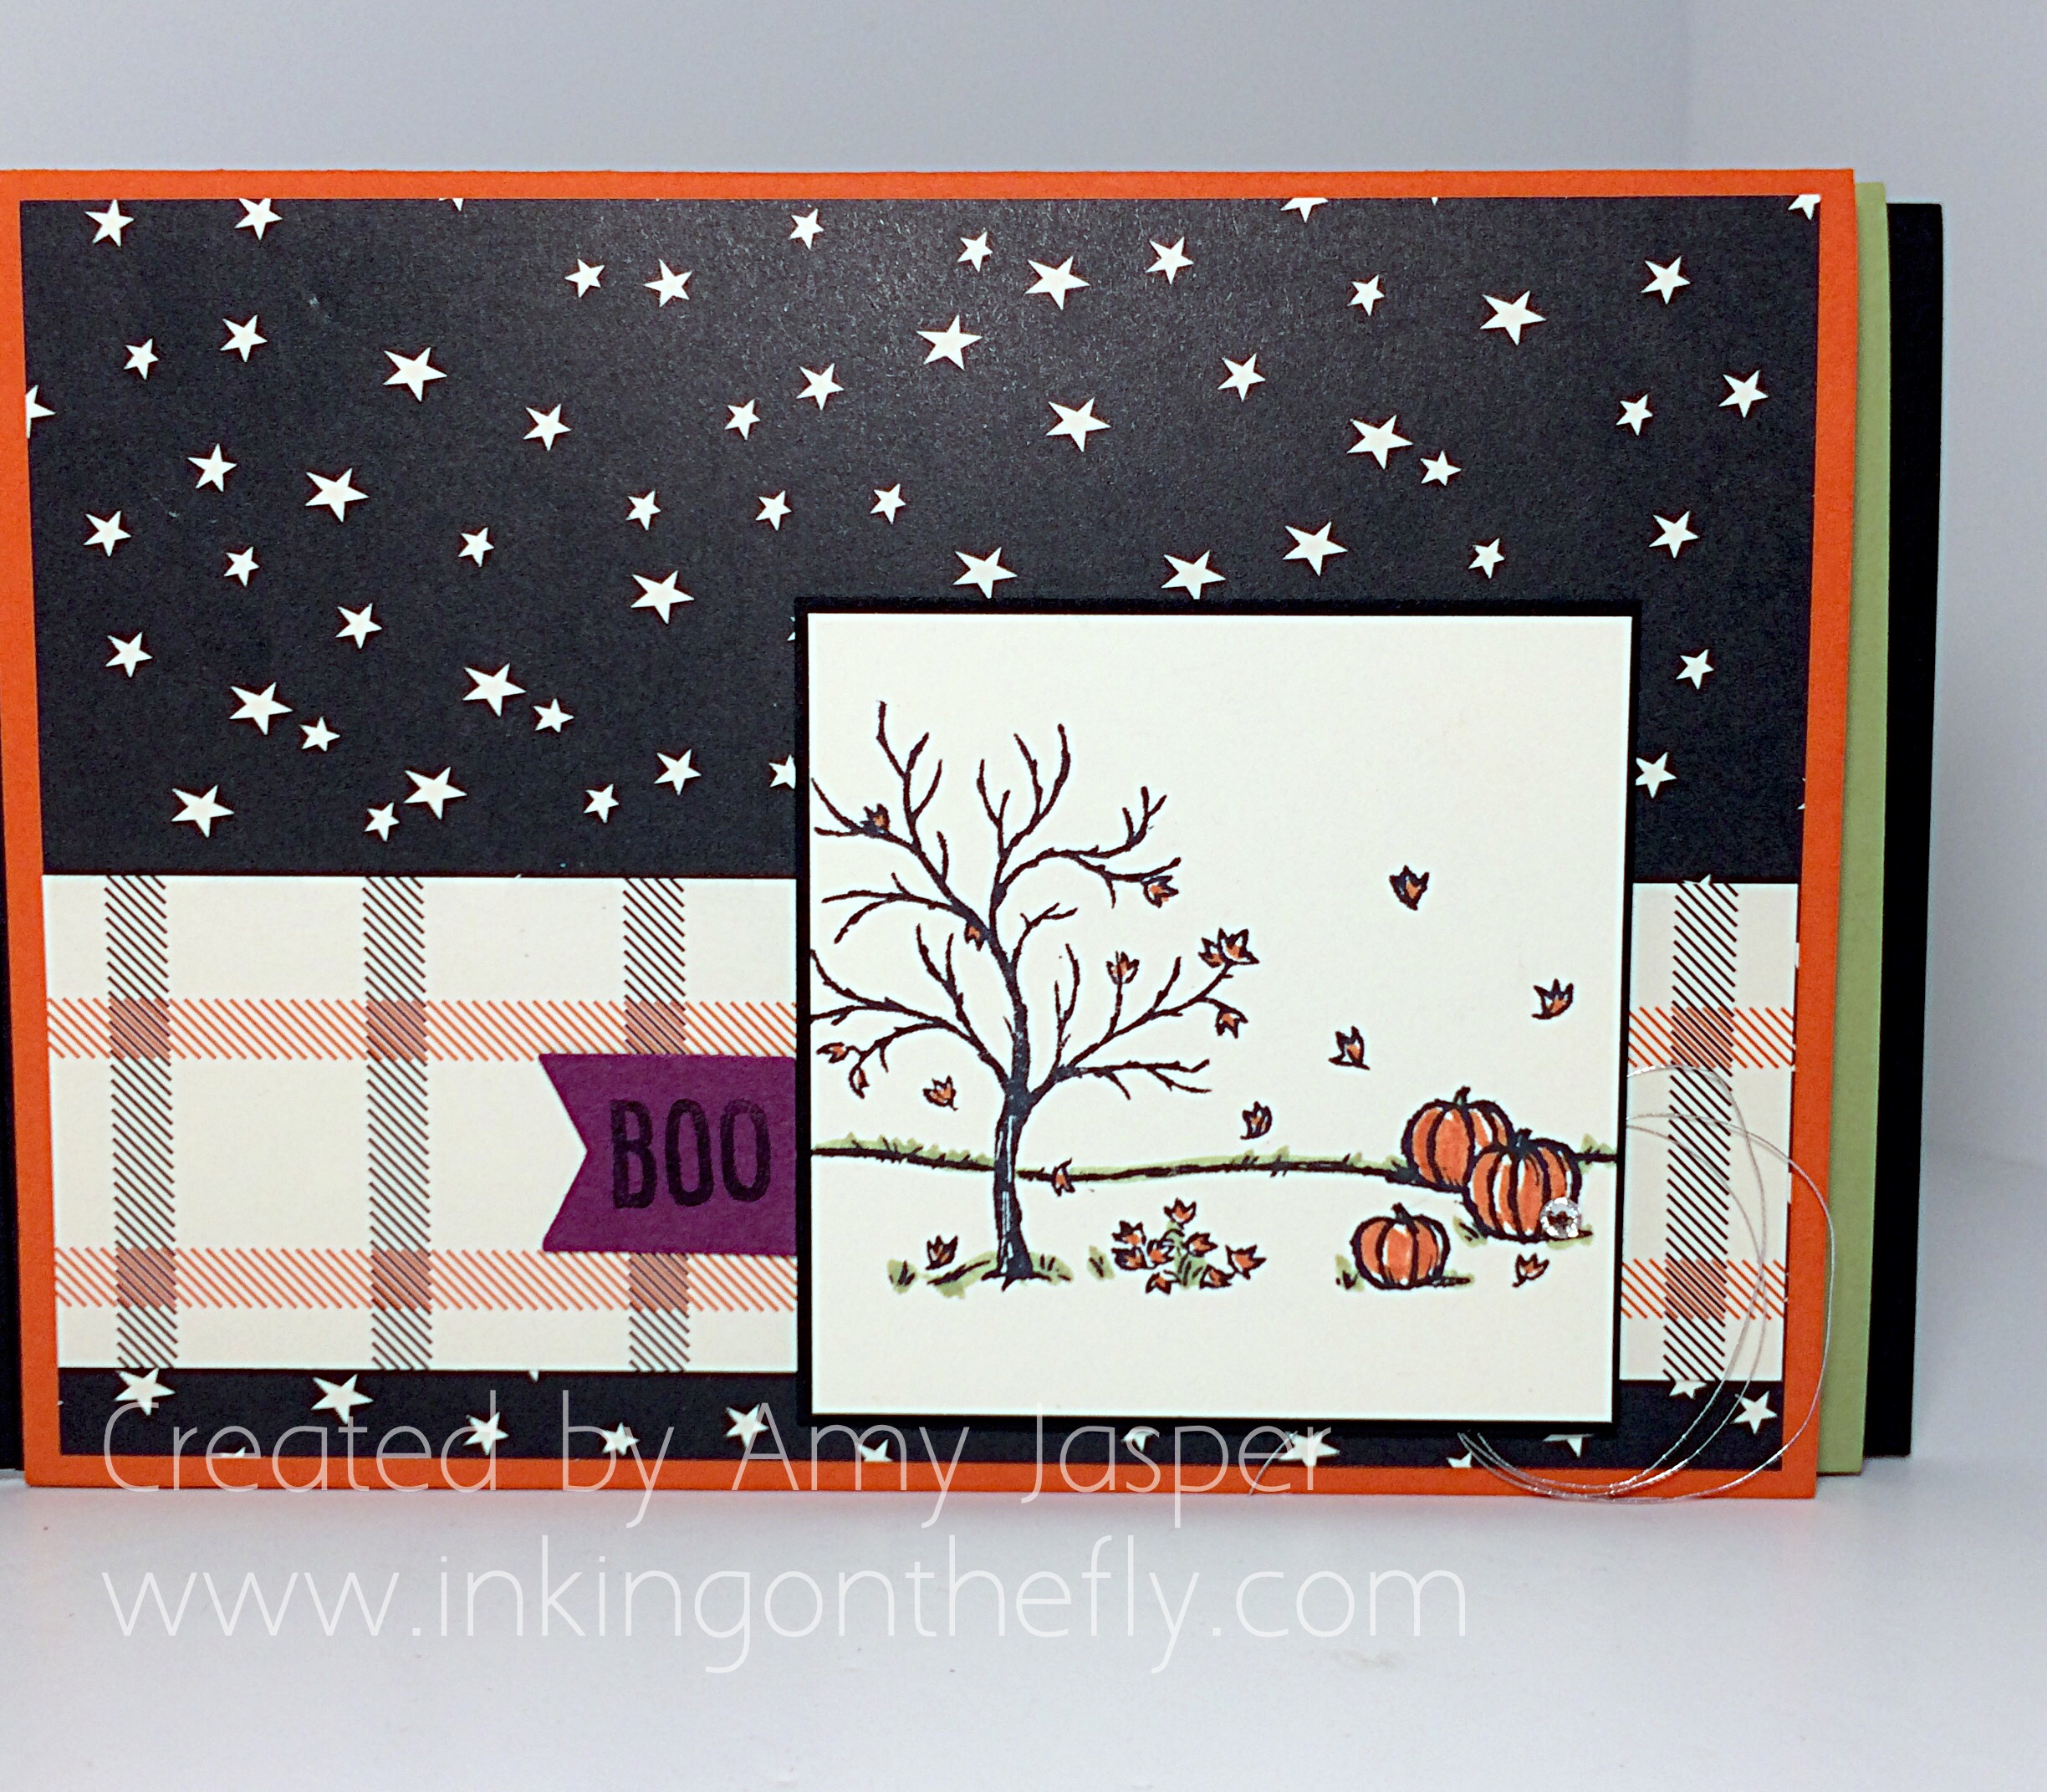
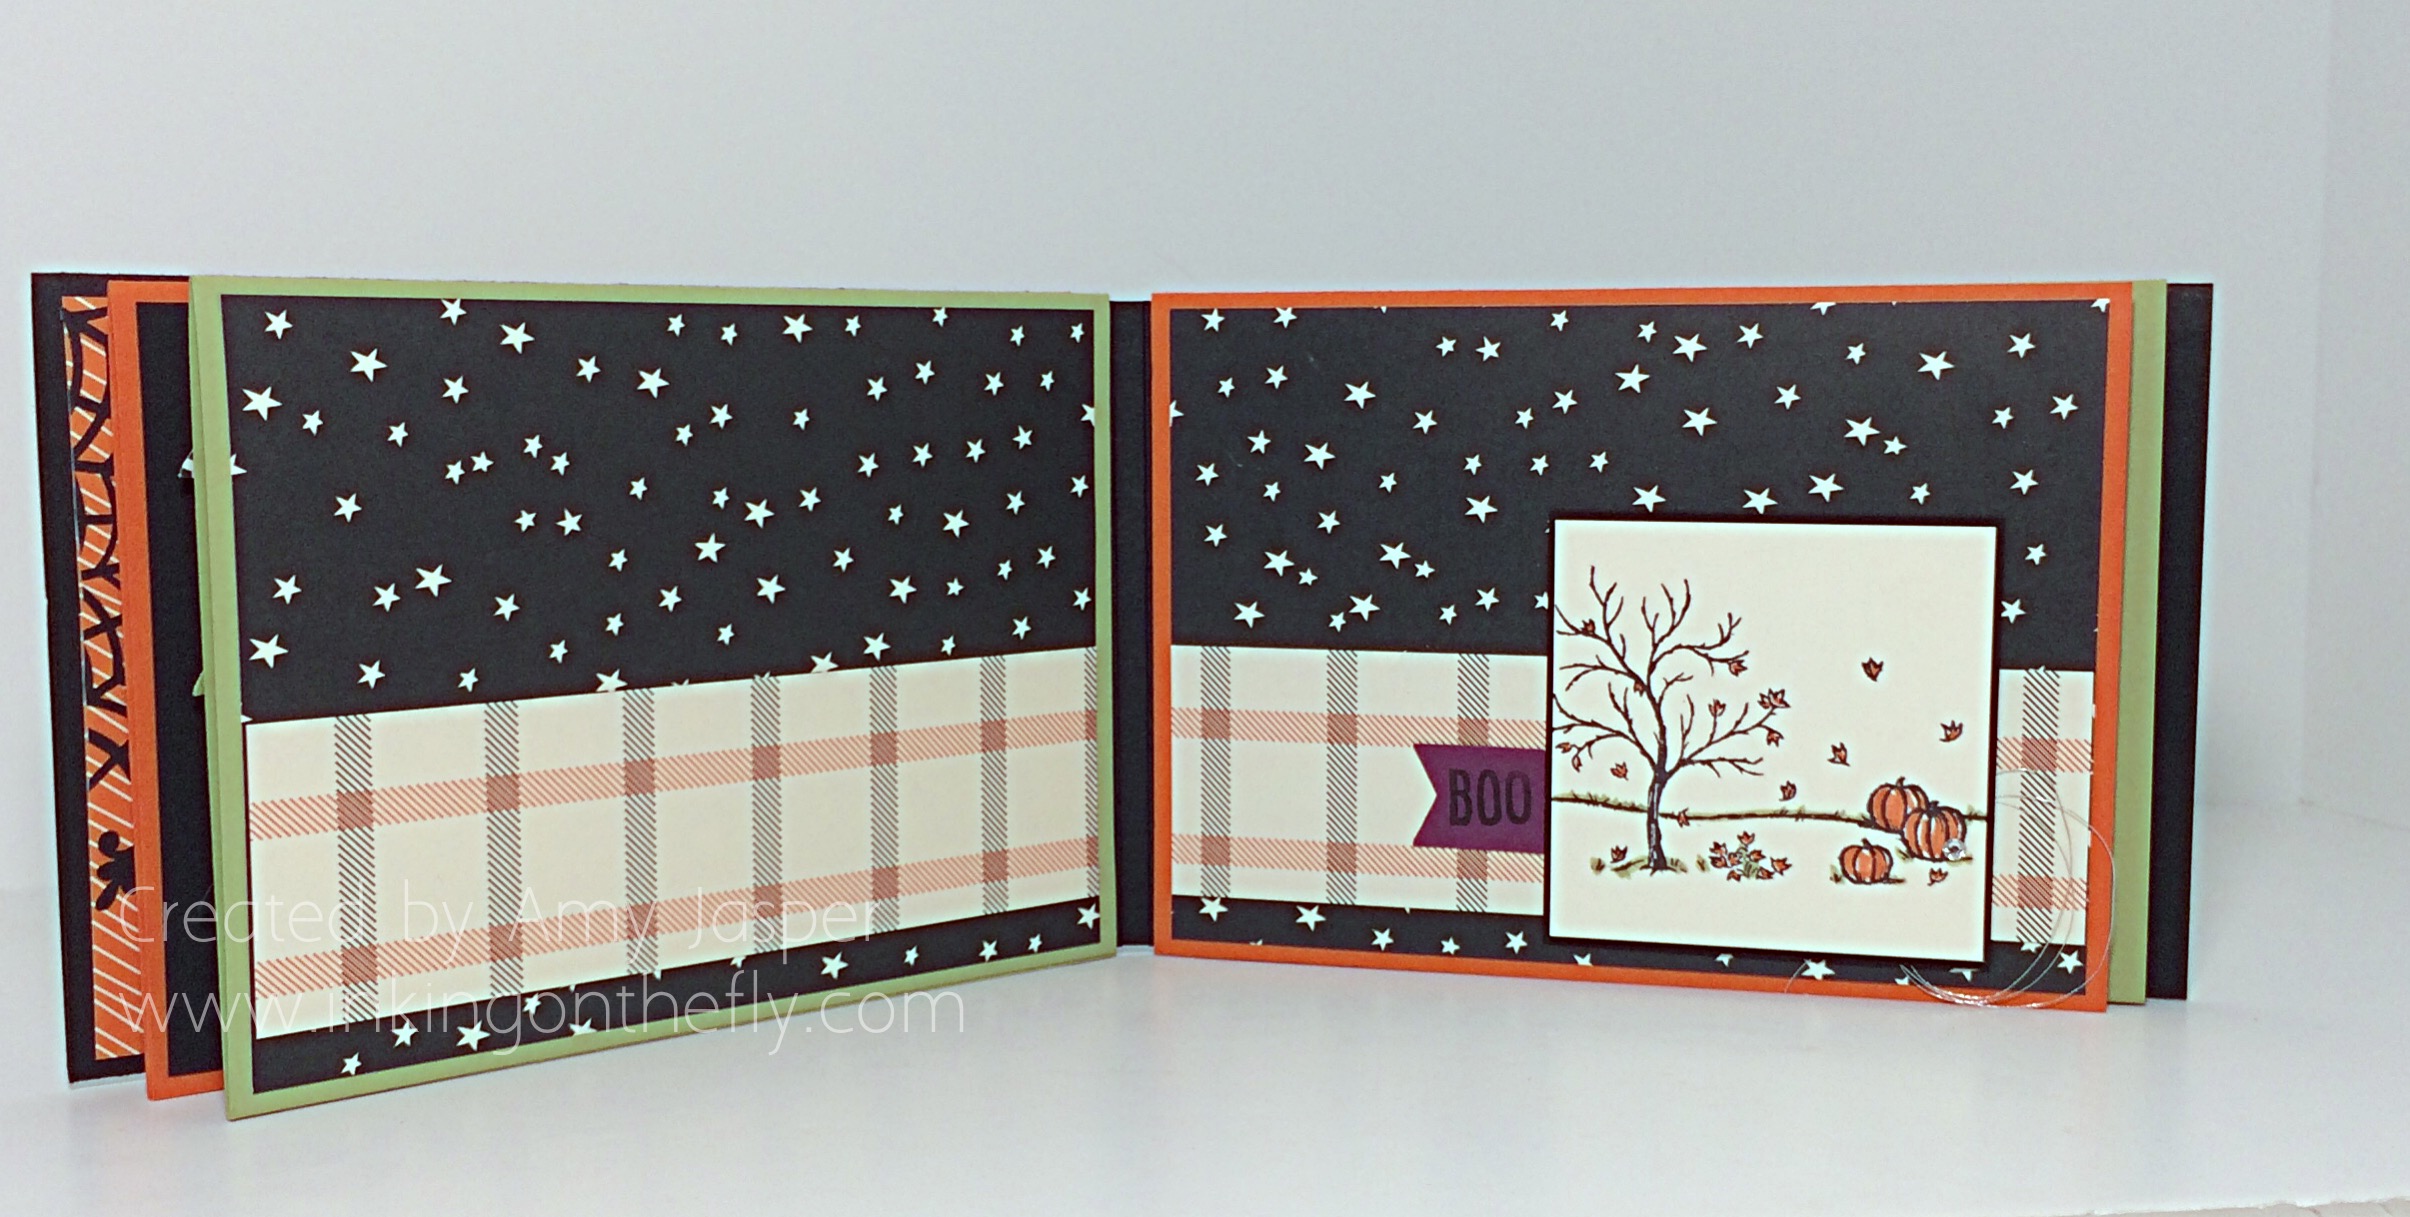
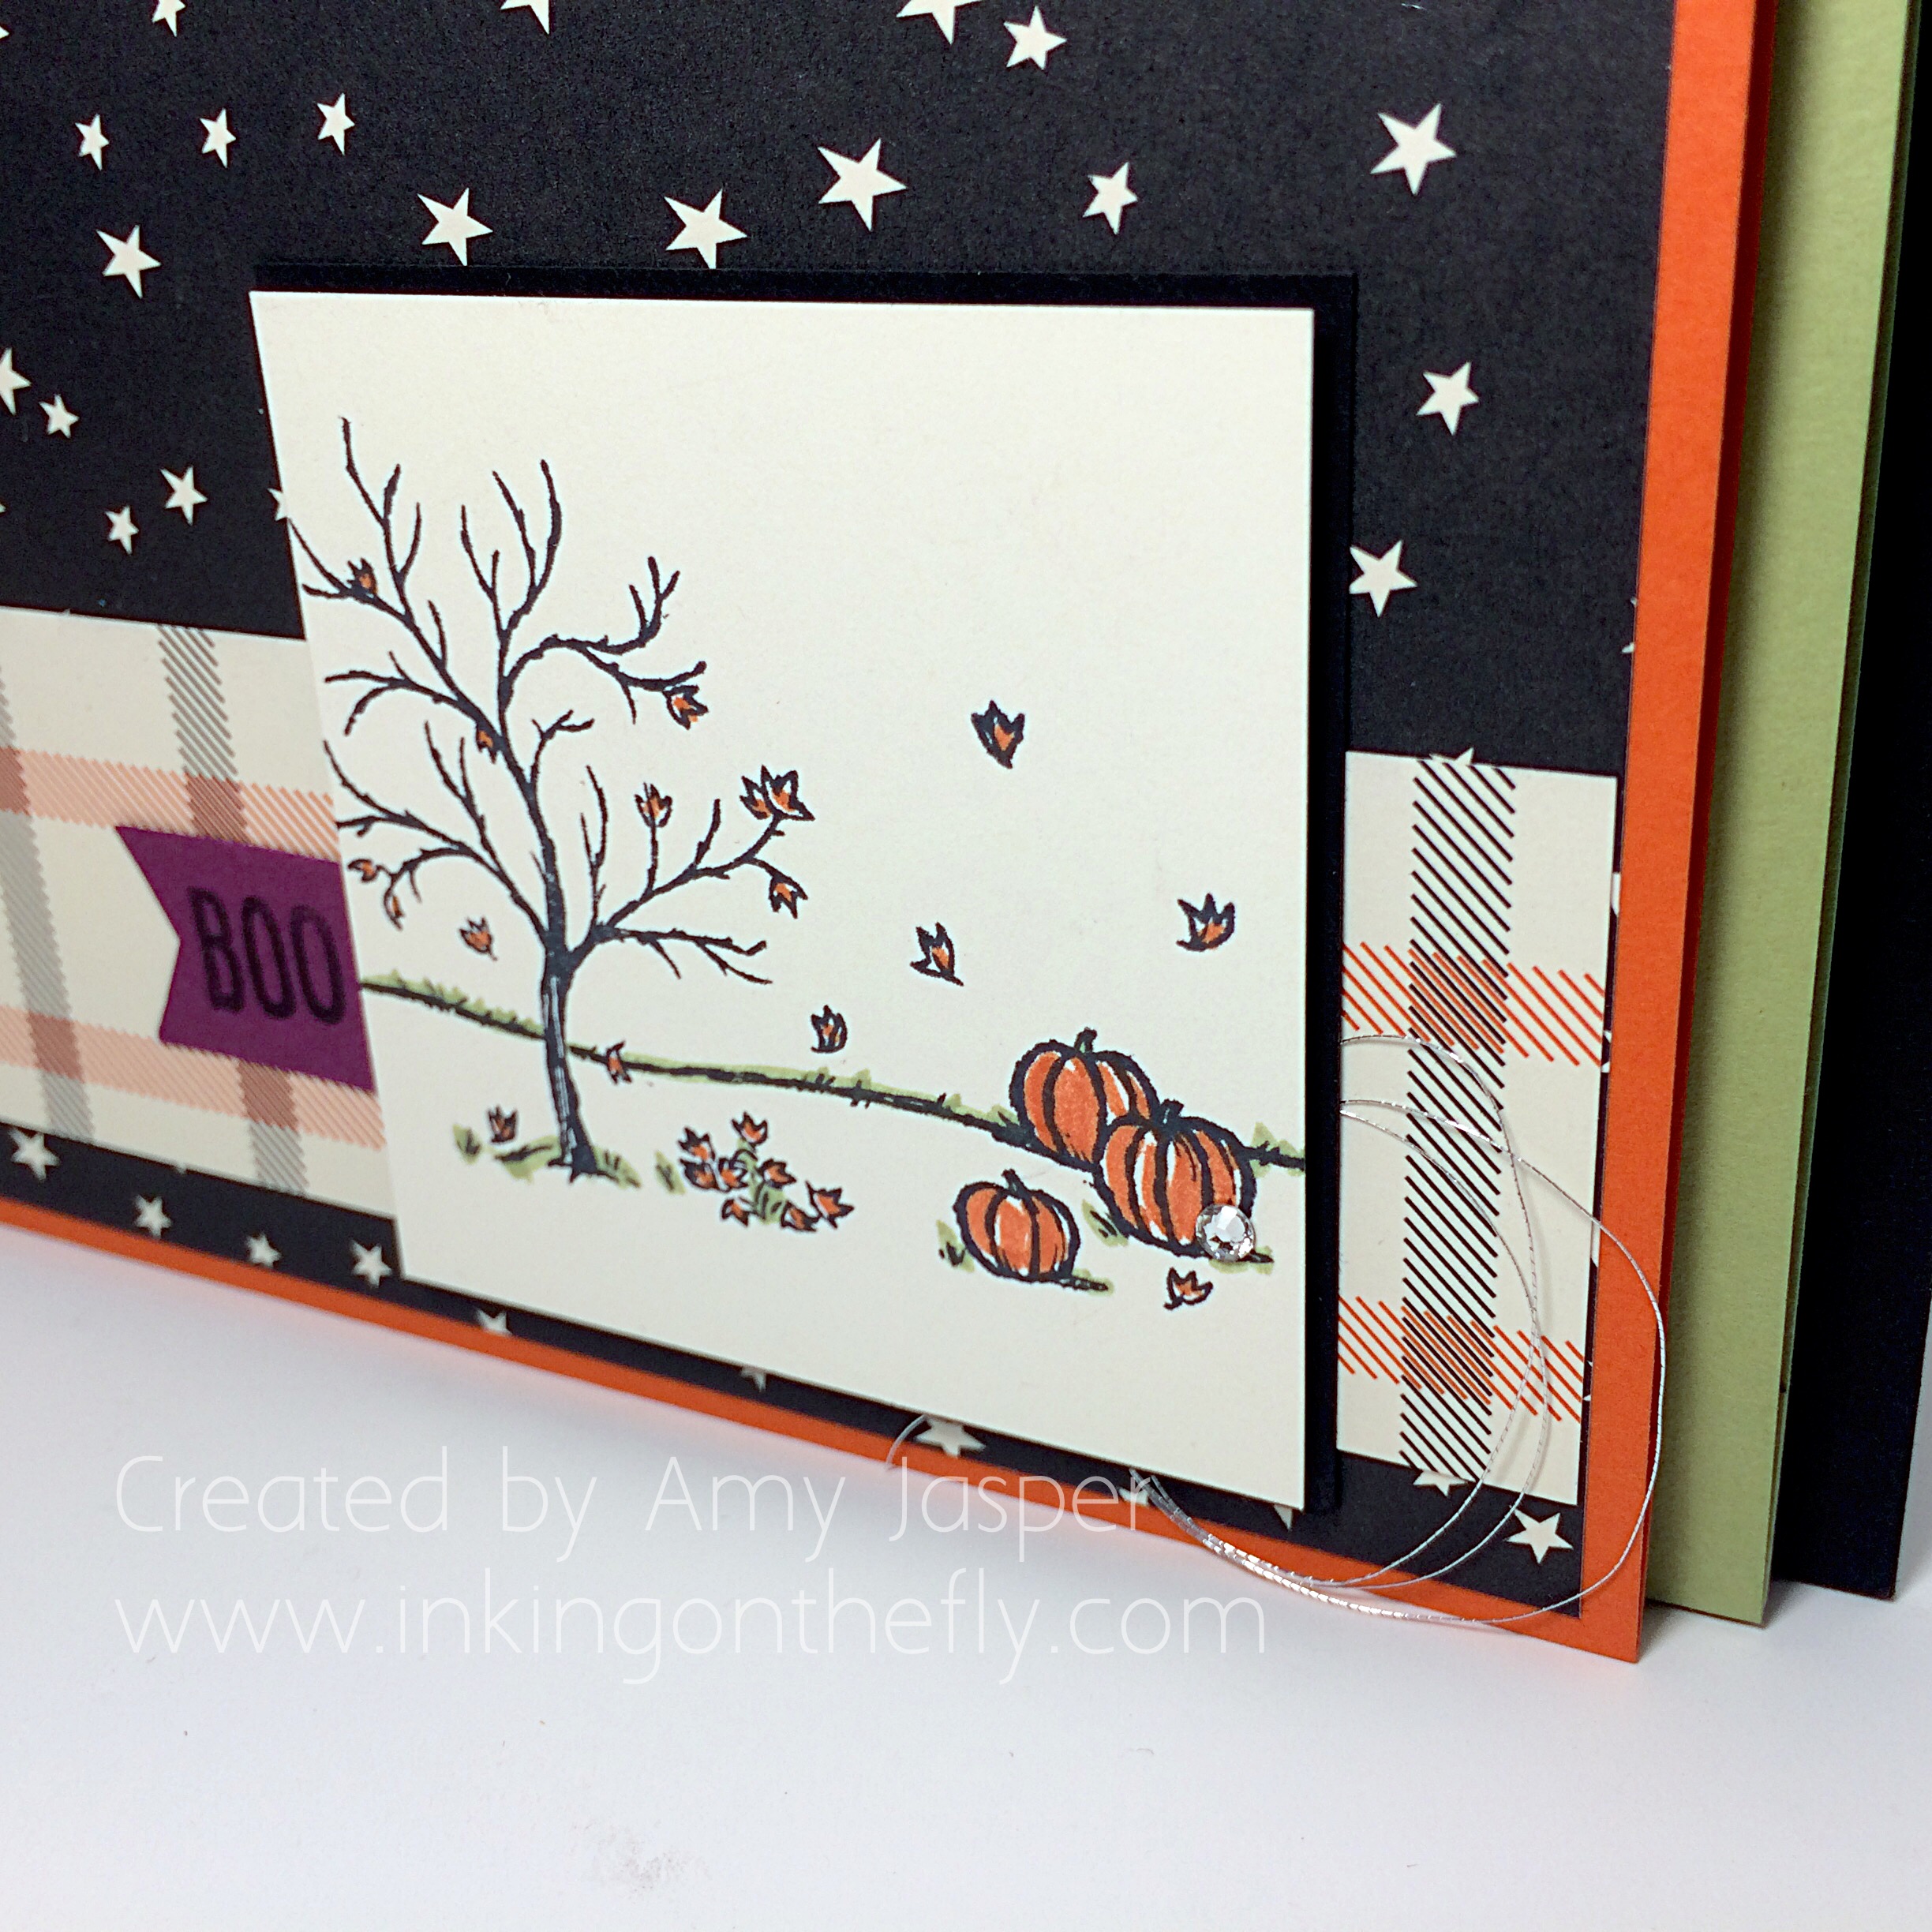
The Designer Series Patterned paper I used here is Halloween paper called Happy Haunting, but I love that there are so many sheets in this pack that can be used for other fall-themed projects. This page uses a stamped image from the Happy Scenes stamp set (LOVE IT!), but really the only thing on this page that makes it a Halloween page is the “BOO”. Otherwise it is a wonderful fall image that evokes thoughts of cozy nights with hot chocolate or pumpkin pie. Yum!

IMG_6679

It’s the little things on this page that make me smile. I stamped the image with Tuxedo Black Momento ink, then used my Stampin’ Up Write Markers to accent the image with Tangelo Twist and Pear Pizzazz ink colours. A little Basic Rhinestone and the swirl of Silver Metallic Thread give a little bit of subtle shimmer to catch your eye.

Imagine a photo of your cute costumed Trick-or-treater, grinning at you from the pages of this simple layout. This 4×5.5 album would make a great gift. I can’t wait to make more albums like this one using different themes. I can see a lovely black and white anniversary album, a personalized mini album for each of my kids, and a Christmas album, of course!!

I’ll post more photos when the album is complete with the cover and the pull out pieces. I’m so excited to see how it all comes together!!