As You See It

Birdie Soiree

069header

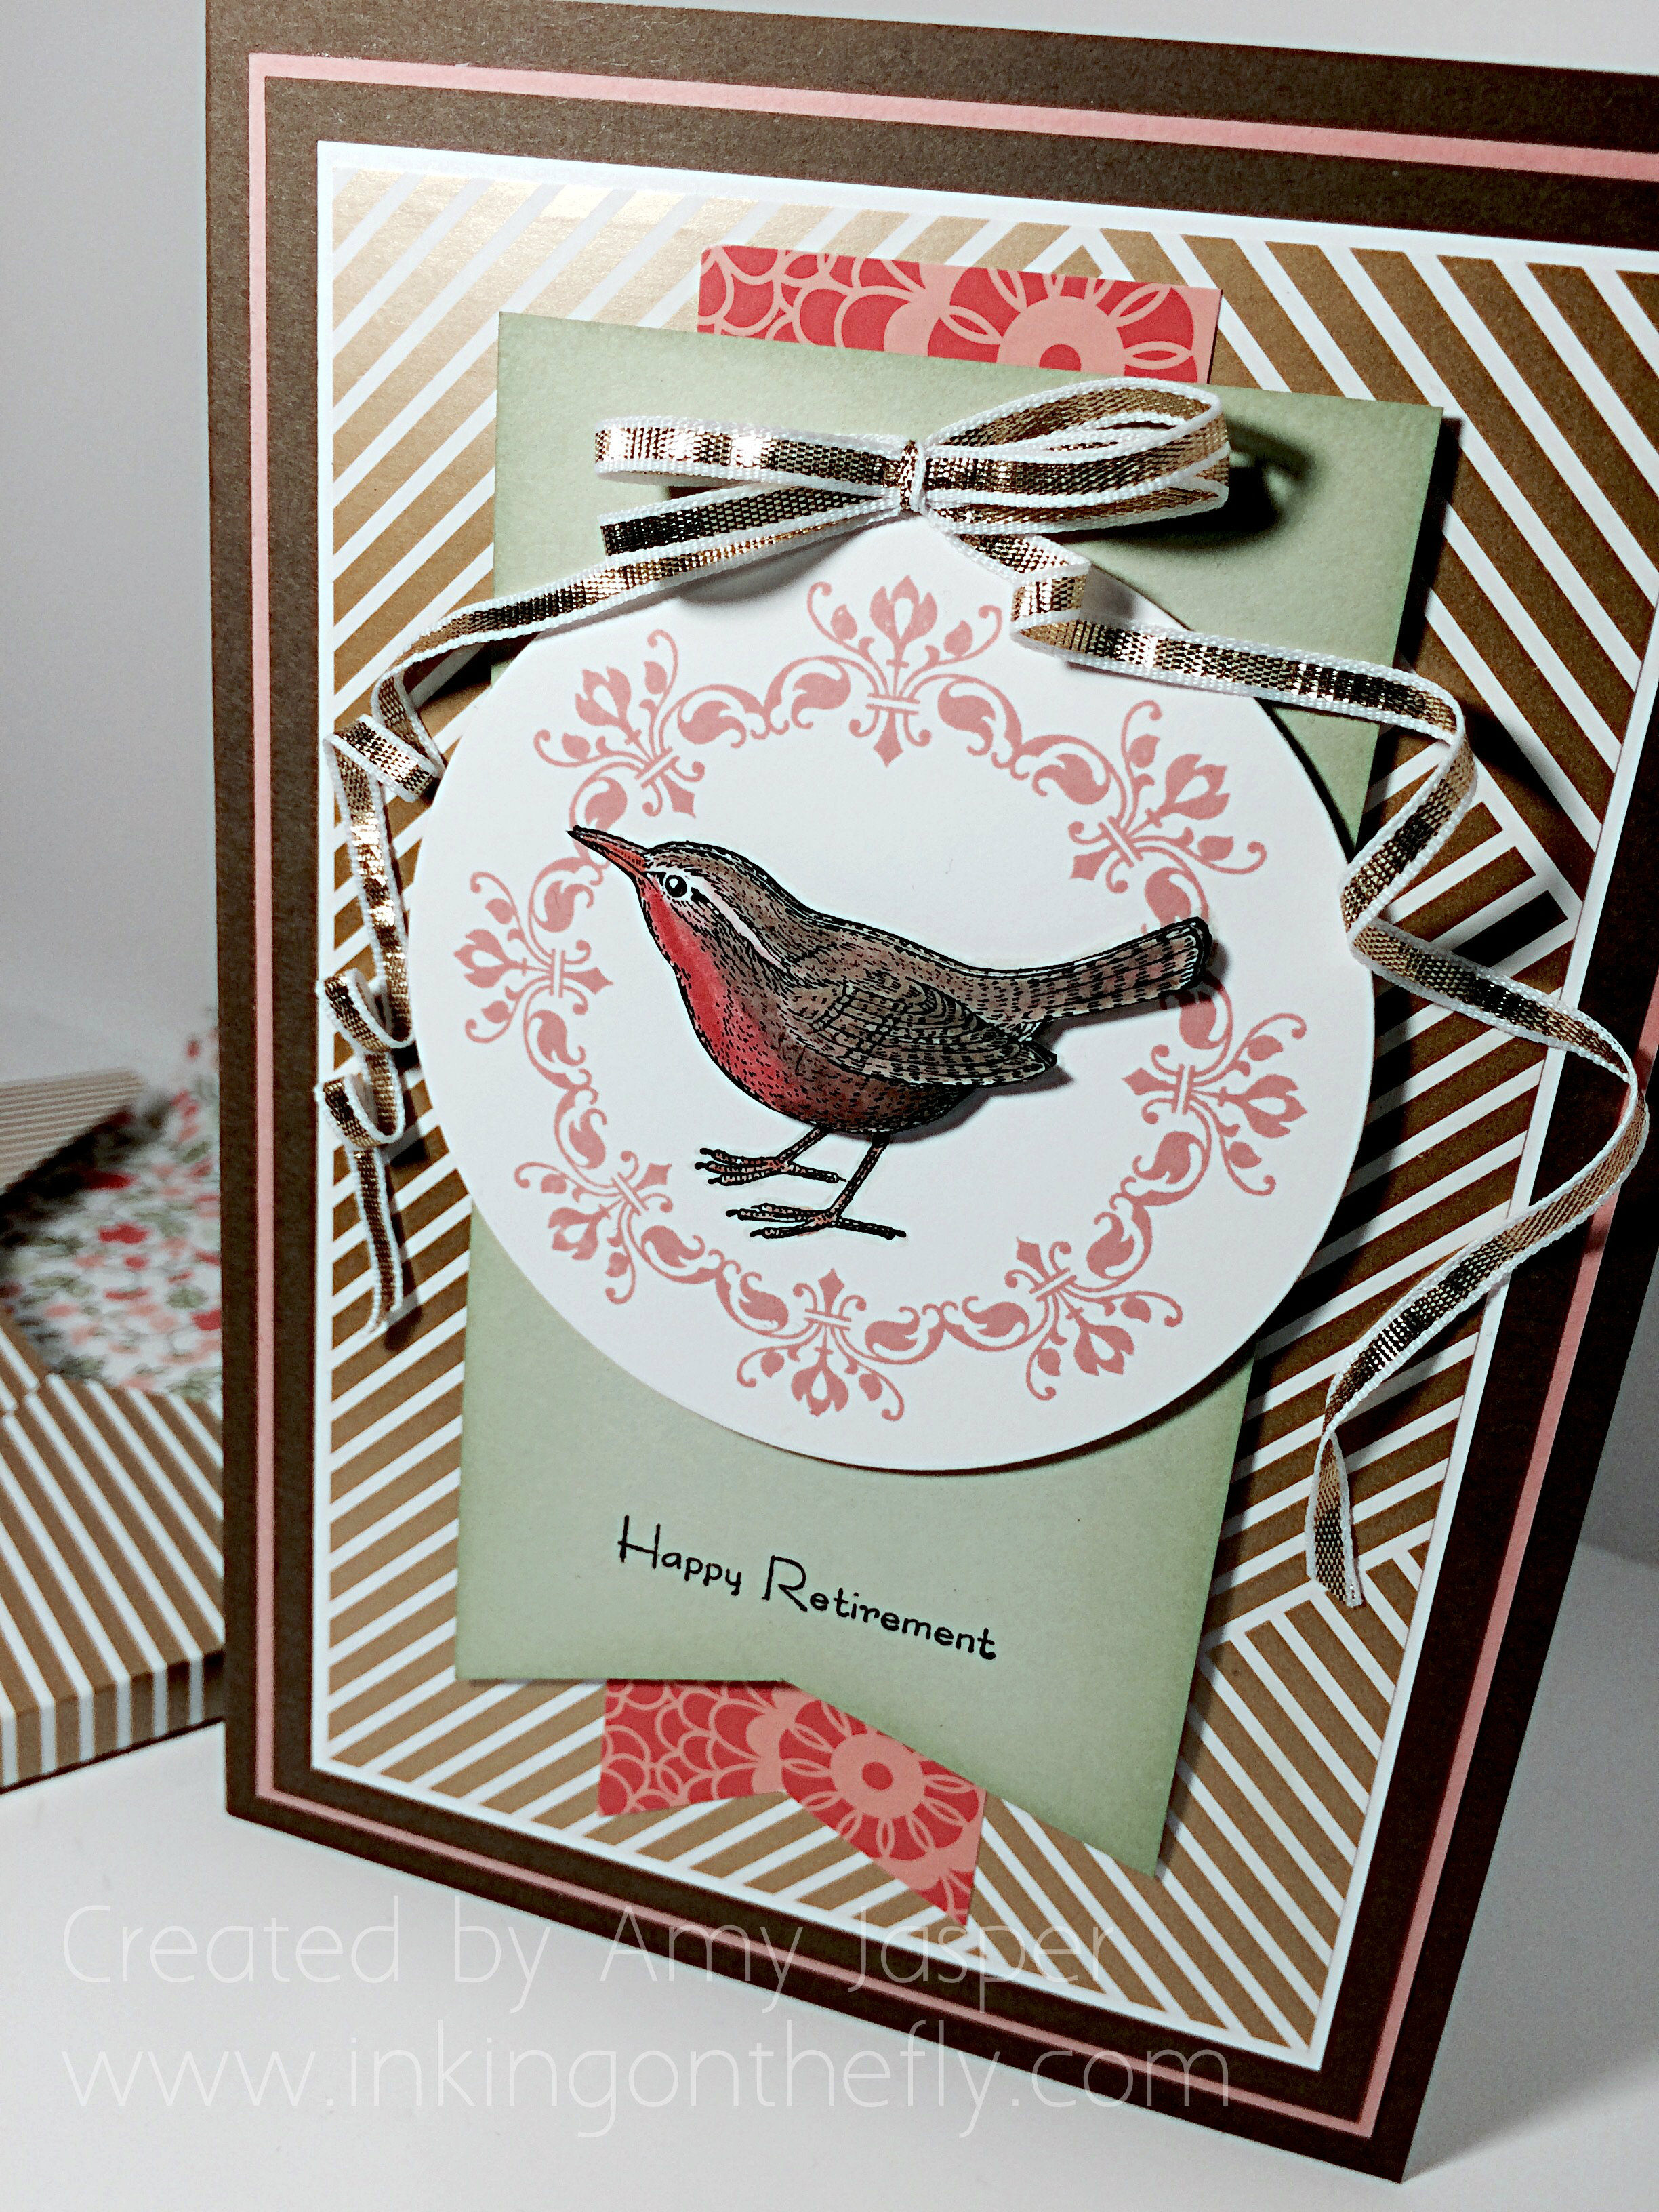
I’ve got what I call an uber-card for you today. Every now and then I get to make something fancy. This one is a 5×7″ retirement card designed for many people to say their well-wishes and farewells to someone who has brought meaning and inspiration to their lives and has earned the title “Retired”. A time where you get to live off of your savings and live out your golden years. I used Gold Soiree Specialty Designer Series Paper and my beloved An Open Heart stamp set from Stampin’ Up!

I decided to use a challenge sketch to find some inspiration and creative mojo to get this card going. This is the sketch I used:

#069

When I make cards with multiple writing pages inside, I like to create the card with a 1/8″ to 1/4″ spine to allow for the extra bulk of the pages. This one started with a 7″x10.25″ piece of Soft Suede cardstock which I scored at 5″ and 5.25″ to make two folds for the book-like shape of the card base.

069Amy

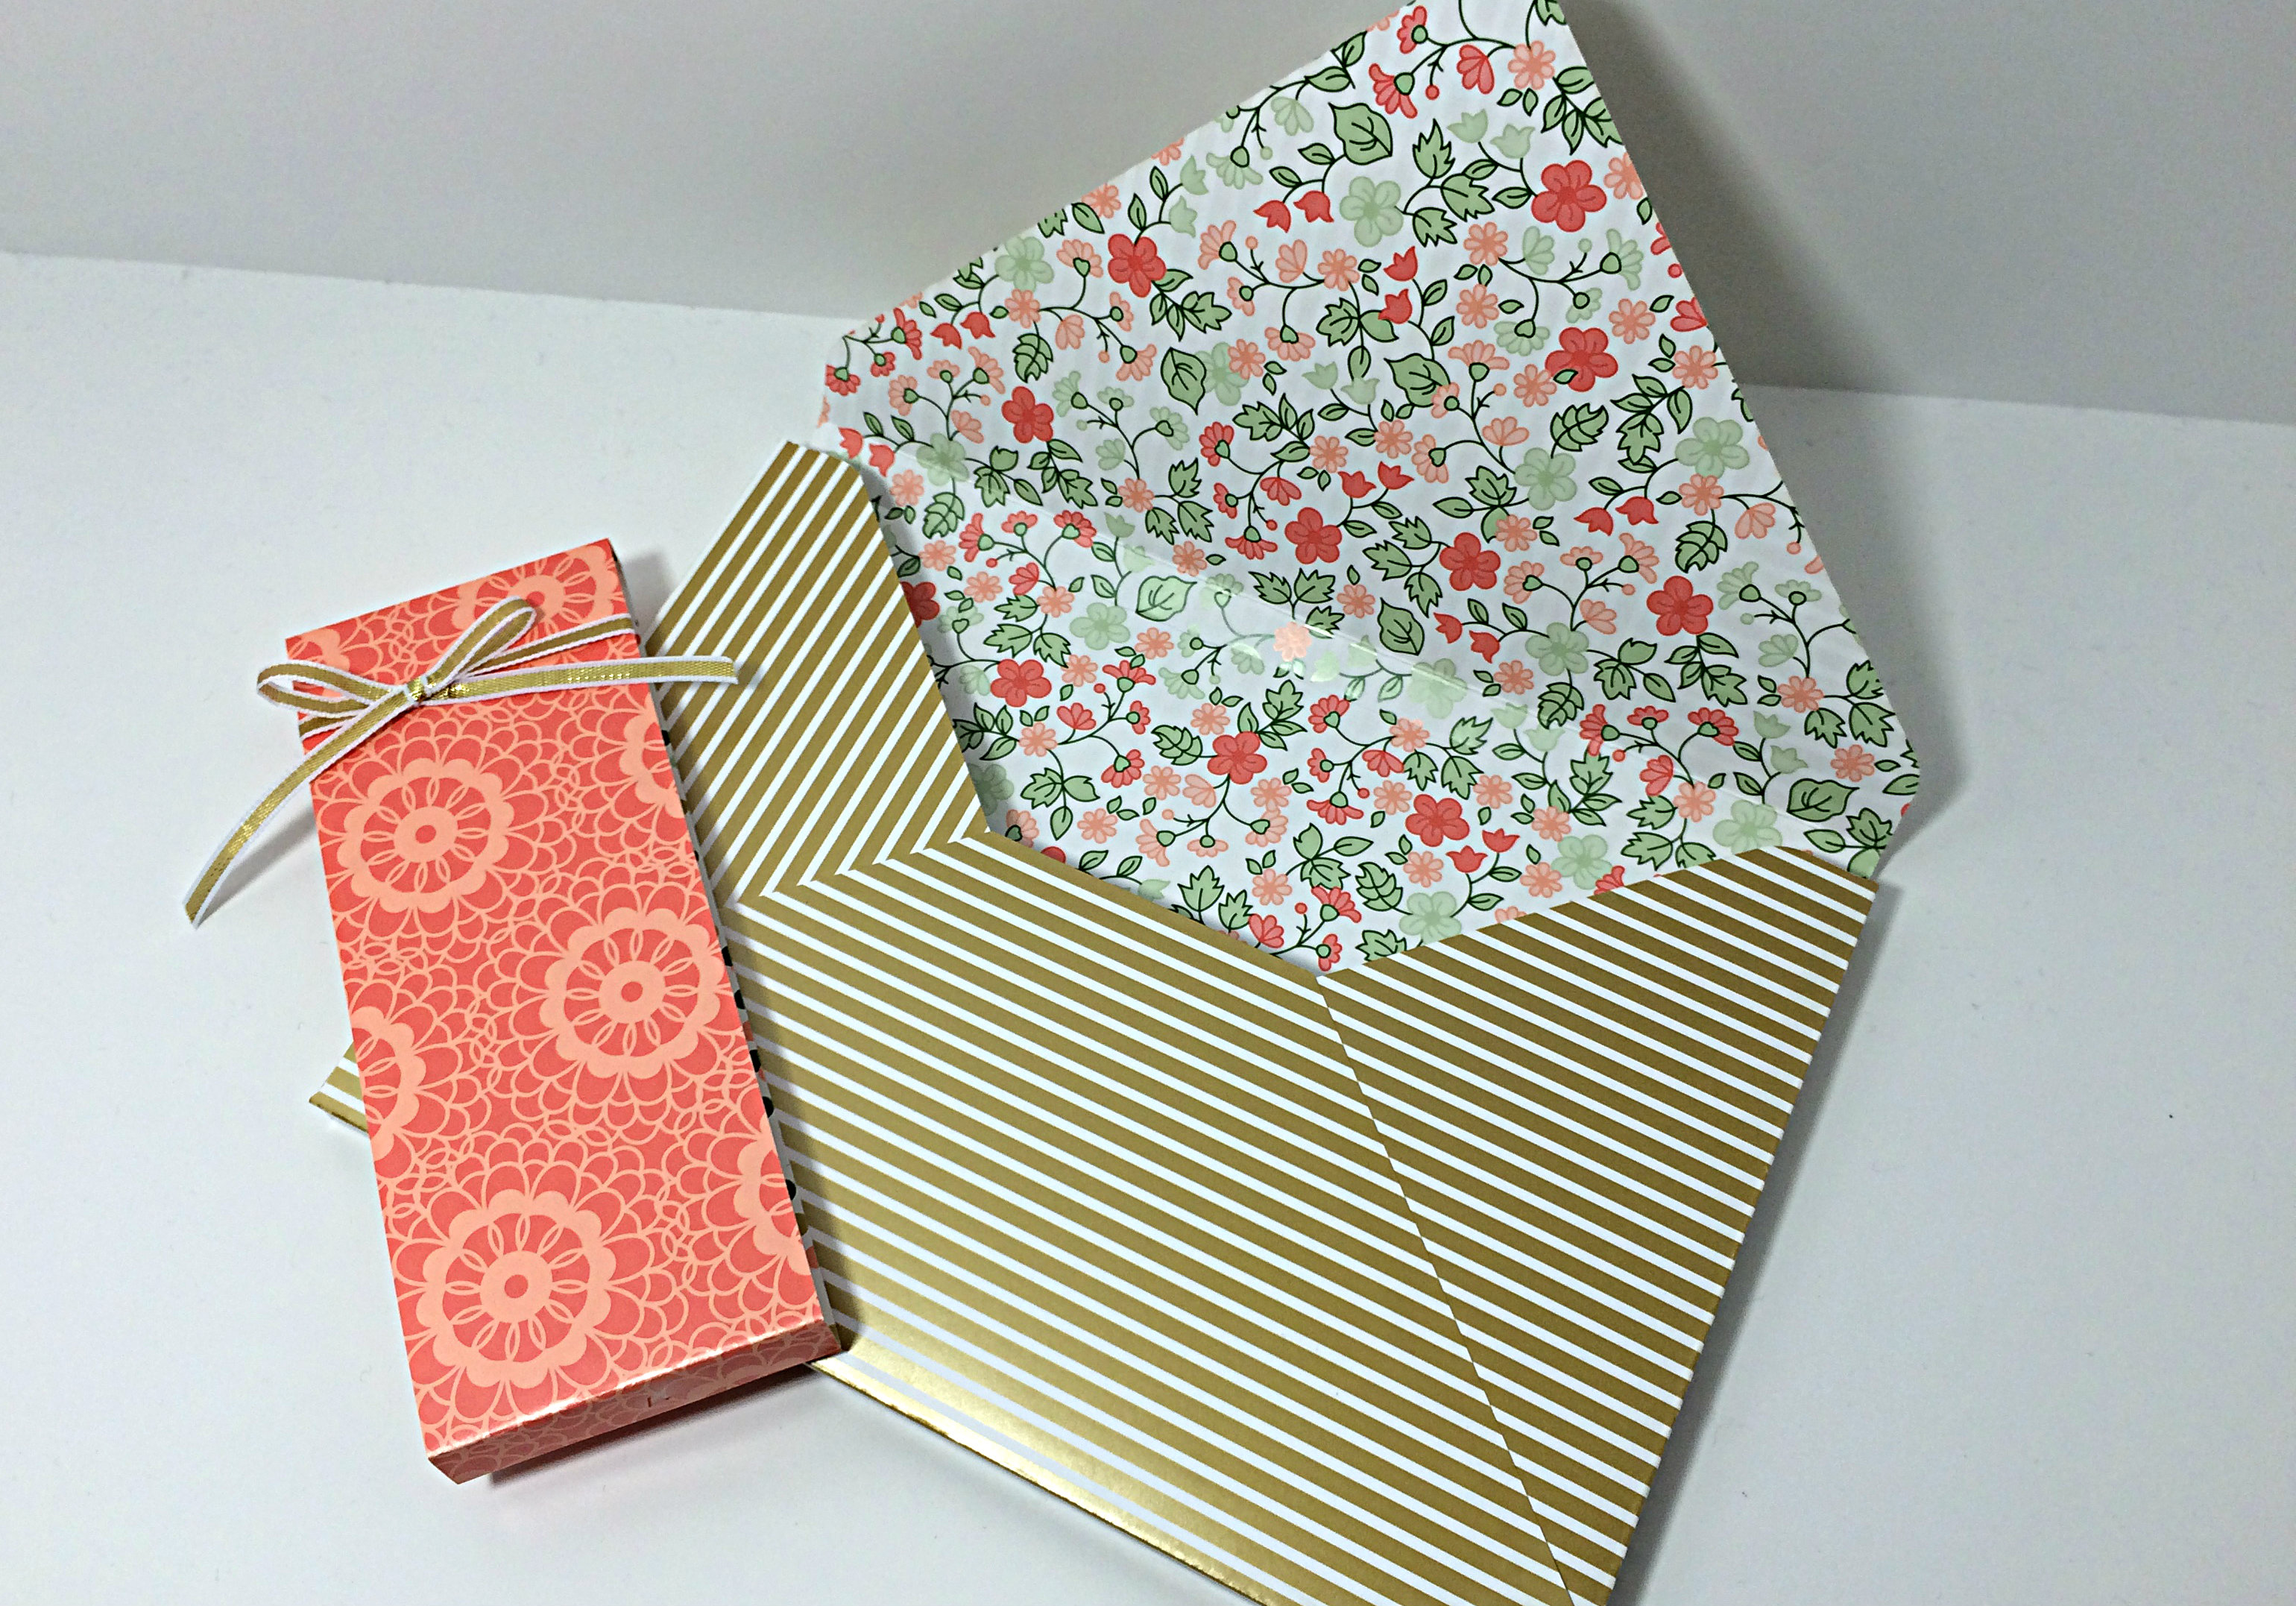
Unfortunately, I realize that none of the pictures taken of this card allow you to see the spine, but you can see the same extra depth added to the envelope beside the card in the photo above. The spine of the card is narrower, but this gives you an idea of what the spine would look like.

I chose to add some layers on the card base to frame the Gold Soiree Specialty Designer Series paper (DSP). You have the base layer of Soft Suede, the second layer of Crisp Cantaloupe, another layer of Soft Suede, until the final matte of Whisper White cardstock to frame the geometric gold base of the artwork. This Gold Soiree Specialty DSP is very unique as it has a sheen and texture that is cool and smooth, a bit like plastic. It makes for a nice professional finish on your projects.

069birdclose

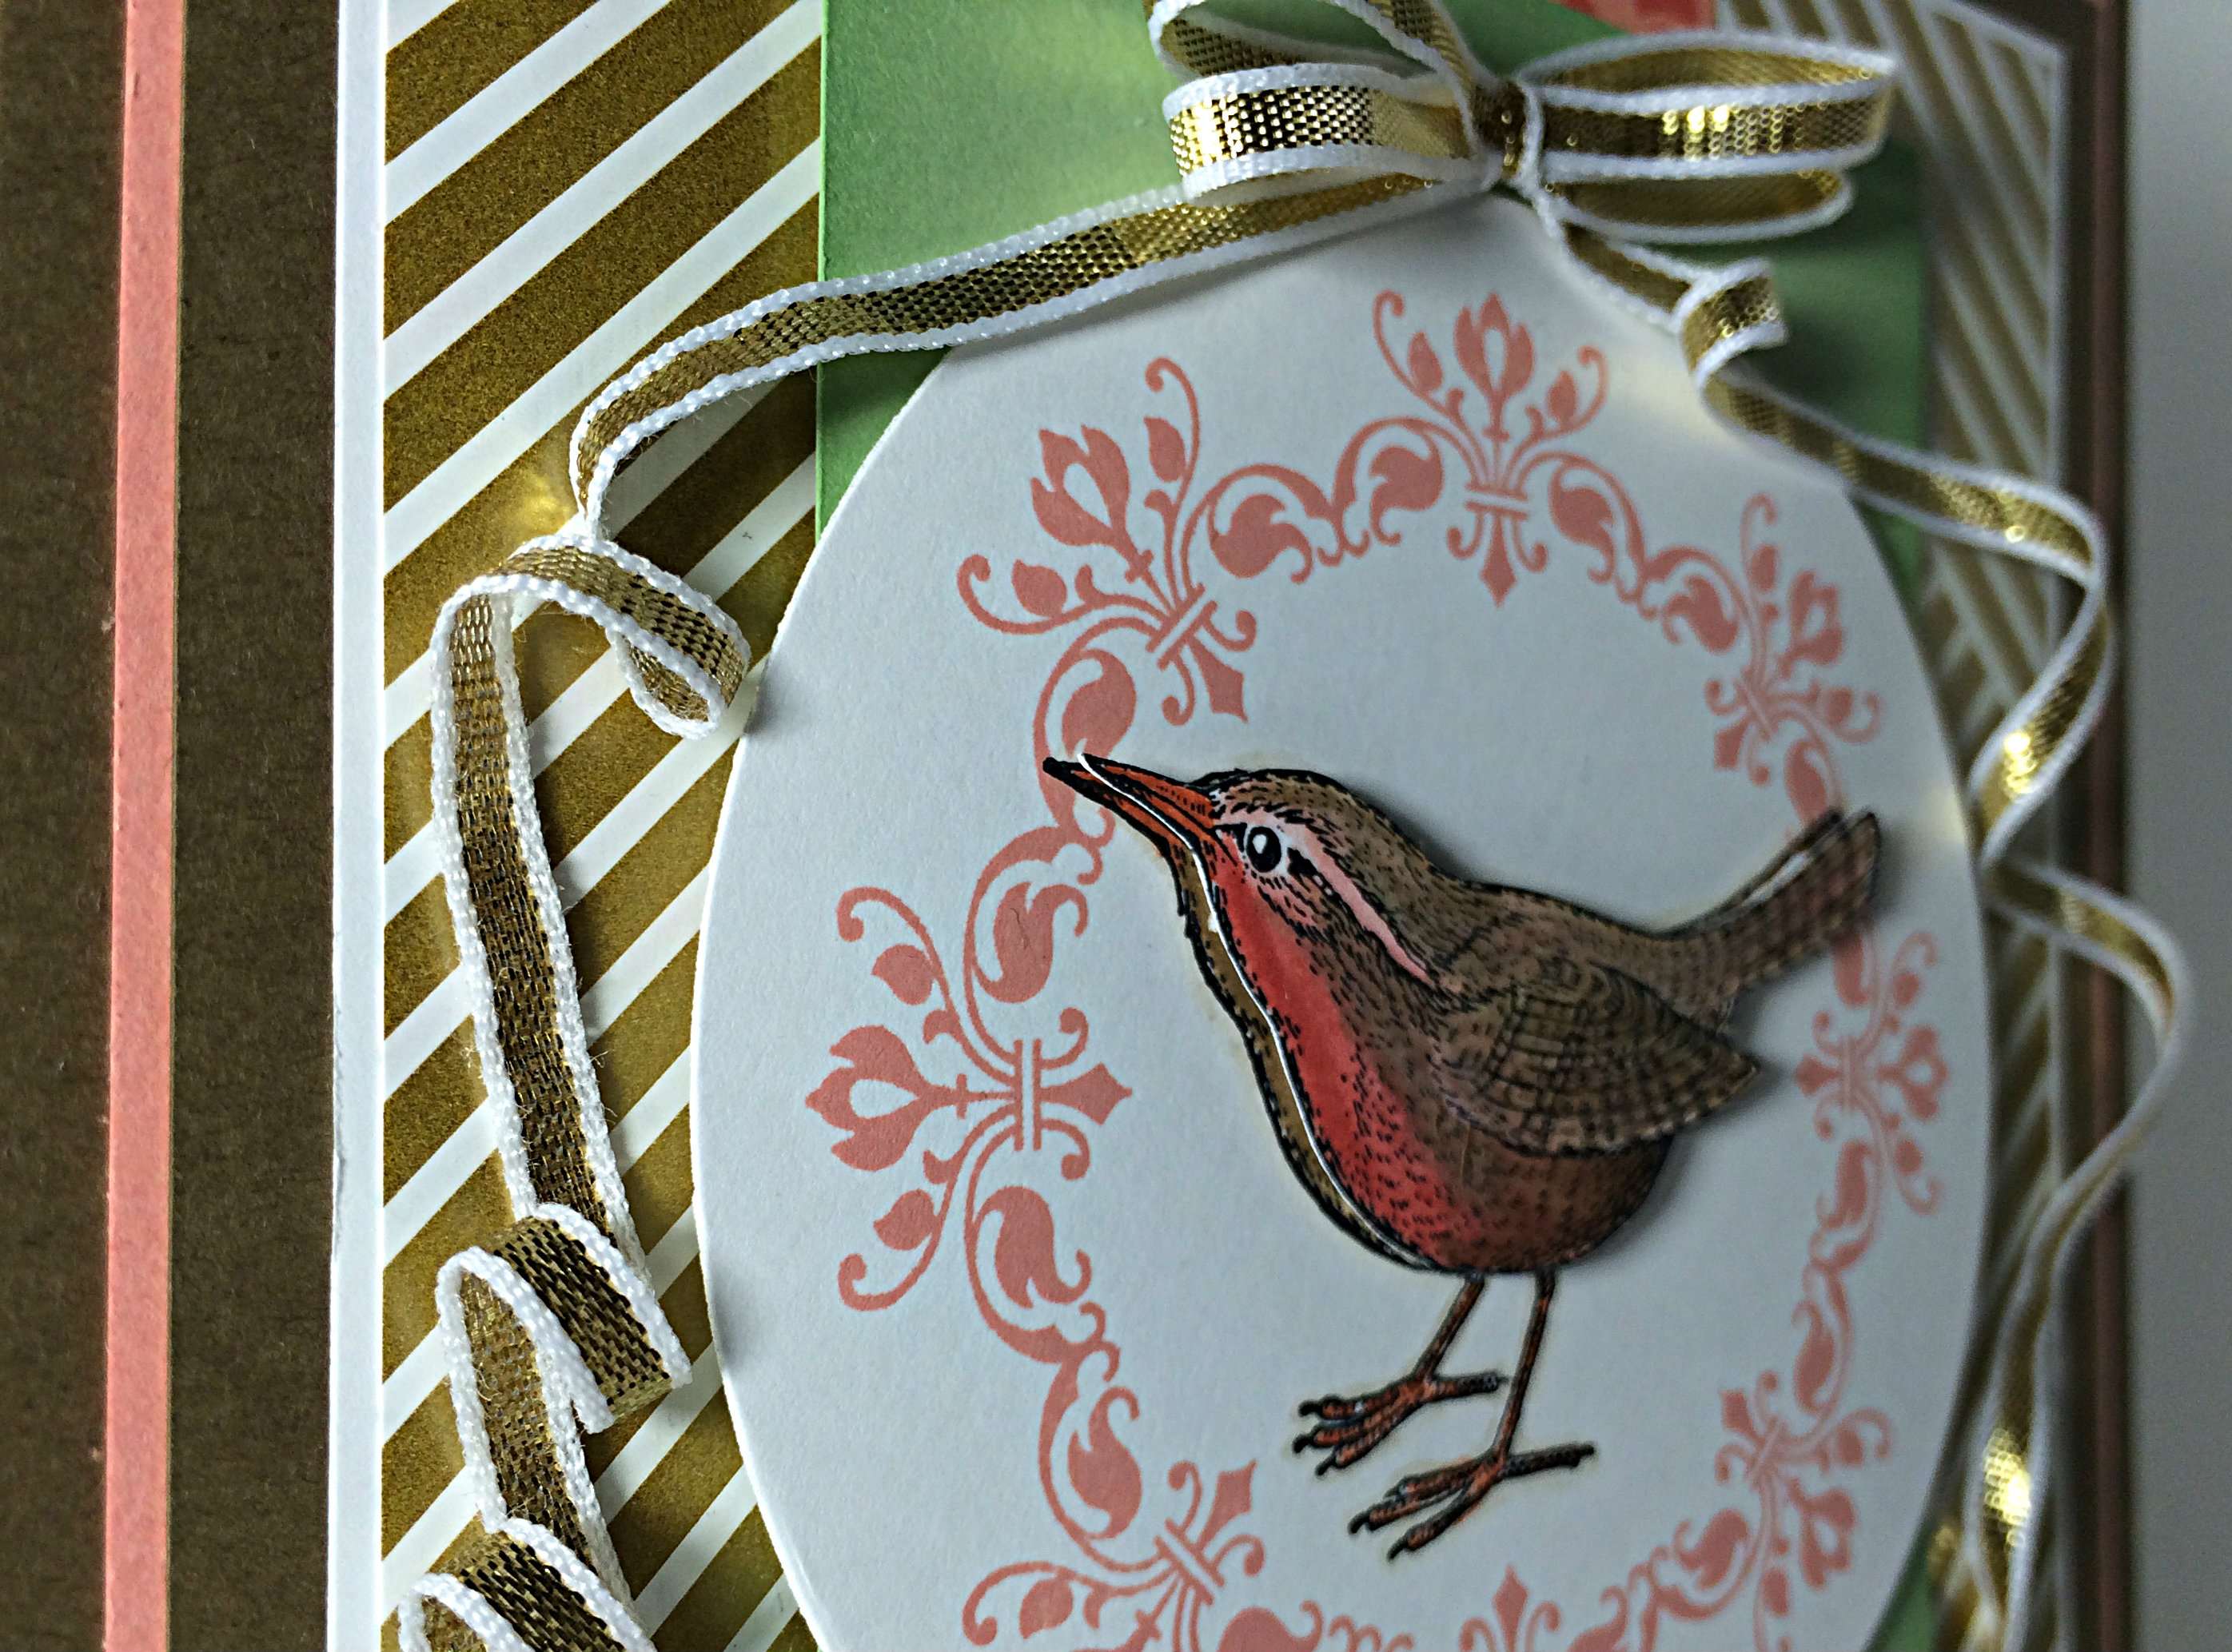
The bow was created using a fingertip double loop bow technique and the long tails were twisted into submission a bit at a time and strategically adhered with glue dots along the way.

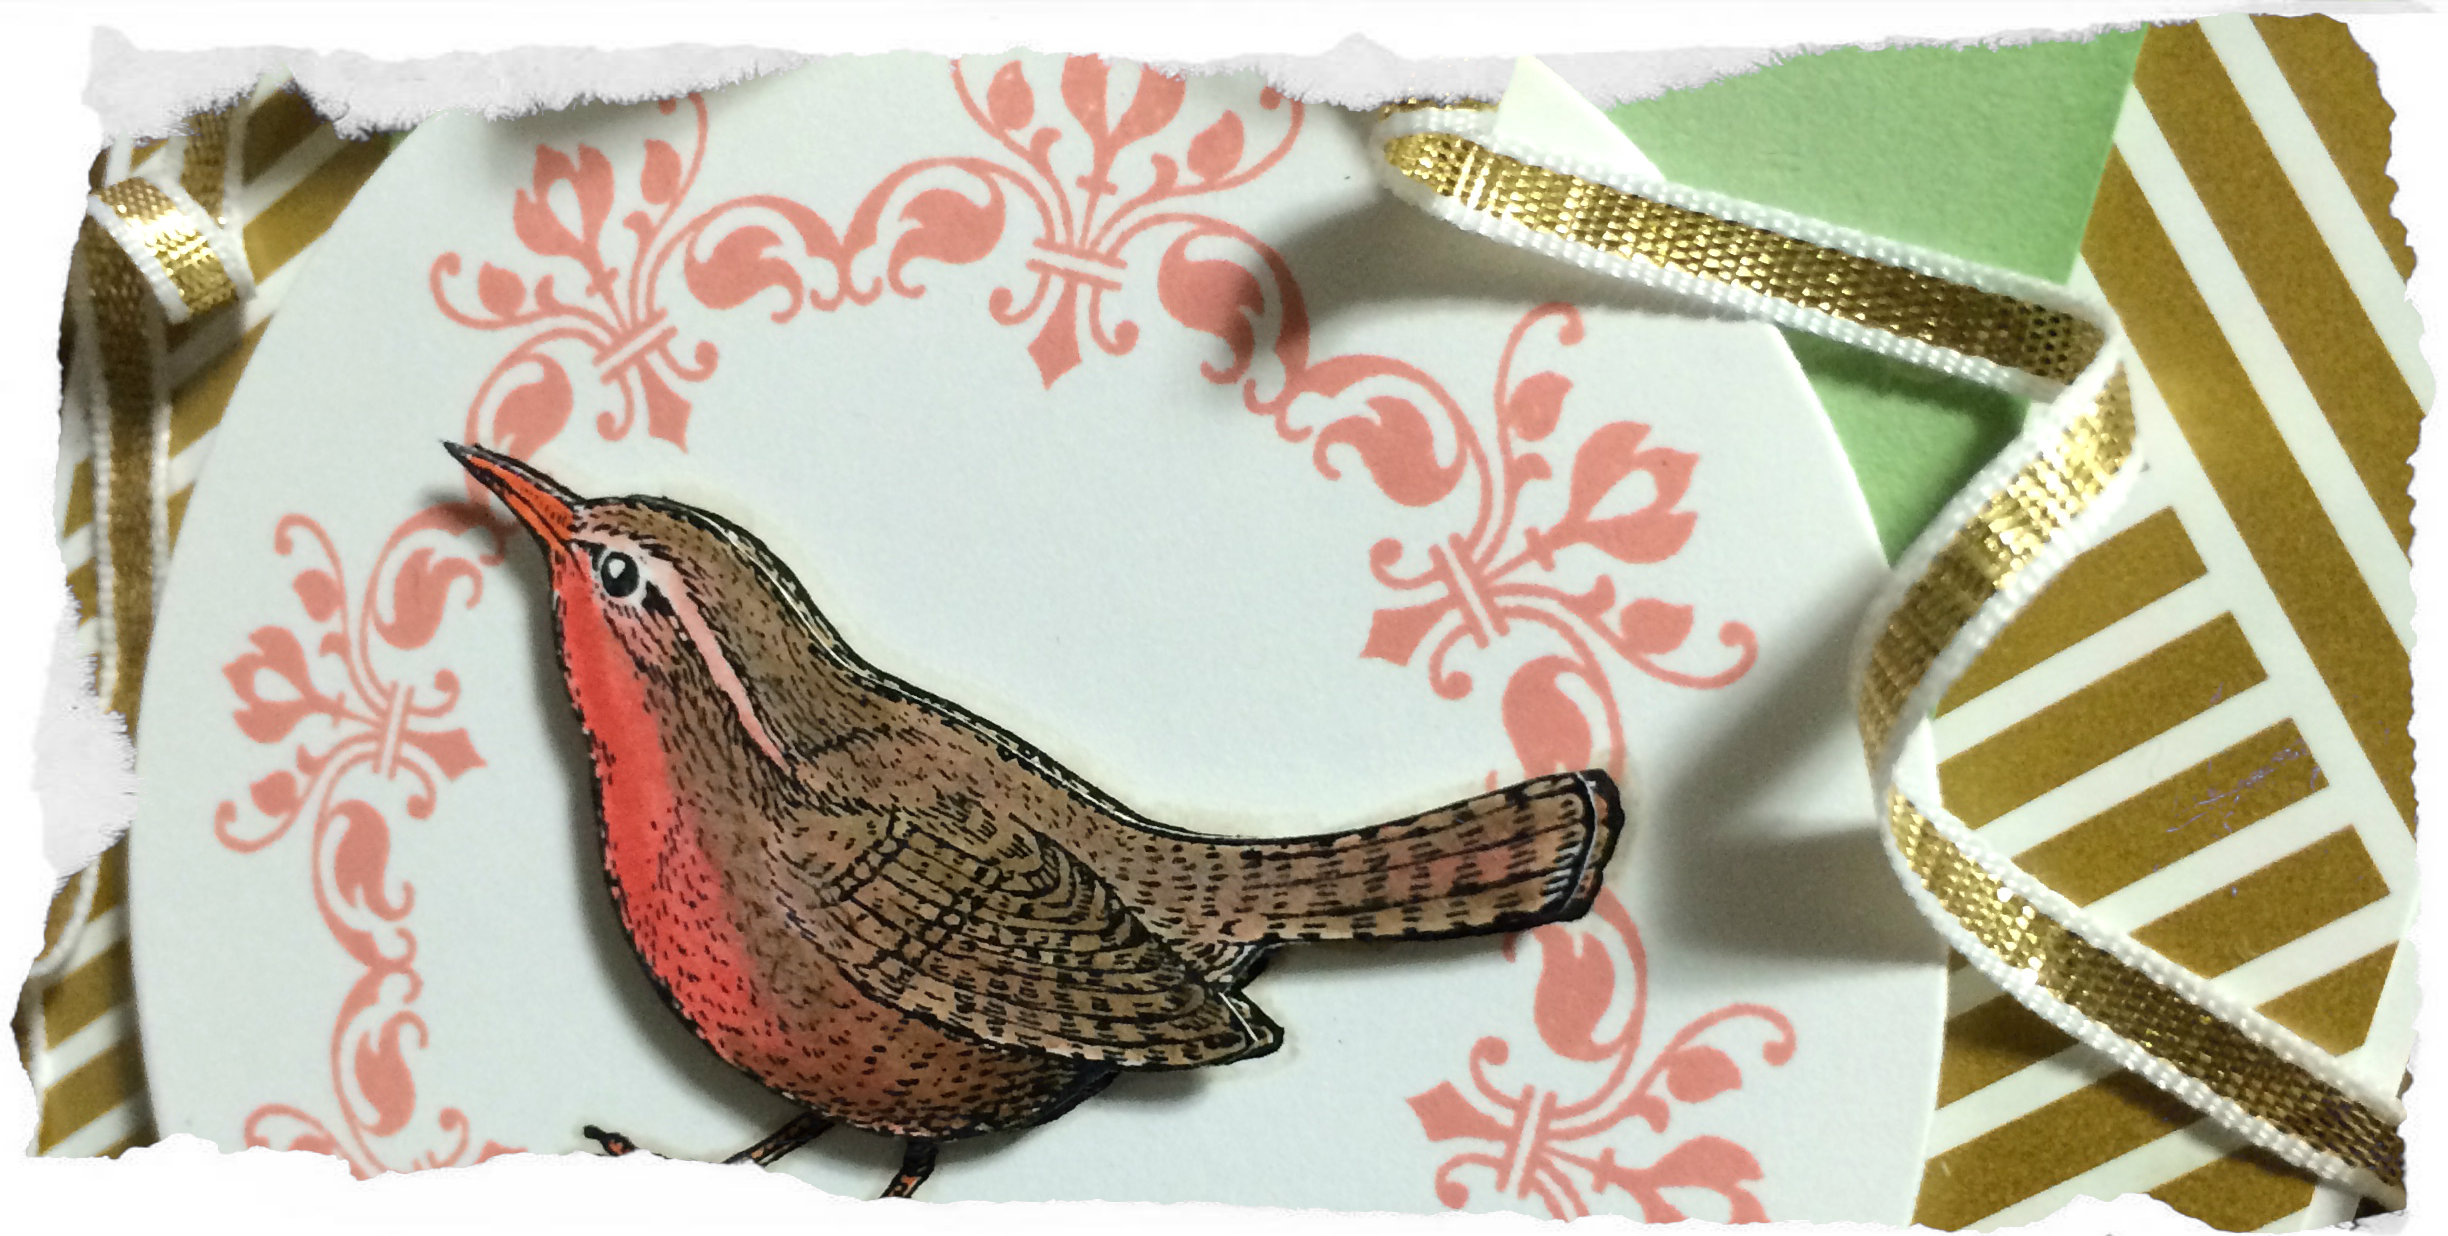
Isn’t that bird from the An Open Heart stamp set cute? You can see that he was stamped twice, once in the center of the circle and again on a seperate piece of Whisper White cardstock from which he was carefully cut out with my Paper Snips (I didn’t cut out the legs, but relied on the legs from the first image). I coloured both birds, with more detail on the top layer, using my inks and blender pens. I chose Calypso Coral for the breast, Tangerine Tango for the beak and feet, and I carefully added a shadow outline with Sahara Sand and a blender pen. That little guy is raised up on Stampin’ Dimensionals.

069insidepages

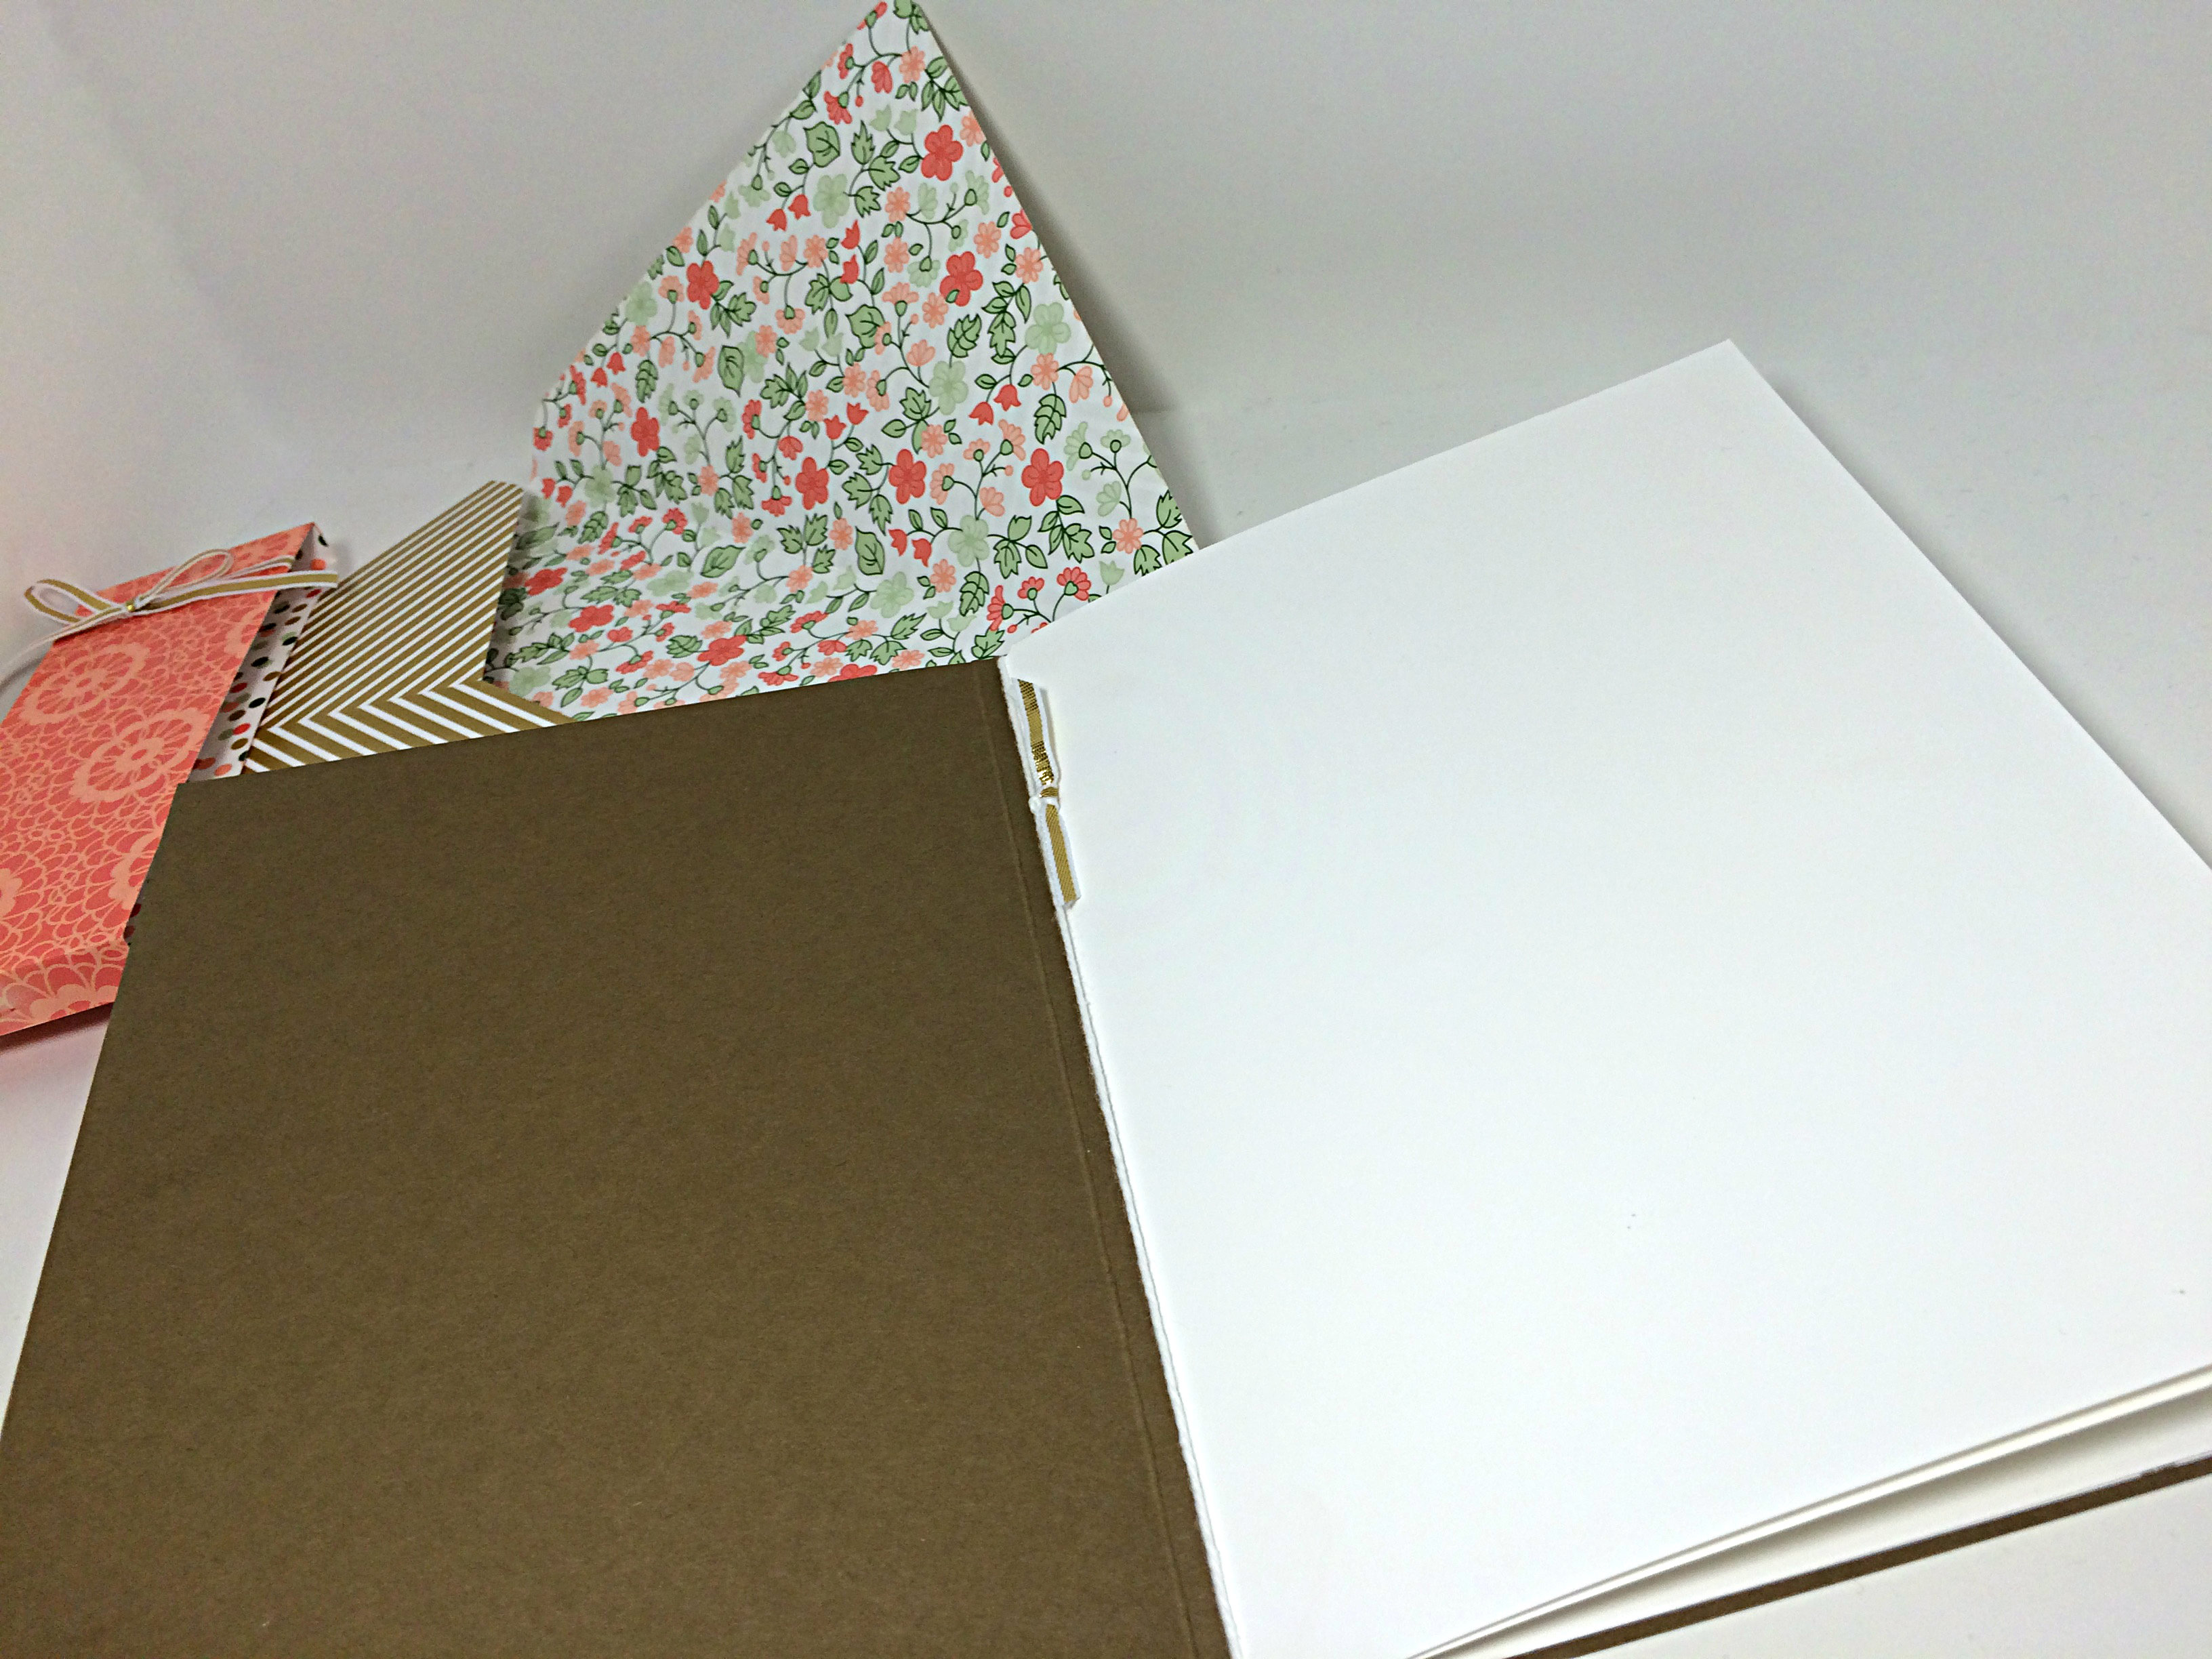
To create the pages of this card, I cut two 6.75″x9.5″ pieces of Whisper White cardstock and scored and folded them to create two 6.75″x4.75″ inserts which were placed one inside the other and tied together at the “binding” with Whisper White bakers twine. I added a little bit of the 1/8″ gold ribbon for a simple embellishment. The back of the last page of this insert was adhered directly to the inside back of the card base, allowing it to be secure inside the card.

069envelope

Due to the size of the card, a custom envelope was required. I used the matching Gold Soiree Specialty DSP and my Envelope Punch Board (which just so happens to be on sale this week!) to create a 3D envelope that is deep enough to fit the dimensions of my card. When I do custom envelope that are hand delivered rather than delivered by the postal service, I prefer to close the envelope with a belly band of paper rather than seal it with adhesive. It’s a bit of a prettier presentation, I think.

I hope you give the sketch this week a try and link your creations to As You See It Challenge #69. I love how your designs offer new inspirations each week!

Happy stamping!!

Amy
Designer-Badge

Groovy White

067header

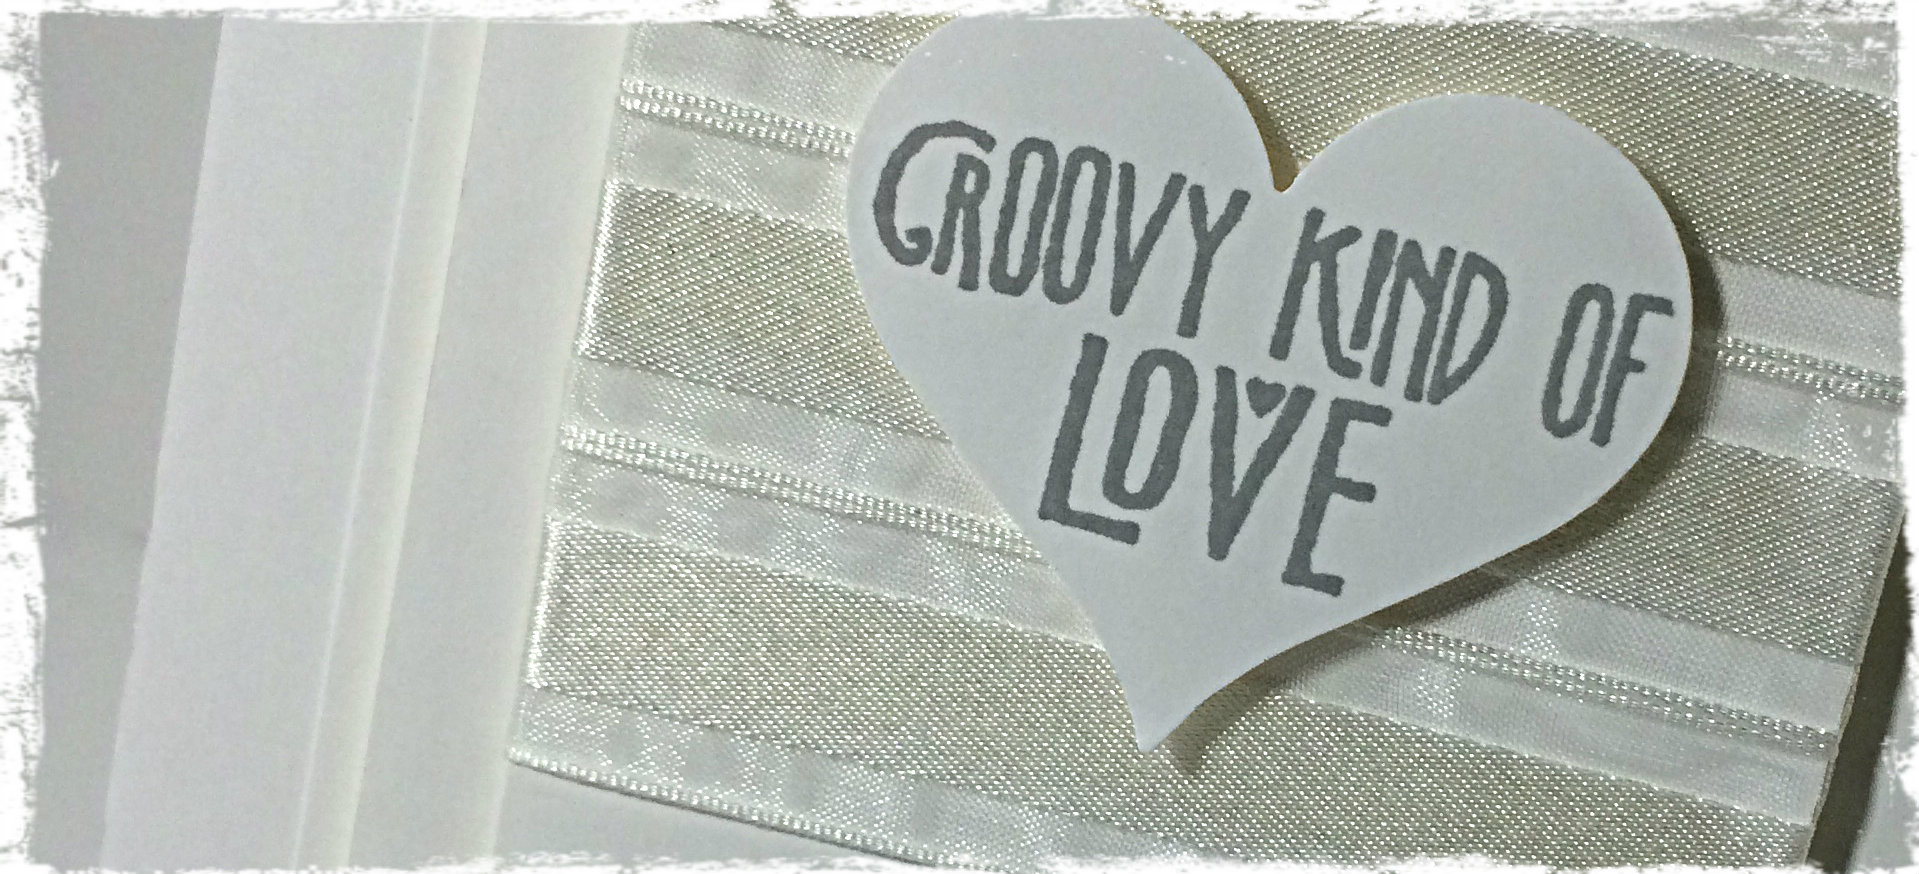
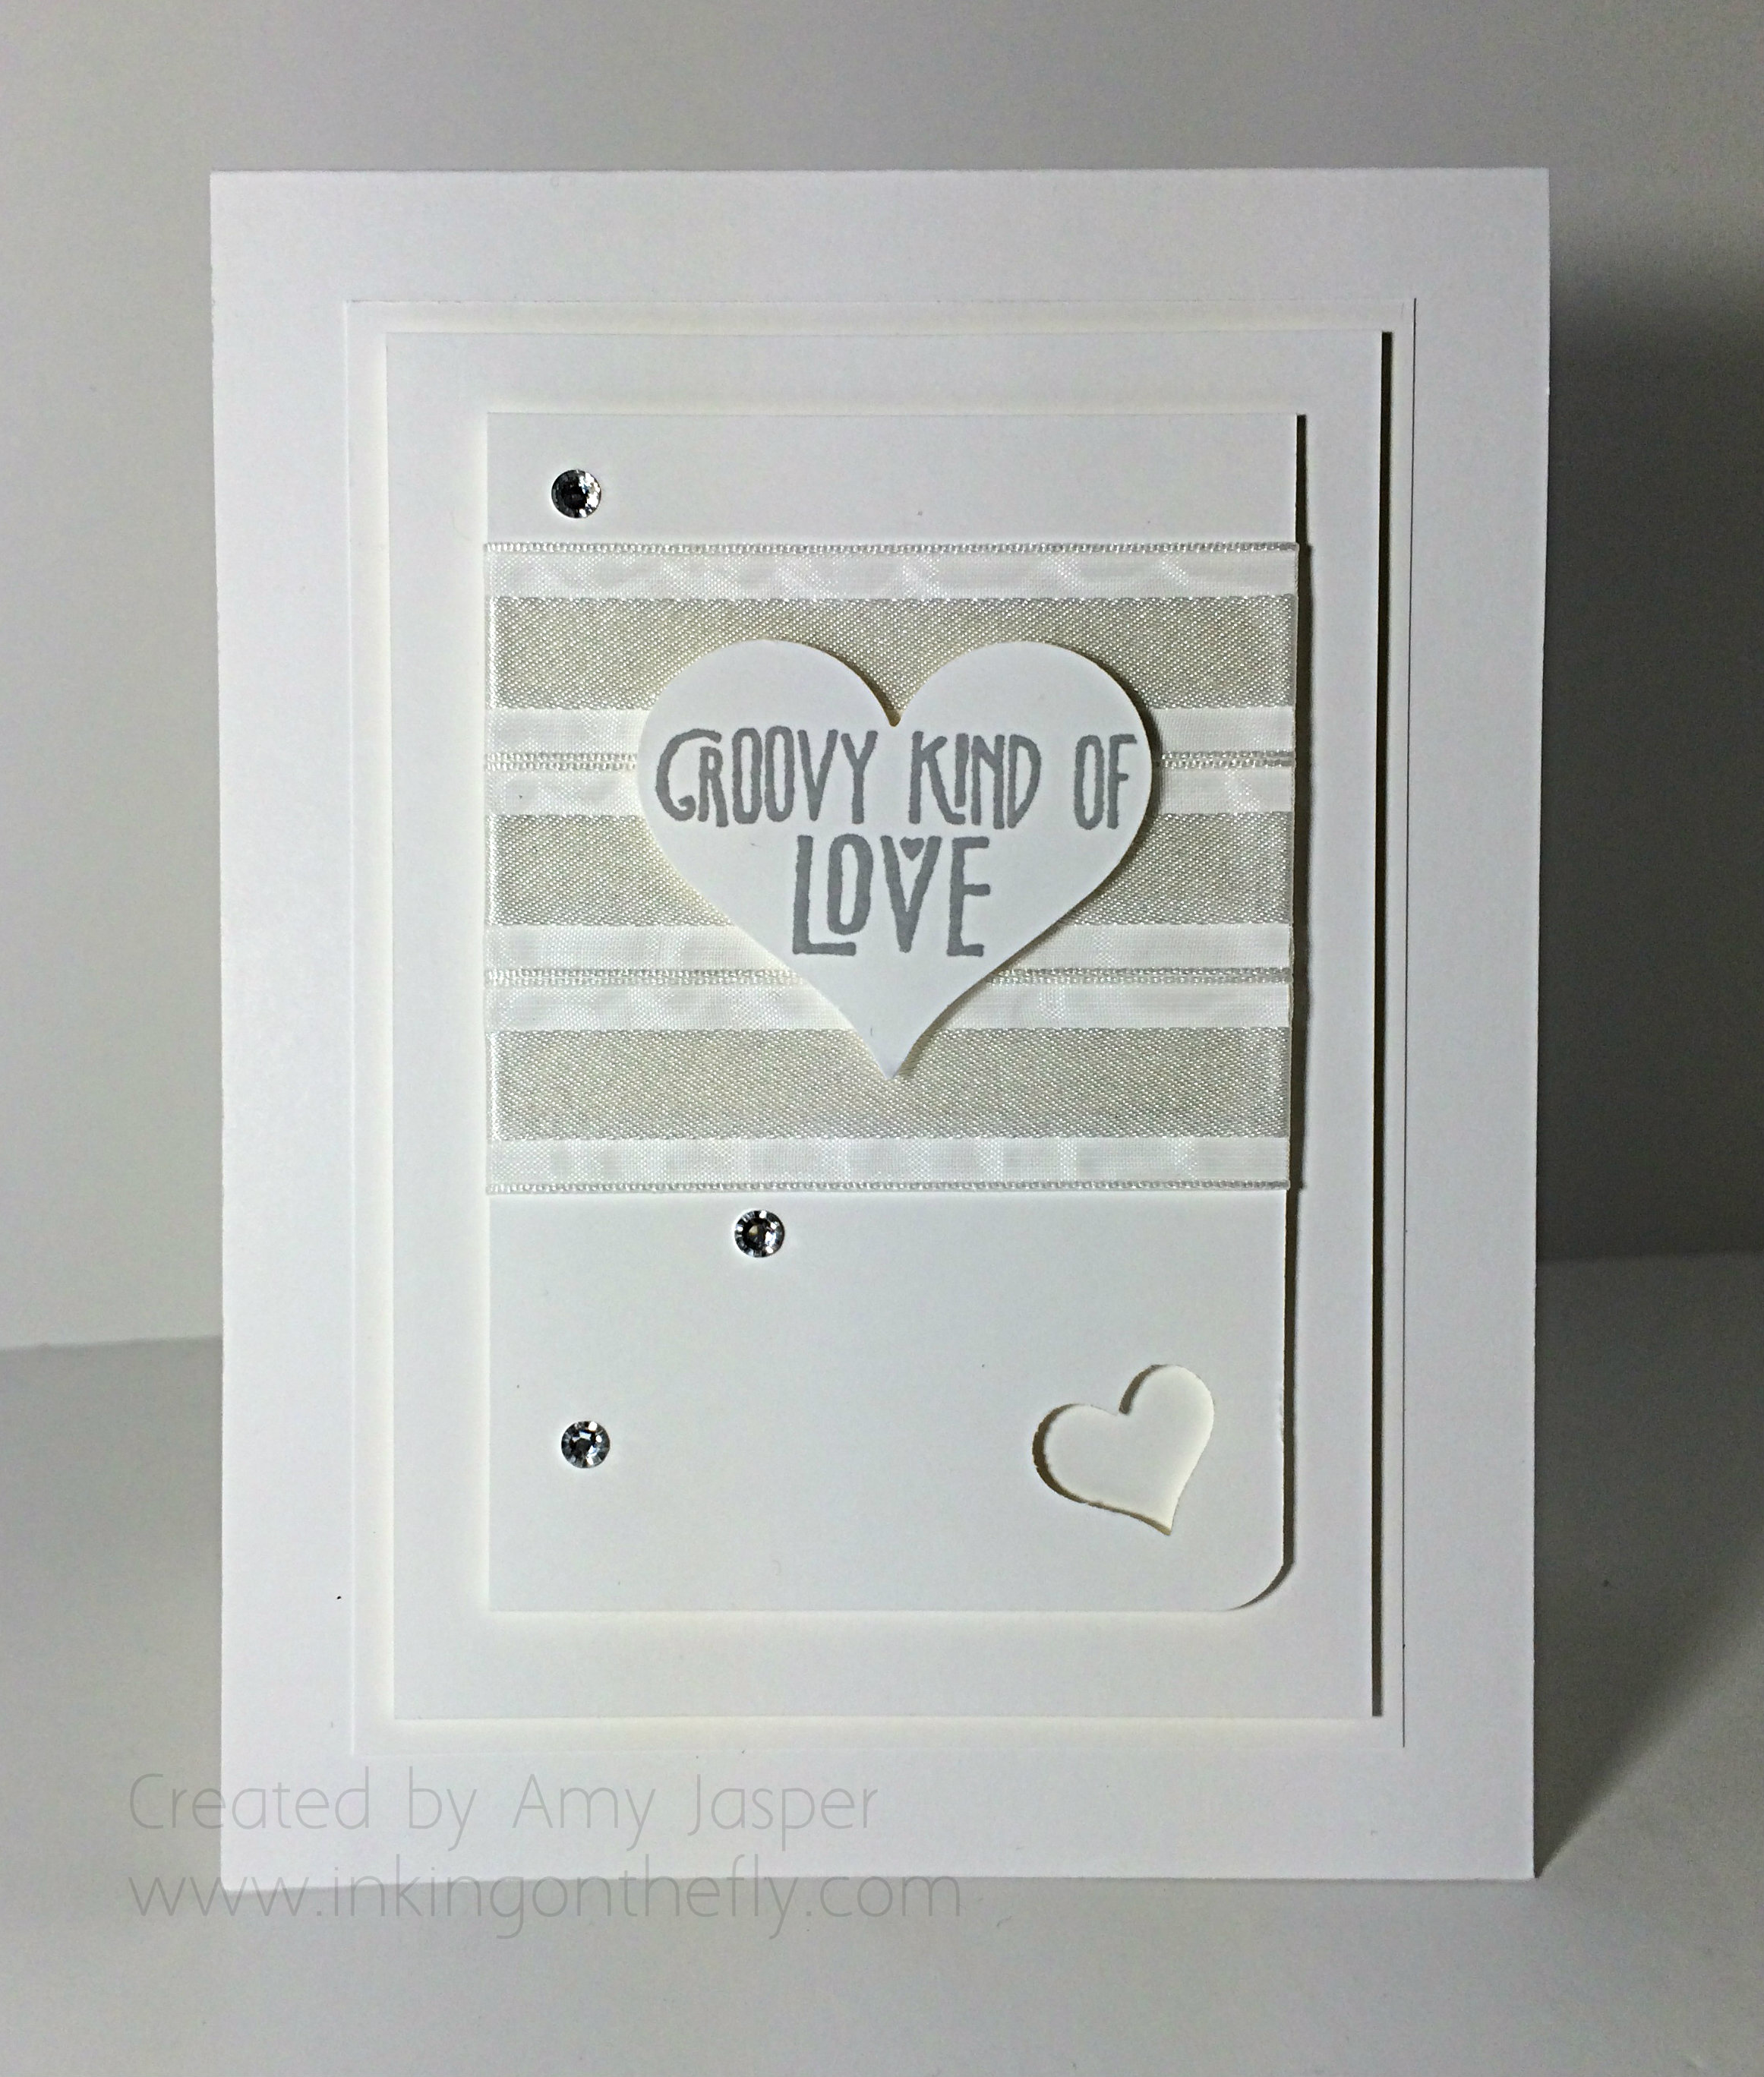
An all white card designed for the As You See It Challenge blog. I used the Groovy Love stamp set with the coordinating Sweetheart Punch from Stampin’ Up!

#67

Gotta love the strain of a speed challenge. It’s a good exercise to stretch your creativity and push yourself. These 10 minute challenges are probably the toughest for me. Having to use all white definitely added another creative stretch. Technically, you could add vanilla or grey for this challenge, since they would be considered “shades” of white, but I opted for primarily white.

067Amy

I managed to finish this card in 9 minutes and 53 seconds.  Not too bad, considering the state of my craft room and that I made the mistake of cutting my nails nice and short. (Peeling off the backing of sticky strip with no fingernails and with a time limit can be very frustrating)

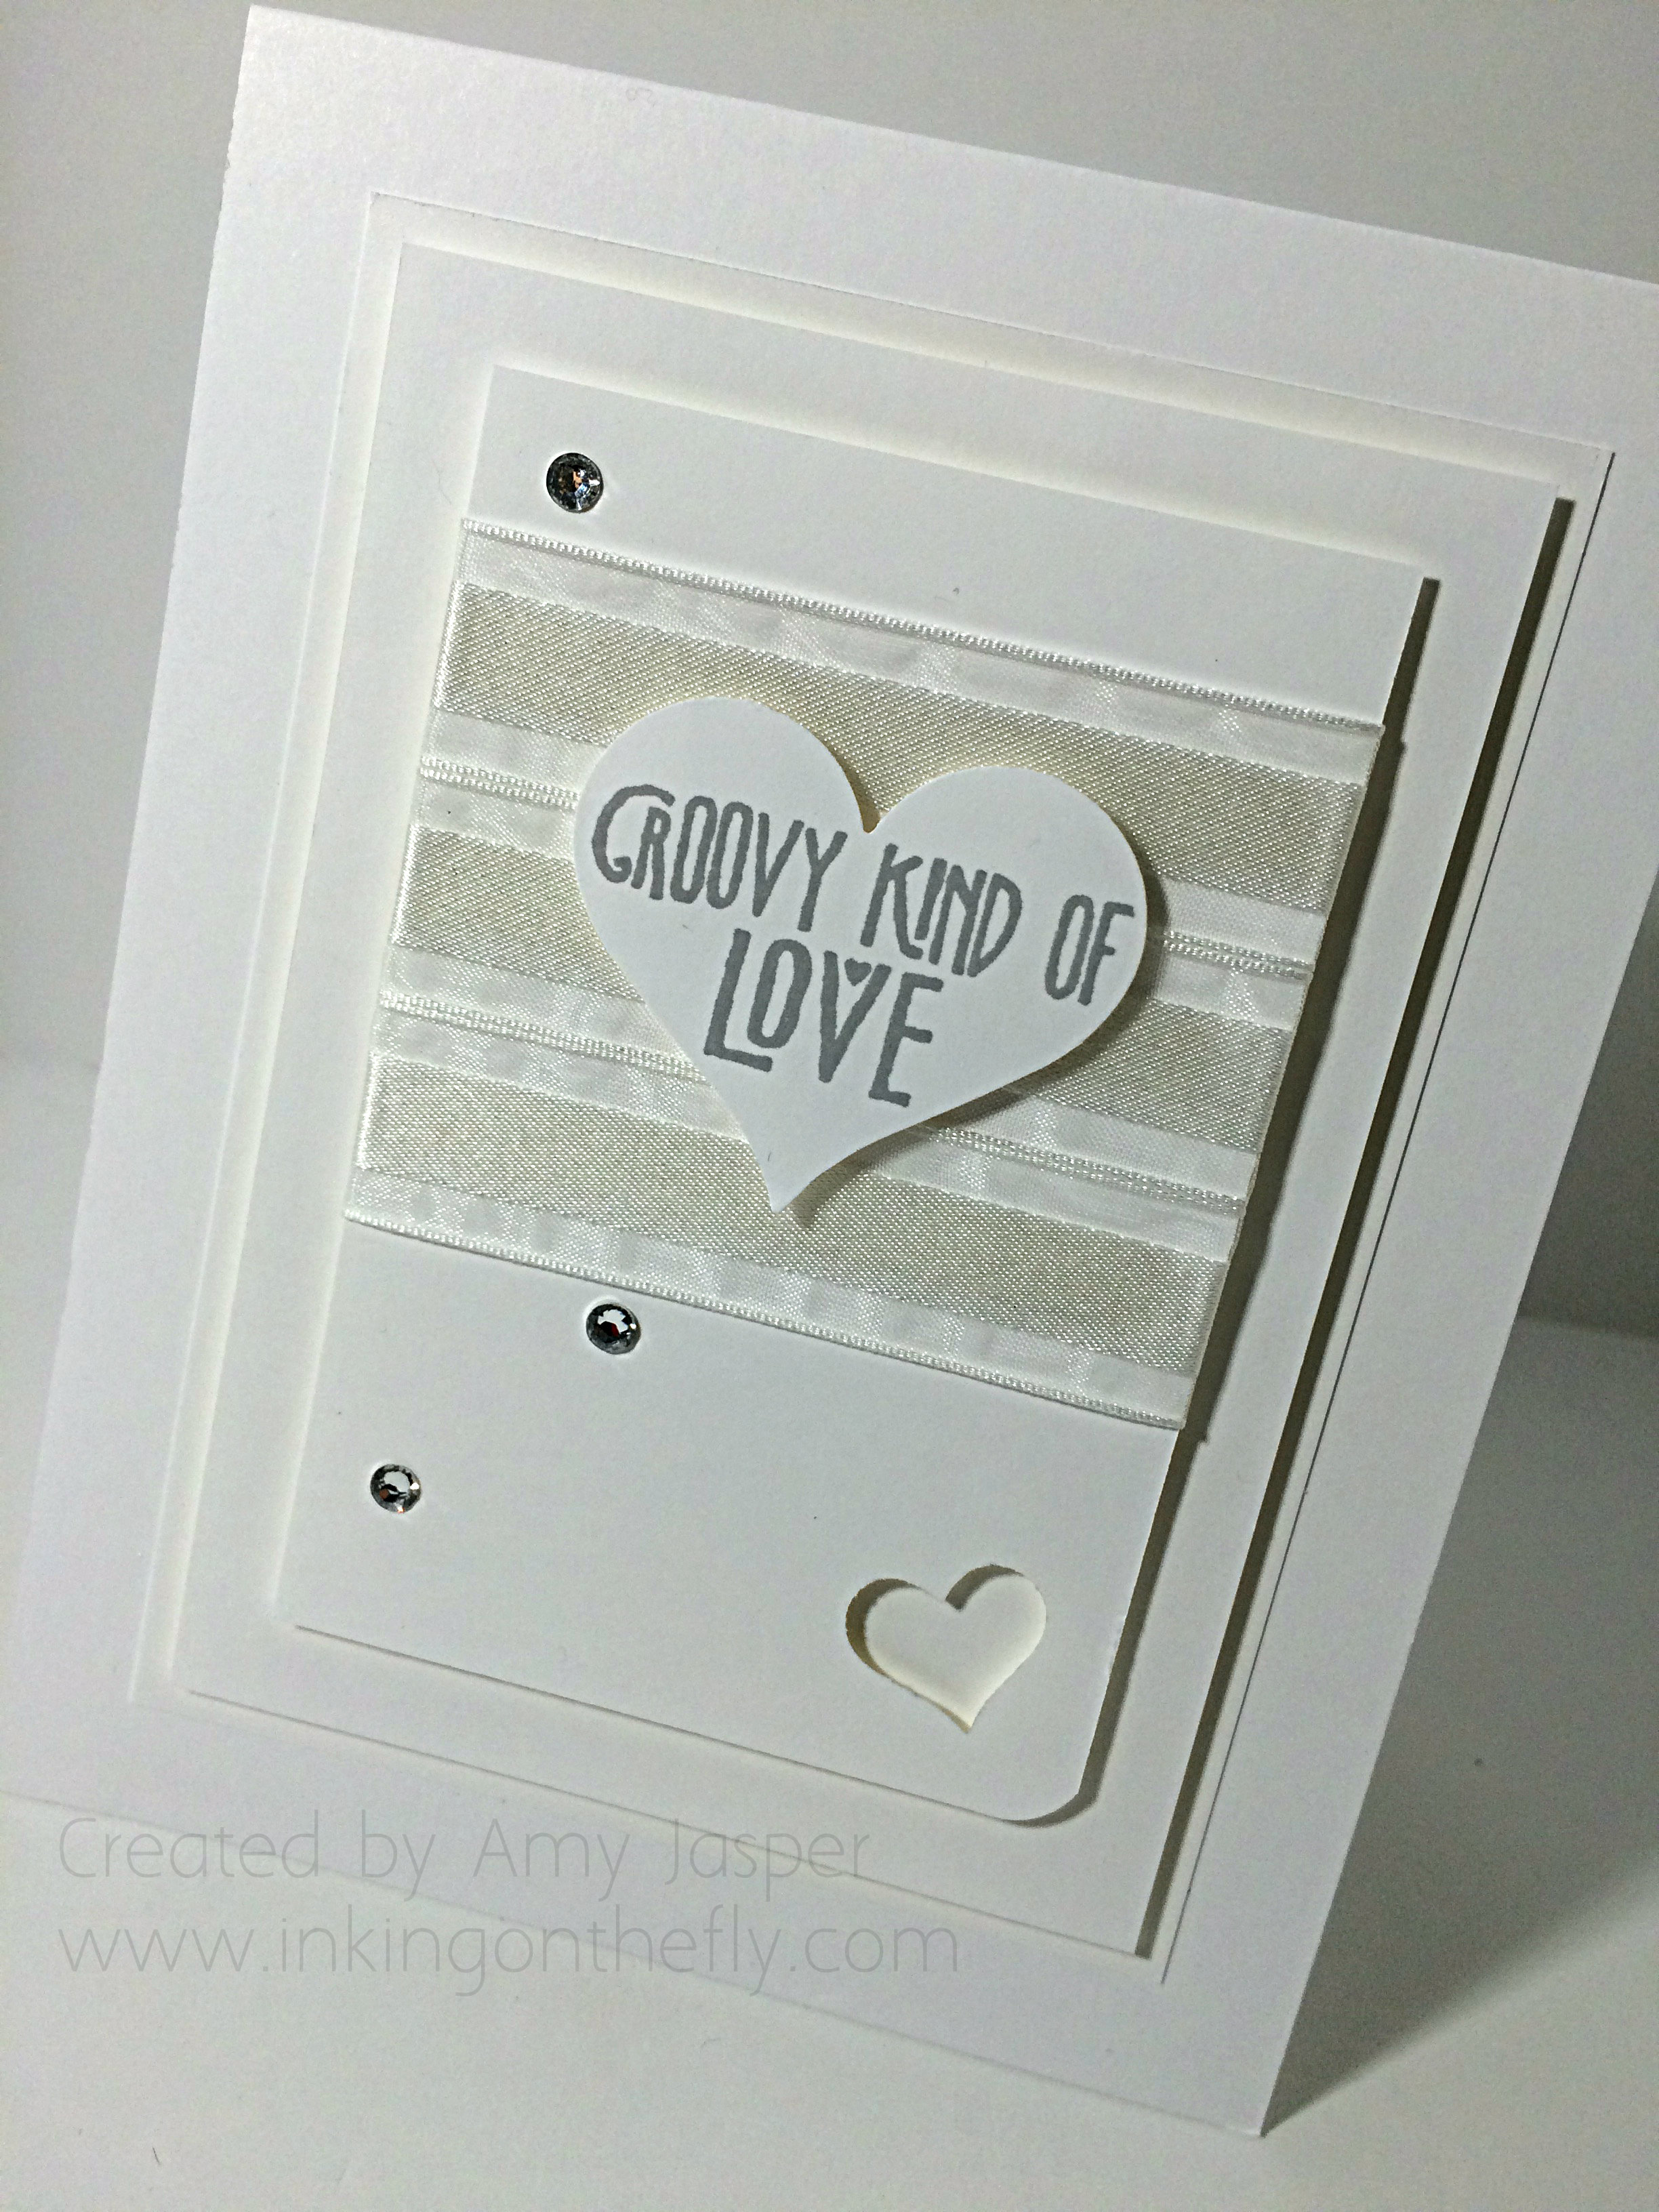
The card is nice, but needed a bit of a refining, so I did a second one. See if you can spot the subtle differences and tell me which one you like better.

067Amy2

You can see that I have fewer of the Basic Rhinestones on the second card. I also only rounded one corner with my Corner Rounder punch and lowered the placement of my ribbon. I added the small heart punch from the Itty Bitty Accents Punch Pack. The biggest improvement for me was how I attached the strips of White Organza Ribbon. On the first card, I only put Sticky Strip on the back of the Whisper White Cardstock. This caused the ribbon to float a bit on the front of the card. I tried to anchor it after the fact by slipping a couple pieces of Sticky Strip underneath, but it just got more untidy. The second card used full strips of Sticky Strip across the front of the cardstock to anchor the entire length of the Organza ribbon, then a couple pieces on the back of the cardstock to secure the ends of the ribbon on the back. A much smoother and tidier finish on the second card.

Both cards have the sentiment from the Groovy Love stamp set stamped in Smoky Slate ink. Both cards have Stampin’ Up! Dimensionals under the heart, the first rectangle layer and the second rectangle layer. After all, an all-white card demands layers and texture!!

067again

By the way, did you miss me last week? With the Christmas season upon us, I just couldn’t find the time to share a project with you. Each of my 3 kids had Christmas concerts that week (separate nights), and I was shopping all week to find something to wear to my husband’s staff Christmas party.

(Me + shopping for clothes = forever!!)

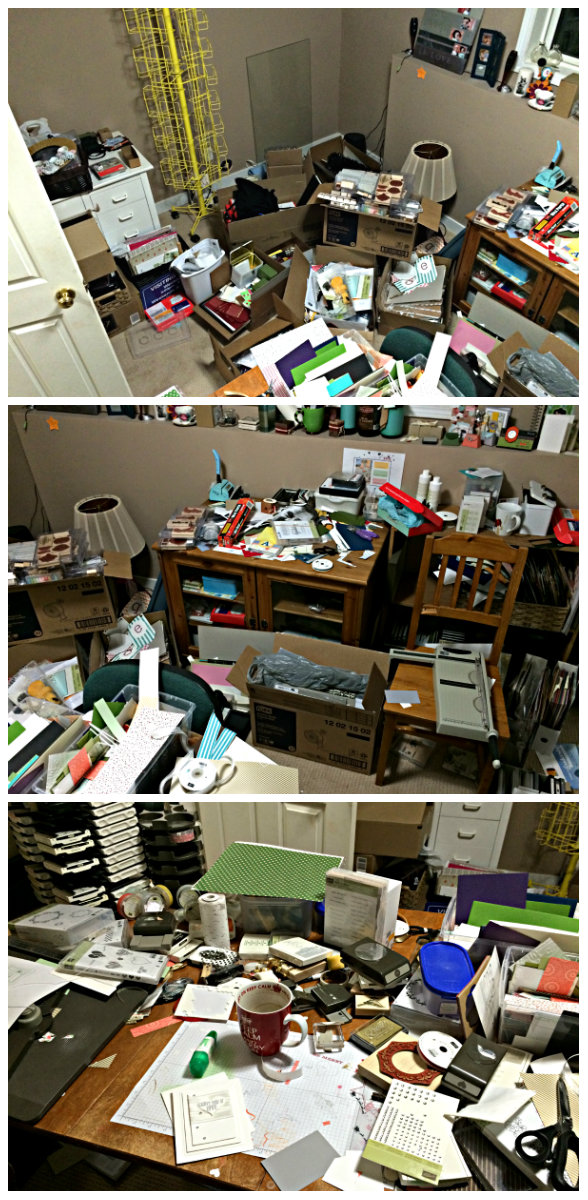
Life has been very busy. Take a look at the current state of my craft room. Consider it a representation of my head these days.

craft room chaos

I suppose you can guess what I’ll be working on the next week or two. Gotta get this room functional again before the new year!

I know how busy the season can be, but why not take a 10 minute time out from it all and make a card? Load it up to the As You See It Challenge #67 and tell us how long it took. Even if your a little bit over, that’s okay. Stretch your creative brain!

Designer-Badge


Bauble and Gold

065header

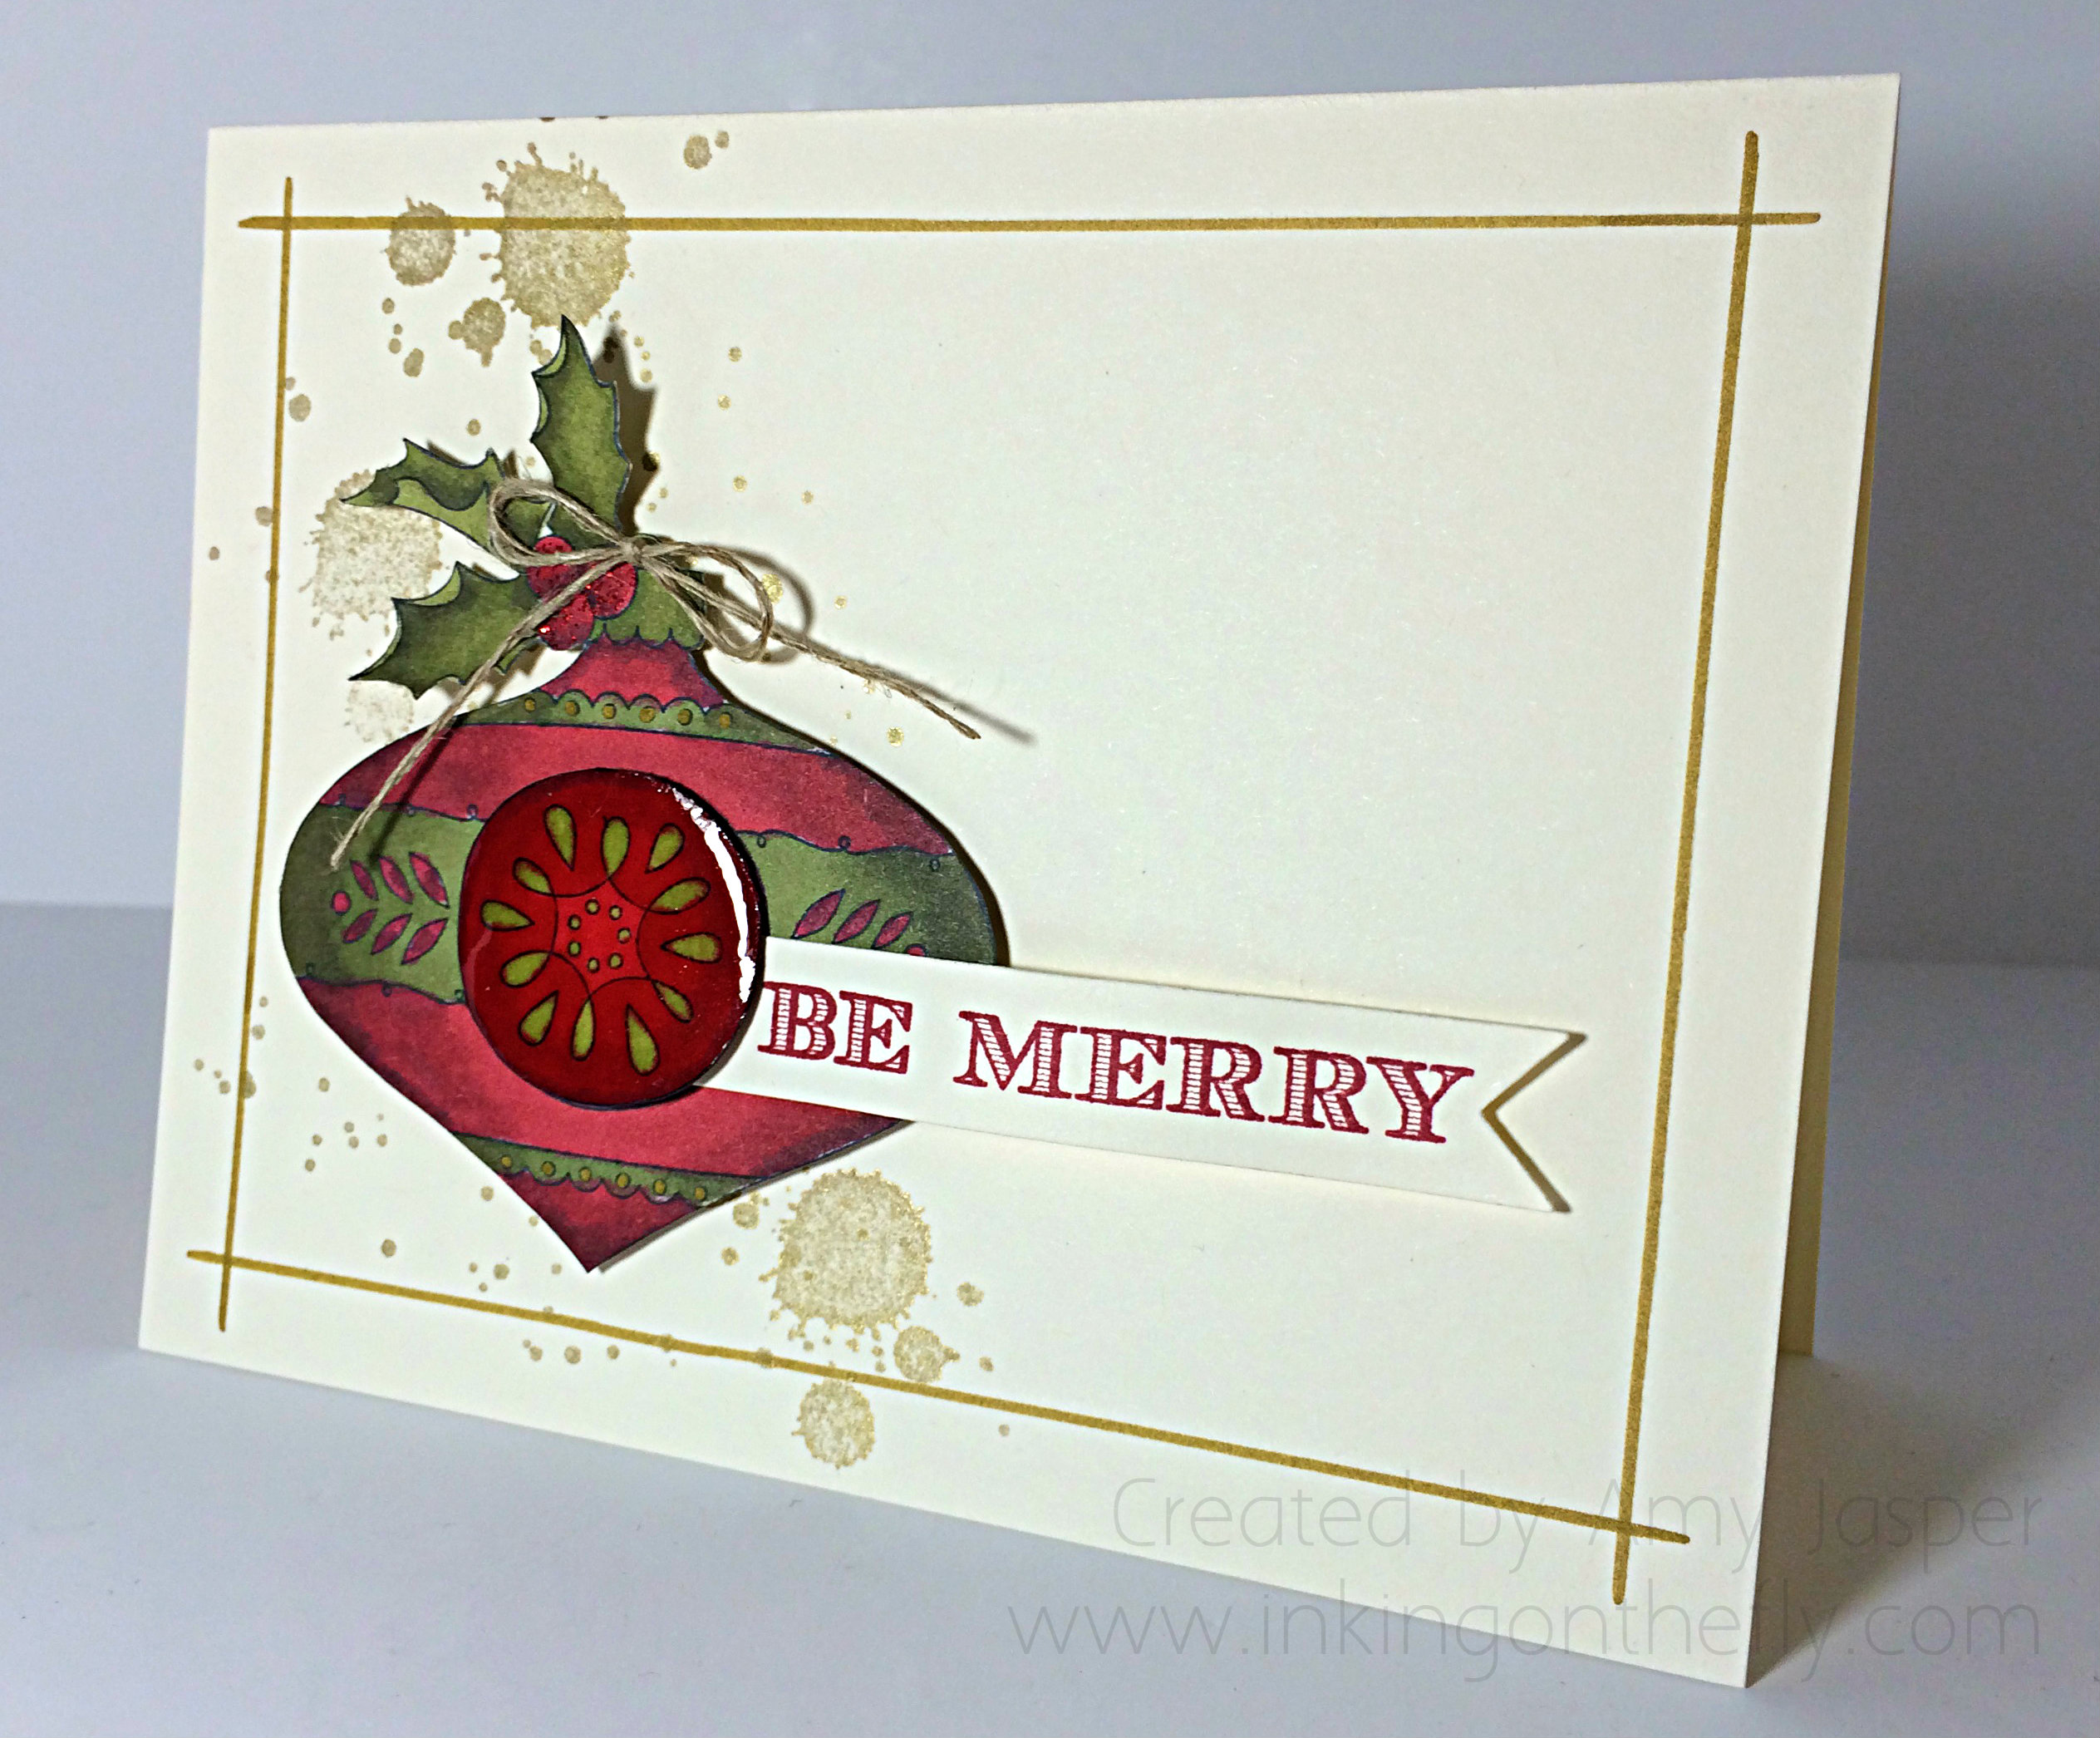
Every Friday I share a card with you designed specifically for the As You See It Challenge blog. I quite like the card I have for you today created with the Christmas Bauble stamp that I received as a free gift from the Abbotsford Fall Conference, the Holiday Invitation stamp set I received from the Inspire Create Share Stampin’ Up Convention in Utah, and my favourite Gorgeous Grunge stamp set of which I happen to have an extra set that I won at the Abbotsford Fall Conference. How awesome it that!!

AYSIChallenge065I love the simplicity that this sketch offers and I decided to go with it as a simple design, but with a LOT of colouring using my Stampin’ Up! Blendability markers and a bit of fussy cutting. I chose a Very Vanilla card base, on which I stamped two of the splatter images from the Gorgeous Grunge stamp set in the Encore Gold ink. Then I used a ruler and my Gold Dazzle marker to draw a frame directly on the card base.

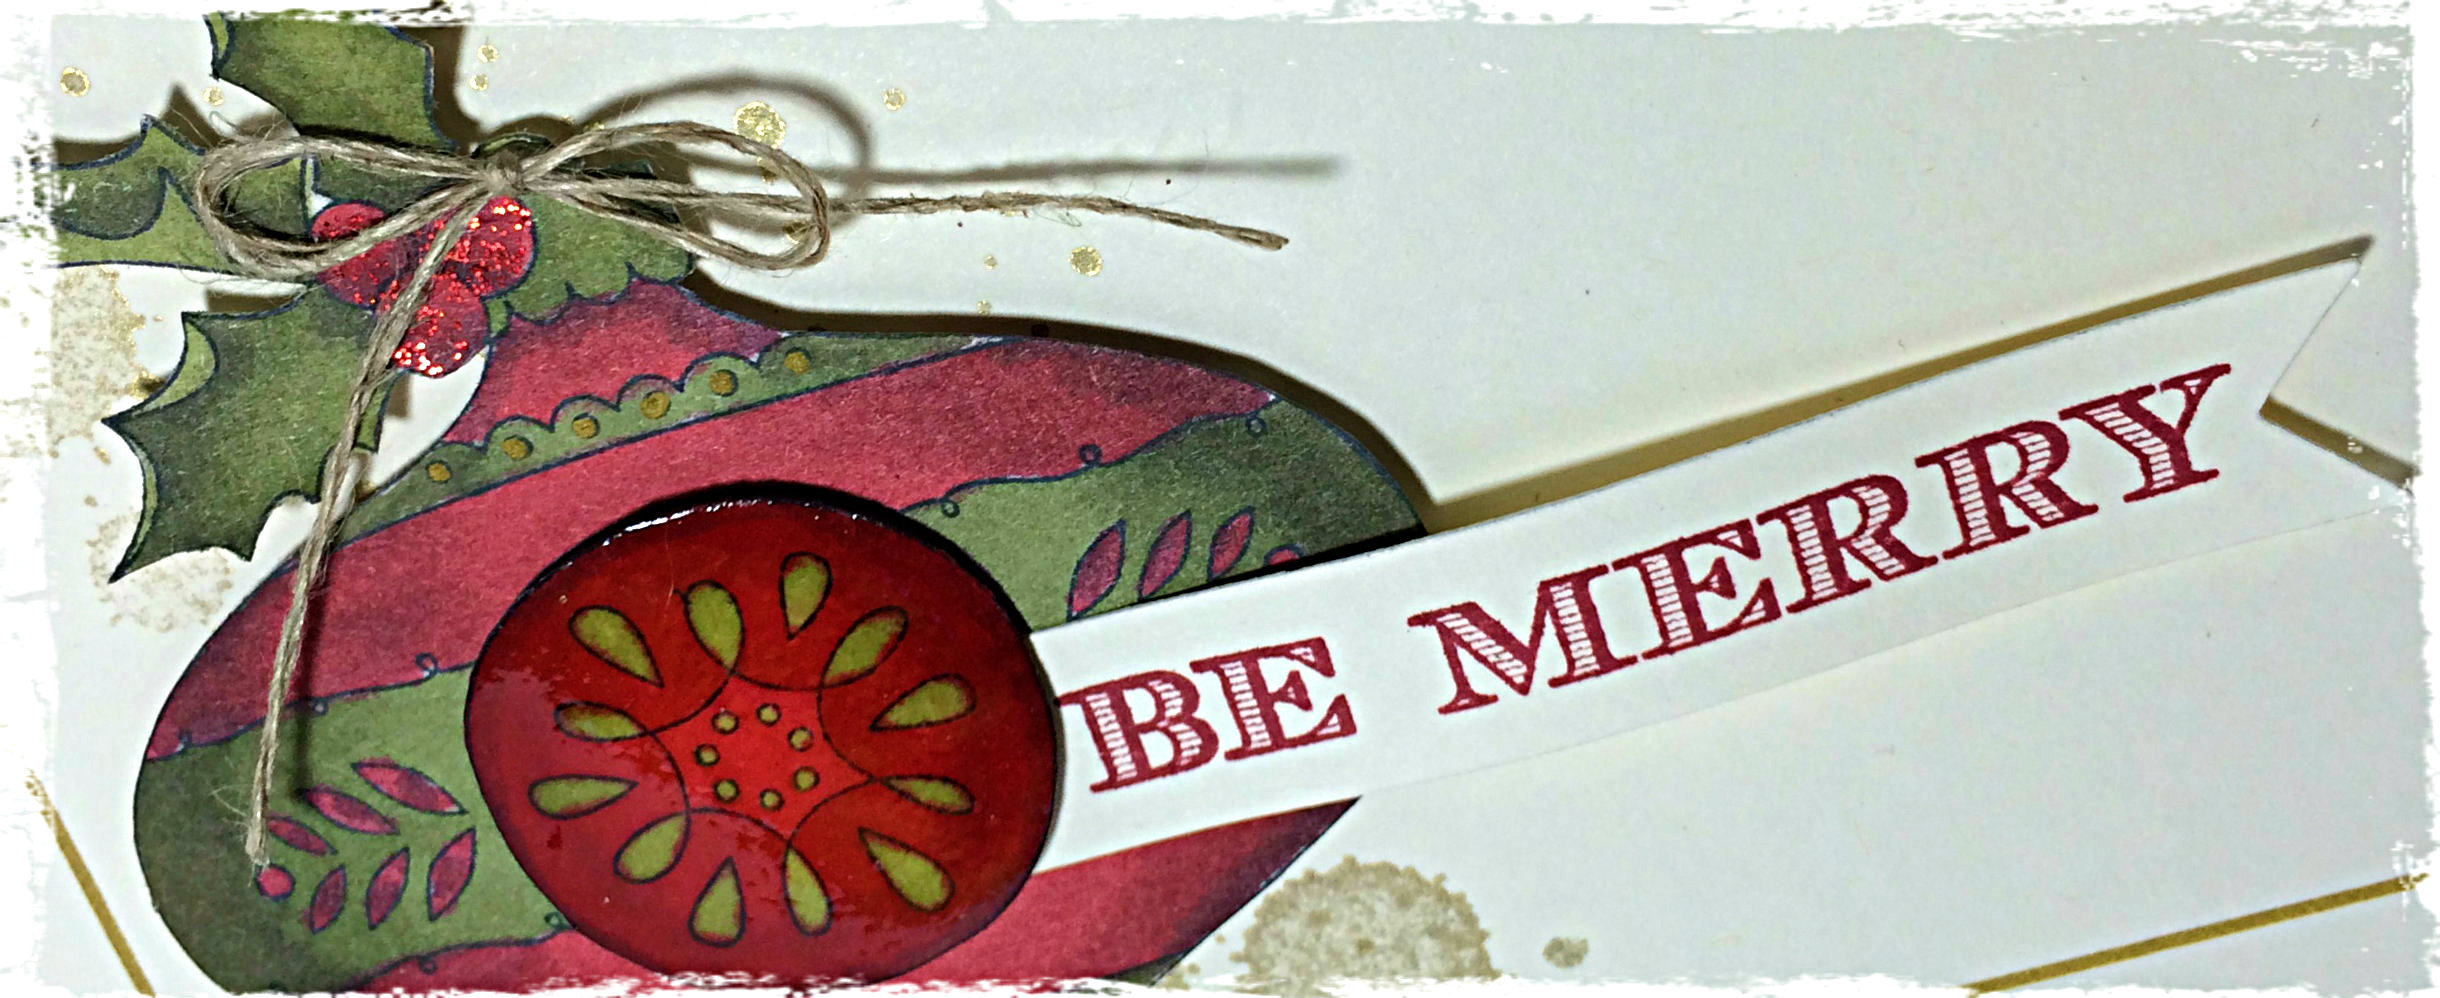
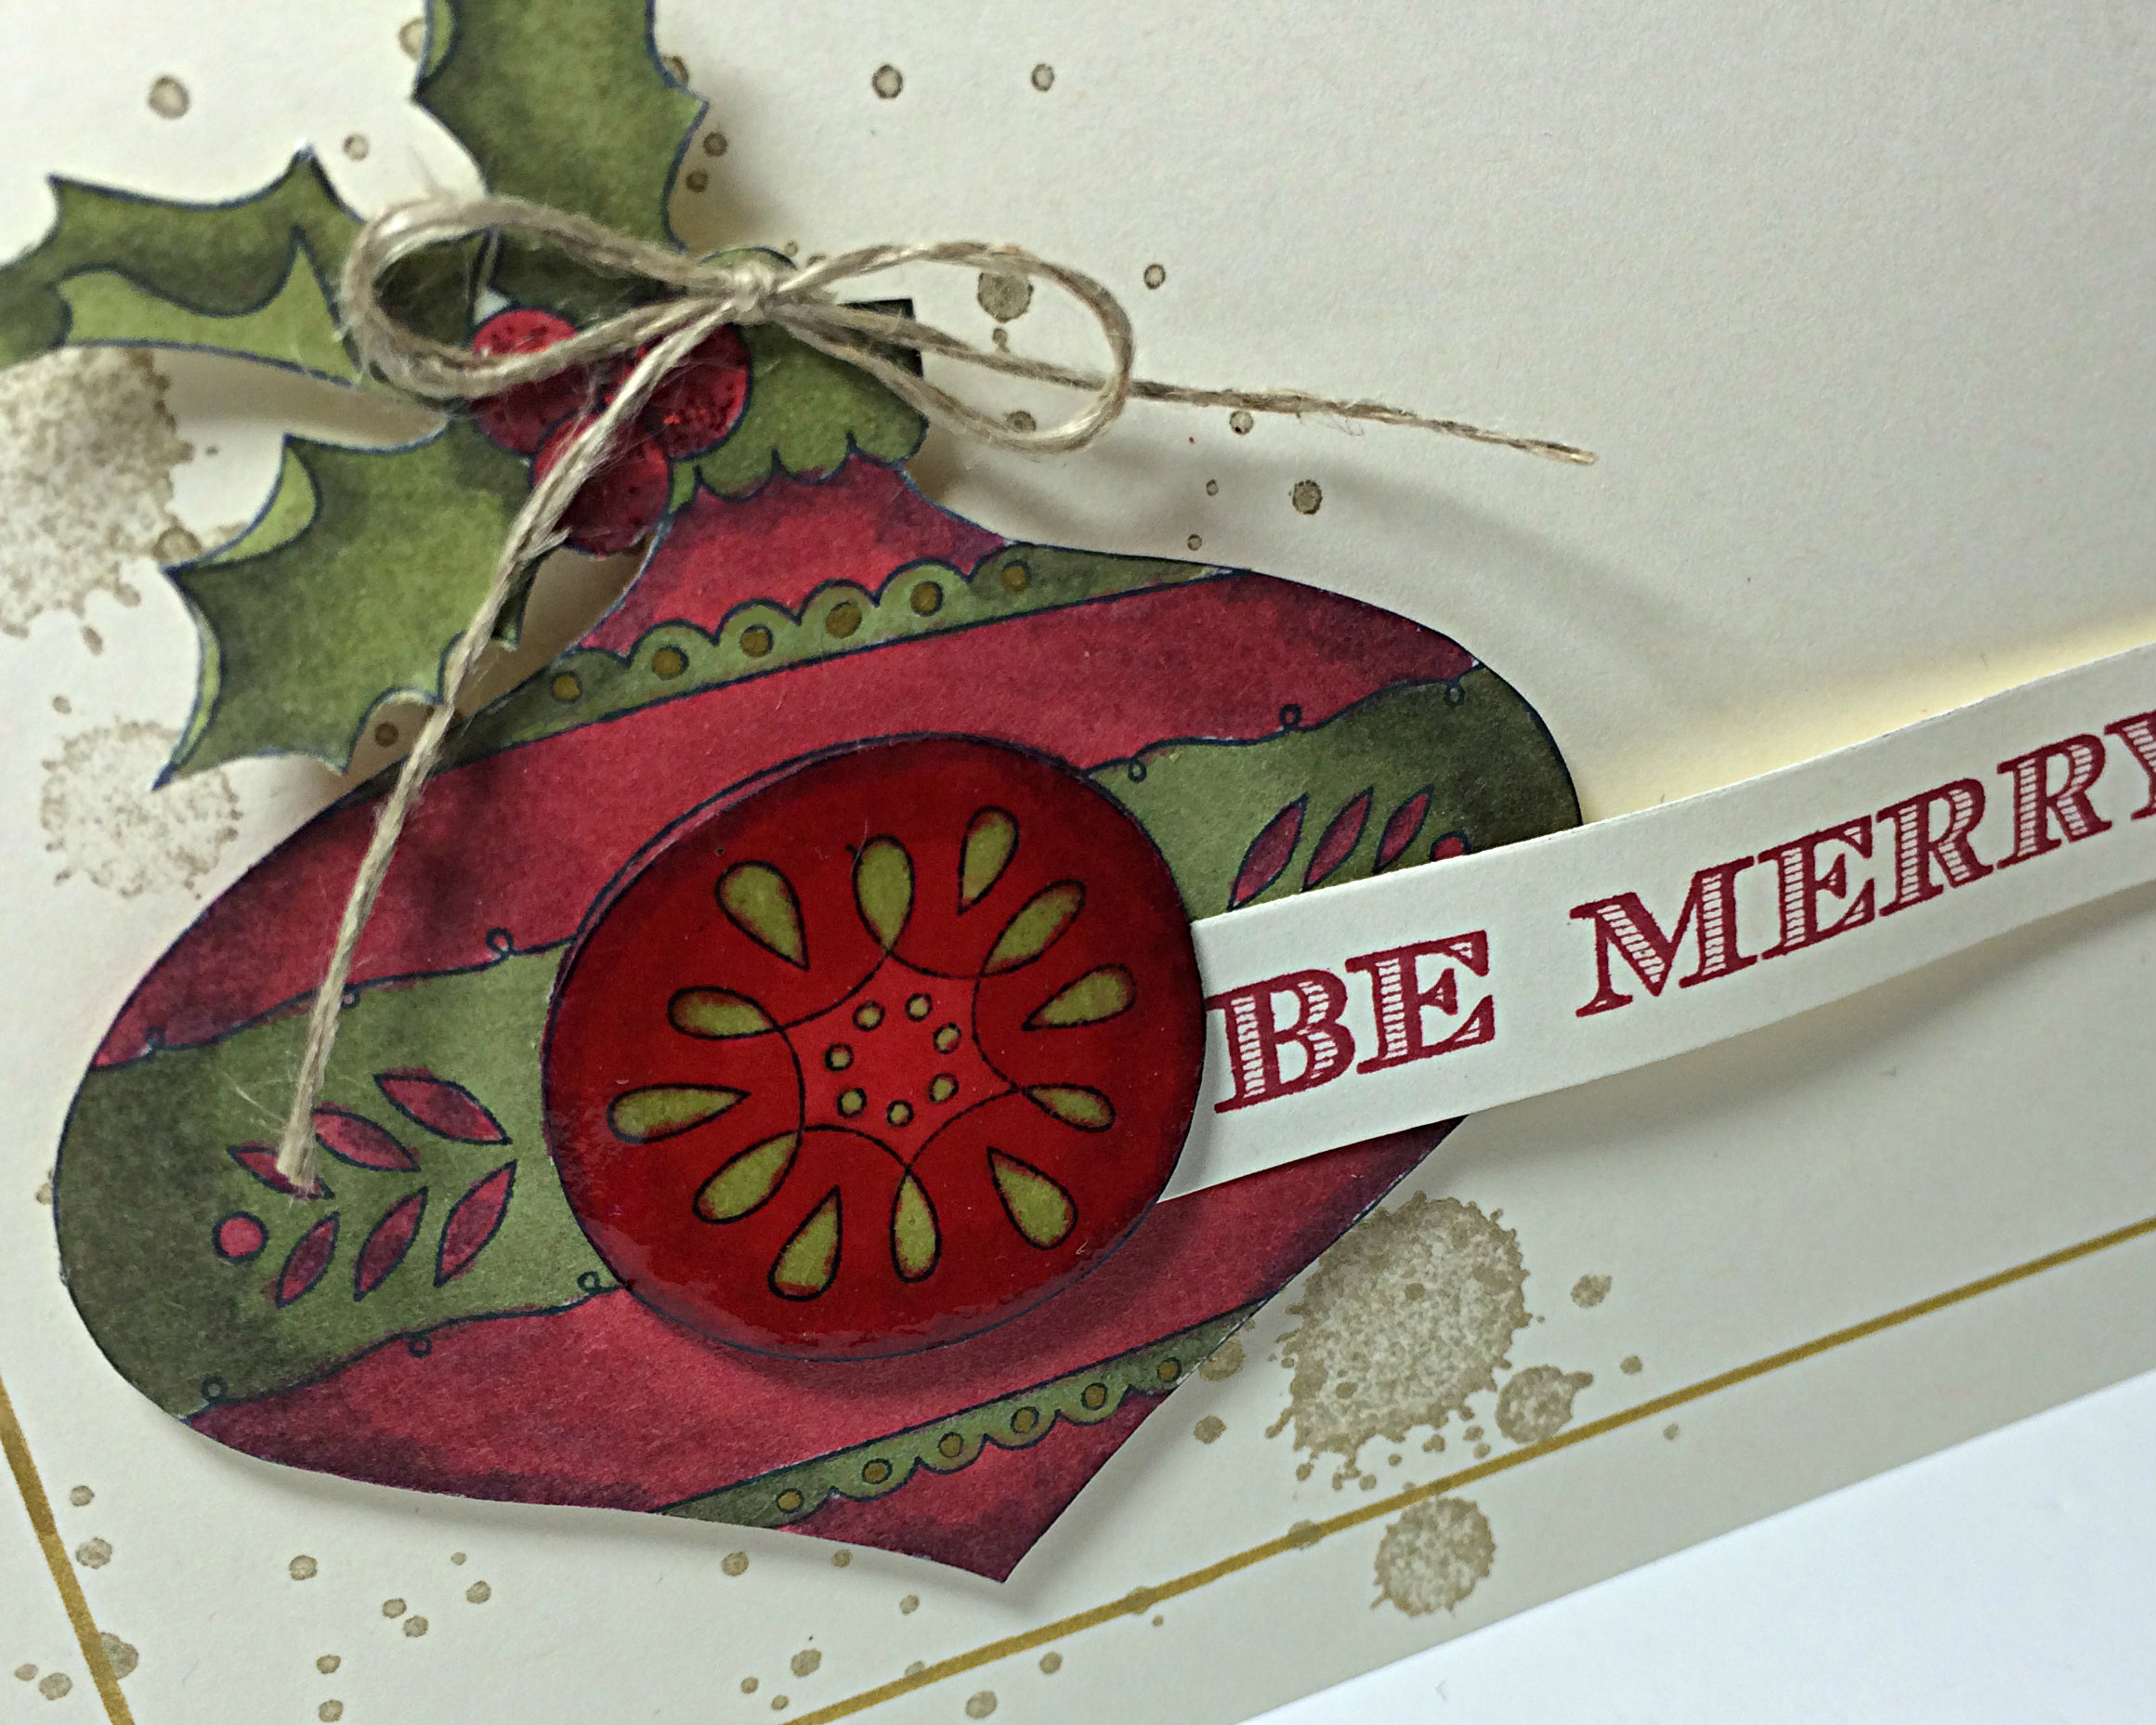
065AmyThen I stamped the Christmas Bauble stamp on Very Vanilla card stock twice with Momento Tuxedo Black ink – once as a full image and once just for the center circle of the image. These I  coloured with the Cherry Cobbler and Old Olive Blendability markers and hand cut the image with my Paper Snips (LOVE these scissors!). I added a touch of the Gold Dazzle marker to the tiny dots on the image as well as some Cherry Cobbler Dazzling Details to the red holly berries and set that aside to dry.

The center circle has been given a layer of Crystal Effects, which I gave ample time to dry overnight before applying it to the Christmas Bauble with Stampin’ Dimensionals. I attached the bauble itself to the card base with Stampin’ Up! Dimensionals as well, then added the Linen Thread bow with a Glue Dot which I first rolled into a smaller dot so it wouldn’t show under the thin Linen Thread.

065closeThe sentiment from the Holiday Invitation stamp set was stamped on a strip of Very Vanilla card stock in Cherry Cobbler ink. I hand cut the flagged edge of the paper strip and slipped the end under the center circle of the bauble and secured it in place with Multipurpose Liquid Glue on the bauble side and a Dimensional on the flagged end.

And I love how it turned out! Have you ever hand drawn anything directly on your stamped card? I don’t do it very often but am pleased with what it added to this card.

Why don’t you give the challenge a try? We love to receive inspiration from all the designs that come in. So link up your card or project that you do with this As You See It Challenge sketch and show us what you came up with!

Amy

Designer-Badge