As You See It

Dressed in Green

043header

Welcome to my blog where I share with you my love of designing using Stampin’ Up! paper, inks, stamps, and tools. Today I show you how I step up my 10 minute card.

It’s Friday! Time for a challenge that is super fun, but probably one of the hardest for me. On the one hand, I love the 10 minute speed challenges because they force me to produce a card quickly and help to reroute some of my fussy creative brain waves. On the other hand, I find it very difficult to take my hands off at or around the 10 minute mark because there are things to keep fussing with, lol!

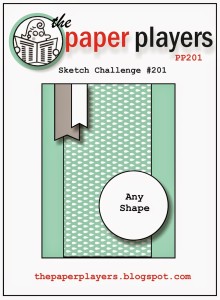
I also wanted to participate in the Paper Players sketch this week. I think I’ve only participated in one or two challenges other than the As You See It Challenge blog for which I am a designer. It felt like it was time 🙂

#43    PP201

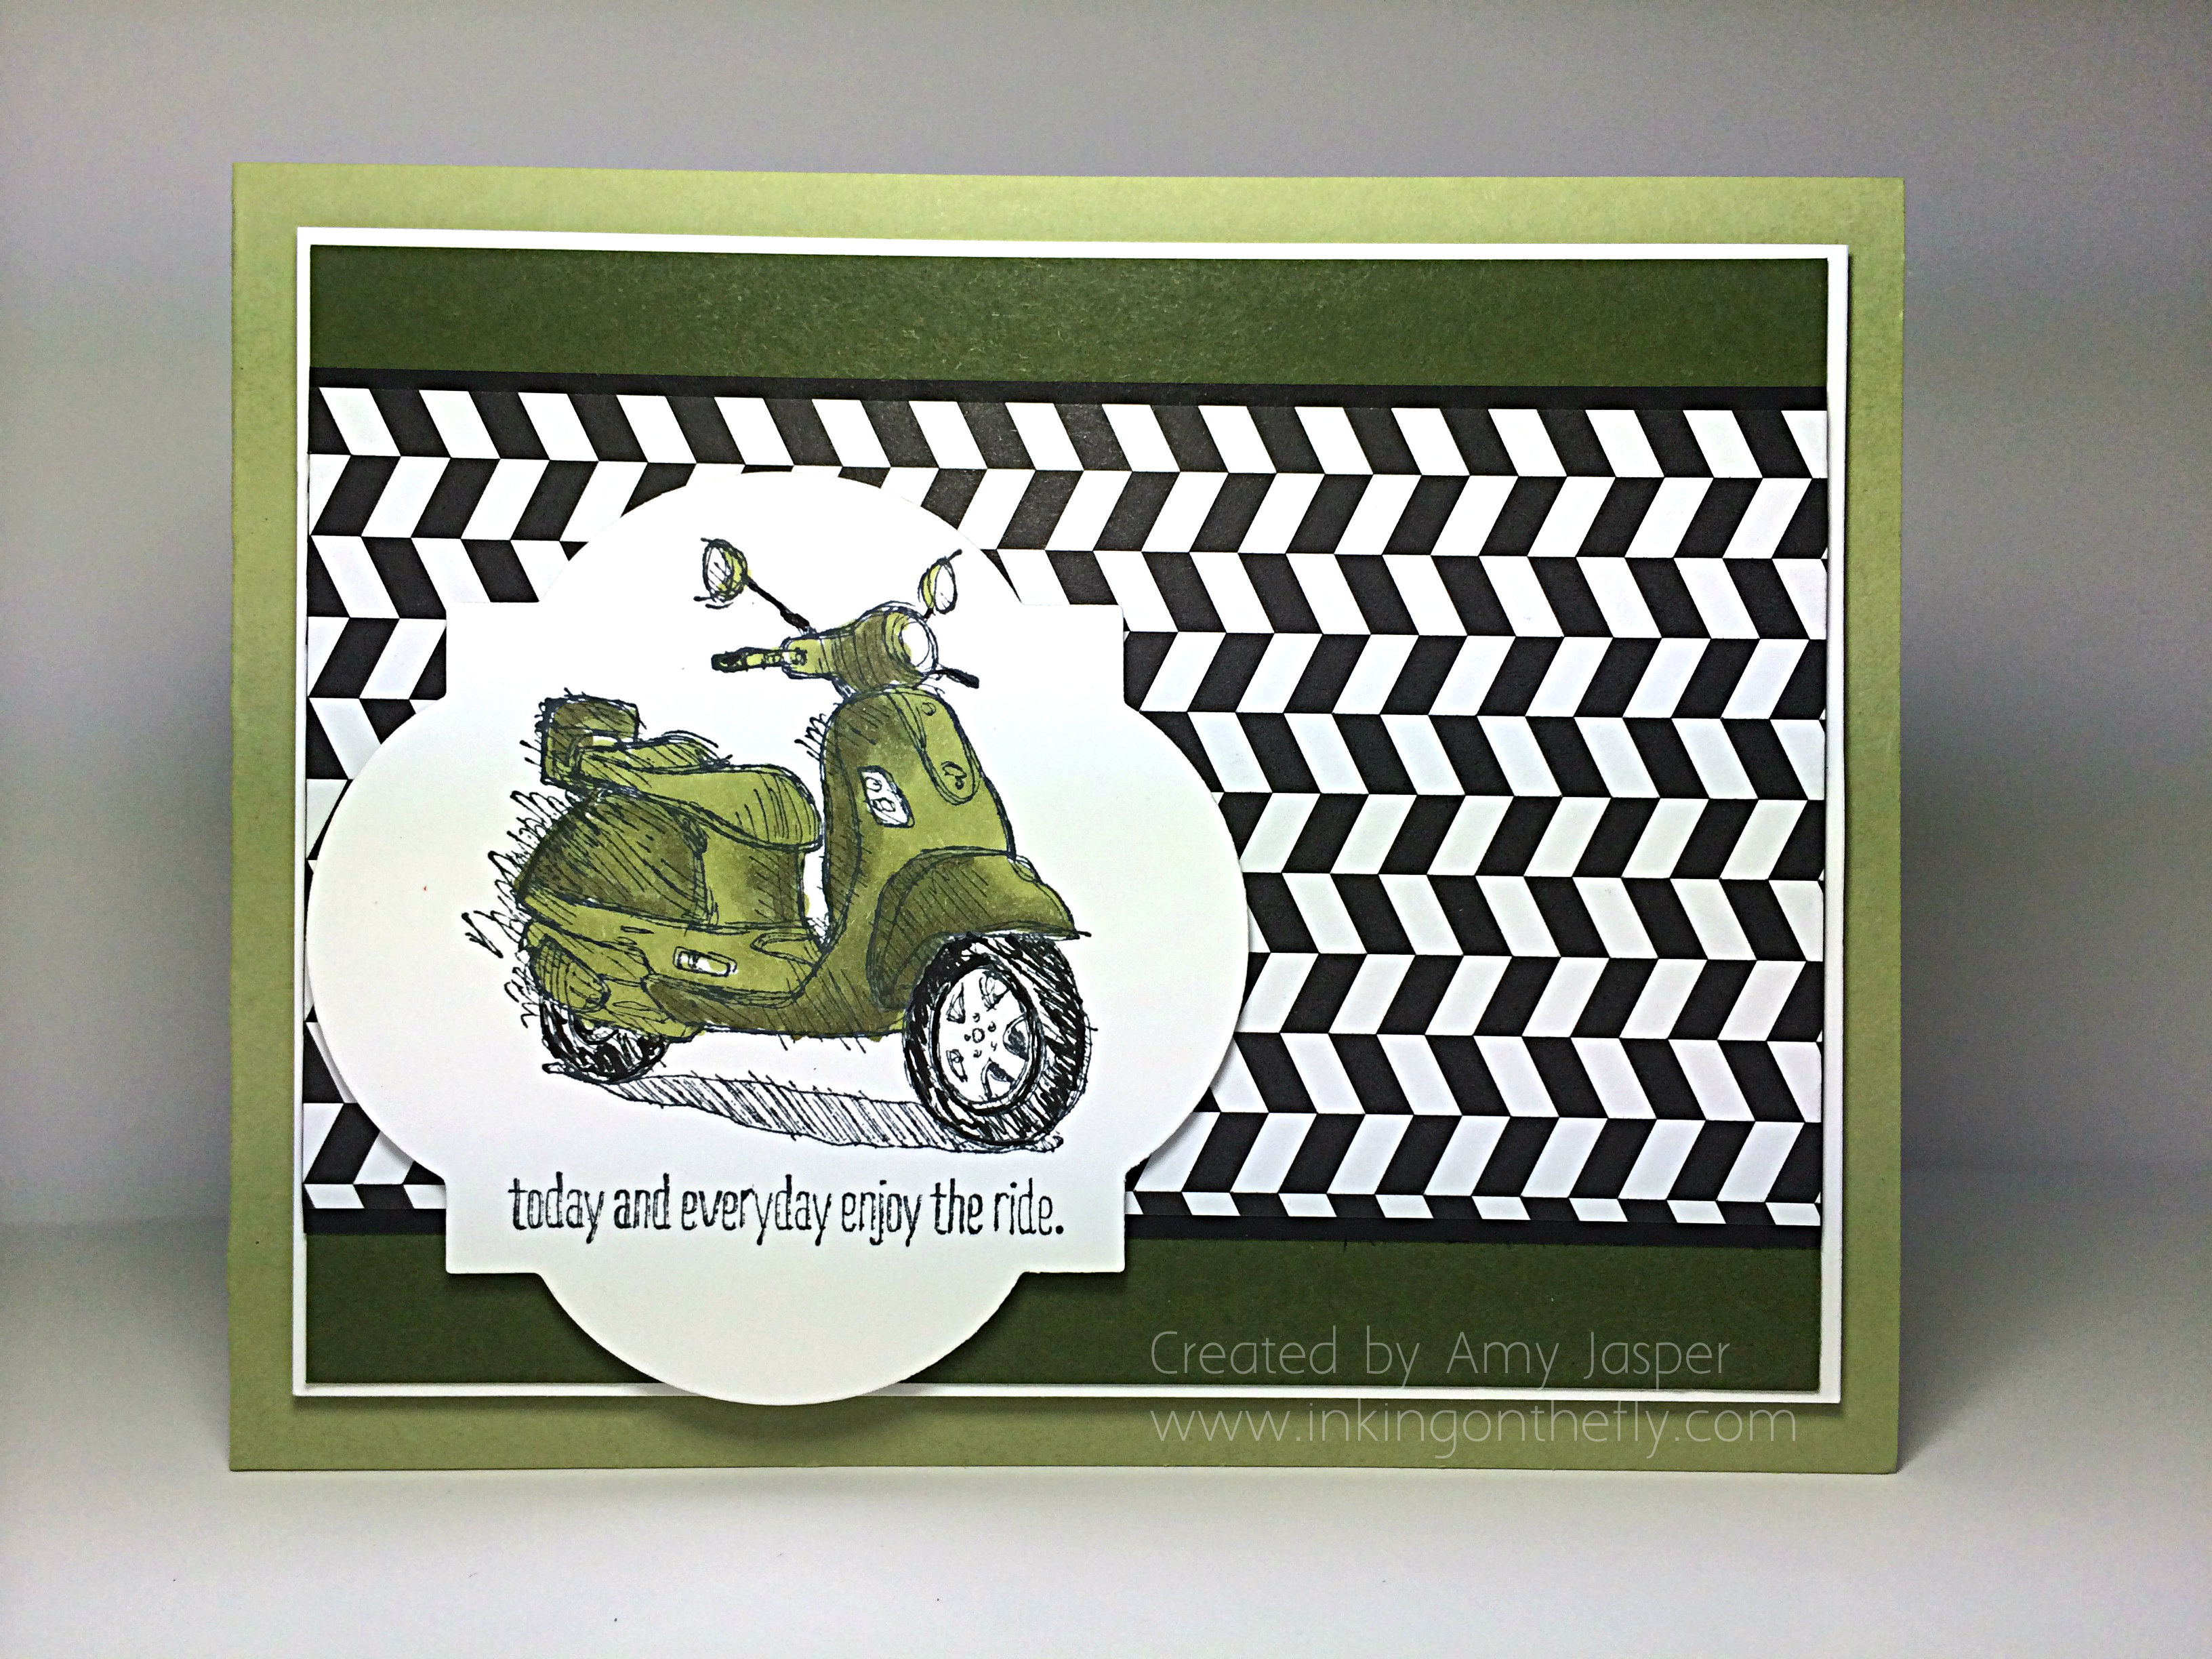
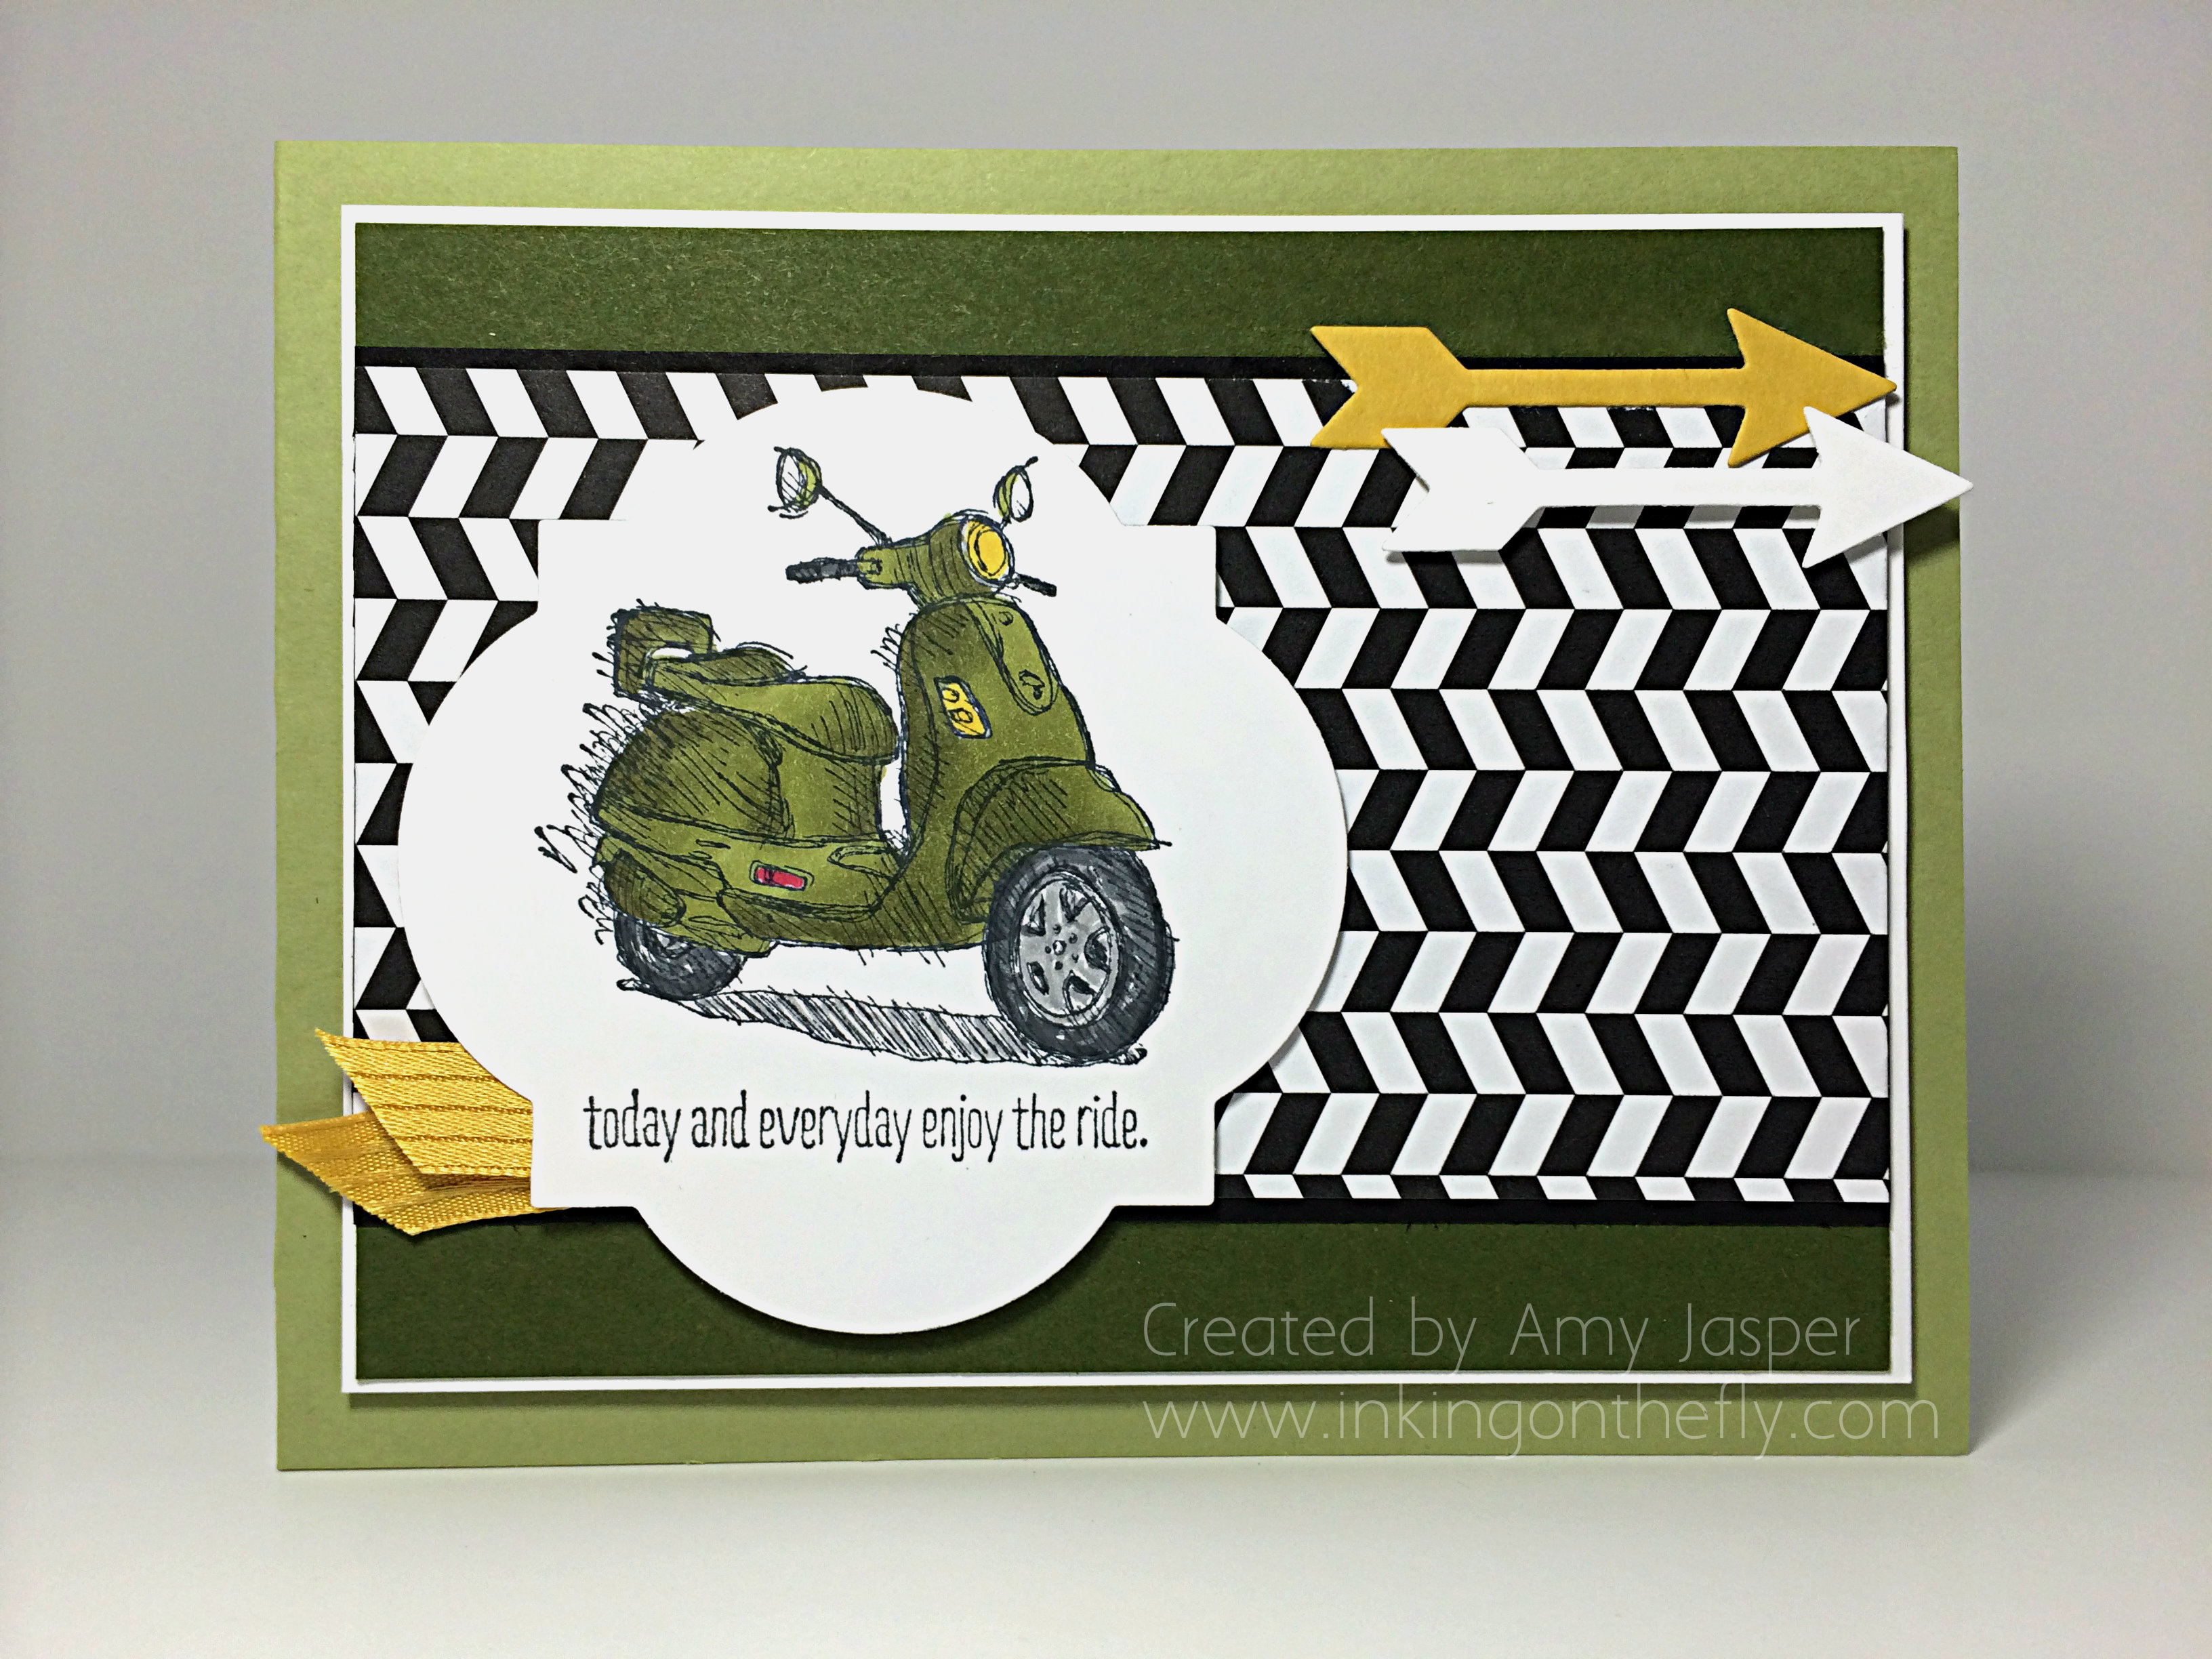
I wanted to turn the Paper Players sketch on its side.  For my shades of green, I used the new Mossy Meadow with the lovely Pear Pizzazz. With the Basic Black and the Black and White Designer Series Paper, I thought it turned out pretty good after 9 minutes and 56 seconds (phew, that colouring with the Old Olive Blendabilities nearly put me over!)

043Amy

9:56

Though there is really nothing wrong with this card, I wanted to add some pop, so I thought I would use the opportunity to show you how you can step up a simple card with some colour.

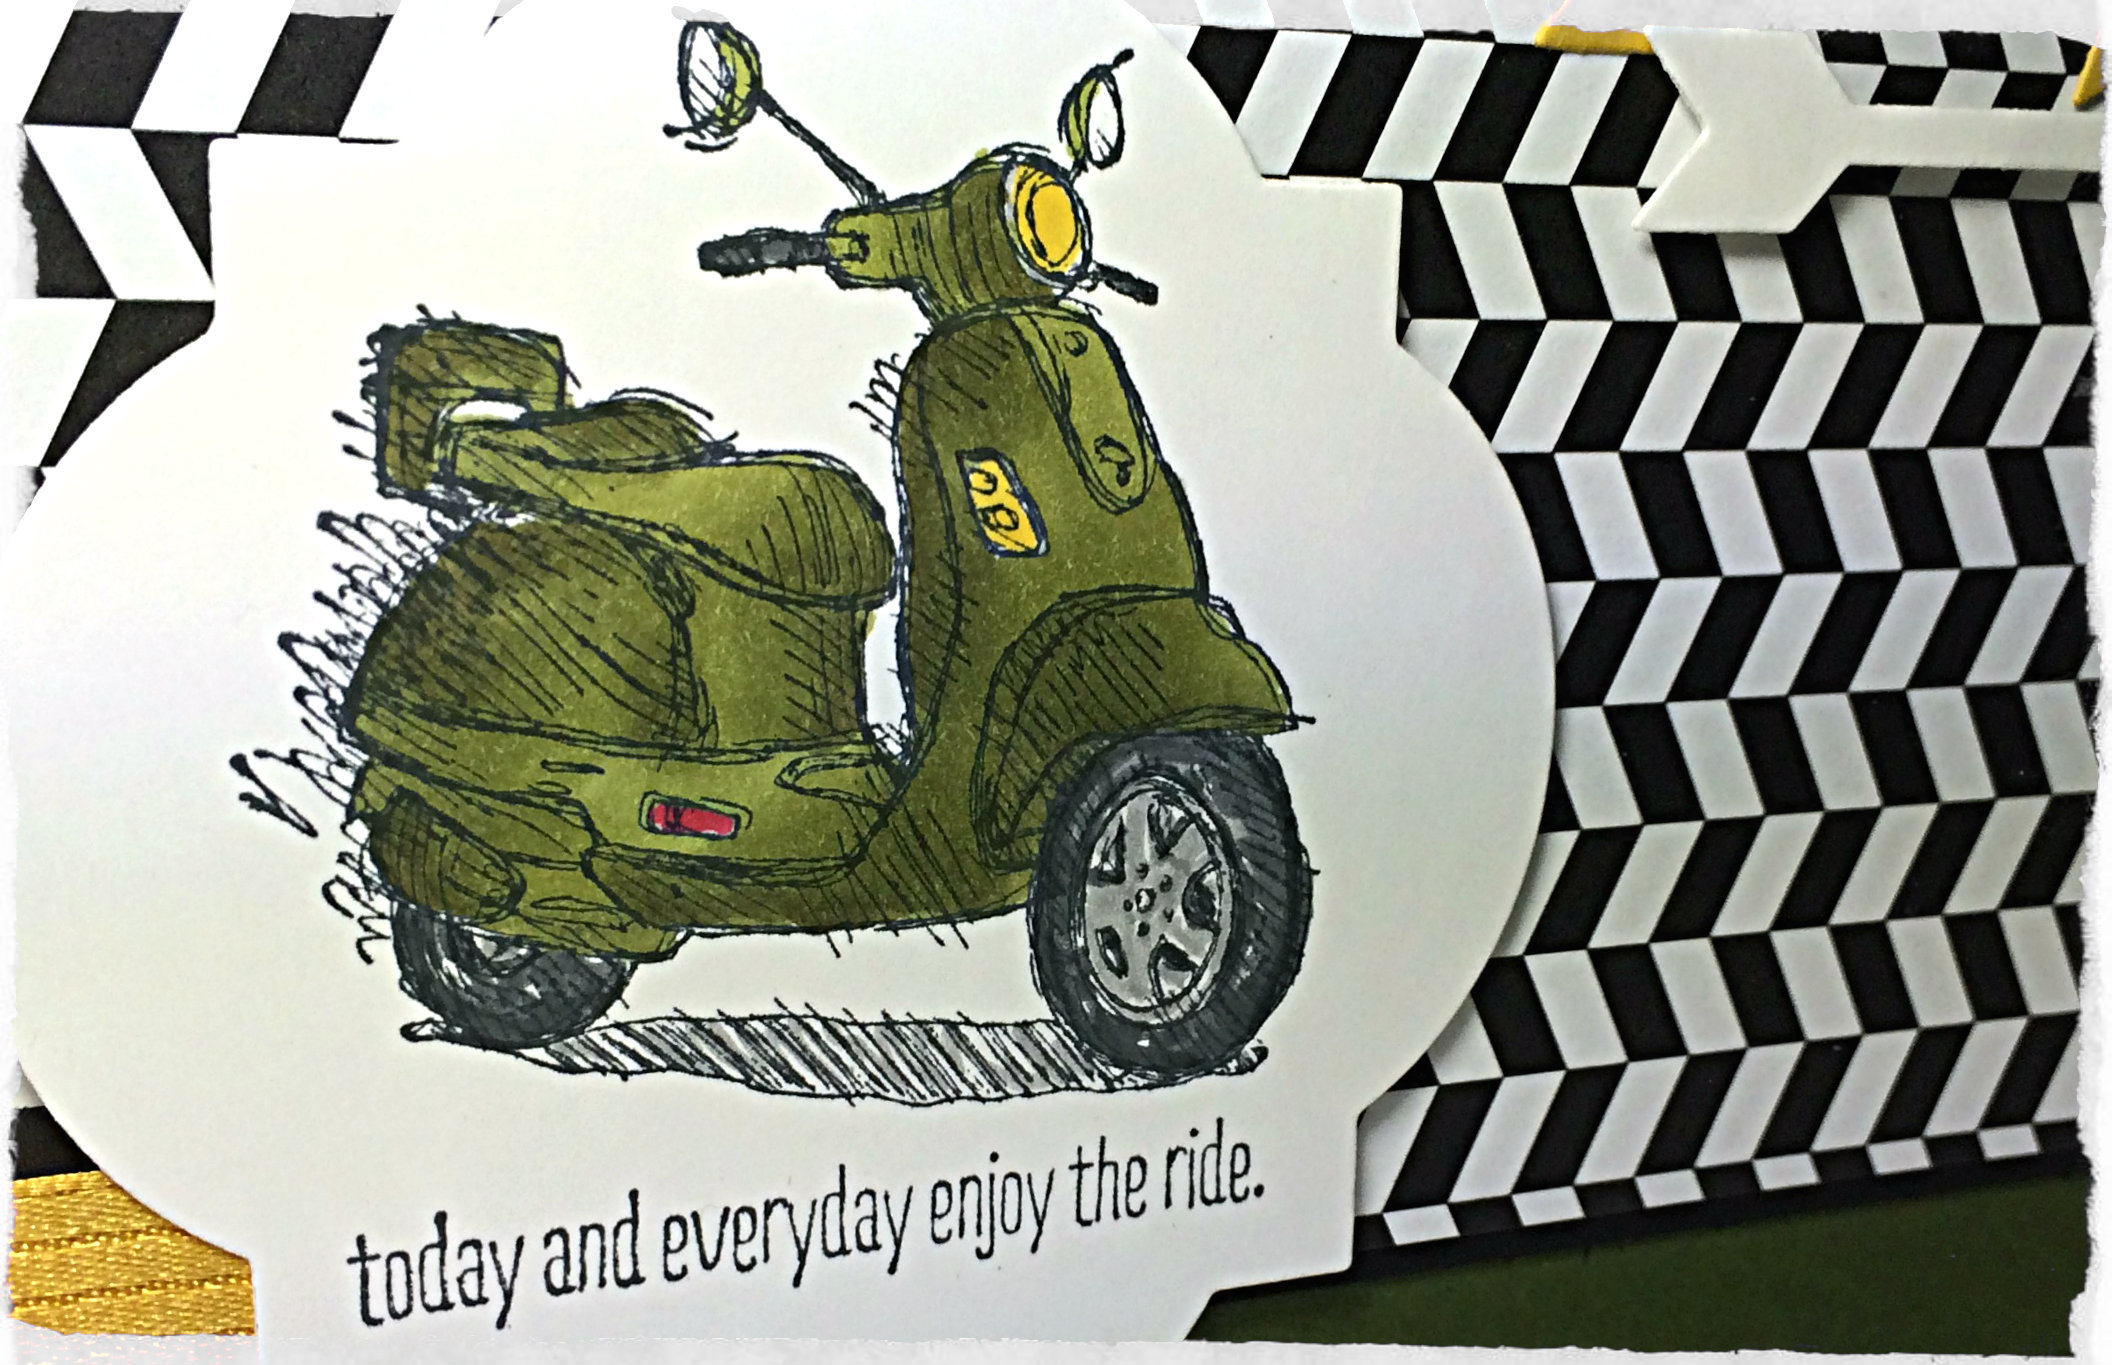
Here’s the stepped up card that I used in the Paper Players challenge:

042improved

Yes, this card feels complete. This card pleases my eye. This card did not take less than 10 minutes!

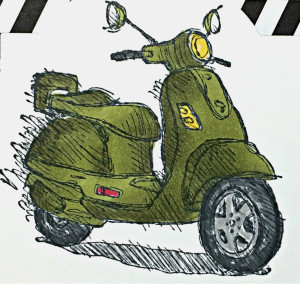
You can see that I added some Daffodil Delight and Cherry Cobbler to the scooter lights using my Blendability pens. I also shaded the tires with Basic Grey and Smoky Slate Stampin’ Up Markers (the tires on the speed challenge card were darkened with a black pen that I had nearby – no time to find my markers, lol!). I even added a bit of Smoky Slate marker to the shadow of the scooter.

Here’s a close up of the two side-by-side, so you can see the difference:
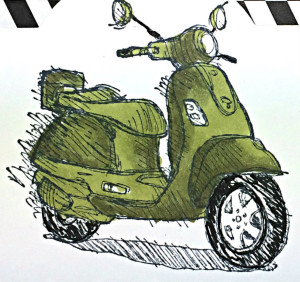
043Amycolouring042improvedcolouring

You know, now that I see them side-by-side, they both look alright.

As for the rest of the stepped up card, I used some Hello honey satin ribbon and a couple of arrows from my Label Card Thinlits – one in Whisper White and one in Hello Honey cardstock.

The card has a few layers up on Dimensionals, which don’t always show up in my photos. If you look closely, you might notice that the entire center piece, framed in Whisper White, is lifted up on Stampin’ Up! Dimensionals. As is the Window Framelit image and the Whisper White arrow. I cannot emphasize how much of an improvement Dimensionals add to a project. If you don’t have them, GET THEM!!

I hope you will try the As You See It challenge this week. You might even consider the next Paper Players challenge, too. They just might help reroute your creative brain and get the artsy mojo flowin’!

Amy
Designer-Badge

Groovy Love

041header

Welcome to my blog where I share the creations that I have designed using the tools and supplies from Stampin’ Up!

I don’t know if I ever explained why I call my blog “Inking on the Fly”. It all started with ladybugs.

I love ladybugs.

They represent the complex beauty of the great outdoors (which I also love). I have a tattoo on my right hip of a ladybug that was etched in all it’s permanency about 18 years ago and I still love it and it still suits me. My first blog was called “Ladybug Landing”, but I decided that it did not have a descriptive element to it that had anything at all to do with paper crafting and rubber stamping! So, I thought of “inking on the fly” and then dropped the “ladybug landing” part altogether when I started this new blog.

As a busy mom of 3 kids (10, 8, and 5) who also works part time and tries to maintain my stamping business, my yard, my house, and my family’s well-being, I don’t have a lot of time for creating with my craft supplies anymore. When I do have time to design, I find that it is brief and rushed more often than not. So, when I “ink”, I am often doing it “on the fly” … how does this apply to ladybugs, you ask? …. Well, they fly, too, silly!!

Here’s the challenge this week. As you See it Challenge #42

#42

I was definitely inking on the fly when I created my card for this one. We have a camping trip planned for which I have done NOTHING to prepare. I have washed a few clothes and made a grocery list and menu. I have not packed ANYTHING! I guess inking isn’t the only thing I do on the fly, lol!

042Amy

Ain’t it purdy!!

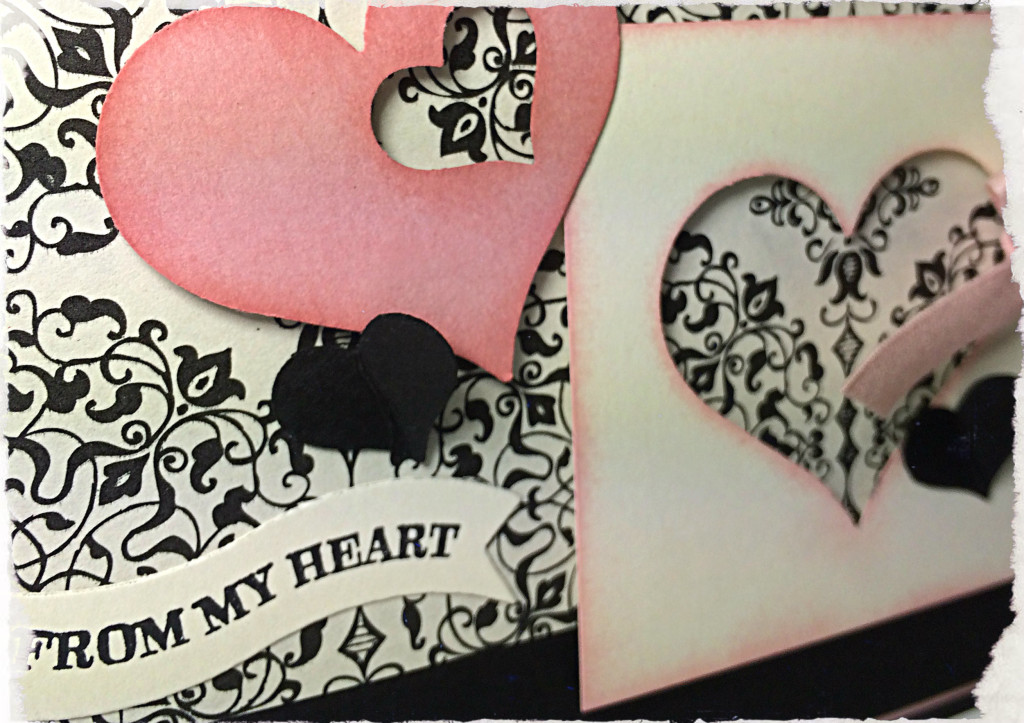
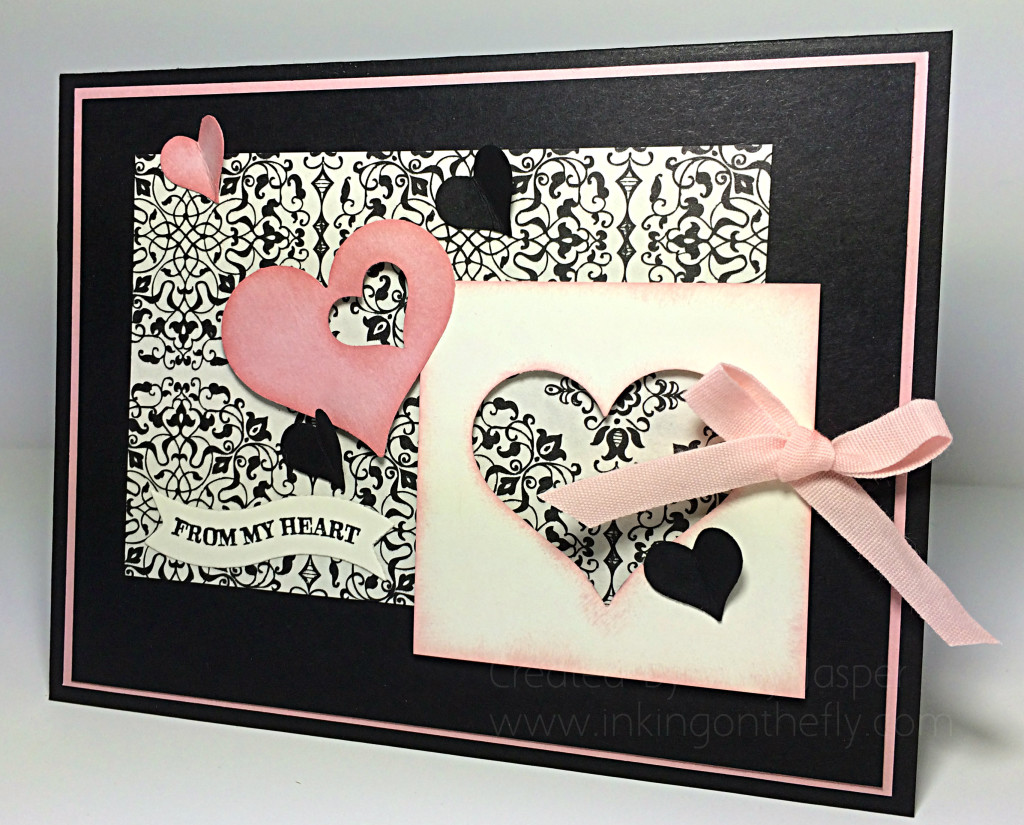
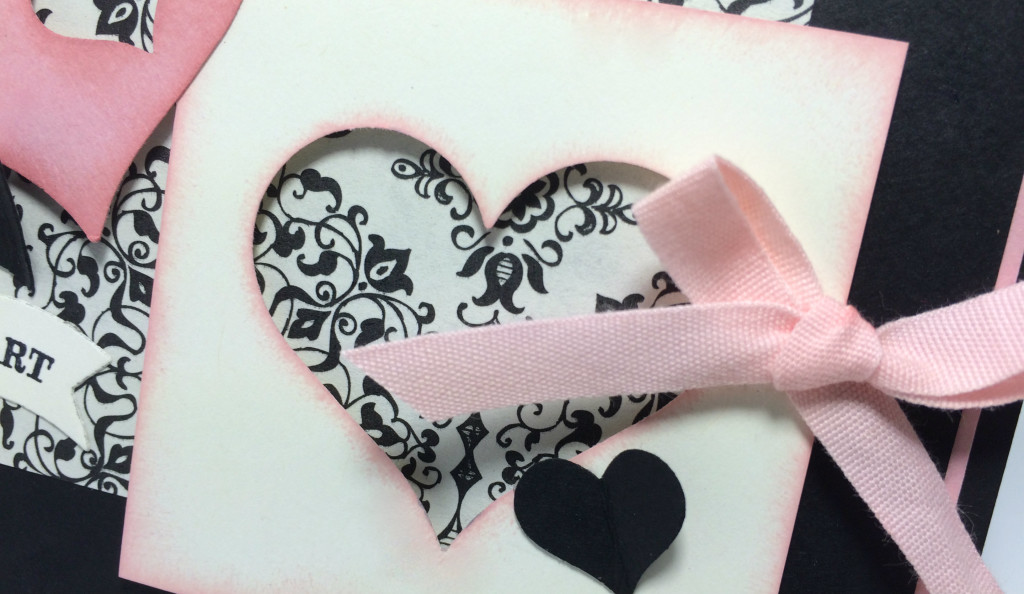
Notice the new 1/4″ Blushing Bride Cotton Ribbon and the new Sweetheart Punches? The little punch is from the Itty Bitty Accents Punch Pack. The big heart is all on its own. Both have that sweet little curved tip on their tails – I guess that’s the “sweet” part of the sweethearts.

I used Basic Black cardstock for my card base, then a layer of Blushing Bride cardstock to thinly frame another layer of Basic Black. Over this, I placed a rectangular piece of the fabulous Typeset Specialty Designer Paper. Then I played with the hearts!

I punched a Sweetheart from the square piece of Very Vanilla cardstock and sponged lightly with my sponge dauber and Blushing Bride ink around all the edges. I tied the ribbon through the punched out heart and attached the Vanilla cardstock piece with Stampin’ Up Dimensionals to the card front.

042 heartclose

The small heart punch from the Itty Bitty Accents punch pack was used for all of the small hearts. I sponged Blushing Bride ink over the edges of those that were punched from the Blushing Bride cardstock. The large Blushing Bride heart is attached with Dimensionals while the small hearts were each creased in the middle and only attached to the card by the left lobe of the heart.

Finally, I added the sentiment from the Groovy Love stamp set. I stamped it on Very Vanilla cardstock with Stazon Black ink and die cut it in my Big Shot with the Bitty Banners framelits that matched the shape.

I hope you like it.

I’m sorry that I haven’t posted what the winner receives for her prize from my draw. I will have to post that after the weekend. I’m doing too many things on the fly these days, lol!

Go on over to www.asyouseeitchallenge.com and have a look. There is a new challenge every Friday for you to stretch your creative muscles on. See what you can come up with for the sketch this week and follow the directions to link it before Wednesday night. We want to be inspired by the way you see it!

(do you sometimes ink on the fly, too?)


Amy


Designer-Badge

Night of Navy Papillon

39header


Welcome to my blog where I share my love of designing with paper, ink and tools from Stampin’ Up! It’s another As You See It Challenge card today and it’s an Assortment Challenge!


#39


Sadly, the Midnight Muse cardstock fully retires on June 1st, so I chose to use Night of Navy as a replacement, though I loved Midnight Muse!

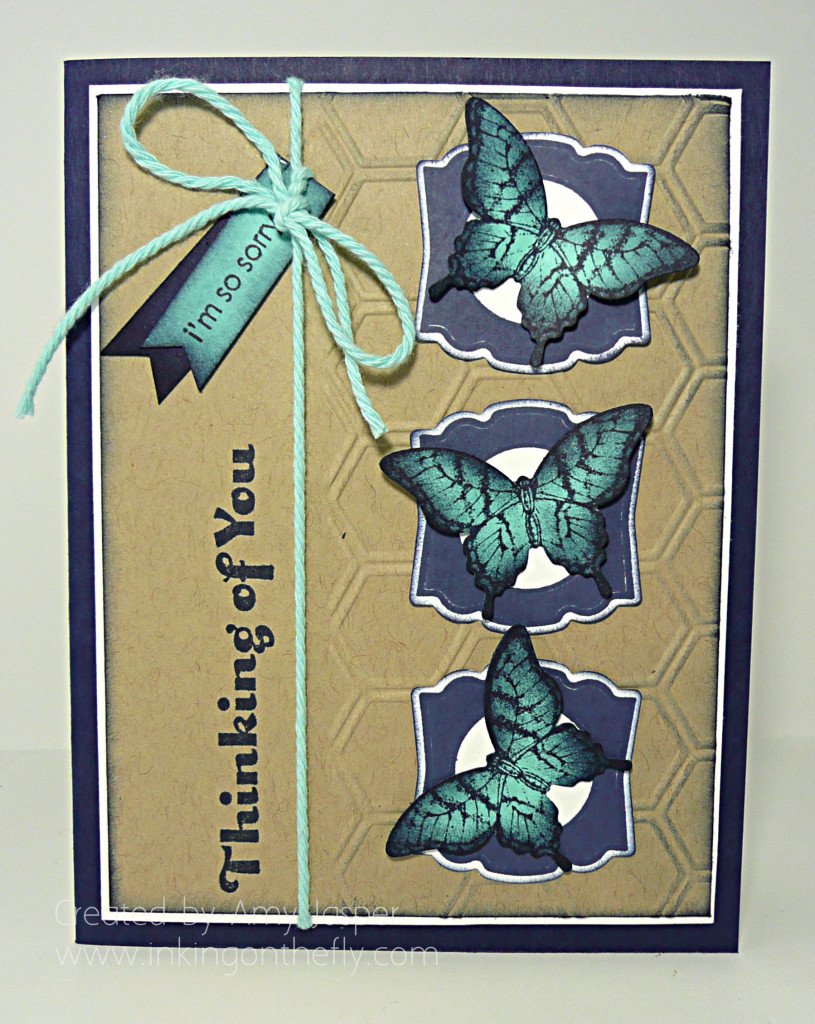
Here’s the card that I designed as a sample for the challenge this week.


39Amy


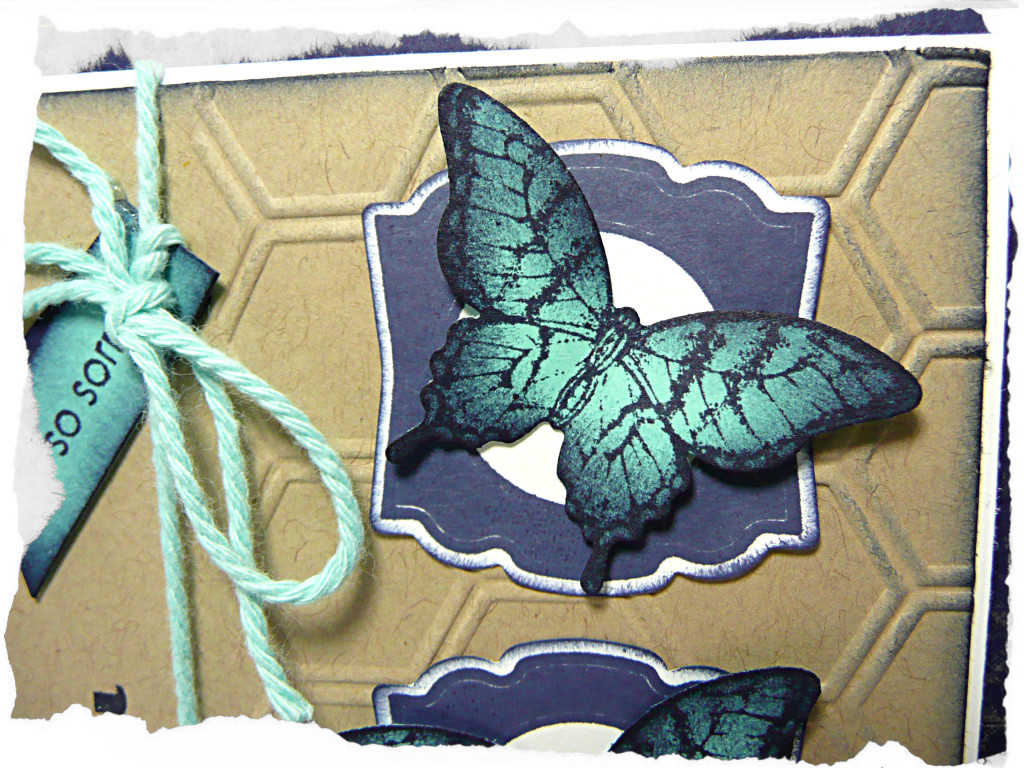
I used the Night of Navy for my card base, with a layer of Whisper White to mat the Crumb Cake Honeycomb embossed (there’s my hexagon!) cardstock. I sponged that Crumb Cake cardstock with a shadow of the Night of Navy ink. The sentiment “thinking of you” from the Four You stamp set is stamped in Night of Navy.  The “i’m so sorry” sentiment from the Teeny Tiny Wishes stamp set is also stamped using Night of Navy ink on the flags/tags. The edges of the flags are sponged with Night of Navy ink. Behind each butterfly image is a piece of Whisper White cardstock with a stamp from the Label Love stamp set that was stamped in Night of Navy ink and punched out with the coordinating Artisan Label punch, then sponged lightly with Night of Navy ink around the edges.

I wanted to use the Coastal Cabana baker’s twine (from my Sale-a-bration supply) for some additional pop of interest and I’m pleased to be able to say that it is in the new catalogue! Yay for coloured twine! I find that twine is just a bit more versatile than ribbon. It can add colour and a linear focus without drawing your eye too much away from other areas of your project.

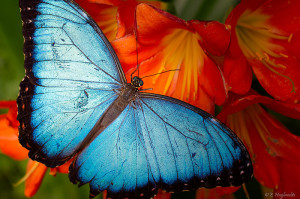
The Baker’s Twine is balanced by the colour in the butterflies and the flag. I stamped the butterflies from the Papillon Potpourri on Coastal Cabana cardstock with Night of Navy ink, then punched them out with my large Butterfly Punch and sponged Night of Navy ink around the edges. I love them!! They are such a rich and gorgeous two-tone blue. Quite a bit like this tropical Blue Morpho (aka Emperor) butterfly:

800px-Papillon_Bleu_-_Blue_Butterfly_(5861969172)

Image from Wikimedia Commons

A few quick facts that I learned about this beautiful insect when I was looking for a photo to show you:

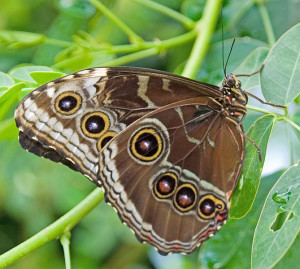
  • The underside of its wings are brown with eye spots – also beautiful, but less striking compared to the blue on top
  • wing span is from 3″ to 8″ wide! (not the biggest butterfly, though, which has a wingspan of over 12″)
Image from Wikimedia Commons

Image from Wikimedia Commons


A beautiful creature to get a little side-tracked on, lol!

Back to the challenge!! I hope you’ll give this challenge a try. It’s a different stretch to incorporate all of the elements for this assortment challenge, but you will have fun with it, I’m sure! So, make a project, upload it to a site where it can be viewed by anyone (your blog or Pinterest, or other publicly accessed sites), then link it up to Challenge #39 on the As You See It Challenge blog and show us your creative mojo.

“Pardon me, Miss, but I’m afraid your creative mojo is showing”

Don’t forget to leave a reply to this post have your name entered into a draw for a Stampin’ Up Care Package!

Yay, free stuff!!

Signature-Amy


Designer-Badge