Congrats on Greece
Do I have a fancy card for you today!!
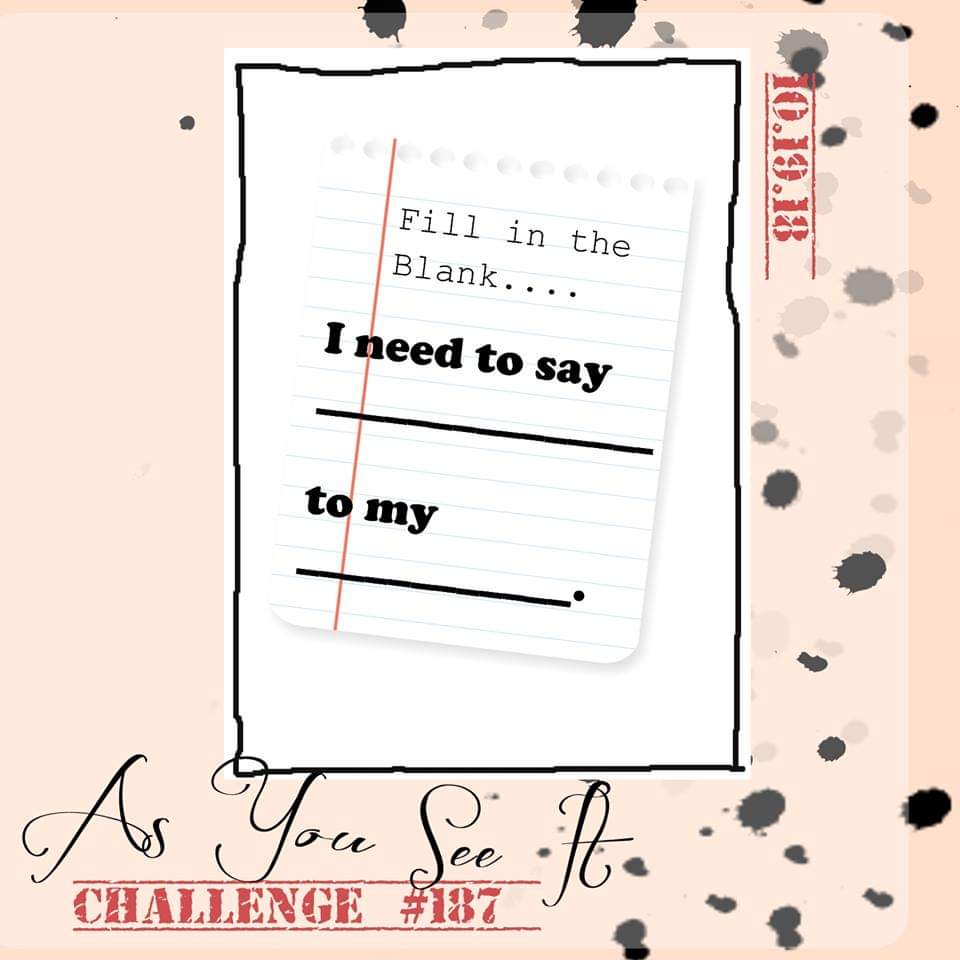
Here’s part of the inspiration from the As You See It Challenge blog:
The other part of my inspiration is my friend, hairdresser, and fellow Stampin’ Up! Demonstrator who earned the trip to GREECE!! She worked so hard this past year and SHE DID IT! I am amazed and wowed by her success and I have not yet made her a congratulations card.
So, to fill in the blanks, I need to say CONGRATS ON GREECE to SUSANNE! (sunnstampin.com)
It’s also very important that I put a shout out to the video where I found this amazing card design. Samantha Clayton at Mixed Up Craft on YouTube has a wonderful tutorial that I followed for the base and inner workings of this card. I loved her instructions and found her very easy to follow. I will post a link to her video at the bottom of this page so you can follow it as well.
I choose to change the measurements of the card so that it could fit (just) into a regular Stampin’ Up! envelope. My card is 4-1/4″ high instead of the 4-1/2″ high card that Samantha makes in her video.
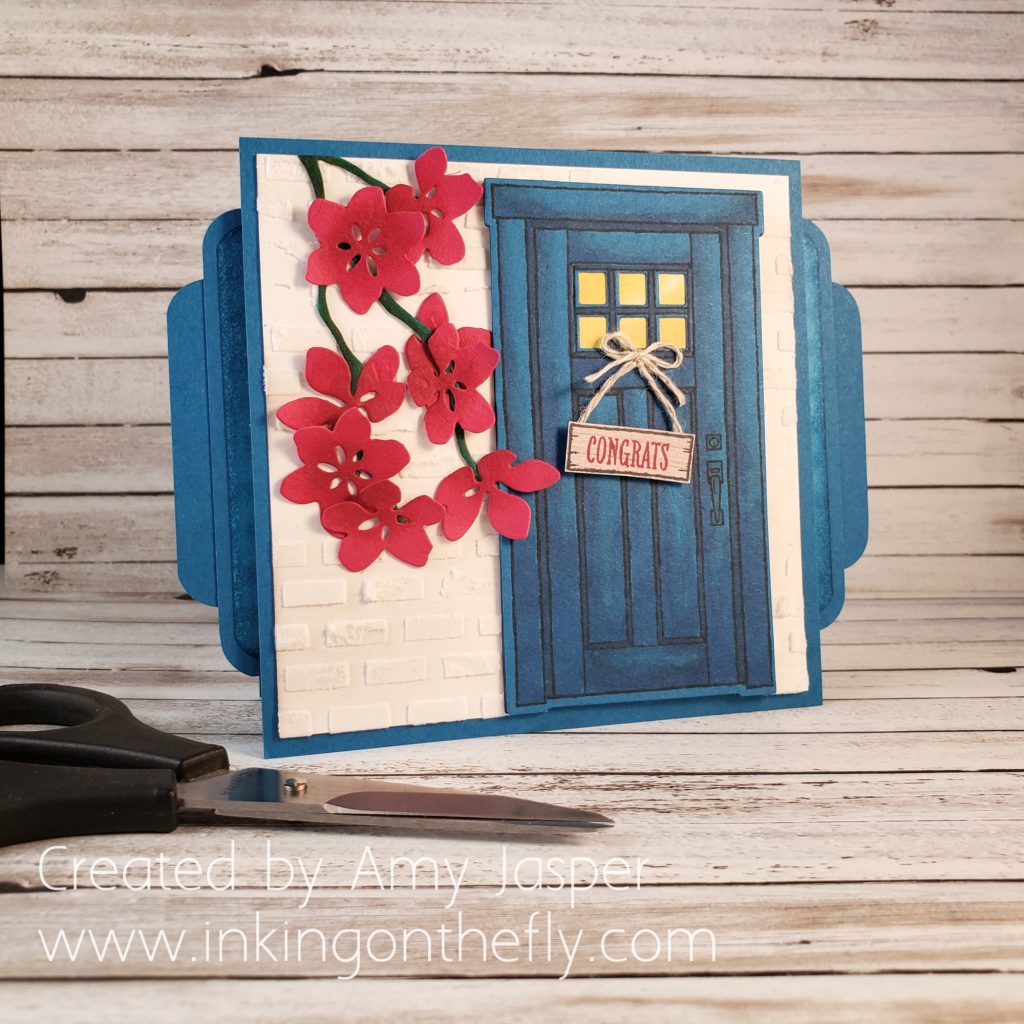
Because my friend, Su, will be going on a trip to Greece, FOR FREE!, my card is Greece inspired. My husband and I went to Greece 18 years ago on our honeymoon and one of my favourite places was the island of Mykonos. I remember the maze of a town with the stone pathways, the white buildings, the blue doors, and the bright flowers in full bloom. I’m so excited that Su gets to go to that very town. She’ll love it!
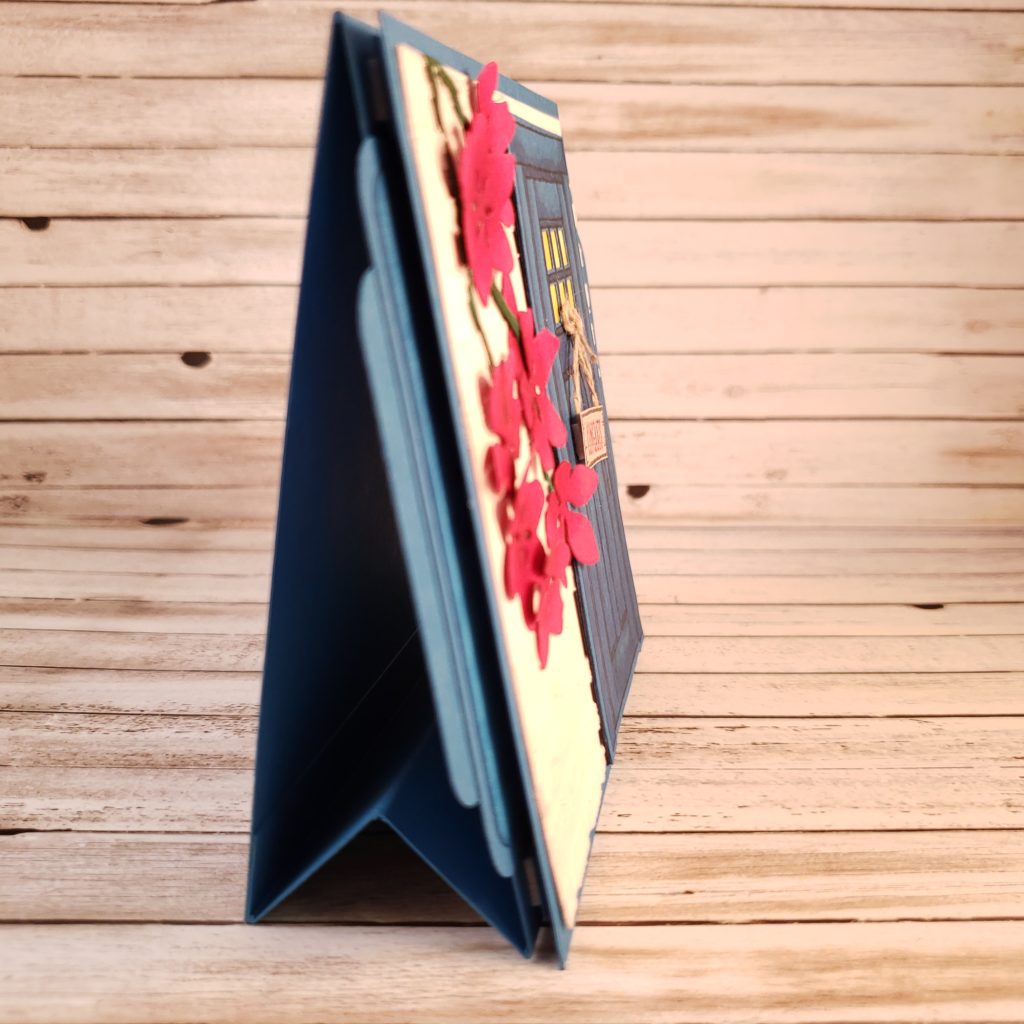
One of the things I like about this card design, is that it has it’s own built in stand. I have made many cards similar to this one in the past, but they either had to be attached to a normal card front or they laid flat like a postcard. This stand is a fabulous idea.
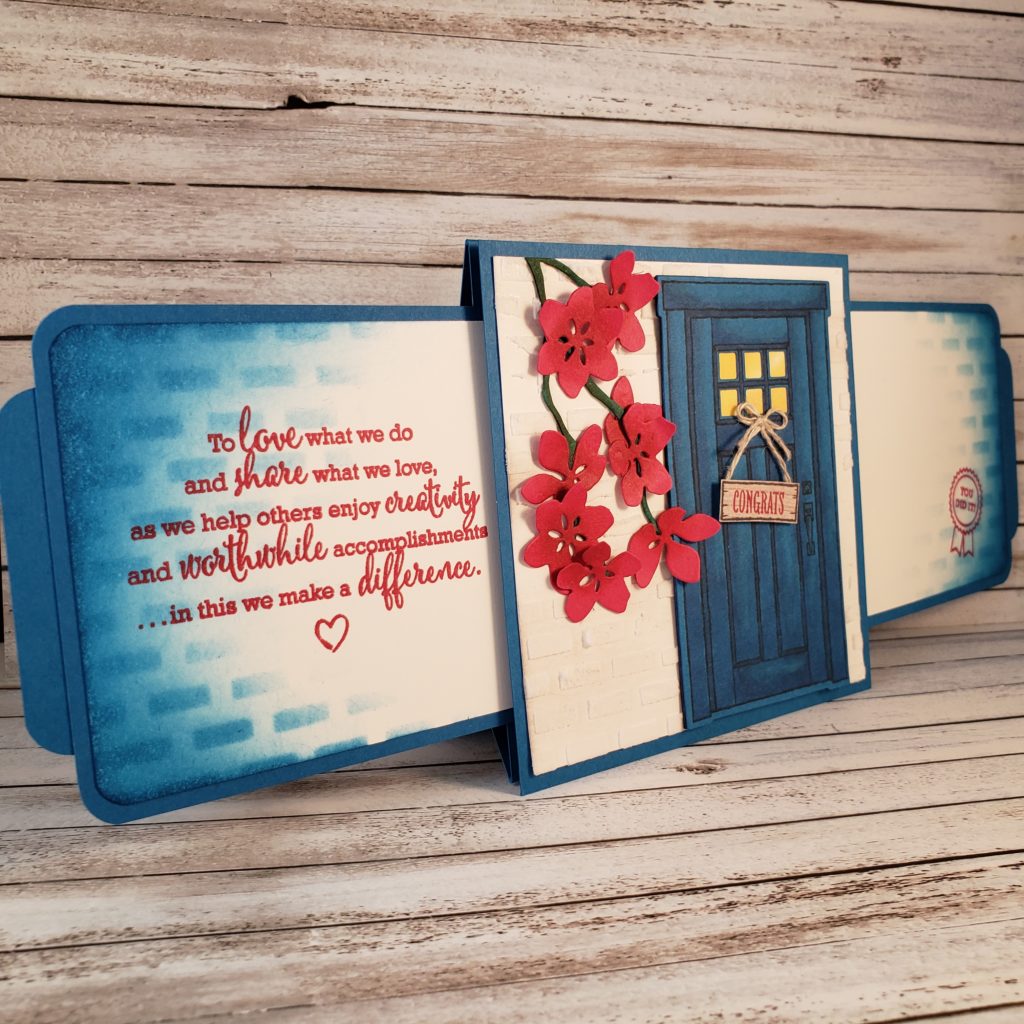
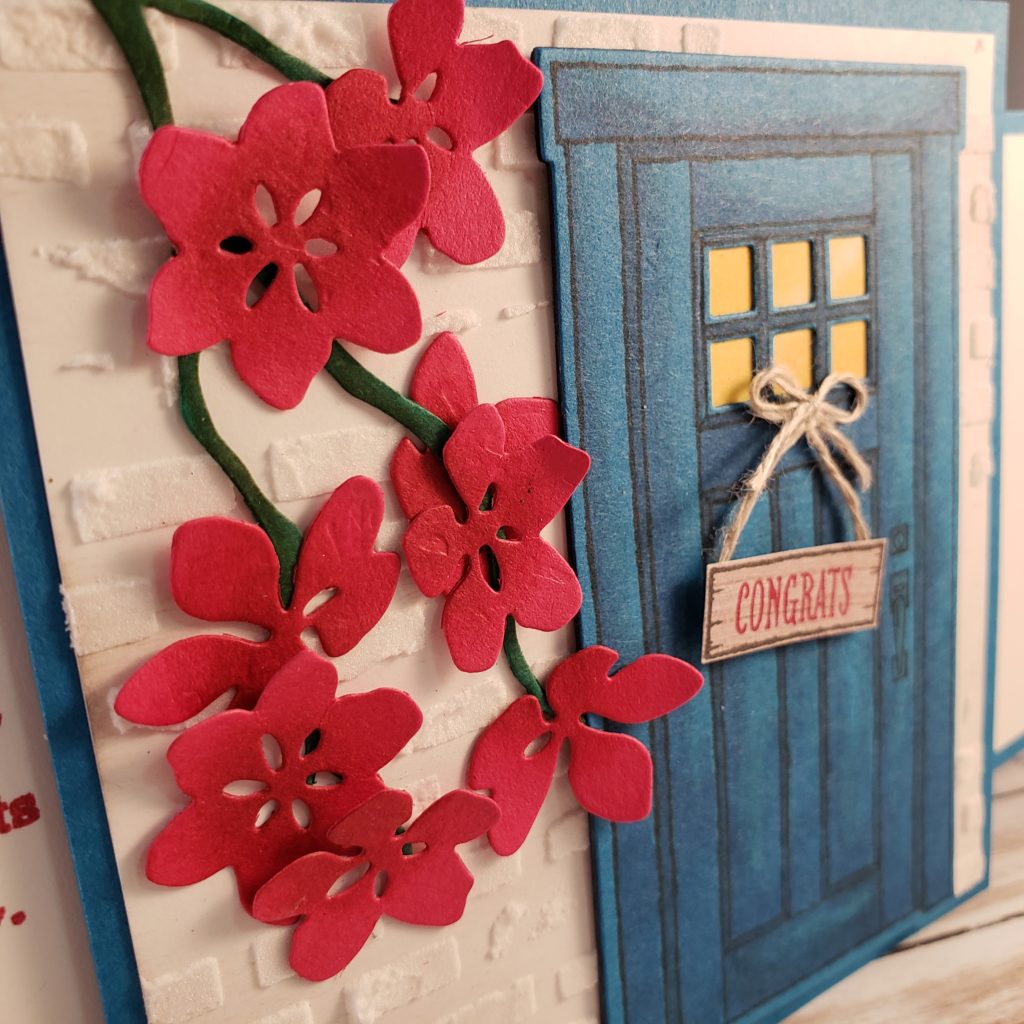
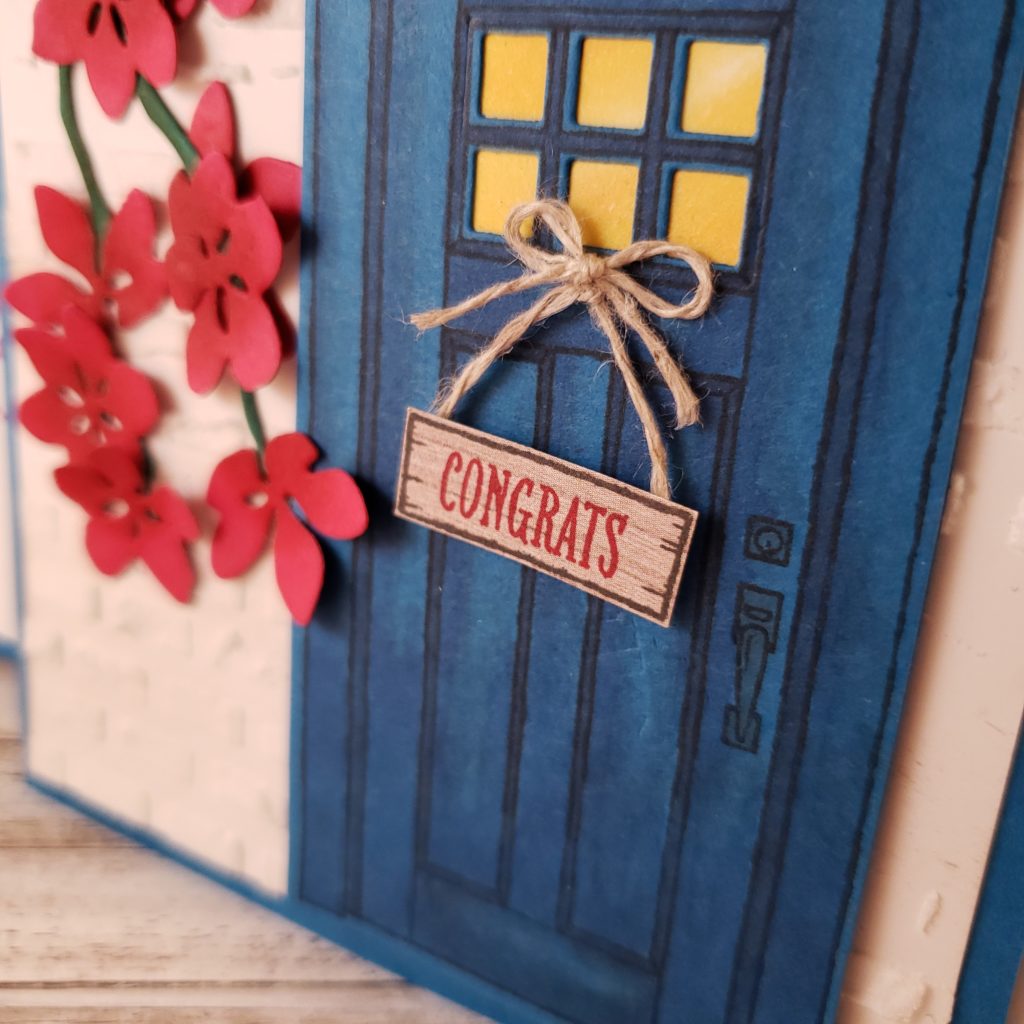
The other VERY cool thing about this card is that the tabs on each side pull out to reveal MORE! I used Pacific Point cardstock for the base colour of this card. It’s not exactly “Greece Blue”, but I think it’s the closest one that Stampin’ Up! has. The door is created with images from the At Home With You stamp set and die cut with the coordinating At Home Framelits Dies. I used Embossing Paste and the brick pattern from the Pattern Party Decorative Masks to create the white walls on the card front. I used the same brick mask, but sponged Pacific Point ink through it onto the Whisper White cardstock. Then I sponged more Pacific Point ink over the edges of the cardstock. Those slide out panels also have stamped images which are no longer available. Stampin’ Up! statement of the heart is on the left panel, while the You Did It image is from a stamp set designed just for demonstrators.
The Lovely Lipstick cardstock flowers are cut using the Seasonal Layers Thinlits as is also the Shaded Spruce cardstock branch.
The door is cut from Pacific Point cardstock, but I also used my Night of Navy Stampin’ Blends to add a little depth to the surface of the door image.
If you are interested in knowing more about other specifics on this card, be sure to leave me a comment.
As promised, here is the link to Mixed Up Craft so you can see how this card is made.
