It’s always exciting when we have a new catalogue coming out! As a Stampin’ Up! demonstrator, I have the privilege to order new products before they’re released to customers. That means that I have new products to share with you today!
As You See It
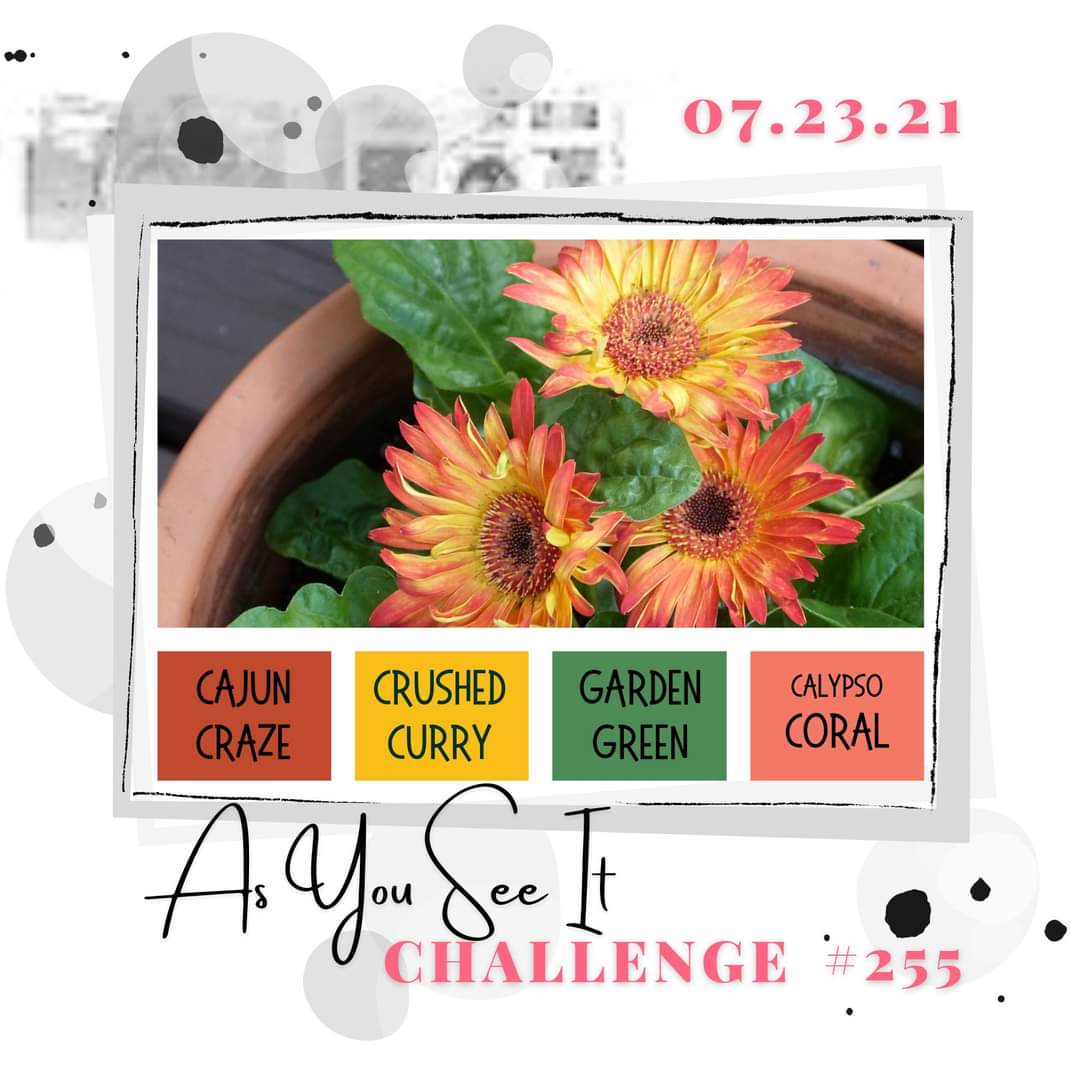
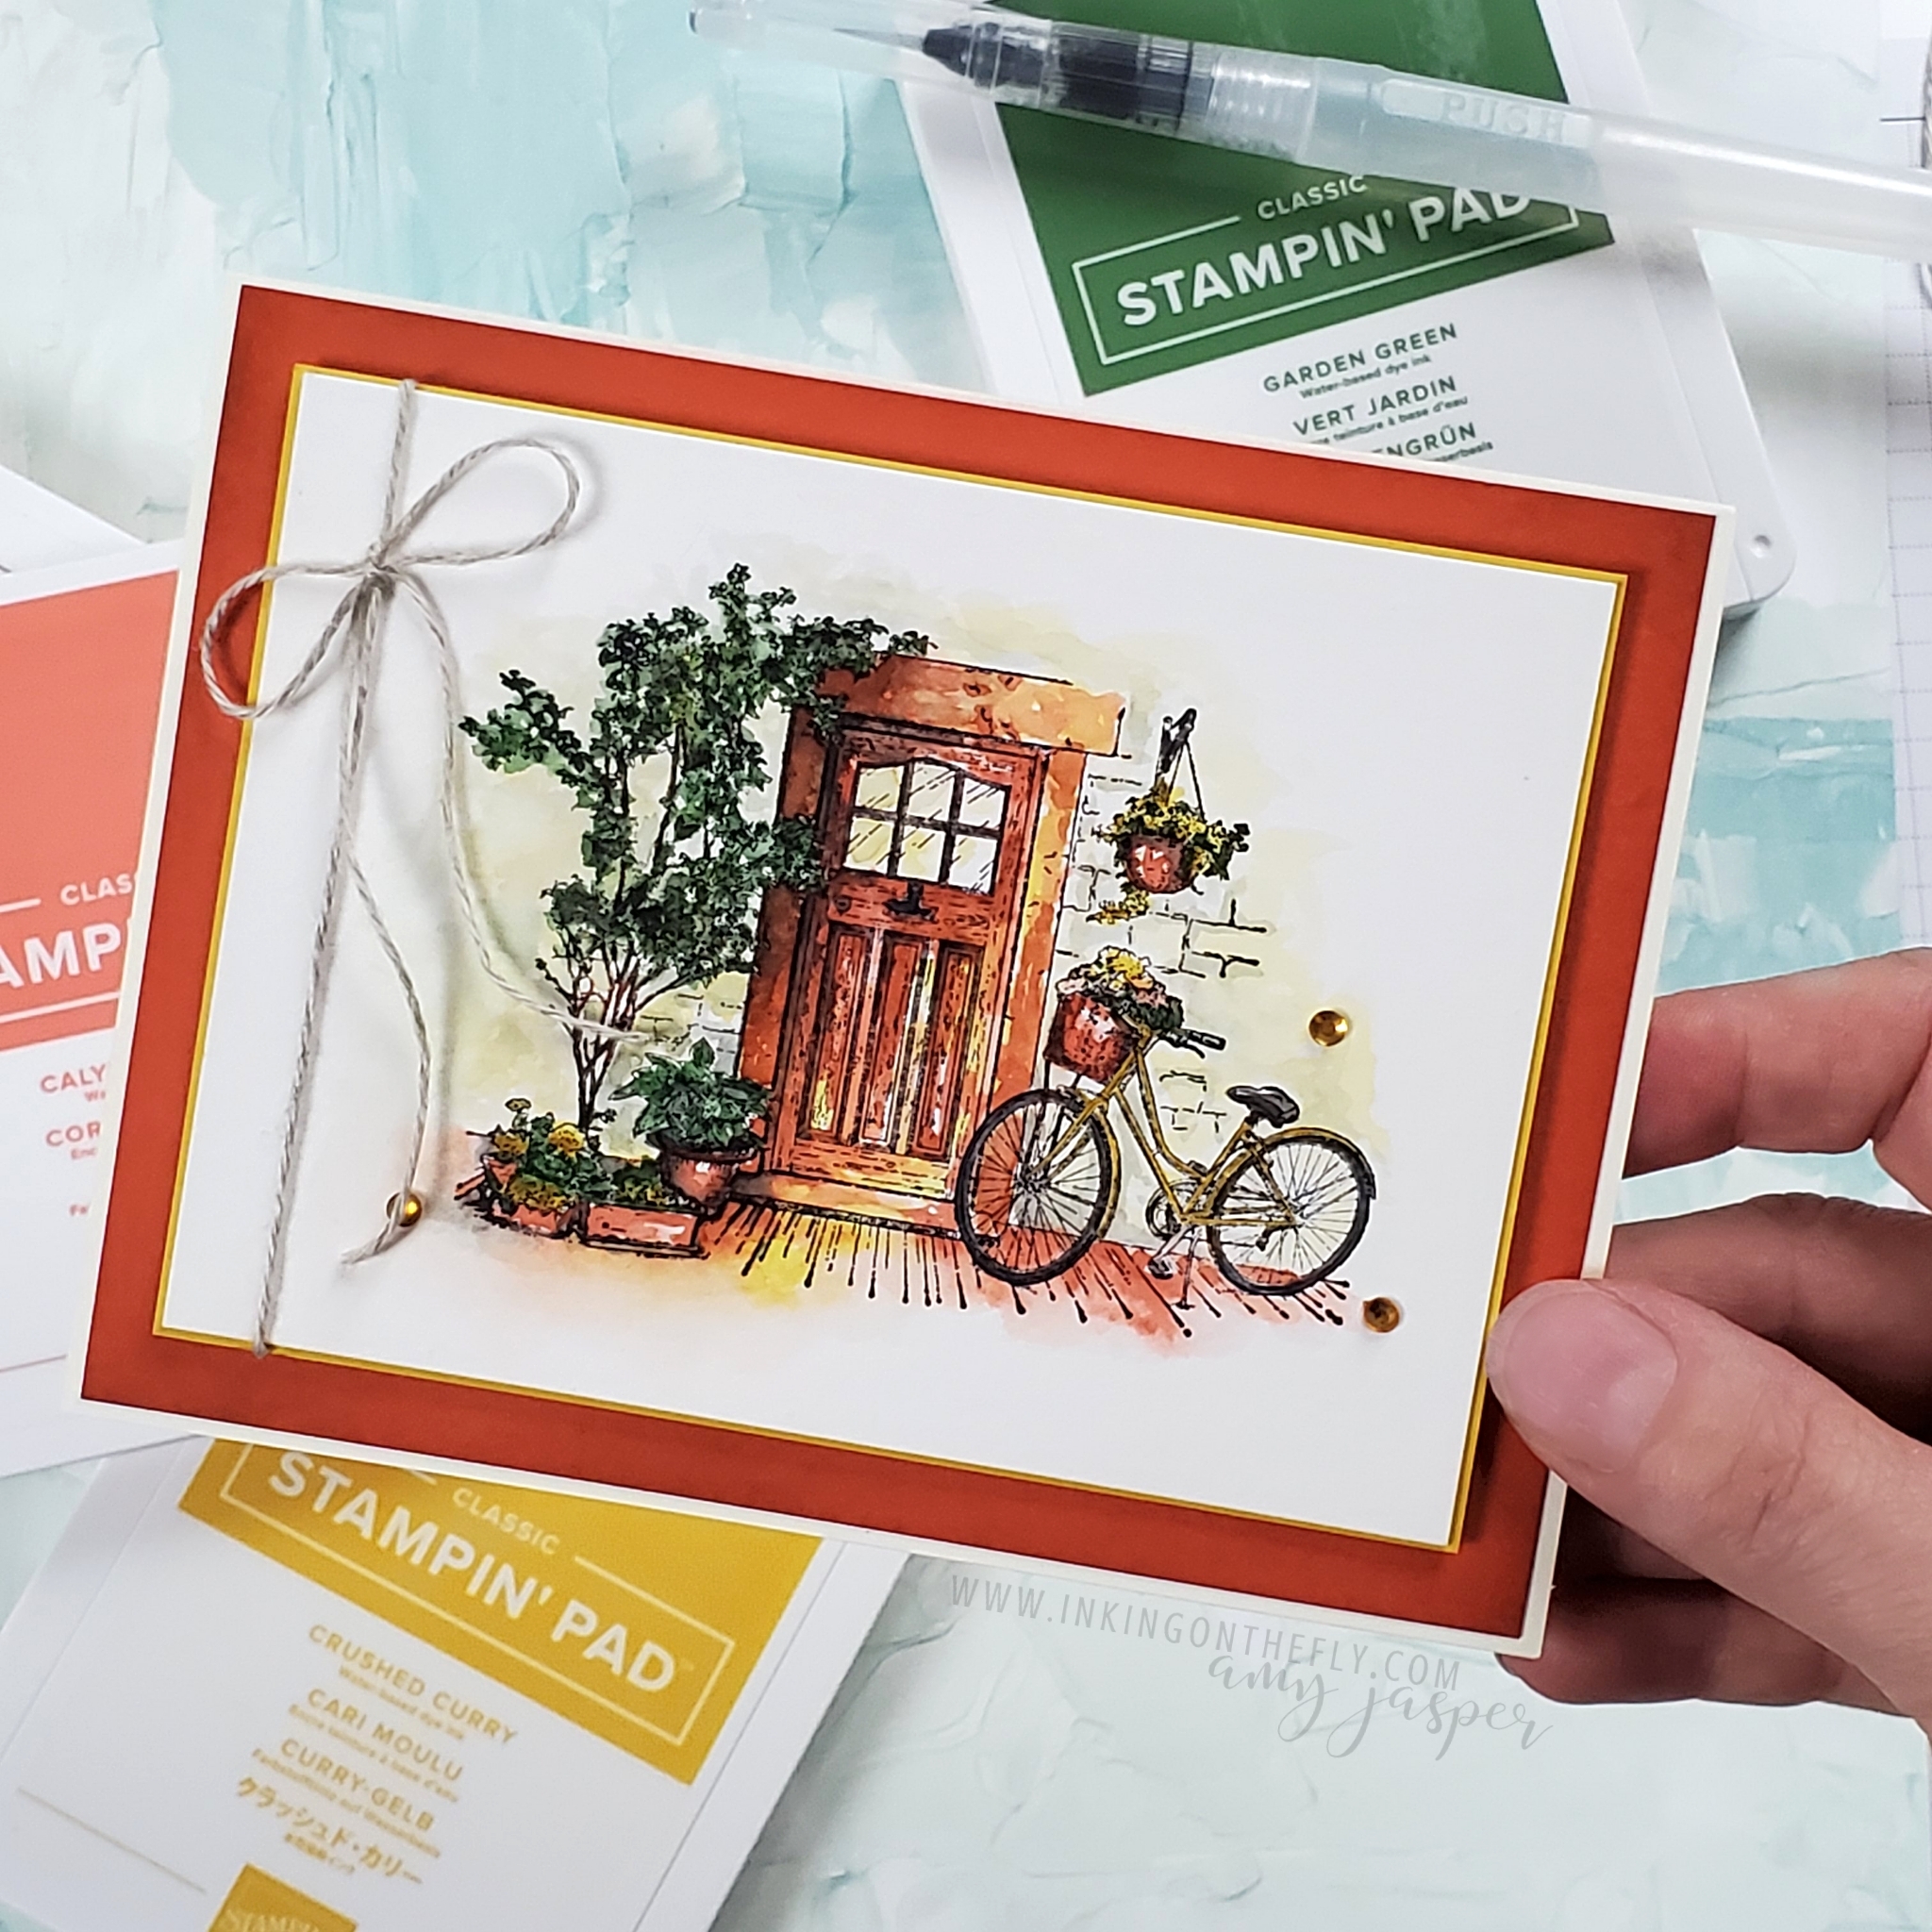
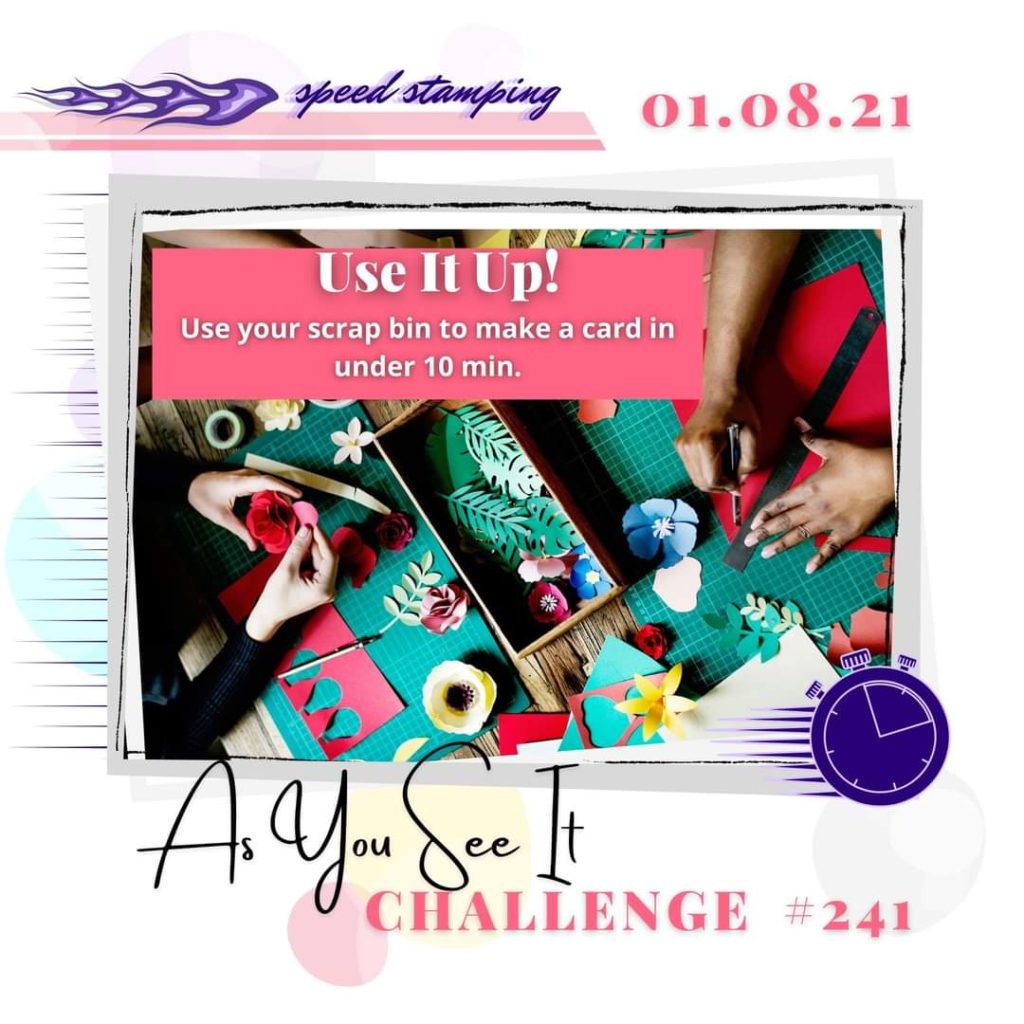
My card is inspired by the gorgeous fall colour combination in the As You See It colour challenge.
I have been on the As You See It Design Team for many years, which has helped to shape my creative skills. Each challenge invites me to push myself to work within the guidelines provided. You might think that working within limits would restrict creativity, but, in actual fact, it has helped me to learn how to use my creativity in different ways.
Challenging ourselves is how we grow and learn.
Free stuff!
The Feels Like Home stamp set is only available for free.
Yup, you read that right!
We have a summer Sale-a-bration starting August 3rd and running until September 30th. As you probably know, during that time, you choose a free item for every $60 CAD that you spend.
The process
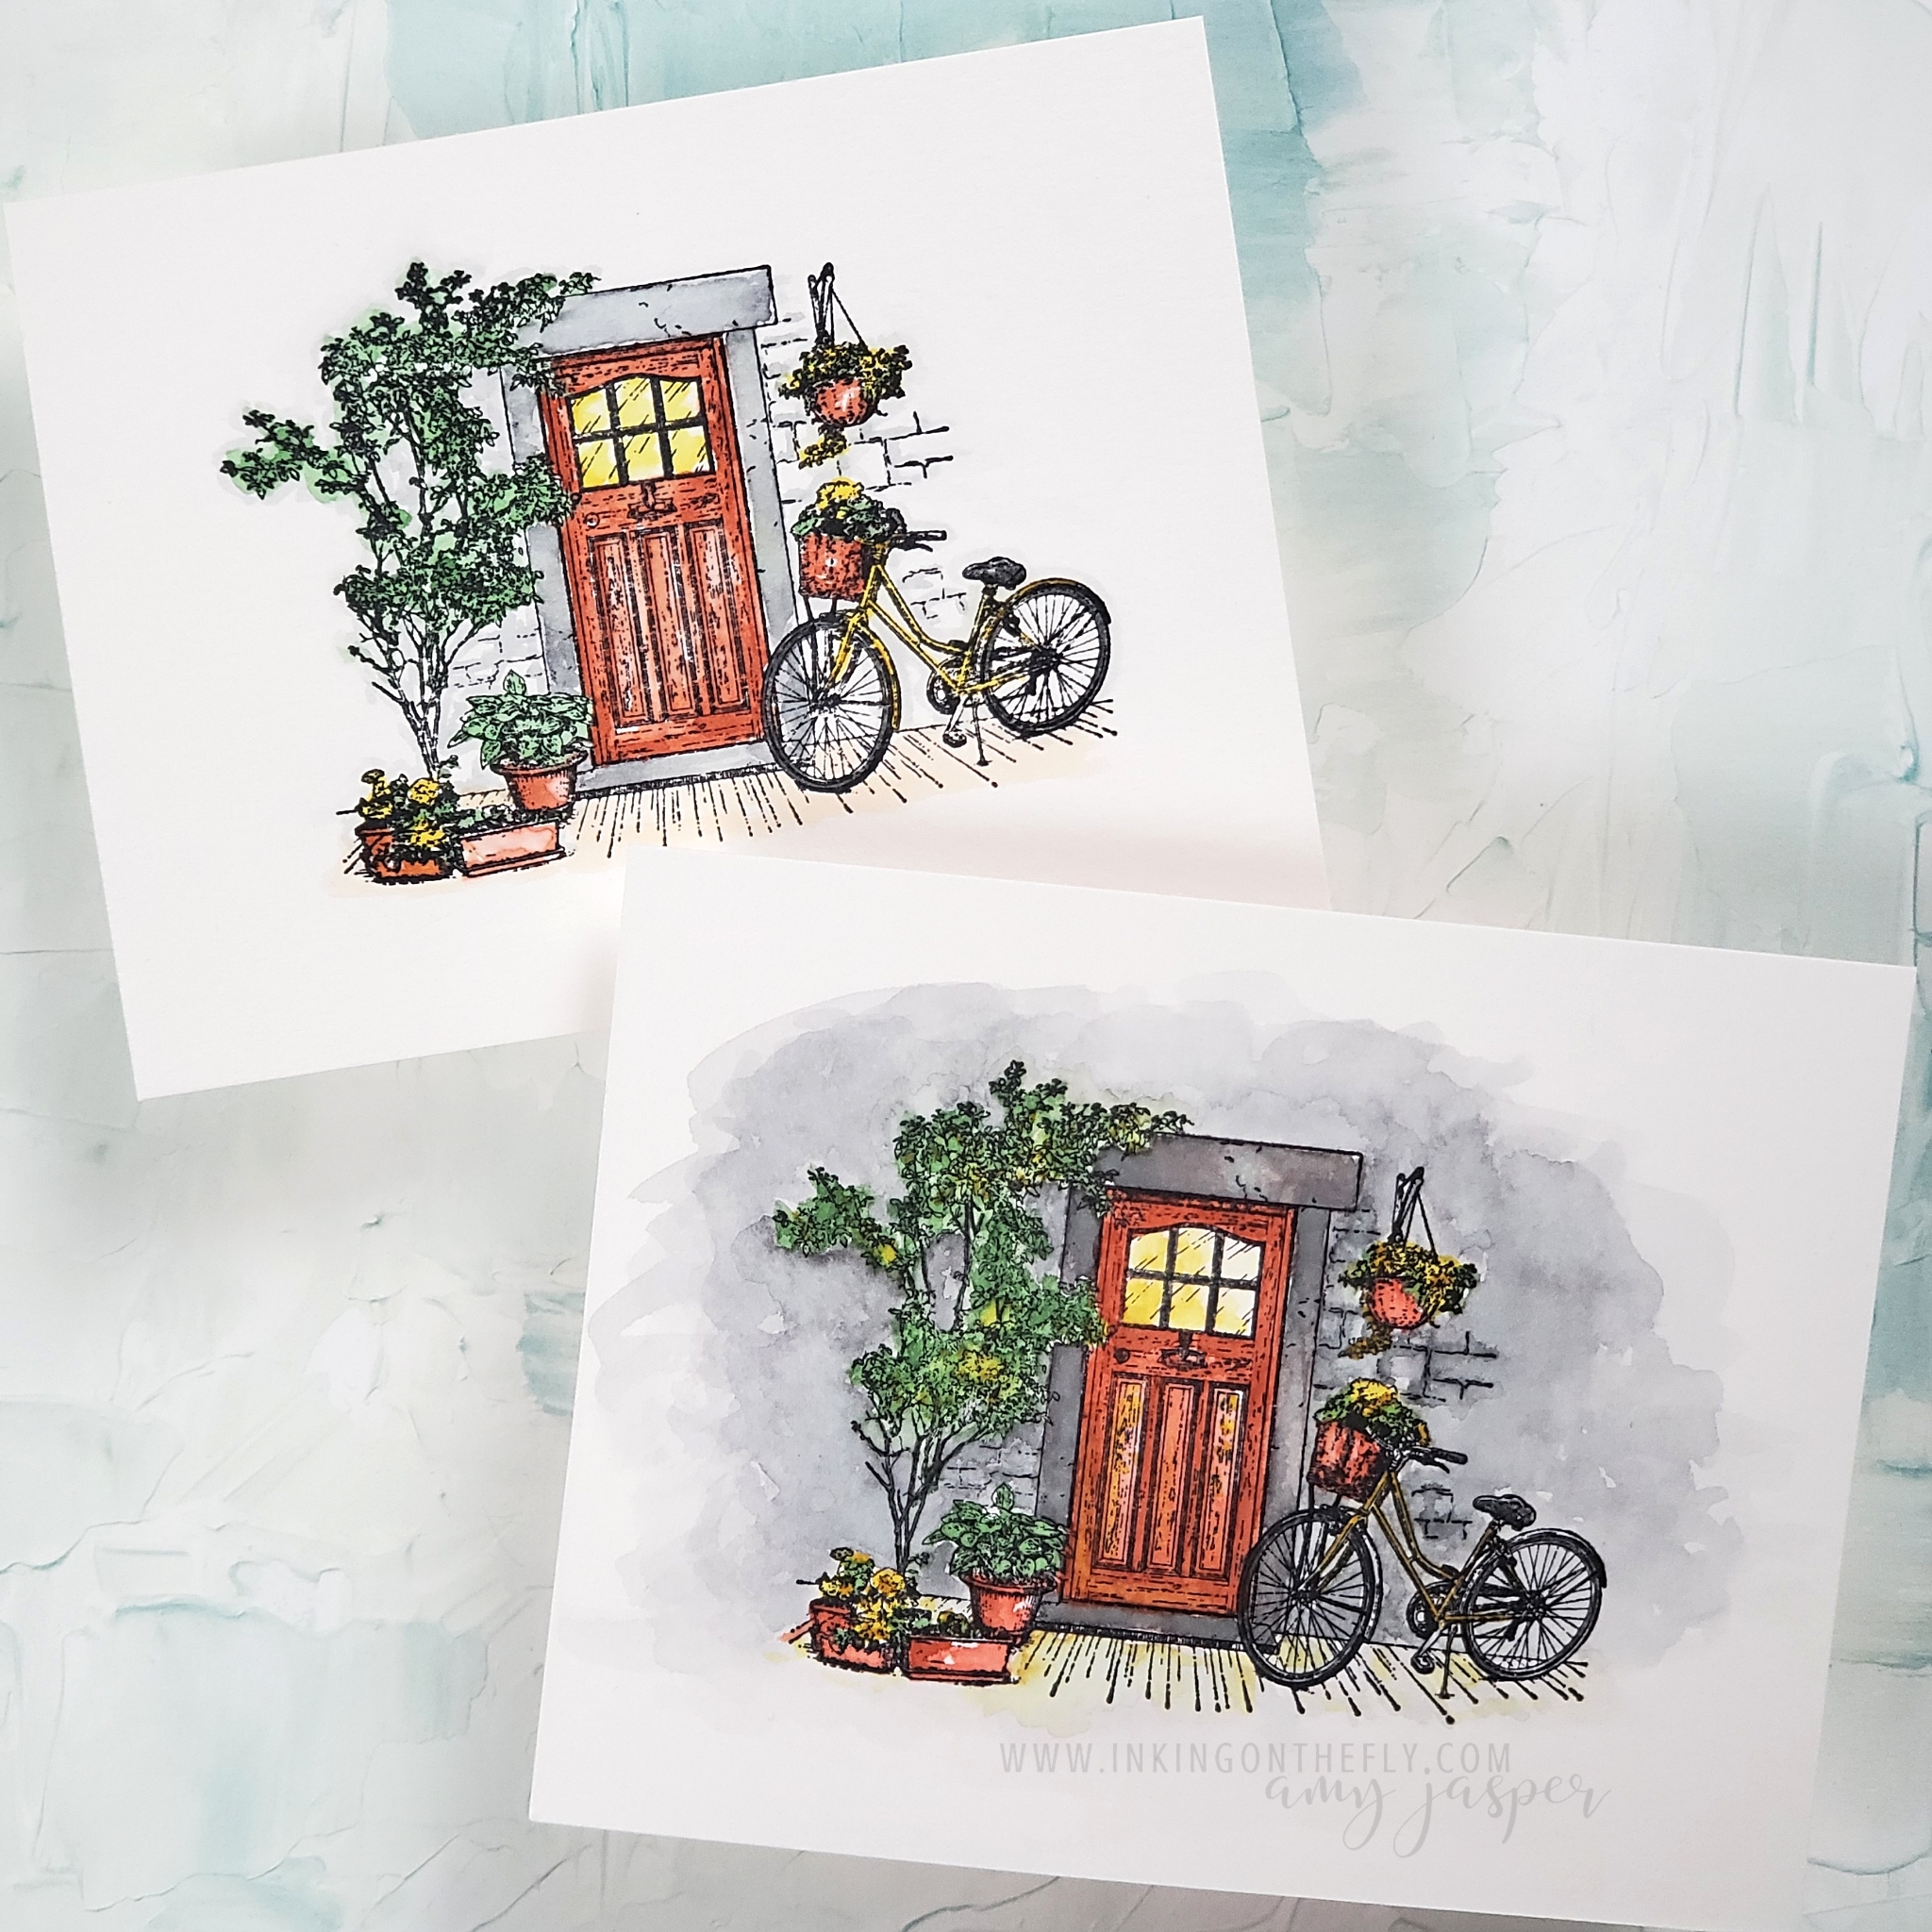
This Sale-a-bration stamp set just begs to be coloured, so I gave it a try. My first attempt looked a bit too “clean”, which didn’t meet my expectations. The second attempt looked a bit too dark, which also wasn’t what I was looking for.
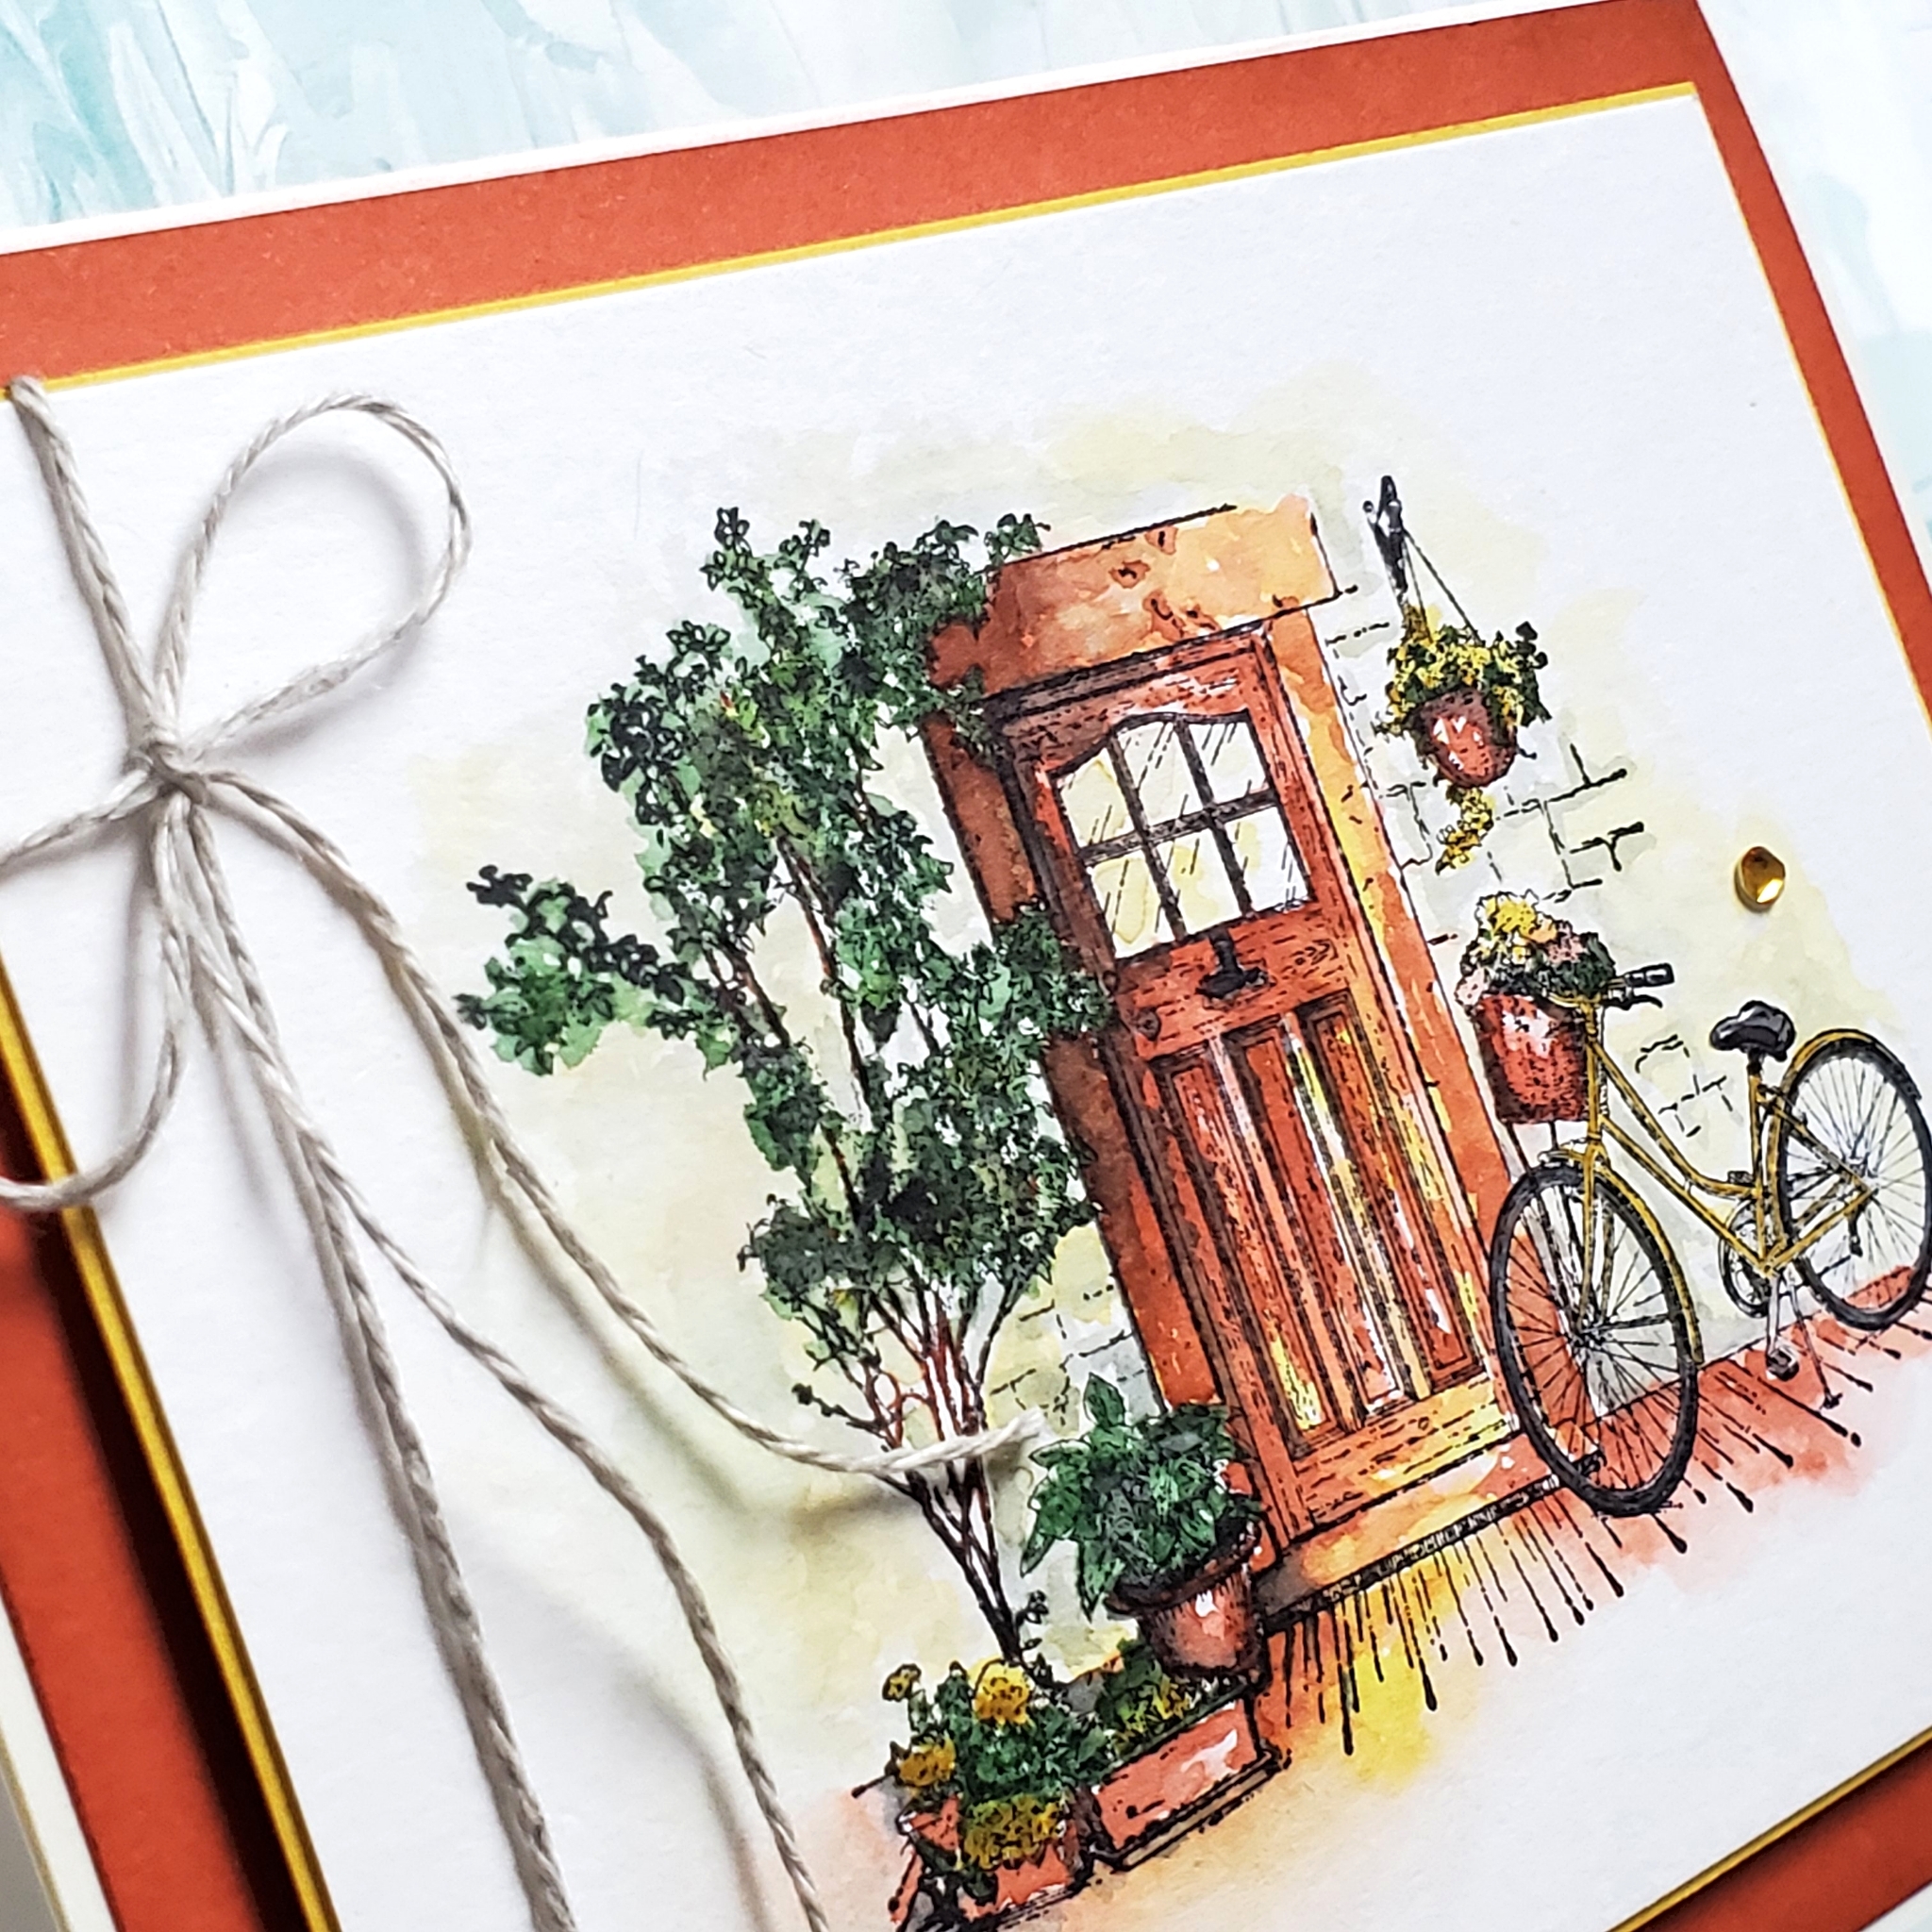
I looked at some water colour artwork and used what I found as a guide for my third attempt. Third time’s a charm! I’m so happy with how it turned out!
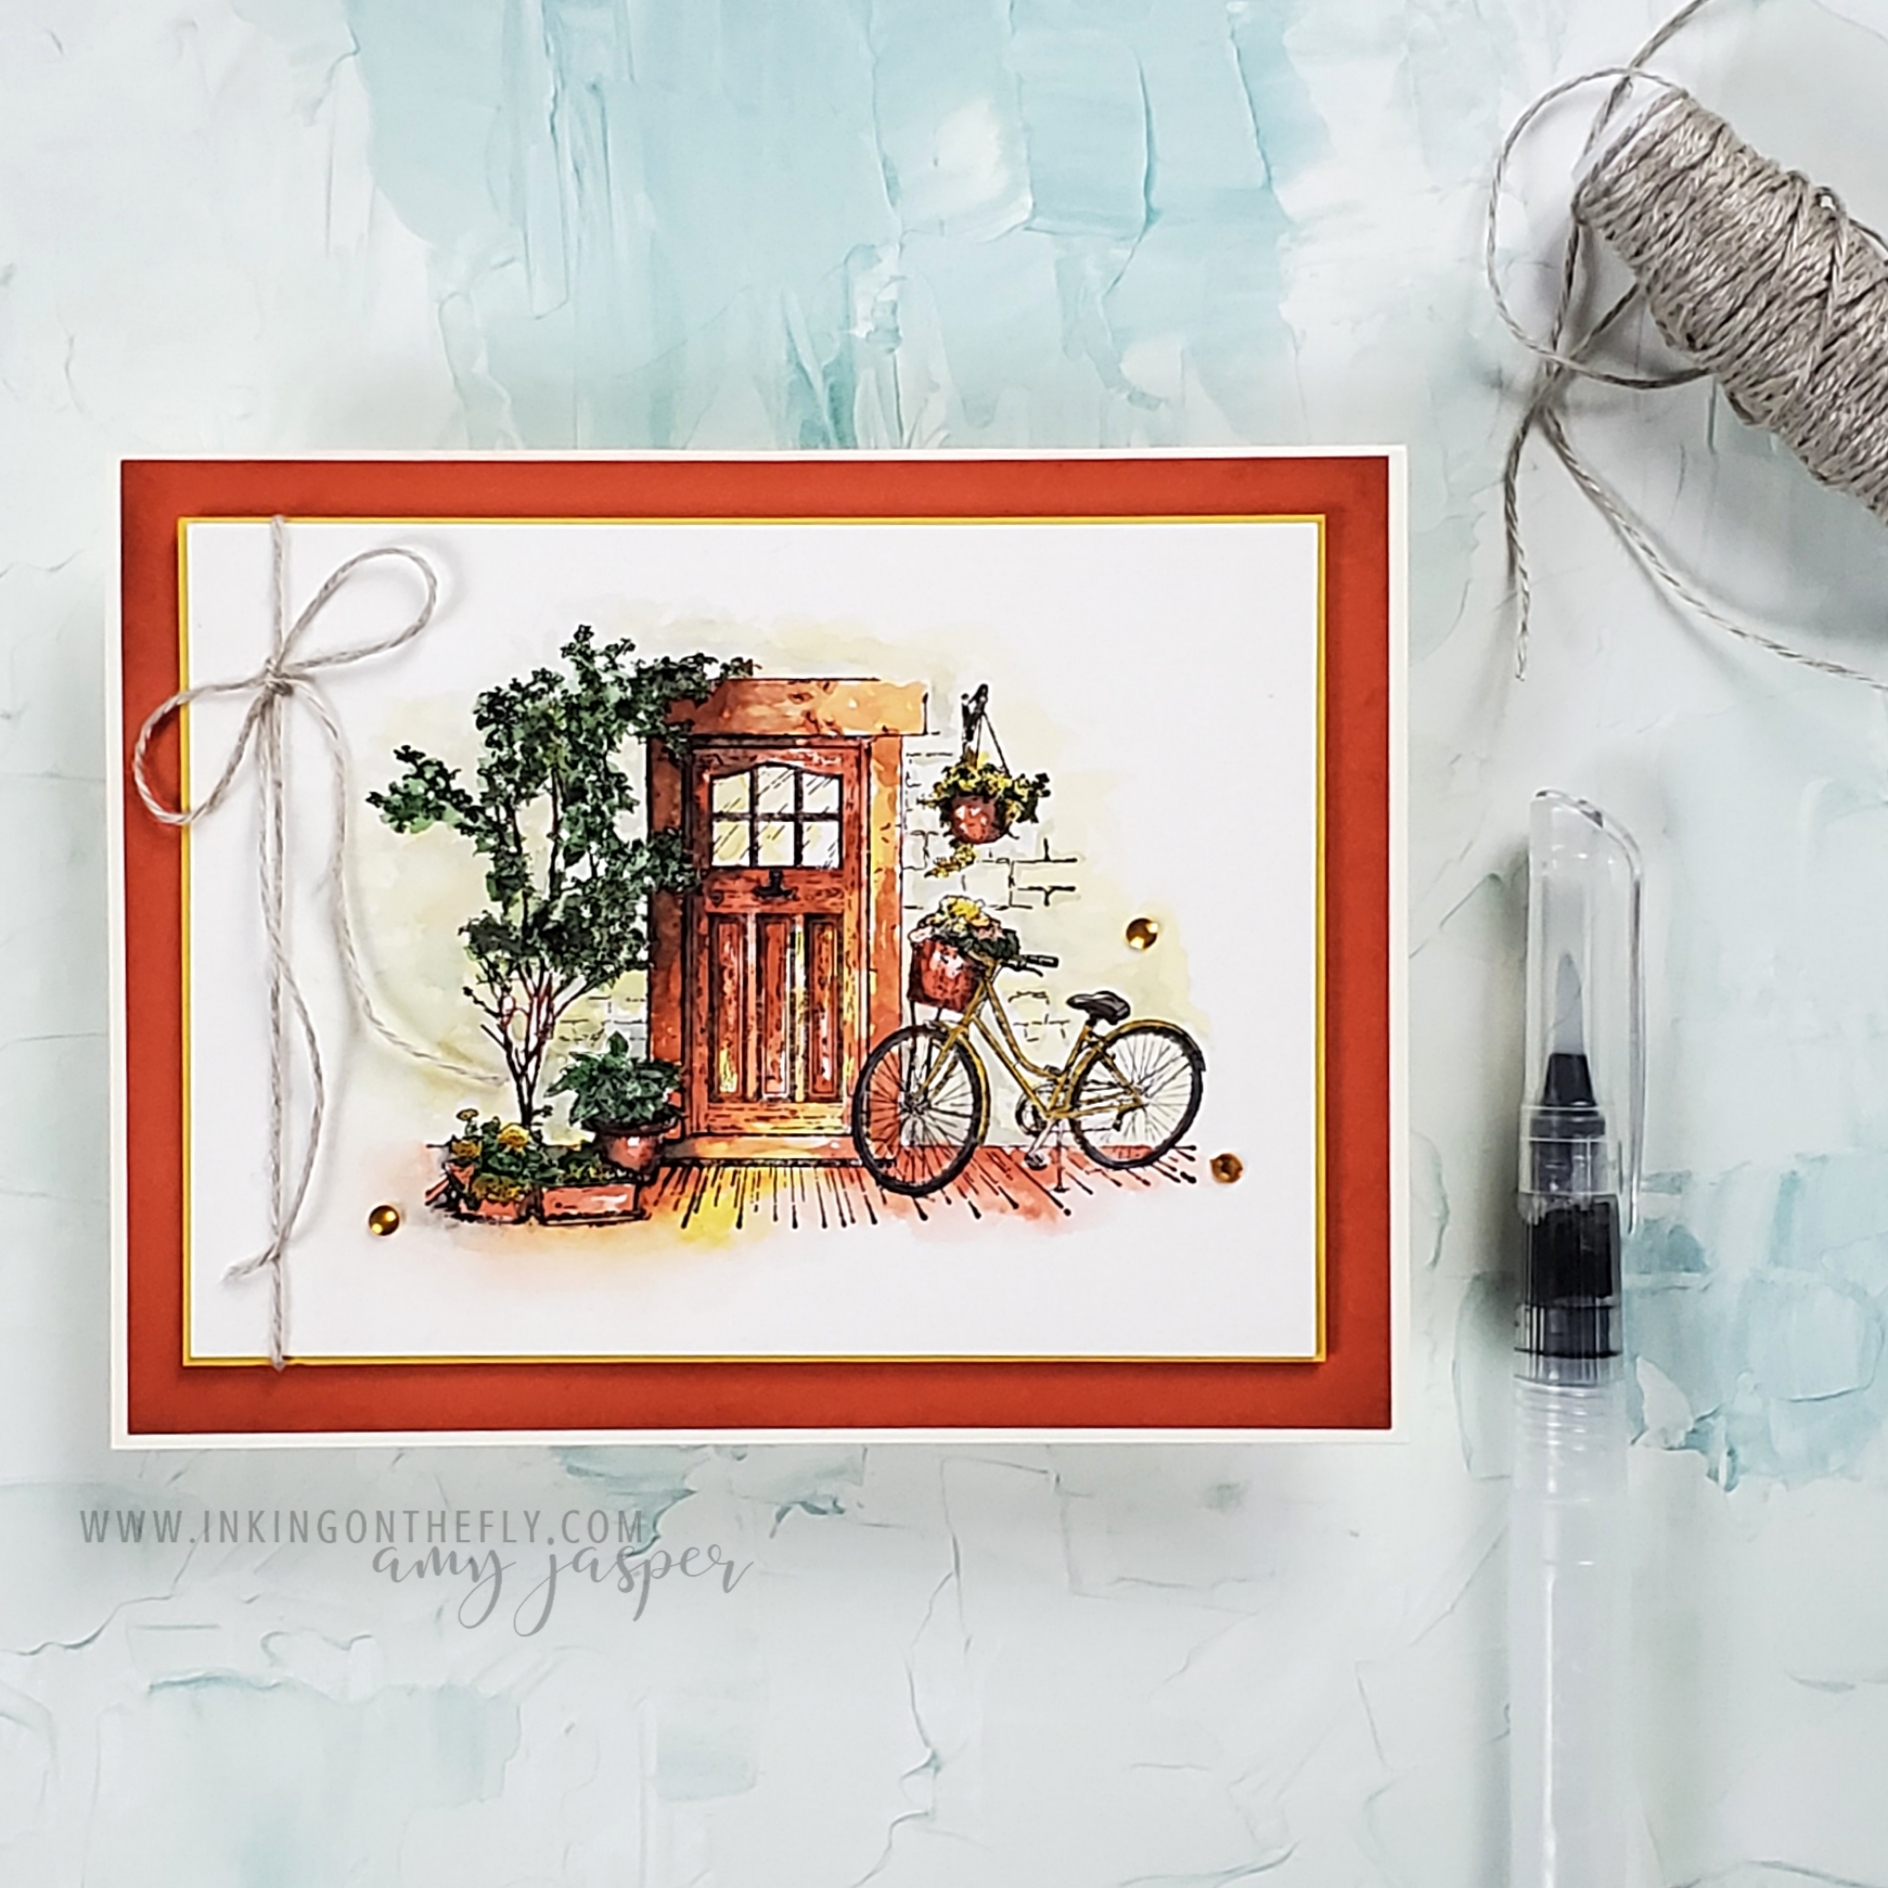
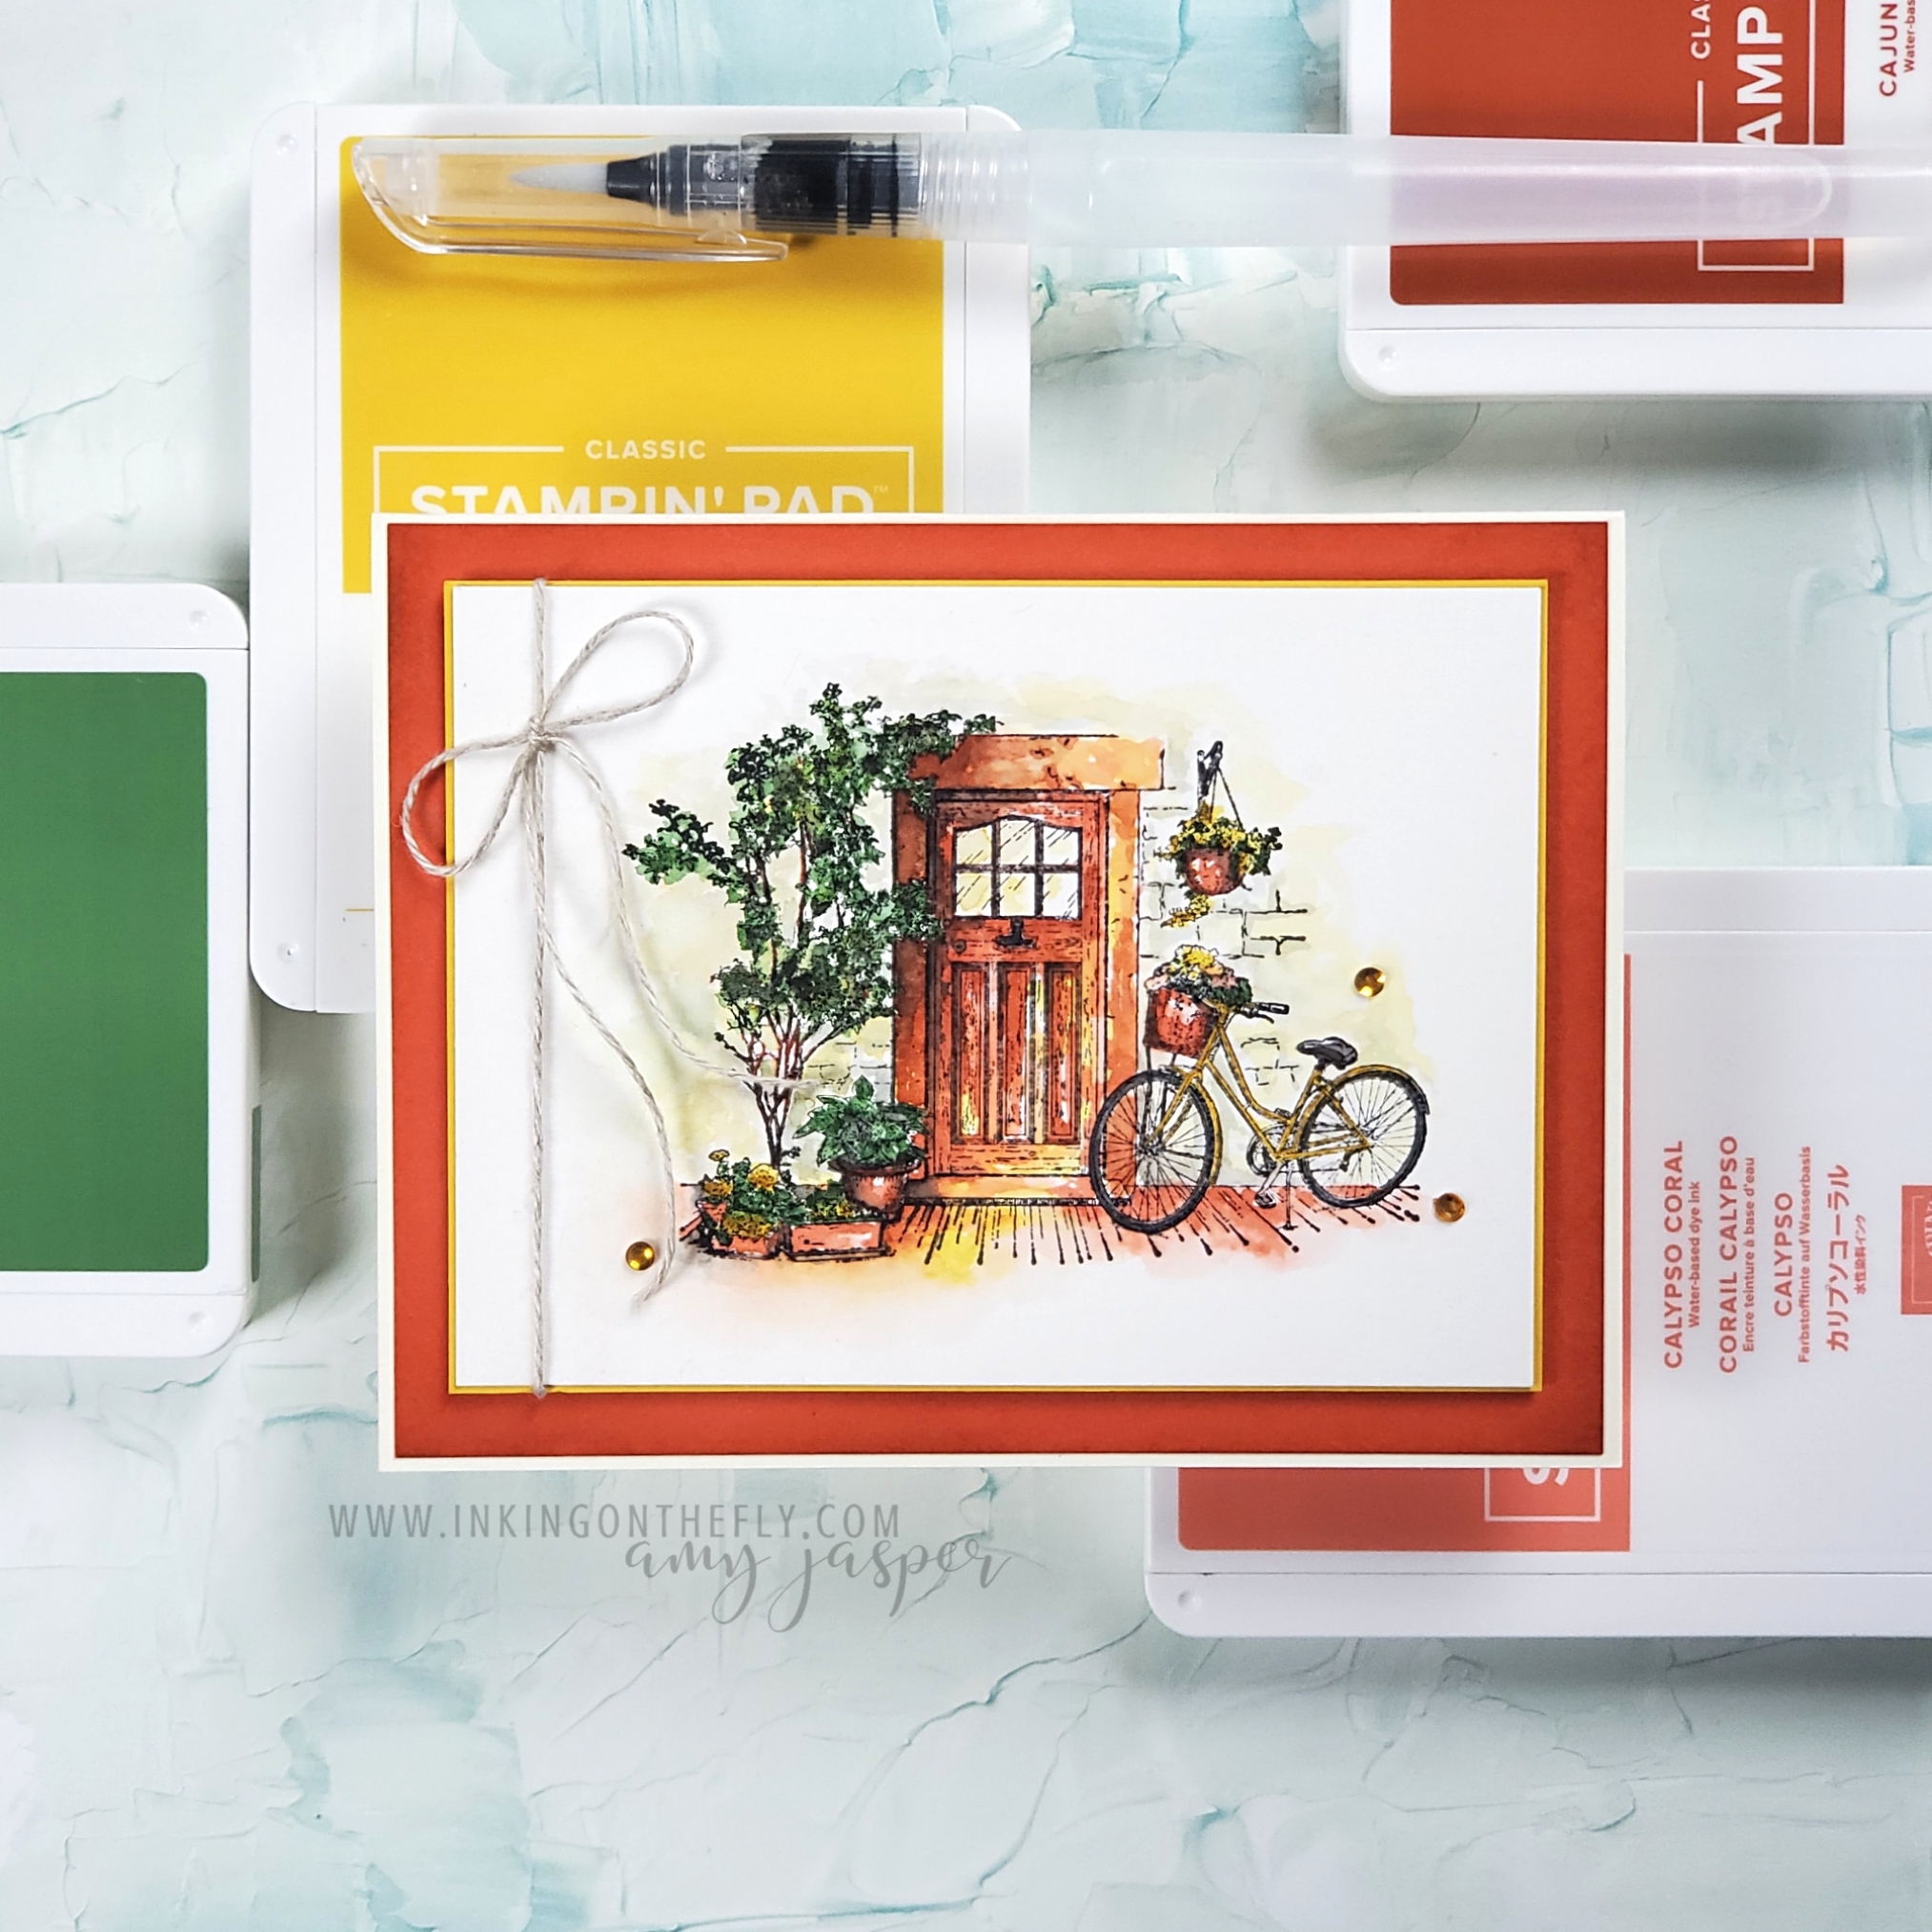
Once I was happy with my watercolouring, I added a thin matte of Crushed Curry cardstock behind the watercolor paper. Linen Thread is wrapped around the layers and tied in a bow.
Then, to keep things warm and bright, I used my Blending Brush to add some Cajun Craze ink to the edges of Calypso Coral cardstock. What a delightful effect!
I wanted to add a sentiment, but in the end decided I would let the image have all the attention. Instead of a sentiment, I placed some Holiday Rhinestones. As you can see, they give a sweet tickling of interest.
Join in!
Let me invite you to try this colour challenge, so as to exercise your creativity. The more you use it, the more easily your creativity flows!
Don’t forget to share it with us at the As You See It challenge blog. We love being inspired by your designs!
Do you do anything to occupy your mind when you’re doing a task that you don’t enjoy?
I dread doing any kind of maintenance chores, like folding and putting away my laundry, making dinner (ugh), planning meals, cleaning my craft room, (cleaning pretty much anything, actually), and grocery shopping. To avoid boredom and reduce the torture of performing some of these tasks, I will often binge a show on Netflix or Prime. I find that 20 to 30 minute episodes work best and they can’t be a show that I have to pay to close attention to, since I need to actually accomplish the unpleasant task at the same time. I’ve tried watching some of those home improvement or organization reality shows, but those aren’t working at all. They’re nice to look at, but really boring to listen to, LOL!
The shows that keep me company and make my tasks a bit more bearable are my tried and true favourites. I just come back to them over and over. They’re fun and light and always help to lift my mood.
The Office (my son bought me the complete box set for Christmas!)
Brooklyn 99 (absolute gold!)
New Girl
The Good Place
I’ve watched some other shows that I’ve enjoyed as well, of course, but these ones are a few of the ones that I can listen to while I work and I know exactly what’s happening without looking at the screen most of the time because I’ve seen it before. They’re my friends and they always make me smile.
The one circumstance on my list above where I have to give my full attention, is grocery shopping. Maybe listening to music with ear buds would help? Kind of like my own personal movie soundtrack!
How do you endure the unpleasant and boring tasks in your day? Do you have any special tricks that dust a little bit of gold over the dull and dreary parts?
Of course, some of the shiniest gold that’s scattered throughout my week is when I get to play in my craft room! AND PLAY, I DID! As usual, the card I have to show you today begins with some creative inspiration from the As You See It Challenge Blog! It’s a sketch!
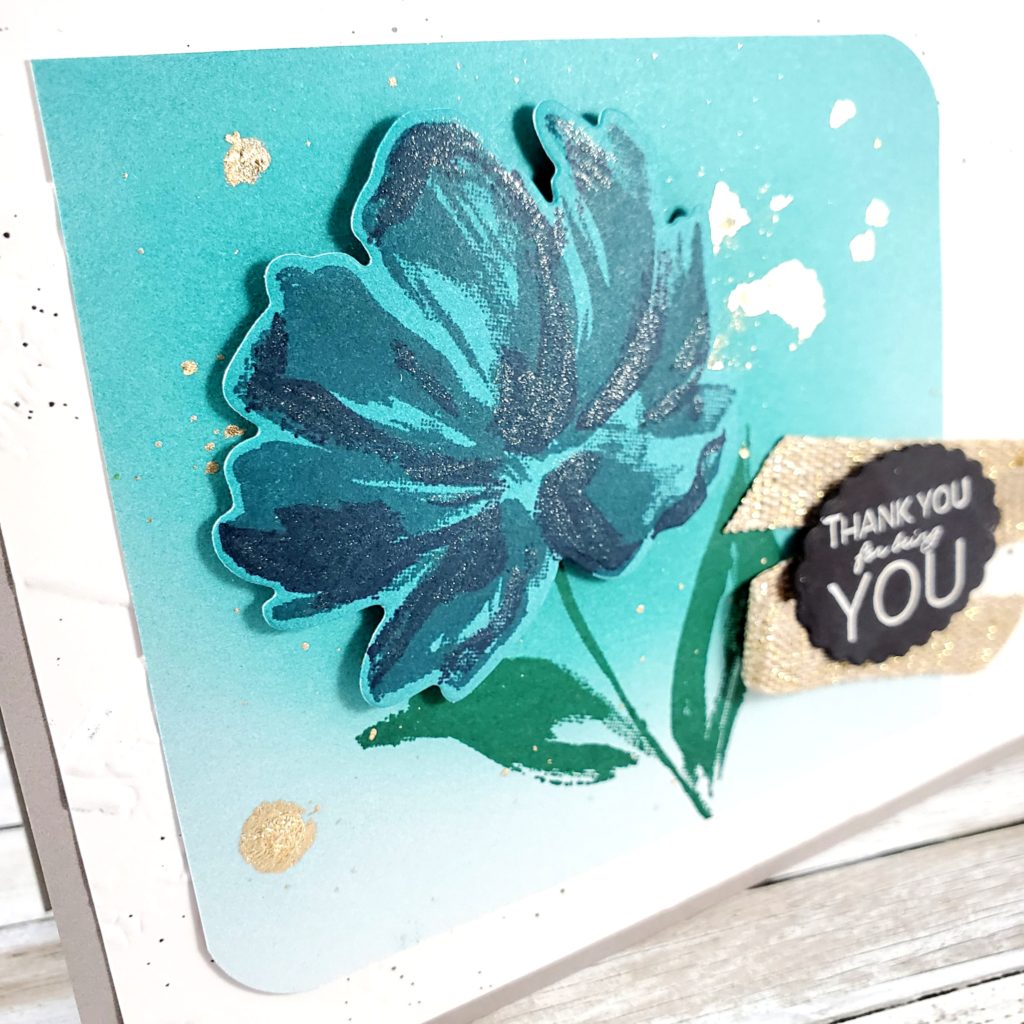
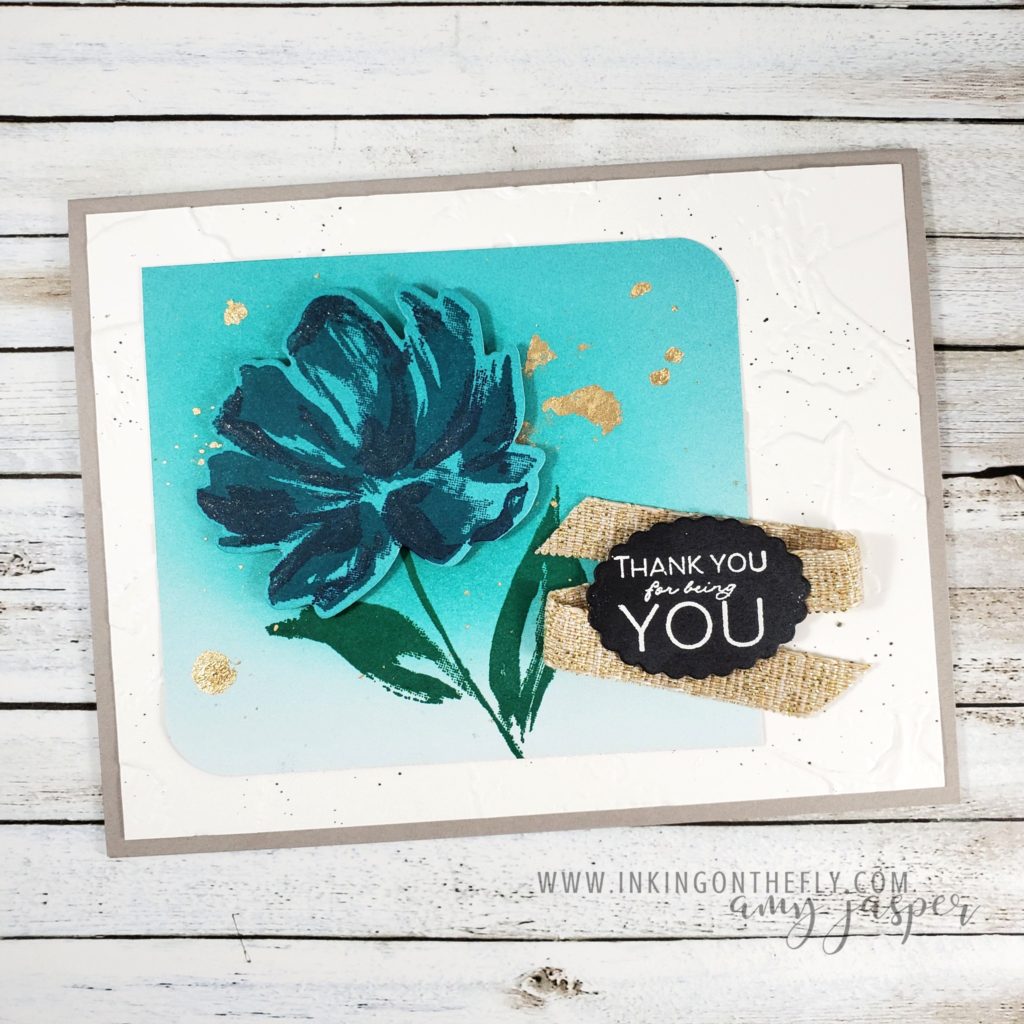
My Gilded Leafing from Stampin’ Up! has been quietly waiting for me to play with it since I bought it over a month ago. I have to admit, I was a little nervous to even open the container after being warned that it will expand or make a horrible mess. I wasn’t sure if I was ready for ACTUAL scattered gold to be all over my craft room! But for my card today, I’m happy to report that my Gilded Leafing has been a wonderful and fun art experience that definitely needs further exploration.
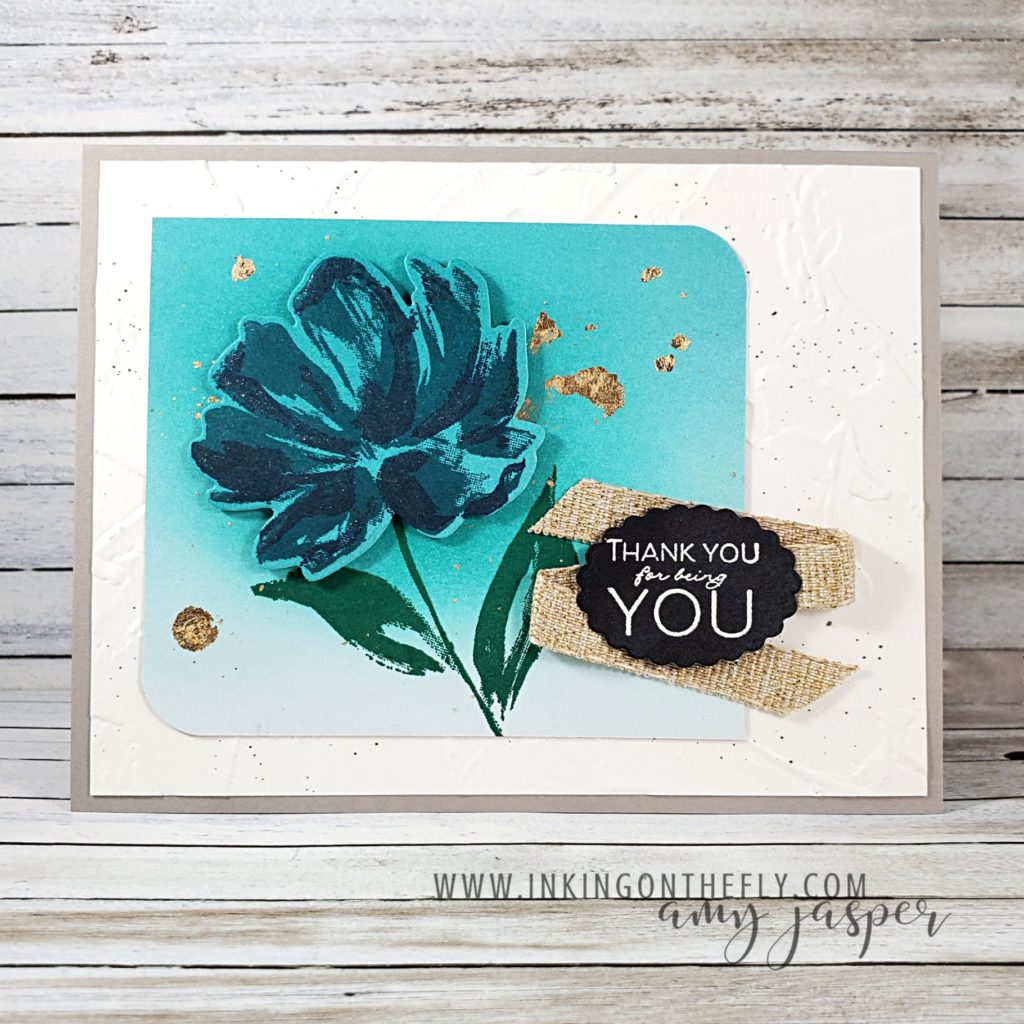
I used the Art Gallery Bundle, which, if purchased between now and February 28th during Sale-a-bration, will allow you to choose a free Sale-a-bration item. Coincidentally, I also used the Oh So Ombre Designer Series Paper on this card, which is a free pack of 6×6″ patterned paper with a $60 CAD purchase. I used one of my new Blending Brushes with Bermuda Bay ink to sponge a little extra colour behind where my flower was going to be. The stem and leaves were stamped with Shaded Spruce and I stamped the two steps of the flower on a separate piece of the same paper using Pretty Peacock and Night of Navy ink. After adding some Wink of Stella to the accents on the flower, it was die-cut with the coordinating die.
Before attaching the die-cut flower, I played with my Gilded Leafing and some Multipurpose Liquid Glue. I had NO idea what I was doing. That’s what made it fun (and a little bit scary, too!). I wondered if I could create a splatter kind of effect by mixing a small amount of water with the liquid glue on a paint brush, then tapping the brush on my finger over the paper to splatter the thinned glue on the surface. Then I would apply the leafing to the glue. This didn’t go as planned at all because I applied the gilding while the glue was too wet. It smeared the glue, resulting in a less defined placement of the gold leaf. If you make sure the glue is completely dry (remember, this glue stays sticky when it’s dry!) before you apply the leafing, you will not get the smudged gold like I did. The splatter the the left of the flower was dry, while the splatter to the right was too wet when I applied the leafing. See the difference?
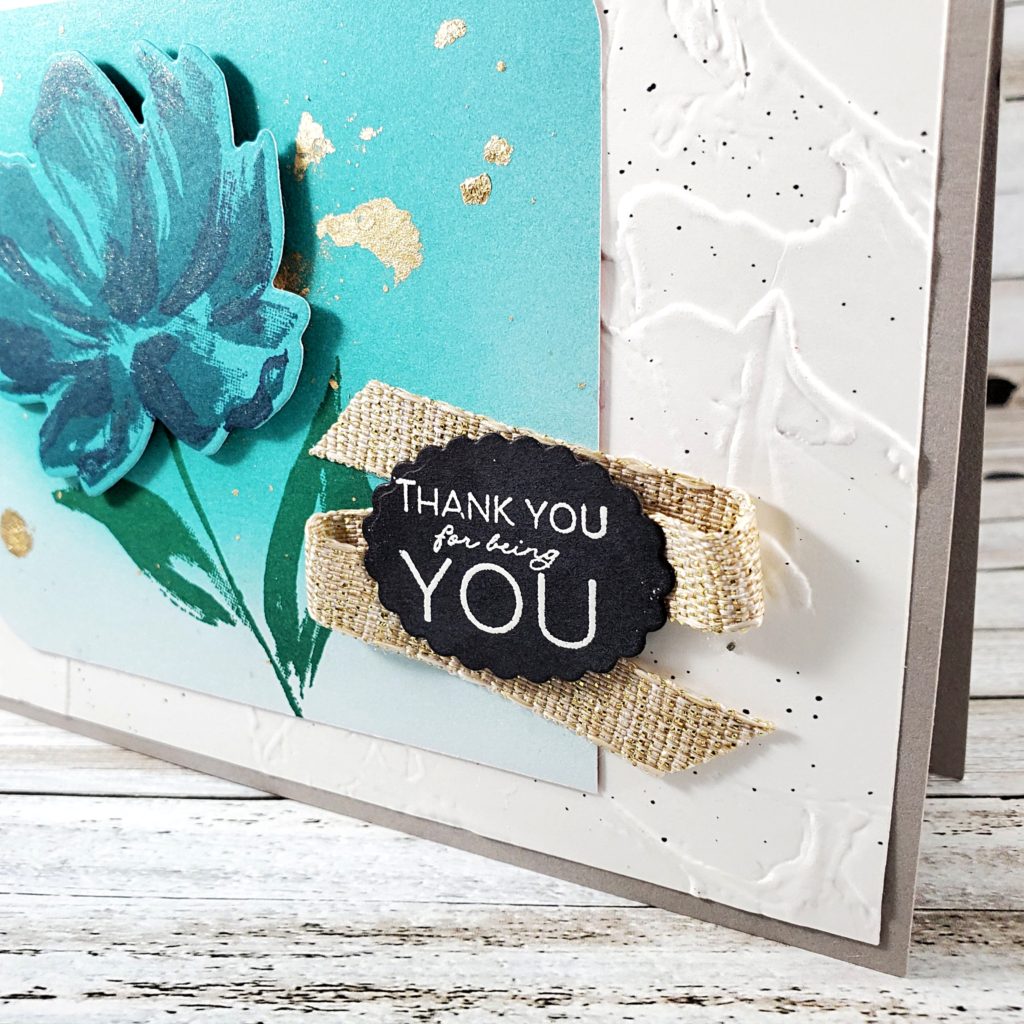
The final elements on my card are the Fine Art Ribbon and the white heat-embossed sentiment on the black die-cut label. The sentiment and label are from the Many Messages Bundle. This bundle is really cool because it has a bunch of different sentiments on one large background stamp AND they line up perfectly with the ONE die that cuts them ALL OUT AT ONCE! Oh my gosh! Talk about a time saver for making multiple cards for multiple occasions! I think that will be my next project – make a set of cards using all the sentiments from this bundle. Ooooh! I can feel the creative wheels gaining momentum! Yup. That’s my next project, for sure!
But before you go, don’t forget to share with me any tips and tricks you have to scatter gold
(or smear it, LOL!)
over the dreaded tasks you have in the day. What is your dreaded task and how do you get through it without dying? Or is it just me? Am I the only one who feels like it’s torture to do these things? I tell you, if I was a wealthy person, I would pay good money to have all of those things done for me!
Welcome to 2021! This will be a year of hope and a promise of better days to come! I just know it!
It’s good to be back after a break over the Christmas holidays. I didn’t do much. It was glorious!
Question: Are you a person who’s often early for things? Or maybe you arrive right on time?
I can be early and I can be on time, but it doesn’t come easily for me. I have a very poor concept of time and often misjudge how long it will take me to get ready to go somewhere or how long it takes to actually get there. I’m late for a lot of things – including sending birthday cards.
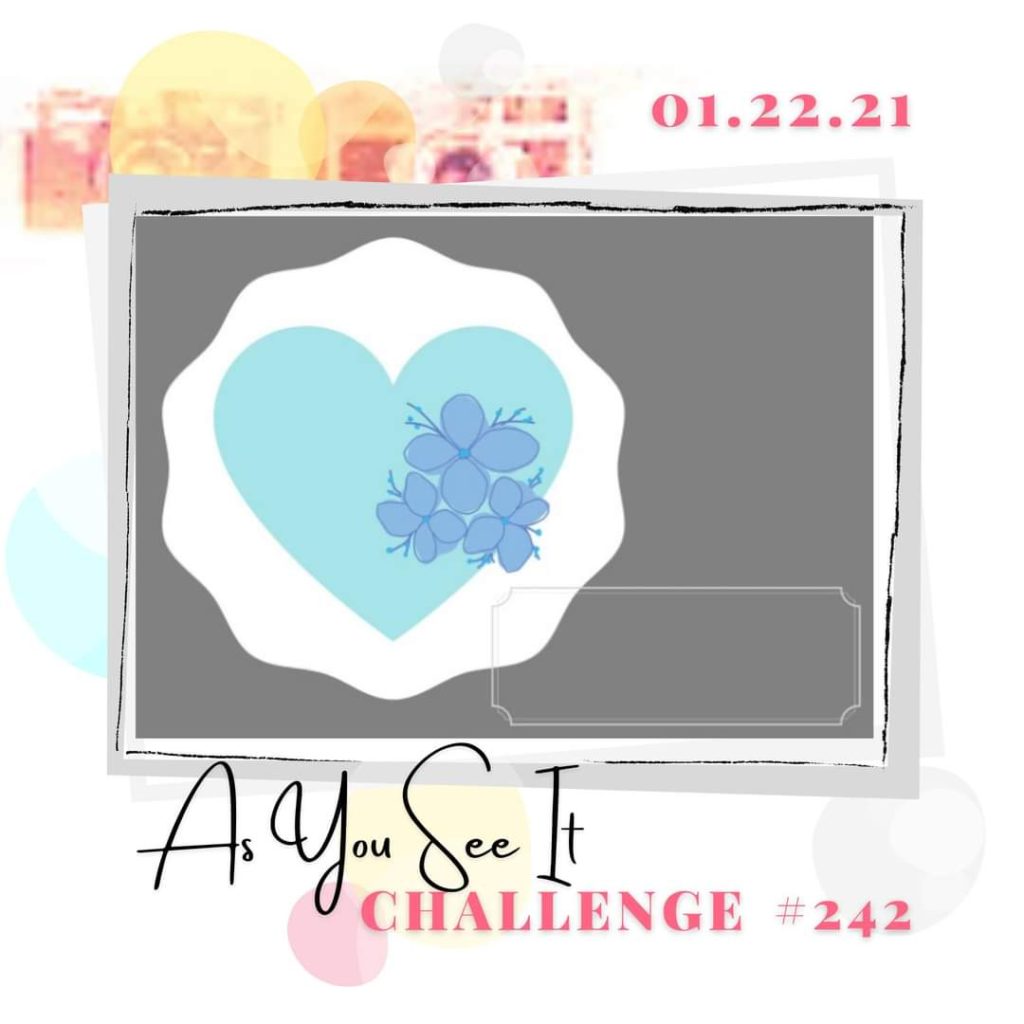
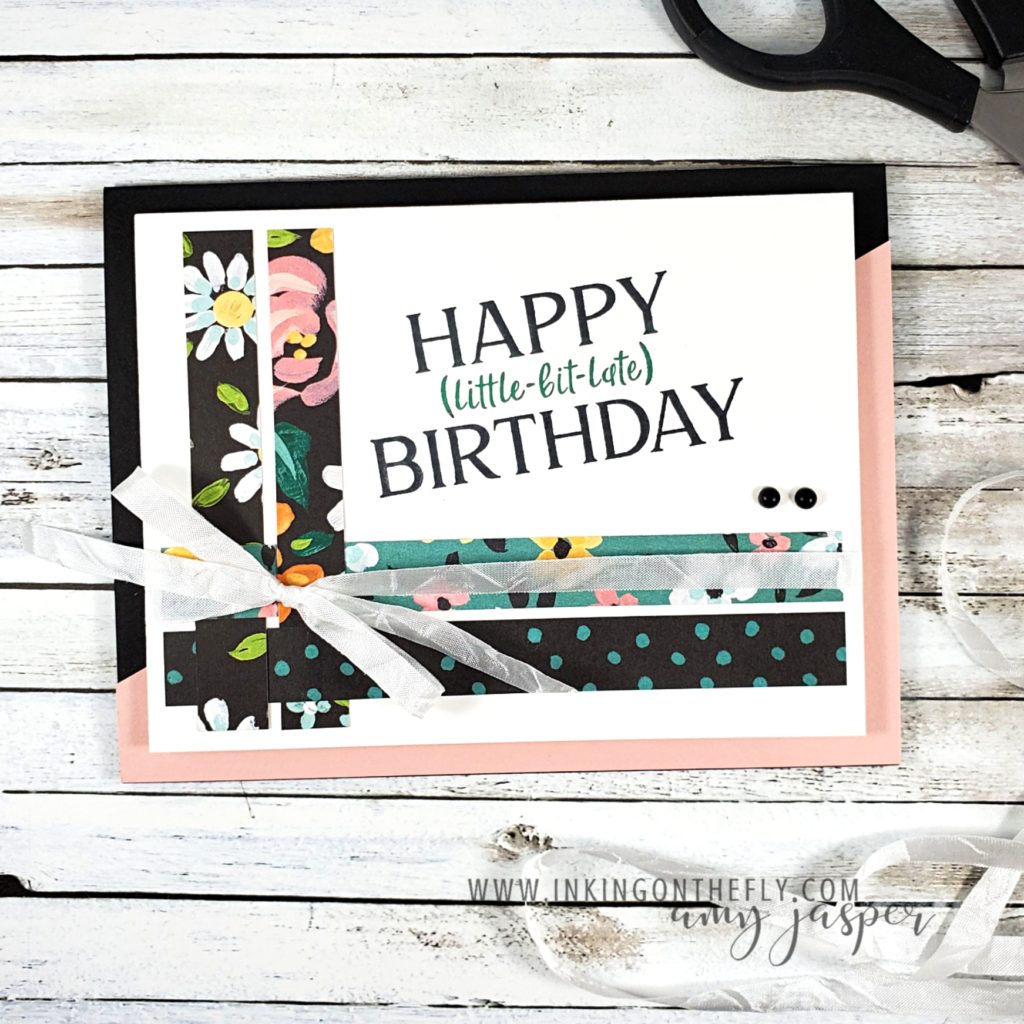
The card I designed for the As You See It Challenge this week has a sentiment that is a great choice for acknowledging a late birthday wish. As You See It has some new graphics on the blog, too!
We have a speed challenge, folks! This is undoubtedly my favourite challenge because it helps train me to be more aware of my time and it gets my creative mojo flowing!
I used scraps from some cards I was preparing for an upcoming event. The patterned paper is one that you can get for FREE during the Sale-a-bration Promotion with Stampin’ Up! – Flower & Field Designer Series Paper. I thought using scraps would make my card come together faster, but I still used up extra time as I fussed to get my bow straight, so this card took 9 minutes and 28 seconds to complete. I cut it a bit close!
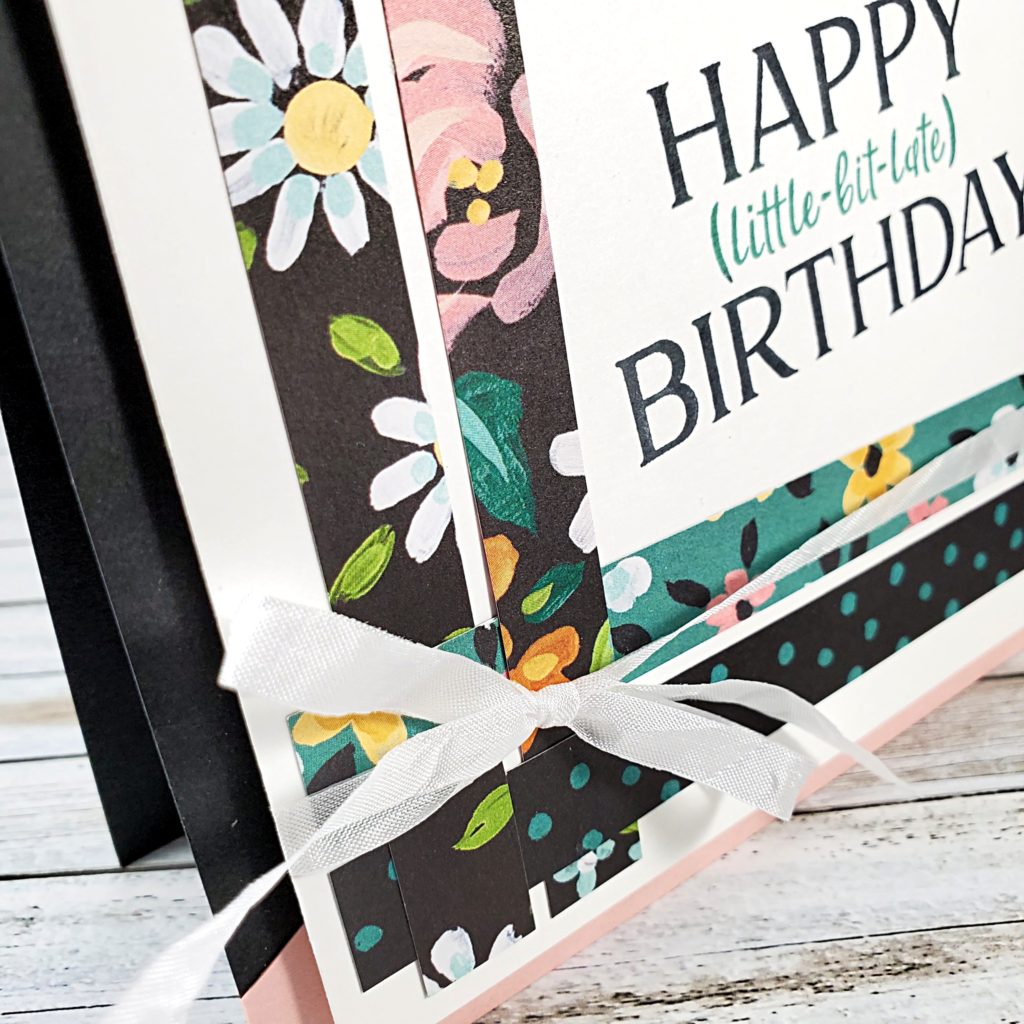
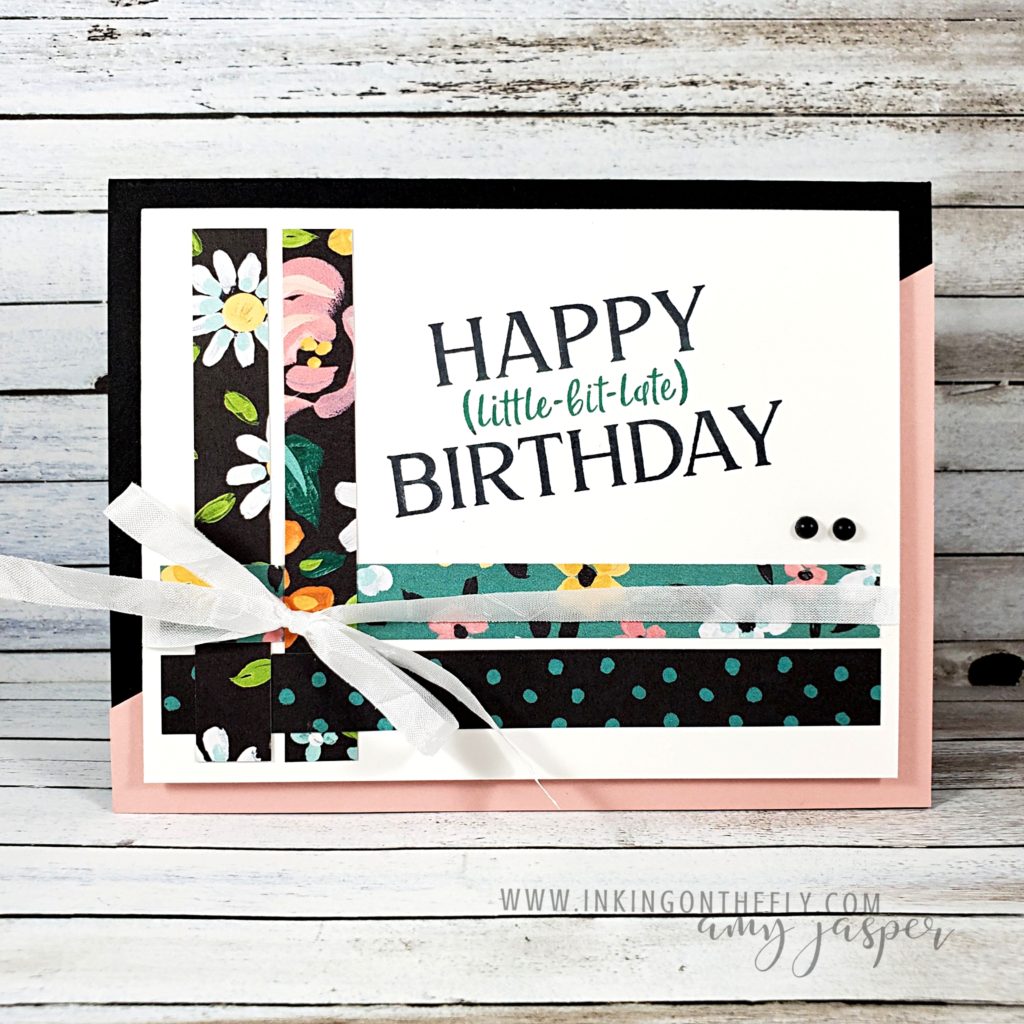
After placing the 1/2″ strips of patterned paper (see the subtle weaving I did in the corner?), I inked up the sentiment from the Happiest of Birthdays stamp set from Stampin’ Up! with Just Jade ink, then I carefully inked over the “happy” and the “birthday” with Tuxedo Black Momento ink, before stamping it on my Whisper White cardstock. The little Matte Black Dots that I placed on the card are a new item in the January – June Mini Catalogue, while the Crinkled Seam Binding Ribbon is an old favourite of mine. So lovely to work with and one that I often like to colour using the Stampin’ Blends Markers, though the white was just what I needed for this design.
I really like the simplicity of the angled background on the card base. I used Basic Black for the base, then cut a 4 1/4″ x 5 1/2″ piece of Blushing Bride cardstock in half on an angle and attached it to the front of the black base, before adhering my white layer with Stampin’ Dimensionals.
I have a few birthday wishes that are running late … late enough that if I send this card out, maybe it should actually read HAPPY little-bit-early BIRTHDAY.
Oh man. I’m just going to have to put my shame aside and send it, one way or another!
Click the SHOP button on this page to browse the online store and see what new products are available. There are so many beautiful things just waiting for you to make them!