Gently Falling
I had an interesting time with the As You See It Challenge this week. I was able to review my Demonstrator Starter Kit order from back in February, 2006. At that time, we couldn’t order whatever we wanted and it cost a lot more (my total was $379 CAD, including tax!). We could switch out some of the suggested items for items that were of equal or lesser value. To get the starter kit now, it’s only $135 (taxes and shipping free) and you get to choose whatever you want up to $165! Sweet deal! And during Sale-a-bration, which is right now, you get the usual $165 of product for $135, but you ALSO get to choose two additional free stamp sets of any value! SO GOOD!
So, here’s the challenge: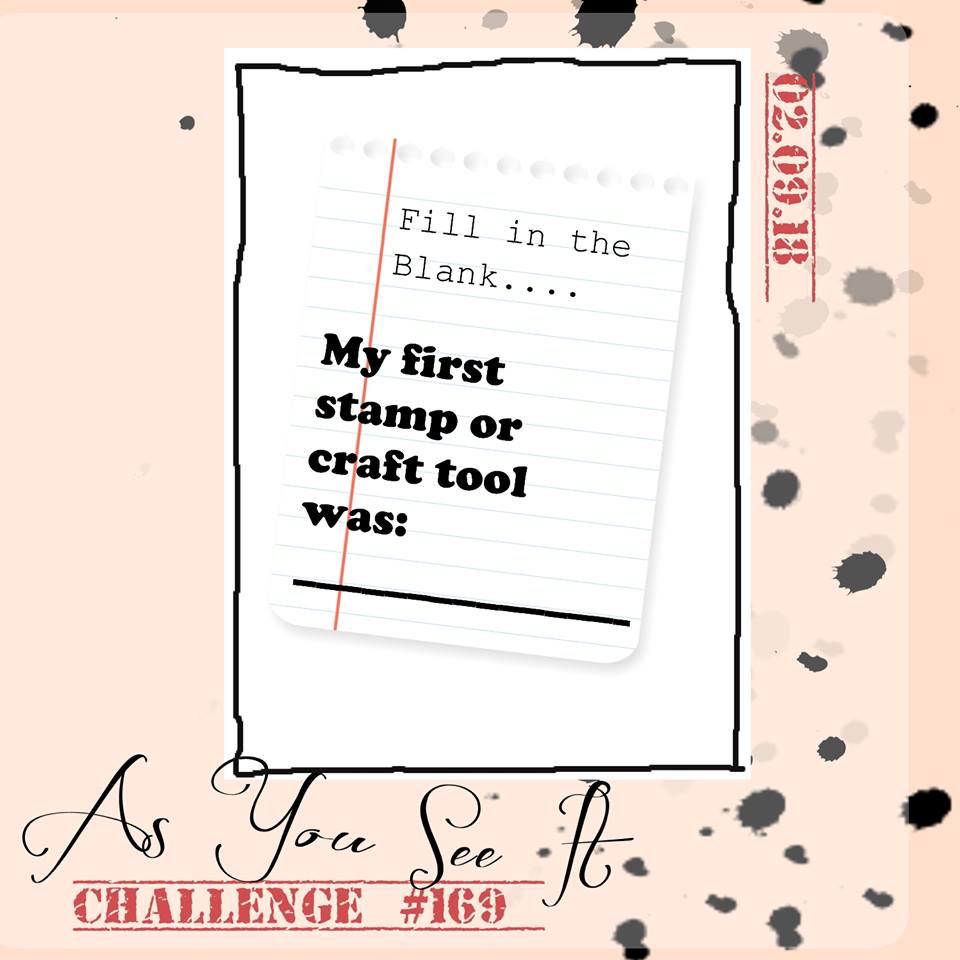 I actually remember the very first stamp that I purchased. It was from a little stamp store in my town and they had a kiosk set up in the mall. They showed me what heat embossing was and I was so enamoured! I purchased a tiny little ladybug stamp and a wee black ink spot. I wish I knew where that little ladybug stamp disappeared to. I’m sure it’s in my house somewhere! The “fly” in my Inking on the Fly title actually represents my love of ladybugs – not cutesy cartoony pictures of ladybugs (I hate those), but real ladybugs. Ladybugs represent my love of nature and the beauty of the outdoors.
I don’t have any of the stamp sets from my Starter Kit anymore, but I do have a Sale-a-bration stamp set that I ordered during Sale-a-bration in that first month, so I thought I would revisit that stamp set called “Gently Falling”.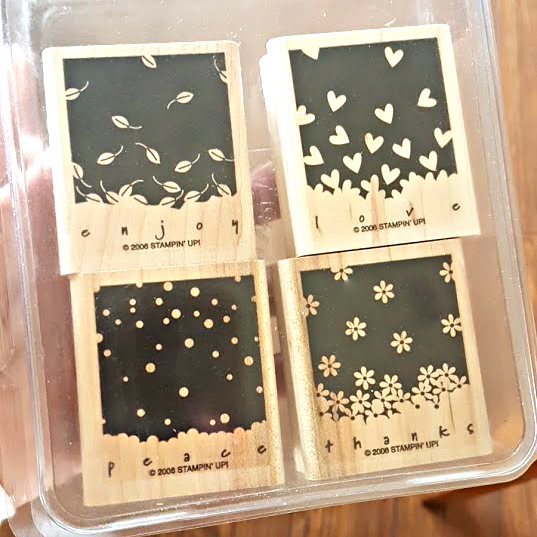 Since Valentine’s Day is coming up, I figured I might as well use the falling hearts image from the set. Since it is currently Sale-a-bration now, I figured I would also offer a mash up of 2006 SAB and 2018 SAB!
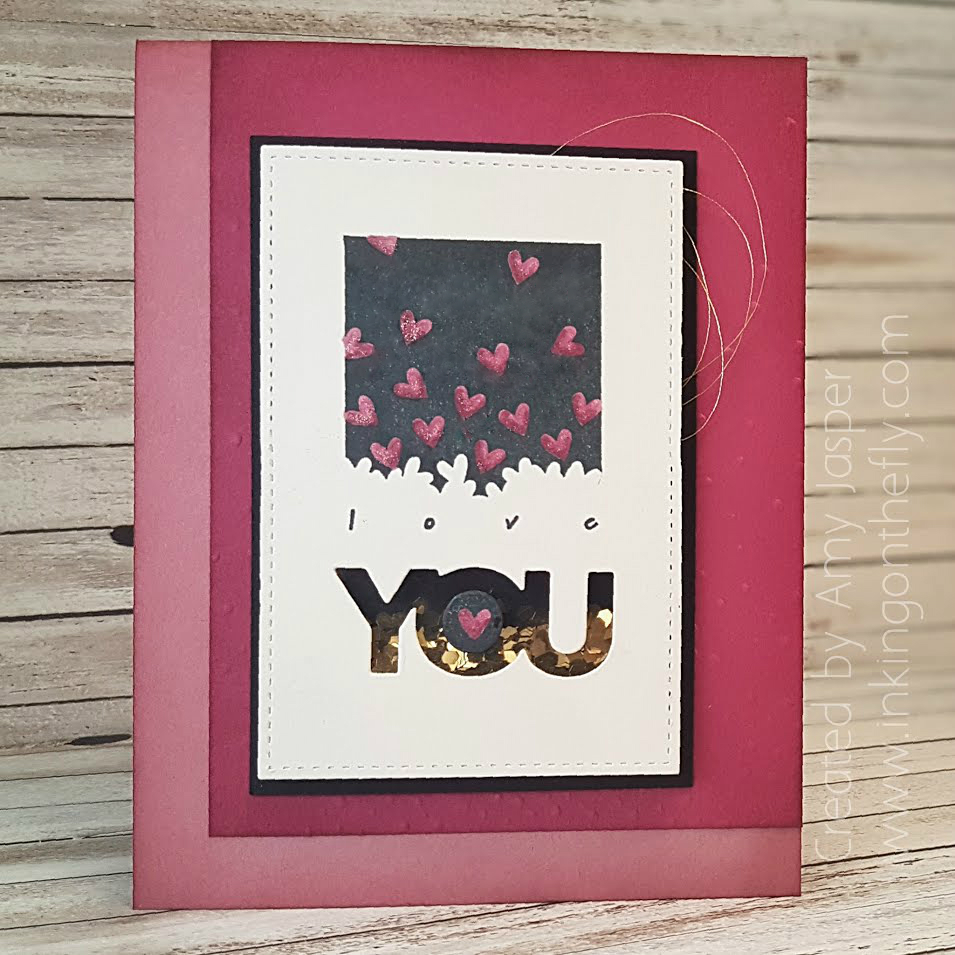 The card is Sweet Sugarplum and Berry Burst with Basic Black and Whisper White to give it contrast. I stamped the hearts image with Momento Tuxedo Black ink, then coloured in the hearts with my Rich Razzleberry Blends Markers and a splash of Clear Wink of Stella. The YOU sentiment is from the Celebrate You Thinlits Dies (free with a $120 order until March 31st) which I obviously cut from the paper using my Big Shot. The rectangular shape was die cut with the Big Shot as well using a square from the Stitched Shapes Framelits. That’s right, you read that correctly- a SQUARE! LOL! With some fancy partial die cutting, I used the square framelit twice to create a stitched rectangle.
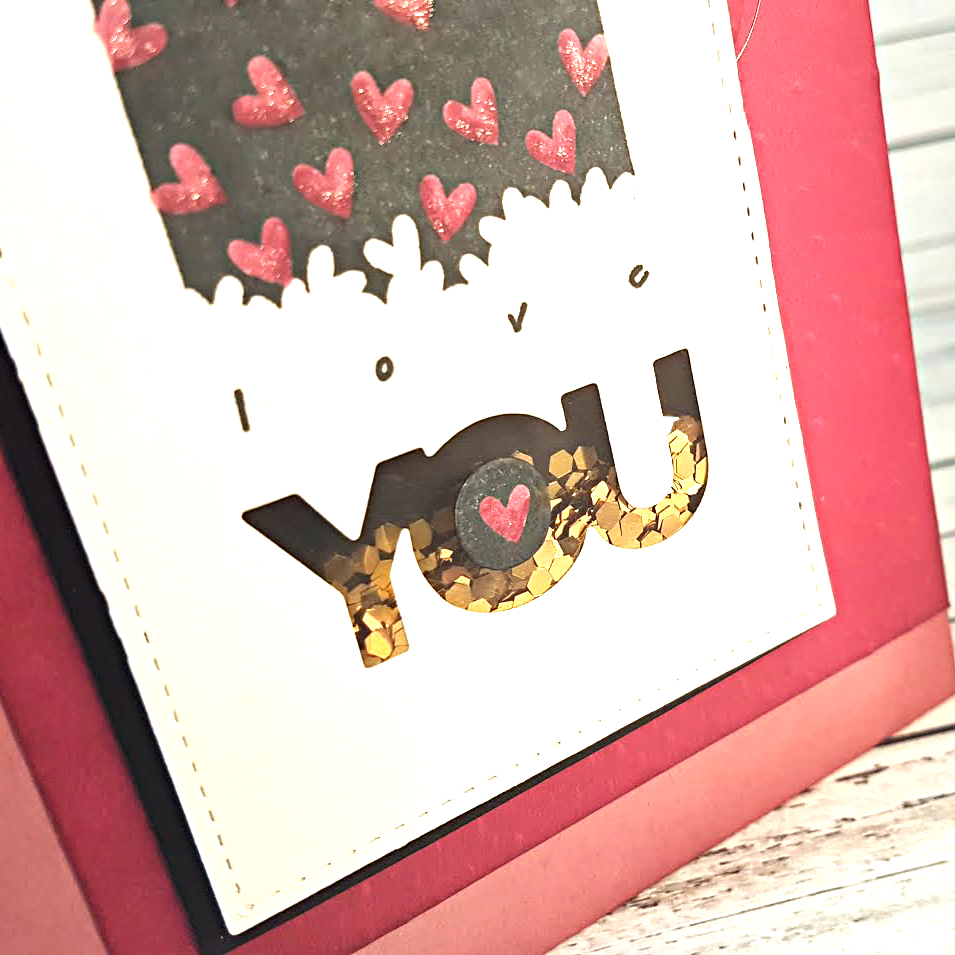 To create the shaker element under the word, I first attached a piece of Window Sheet behind the die cut. I then used the Foam Adhesive Strips to create a closed fence around the die cut, added the Gold Glitter Flakes into the foam fence, then attached a piece of Basic Black cardstock over top to contain the flakes. Shaker cards are so much more fun, don’t you think!?
PRO TIP: to keep your glitter from sticking to the inside surfaces of your shaker frame, give the Window Sheet and the cardstock a vigorous rub with either the Embossing Buddy or a dryer sheet. No more static cling!
I added more bits of Foam Adhesive strips to the back of the Whisper White cardstock piece and attached a loop-the-loop of Gold Metallic Thread, then adhered it to the Basic Black mat of cardstock.
The Berry Burst Cardstock piece was first sponged all around the edges with Berry Burst ink, then run through the Big Shot with the Softly Falling embossing folder (it’s hard to see in the photographs). I thought it was funny to have the Gently Falling stamp set combined with the Softly Falling embossing folder. It’s as though they were meant to be together!
The final step was to sponge Sweet Sugarplum ink all around the two edges of the Sweet Sugarplum cardstock before putting the card together.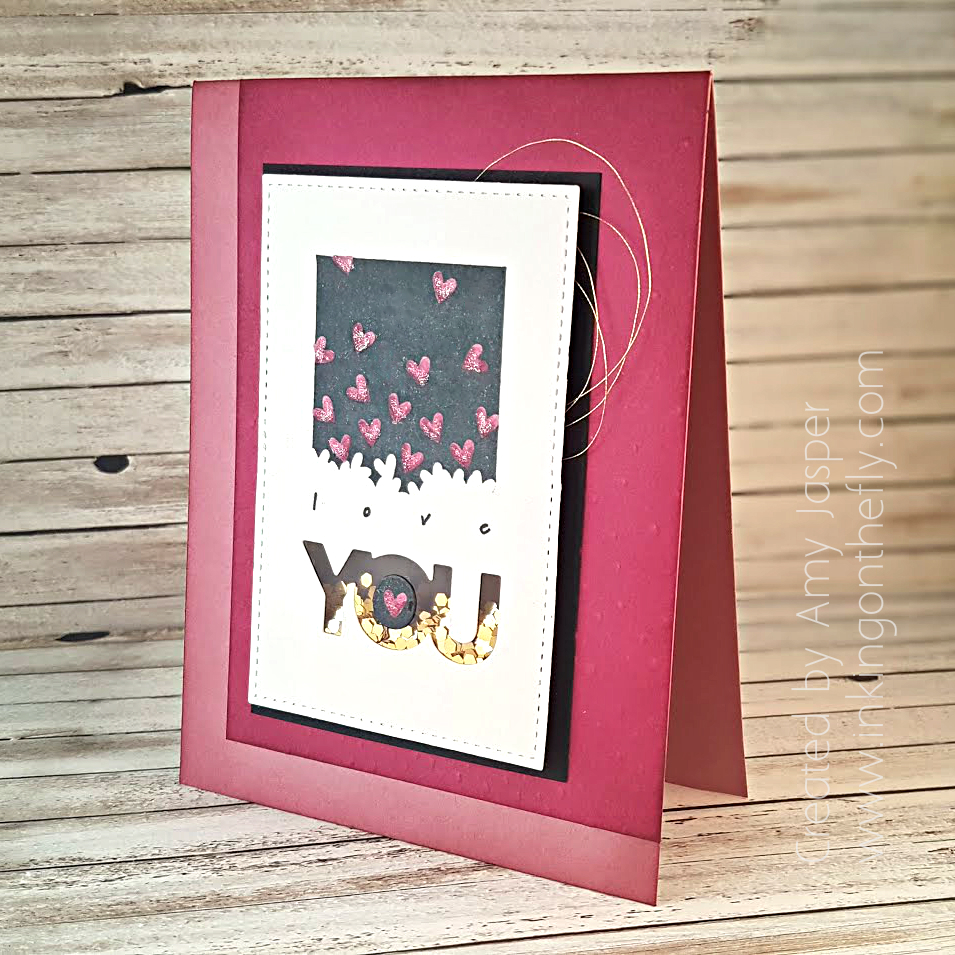 I am quite happy with the finished product. The offset of the Berry Burst layer is much more flavourful to me than having everything centered like I often would do.
Do you remember what your first stamps or craft tools were? Please share in the comments and be sure to play along with the As you See It Challenge!