vellum

My Challenge Results were Joy and Peace

It feels funny to be talking about Christmas this week when my kids are wearing their Halloween costumes to school today! However, in my stamping and crafting world, I have to work on Christmas projects all through the fall. That way, December can’t sneak up on me!

The As You See It Challenge blog has a challenge for us, and this one is all about Christmas!

I’ve been working on designing cards for an upcoming event. Conveniently, this challenge allows me the opportunity to create one card for two purposes! WhooHoo! I love how efficient that makes me feel! *grin*

My results for this challenge? Joy and peace, of course! This card represents the emotions that perfectly sum up Christmas for me.

Making the card

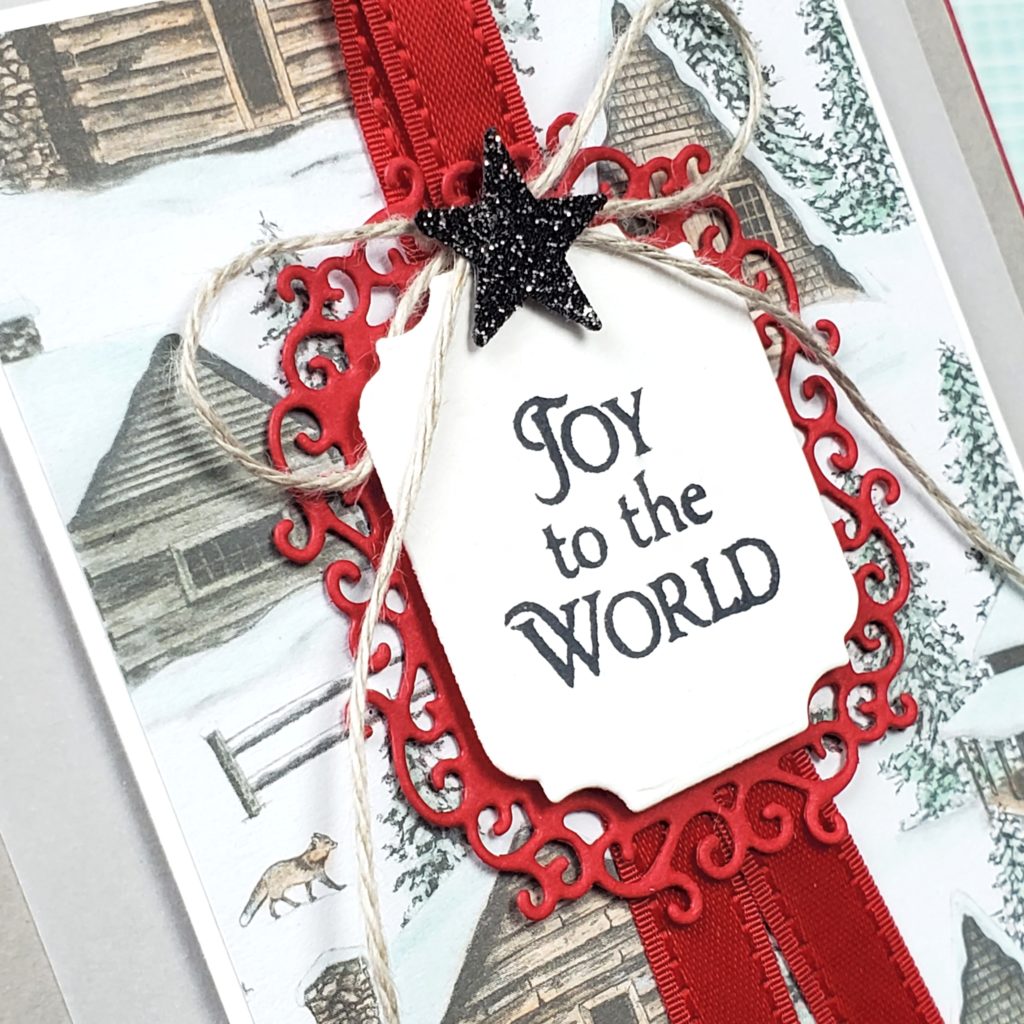
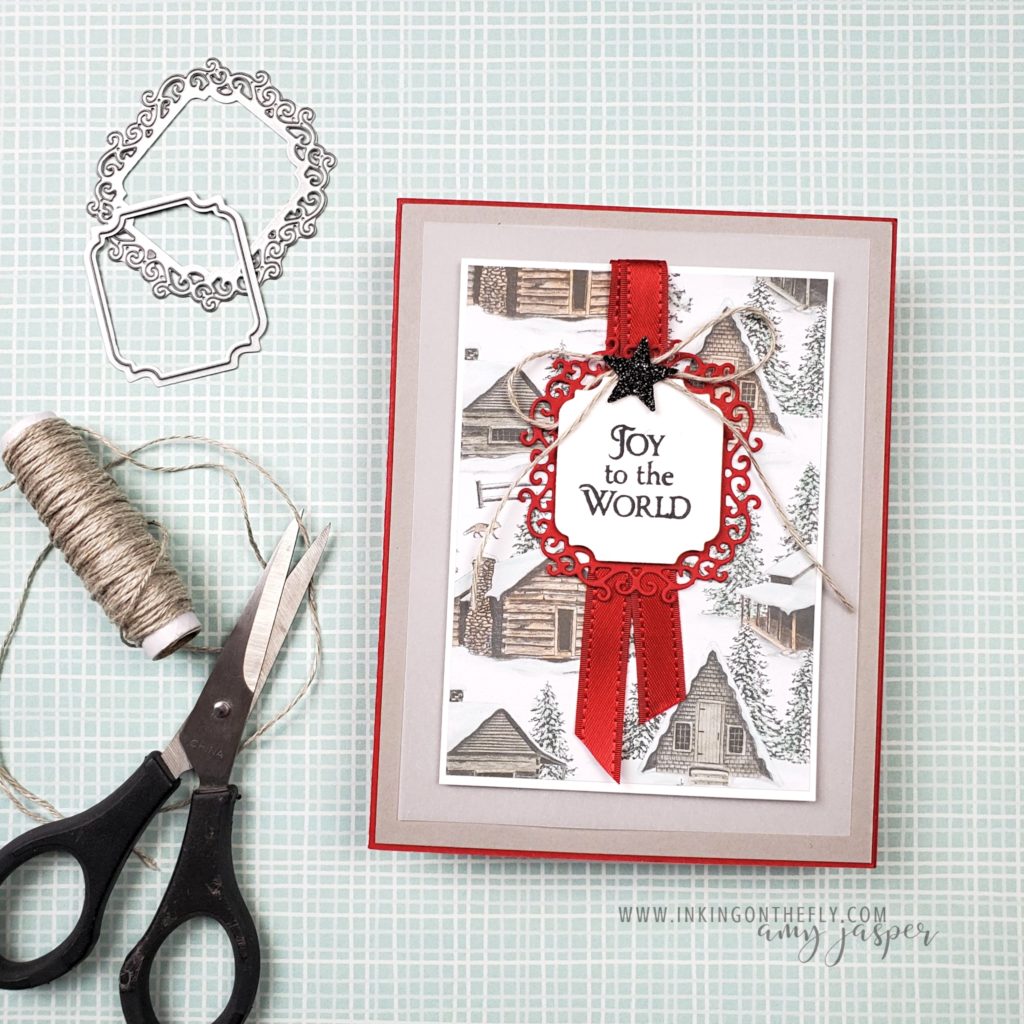
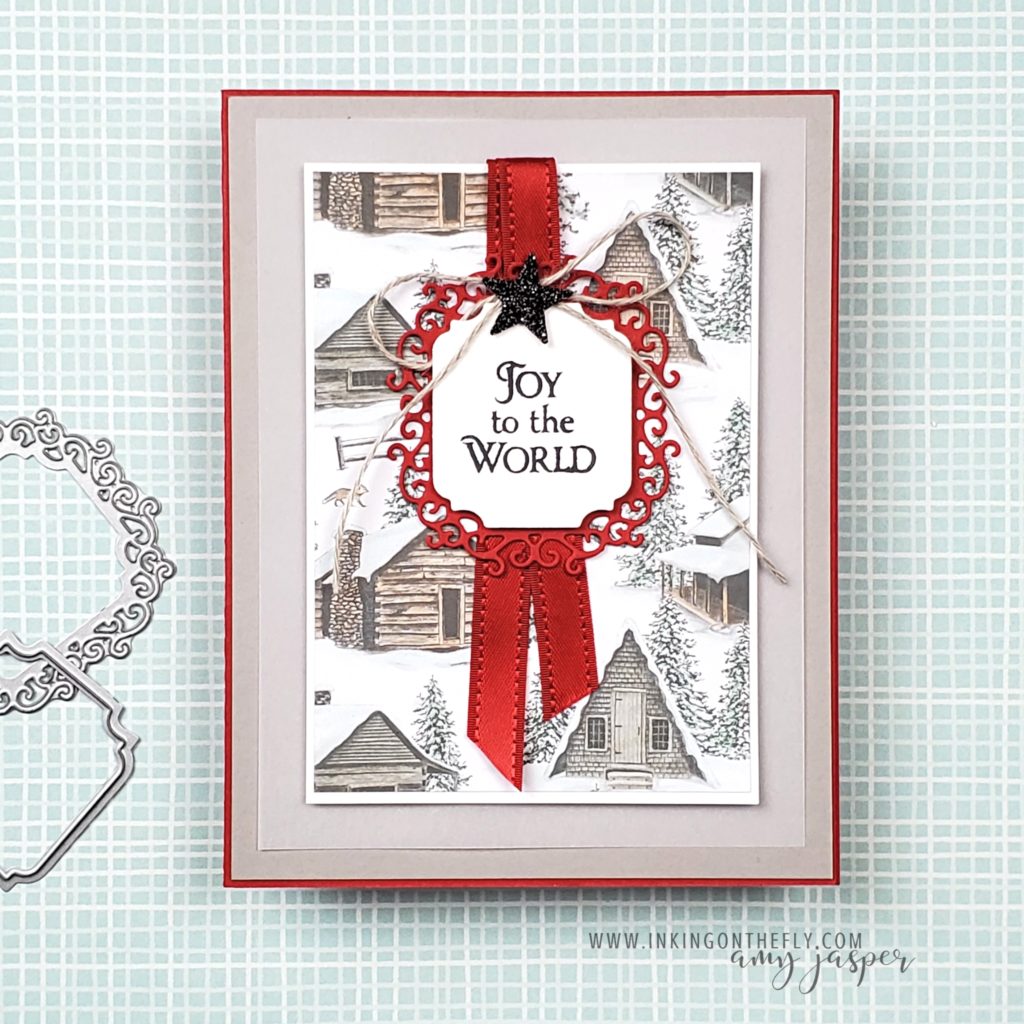
First, I used a Real Red cardstock base, layered with Gray Granite and Vellum. Next, I coloured the Peaceful Place patterned paper before adhering it to the Basic White. To colour the paper, you can either use some of the light Blends Markers or the Stampin’ Write Markers. Of course, the Stampin’ Blends Markers are super easy, as you can achieve a very even colour.

On this particular card, I used Petal Pink and Sahara Sand Stampin’ Write Markers directly on the cabins and the fox. Then, I scribbled Mint Macaron and Pool Party Stampin’ Write Marker on an acrylic block, so I could pick up the colour with a Blender Pen to create a softer colour for the trees and the snow drifts.

The sentiment from the Stars are Shining stamp set has been stamped on Basic White cardstock. This and the Real Red frame were die-cut using the Cut & Emboss Machine and the Ornate Frames Dies.

To make it festive, the Real Red Satin Ribbon and the Linen Thread topped off with a Black Glitter Paper star, are added to the card. I love that little star! The Starlit Punch, which can be purchased separately or bundled with the Stars are Shining stamp set, is what I used to punch out that sweet element.

If you tend to skip over the Halloween products in the catalogues, then you may have missed the Black Glitter paper. Even though I don’t make a lot of Halloween crafts, I made a point to snatch up that paper for other occasions. In this case, it is a great accent for a Christmas card!

Holiday Stamp Camp

This card will be one of the 10 cards that we’ll be making at the Holiday Stamp Camp event in November. Once again, Desirée Spenst and I have teamed up for another day-long virtual event! Anyone in Canada can join us for this event. Registration closes October 31st, so don’t wait! Go to my Events & Classes Page to find out more and to register.
You’ll Love the Beautiful Effect of Layered Vellum

The As You See It Challenge Blog has us sharing our favourite animal as the starting point for our designs today. I don’t know about you, but I had to work within the limits of my supplies! There aren’t any images of moose among the current Stampin’ Up! products!

Since my favourite animal is under-represented at the moment, I chose to go with my close second favourite animal, instead. A deer!

The Layers

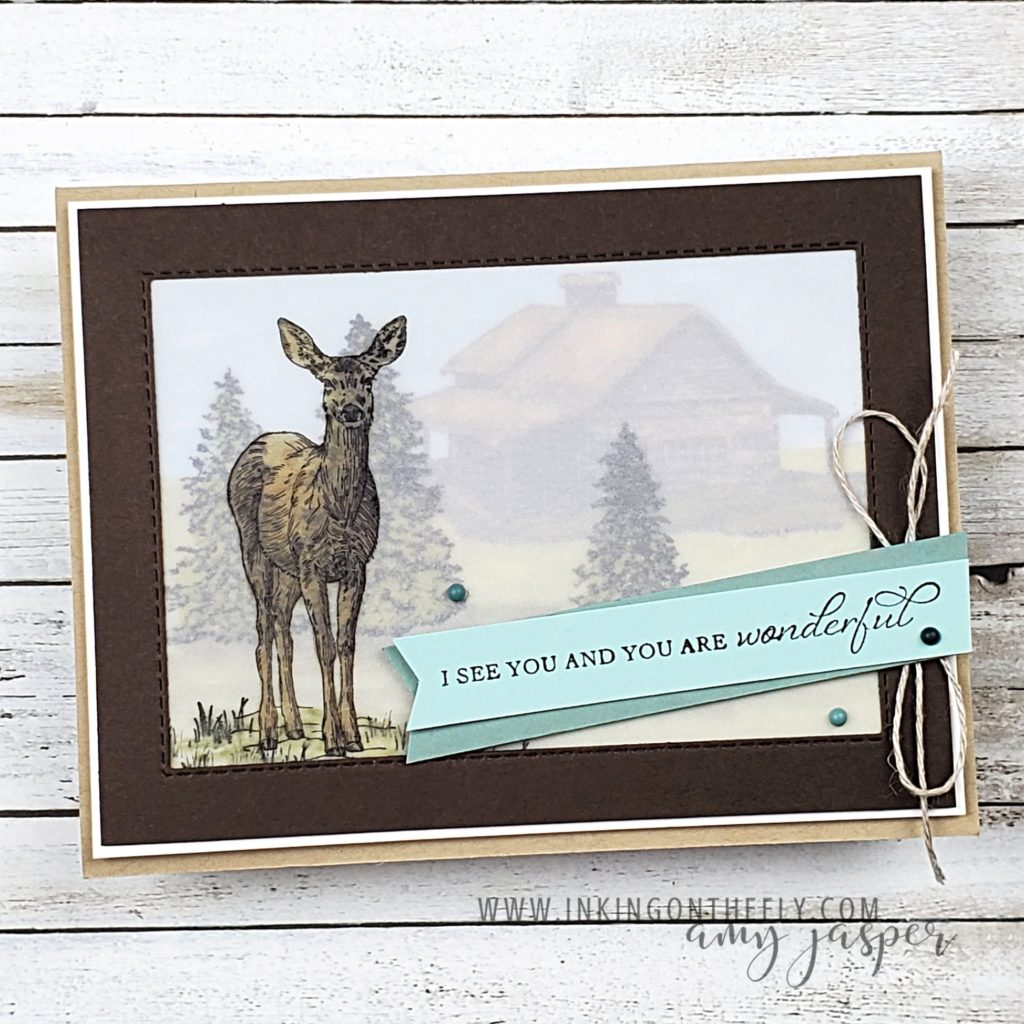
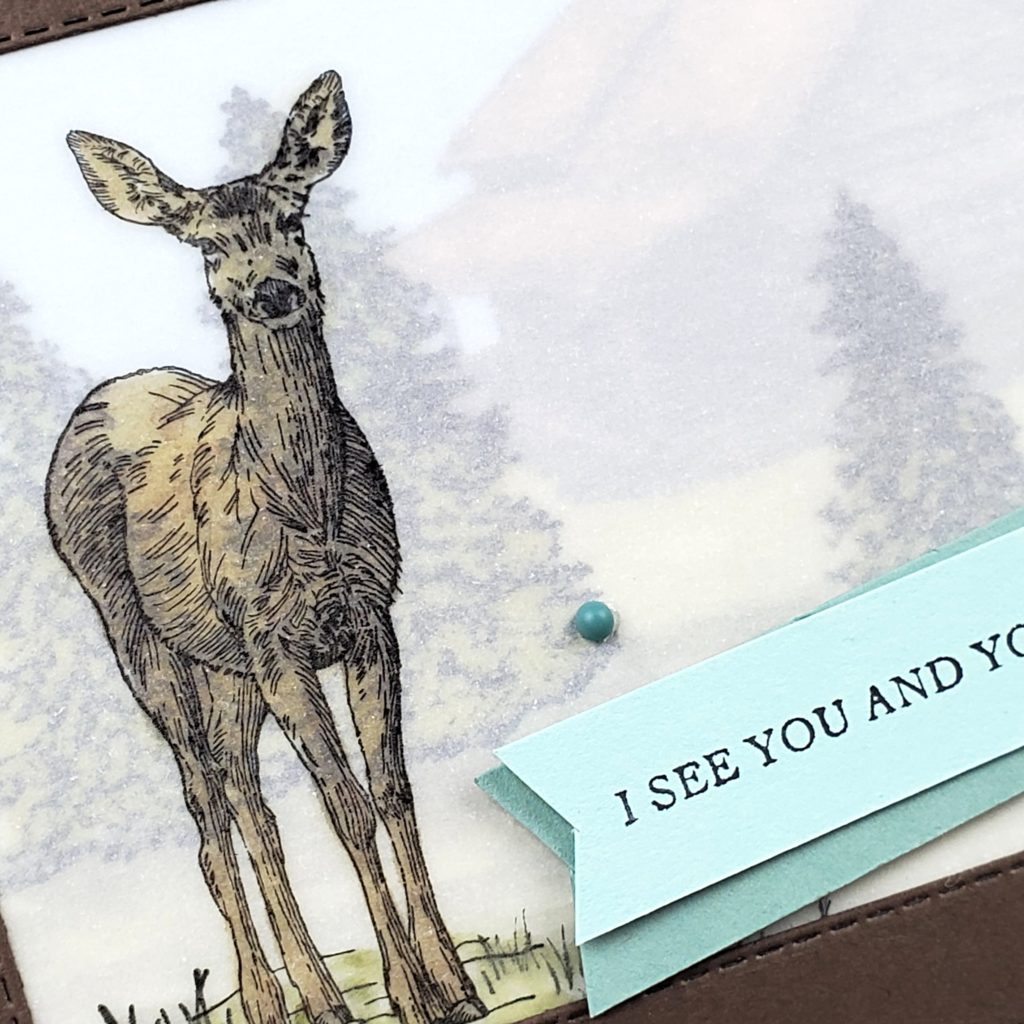
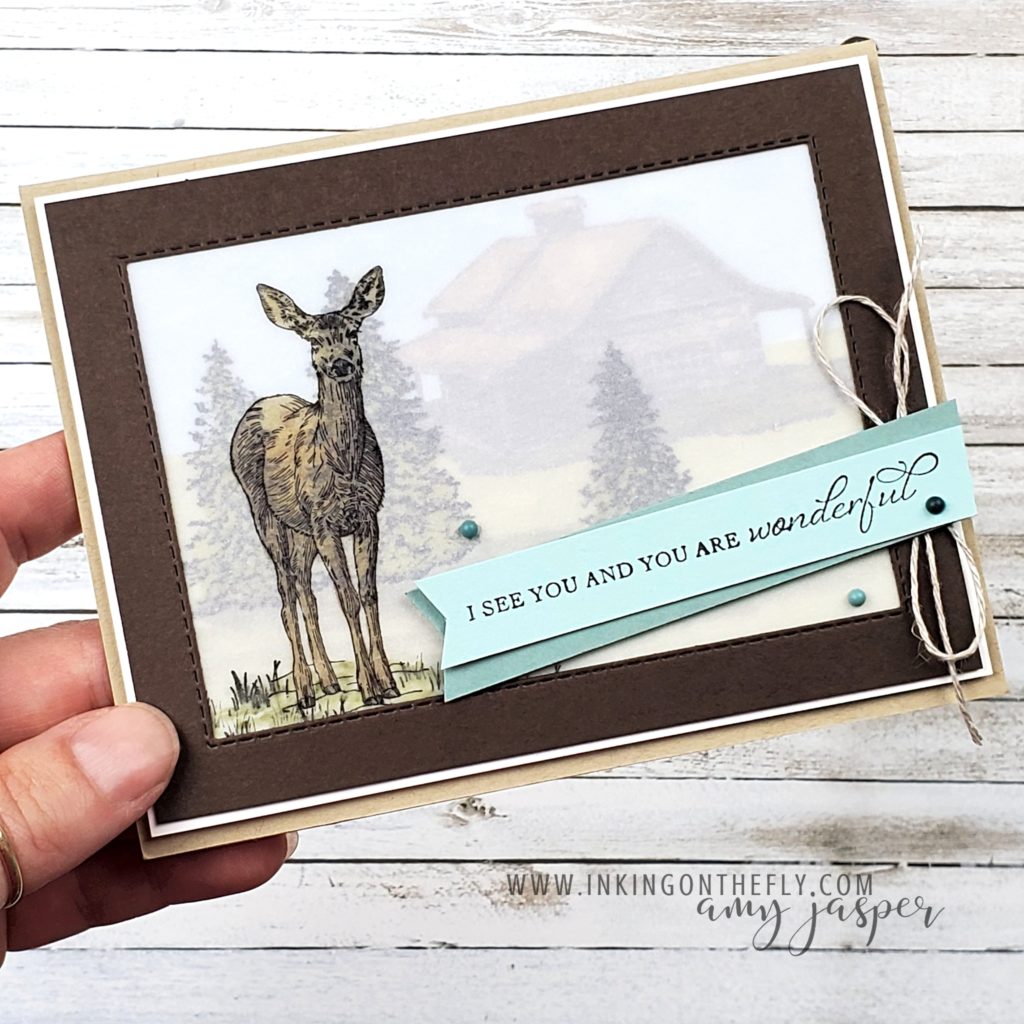
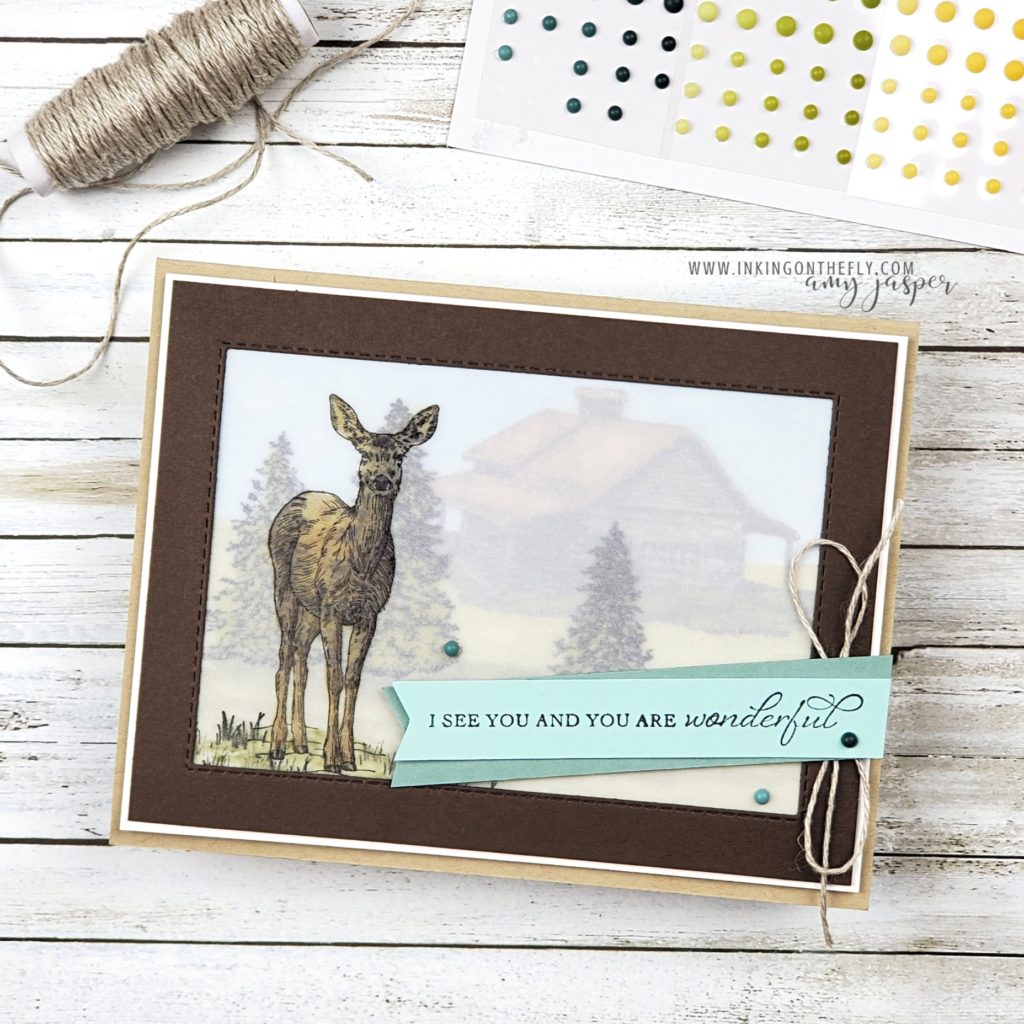
This card shows off a layering technique with vellum to create the feeling of distance on a misty morning.

I stamped the cabin first on a piece of Basic White cardstock with Tuxedo Black Momento ink. The cabin image is from a new stamp set called Peaceful Cabin that was just released along with the new Mini Catalogue! It’s so exciting to be able to play with new products! I used Soft Suede and Crumb Cake Blends Markers to colour the cabin, then coloured the area around the cabin with Old Olive and Balmy Blue to give a little bit to the earth and sky.

The next layer is vellum, on which I stamped the trees from the same stamp set. I used black ink again, then coloured behind it with an Old Olive Blends Marker. I also added some Smoky Slate with my Blends Marker to create a bit of a shadow under the trees.

Next, I stamped the deer from the Nature’s Beauty stamp set on a second piece of vellum, colouring it with my Soft Suede and Bronze Blends Markers (on the back of the vellum. I added the grass image at the deer’s feet, using the olive Blends Marker to accent the grass.

Each layer was adhered behind the Early Espresso frame, created with one of the Rectangle Stitched dies. I cut a narrow Basic White matte to go behind the frame and attached it to the Crumb Cake card base with Stampin’ Dimensionals.

Finishing the Card

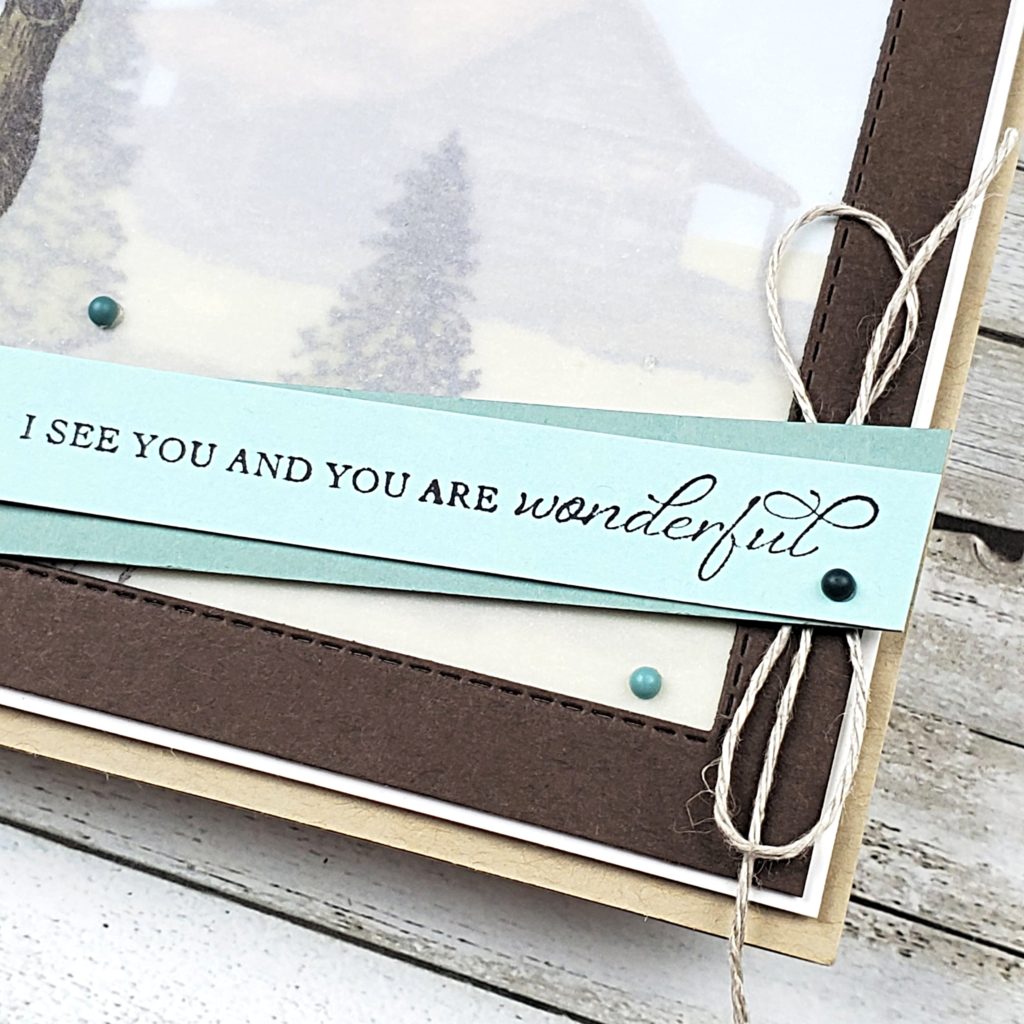
With all my vellum layering complete, I then stamped the sentiment from the In Your Words stamp set on Pool Party cardstock with black ink. This stamp set is only available for FREE during Sale-a-bration to anyone who hosts a qualifying workshop or personal order over $375. I was surprised at how nicely the Soft Succulent paper works with the Pool Party.

The two paper strips were flagged on the ends with scissors and attached together before adhering them to the card with Stampin’ Dimensionals.

Finally, I added the Linen Thread bow and the adhesive-backed dots from the new Decorative Matt Dots embellishments.

If you made a card for this challenge, then what animal would you use? Why not share it with us at the As You See It Challenge Blog! We love to see your beautiful creations!

Cleverness with Vellum

Ah. It’s good to be back and have something to share. I hope you will be patient with me and my sporadic posts. I’m hoping to post at least every two weeks from now on, in line with the new As You See It Challenge schedule. I hope you will keep coming back to check things out.

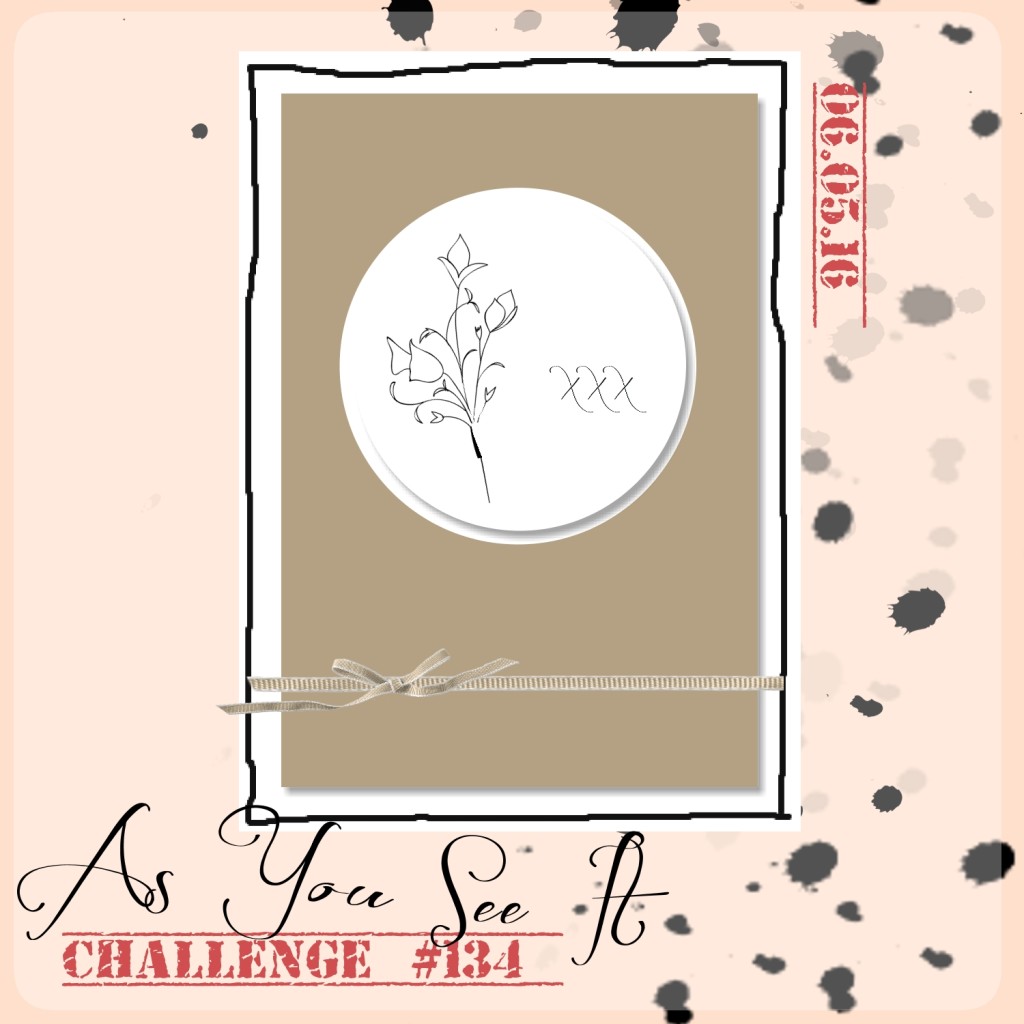
Here’s the sketch for today’s challenge:

#134aysiI decided to play this one up a bit and try a technique that I found online. I can’t for the life of me, remember who posted the tutorial that I followed to create this card, otherwise, I would have just posted a link to her video. If you know who, please say so in the comments. I have a simple picture tutorial to guide you through how this design is made. It’s pretty awesome!!

(June 2017 edit: One reader found the tutorial for me! It was Jennifer McGuire and you can find it by clicking here. Special thanks to Jessica G. for taking the time to share the link in the comments. <3 Thanks Jessica!)

Here’s my card:

IMG_9551

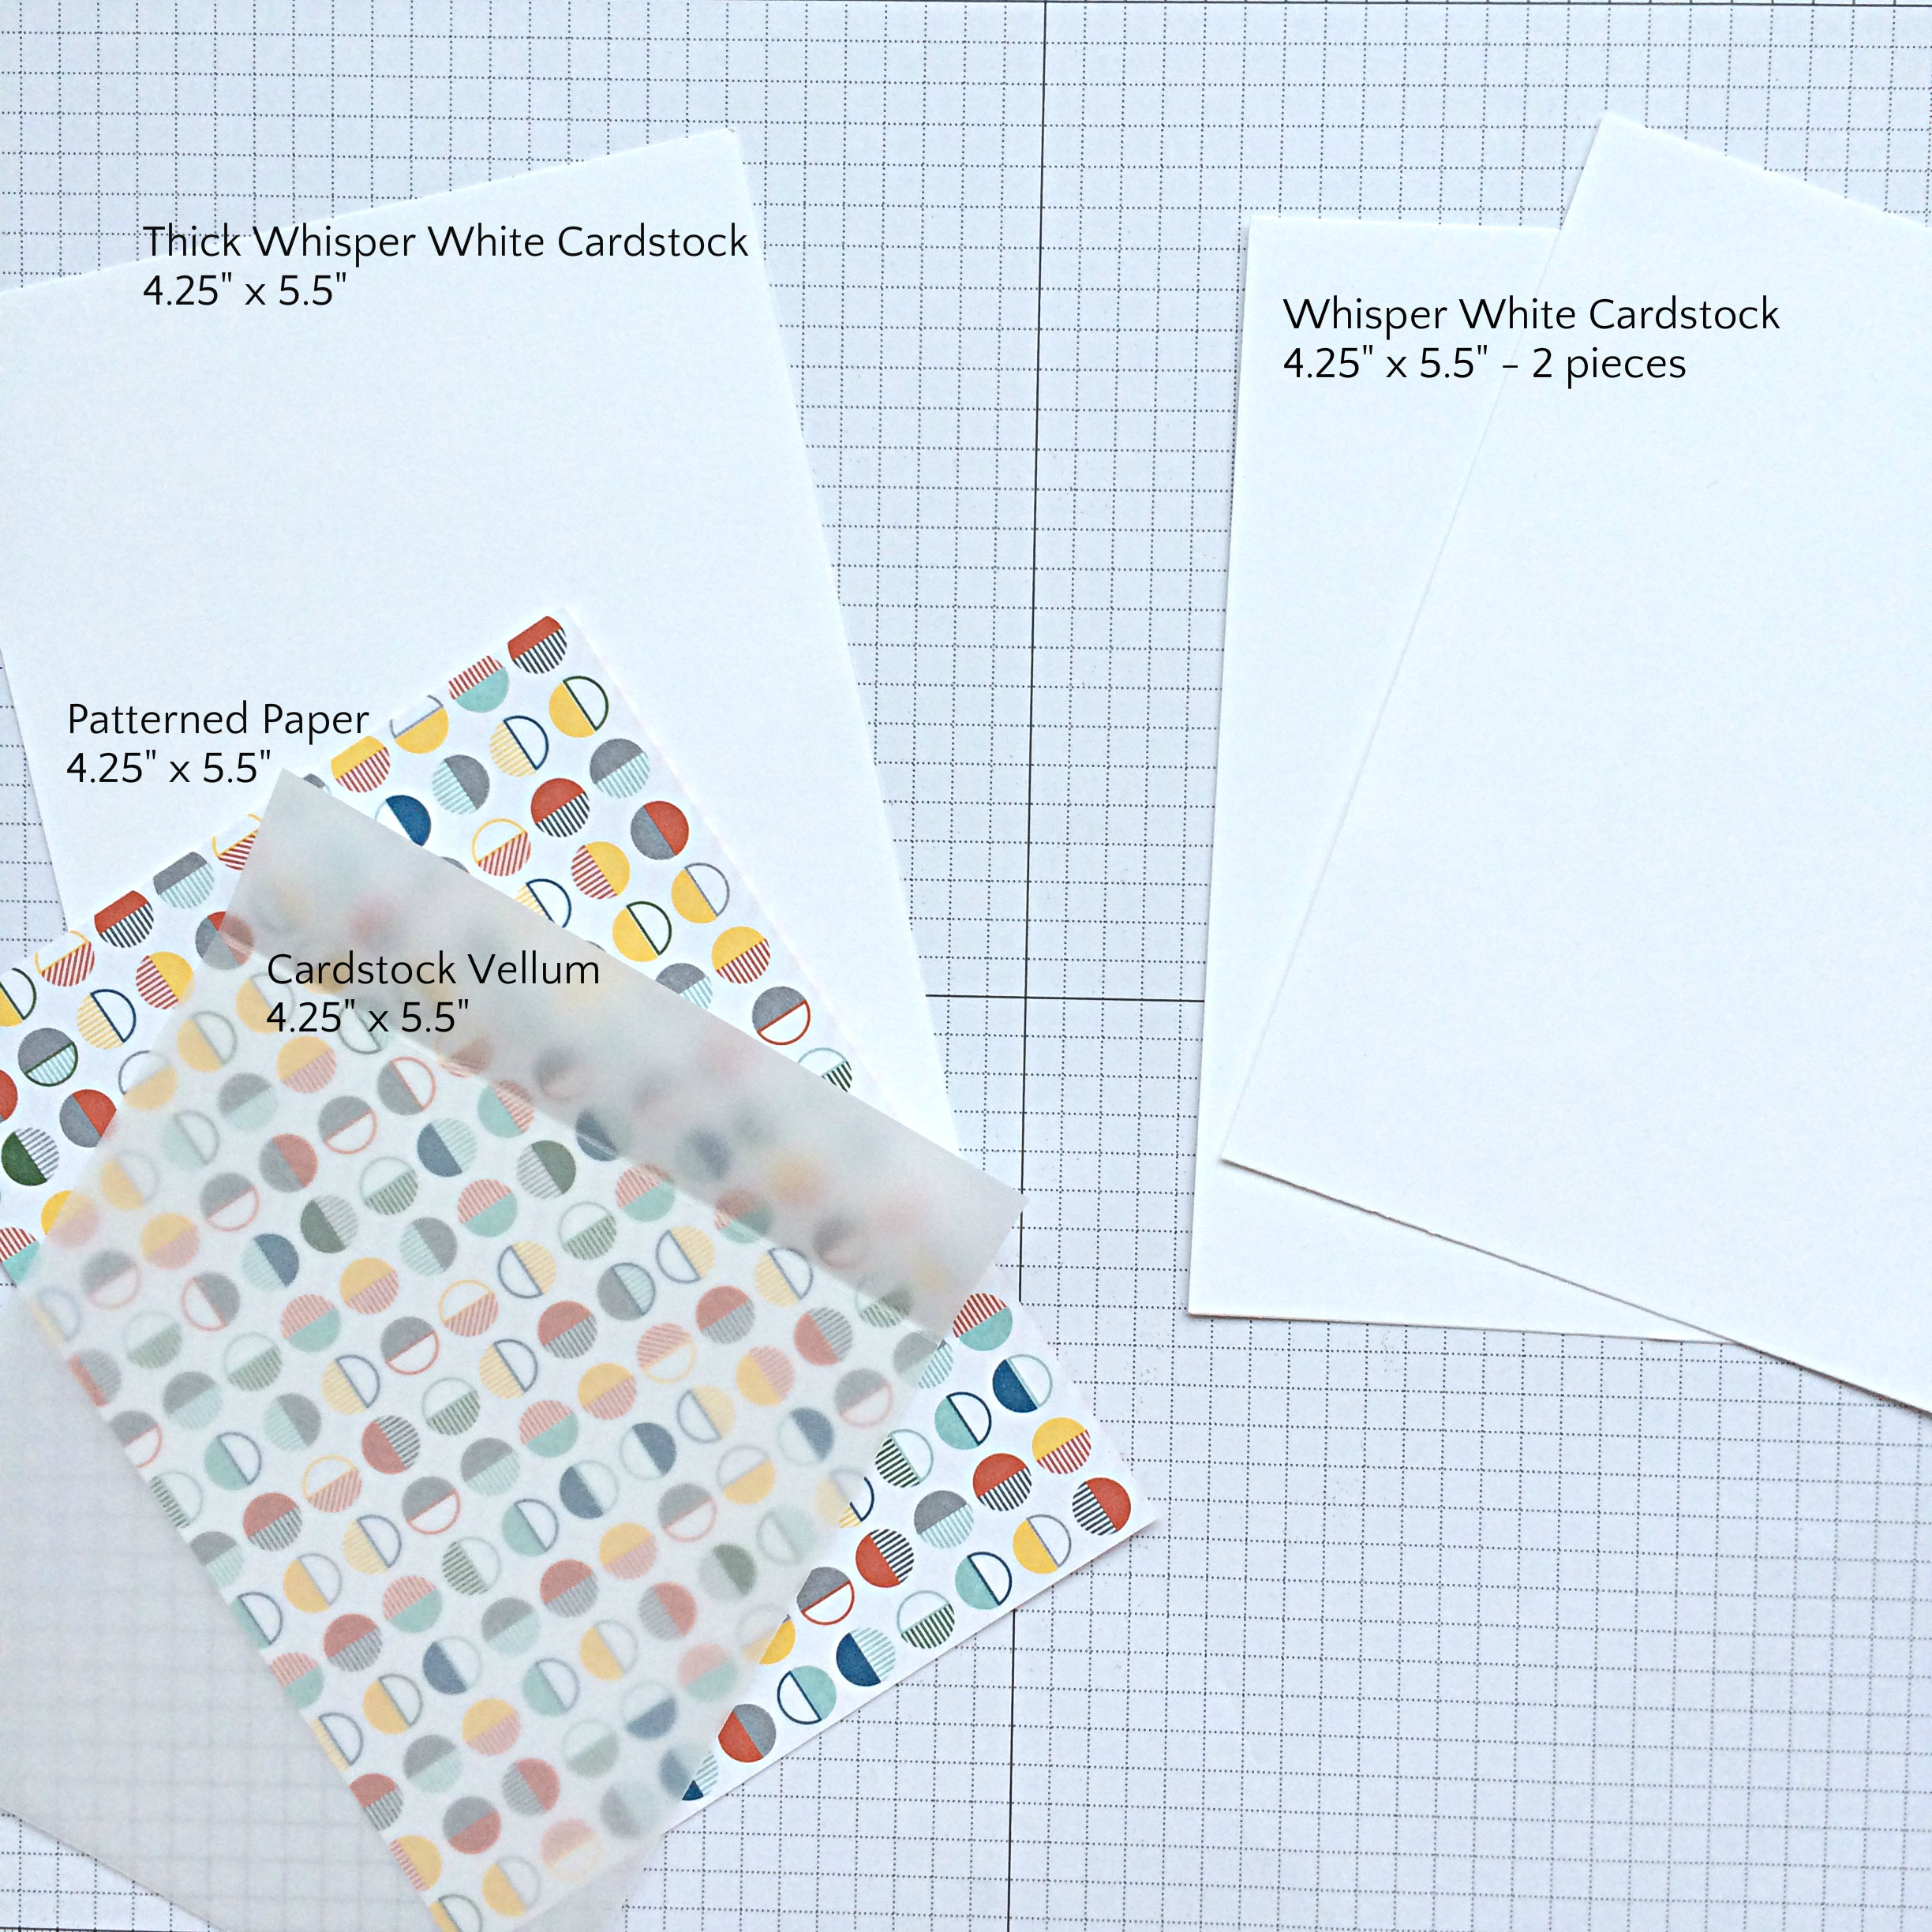
I used Thick Whisper White Cardstock, Schoolhouse Designer Series Paper, and Cardstock Vellum with Whisper White Cardstock for the card base. Here’s a photo tutorial to show how you can create this kind of Cleverness with Vellum:

#134 what you needThe Cardstock Vellum is scored 1″ from the top.

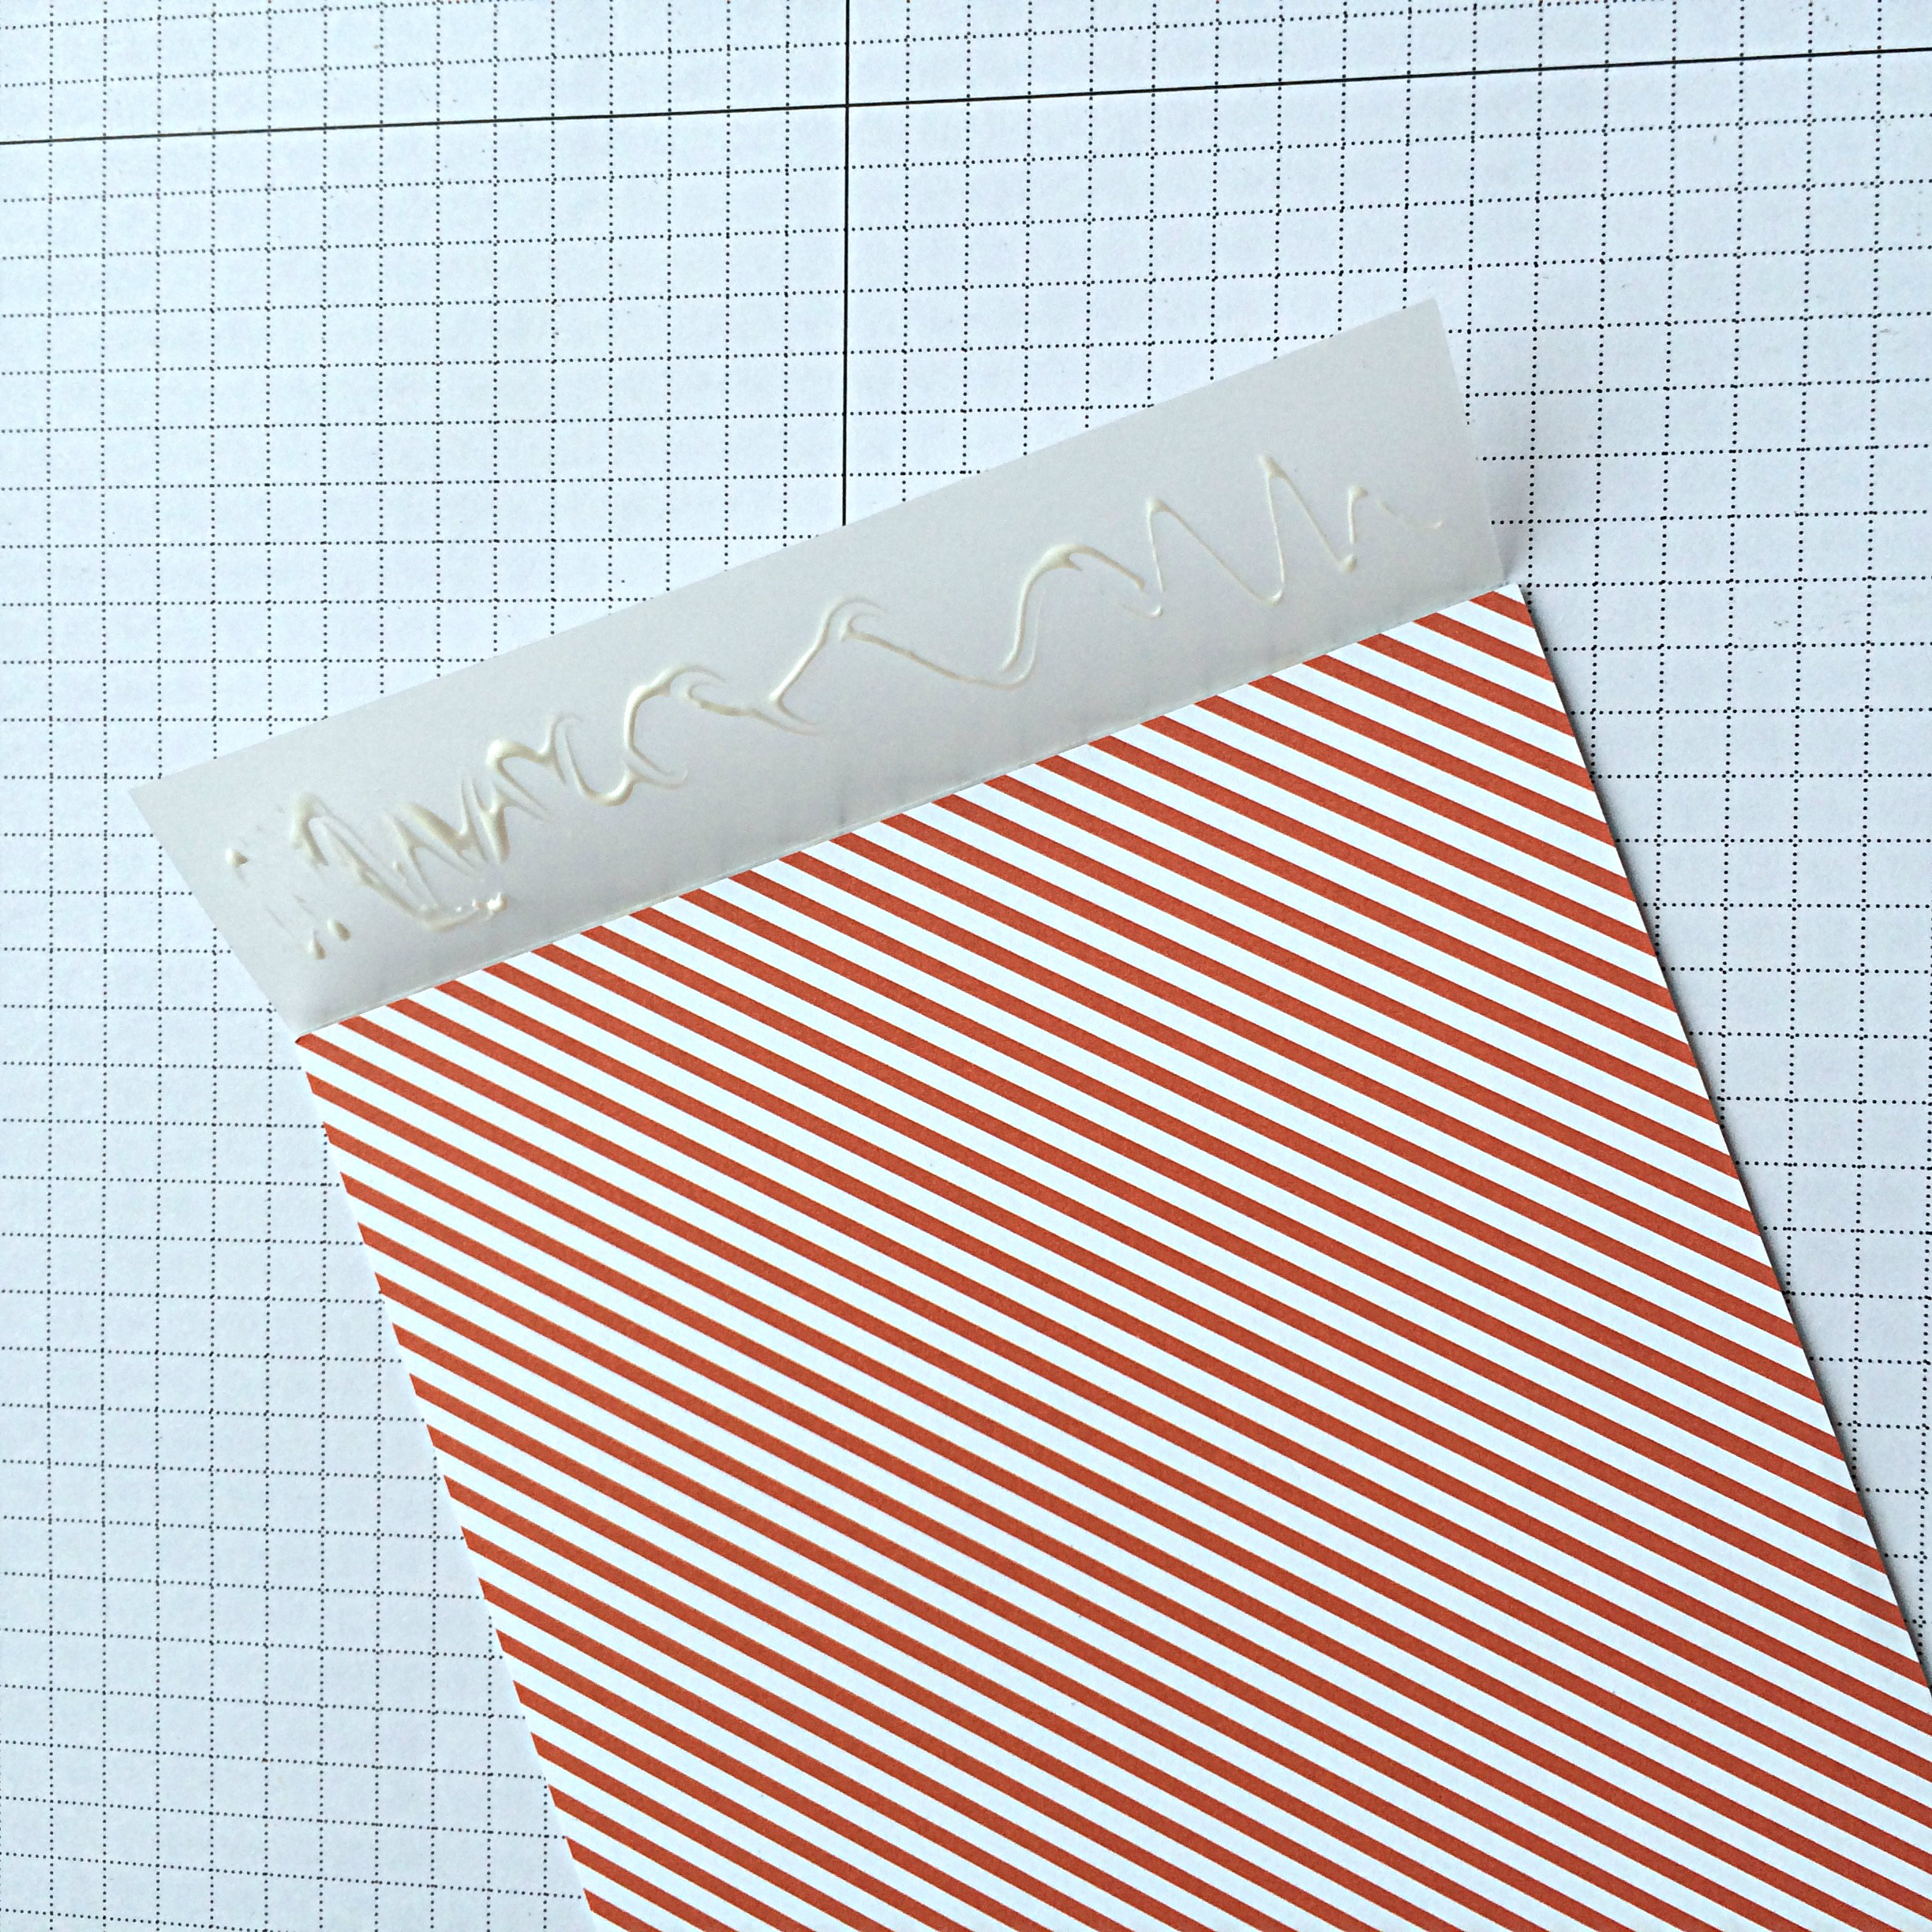
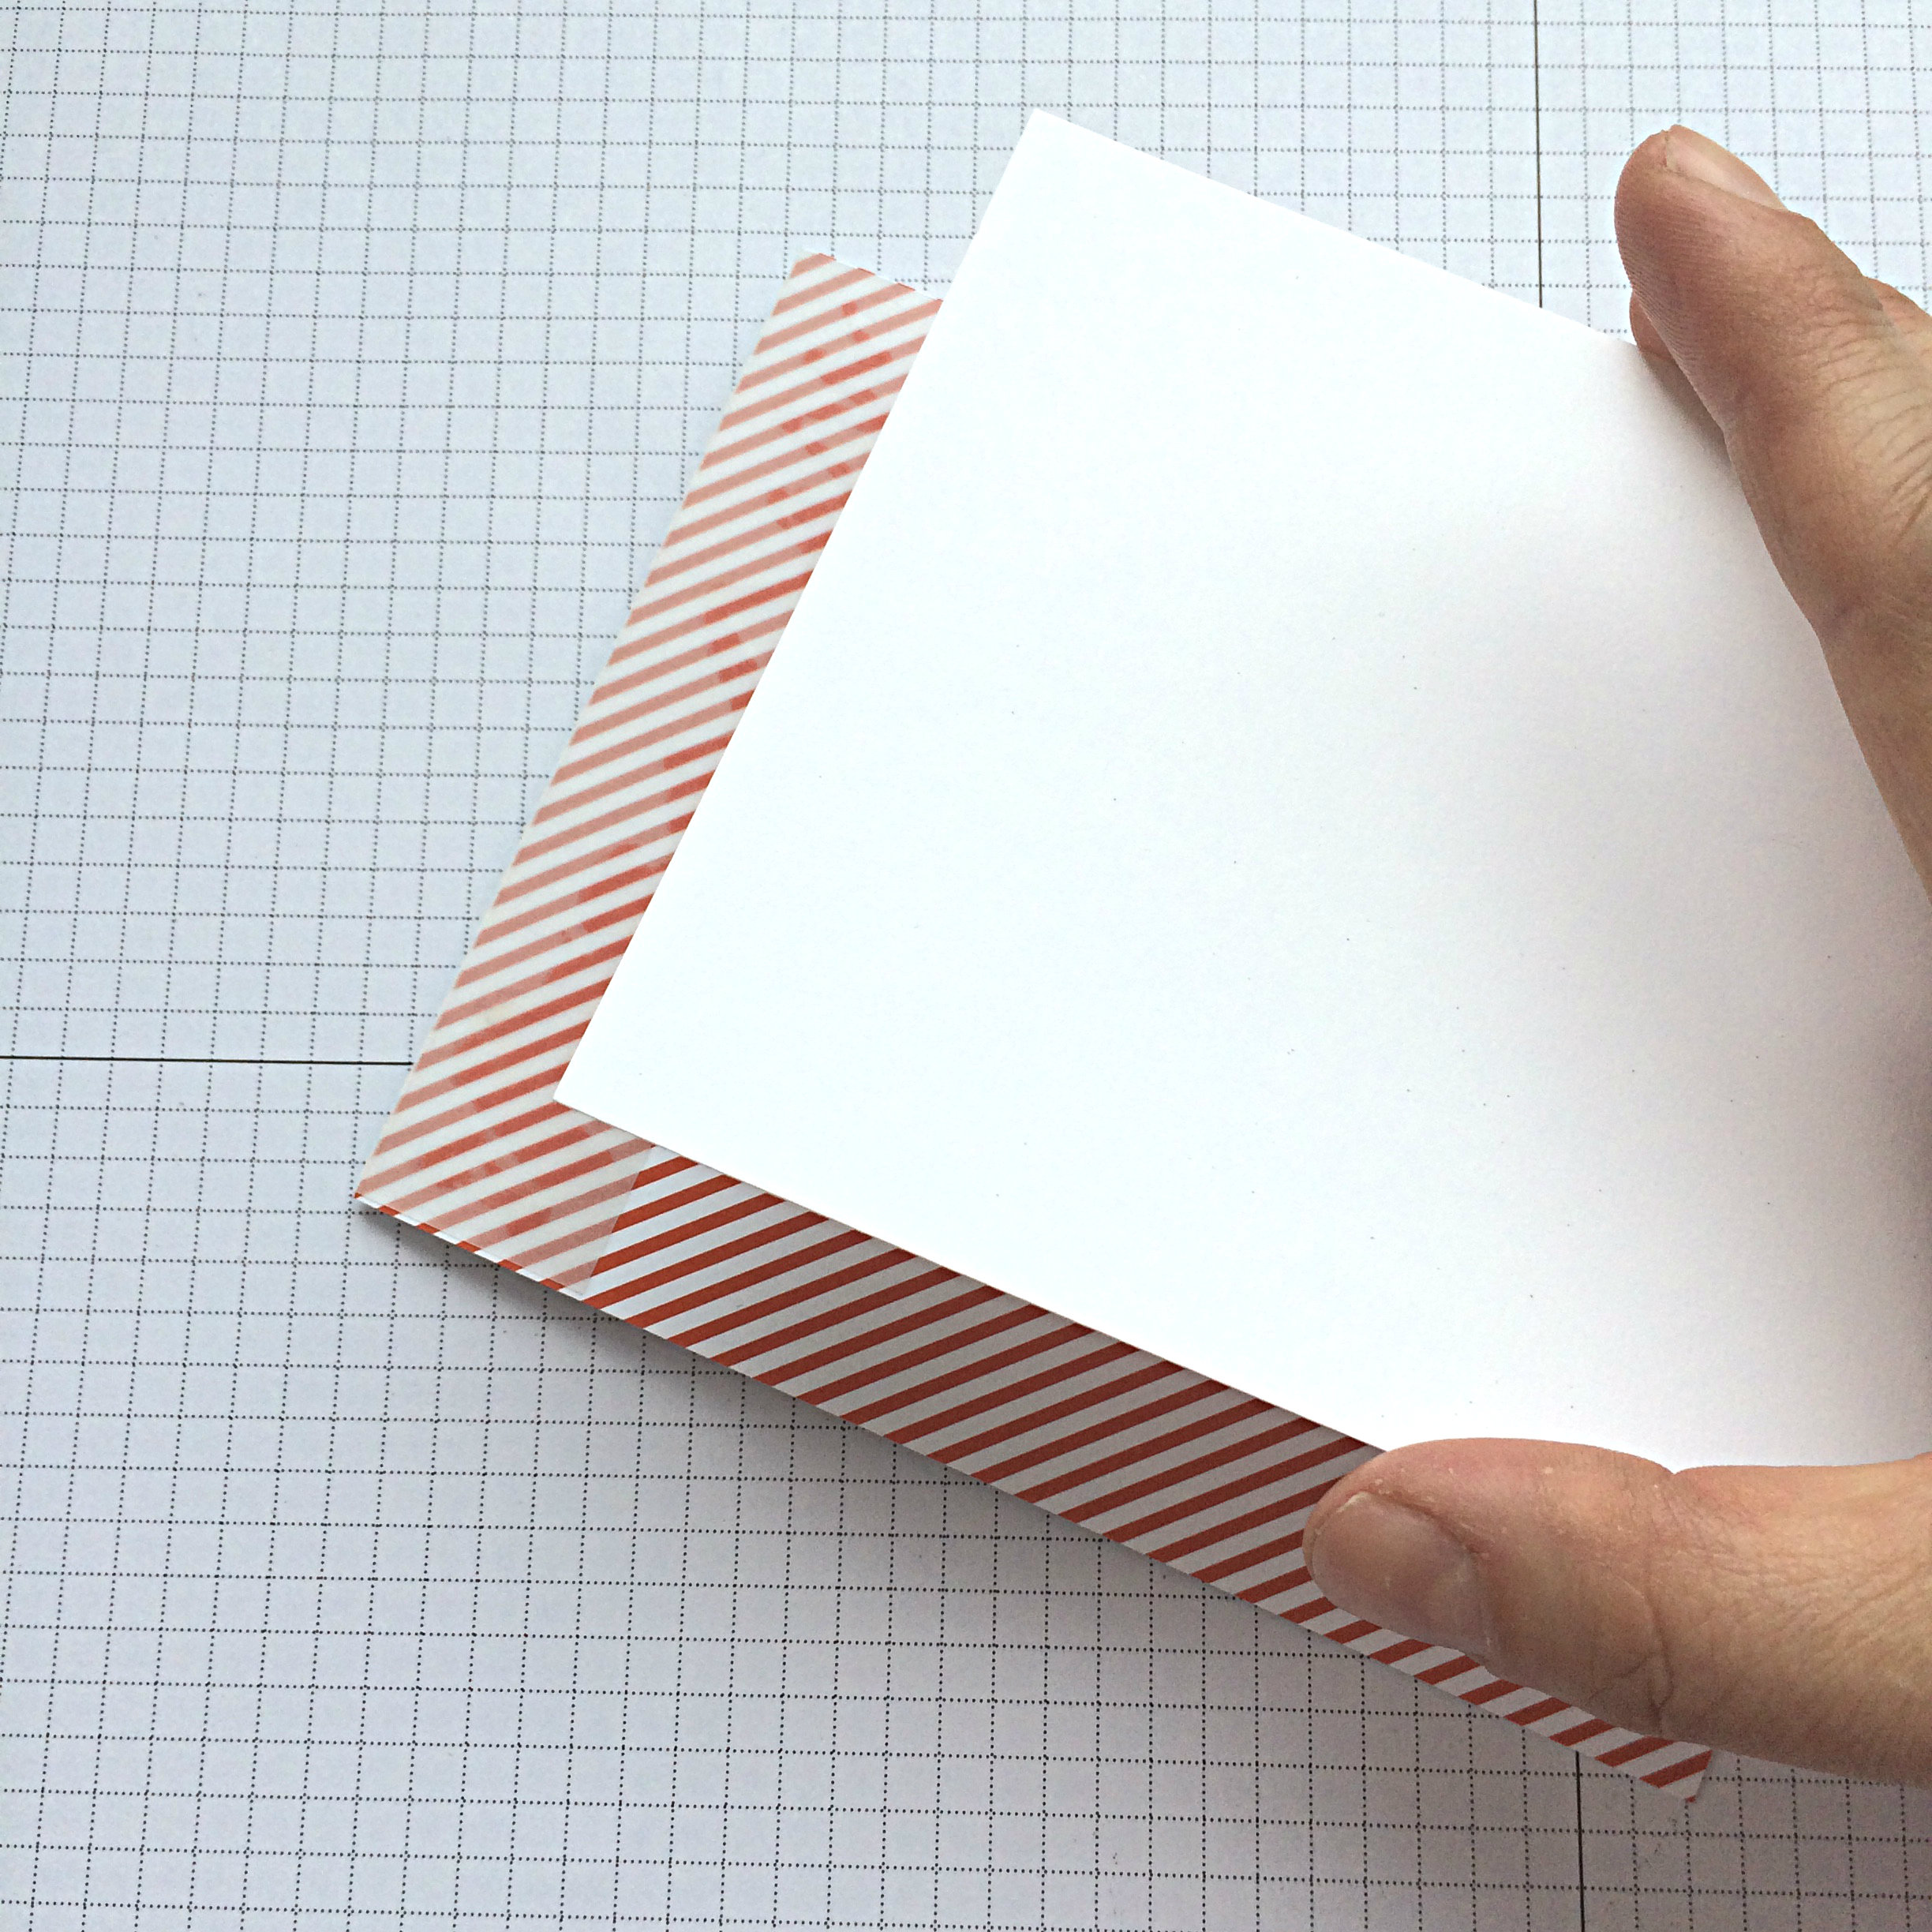
#134.2Use your Bone Folder to make that score line into a crisp fold, then adhere the 1″ flap to the wrong side of your Designer Series Paper (DSP). I like the look of a bright and bold DSP.

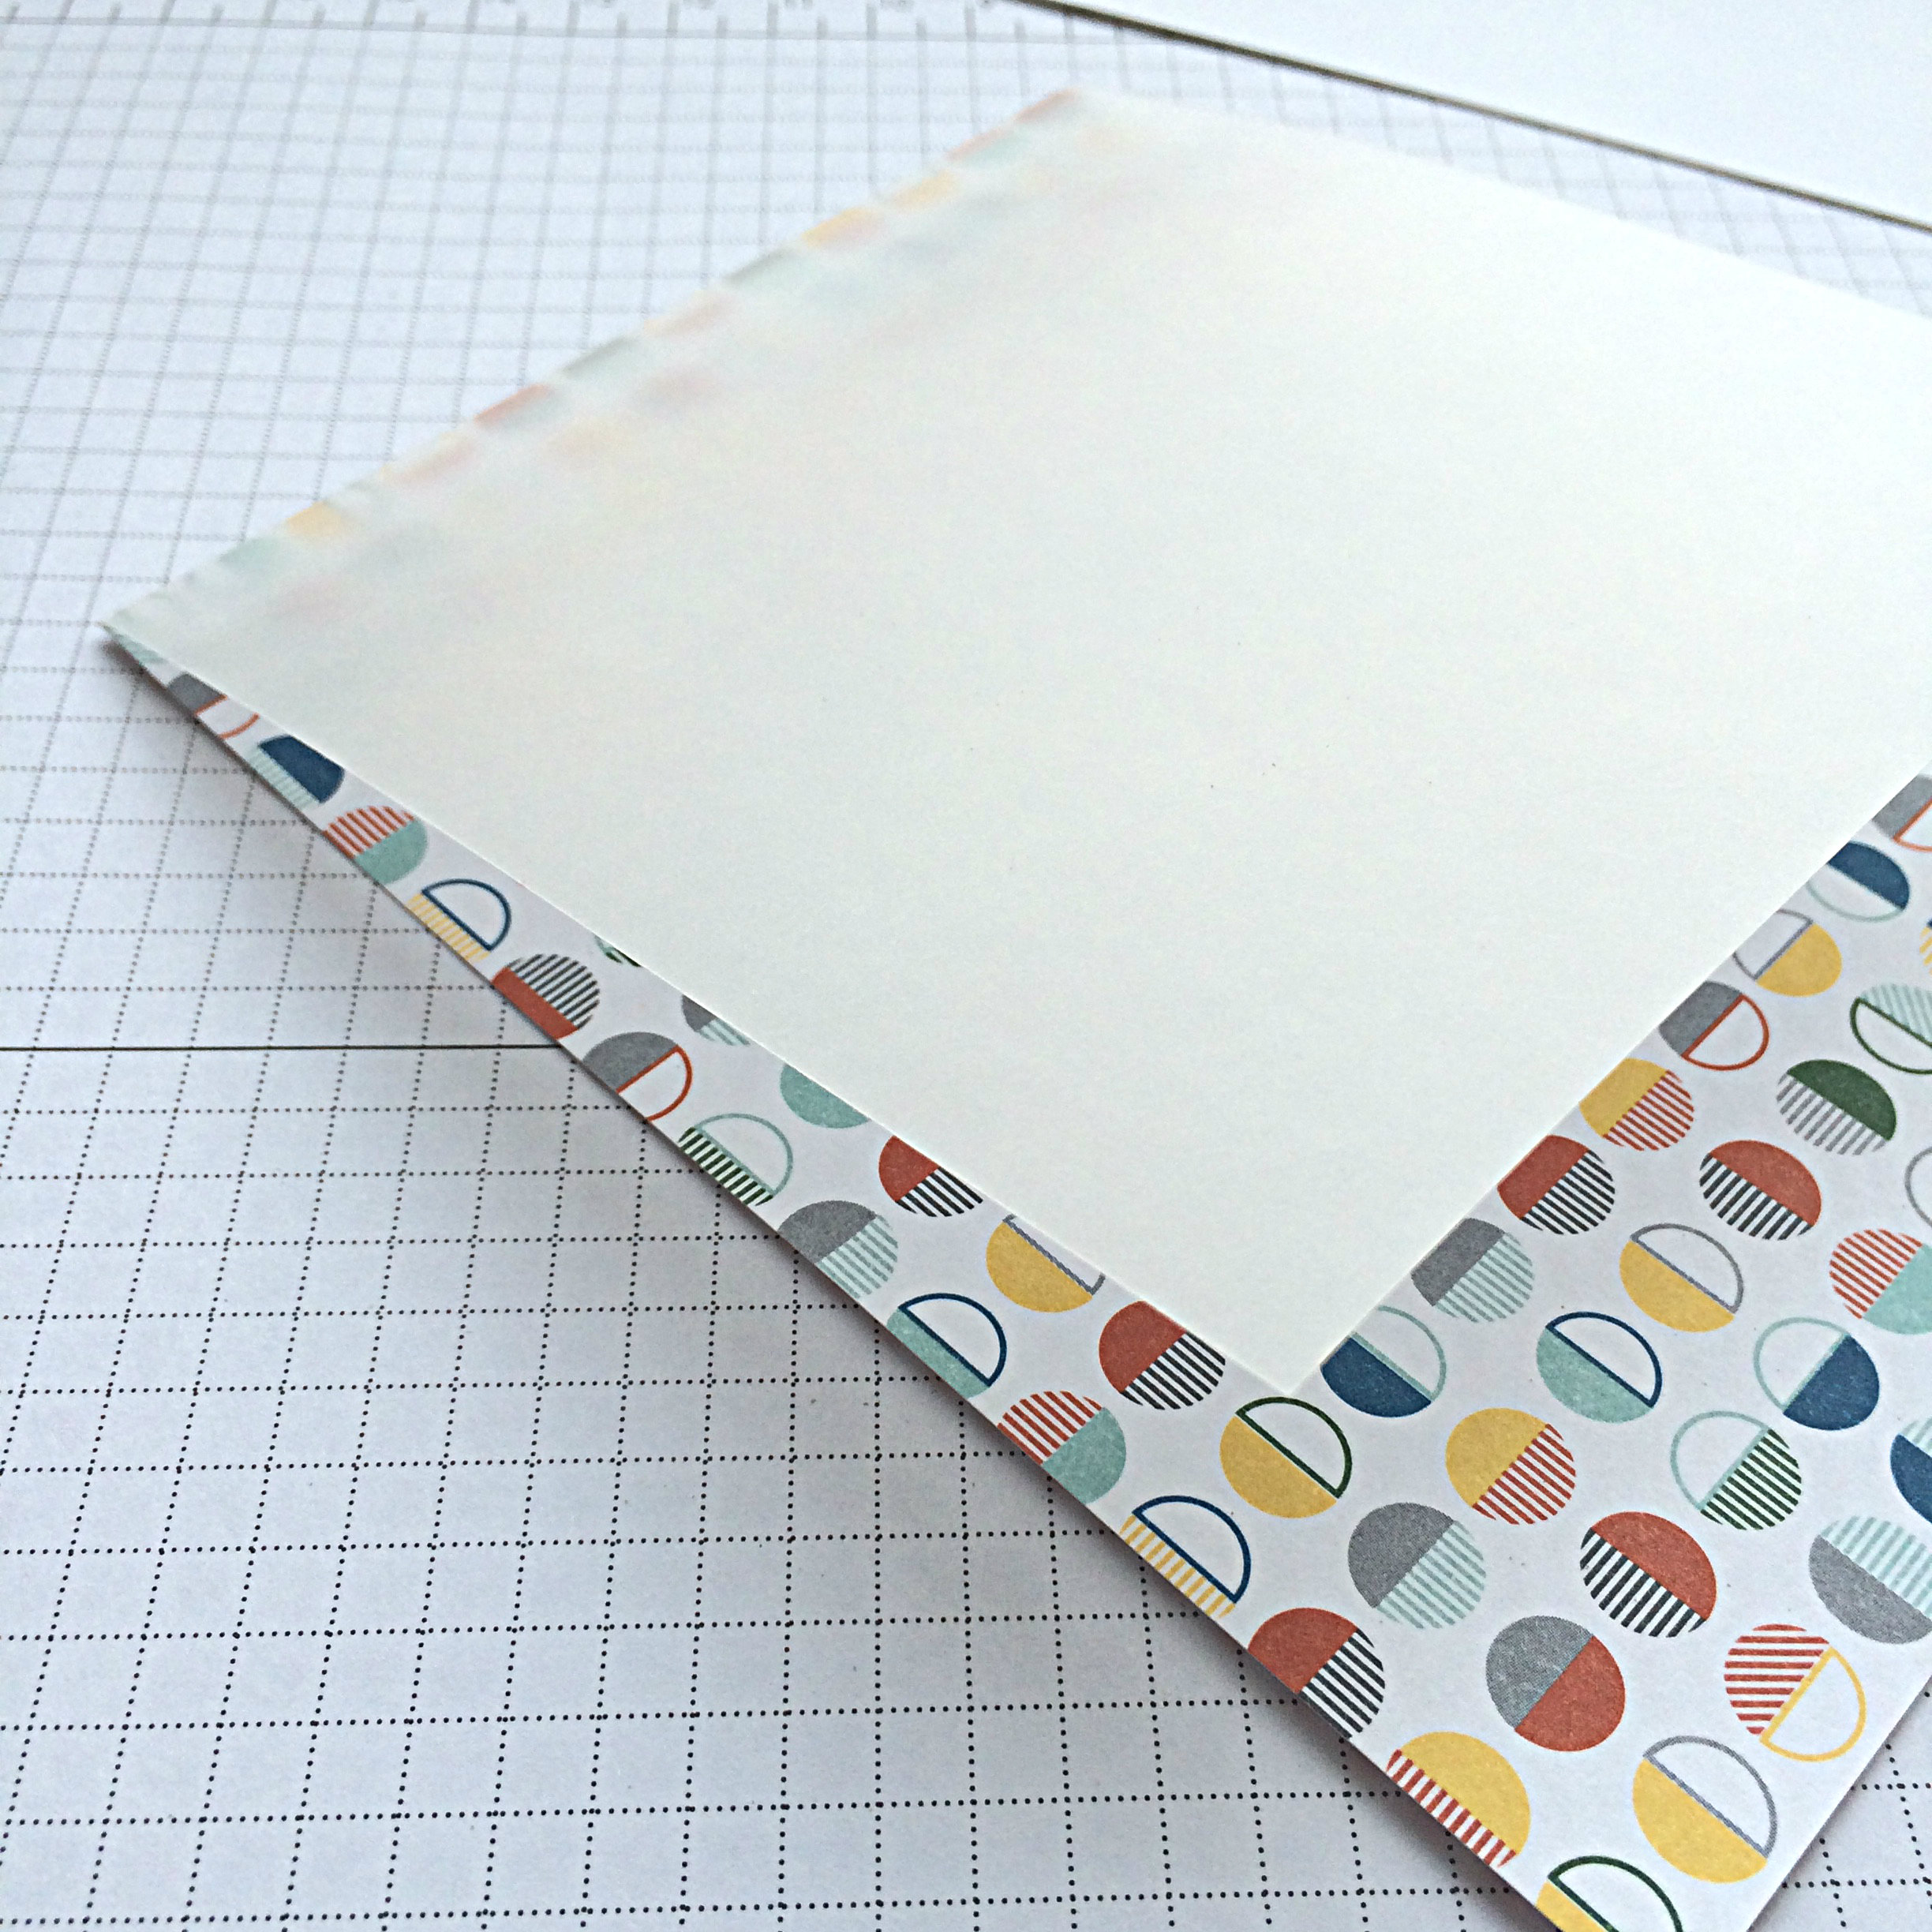
#134.3You will end up with the right side of your DSP looking like this, with the Vellum attached at the top.

#134.4Then you will attach a piece of cardstock (I used the Thick Whisper White) to the wrong side of your DSP. Not only will this give your cardbase more structure, but it will also hide the 1″ piece of Vellum and your adhesive marks.

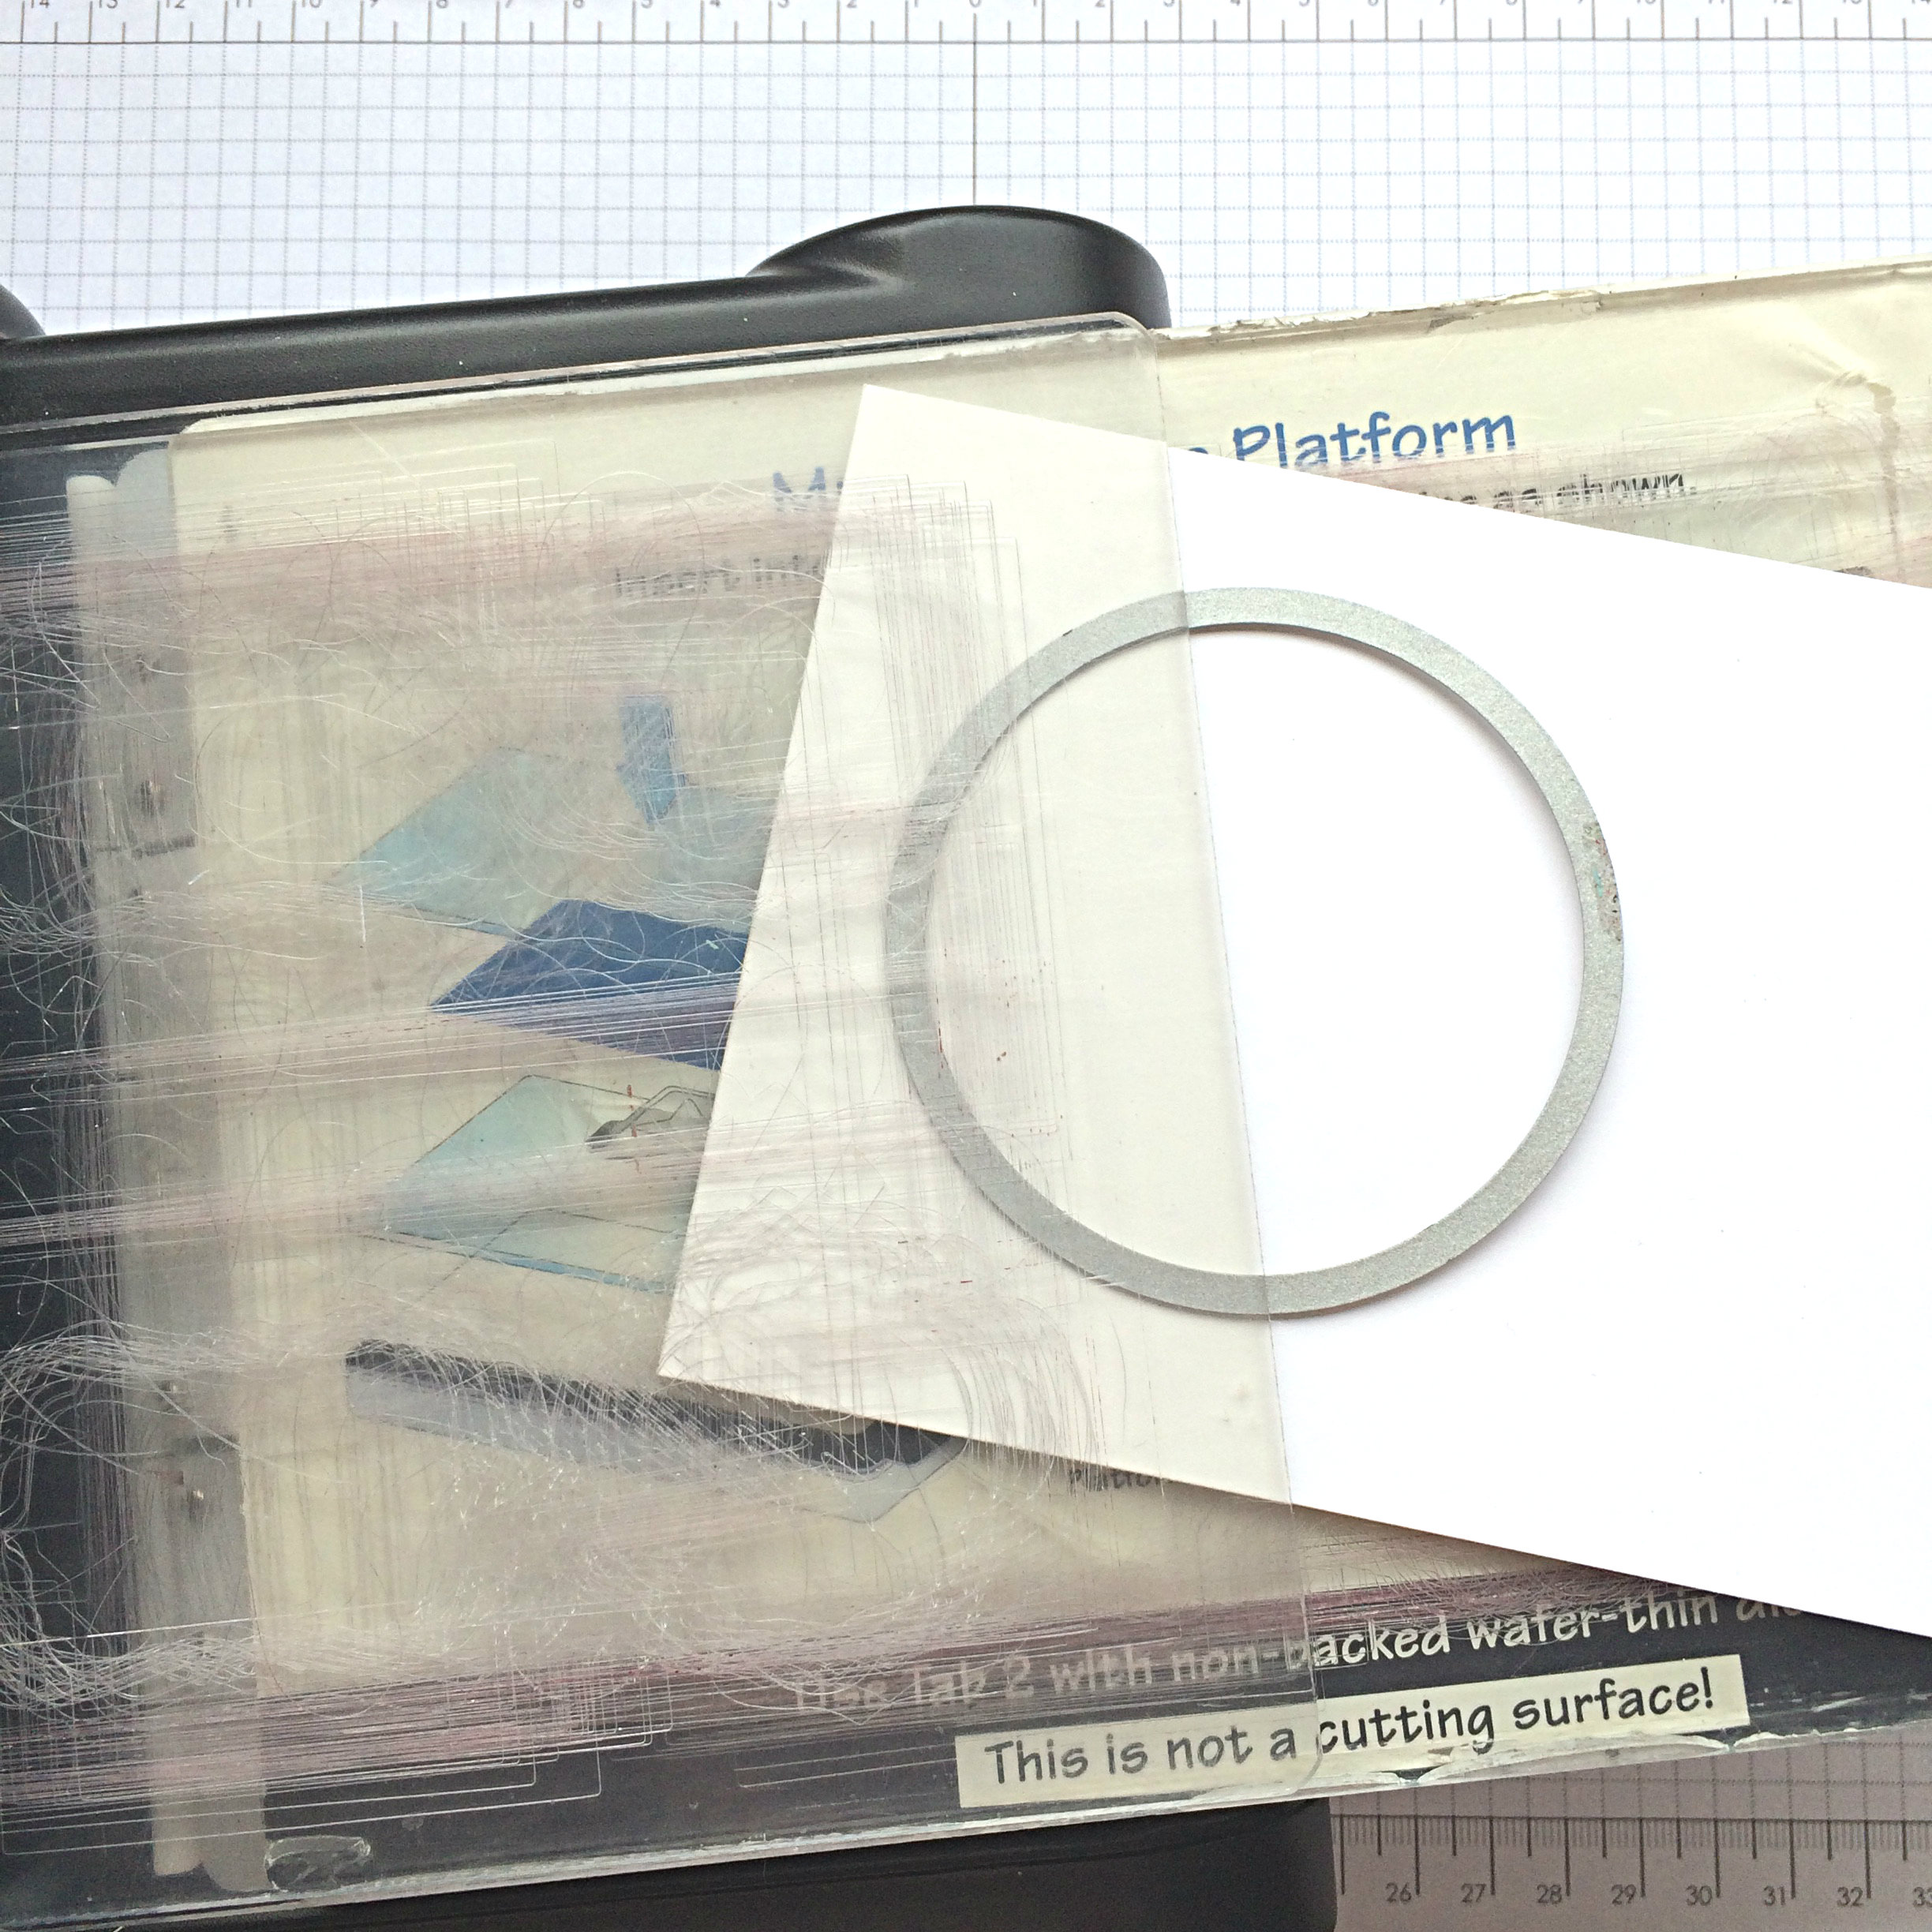
#134.5The next step is to cut the top of your two Whisper White cardstock pieces. I cut them both at the same time so that they will match each other EXACTLY. Because the Whisper White Cardstock is so thin, the die cuts through both layers with ease.

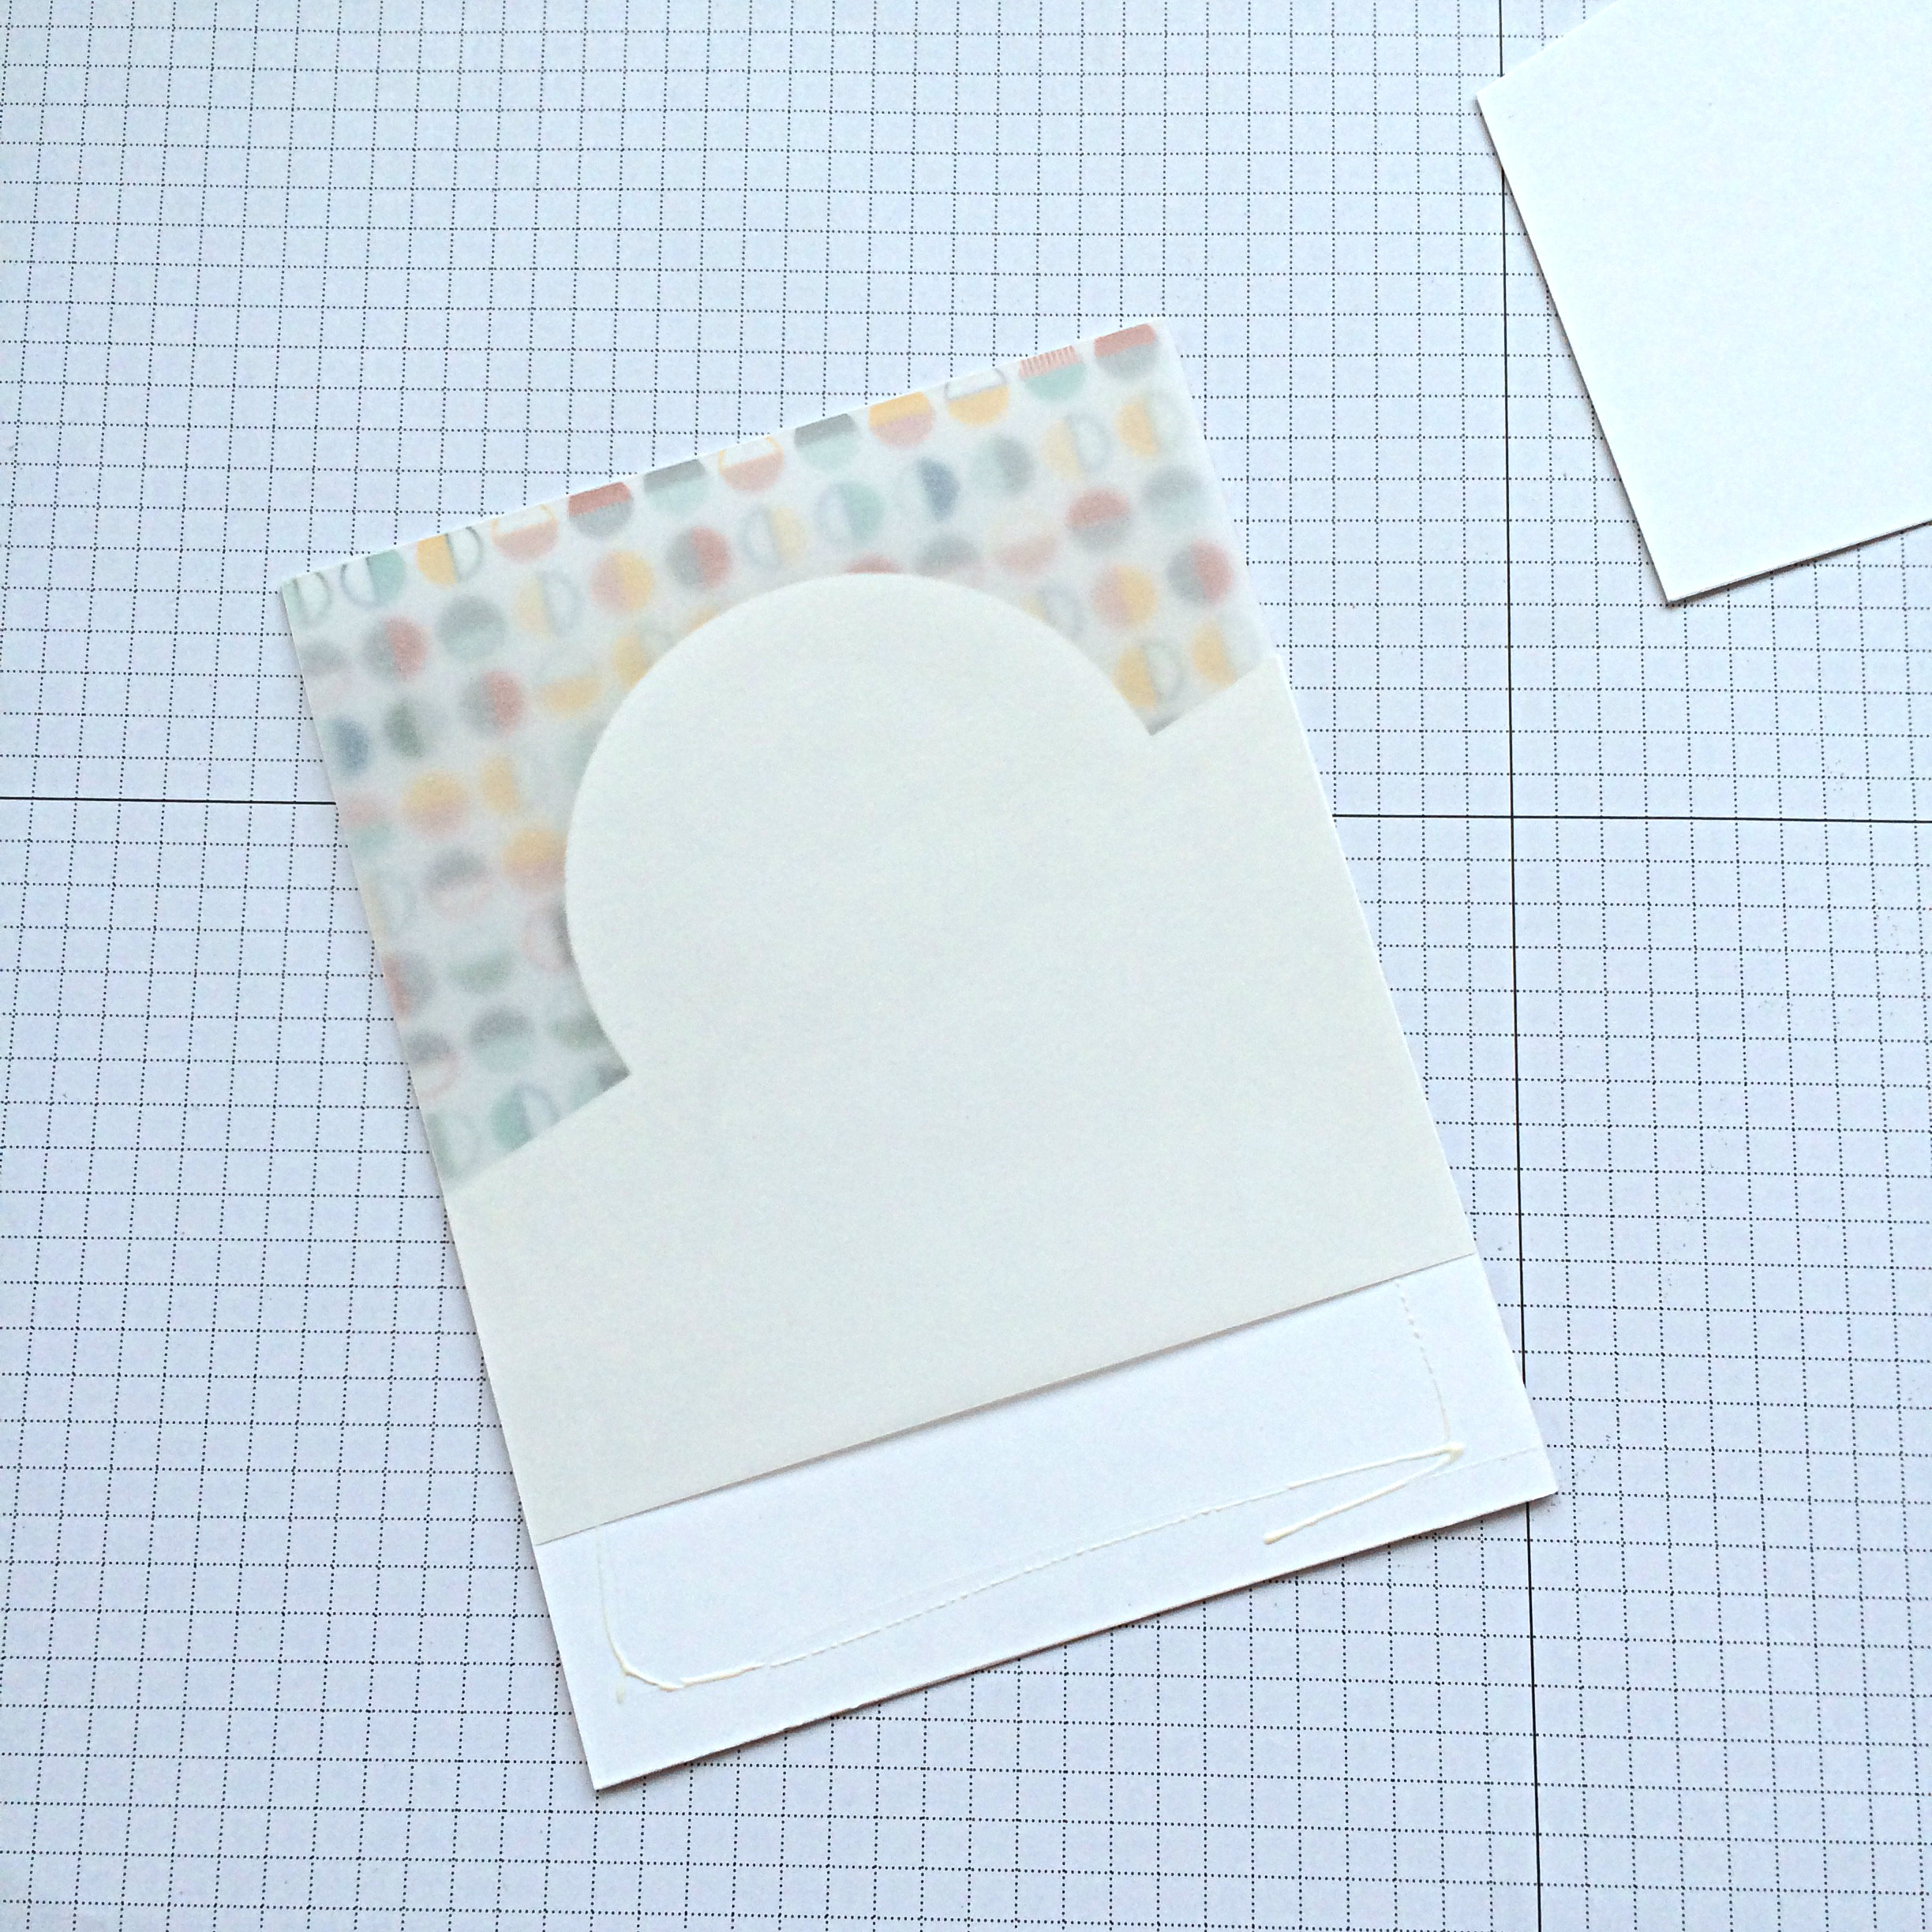
To create the half circle shape at the top, place your circle framelit where you want it, then only have the top plate cover where you want the cut part to be. It won’t cut where there isn’t any pressure. Doing it on an angle like this is an option that makes the card playful and fun.

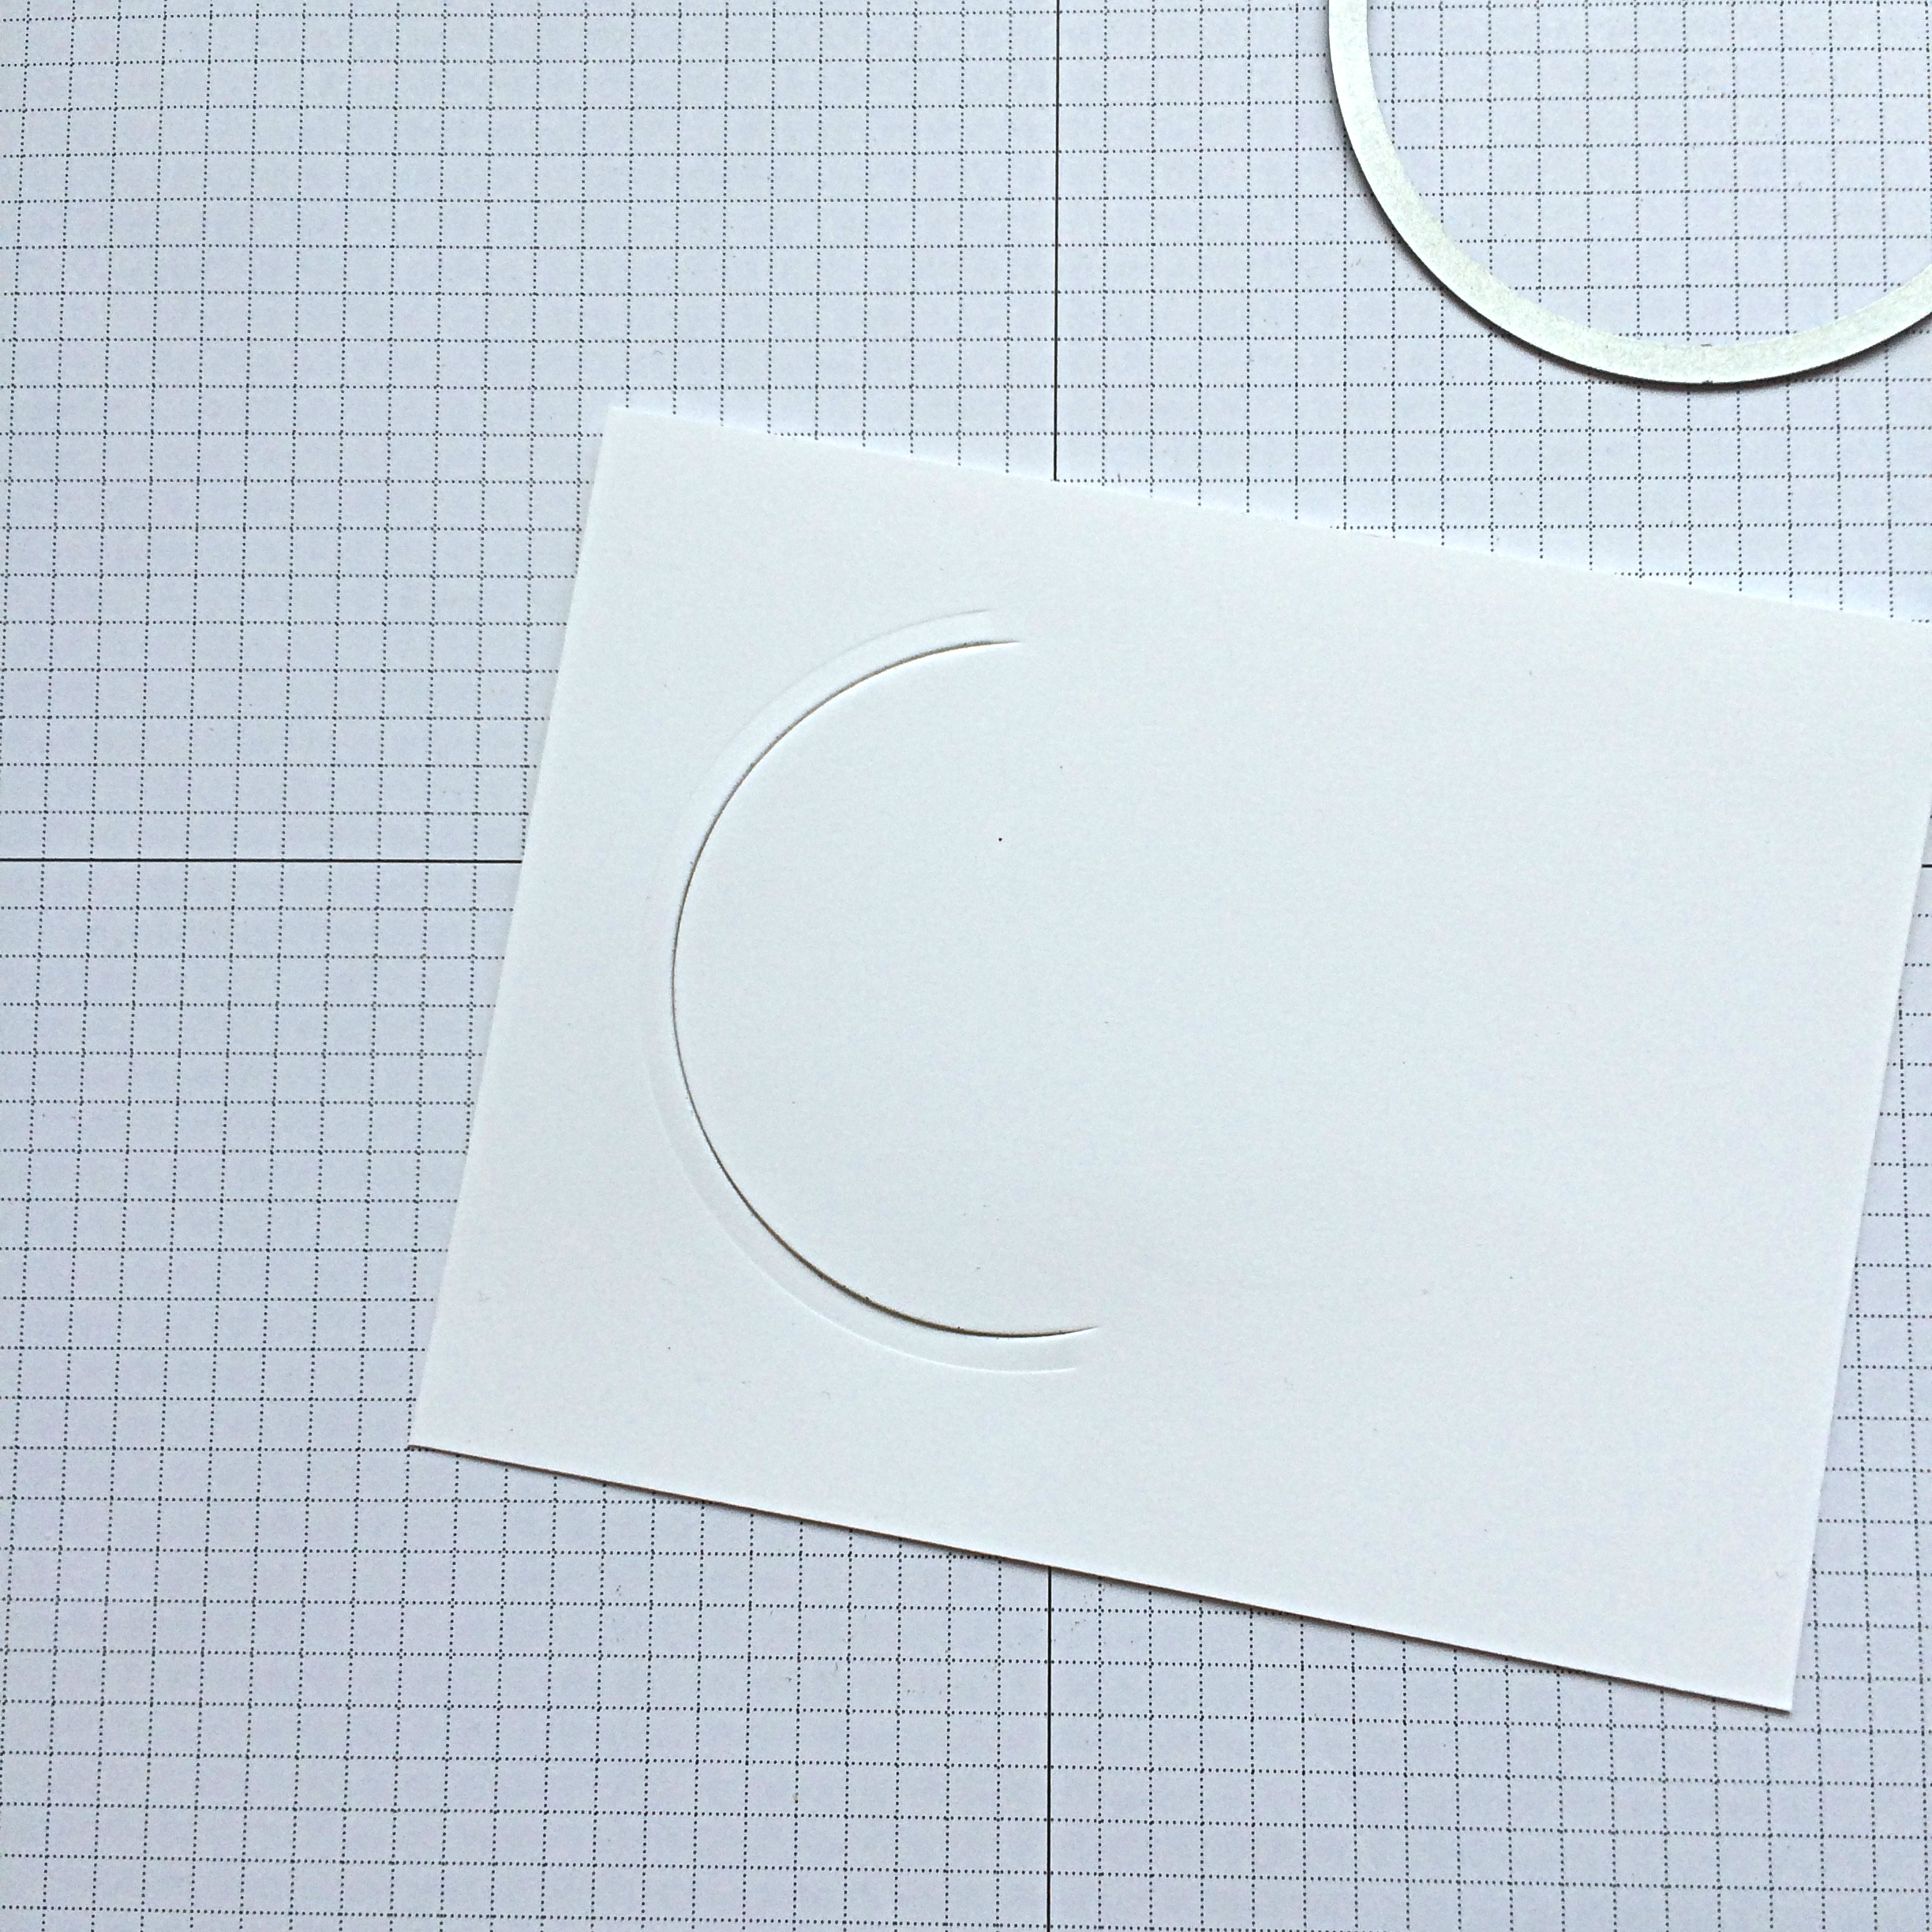
#134.6This is what it will look like when you take the two pieces of whisper white out. Keep them together for the next step, too.

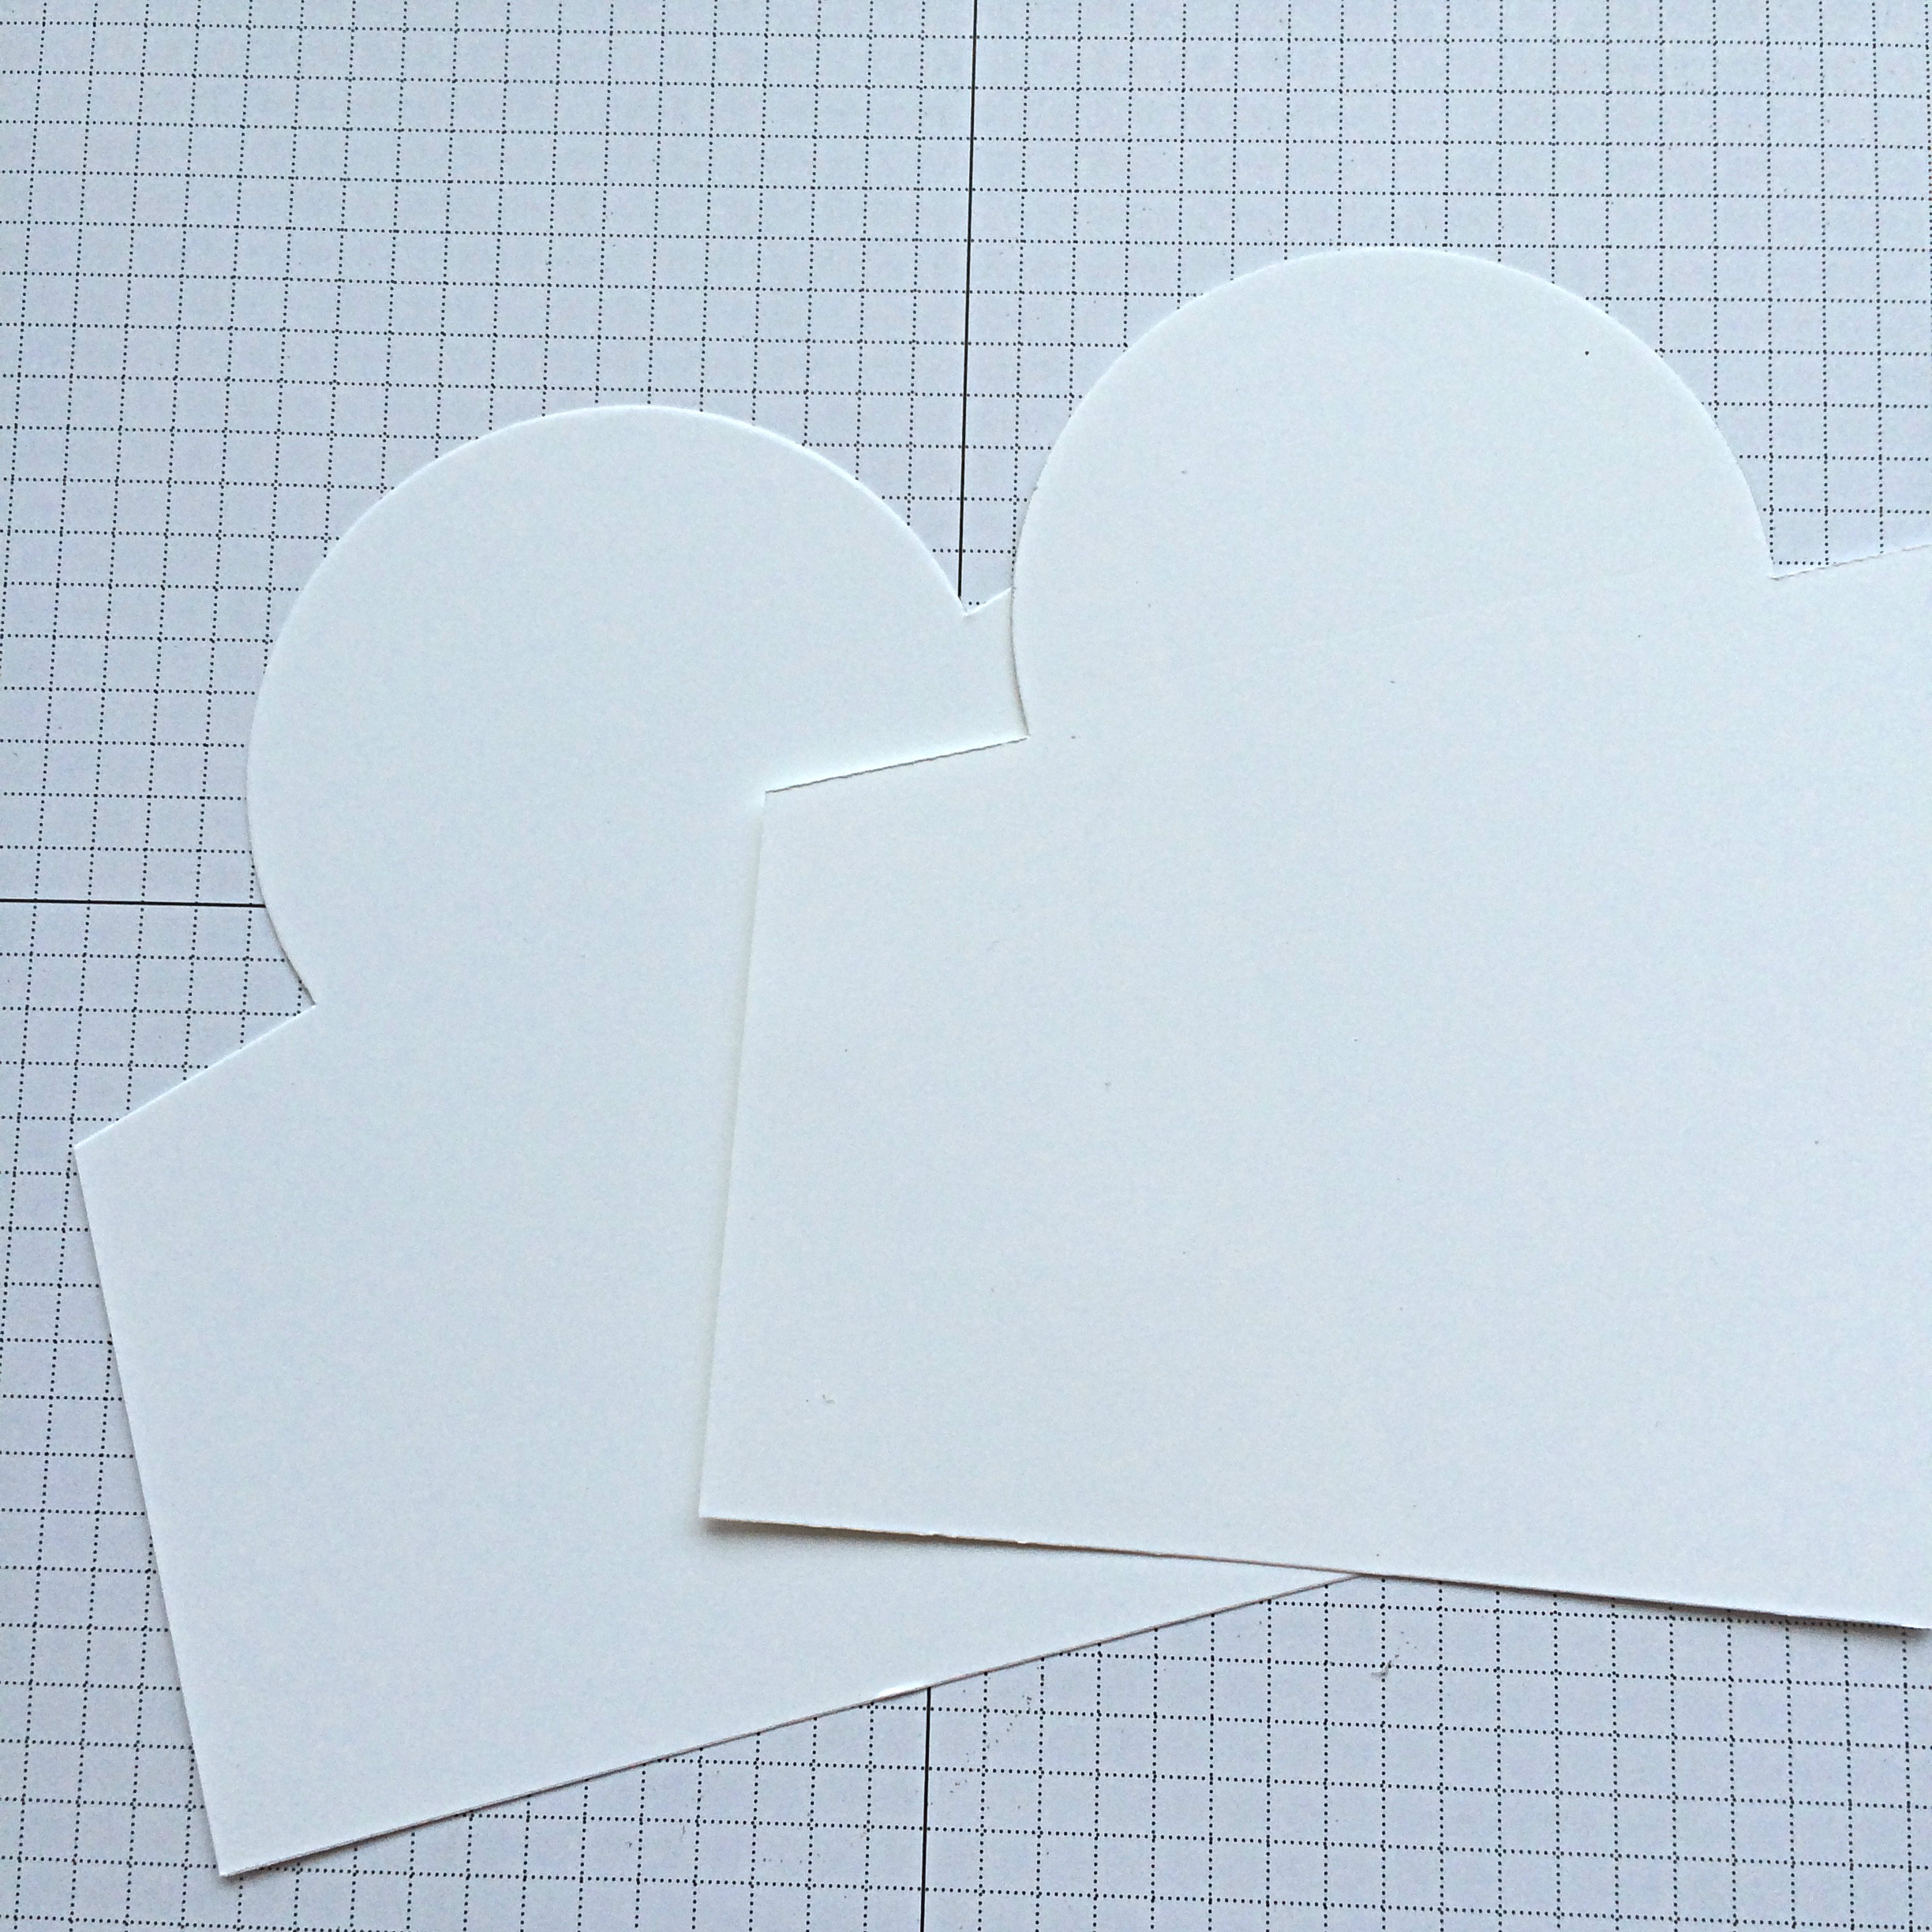
#134.7Place the two pieces of Whisper White cardstock in your cutter, so that the ruler cutting area lines up with the ends of the half circle cut in your cardstock. You will use the sliding trimmer blade to cut one side, then the other, keeping the paper in place. Be sure to lift the blade in between, so you don’t cut the circle clean off!!

#134.8Now you will have two identical pieces to attach to your vellum on the card front! The cleverness ensues!!

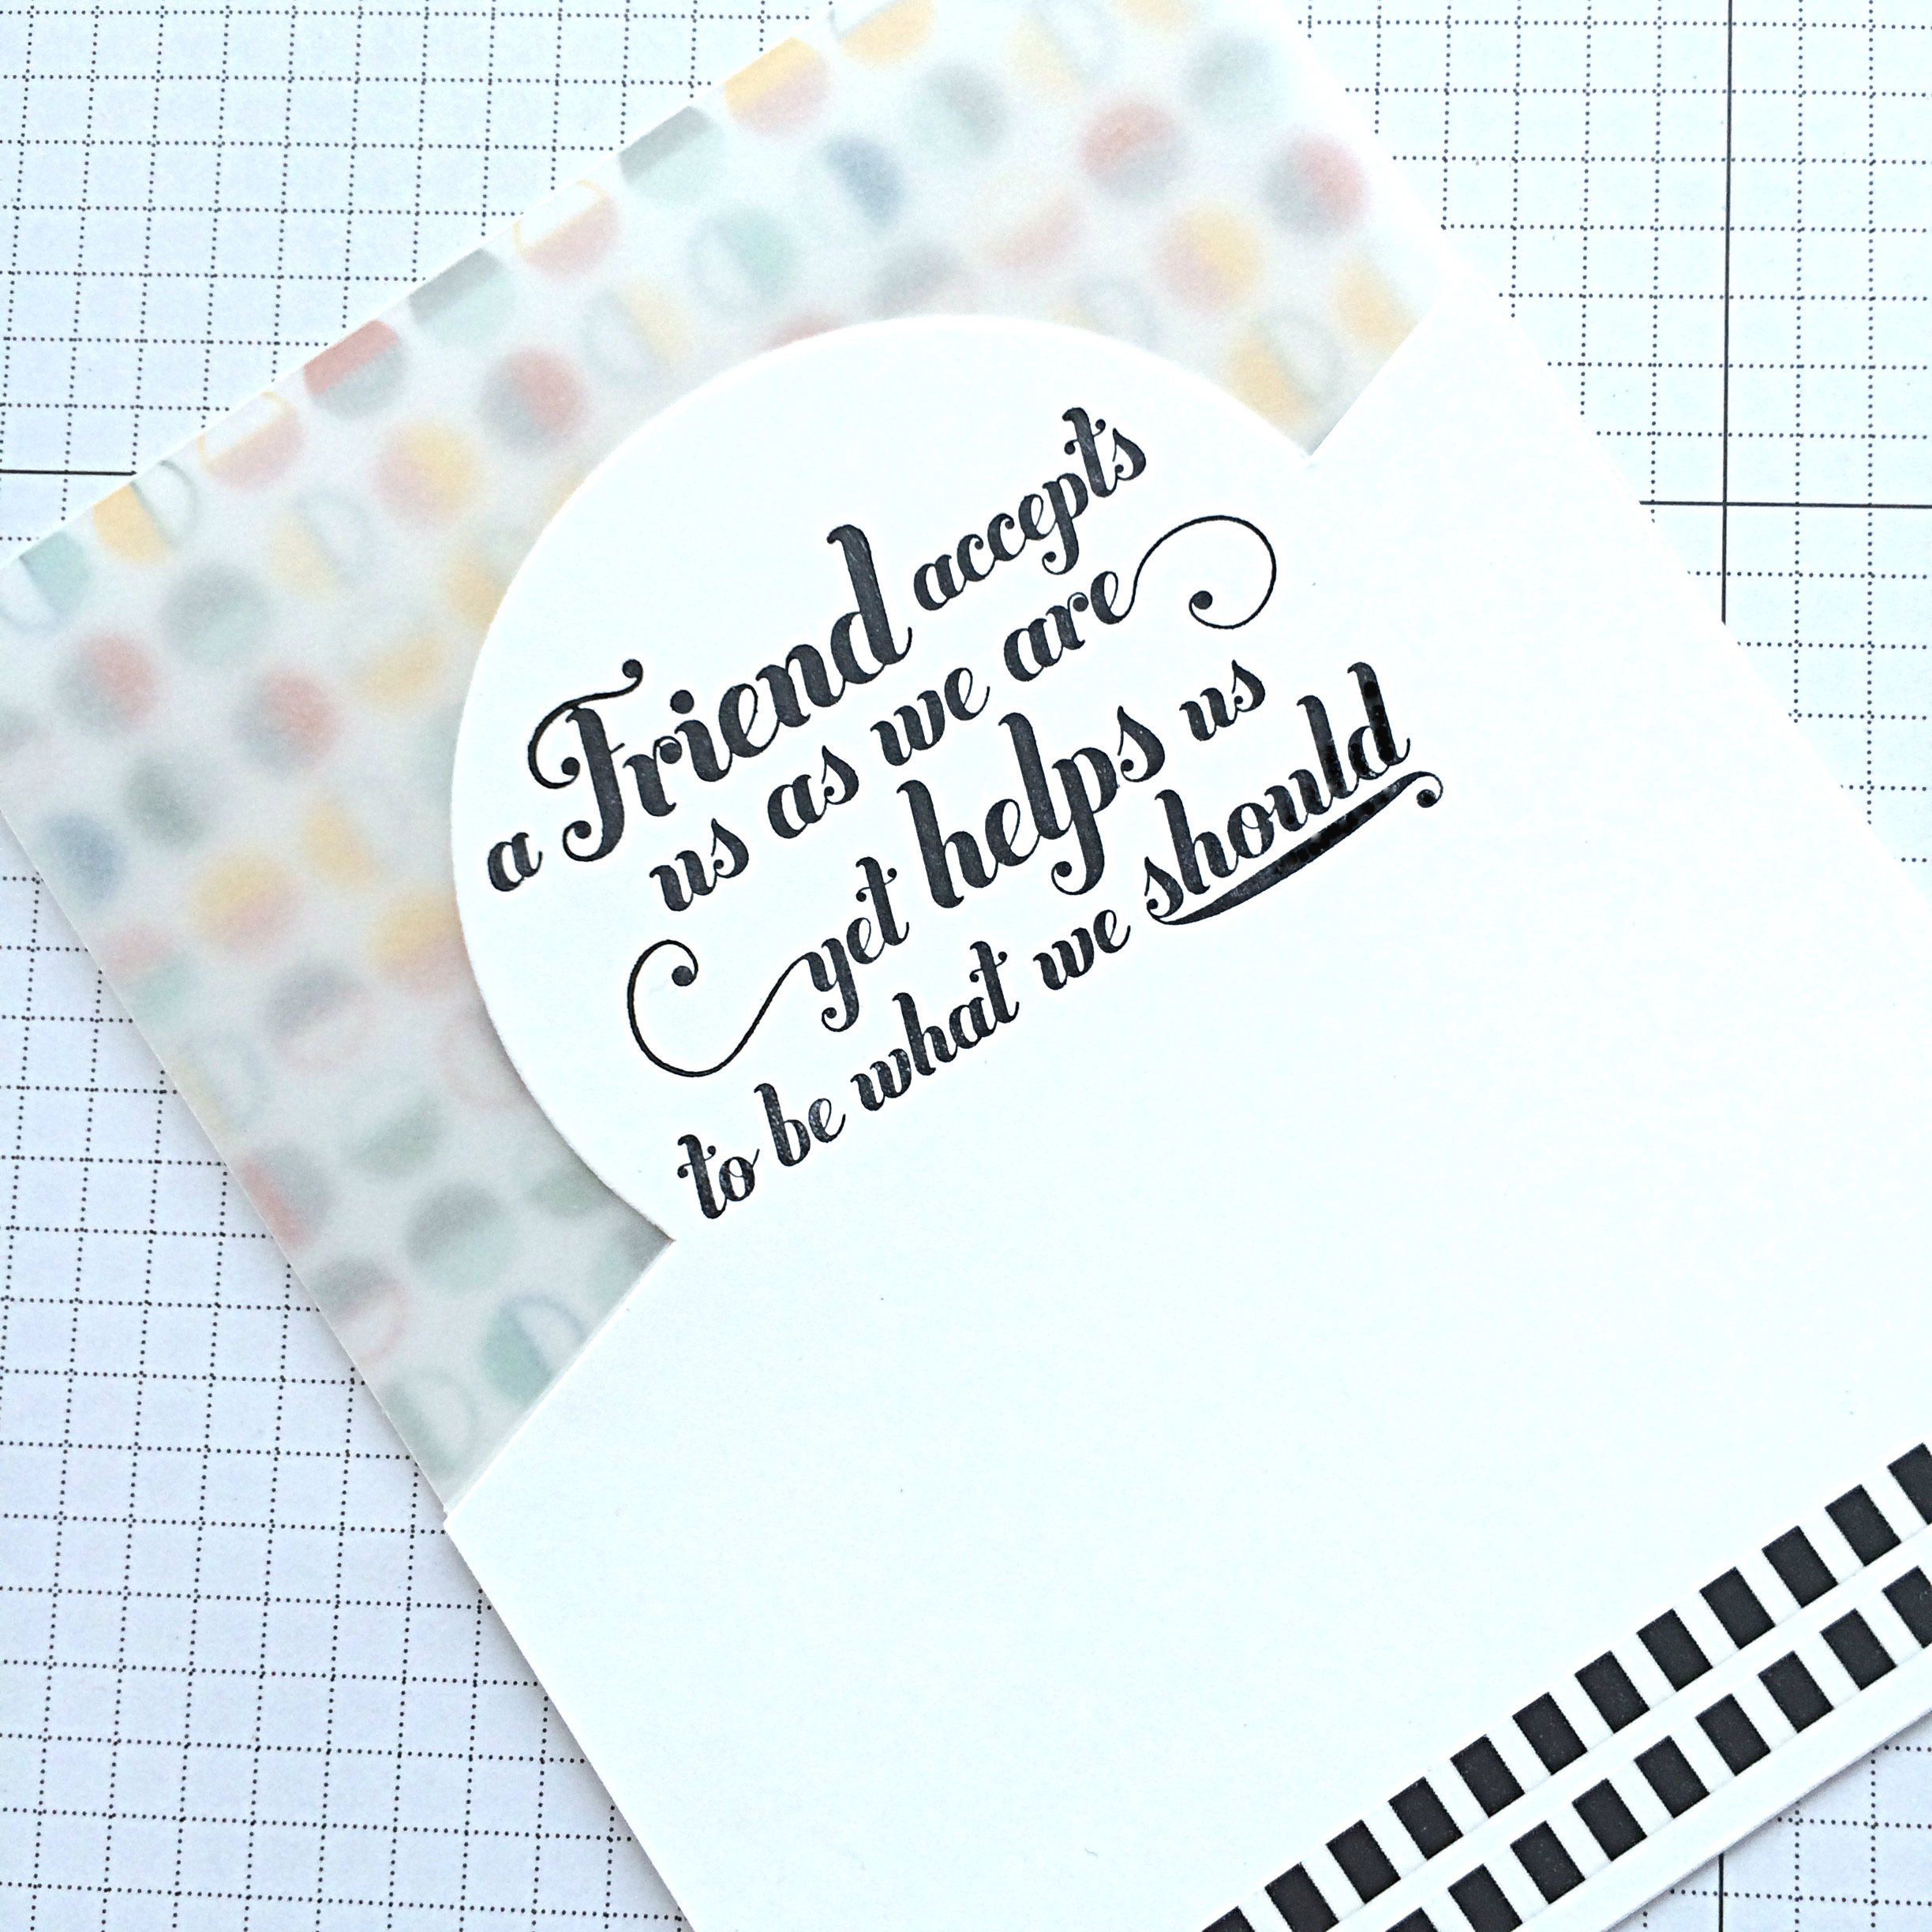
#134.9It’s easy to attach the two cut Whisper White pieces. Just apply adhesive to the front of one, hold the Vellum up and out of the way while you lay your piece over the patterned paper piece (adhesive side up!). Then lay the Vellum layer down flat over it. Then you can stamp and washi tape your other piece before adhering it over top to create a vellum sandwich.

#134.10The stamp set used here is the Feel Goods set. Sadly, it is retiring at the end of May, so if you love it, GET IT!

The washi tape at the bottom of the card is from the “This is the Life” Project Life kit from Stampin’ Up! This is on the retiring list as well AND is on sale.

IMG_9551Now that you’ve read through this tutorial and know how to make the bones of this card, try it out and see what you can create. I added a bit of flourish with a Gold Basic Metal Button (retiring), Black Baker’s Twine, Gold Metallic Thread, and two die cut leaves using the Rose Garden Thinlits: one cut from Vellum Cardstock, the other cut from Tangelo Twist Cardstock.

Be sure to check out the other cards created by our Design Team over at the As You See It Challenge Blog. And now there are no excuses, you have two whole weeks to participate in the challenge – hey, you could even submit more than one!

You can also click on the SHOP NOW button on this website to see what else is on the retiring list.

Stamp happy

&

don’t let your busy life

interfere with your creative living!

Save