Cabin in the Roses
I showed my 13 year old son the card that I made for this As You See It Challenge and asked him what title I should give to my blog post. He said “Cabin in the Roses”.
Just imagine a wood cabin surrounded by rose bushes and evergreen trees! I would put a hammock between two of those trees where there’s an inviting amount of shade. I would read a book in the hammock on a summer afternoon, listening to the bees busily buzzing in the rose bushes, and breathing in the wonderful scents of roses around me. There would be a tall, cool glass of iced tea in my hand, and I would be lounging, with one summer-kissed leg spilled out over the side of the hammock, moving it absentmindedly back and forth to rock myself in the dappled shade of the evergreens. Ahh. Sounds lovely.
The card design today is inspired by this sketch from the As You See It Challenge Blog.
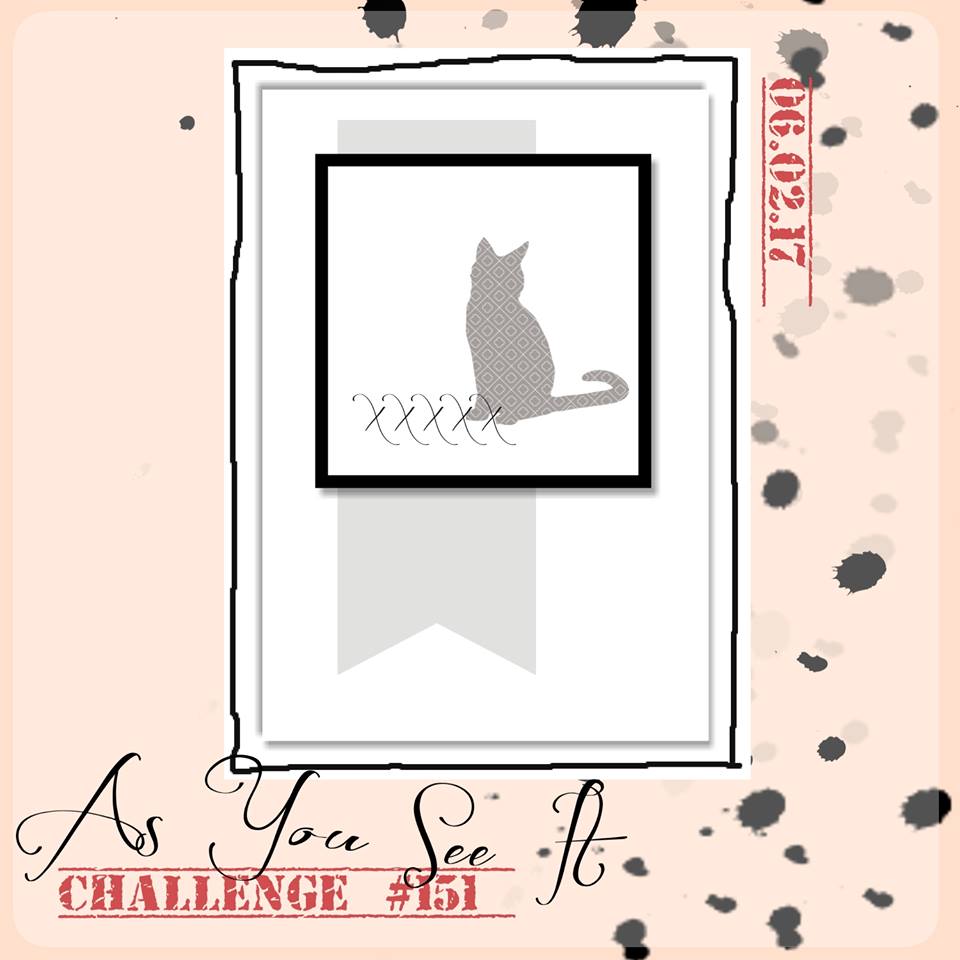 I decided to use a circle instead of a square to create this “Cabin in the Roses” card.
The cardstock used for the base is the new In Color, Fresh Fig. It’s such a pretty purple. If you’re wondering how it compares with the other purple in our collection, here’s a wee chart to help you.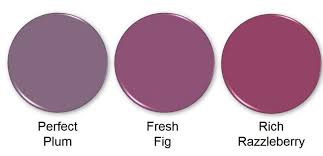 The Wood Textures Designer Series paper is my new favorite!! Be warned, you might get a little tired of seeing it because I am going to be using it a LOT!
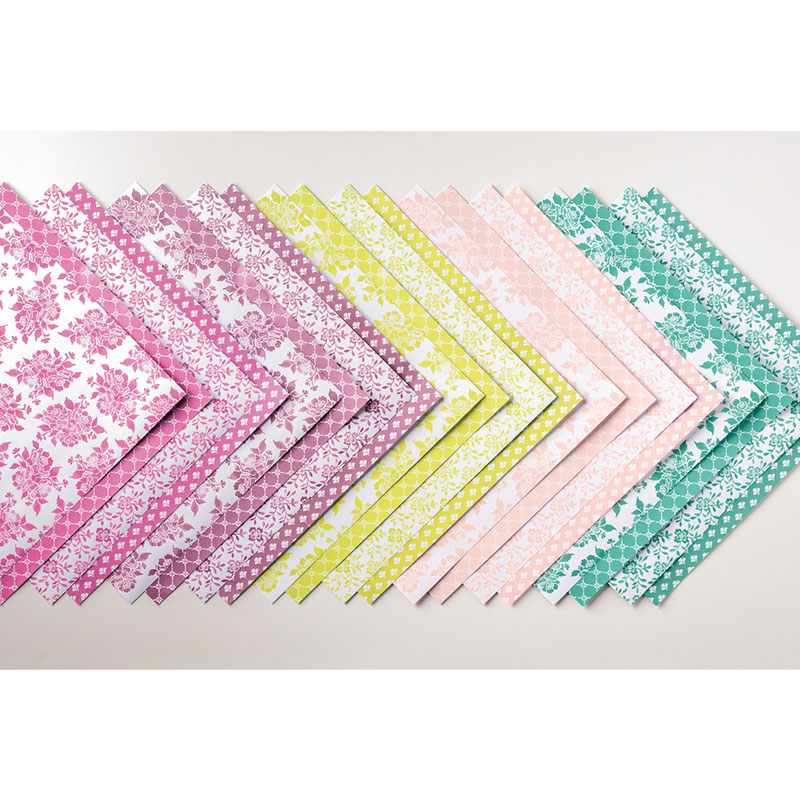
I also used the pretty Fresh Florals Designer Series paper that comes in a great big stack and shows off all the new In Colors that just came out!
 To flag the end of the fresh fig piece of designer series paper, I used the Triple Banner Punch which allows you to fit three different widths of paper to cut the perfect banner end. It’s brilliant!
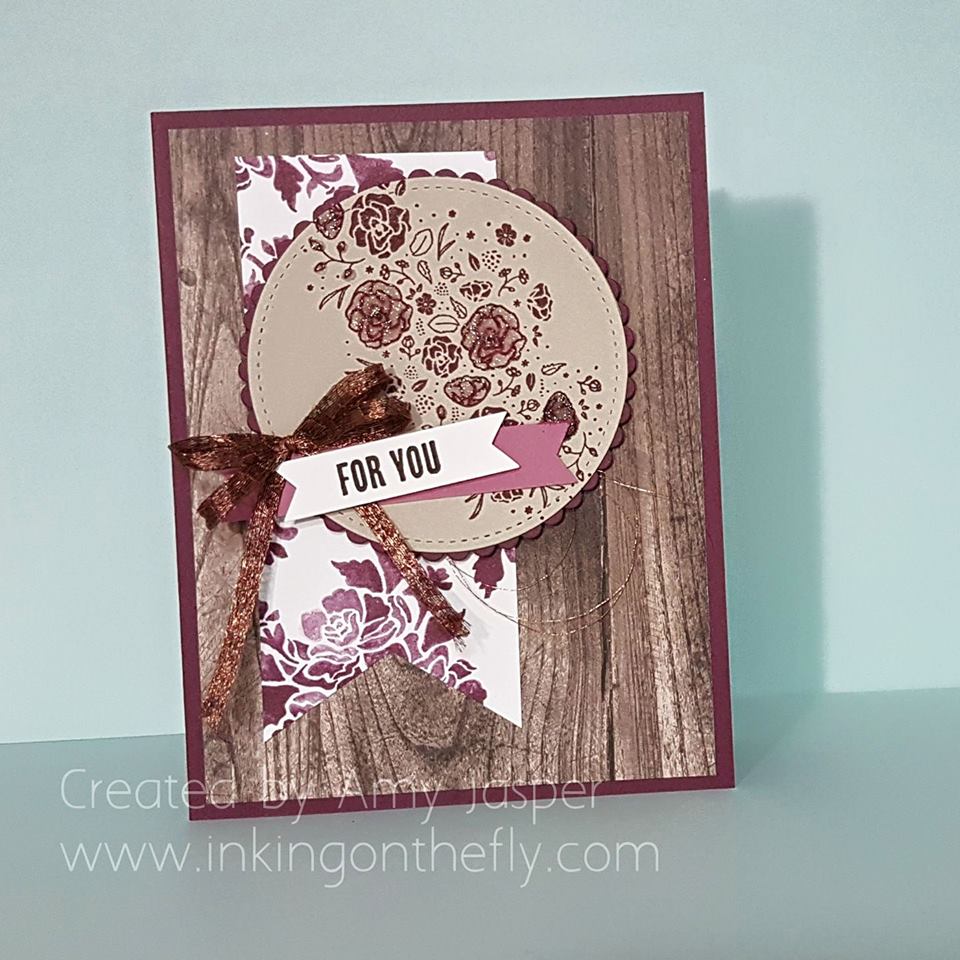
The circle on the front of this card has two layers: The mat is cut from Fresh Fig cardstock, using the Layering Circle framelit dies by Stampin’ Up!. The inner circle is cut from Sahara Sand cardstock using the Stitched Shapes Framelit dies by Stampin’ Up!. With the floral image from the Wood Words stamp set (which I received for free at Onstage Local in Calgary, BC!) and some Fresh Fig ink, I stamped the image on the Sahara Sand circle, then used a Blender Pen on some of the flower images to gently blend some of the colour into the open petals. I then decided that some Wink of Stella would add a nice shimmery touch, so I coloured over the same flowers using my Wink of Stella brush. So pretty!
The matted circle was adhered using Stampin’ Up! Dimensionals with a 3-loop embellishment of Copper Metallic trim attached under the right side of the circles.
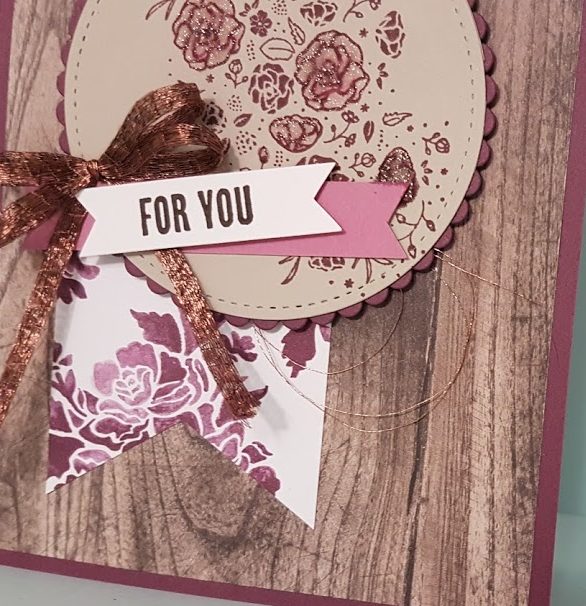 The sentiment is also from the Wood Words stamp set from Stampin’ Up!, but I only used the “For You” part of the sentiment that says “A note for you”. It was stamped with Early Espresso ink on a scrap strip of Whisper White cardstock which I flagged the ends of with my Paper Snips. This was placed over the Sweet Sugarplum strip with Dimensionals. The beautiful 1/4″ Copper Trim is also new from Stampin’ Up! I tied it in a double bow using the fingertip bow tying technique (if you don’t know how to do this, look it up!).
And that, is that, my stampin’ friends!
Be sure to try the As You See It Challenge for yourself. It’s a great way to get your creative mojo flowing!
Ok.
Now, I’m just going to spend a few minutes closing my eyes and imagining that cabin in the roses again. Ah, yes. Iced tea in hand. Leg lazily draped. Roses. Shade. Hmmmm. I’m set for the day.
Lovely.

June 5, 2017 @ 4:07 pm
What a pretty card!! I love the colors that you chose. That deep colors you used look fantastic. I love your son’s title too.
June 16, 2017 @ 10:21 am
Thank you, Nora. I’m so glad you like it and thank you for taking the time to say so. It means so much to me <3