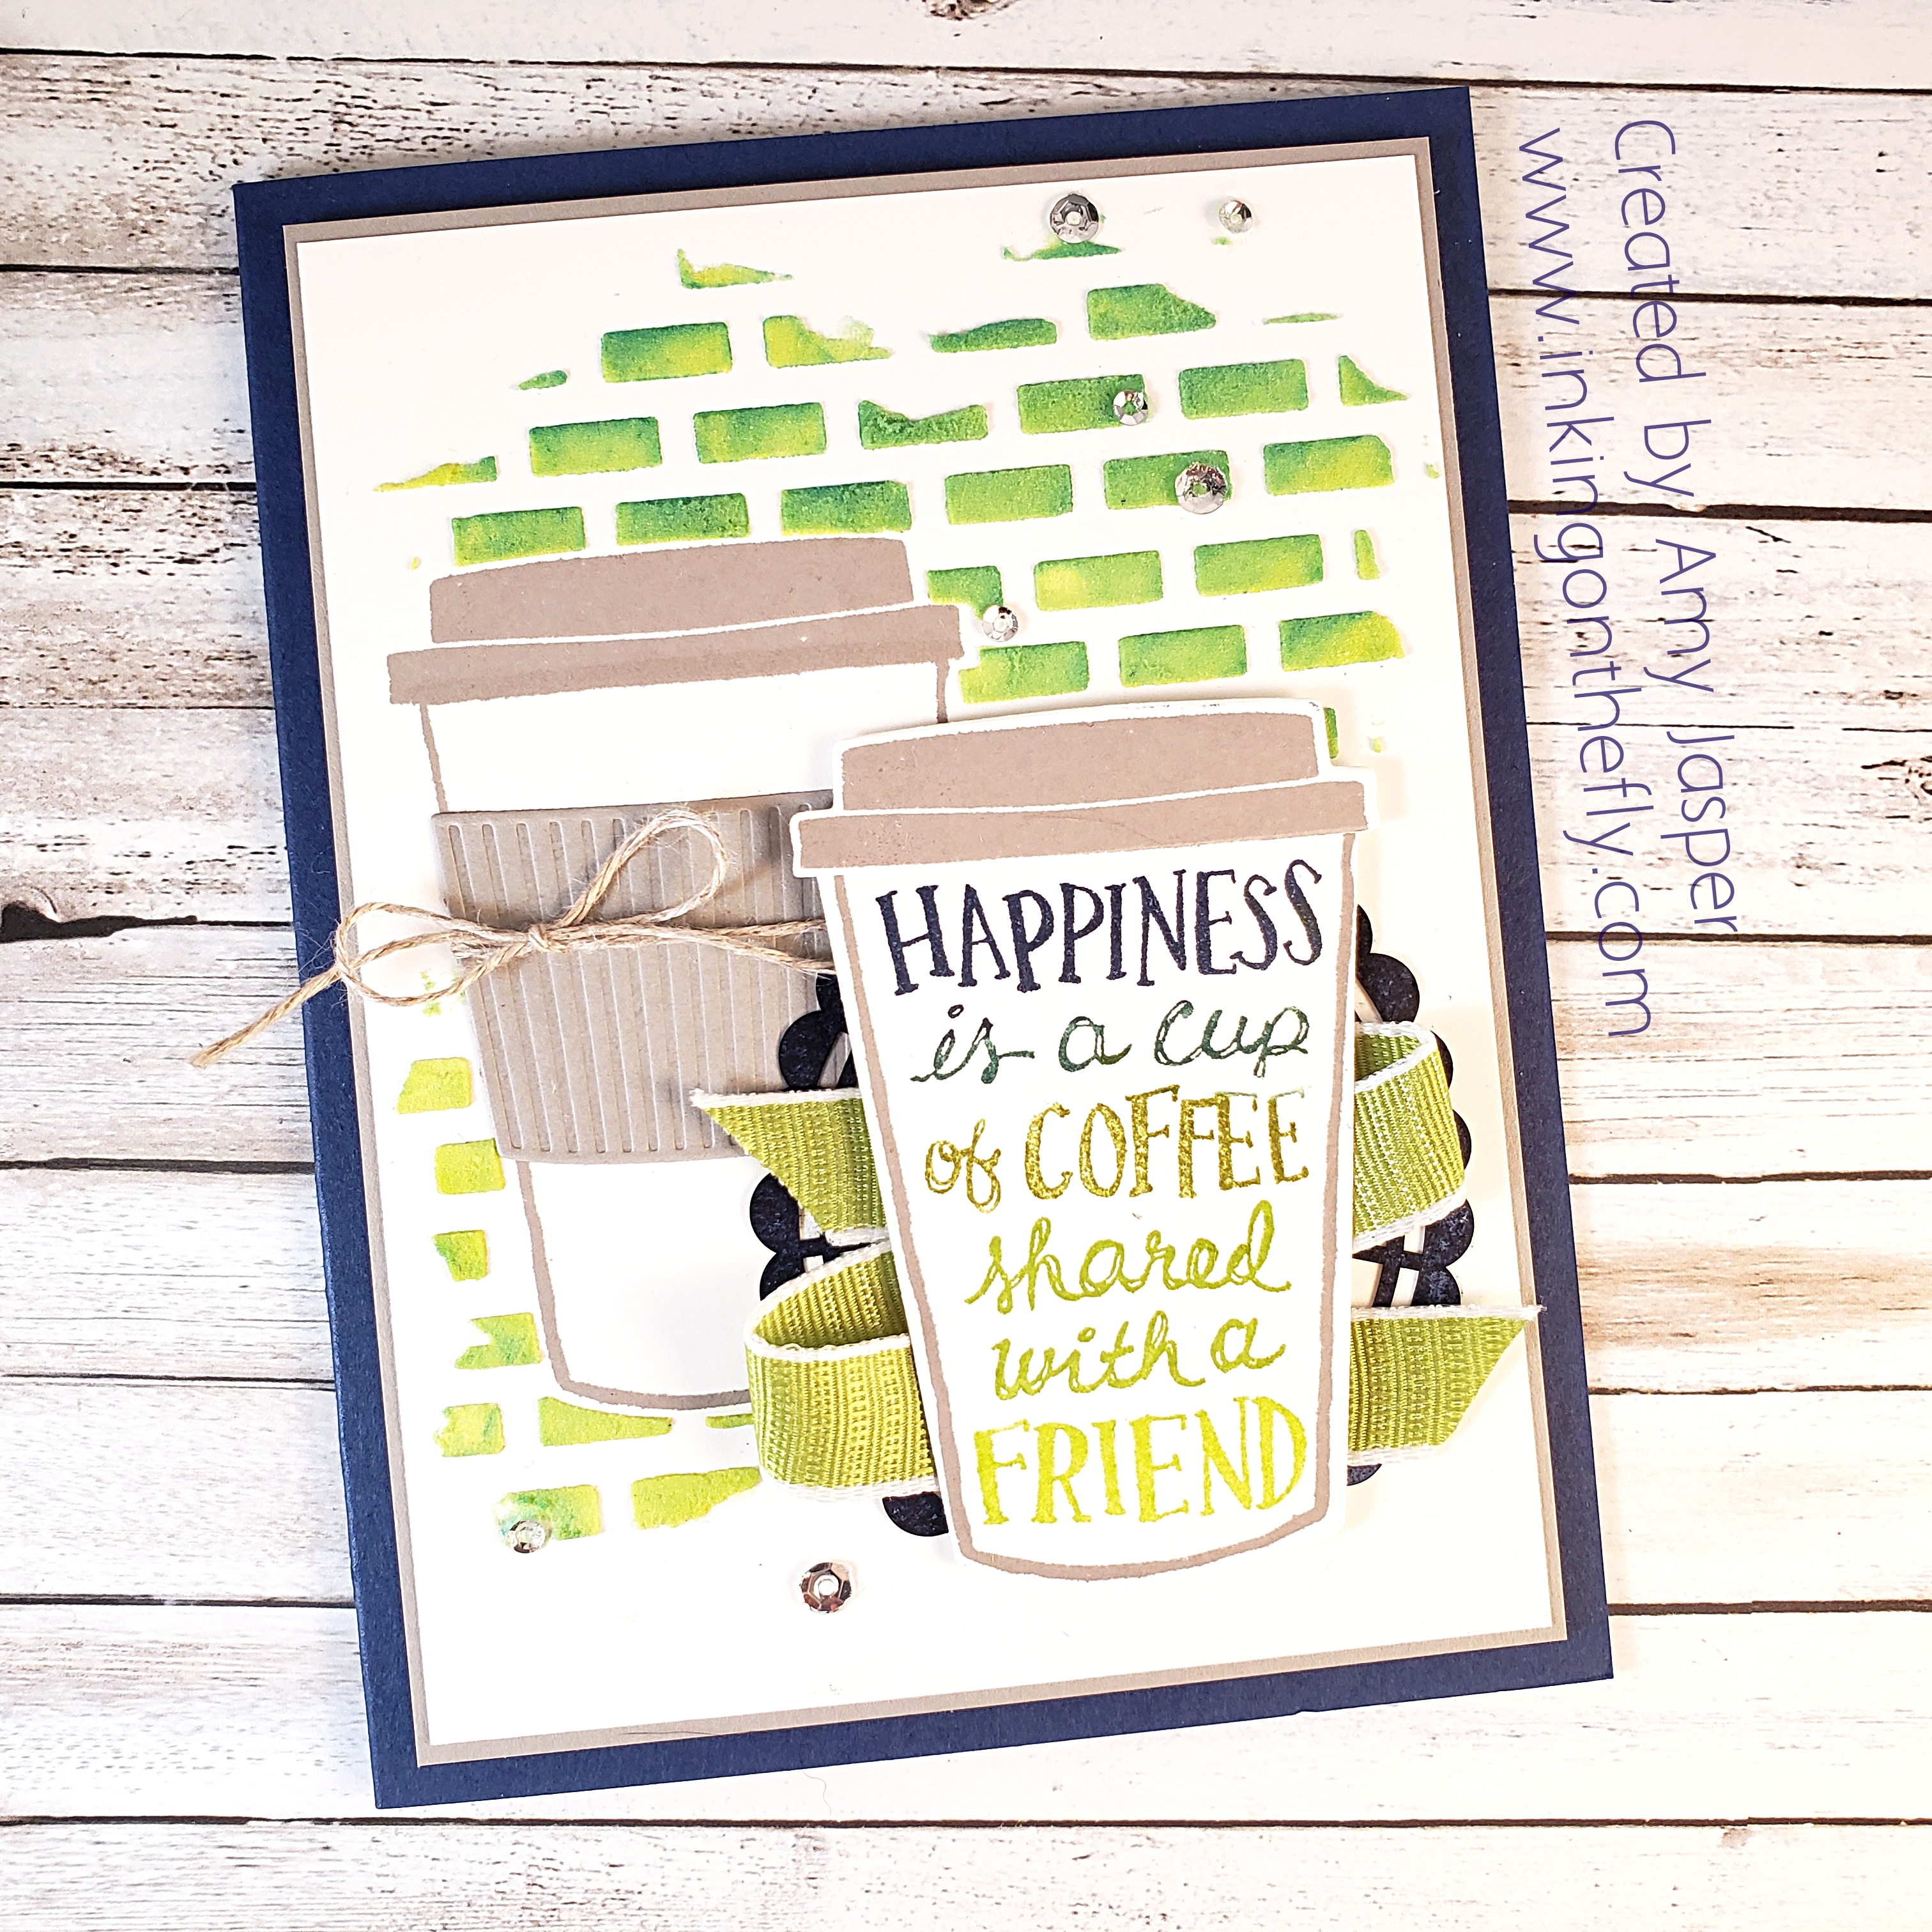
Coffee for Two
Oh my goodness! The As You See It Challenge post has hit our 200th challenge! This is amazing!!
The challenge theme is “two” for how many hundreds we’ve completed! So, I decided to do a card that also says a fond farewell to one of my favourite stamp sets that will be retiring at the end of June.

If you like the Coffee Café stamp set and the coordinating Coffee Cups Framelits, go to my ONLINE STORE and order them today! They won’t be available much longer!
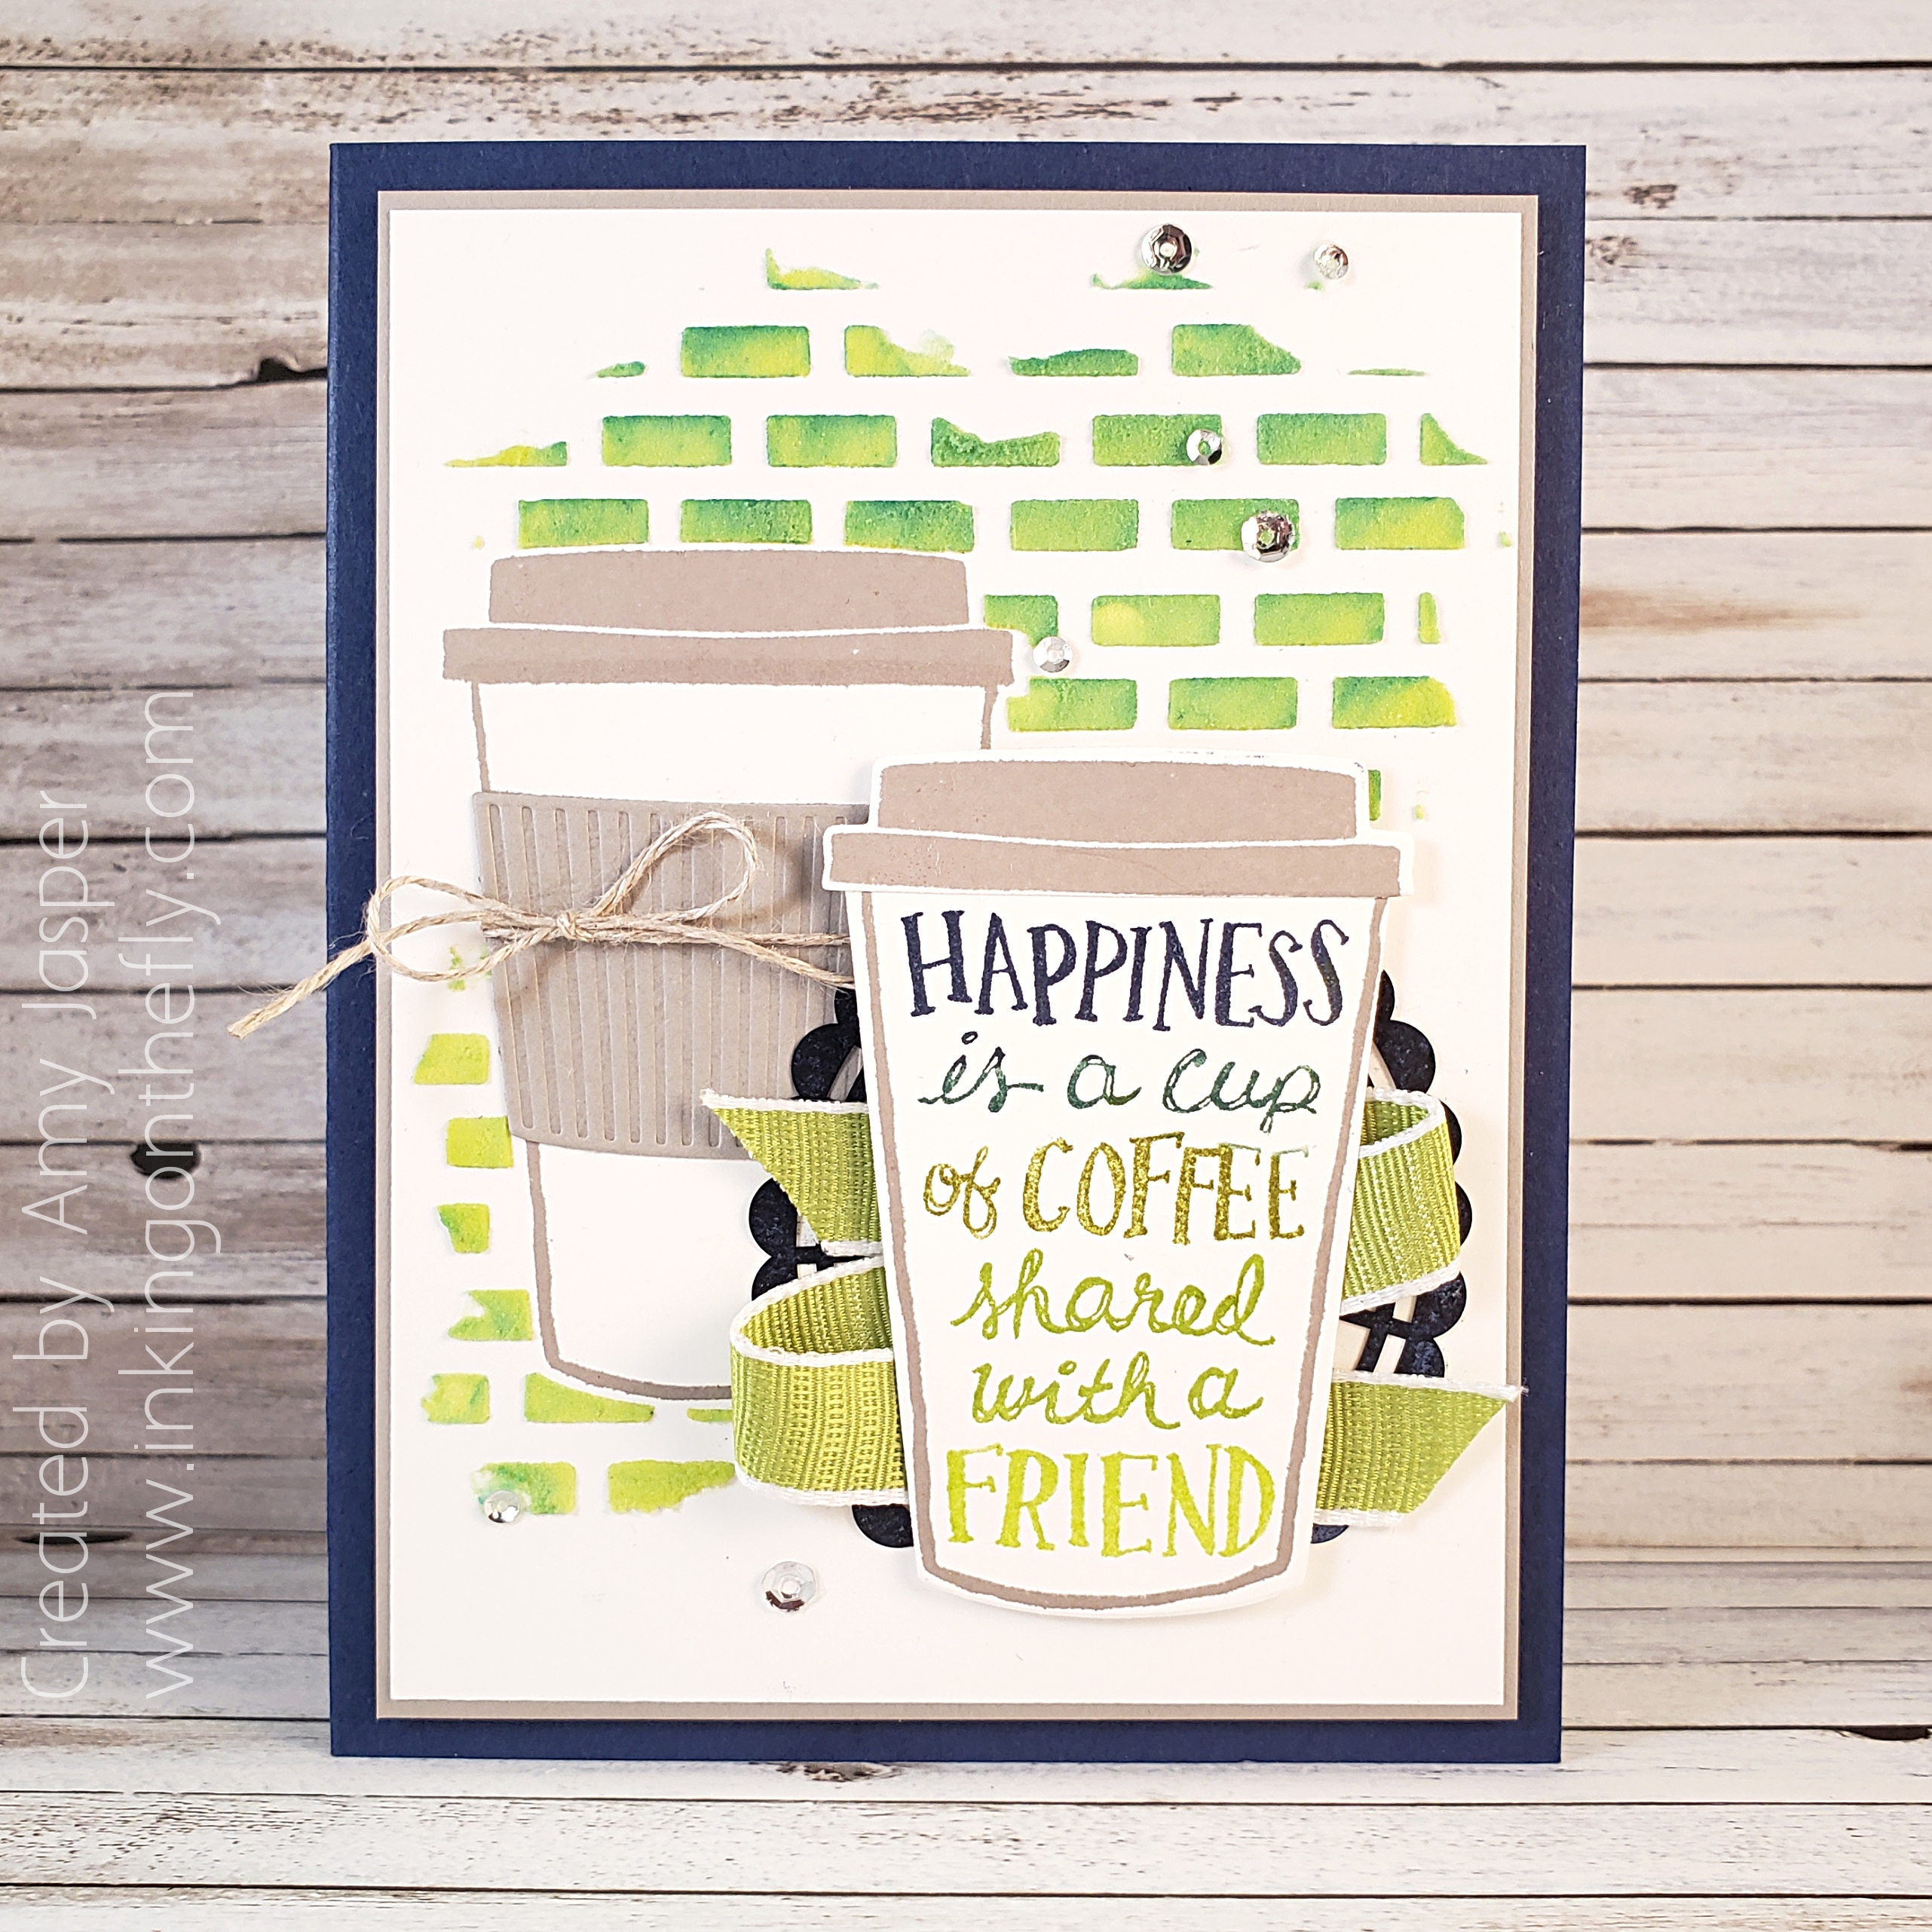
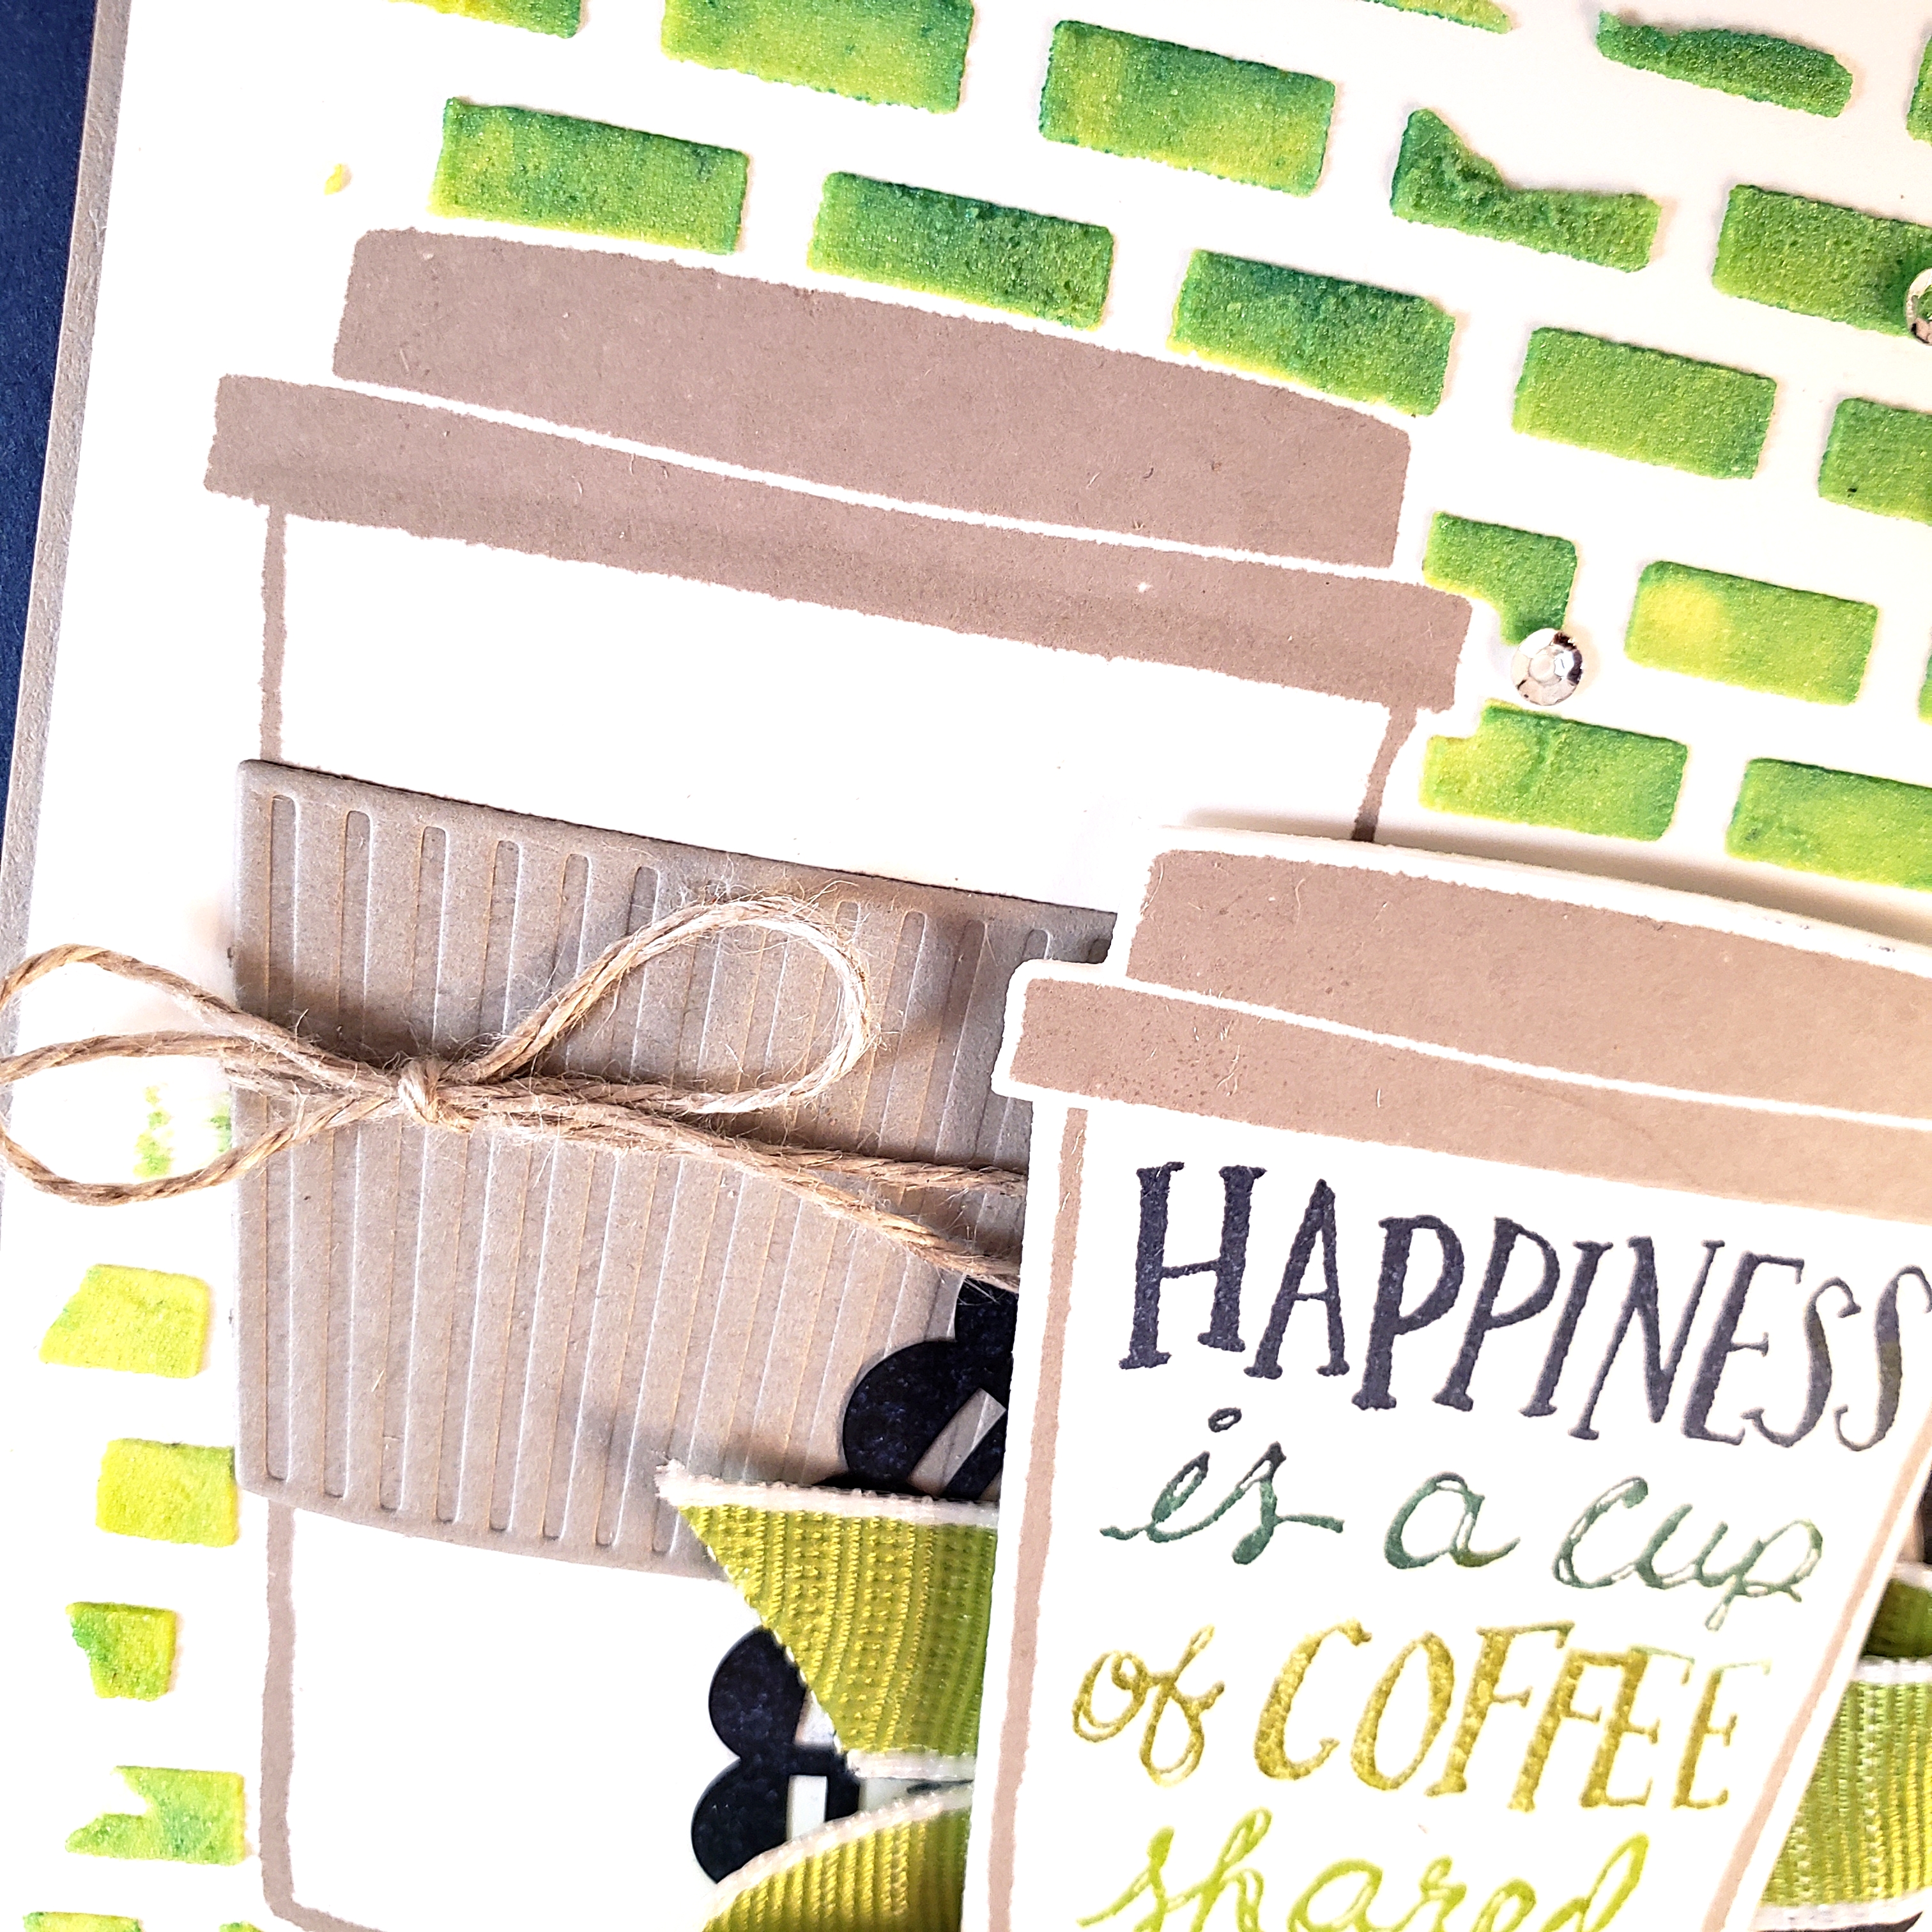
You can make this card with a little playfulness and some elbow grease! It takes a bit of time, but you can do it! Start with a piece of Whisper White cardstock and stamp the coffee cup to the left of center using Gray Granite ink. You can go ahead and stamp the lid on that cup, too. Next, stamp the coffee cup and lid on a scrap piece of paper or a piece of Post It Note. You can lay those over your stamped cup to cover it up. (weird… why would we want to do that?). You will need the brick mask from the Pattern Party Decorative Masks and lay that over top of your Whisper White cardstock and the stamped image with the die cut Post It Note. Make sure it isn’t going to move – tape down the edges! If you have a Stamparatus, you can place these layers on it and use the magnets to hold it down. (well, aren’t we clever!)
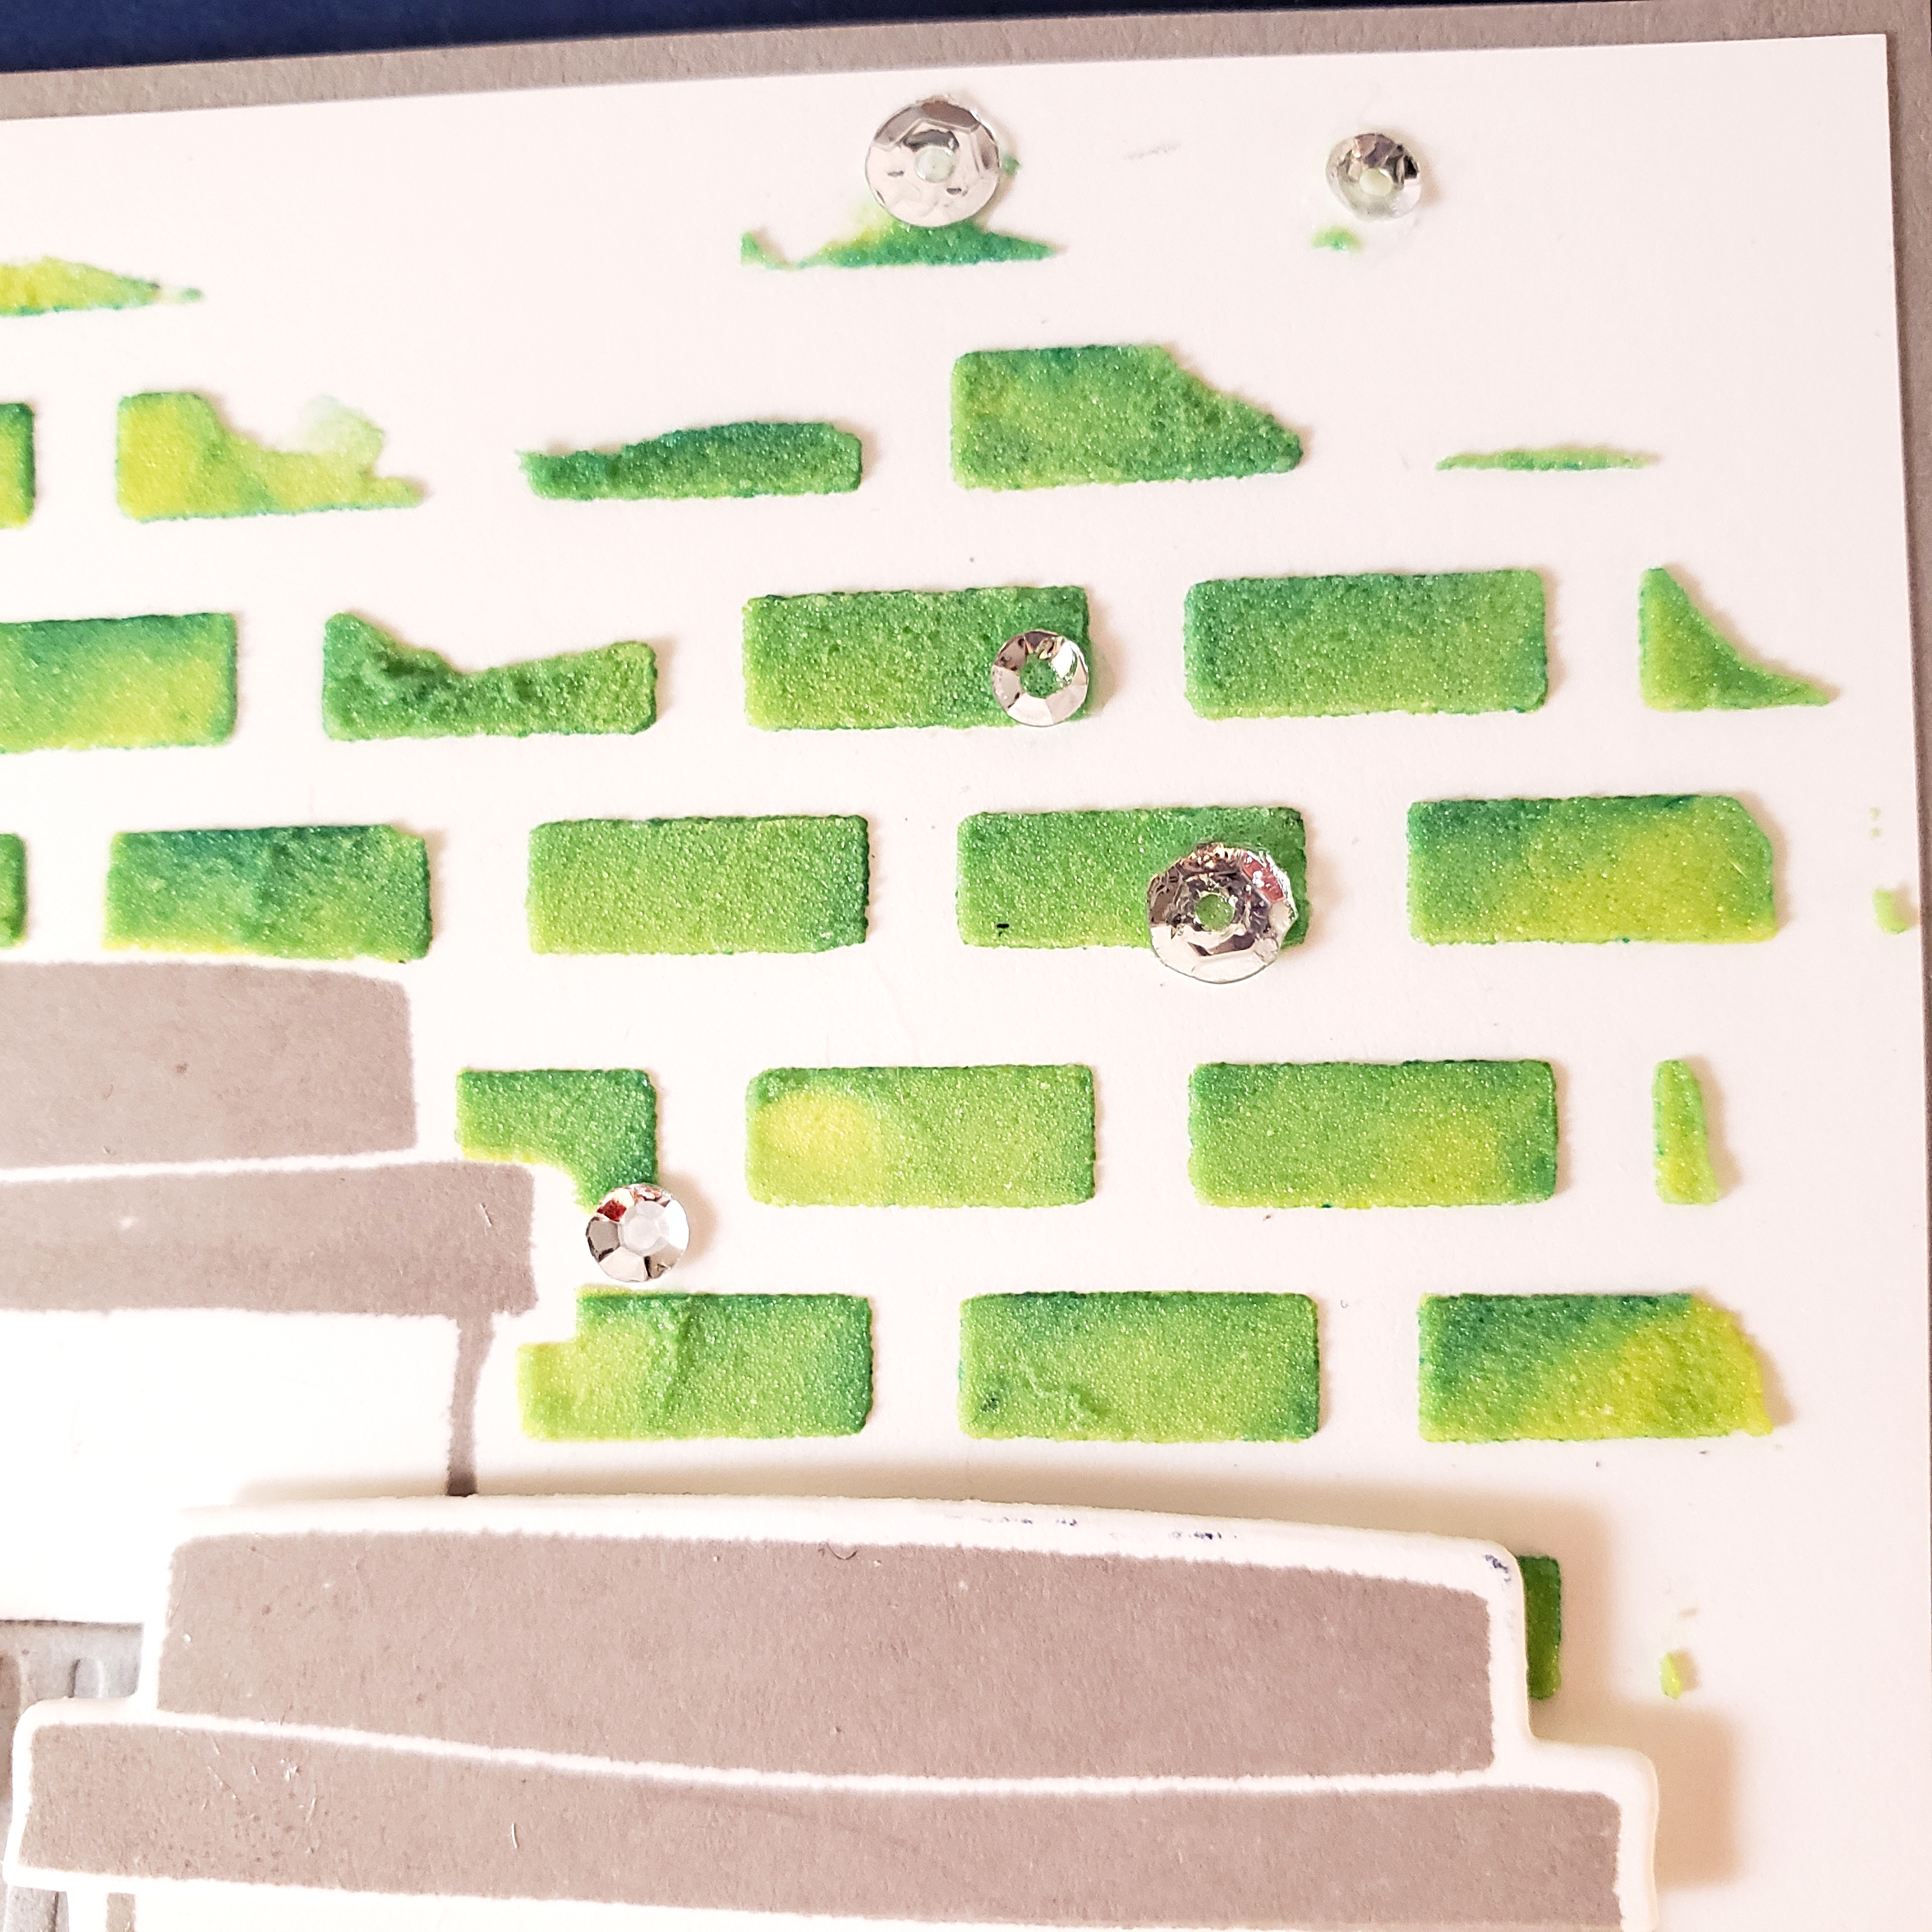
This part is kind of fun: place a small amount of Embossing Paste, like about a teaspoon, on your Silicone Craft Sheet and add one drop of Lemon Lime Twist re-inker. Mix well with one of your Pallette Knives. Then smear that over the brick mask where you want it. Fun, right!? Mine has a bit of variation in the colour – I have a feeling my mask had some blue ink on it from another project, so this may have tainted my sample. I think the variation in colour looks pretty good. Lucky!
Carefully lift the mask and remove that Post It Note to reveal your work.
Okay. Now, while the embossing paste dries, go and clean your tools and put the lid tightly on your paste and put that container in a plastic Ziplock bag, just for extra assurance that your paste will be protected from the air in there! (Tip: I use baby wipes to clean my mask and Pallette Knives.)
While your paste sets, you can stamp your second coffee cup on another piece of Whisper White cardstock. Yup, stamp the lid too, but this time separately, because you are going to die cut those two pieces with the Coffee Cup Framelits by Stampin’ Up!. Now for another fun part: you are going to stamp your words using multiple colours. Normally, I would just use markers to colour my stamps for this look, but because you’re using a photopolymer stamp set, I find markers don’t always give a smooth image. Instead of markers, try using your Stamparatus. Get your paper and stamp set up in your Stamparatus, then add Night of Navy ink to the “happiness”. I inked it directly with my ink pad, but you could also ink it using a Sponge Dauber, or if you have a Stampin’ Spot, those are super handy for this sort of thing. If you find that some of your ink got where you don’t want it, just use your Simply Shammy or a baby wipe to clear away the ink you don’t want. Then you can go ahead and flip the hinged plate over your paper and stamp the image. It will only stamp the “happiness” that you inked. Flip the hinged plate back up again, clean off your stamp with your Simply Shammy or baby wipe again, then apply ink to only “is a cup”. I used Tranquil Tide ink (retiring colour, by the way). Remember to clean off any excess ink from your stamp, then flip the hinged plate and stamp your image again. You’ve got the idea now! Keep going with the next colours: Old Olive, Granny Apple Green, and Lemon Lime Twist. Phew!! Looks great!
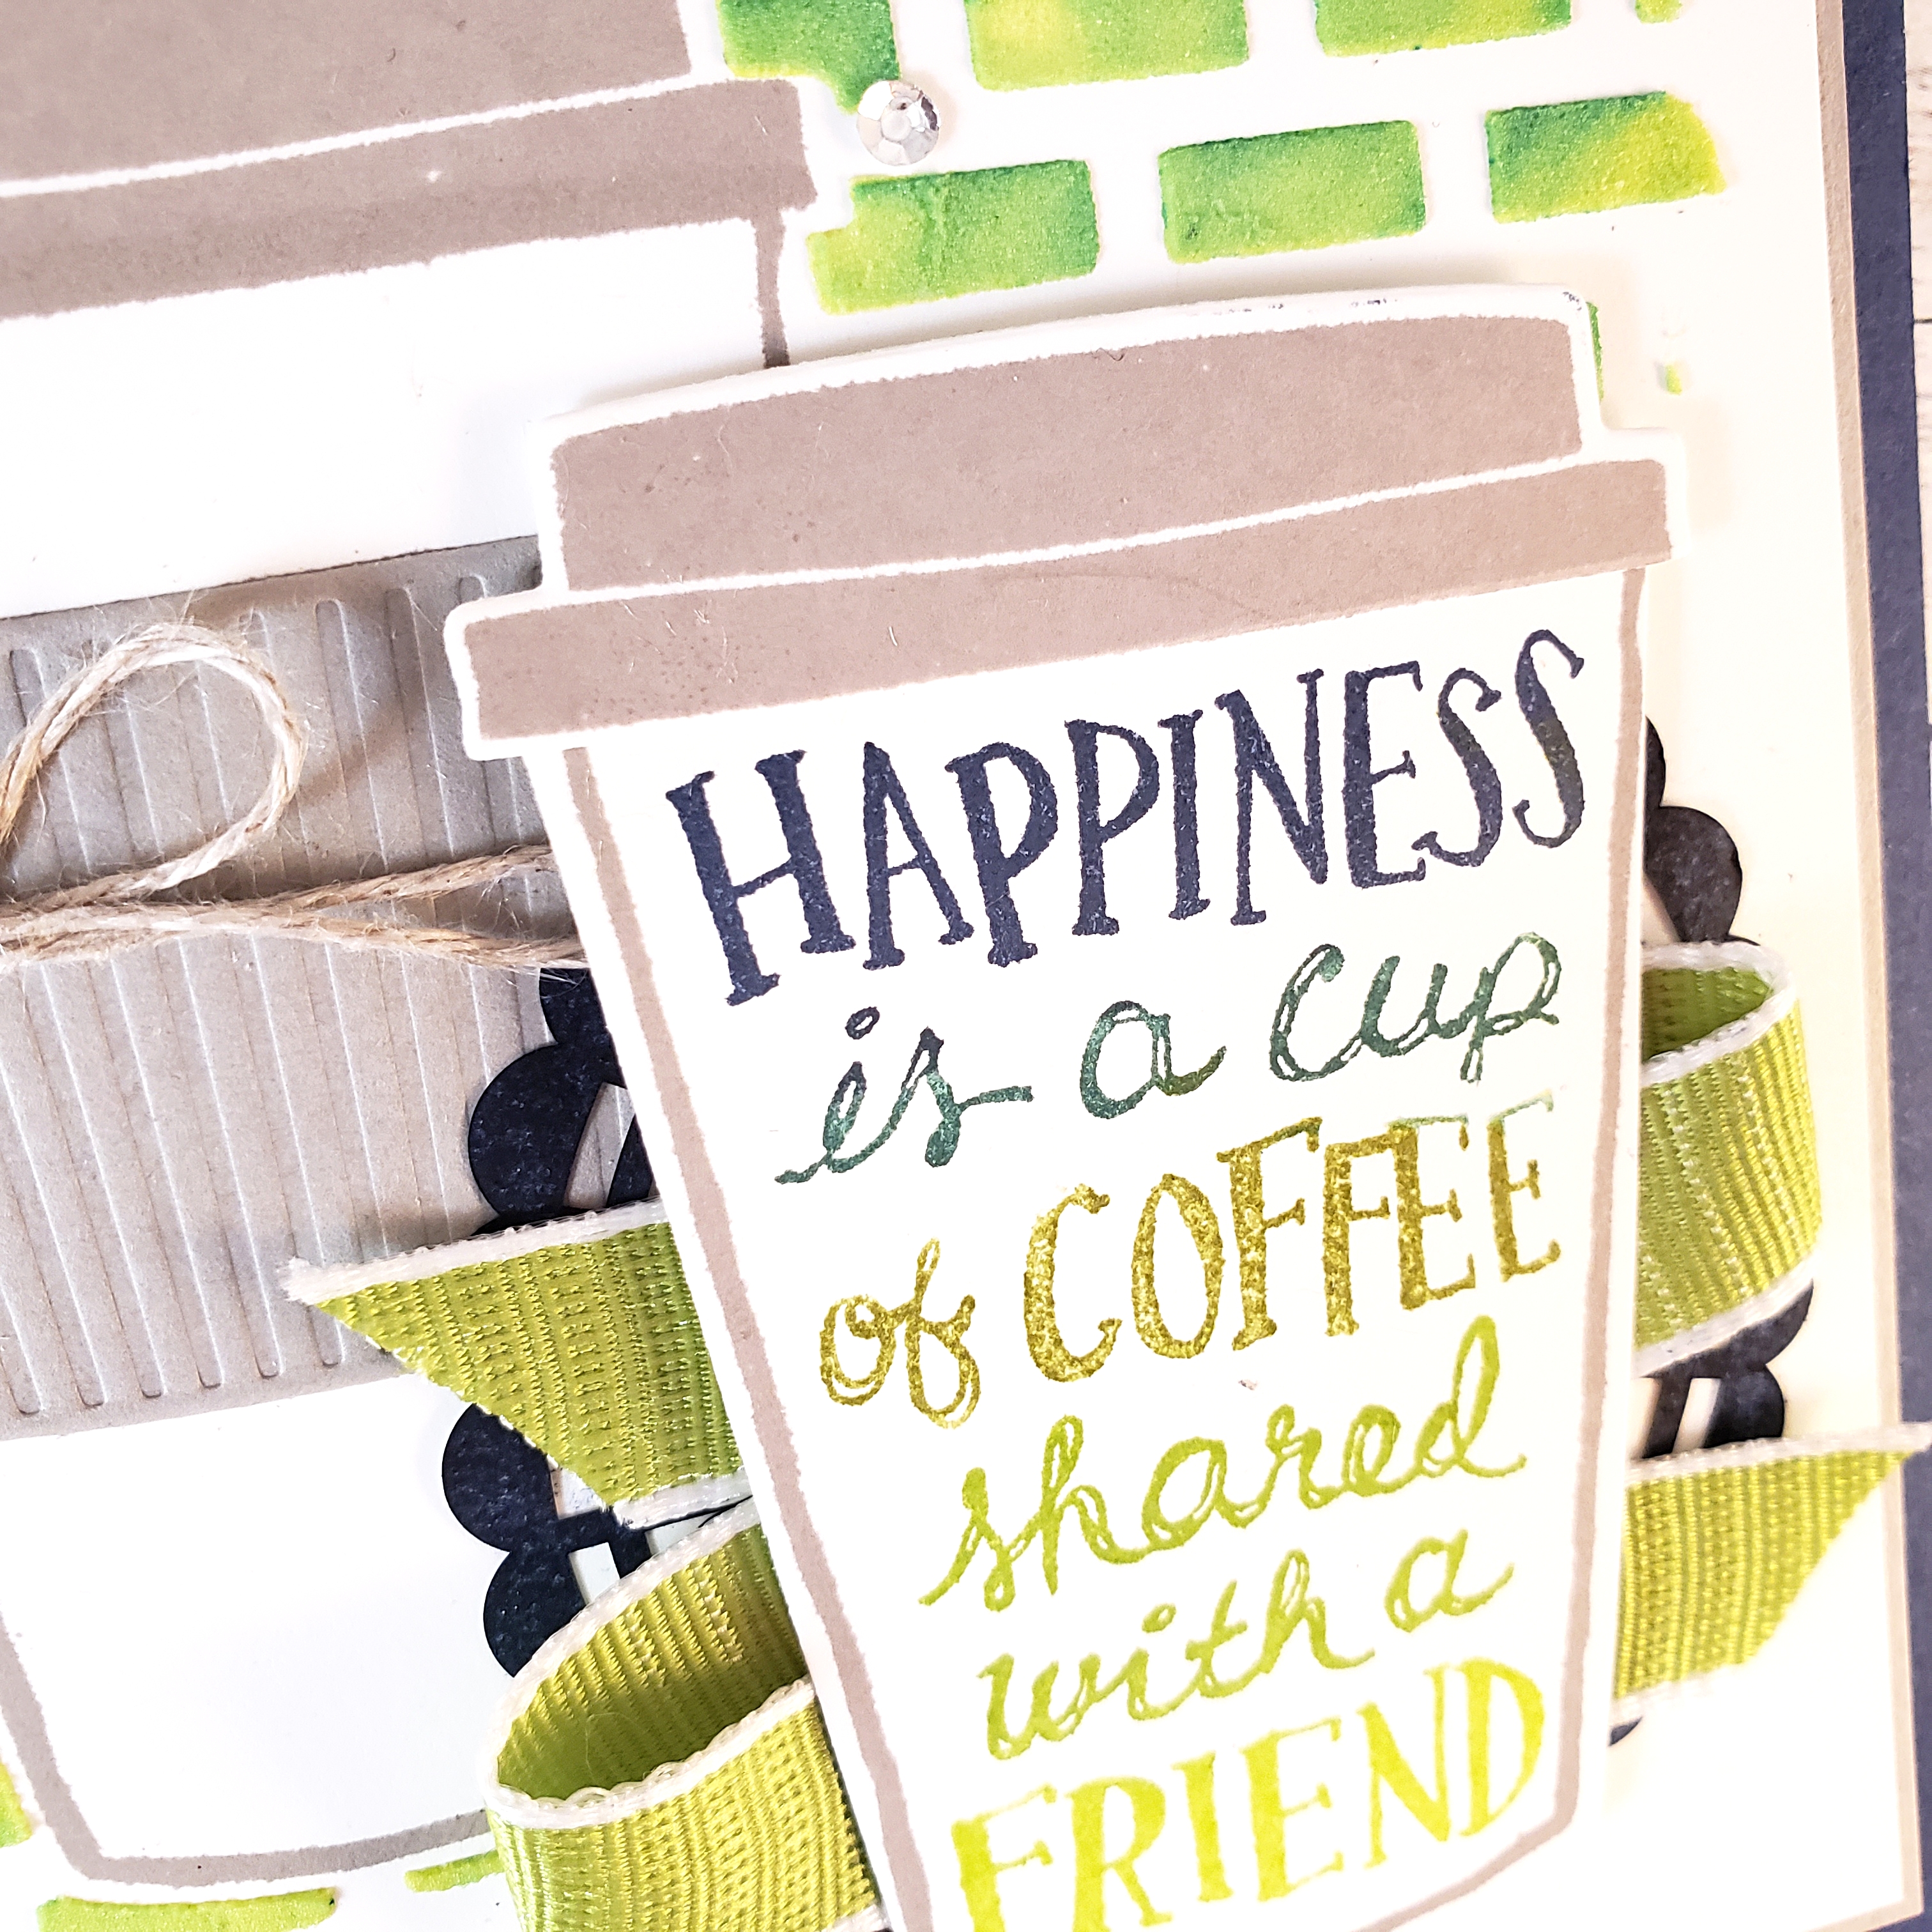
That was the fussy part. Now you mostly just have to assemble! You can use the Coffee Cup dies again and cut and emboss the coffee cup sleeve. Tie a bit of Linen Thread around the sleeve, then attach that to your background coffee cup. You can grab one of your Pearlized Doilies and ink up the non-pearly side with Night of Navy ink. Attach that to your cardstock on the lower right side. Some Granny Apple Green 1/2″ Textured Weave Ribbon looks great when you attach it like a swoosh with some Glue Dots. Finally, you’re ready to attach your second coffee cup and lid with Stampin’ Dimensionals. Yaassss!!
At this stage of the game, you can feel pretty confident and attach your mostly complete Whisper White cardstock with two cups and the decoration, to a mat layer of Gray Granite cardstock. Then you will want to attach that to the Night of Navy card base. It’s looking awesome!
But wait, there’s more!! (I say that with much tongue in cheek, by the way)
The final touch is to add some sequins from the Metallics Sequin Assortment. Use your Fine-Tip Glue Pen with the help of the Take Your Pick Tool, and attach those sequin however you like. Maybe you have a couple of minor ink smudges on your card that need a little embellishing, like I did.
By golly, I think your done! Don’t forget to put a piece of Whisper White cardstock on the inside of your card, so you have space to write something.
Remember, if you like any of the products used on this card, you can go to my ONLINE STORE and purchase them there. You will also be able to see what other products you can get your hands on.
If you like this card, don’t forget to comment. I like to know you stopped by!
