Coloured Black Ice
The snow is almost fully gone now, the sun is shining, the roads are covered in dirt from the sand trucks, the winter boots have been replaced with running shoes, and toques have been replaced with sunglasses.
It’s about time!! What a crazy, long and snowy winter we’ve had. It felt more like 3 winters put together!!
The card I have to show you today features a technique called Black Ice. Melissa Kerman did a wonderful video tutorial on this technique (the link can be found at the end of this post). My design adds a little twist to her technique.
I used the latest As You See It Challenge as my starting point for this card.
 These colours are very pretty together – so soft and feminine. I used Pink Pirouette for the card base and sponged more Pink Pirouette ink around the edges. This adds a rich depth to the colour. I sponged Smoky Slate around the Smoky Slate cardstock layer on the card as well.
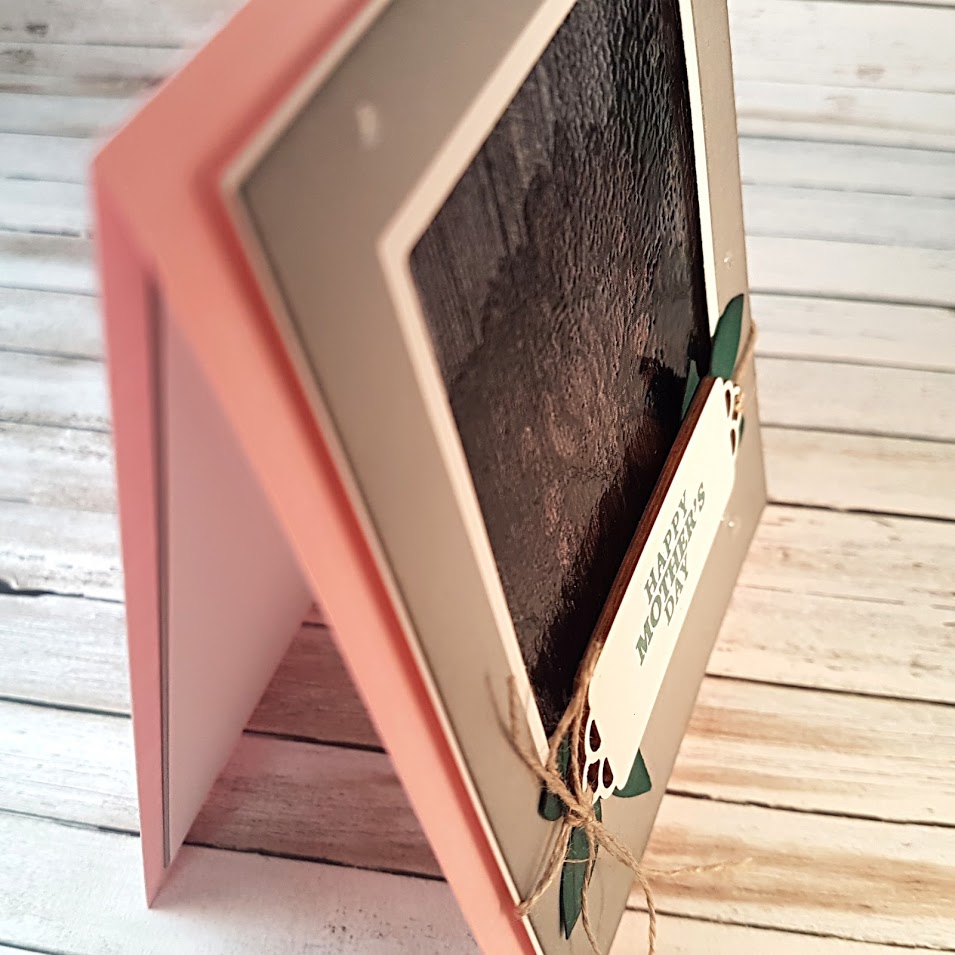
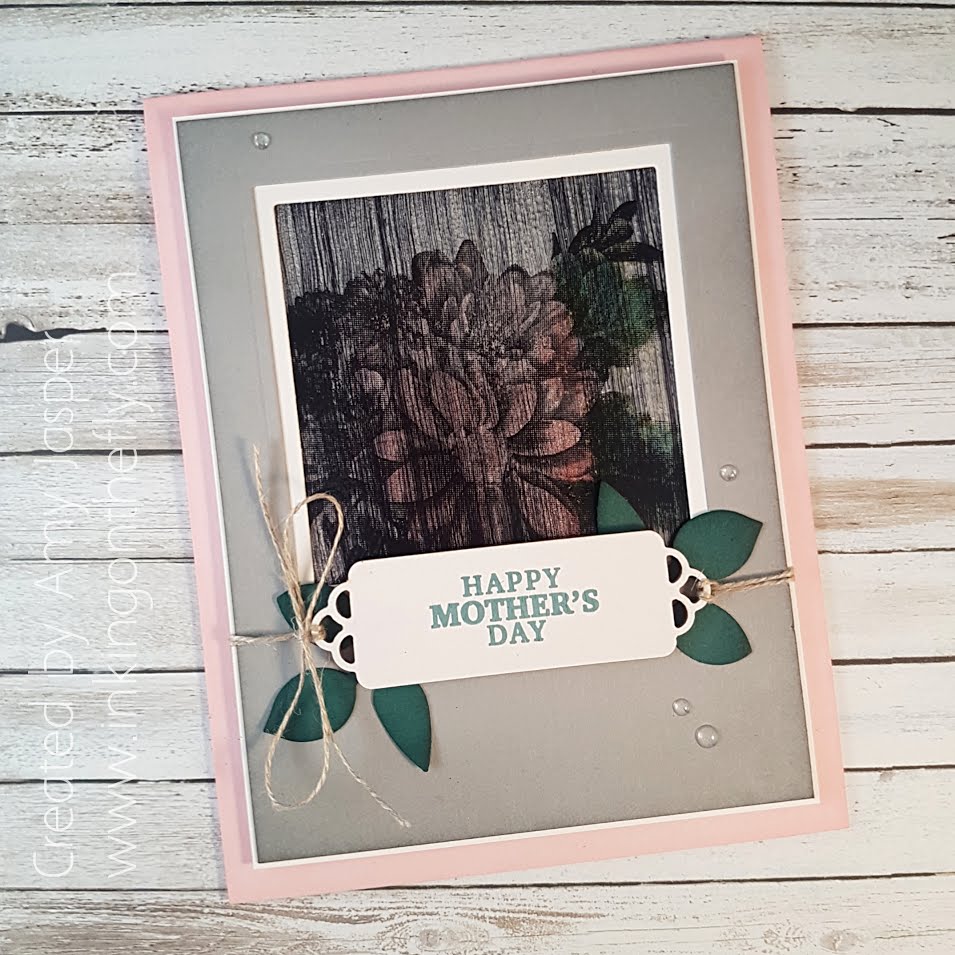 When you watch the black ice tutorial (see below), you will see that it involves Foil Paper (I used Silver Foil), Basic Black Archival Ink, then a layer of clear embossing over top. I used the Heartfelt Blooms stamp set as my image in this technique. You can only get this stamp set until the end of March (it’s Free with a $60 purchase!!), so if you love it, don’t miss out!
My take on the black ice technique for this card was to add colour over the completed black ice image using my Blends Markers. I used Pink Pirouette for the flower and a combination of Old Olive and Night of Navy Light for the leaves to try to achieve a semblance of the Tranquil Tide colouring. I did find that the alcohol markers seemed to take away the shine of the clear embossing, so I repeated the end of the black ice technique by pulling my Versamark ink pad across and re-applying the Clear Embossing.
 The black ice image is recessed in a square cut out through the layers of Smoky Slate and Whisper White cardstock. The squares were cut using the Big Shot with the Layered Squares Framelits from Stampin’ Up. I adhered these two layers together, then attached them over the black ice image (this was adhered directly to the card base, of course).
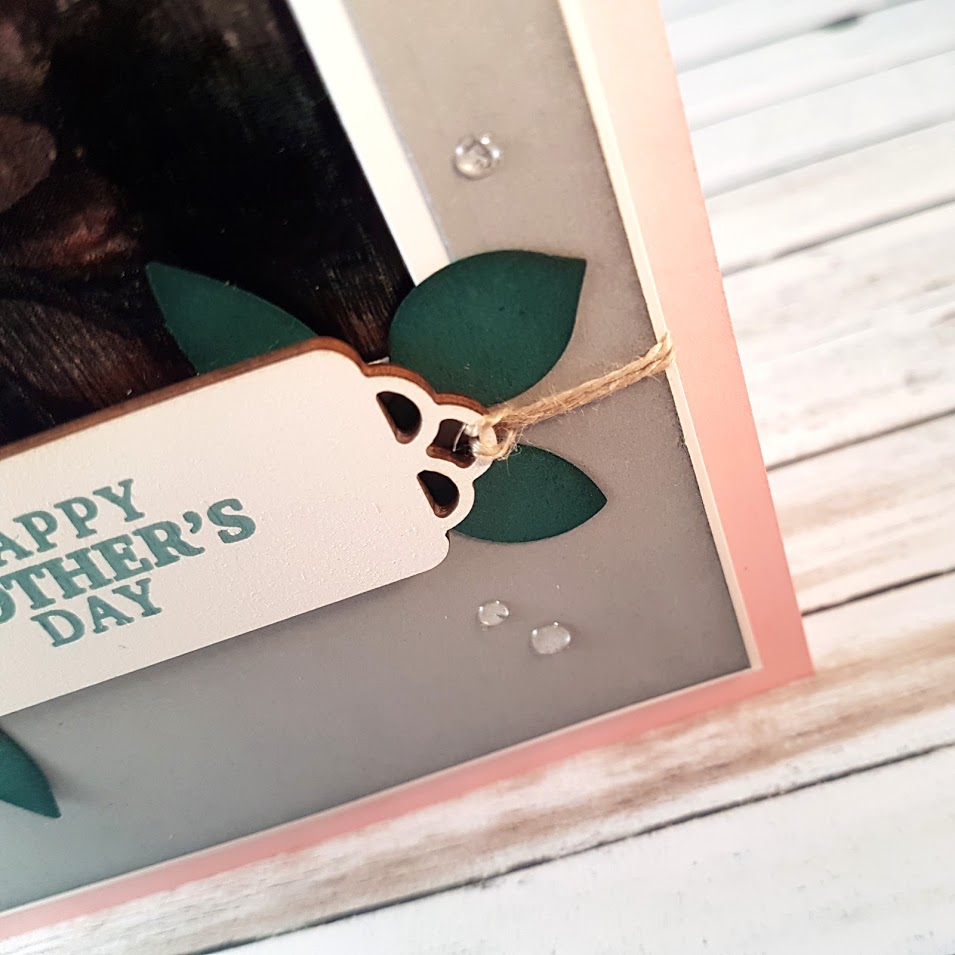 The leaves are punched from Tranquil Tide cardstock using the Leaf Punch from Stampin’ Up!. I lightly sponged the edges with Tranquil Tide ink before adhering the leaves to my card so that they would tuck underneath the pretty wood label. That, my dears, was one of the wood pieces that were a gift from Stampin’ Up, received by anyone who purchased the March Paper Pumpkin kit! These wood die cuts are white on one side (as shown) and natural wood coloured on the other side. The sentiment stamped with Tranquil Tide ink on the wood label is also from the March Paper Pumpkin kit. Linen Thread was attached to the wood label and wrapped around the back of the top two layers of the card before using glue dots to adhere the label to the card front, then tying the linen thread in a bow. The completed layers were attached to the Pink Pirouette card base with Stampin’ Up Dimensionals.
 The final touch was to add the dew drop look achieved by the Glitter and Clear Epoxy Shapes from Stampin Up!. I love how these look!!
Be sure to visit my online store if you want to purchase any of the products shown on this card. Sale-a-bration ends on March 31st! Don’t miss out!!
Here is Melissa Kerman’s tutorial on the Black Ice technique. Enjoy!
