envelope punch board

Hang a Shining Star

My favourite thing about a song, especially Christmas songs, is when someone says something in normal conversation and it sparks a song in your mind that you absolutely MUST sing out loud. As it was said in the movie, ELF, “The best way to spread Christmas cheer is singing loud for all to hear.”

My hope is that my card today will cause a Christmas song to be placed in your mind when you read the words. (Basically, I’m working on developing my talents in mind-control.)

Don’t forget to check out my previous post, Fleecy Caribou and Blog Candy, for a chance to win a stamp set! Winner will be announced on Tuesday!

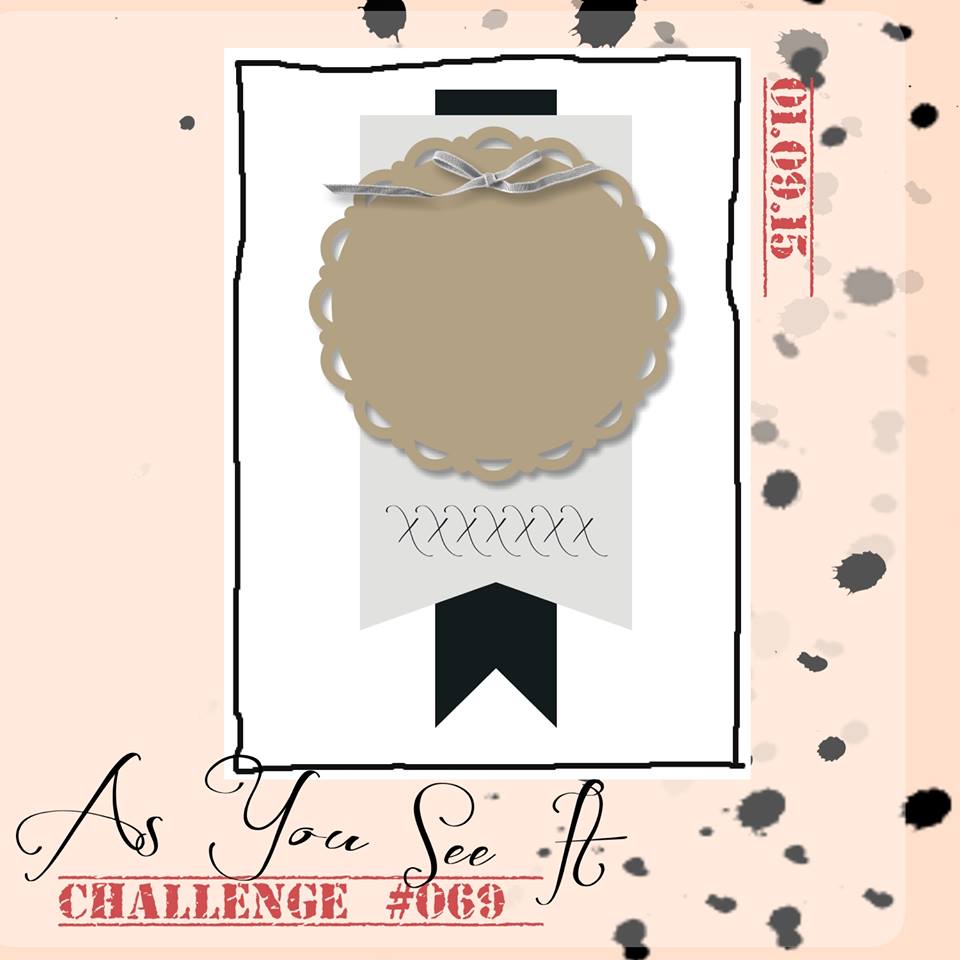
Here’s today’s sketch from the As You See It Challenge blog:

AYSIChallenge115-1024x1024

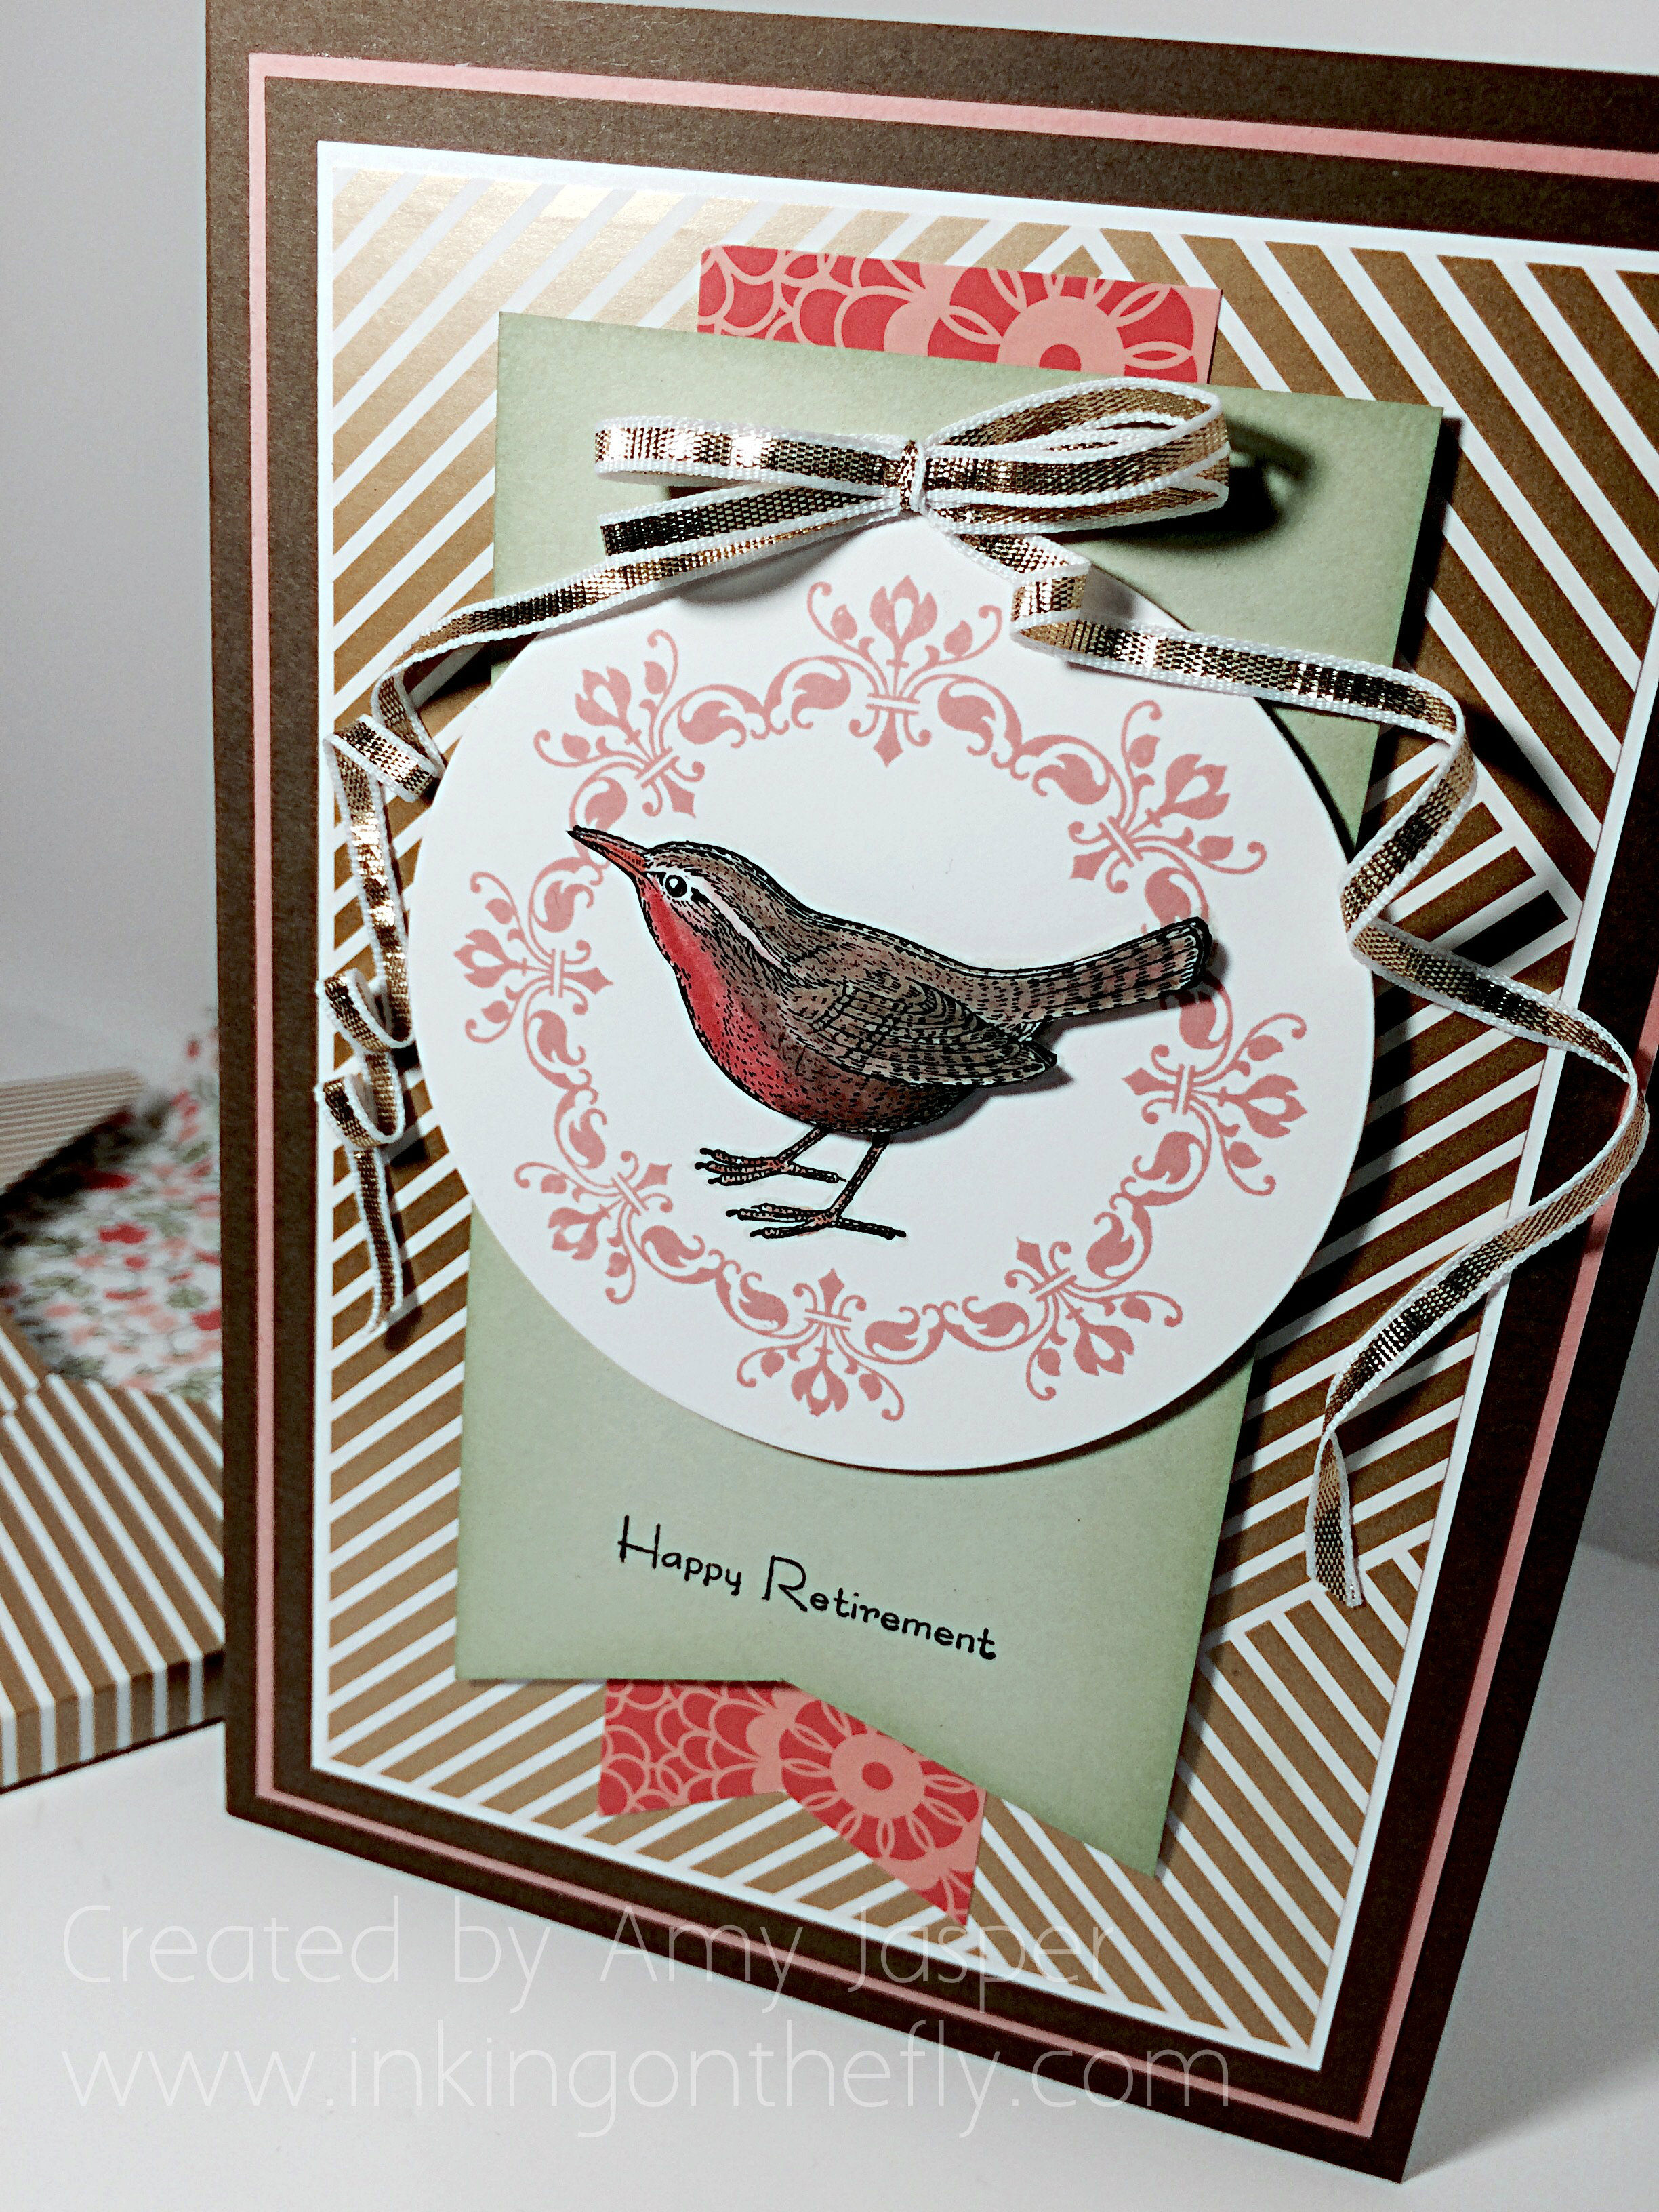
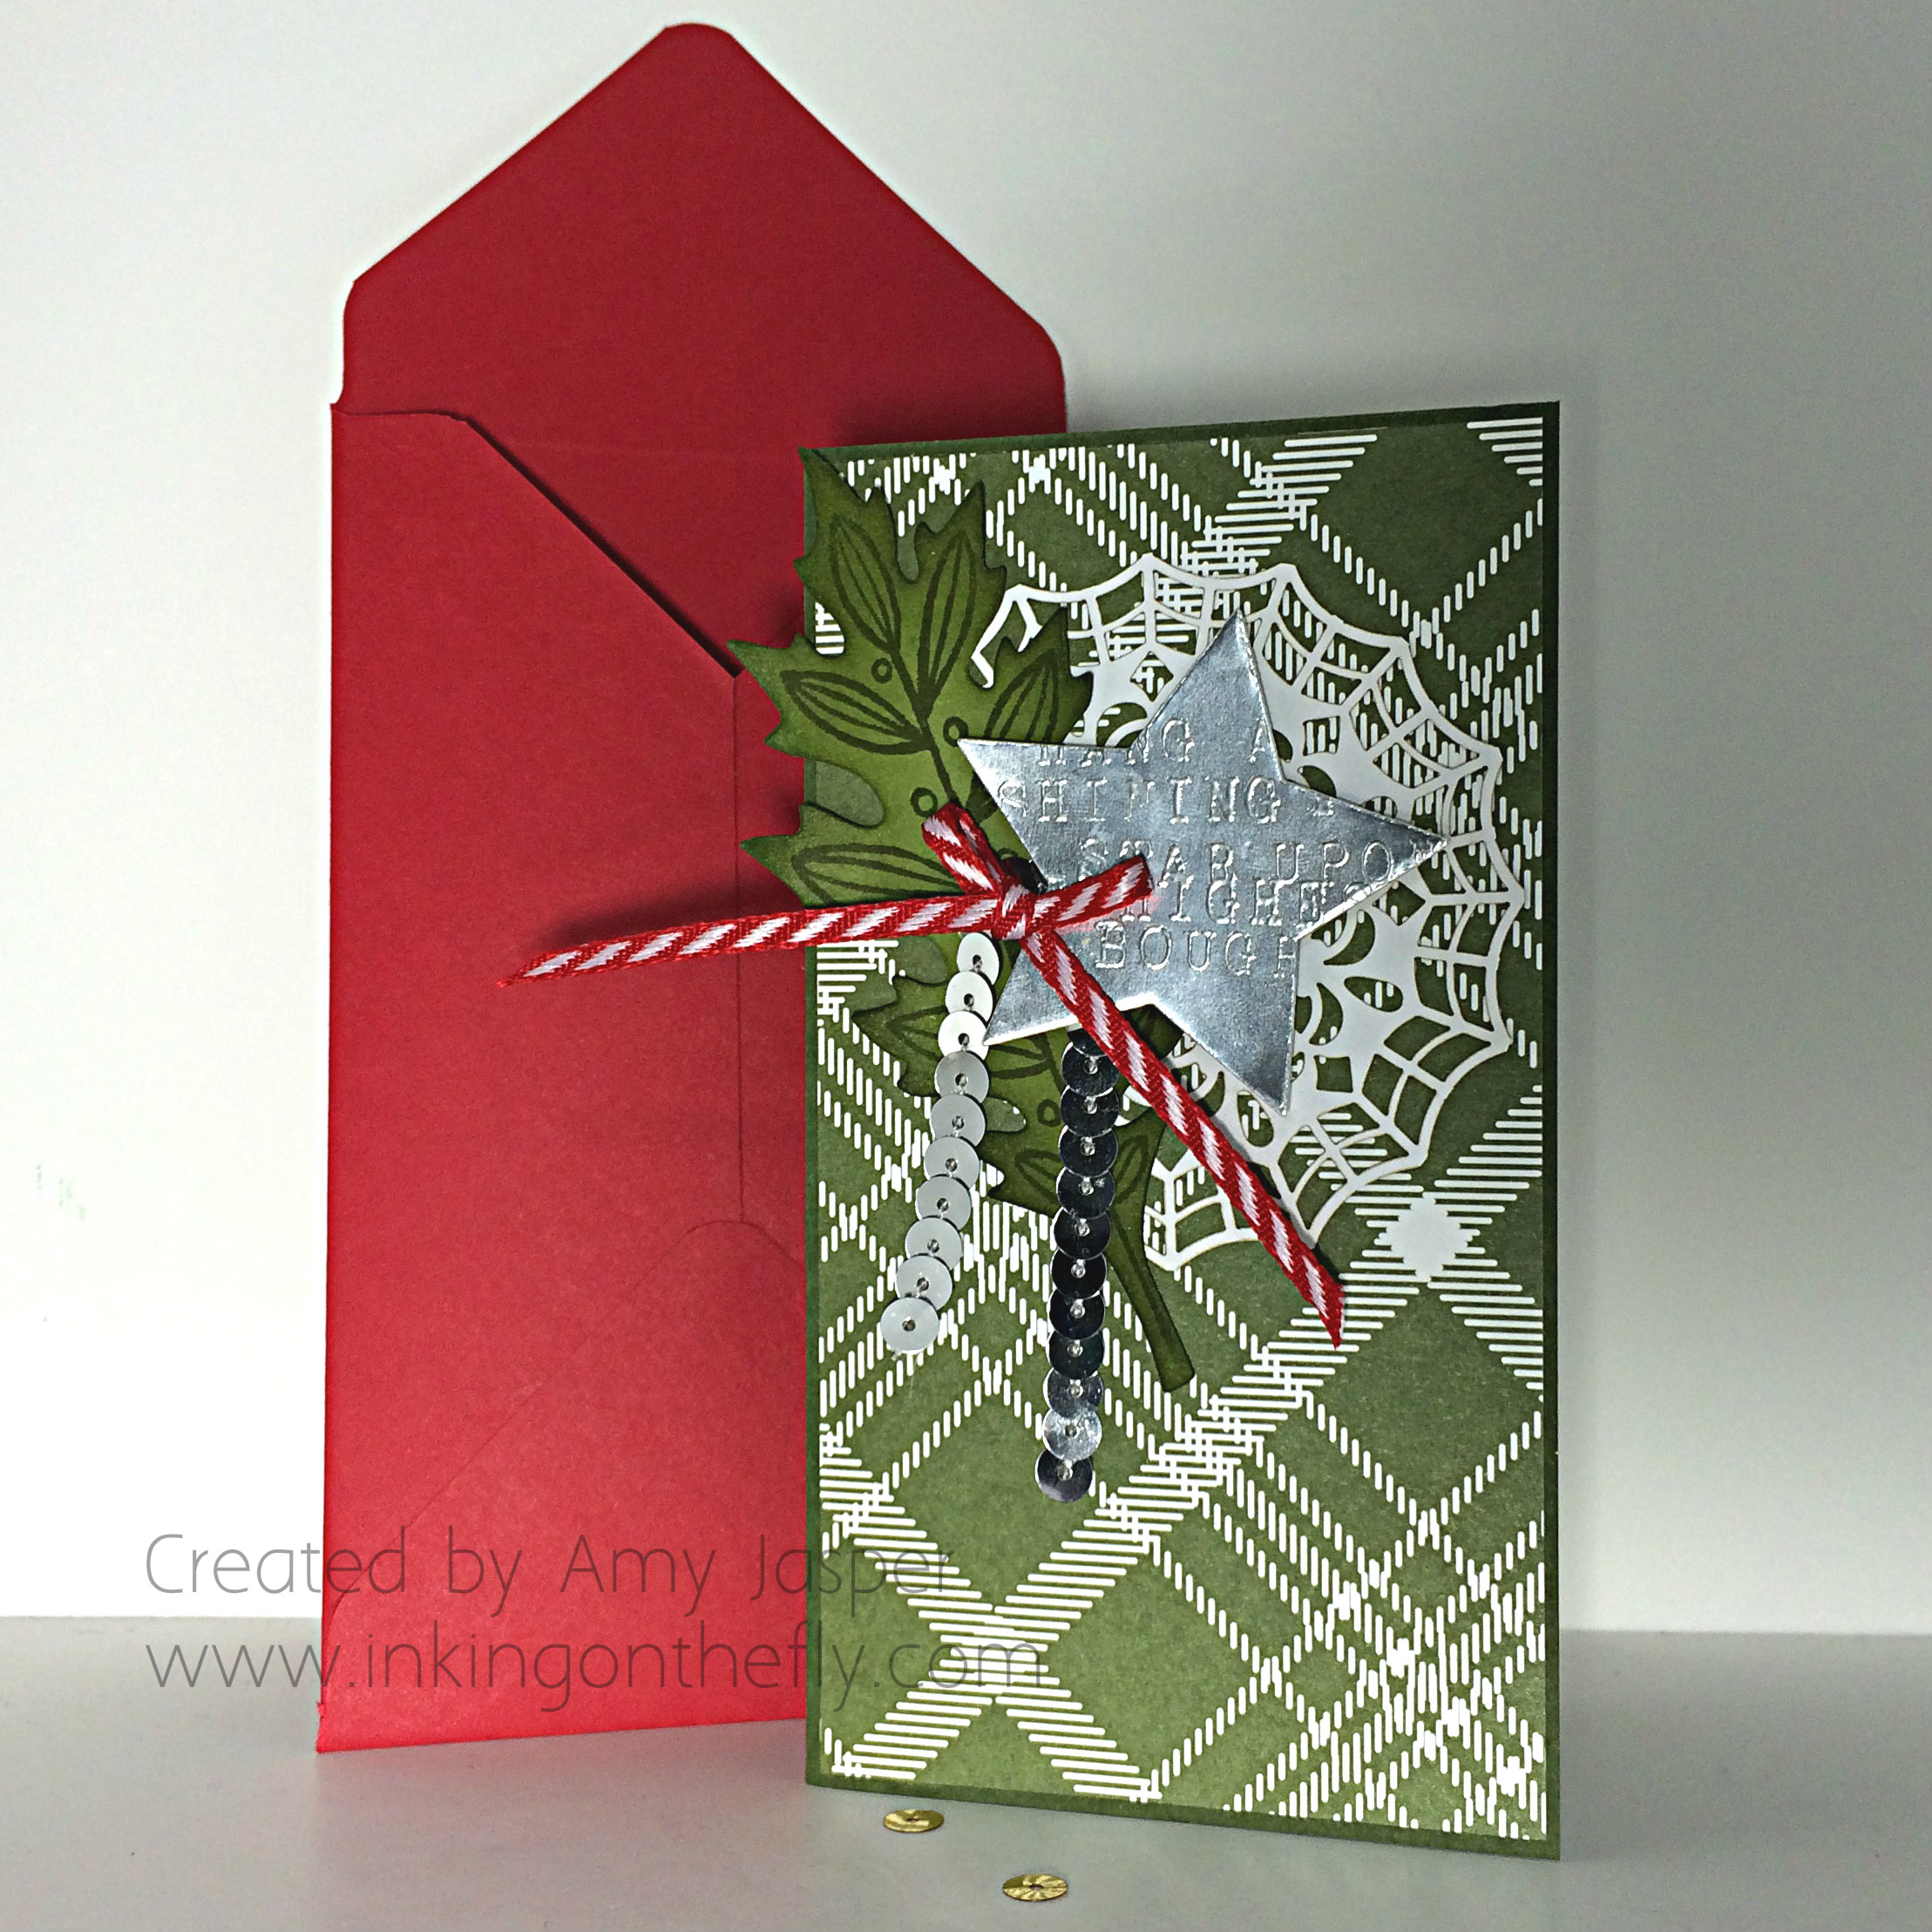
The card I have to share with you today is a 3″ x 5.5″ card. The elements that I chose simply demanded to be on a narrow card design. Seriously, the cards should just make themselves if they’re going to be so demanding!!

Hang a Shining Star Card by Amy Jasper www.inkingonthefly.com

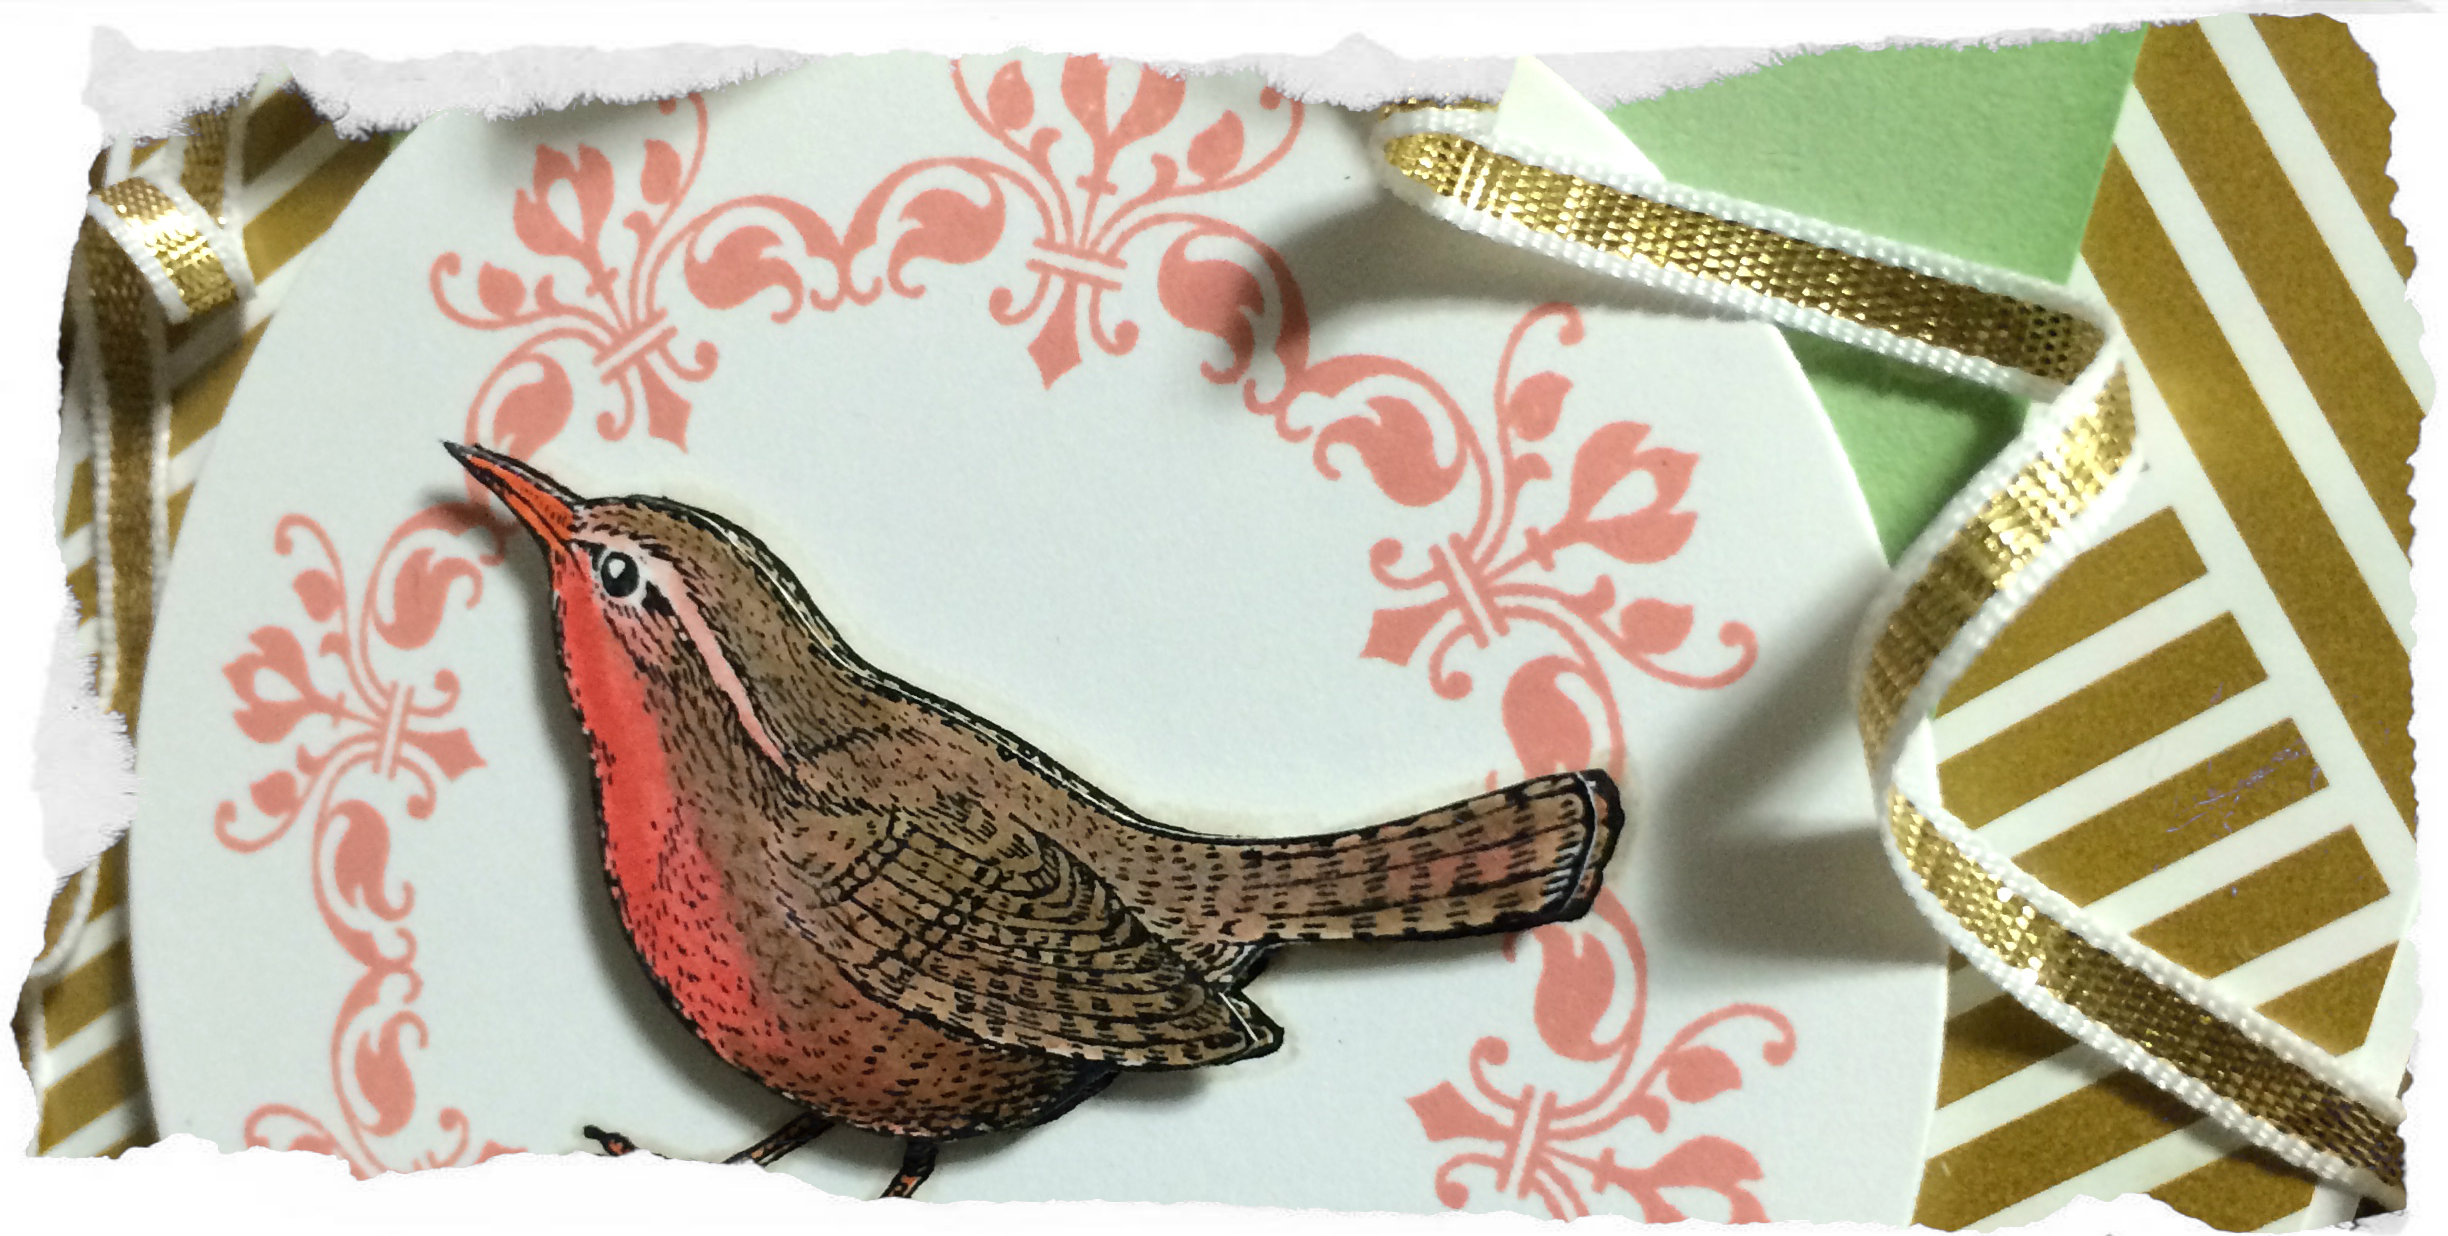
It begins with a 3″ x 5.5″ Mossy Meadow card base and the layer of patterned paper from the Merry Moments Designer Series Paper. The next layer is a Spider Web Doily that has been trimmed and turned around to show the white side rather than the black side of the doily. This, of course, was adhered with the Fine-Tip Glue Pen.

Next, the leaf image from the Lighthearted Leaves stamp set was stamped with Old Olive Ink onto Old Olive cardstock. This was then die cut on the Big Shot, using the Leaflets Framelits. I happily sponged away on the edges of my newly cut leaf using Stampin’ Up Sponges and Old Olive ink. Before adhering the leaf, I took a moment to gently curl and shape its edges.

Hang a shining star by Amy Jasper www.inkingonthefly.com

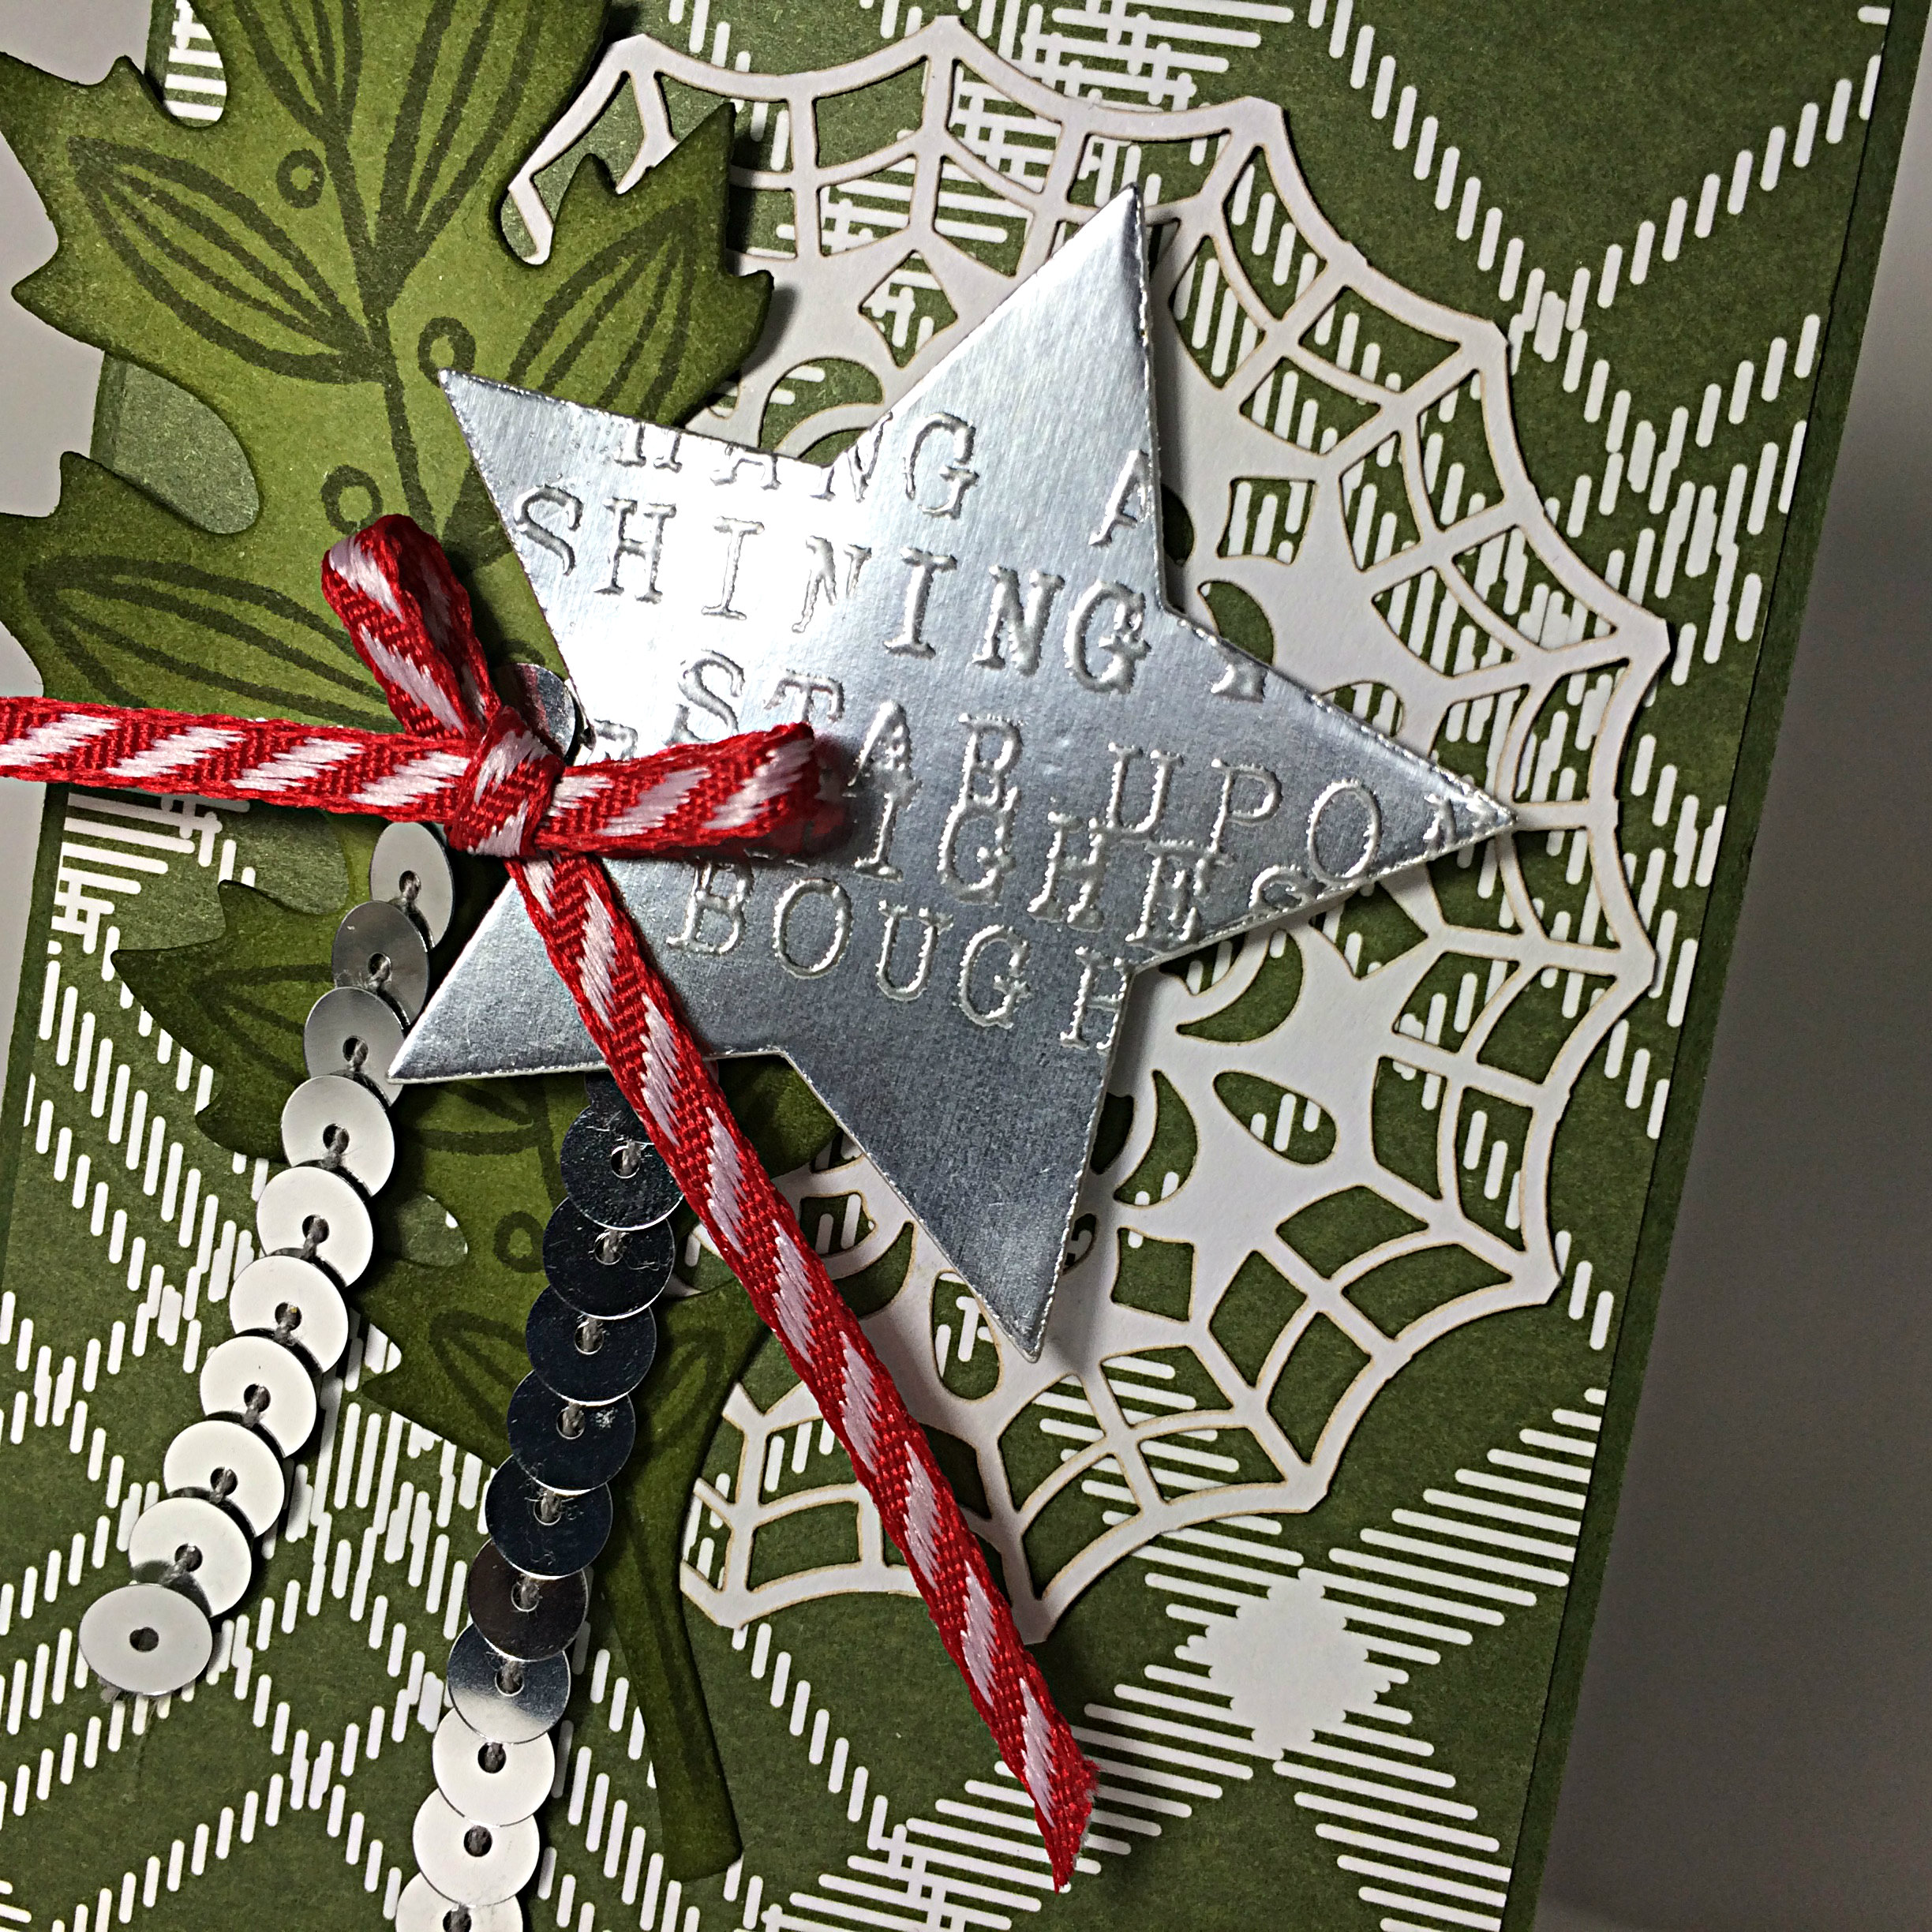
The star on this card is die cut from Silver Foil paper, using the Star Framelits. After using my Embossing Buddy to remove static, dust, and finger prints from the Silver Foil paper, I used the Alphabet Rotary stamp to create the words and stamped them on the star with Versamark Ink. Then they were heat embossed with Silver Embossing Powder and a Heat Tool.

I saw my crooked words and decided to go for it anyway. I think it adds an authentic, kind of, stamped metal look.

The star is adhered with Stampin’ Dimensionals to pop it up off the page. The Silver Sequin Trim and the Real Red 1/8″ Striped Ribbon were attached using a Mini Glue Dot.

Hang a Shining Star card and envelope by Amy Jasper www.inkingonthefly.com

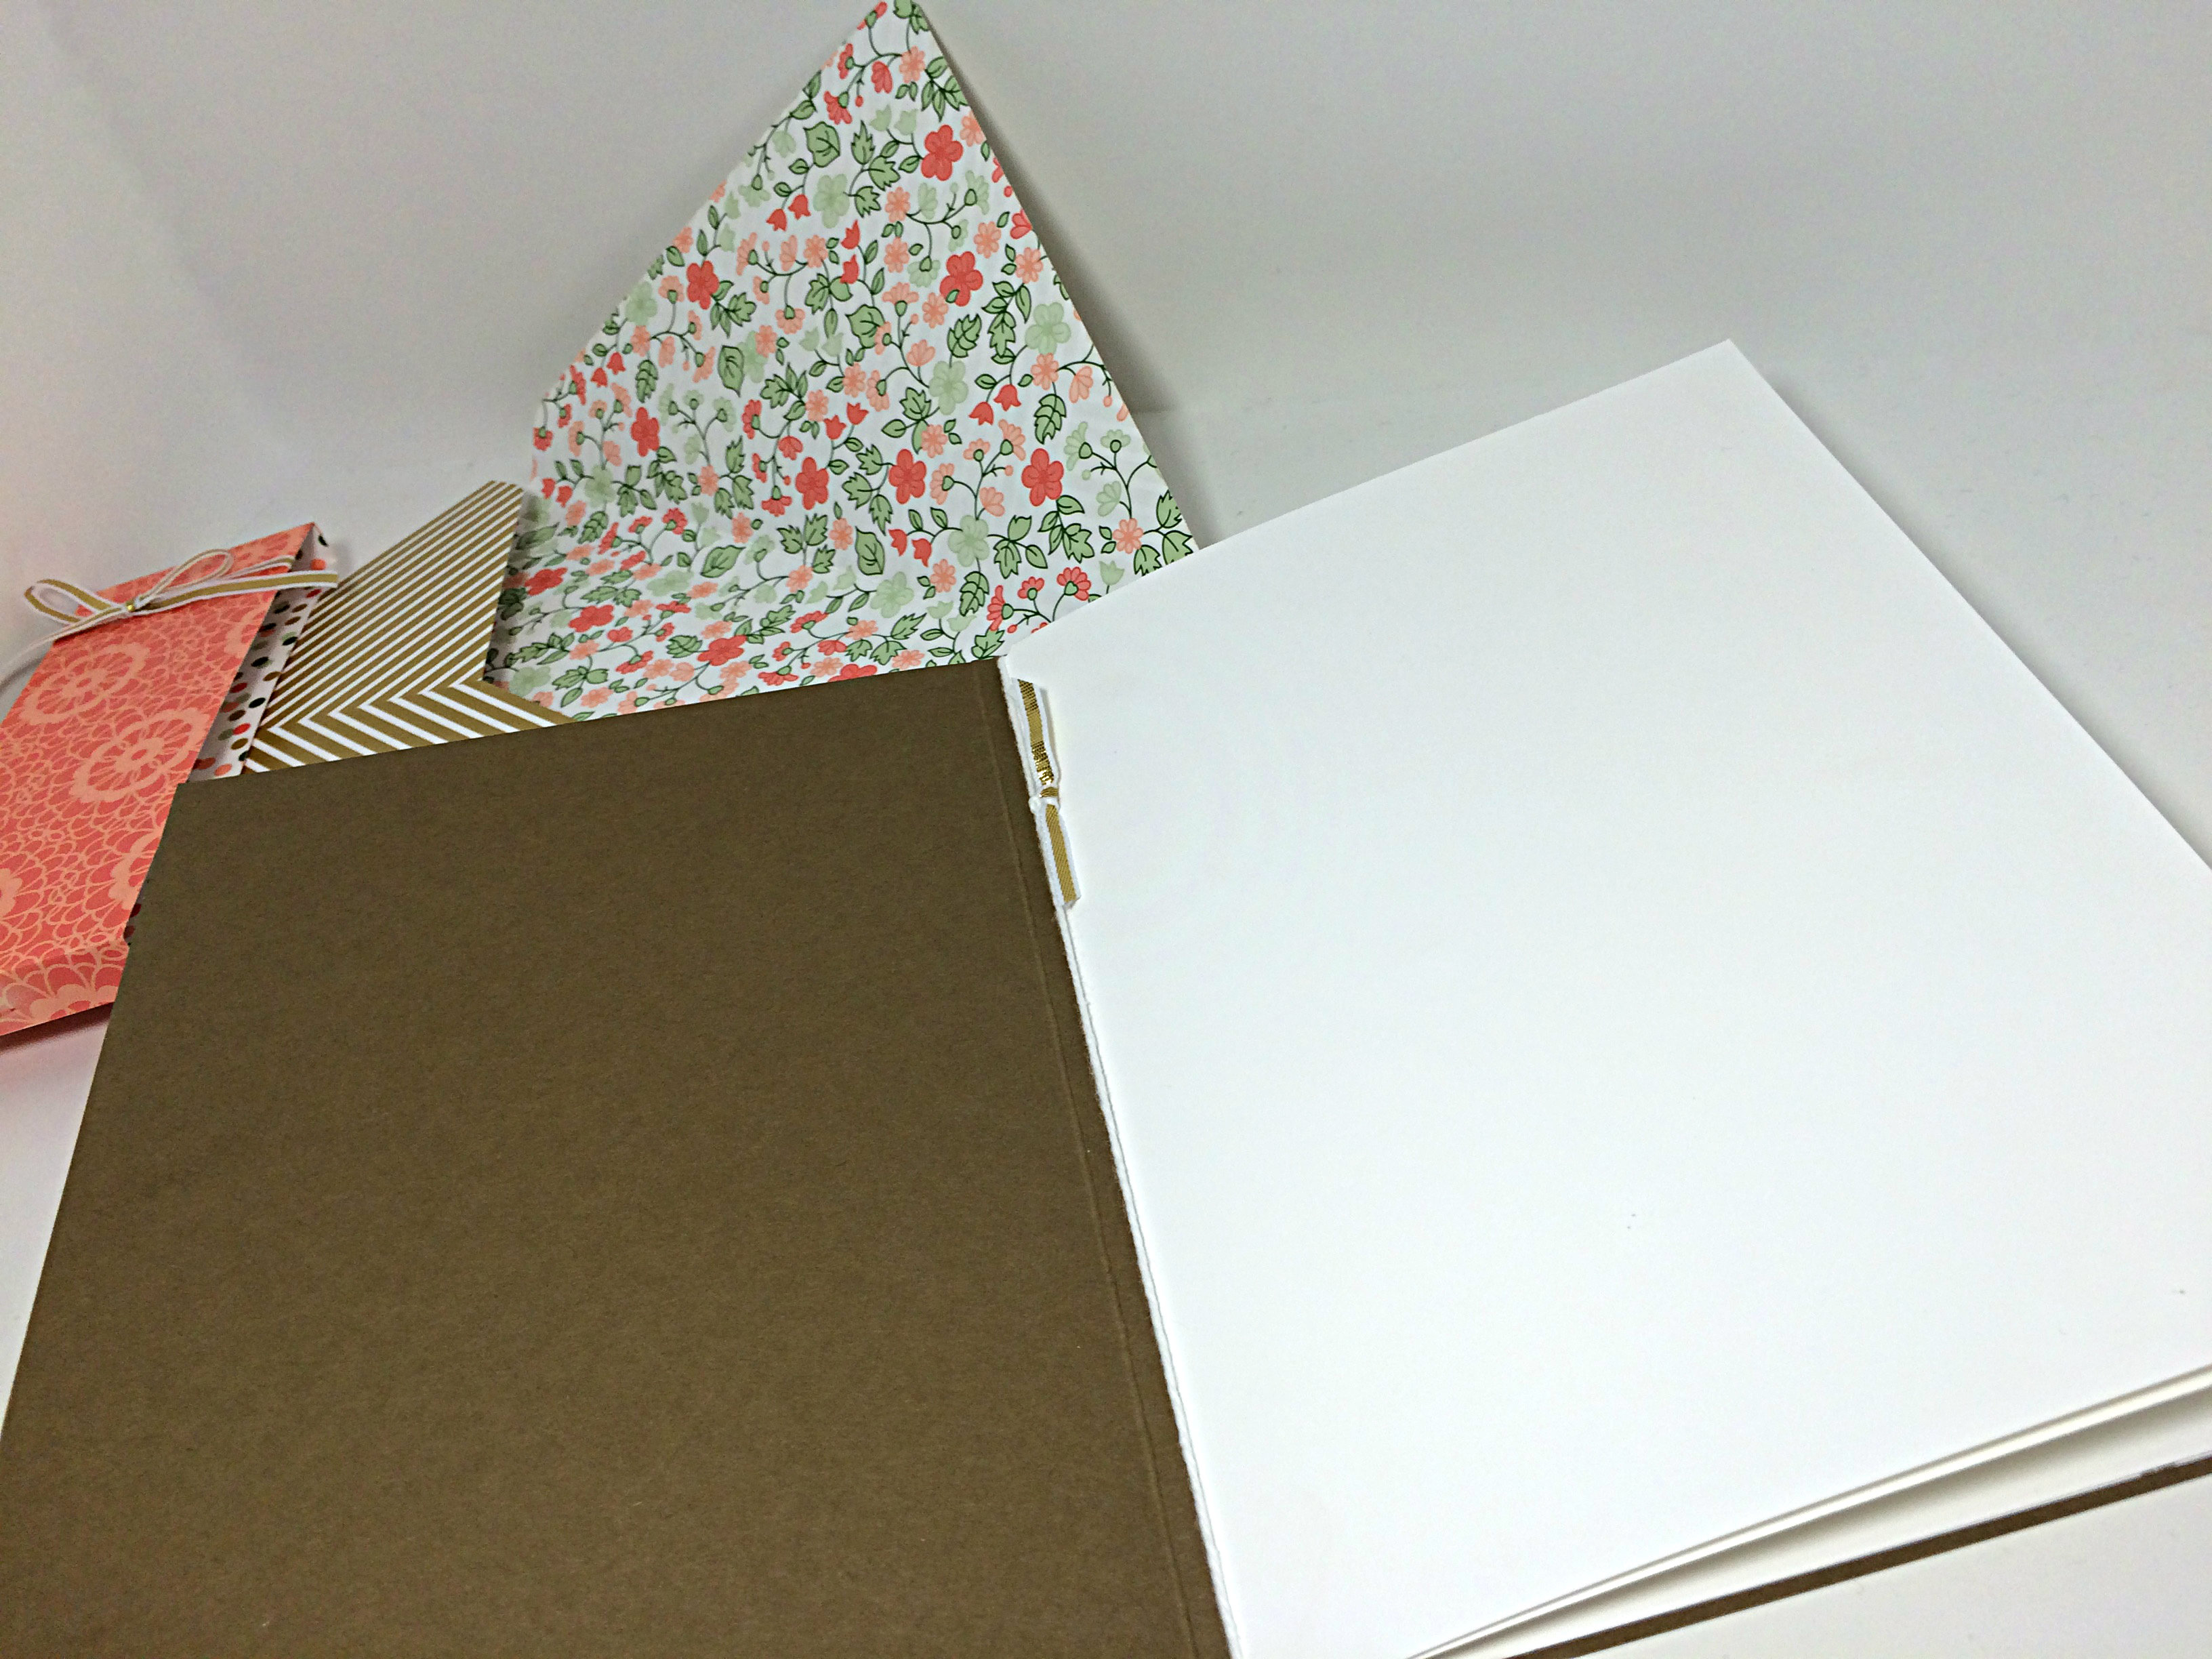
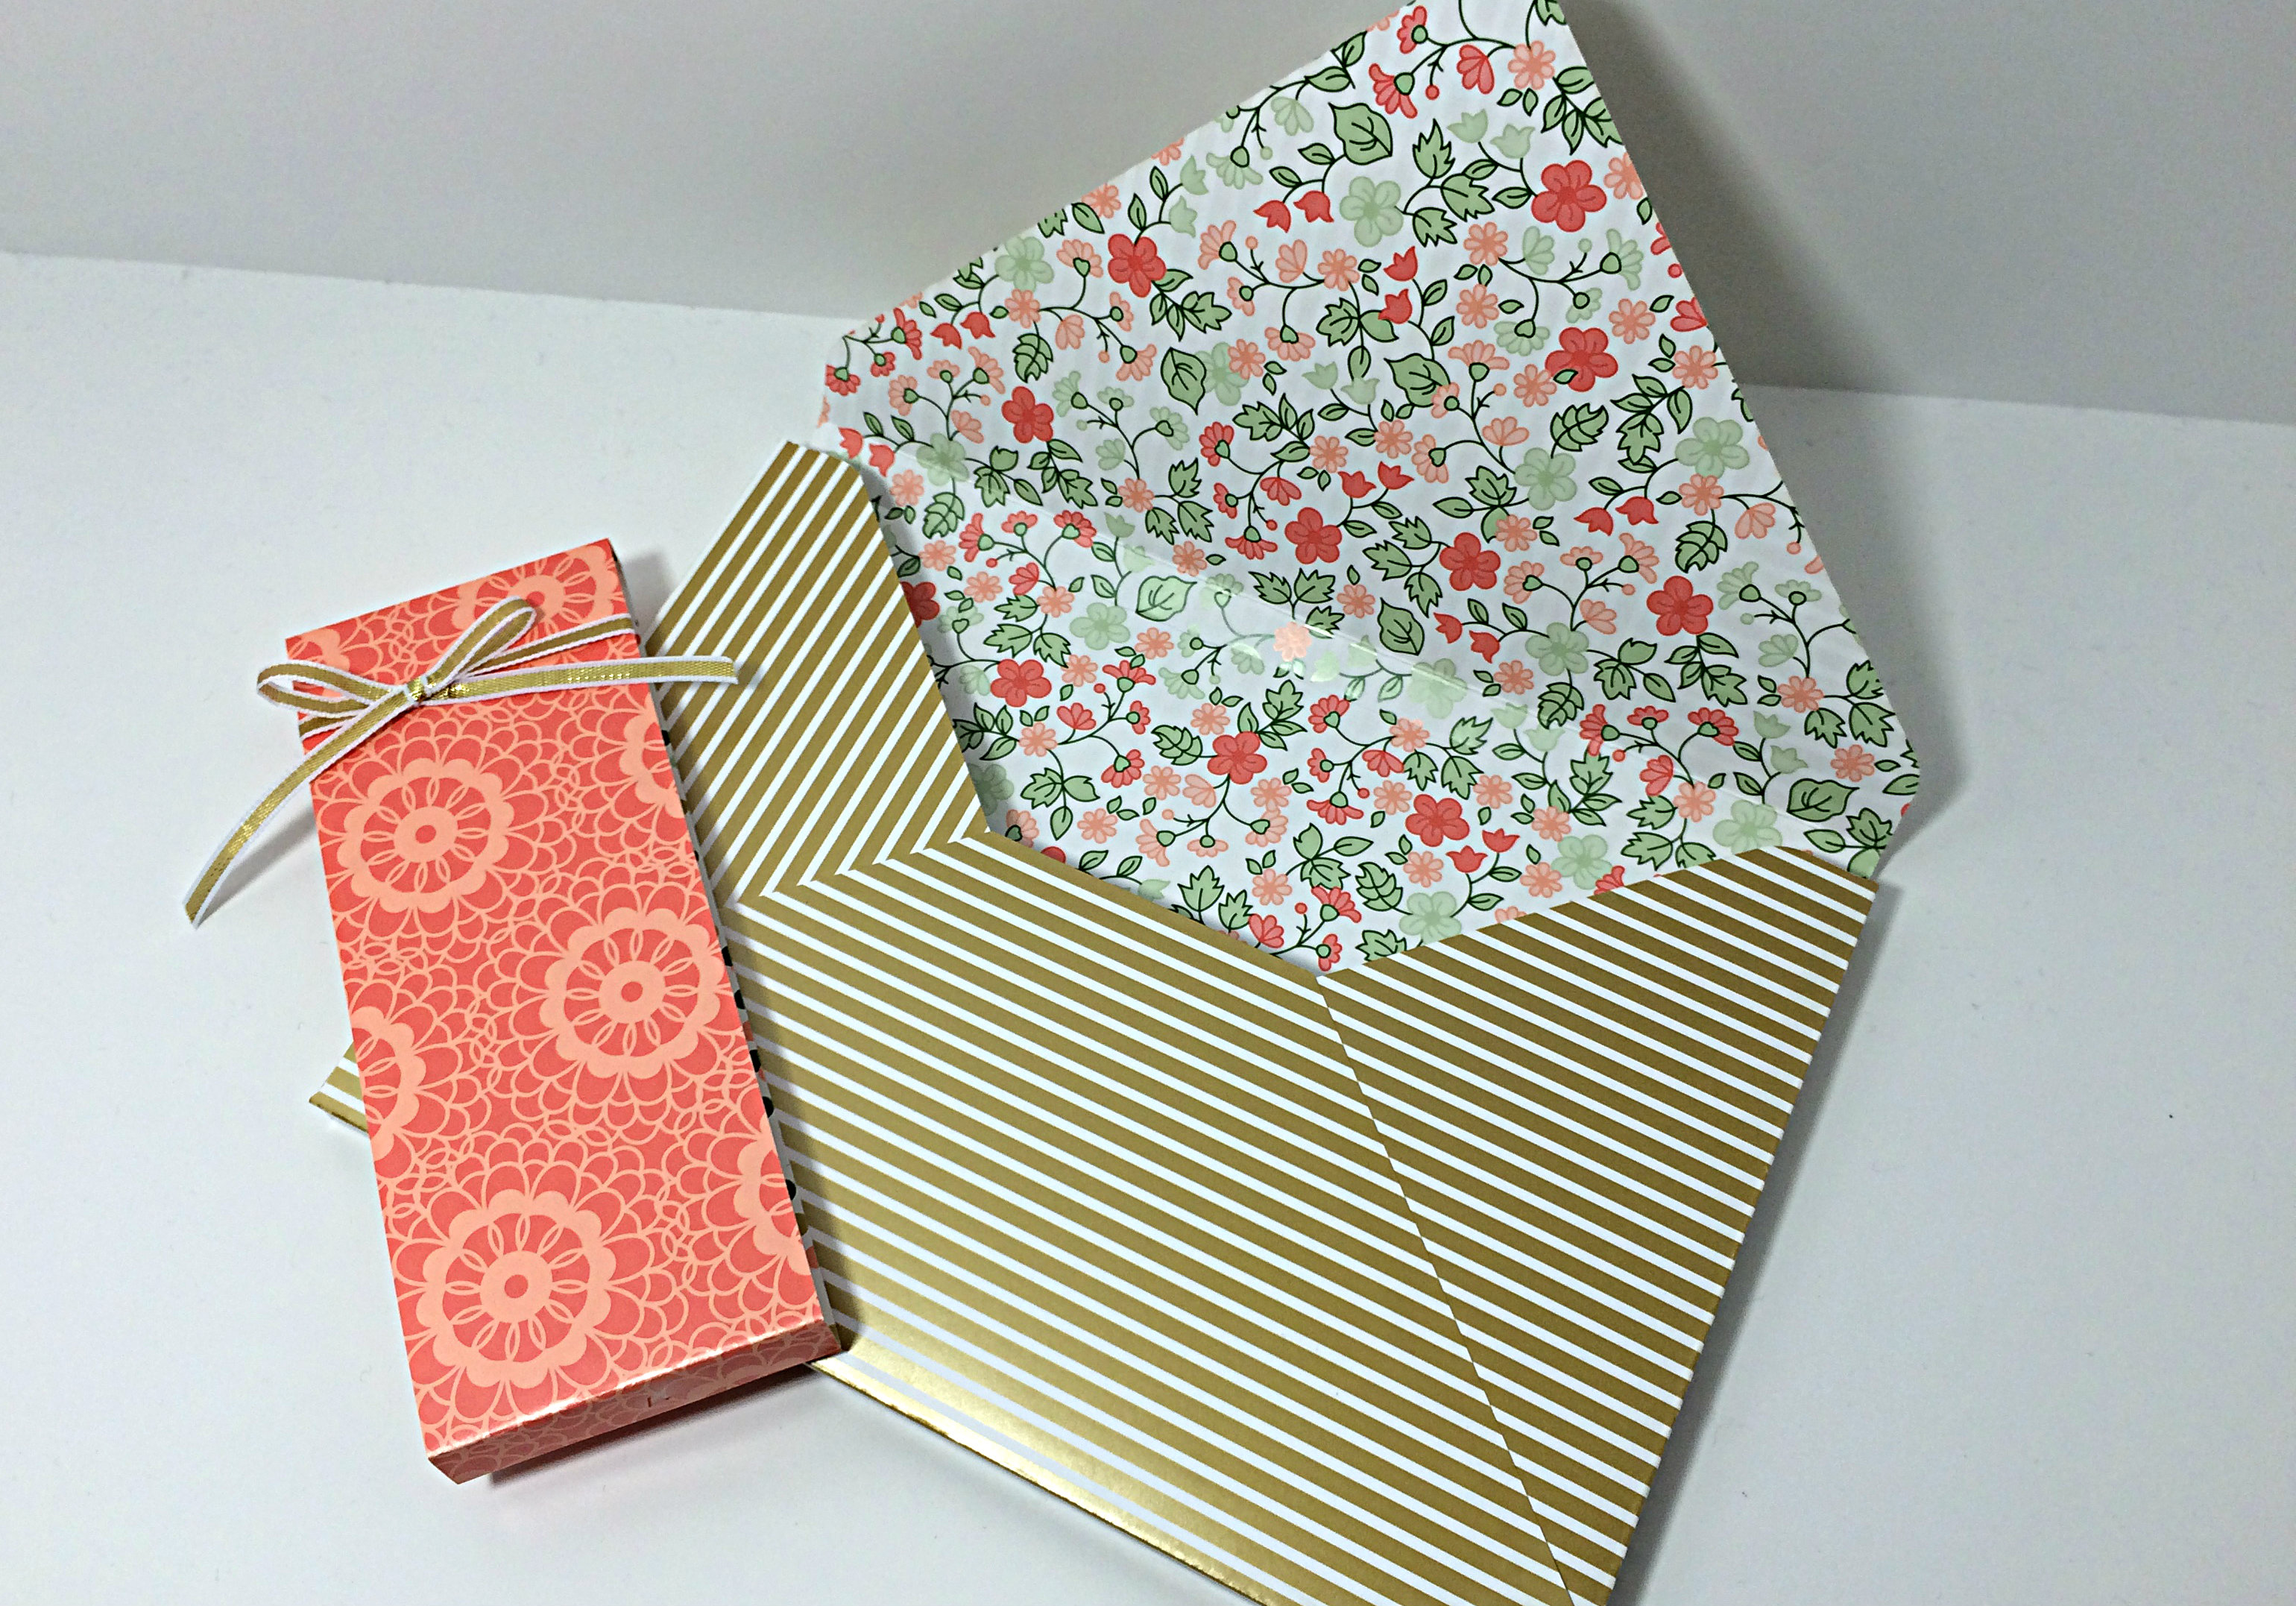
Because I had an unusually-sized card, I needed to make a custom envelope to go with it. The Envelope Punch Board is the perfect tool for just that very thing. Unfortunately, the envelope sizes available on the punch board still didn’t match what I needed. I played around a bit, changing the starting size of the paper and the different positions for scoring and punching and determined this:

To create an envelope for a 3″ x 5.5″ card, start with a piece of 7.5″ x 7.5″ paper (Red Envelope Paper, in this case), using the Envelope Punch Board, punch and score at 2 7/8″. Then carry on with the punch board as you normally would until your envelope is complete.

I also took the time to trim one of the side flaps on my envelope to give it a professional finish. I just drew a pencil line where I wanted to cut, then used my paper trimmer to remove the unwanted bit of paper.

This sketch is simple and cute. You should give it a try and share it with us on the As You See It Challenge blog. We love to see your take on our challenges!!

Did my card make you sing out loud? The words on the star are from one of my favourite Christmas tunes, “Have Yourself a Merry Little Christmas”.

Do you have a favourite Christmas song? Leave a comment and let me know!

Birdie Soiree

069header

I’ve got what I call an uber-card for you today. Every now and then I get to make something fancy. This one is a 5×7″ retirement card designed for many people to say their well-wishes and farewells to someone who has brought meaning and inspiration to their lives and has earned the title “Retired”. A time where you get to live off of your savings and live out your golden years. I used Gold Soiree Specialty Designer Series Paper and my beloved An Open Heart stamp set from Stampin’ Up!

I decided to use a challenge sketch to find some inspiration and creative mojo to get this card going. This is the sketch I used:

#069

When I make cards with multiple writing pages inside, I like to create the card with a 1/8″ to 1/4″ spine to allow for the extra bulk of the pages. This one started with a 7″x10.25″ piece of Soft Suede cardstock which I scored at 5″ and 5.25″ to make two folds for the book-like shape of the card base.

069Amy

Unfortunately, I realize that none of the pictures taken of this card allow you to see the spine, but you can see the same extra depth added to the envelope beside the card in the photo above. The spine of the card is narrower, but this gives you an idea of what the spine would look like.

I chose to add some layers on the card base to frame the Gold Soiree Specialty Designer Series paper (DSP). You have the base layer of Soft Suede, the second layer of Crisp Cantaloupe, another layer of Soft Suede, until the final matte of Whisper White cardstock to frame the geometric gold base of the artwork. This Gold Soiree Specialty DSP is very unique as it has a sheen and texture that is cool and smooth, a bit like plastic. It makes for a nice professional finish on your projects.

069birdclose

The bow was created using a fingertip double loop bow technique and the long tails were twisted into submission a bit at a time and strategically adhered with glue dots along the way.

Isn’t that bird from the An Open Heart stamp set cute? You can see that he was stamped twice, once in the center of the circle and again on a seperate piece of Whisper White cardstock from which he was carefully cut out with my Paper Snips (I didn’t cut out the legs, but relied on the legs from the first image). I coloured both birds, with more detail on the top layer, using my inks and blender pens. I chose Calypso Coral for the breast, Tangerine Tango for the beak and feet, and I carefully added a shadow outline with Sahara Sand and a blender pen. That little guy is raised up on Stampin’ Dimensionals.

069insidepages

To create the pages of this card, I cut two 6.75″x9.5″ pieces of Whisper White cardstock and scored and folded them to create two 6.75″x4.75″ inserts which were placed one inside the other and tied together at the “binding” with Whisper White bakers twine. I added a little bit of the 1/8″ gold ribbon for a simple embellishment. The back of the last page of this insert was adhered directly to the inside back of the card base, allowing it to be secure inside the card.

069envelope

Due to the size of the card, a custom envelope was required. I used the matching Gold Soiree Specialty DSP and my Envelope Punch Board (which just so happens to be on sale this week!) to create a 3D envelope that is deep enough to fit the dimensions of my card. When I do custom envelope that are hand delivered rather than delivered by the postal service, I prefer to close the envelope with a belly band of paper rather than seal it with adhesive. It’s a bit of a prettier presentation, I think.

I hope you give the sketch this week a try and link your creations to As You See It Challenge #69. I love how your designs offer new inspirations each week!

Happy stamping!!

Amy

Designer-Badge