Watercolor Pencil on Navy
When I first saw this sketch, I wanted to use the Honey Bee Bundle with the Honey Bee stamp set and the Detailed Bee Dies. However, I thought EVERYONE would do that since the one shape looks like the bee hive image from the set. Besides, I shared a card last time using that bundle – I need to give all my stamp sets a turn to shine. I thought I’d better go a different route. I looked through my stamps to see what would inspire me and saw my untouched Happy Birthday To You stamp set that I got for free during Sale-a-bration.
If you don’t know what Sale-a-bration is, you MUST go to my ONLINE STORE and find out how easy it is to get free stamp sets, paper and embellishments! Just stop reading this and take a moment to check it out. Then come on back.
I’ll wait.
…
I KNOW, RIGHT!! Sale-a-bration is awesome! You need supplies anyway, why not get them during the promotion and get one of those free items along with it? I love it when my spending can stretch a little further!
My design today is inspired by a sketch from the As You See It Challenge Blog. I am lucky enough to be one of the designers on that blog, so I get to share a card with you every two weeks. My job as part of the As You See It Design Team is to give you some examples of the sketch, theme, or whatever the creative-mojo-maker has for us that day.
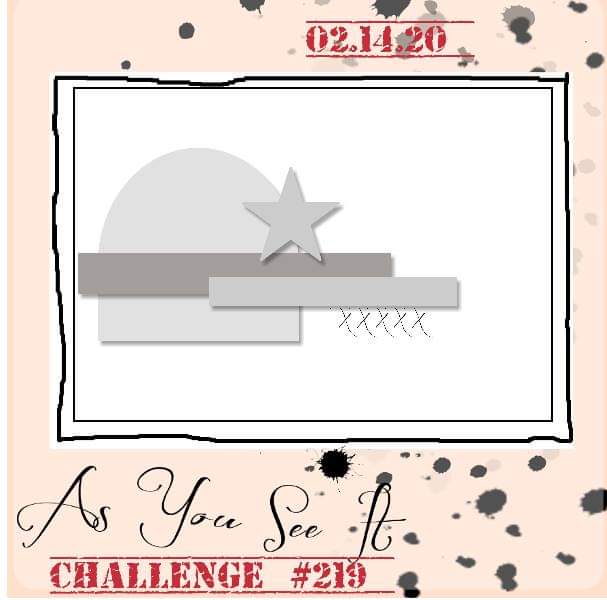
You can see that obvious shape that looks like that bee hive, can’t you? Feel free to go with that and create a card with the Honey Bee Bundle, if you want. I wouldn’t mind seeing how you do it, anyway, because there are so many different ways to work with this sketch, even if we all used the same stamp set! That would be a very interesting challenge as well, don’t you think?
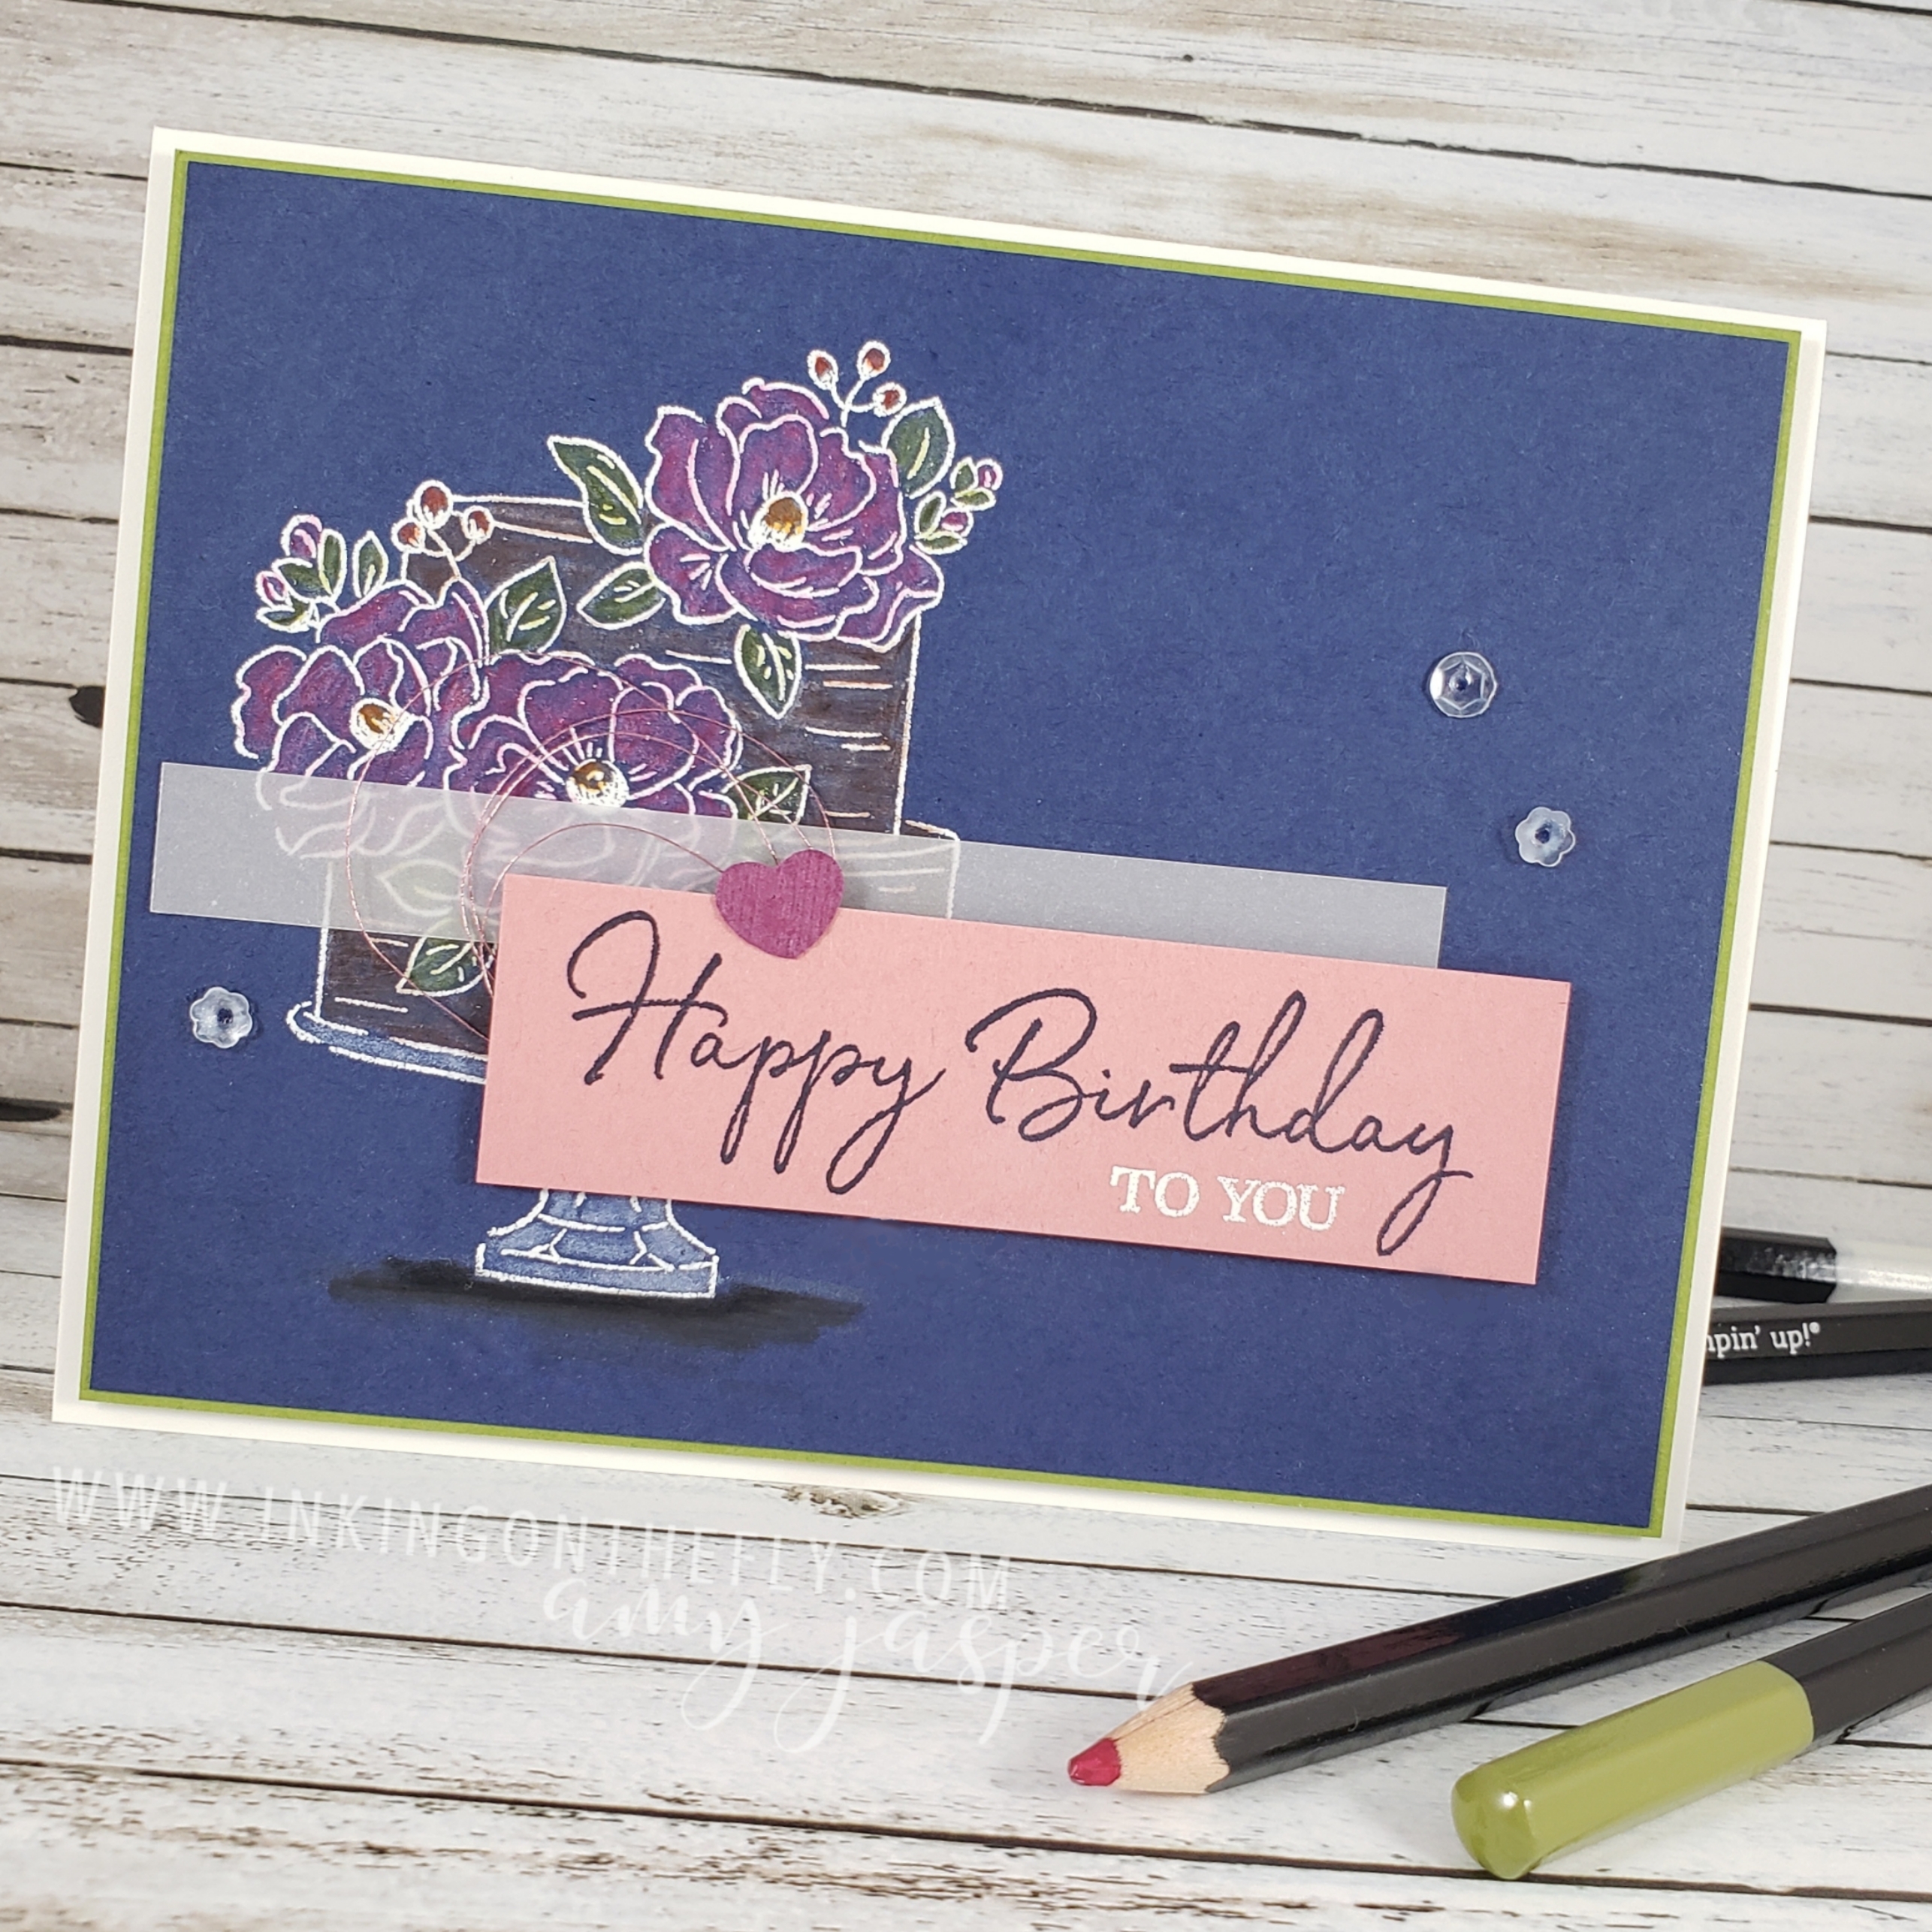
Instead of working with the bee hive shape, I went with the birthday cake image. I didn’t realize that another designer on our team had the same idea for her card, but it’s interesting to see how our cards turned out so differently.
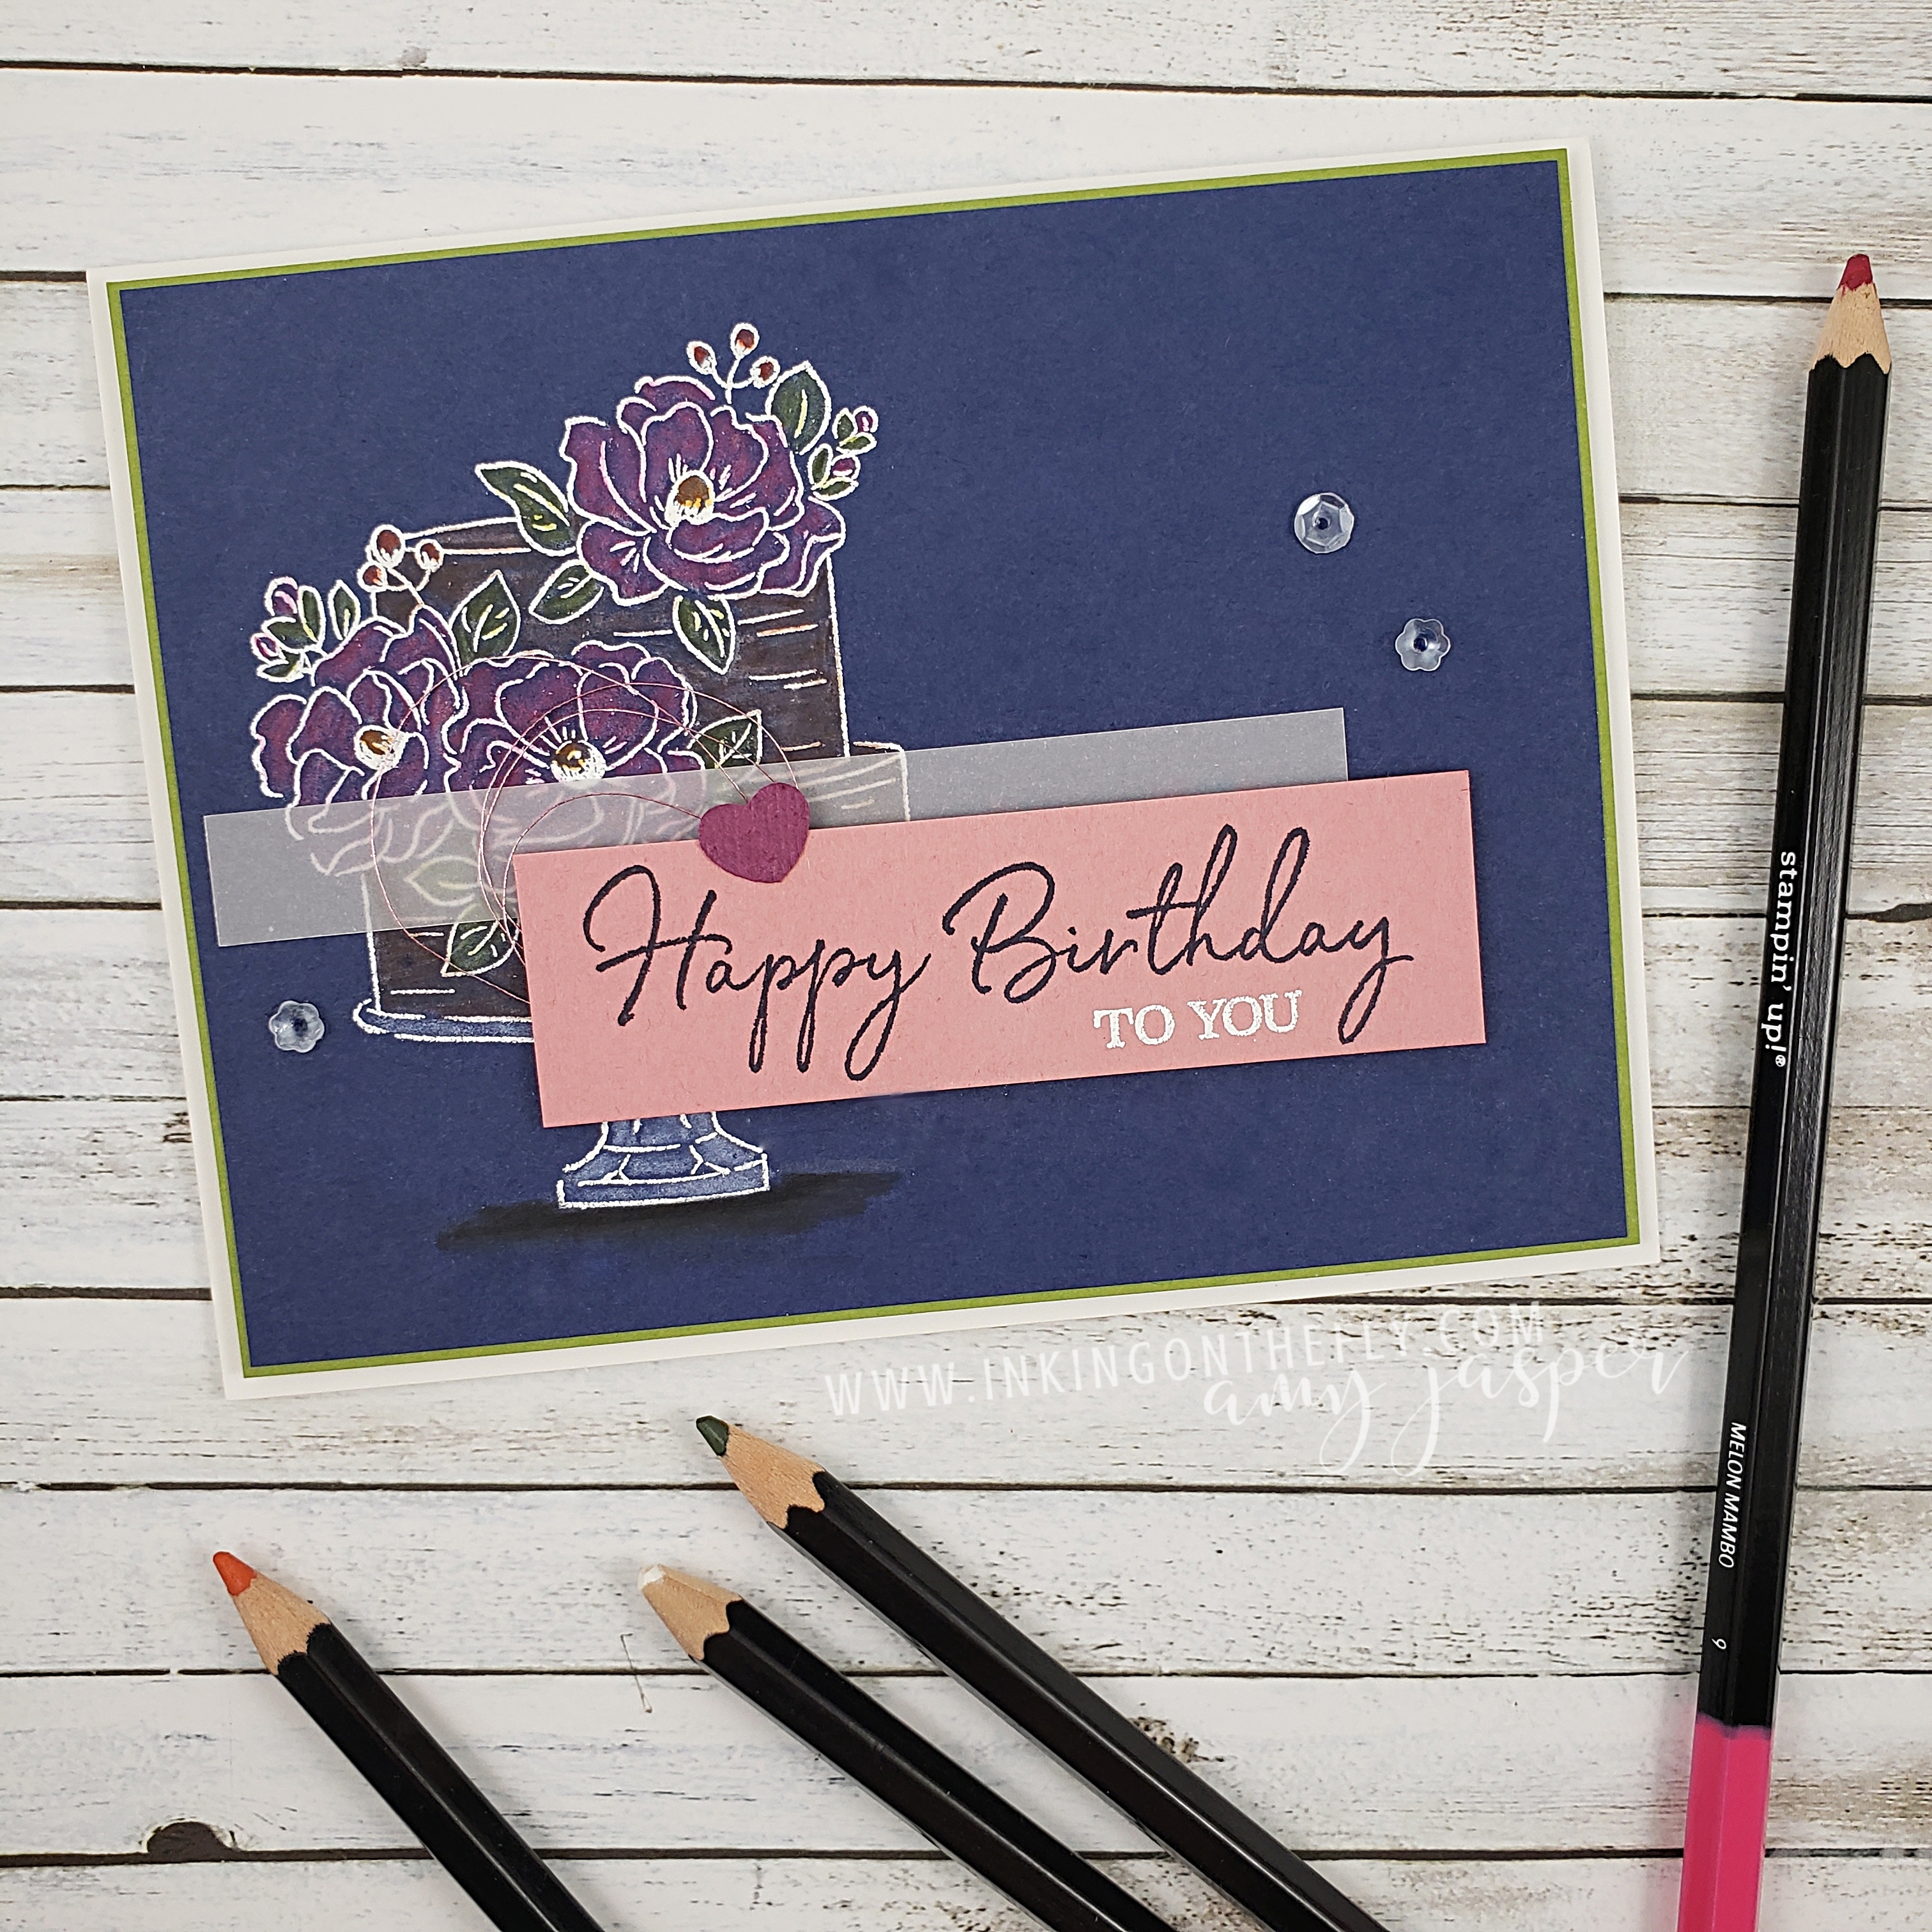
I used Night of Navy cardstock, stamping the cake image with Versamark ink, then heat embossing White Embossing Powder for a white image on the dark cardstock. I then used my white watercolour pencil from my Stampin’ Up! Watercolor Pencils to colour the entire image. This gives me a bit of a base, allowing the colour that I add over-top to be more vibrant on the navy cardstock. Over the white, I colored with Melon Mambo, Old Olive, Pumpkin Pie, Early Espresso (chocolate cake! Yum!,) a bit of Real Red, and used Basic Black at the base of the cake stand for shadow. I didn’t use the white pencil there, though, as it wasn’t necessary. A Stampin’ Up! Blender Pen over each colour smooths out my scribbles.
I like how the colours changed on the Night of Navy cardstock. The Melon Mambo looks closer to Rich Razzleberry, Old Olive looks more like Mossy Meadow.
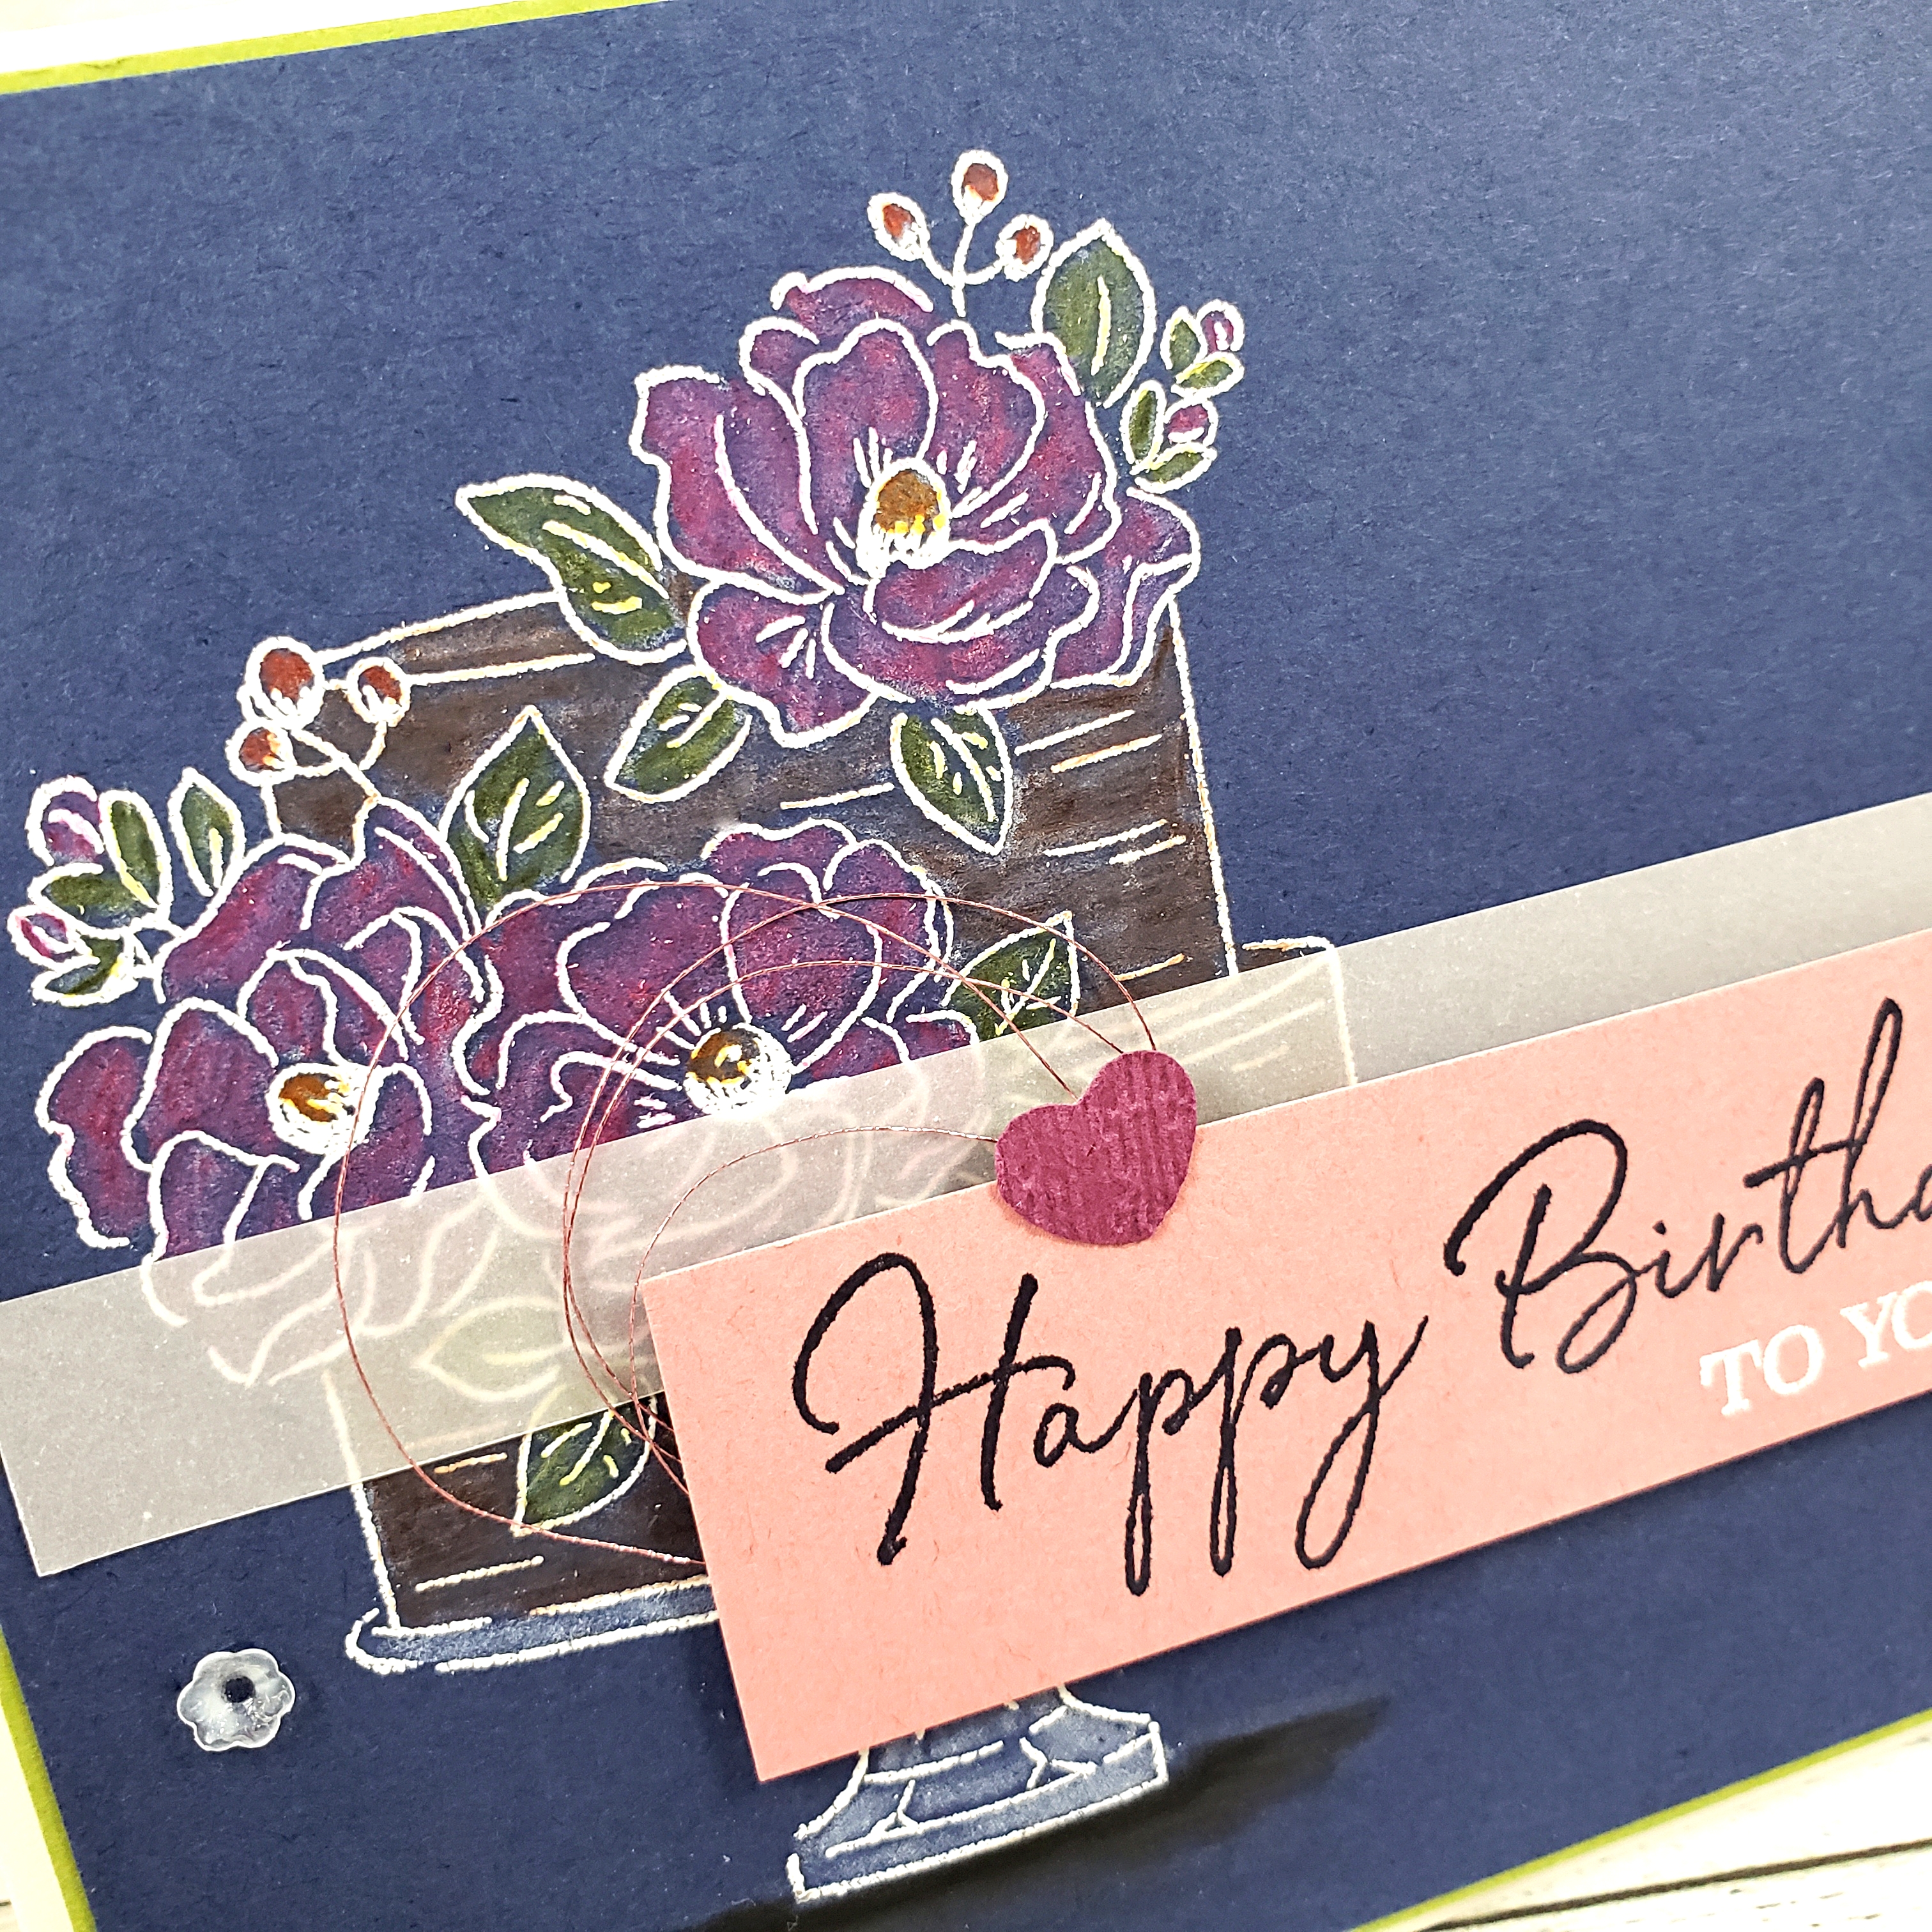
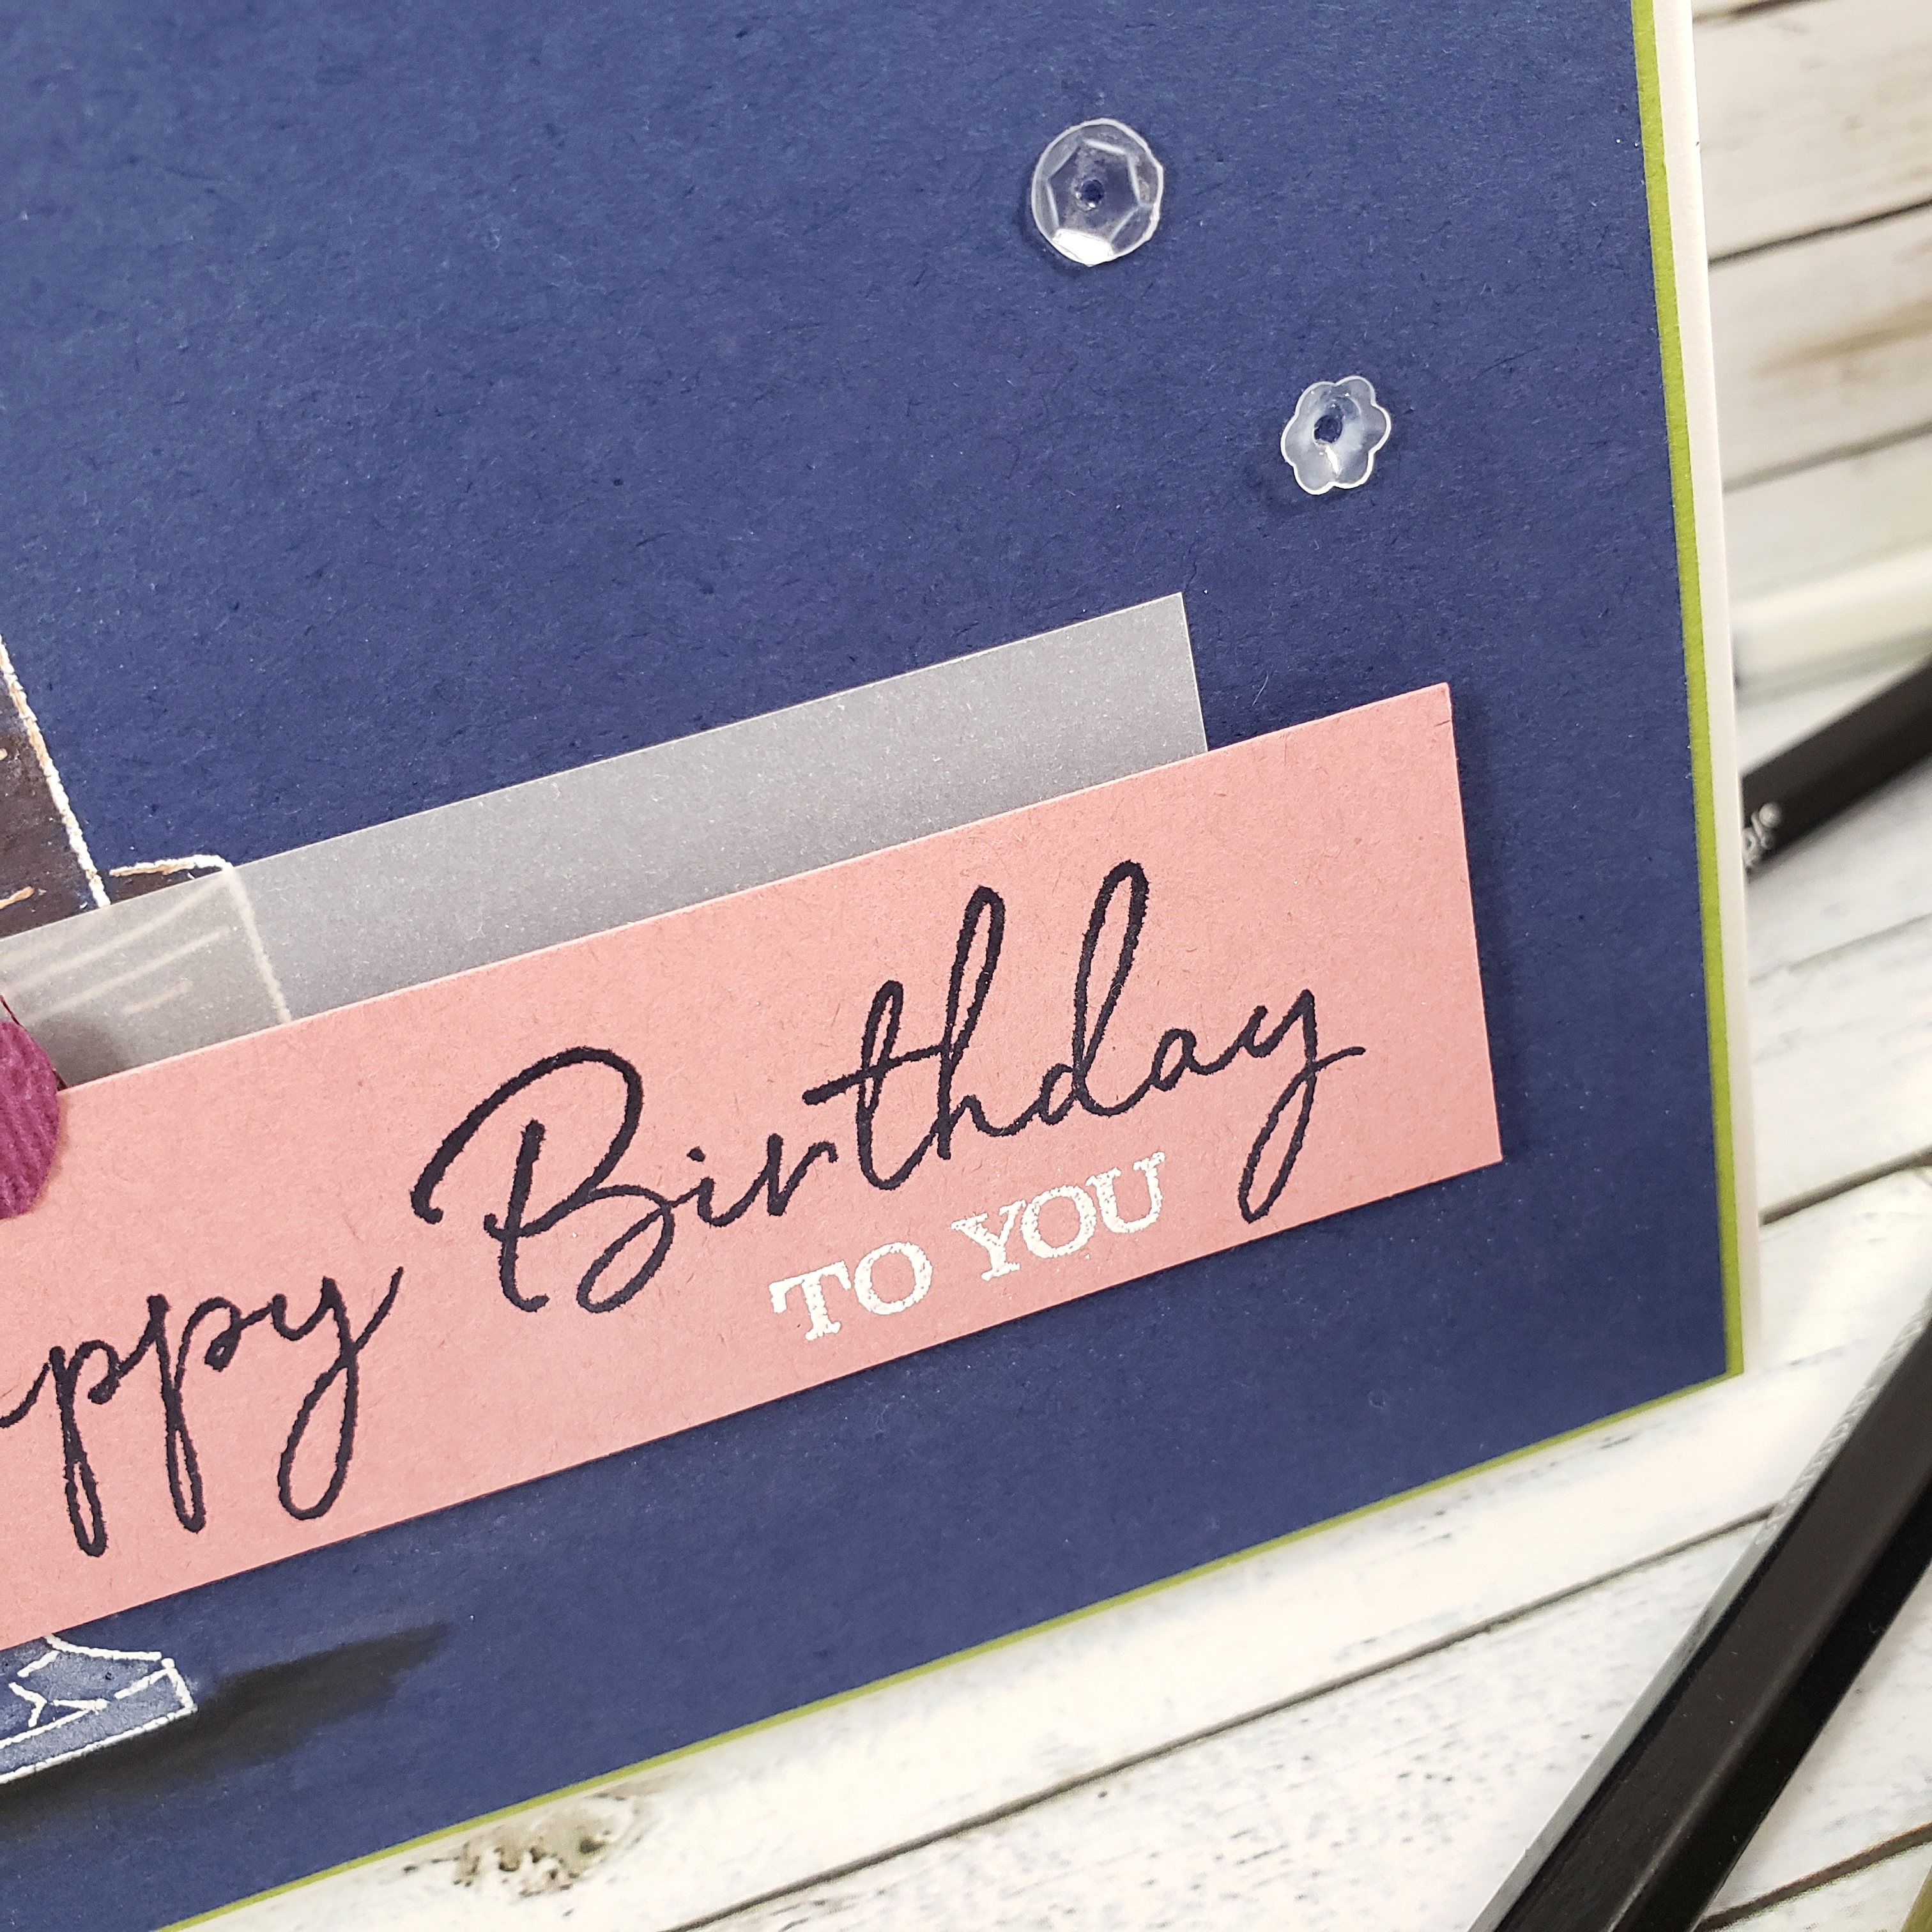
The sentiment is also from the Happy Birthday To You stamp set, which I stamped on the Rococo Rose cardstock with Night of Navy ink. I stamped the “to you” from the stamp set with Versamark ink and heat embossed it with the White Embossing Powder.
The rest is mostly layering and embellishments. The little heart was punched out of Rich Razzleberry cardstock using the Dog Builder Punch from Stampin’ Up!. To add some texture, I ran it through my die-cutting machine in the Subtle 3D Embossing Folder. I looped some Rose Metallic Thread underneath and attached the sentiment and heart over the strip of Vellum Cardstock with Stampin’ Dimensionals. The Night of Navy layer is adhered to a matte of Old Olive, which is layered on the Thick Whisper White card base with Stampin’ Dimensionals.
Finally, I added 3 of the clear sequins from the Peaceful Poppies Sequins pack, attaching them with a dab of glue from the Fine-Tip Glue Pen.
You can see what the other designers came up with over at the As You See It Challenge Blog and then you can create a card using the sketch and share it with us. We love to see your creative spin on the challenges.
Now, go create something!
