Wind in Her Hair
My daughter has loved the sensation of a swing since she was a baby. She would instantly calm down when she was being rocked and she loved her baby swing that moved her back and forth in a sideways motion (while I happily made cards at the dining room table). Eventually, her dad and grandpa built a swing set in our backyard. At 14, she still loves the feel of the wind in her hair as she soars as high as the swing will allow.
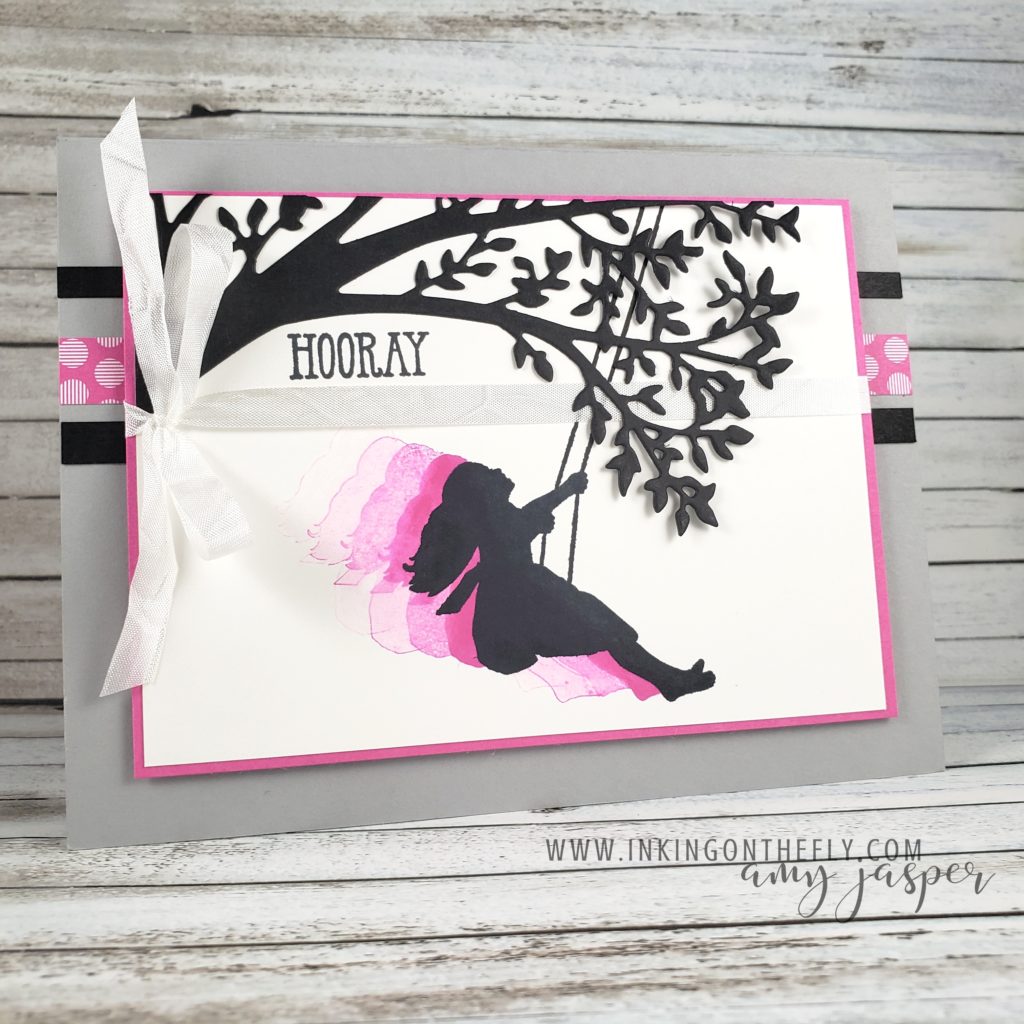
The card I made to share with you today is inspired by the As You See It Challenge Blog and by my daughter and her love for swings. 🙂

I don’t know what it was about the paper scraps element for this card, but it kept throwing me off. I had a plan with the repeat images element, but when I tried to add the idea of paper scraps, I got stuck. I think I was just trying too hard. In the end, my paper scraps ended up being some strips of paper that were still left in my scrap pile beside my paper trimmer. You can see the thin strips of Basic Black and the Magenta Madness patterned paper behind the front layers with the tree branch.
It took me a few tries before I was happy with my repeat images with the little girl on the swing. I wanted to use the repeat images to create movement, showing that she was swinging forward. Other times that I’ve used this technique, it was to indicate a linear left to right movement, but she’s on a swing, which required a bit of an angled movement. I found that if I started with the black image first, that the repeat images overlaying it seemed to effect the quality of the black image. I also had the challenge of parts of the pink images unintentionally peaking out to the right of the black image, no to mention the ropes of the swing and her arms were a bit too much going on.
My final copy was stamped with a bit more precision than is normally required with this sort of repeat image technique. I used my Stamparatus and decided where I wanted the final black silhouette image to be, placing the paper in the middle of the Stamparatus so that none of the sides of the paper were against the edges of the Stamparatus. Instead, I drew lines on the Stamparatus grid paper around my cardstock so I could return to that placement after stamping the pink images. Repeat images using the Stamparatus require you to move the paper instead of the stamp. This allows for more precise placement than if you were stamping using a block and just eye-balling it. In this case, I moved my paper slightly down and to the right on the grid paper from it’s original position and slightly turned the paper in a counter-clockwise motion after each image was stamped. I used Magenta Madness at full strength for the first image, covering the arms and ropes with masking tape so that they wouldn’t be stamped on my paper. I shifted the paper after stamping and didn’t re-ink for each image after that, so the colour would fade each time.
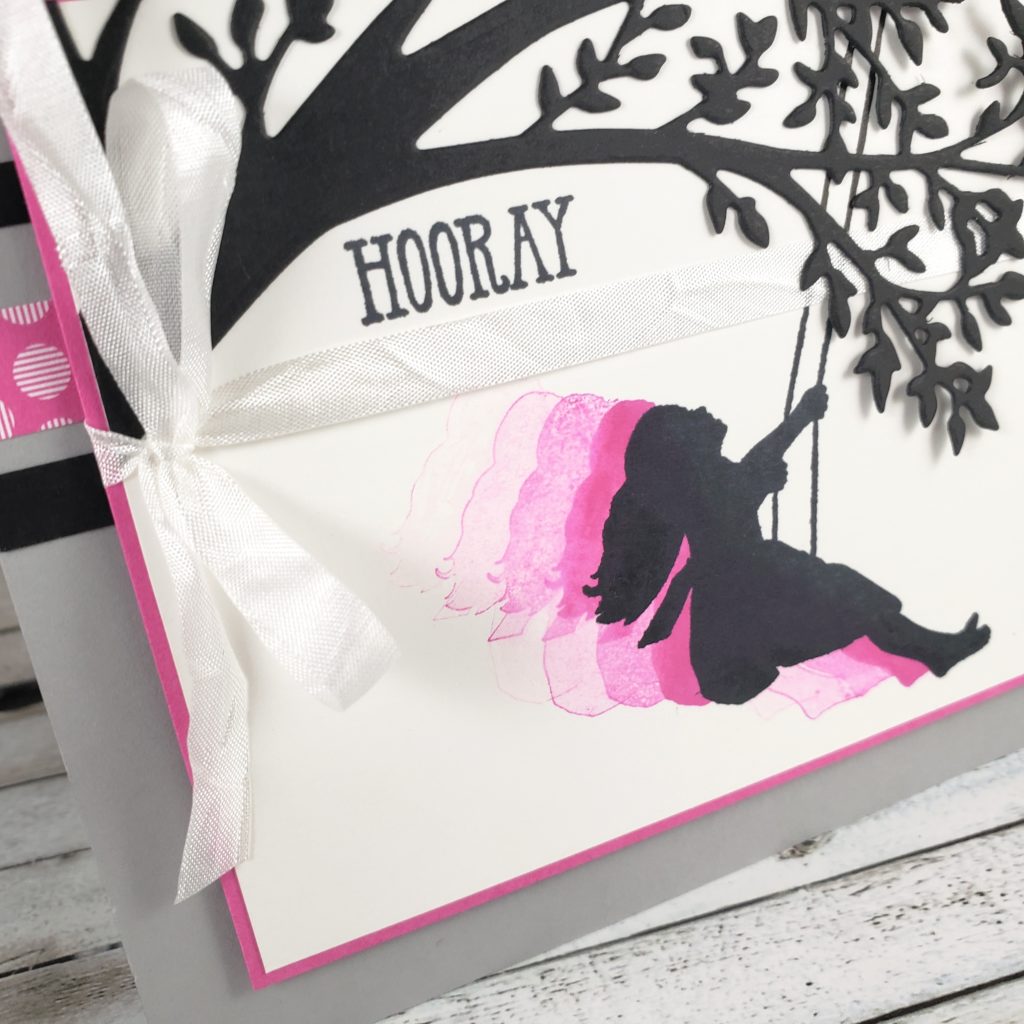
When all of my pink images were placed, I removed the masking tape and cleaned the stamp with my Simply Shammy, placed my paper back into the original position that I had marked on the Stamparatus grid paper, and placed the magnets to hold it steady. Then I could stamp the full image using the Tuxedo Black Momento ink and, in the fabulous Stamparatus fashion, was able to get a gorgeous solid image because I could re-ink my stamp and re-stamp it in exactly the same spot as many times as necessary.
I used a ruler to extend the ropes of the swing to go to the top of my Whisper White cardstock with the pen tip of my Basic Black Stampin’ Write Marker. The branch die is from the Sweet Silhouettes Dies. The sentiment is from the Well Said stamp set. The card base is Smokey Slate cardstock and the matte is Magenta Madness.
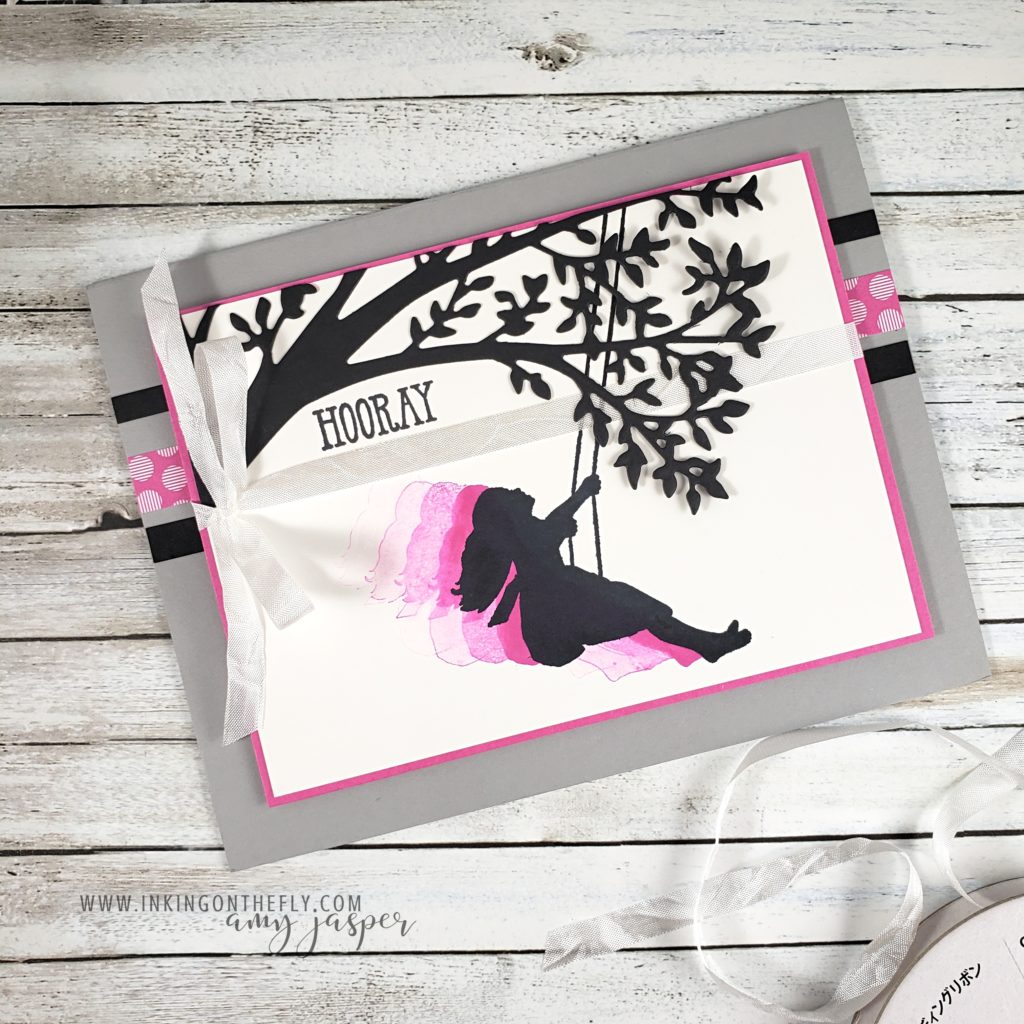
I used the Whisper White 1/4″ Crinkled Seam Binding ribbon for my bow as the finishing touch.
I’m so glad you stopped by to check out my card design today! I hope you will give the challenge a try and share it with us on the As You See It Challenge Blog.
As always, if you’re in Canada and don’t have a demonstrator, I would love to take care of your crafting needs. You can order all of these products at my online store. Just click on the shopping button on my blog and you can browse or shop. I’m also happy to answer any question and I love reading your comments and thoughts, so be sure to comment and say hello!


June 19, 2020 @ 4:01 pm
What an awesome card! I love the feeling of movement you achieved, and it’s a fabulous sketch as well!
July 2, 2020 @ 8:28 pm
Thanks LeAnne! 🙂