The Great Cycle Challenge
I don’t have a card for you today. It has been a busy month, with the end of the school year for my kids, it has meant extra things to occupy our time.
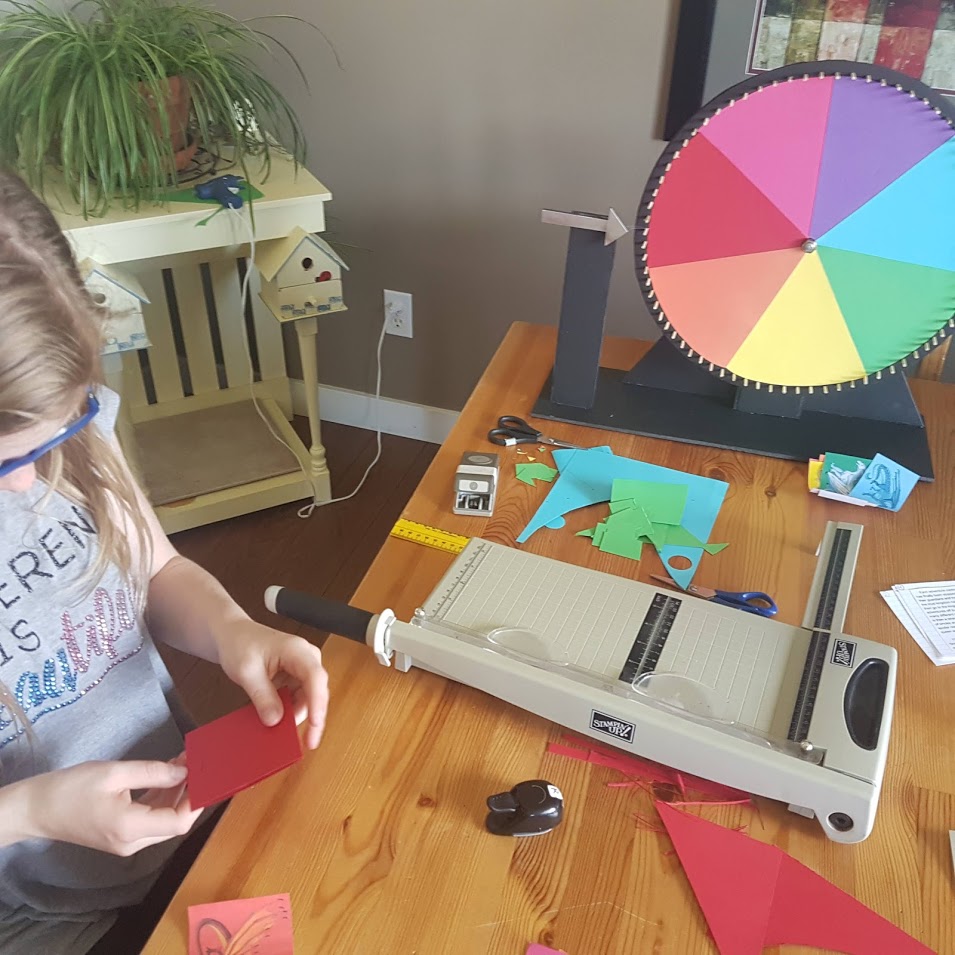
My daughter did an epic Book Review project for a presentation at school that involved making a spinner to display some of the different characters in the story. She worked really hard on it with the help of her grandpa (Papa) and me. My husband had his convocation ceremony for his Masters of Nursing Degree! My youngest daughter learned to ride a bike!! We had music performances to attend and my son’s Presentation of Learning for Grade 8.
Wow, it HAS been a busy month!
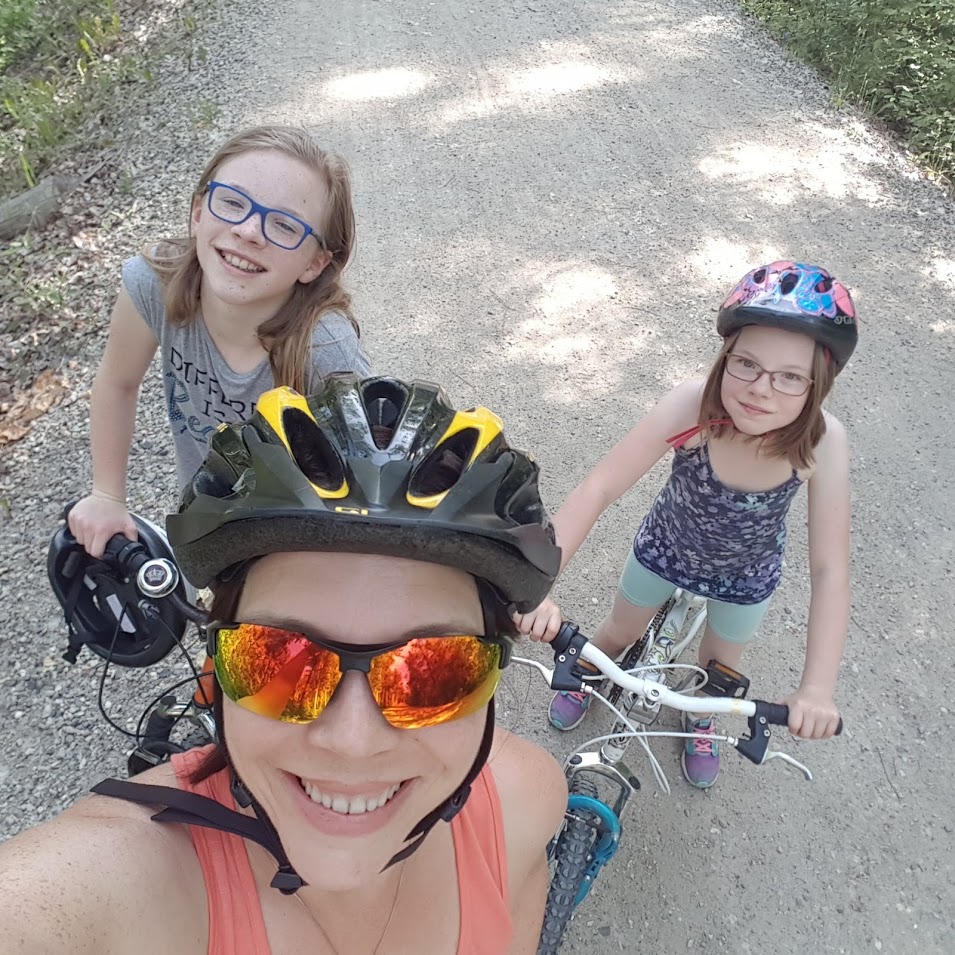 But the thing that has really made June busy, is something called the Great Cycle Challenge. This is a fundraising event that takes place during the entire month of June to raise awareness and donations for Sick Kids Foundation. The donations provide funding for research to help kids and their families fight childhood cancer. It kills me to think what these kids are going through – what these families are going through! I want to imagine a world where there is a cure and I want to live in a world where there is hope!
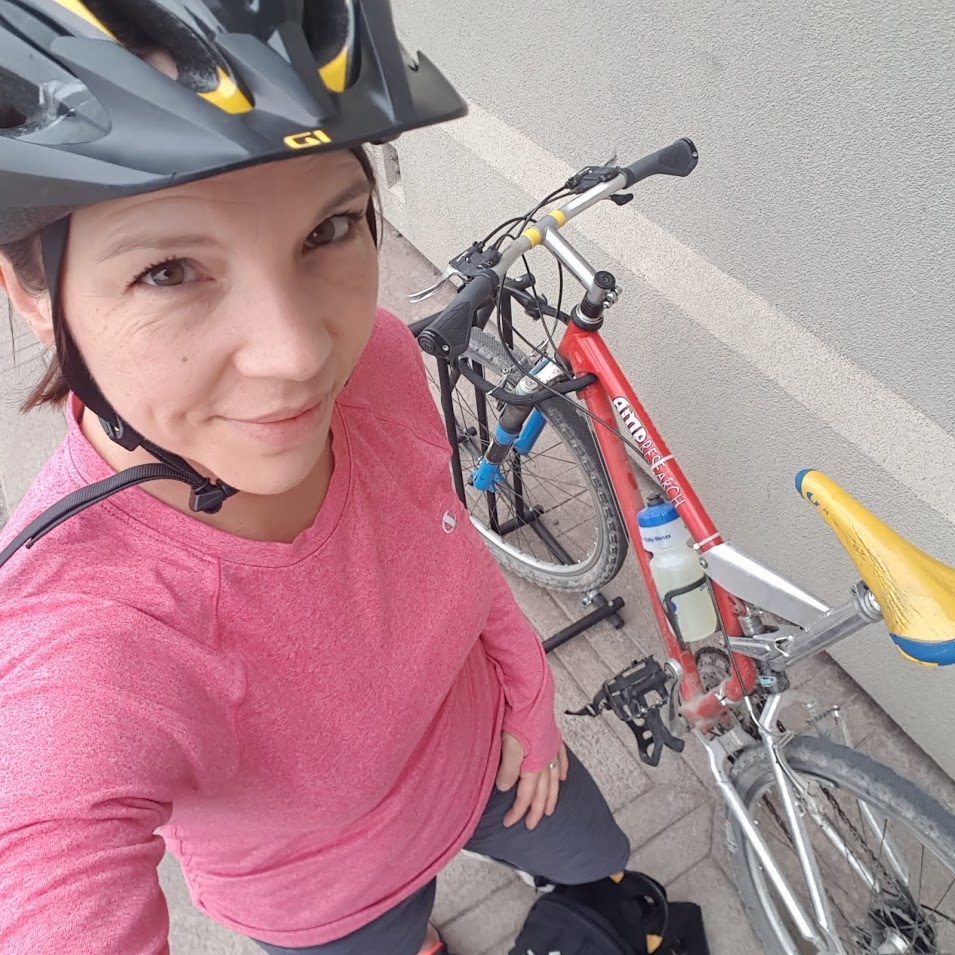 I initially pledged to ride 200km through the month of June and hoped to raise $200 for the kids. My first three donations were from my very own Stampin’ Up! customers! I was overwhelmed as donations increased beyond my goal, so I decided to raise my riding goal to 300km and my fundraising goal to $1000. I wanted to be able to ride farther than I thought I could, to honour those who were donating. I wanted to try to match their generosity with my hard work.
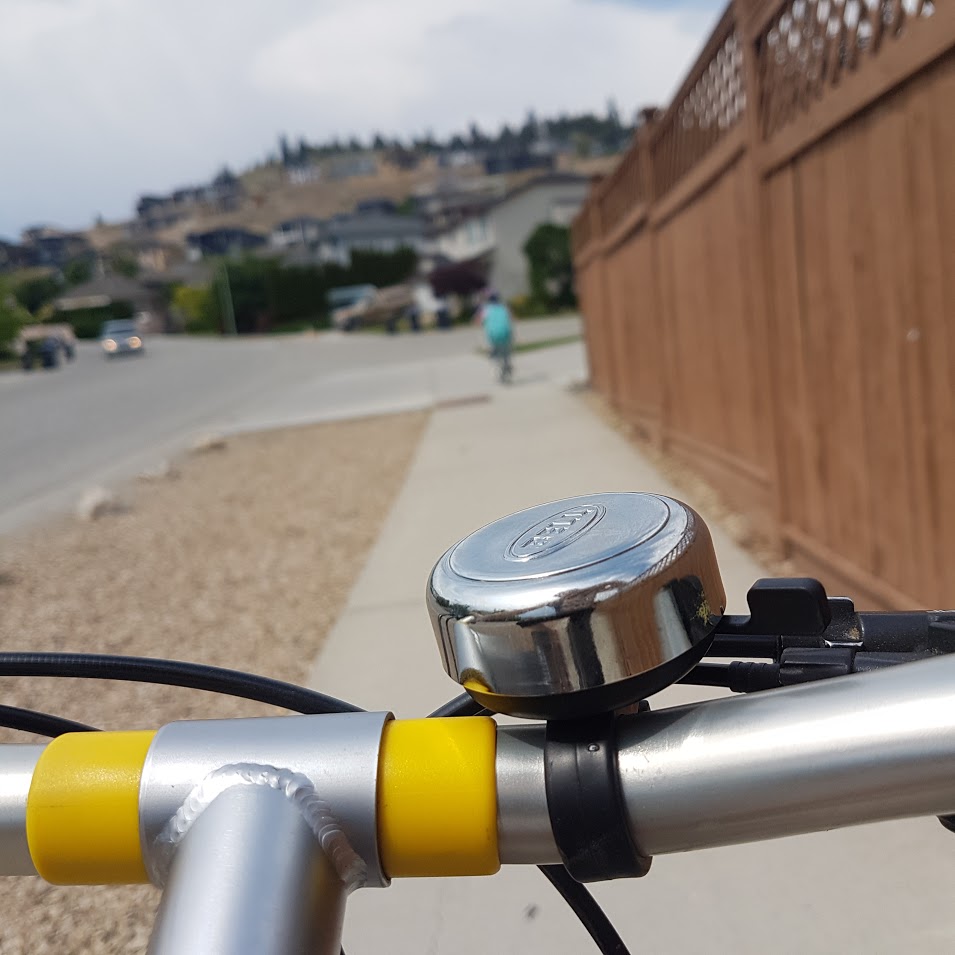 Now you need to also understand that I don’t own a bicycle. I borrow my Dad’s old mountain bike when I join my friend’s for a cycling weekend wine tour or the occasional scheduled bike ride on the rail trail. I borrowed his bike last year for this same Great Cycle Challenge and rode 100km in June 2017 and raise absolutely zero dollars for sick kids! (I didn’t really advertise last year). What I’m trying to say, is that I’m not a cyclist by any means.
I’m not totally out of shape, though – I had been jogging through the spring and managed to be able to run 4km without walking before this cycling challenge started (and took over!).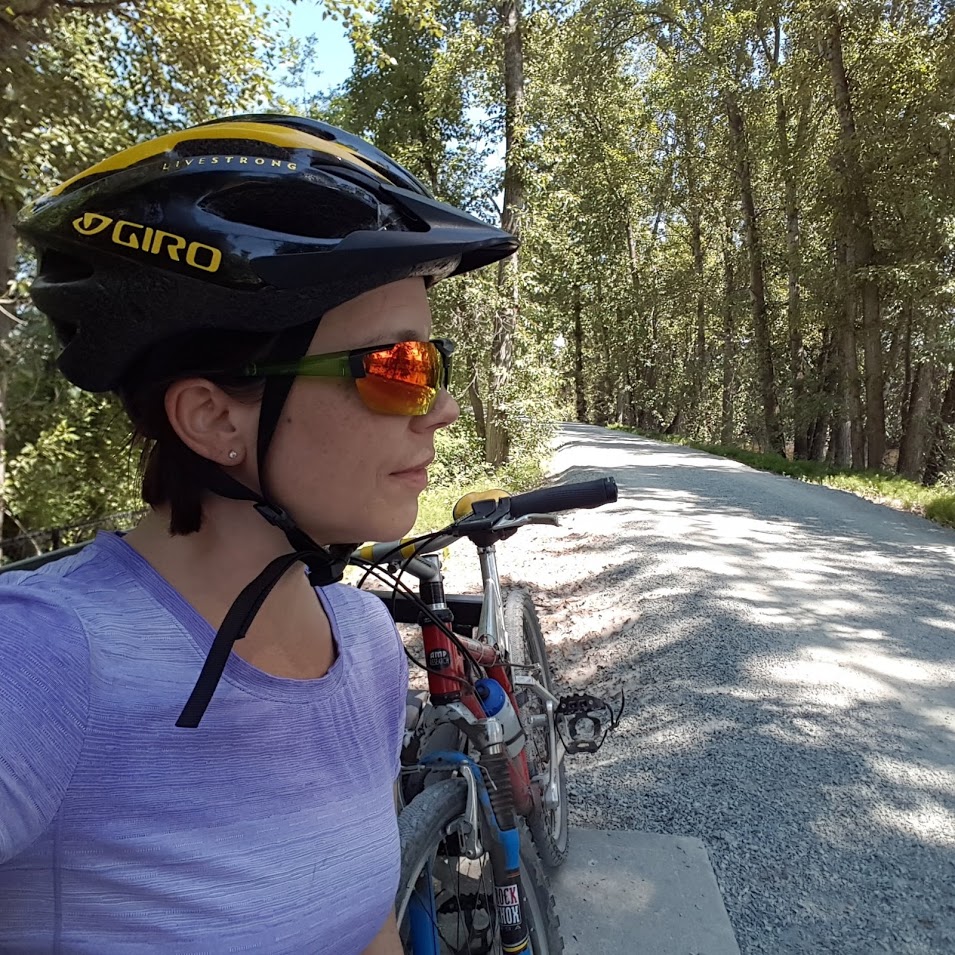 In the first couple days of June, I was honoured to earn the Great Cycle Challenge jersey, awarded to anyone who reached a $500 fundraising goal. I wear that jersey for almost every single ride so I can be a walking (riding) advertisement for the cause.
 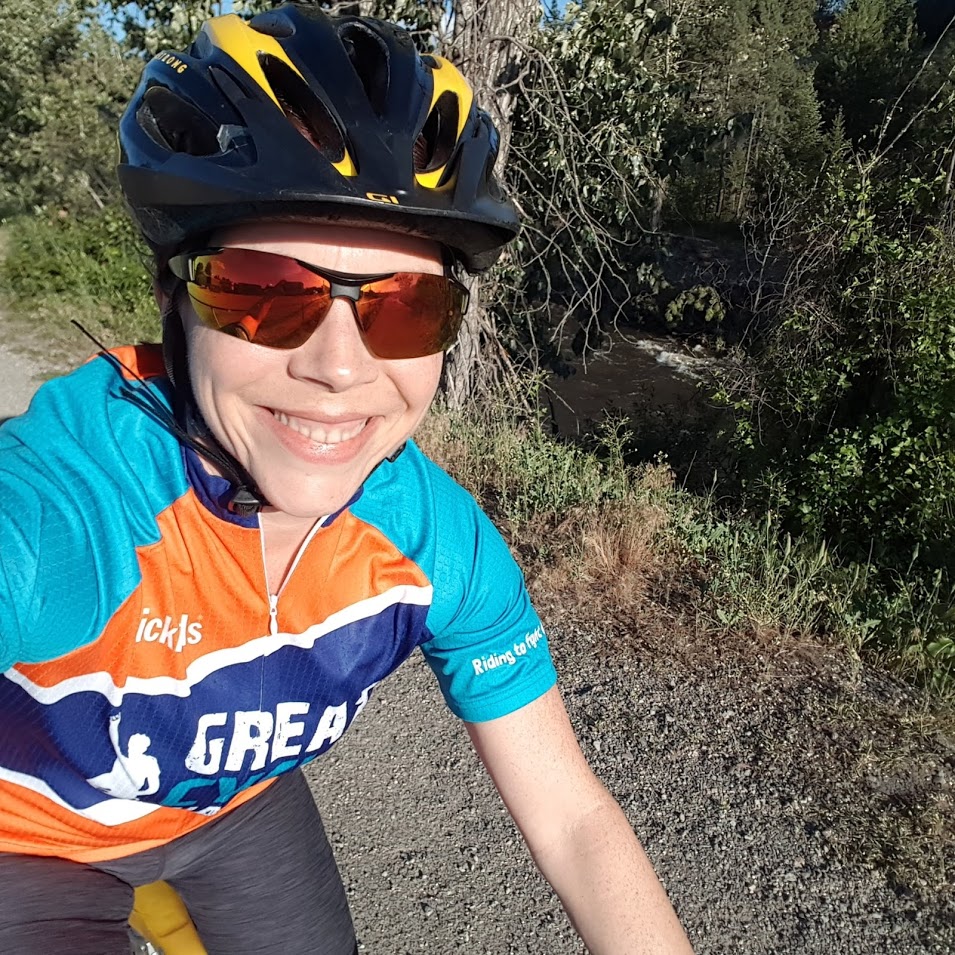 As I was getting my bike out of my vehicle in the parking lot one day, preparing for a 20km bike ride, I was stopped by a woman who did a loop around the parking lot before she stopped where I was putting on my helmet. I thought she was lost. This woman rolled down her window to talk to me. She said, “Thank you”. She told me about her daughter who was now 18 years old, who had leukemia when she was 10. She saw my Great Cycle Challenge jersey and wanted to thank me for riding – for raising awareness – for supporting sick kids. I was overwhelmed. What a privilege to be able to ride for people like her and her daughter. And what a joy to know that the medical knowledge we already have makes a difference – just imagine how much MORE we could do if scientists have a chance to make new discoveries!
 My ride that day was spent nearly in tears as I thought of that girl at 10 years old. I thought about her struggling through treatments with all the terrible side effects. I thought about her mom and her family as they fought along side her – as they worried, as they cried, as they feared the worst, as they one day were able to cheer when she was finally in remission – then when they were able to receive the best news – that she won! That she was well. That she would be able to graduate from high-school!
What a thought! What a blessing! What joy!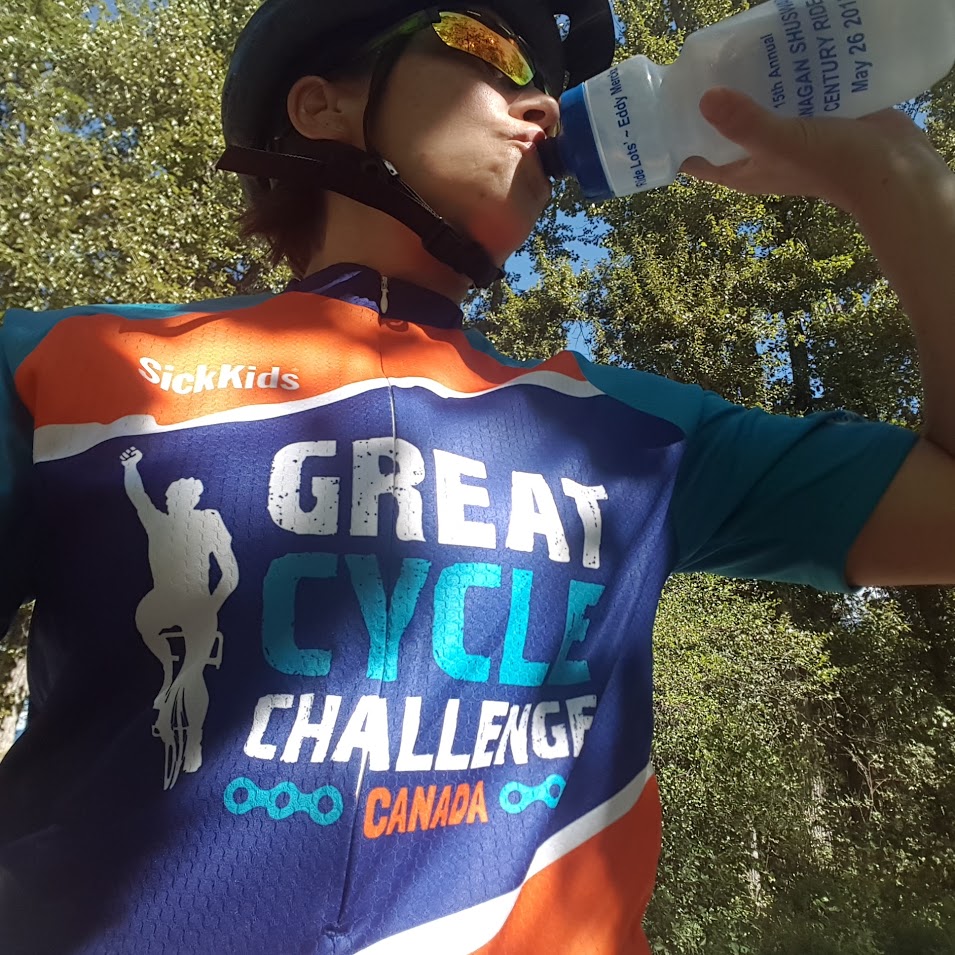 Half way into my month of riding, I realized, I was doing better than I ever thought I could do. I was feeling overwhelmed by the verbal support and the donations offered to cheer me on in my quest. I made the decision to increase my riding goal to 500km because the donations far surpassed my initial goal, I wanted to be able to far surpass my riding goal.
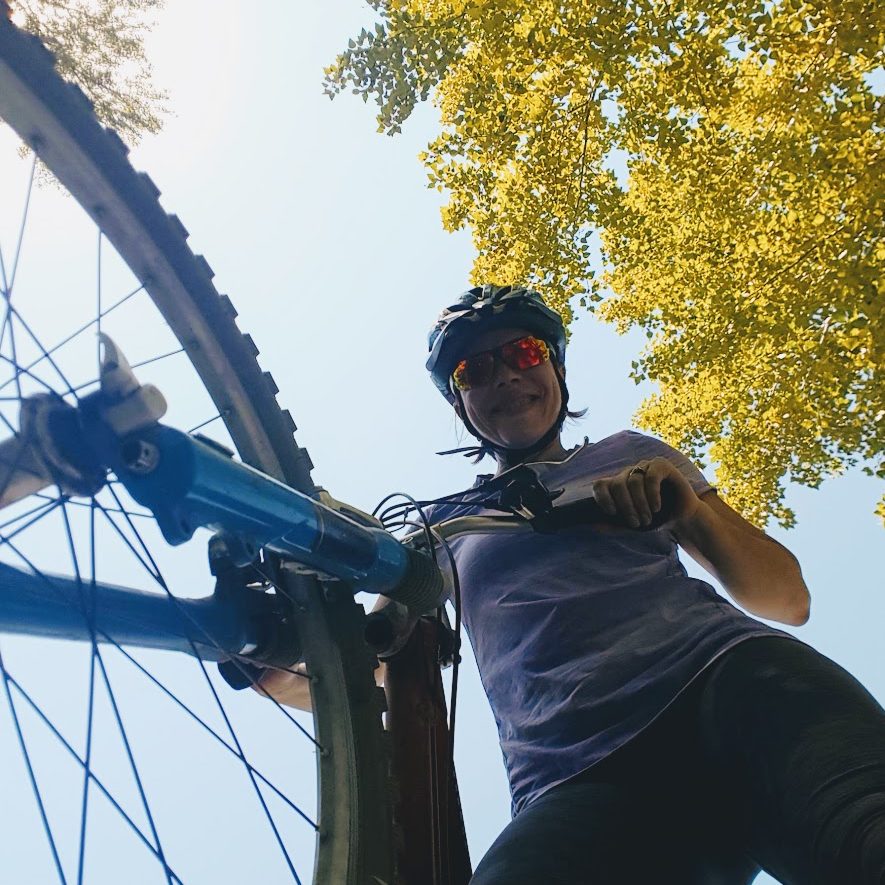 There are only 2 days left in June – today and tomorrow. I only have 30km left to ride to meet my goal of 500km. I am exhausted. My legs ache. I would much rather rest or stamp or eat (riding makes me hungry!).
 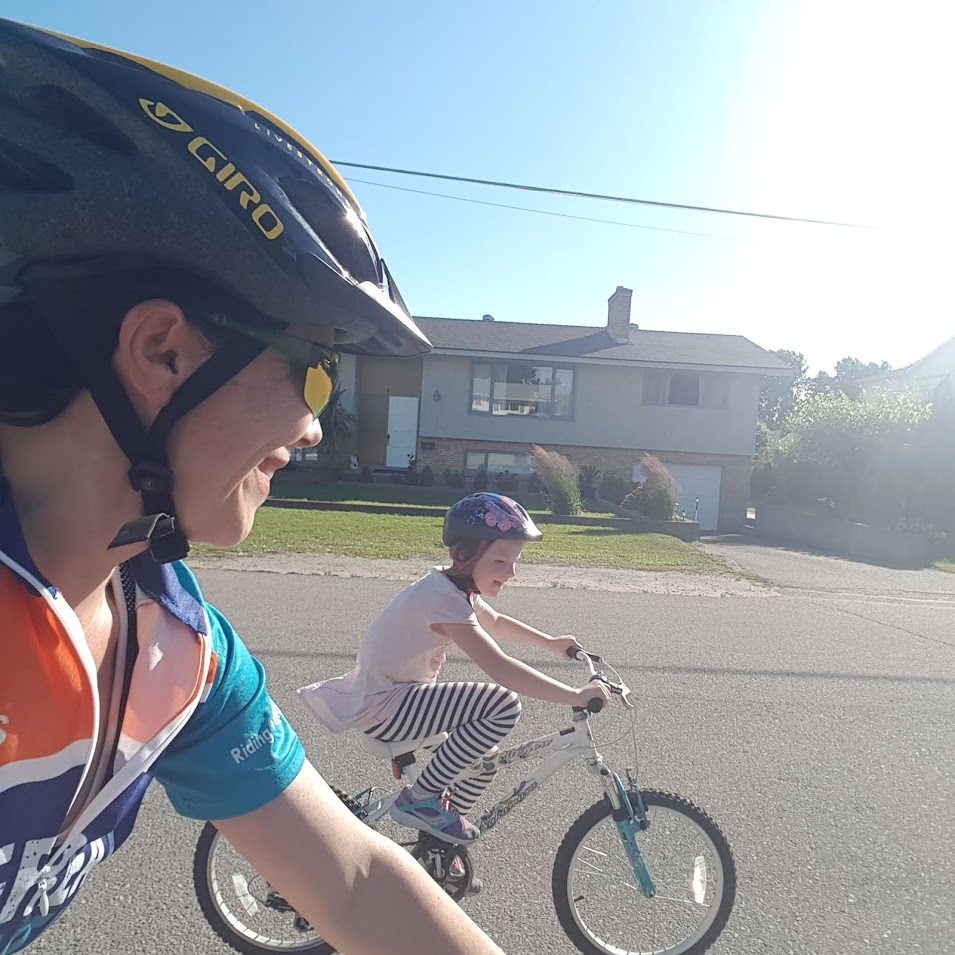 But I will keep on riding. I am riding for the kids – Your kids. My kids. I pass by children during my rides and I think, “Hey, little one, I’m doing this for you!”
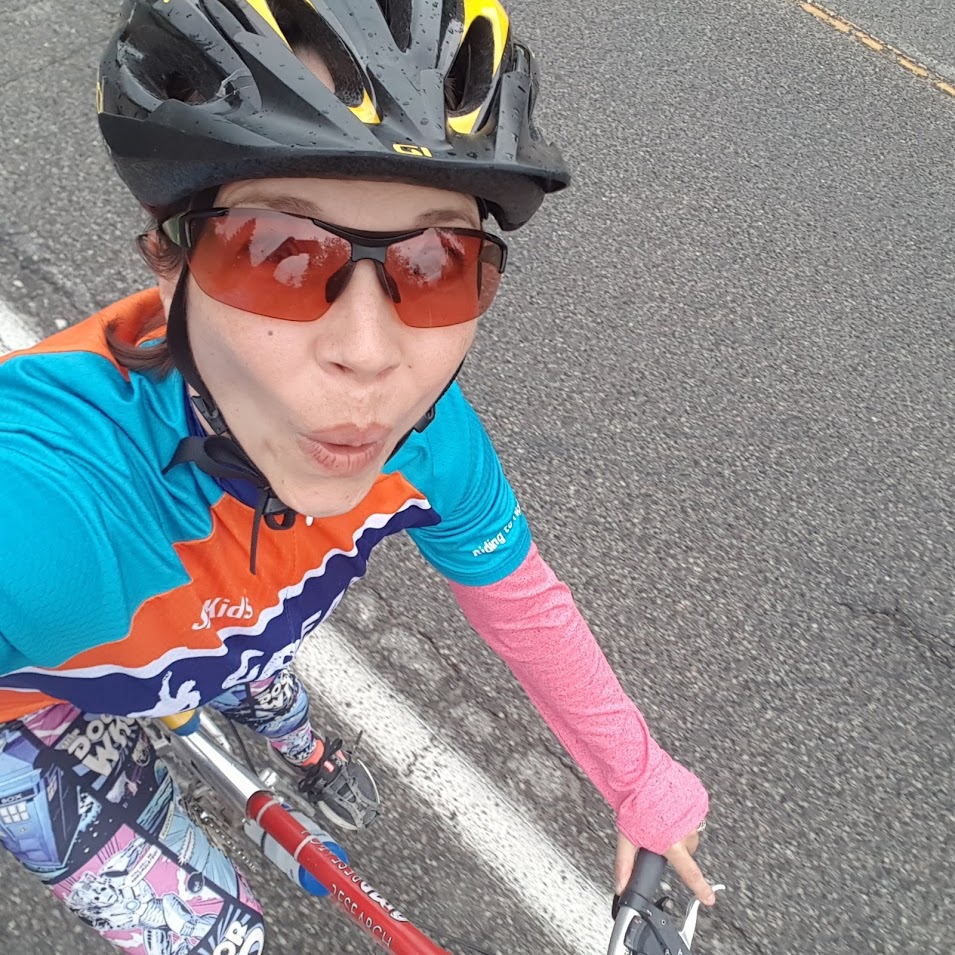 If you have a heart for kids and you want to make a difference in their future, maybe you would consider donating. You can donate today or tomorrow to support my ride by going to this link:
https://greatcyclechallenge.ca/riders/amyjasper
If you are reading this after June is done, you can donate to the Sick Kids Foundation anytime. We can help kids and their families to fight their battle.
Science is the sword – your donations are what wield it!!
