Seriously! This fun fold card is so easy! When I find an easy card design that I like, I end up making a lot of them!
I think it’s the kind of card that is also fun to receive because of the unique opening. I shared this design at my October virtual gathering with my team of demonstrators because it’s a great card to make together with friends.
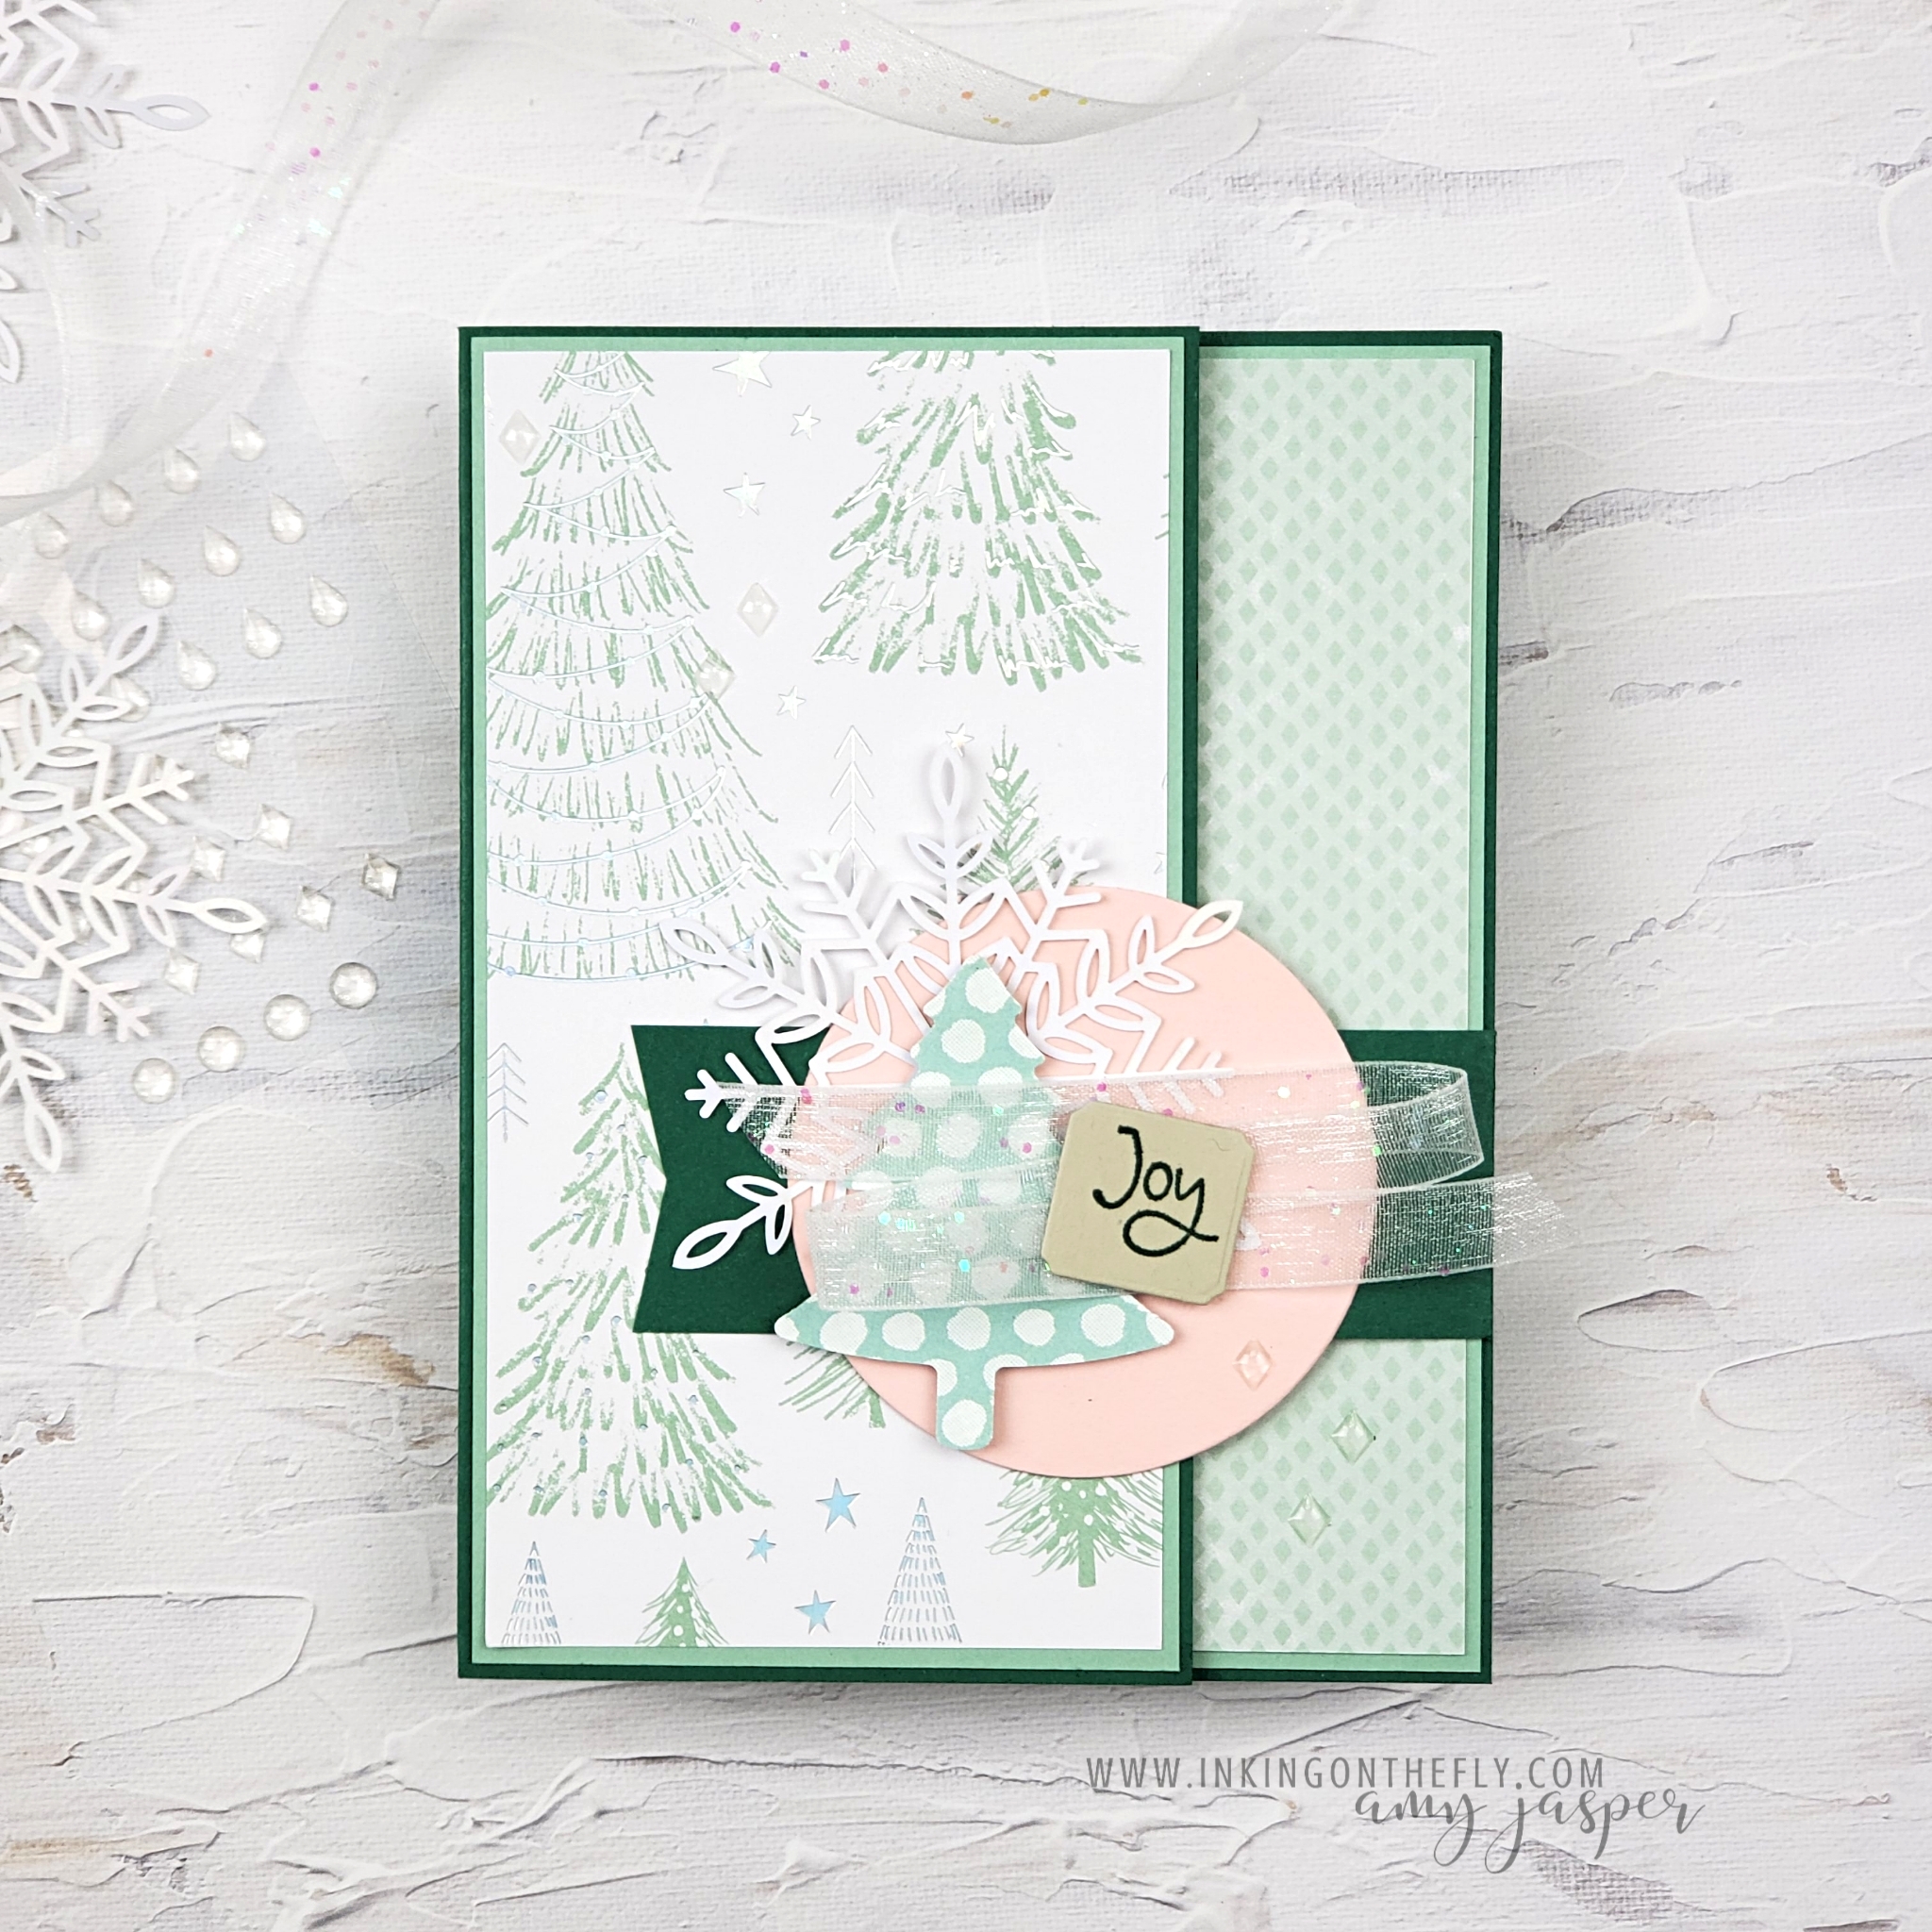
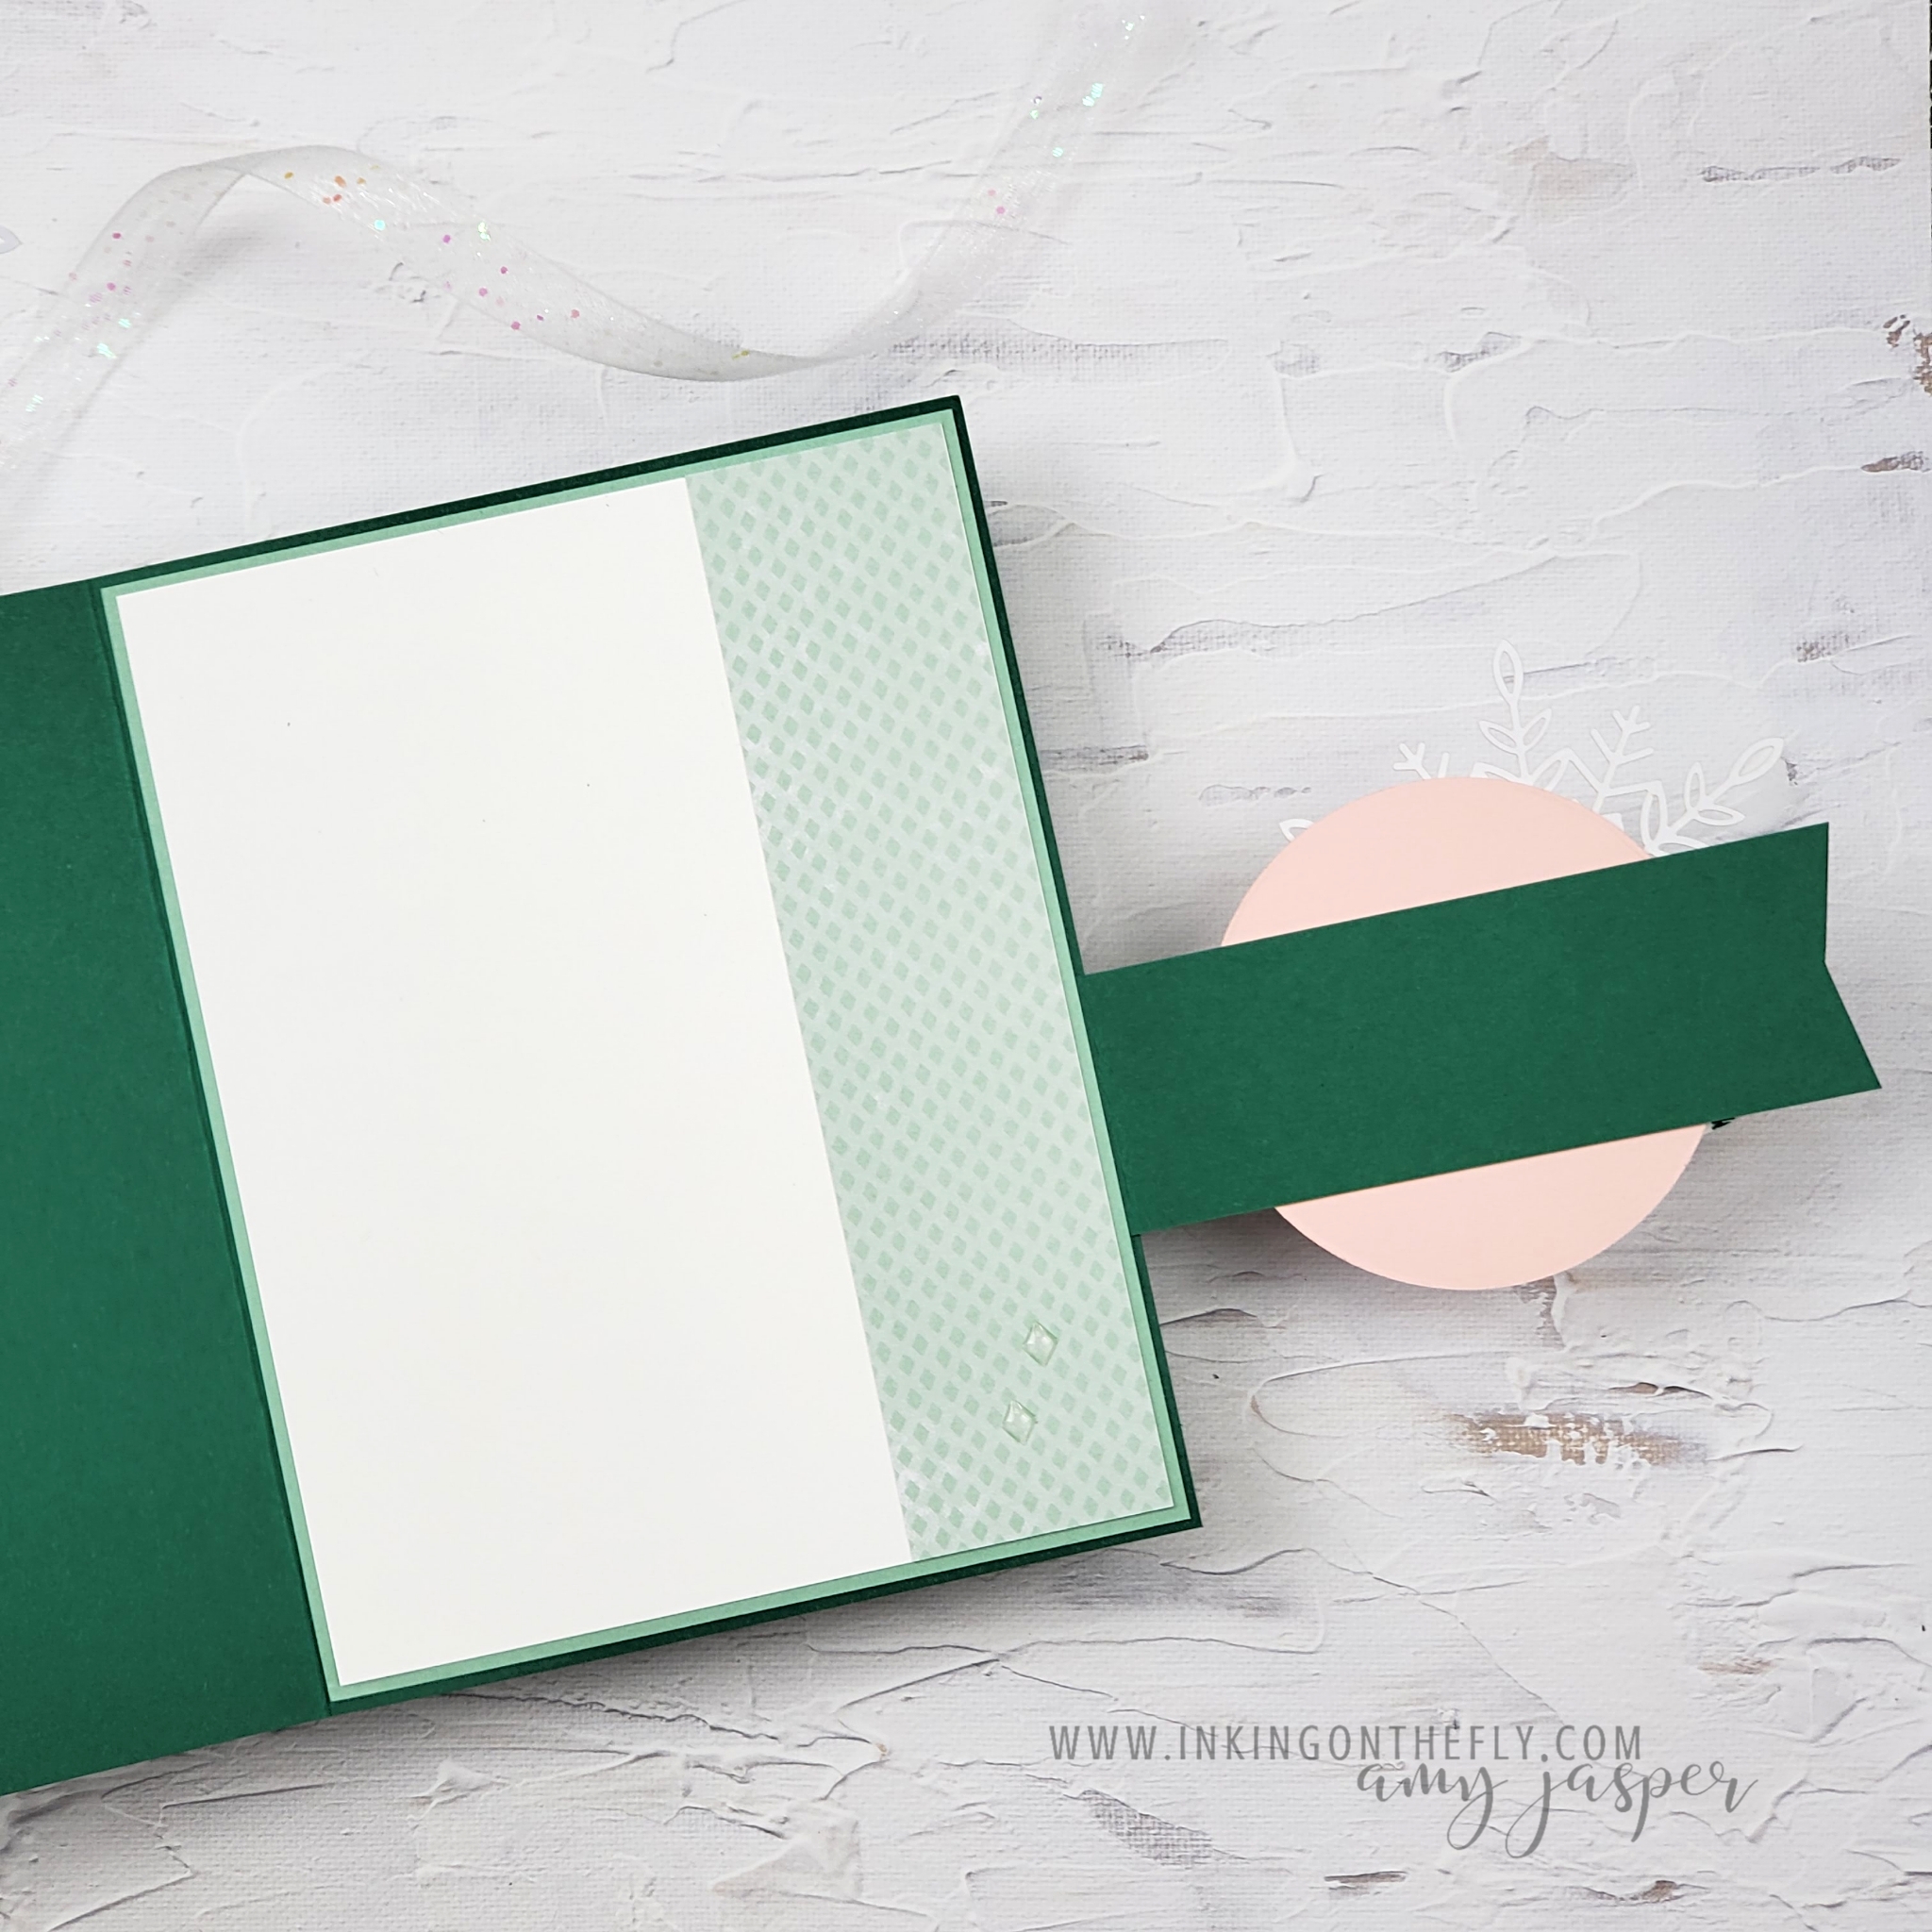
The card base is a piece of cardstock, measuring 5 1/2″ x 8 1/2″, scored at 4 1/4″. However, you will cut off a 1 1/4″ section from the front of the card and use it to attach the front flap.
With those two pieces for your base, you can create multiple versions of this style of card. After that, it’s a simple matter of what patterned paper to use.
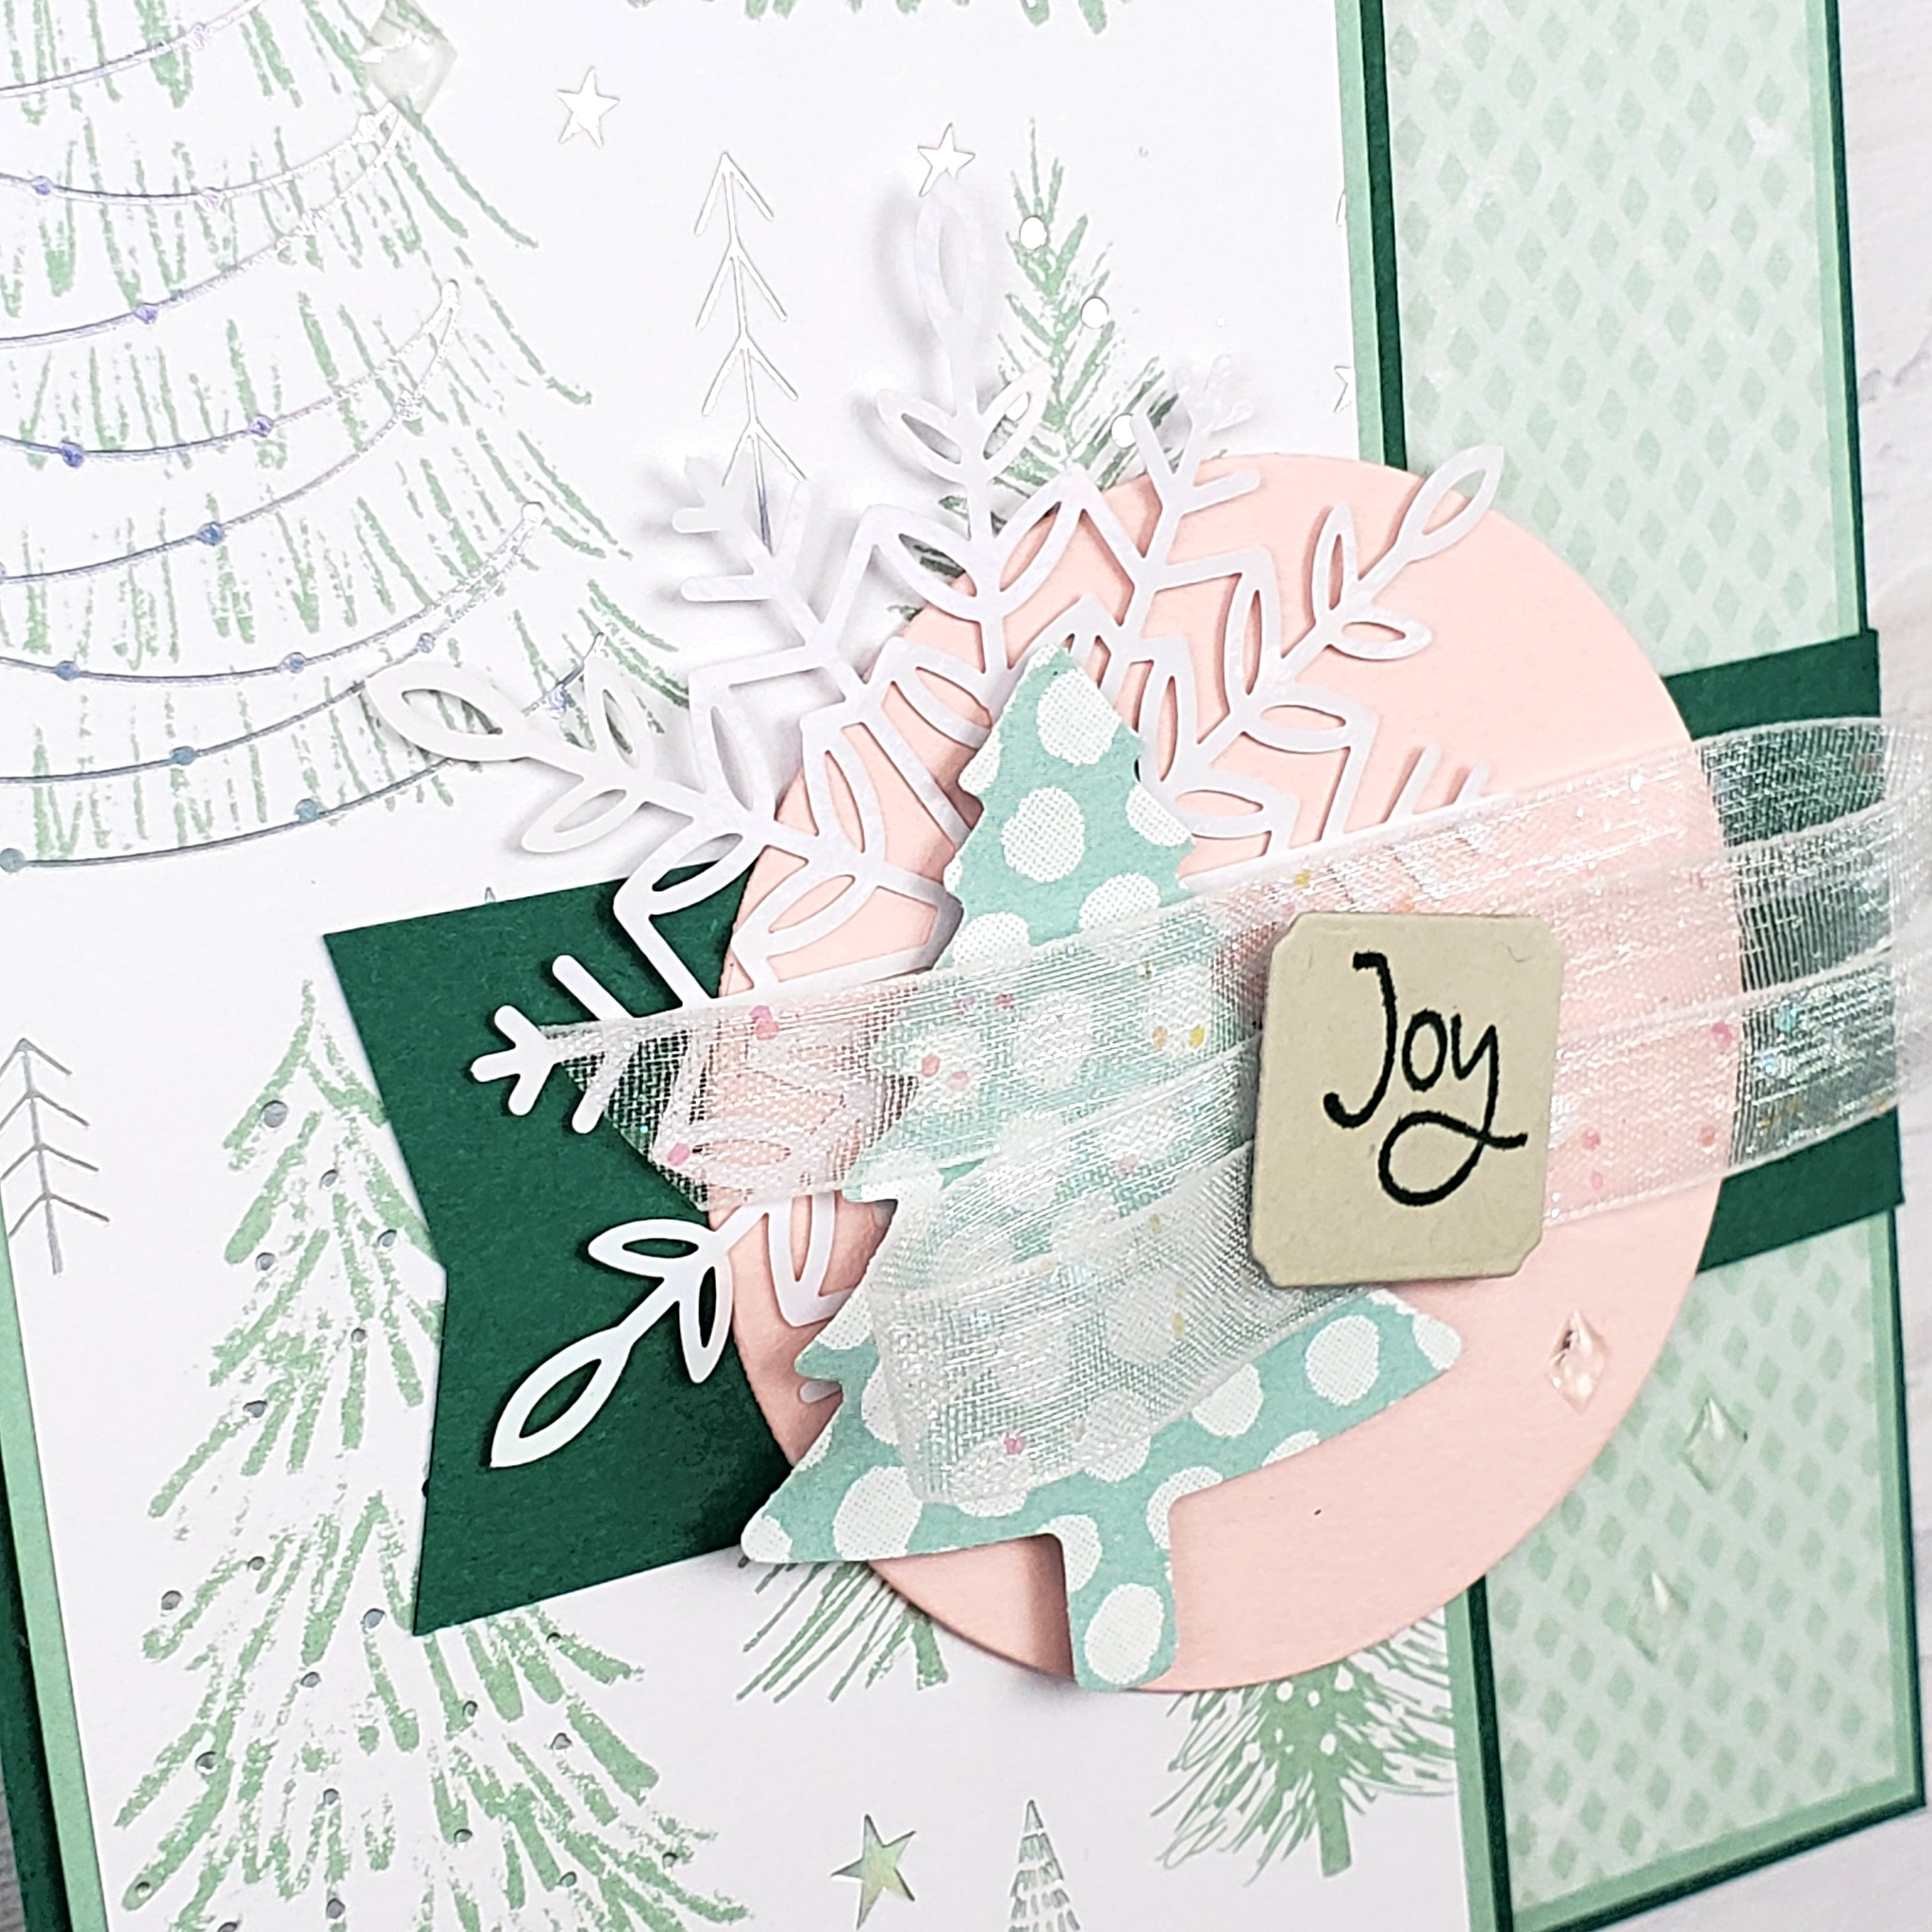
I have Christmas on the brain!
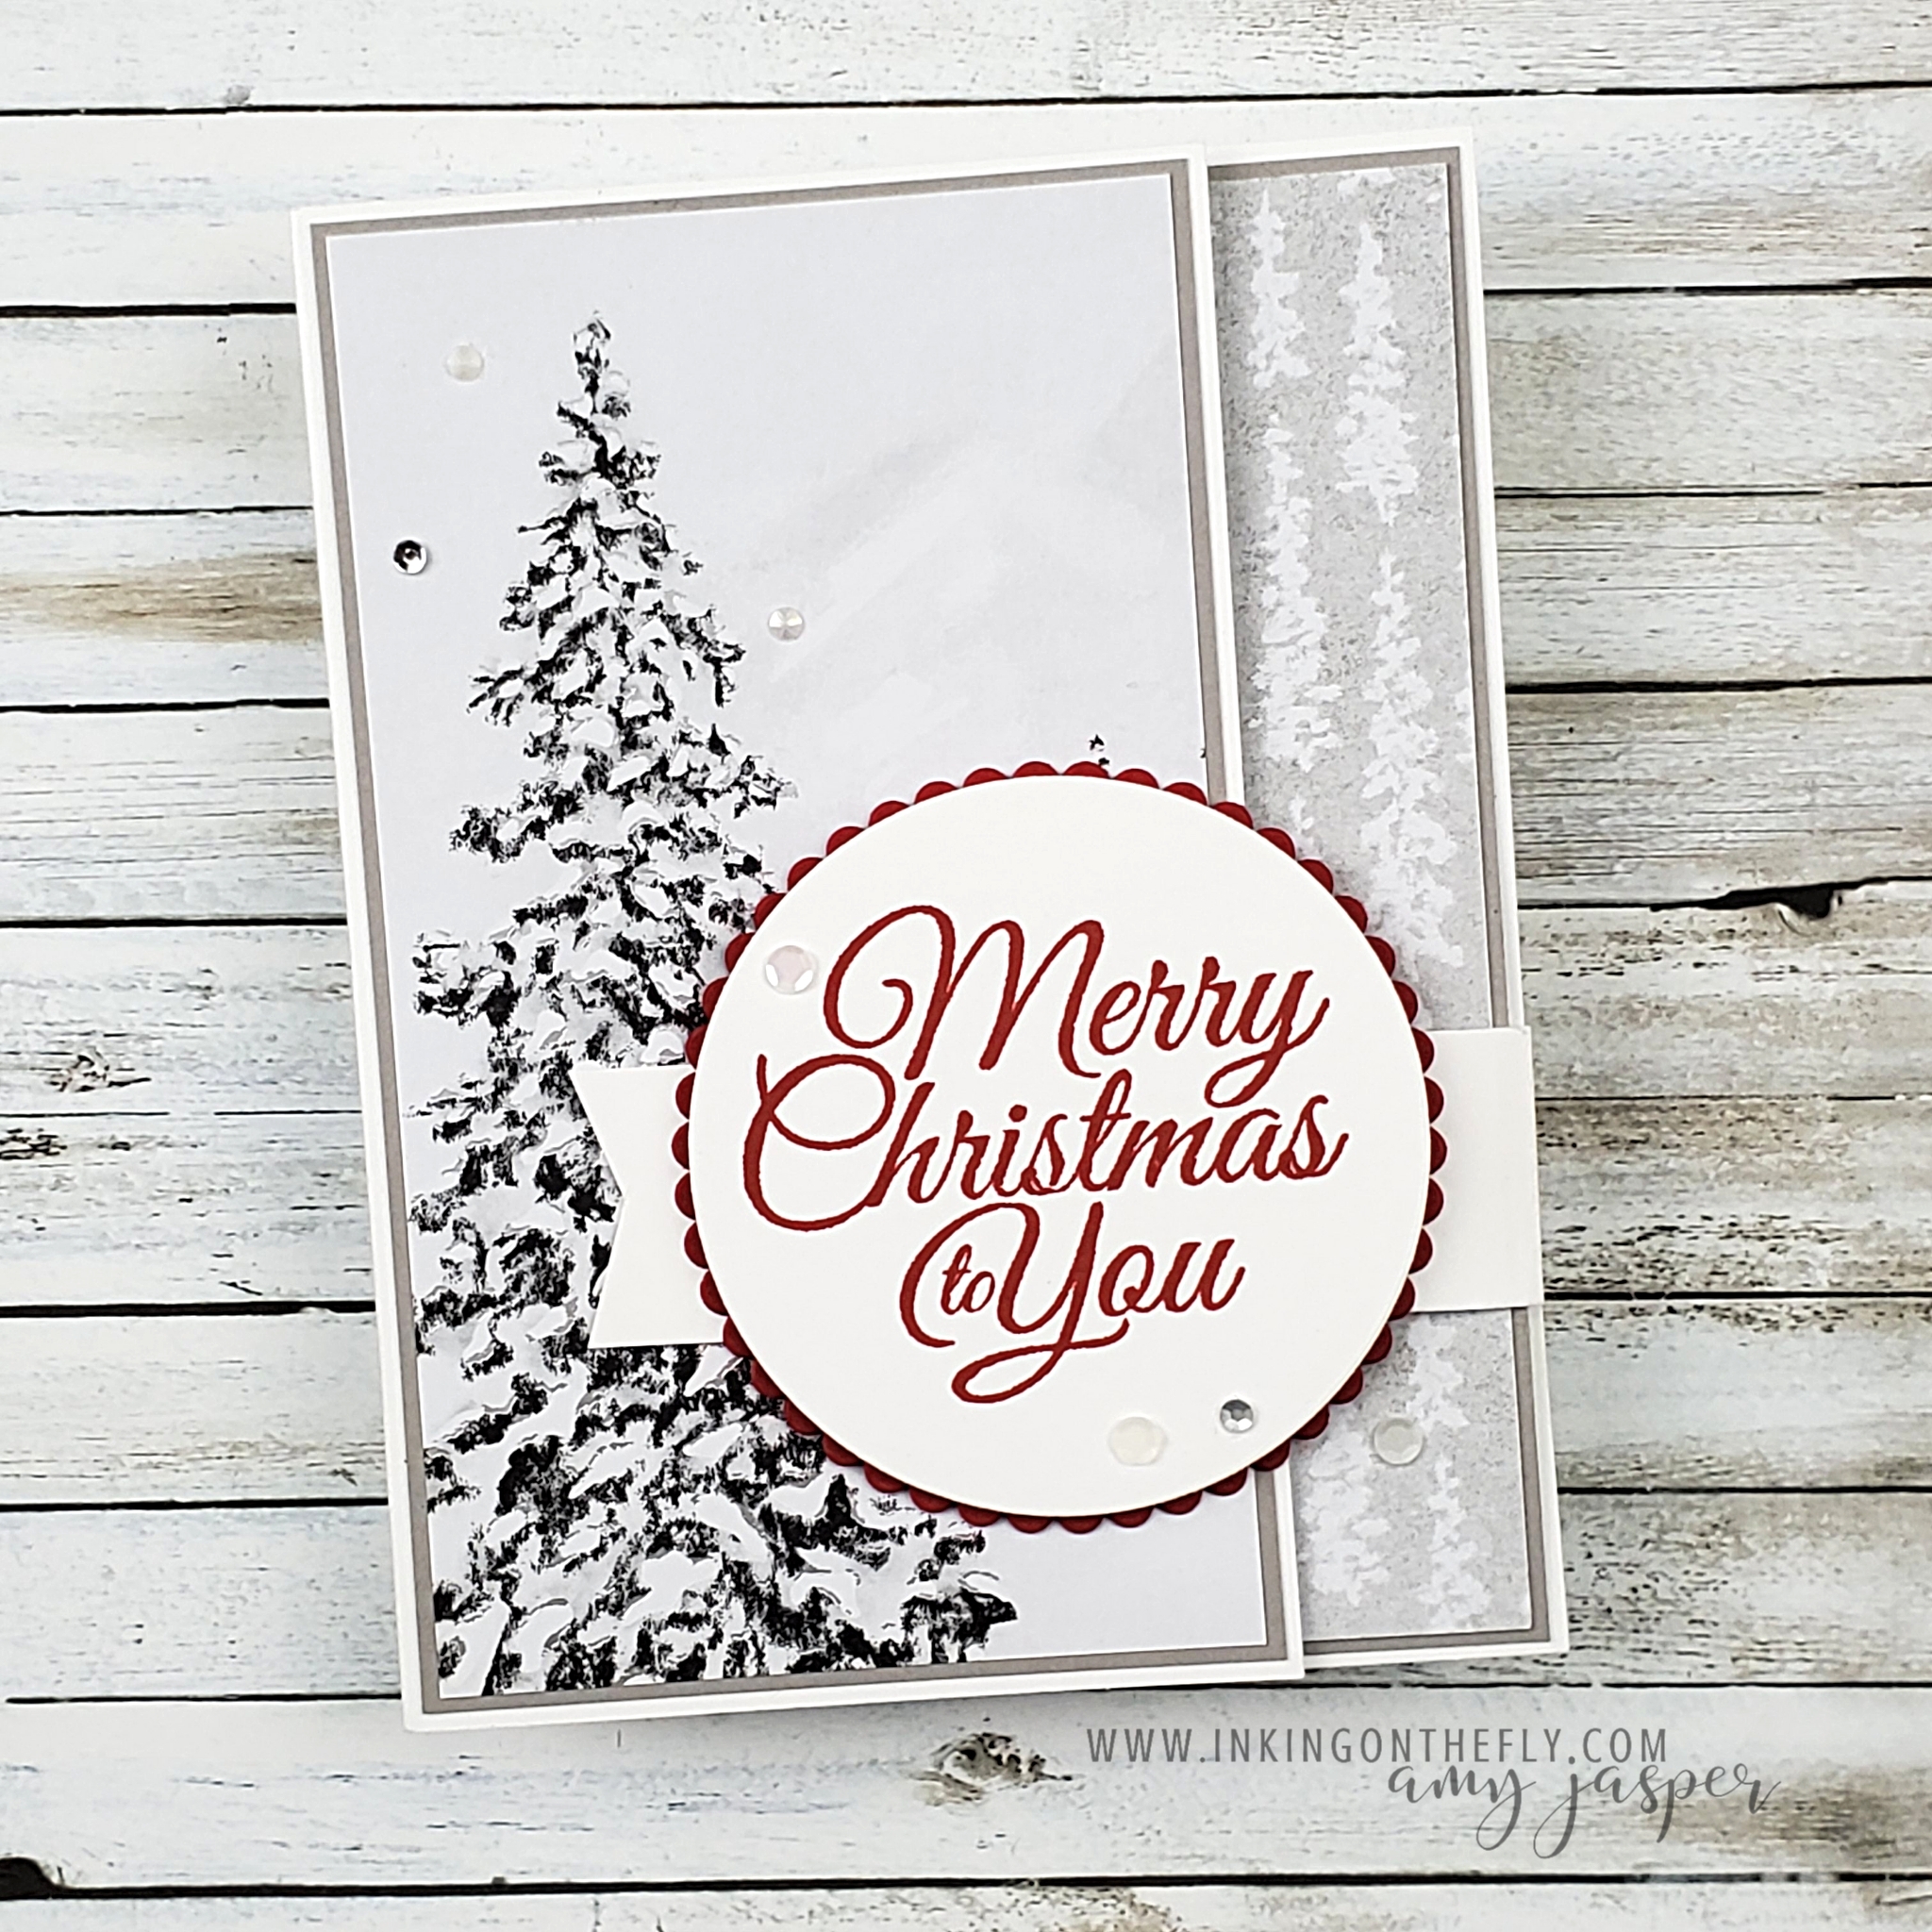
Since this fun fold is so easy to make, I was able to make a few different versions.
The clear Epoxy Essentials are such a cute and simple addition to a card design. I like how the diamond-shaped ones coordinate with the pattern of the paper.
Check out the video to see how to make this easy fun fold card.
Let me know in the comments if you have any questions. I’m always happy to help when I can!
Hey all! I’m really excited to share this super cool spanner panel fun-fold card design with you today!
I’m not only excited because of it’s fun layers and playful colours, but also because I haven’t shared a technique video with you for over a month!
I missed you!!
Before I give you all the details on this card and the video tutorial, I want to tell you a bit about what I was up to in August. It was an adventure that consumed every ounce of my energy and effort.
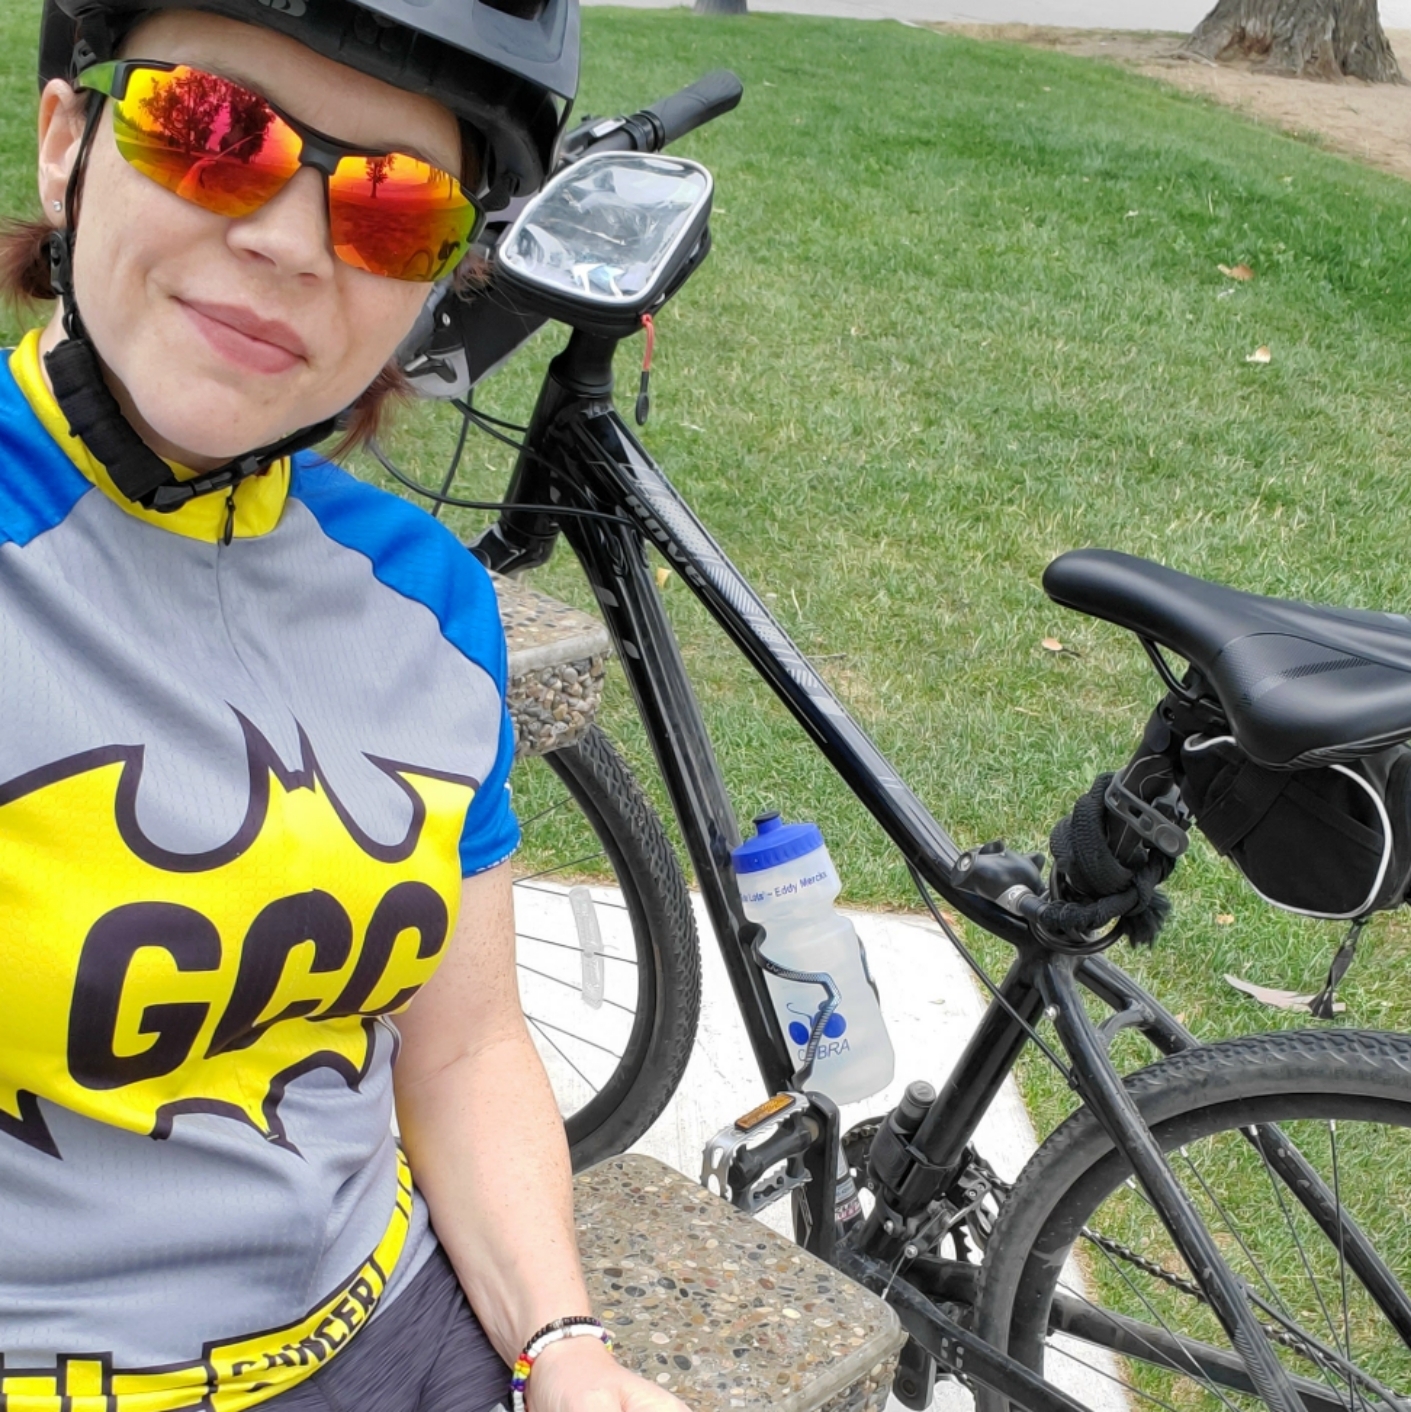
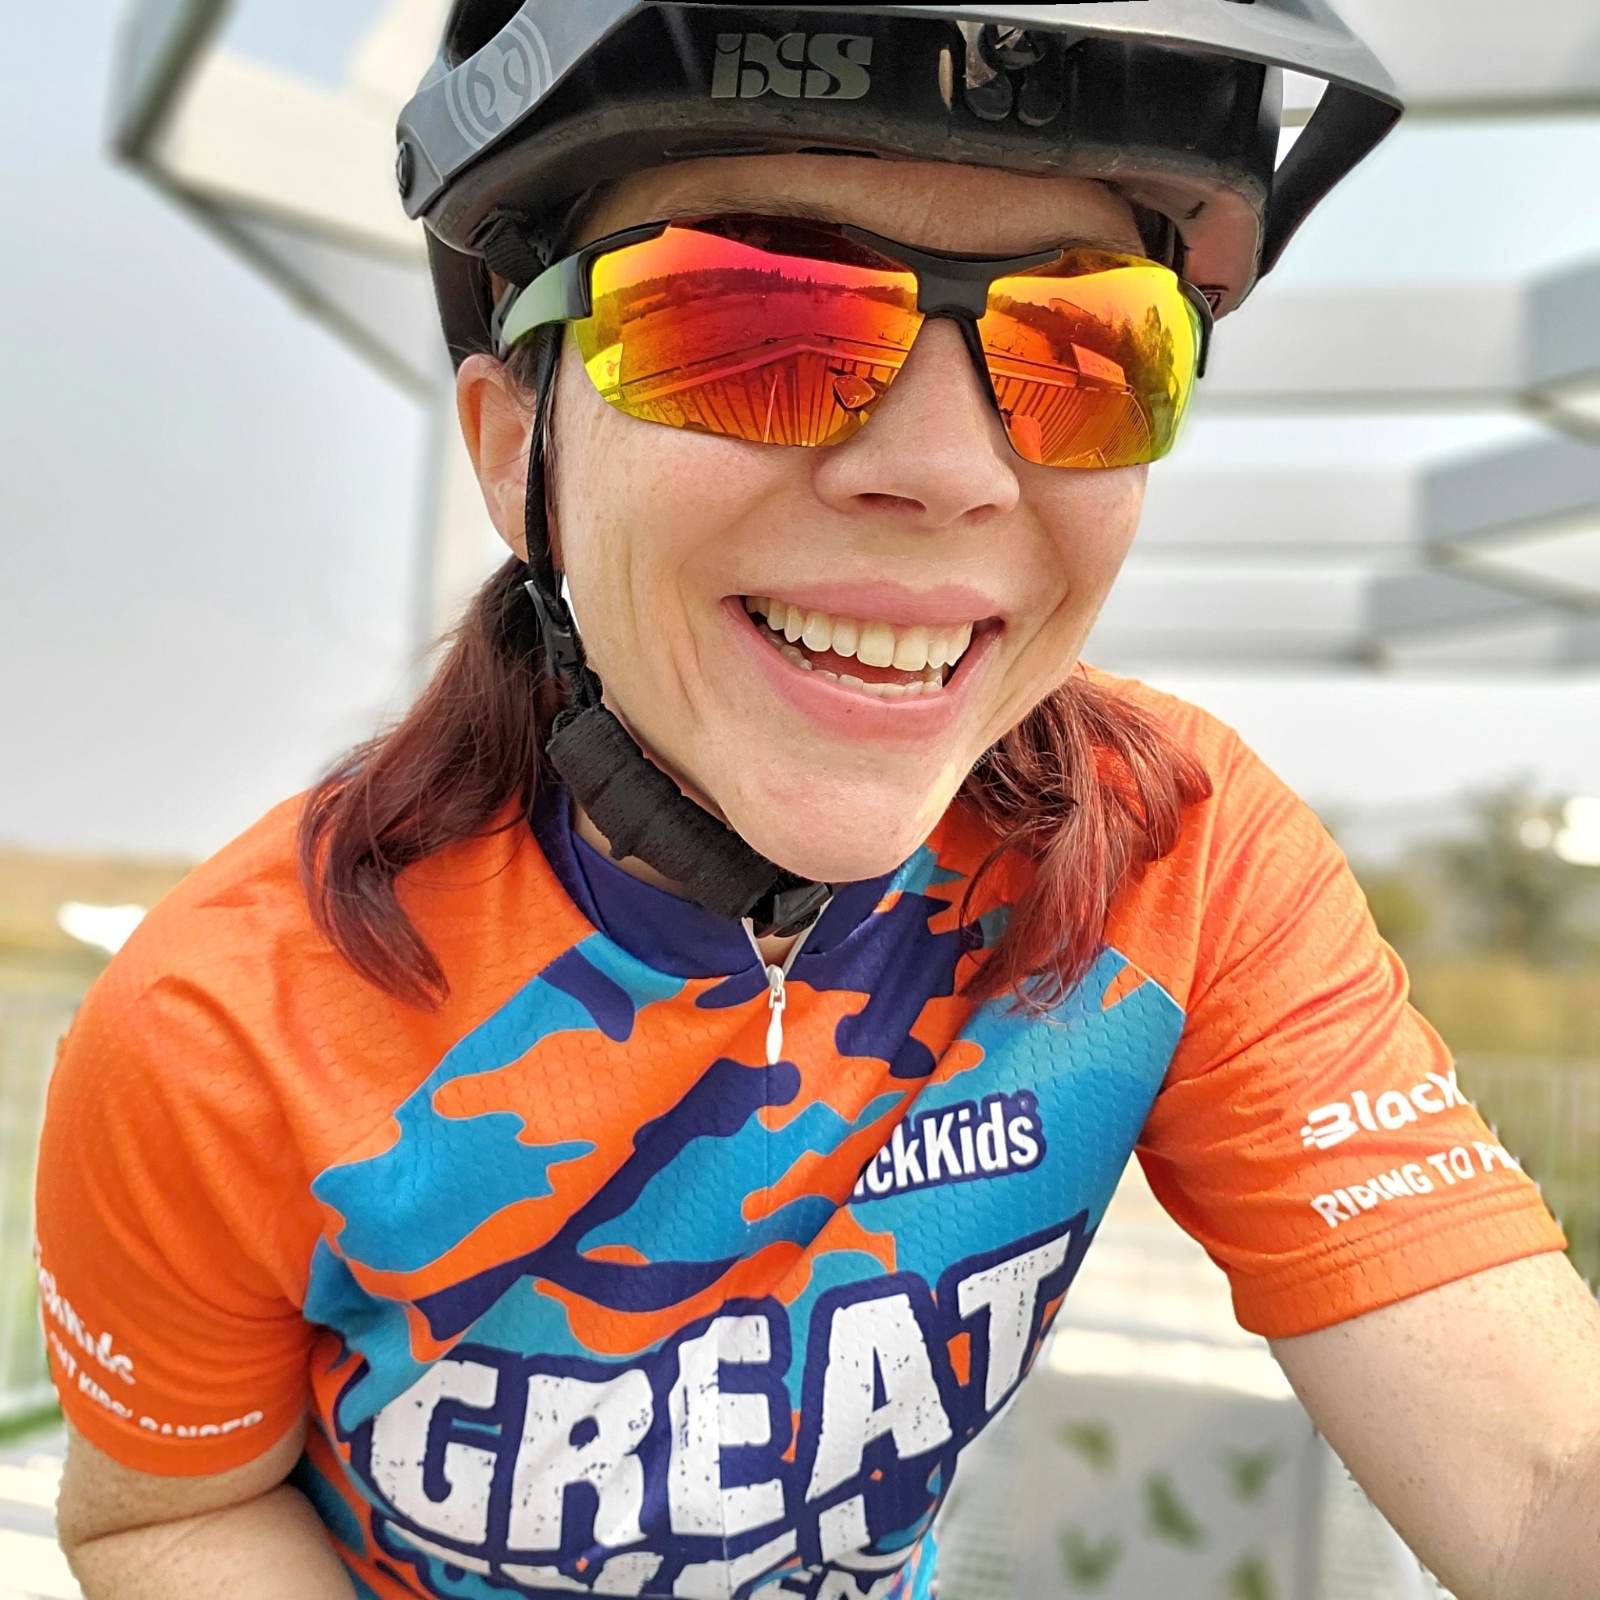
The Great Cycle Challenge
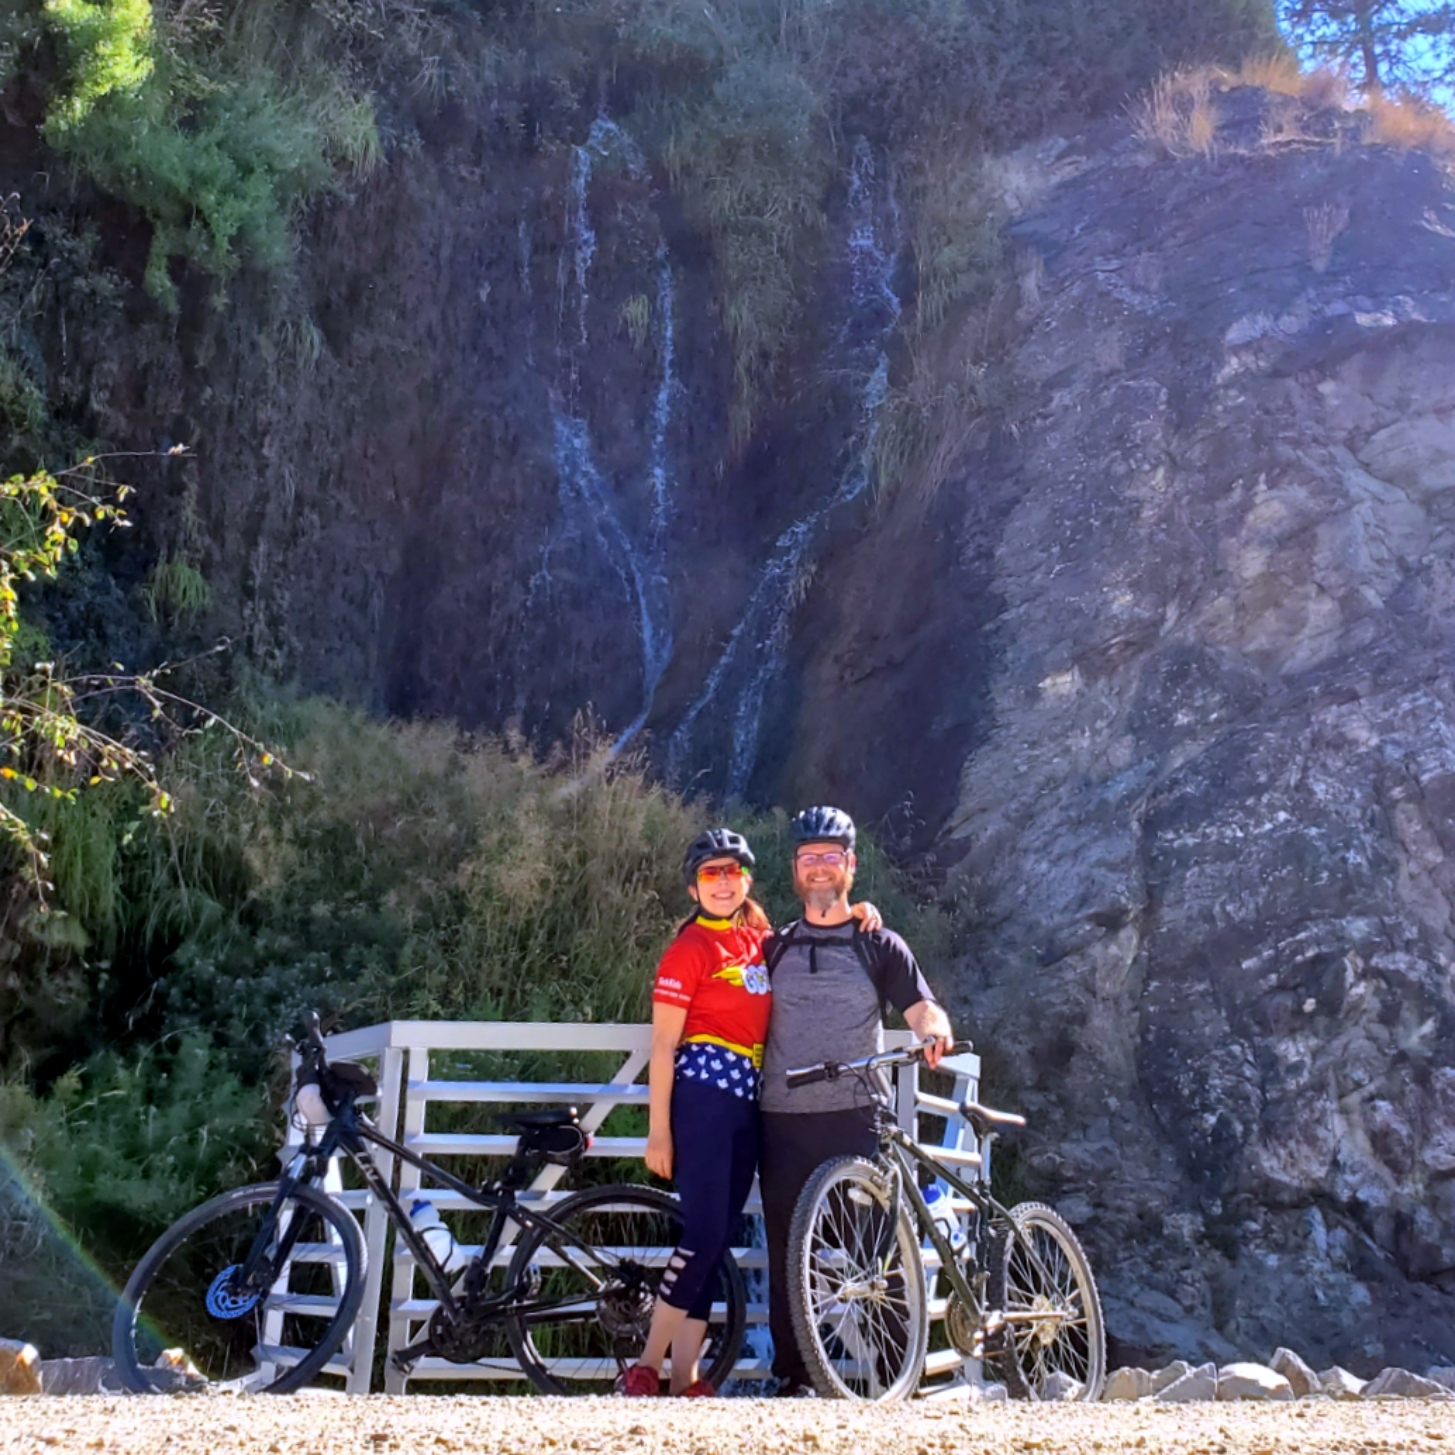
This was the 5th year that I’ve participated in the Great Cycle Challenge and it was the toughest year yet! I pledged to ride my bike a total of 1000km through the 31 days of August. By doing so, I hoped to raise $5,000 to help kids fight cancer. I didn’t plan to cancel my life for the month, but soon realized that I had to let a few things drop.
I stopped trying to keep up with my blog and social media, I canceled classes, and my craftroom was lonely and neglected.
62 hours
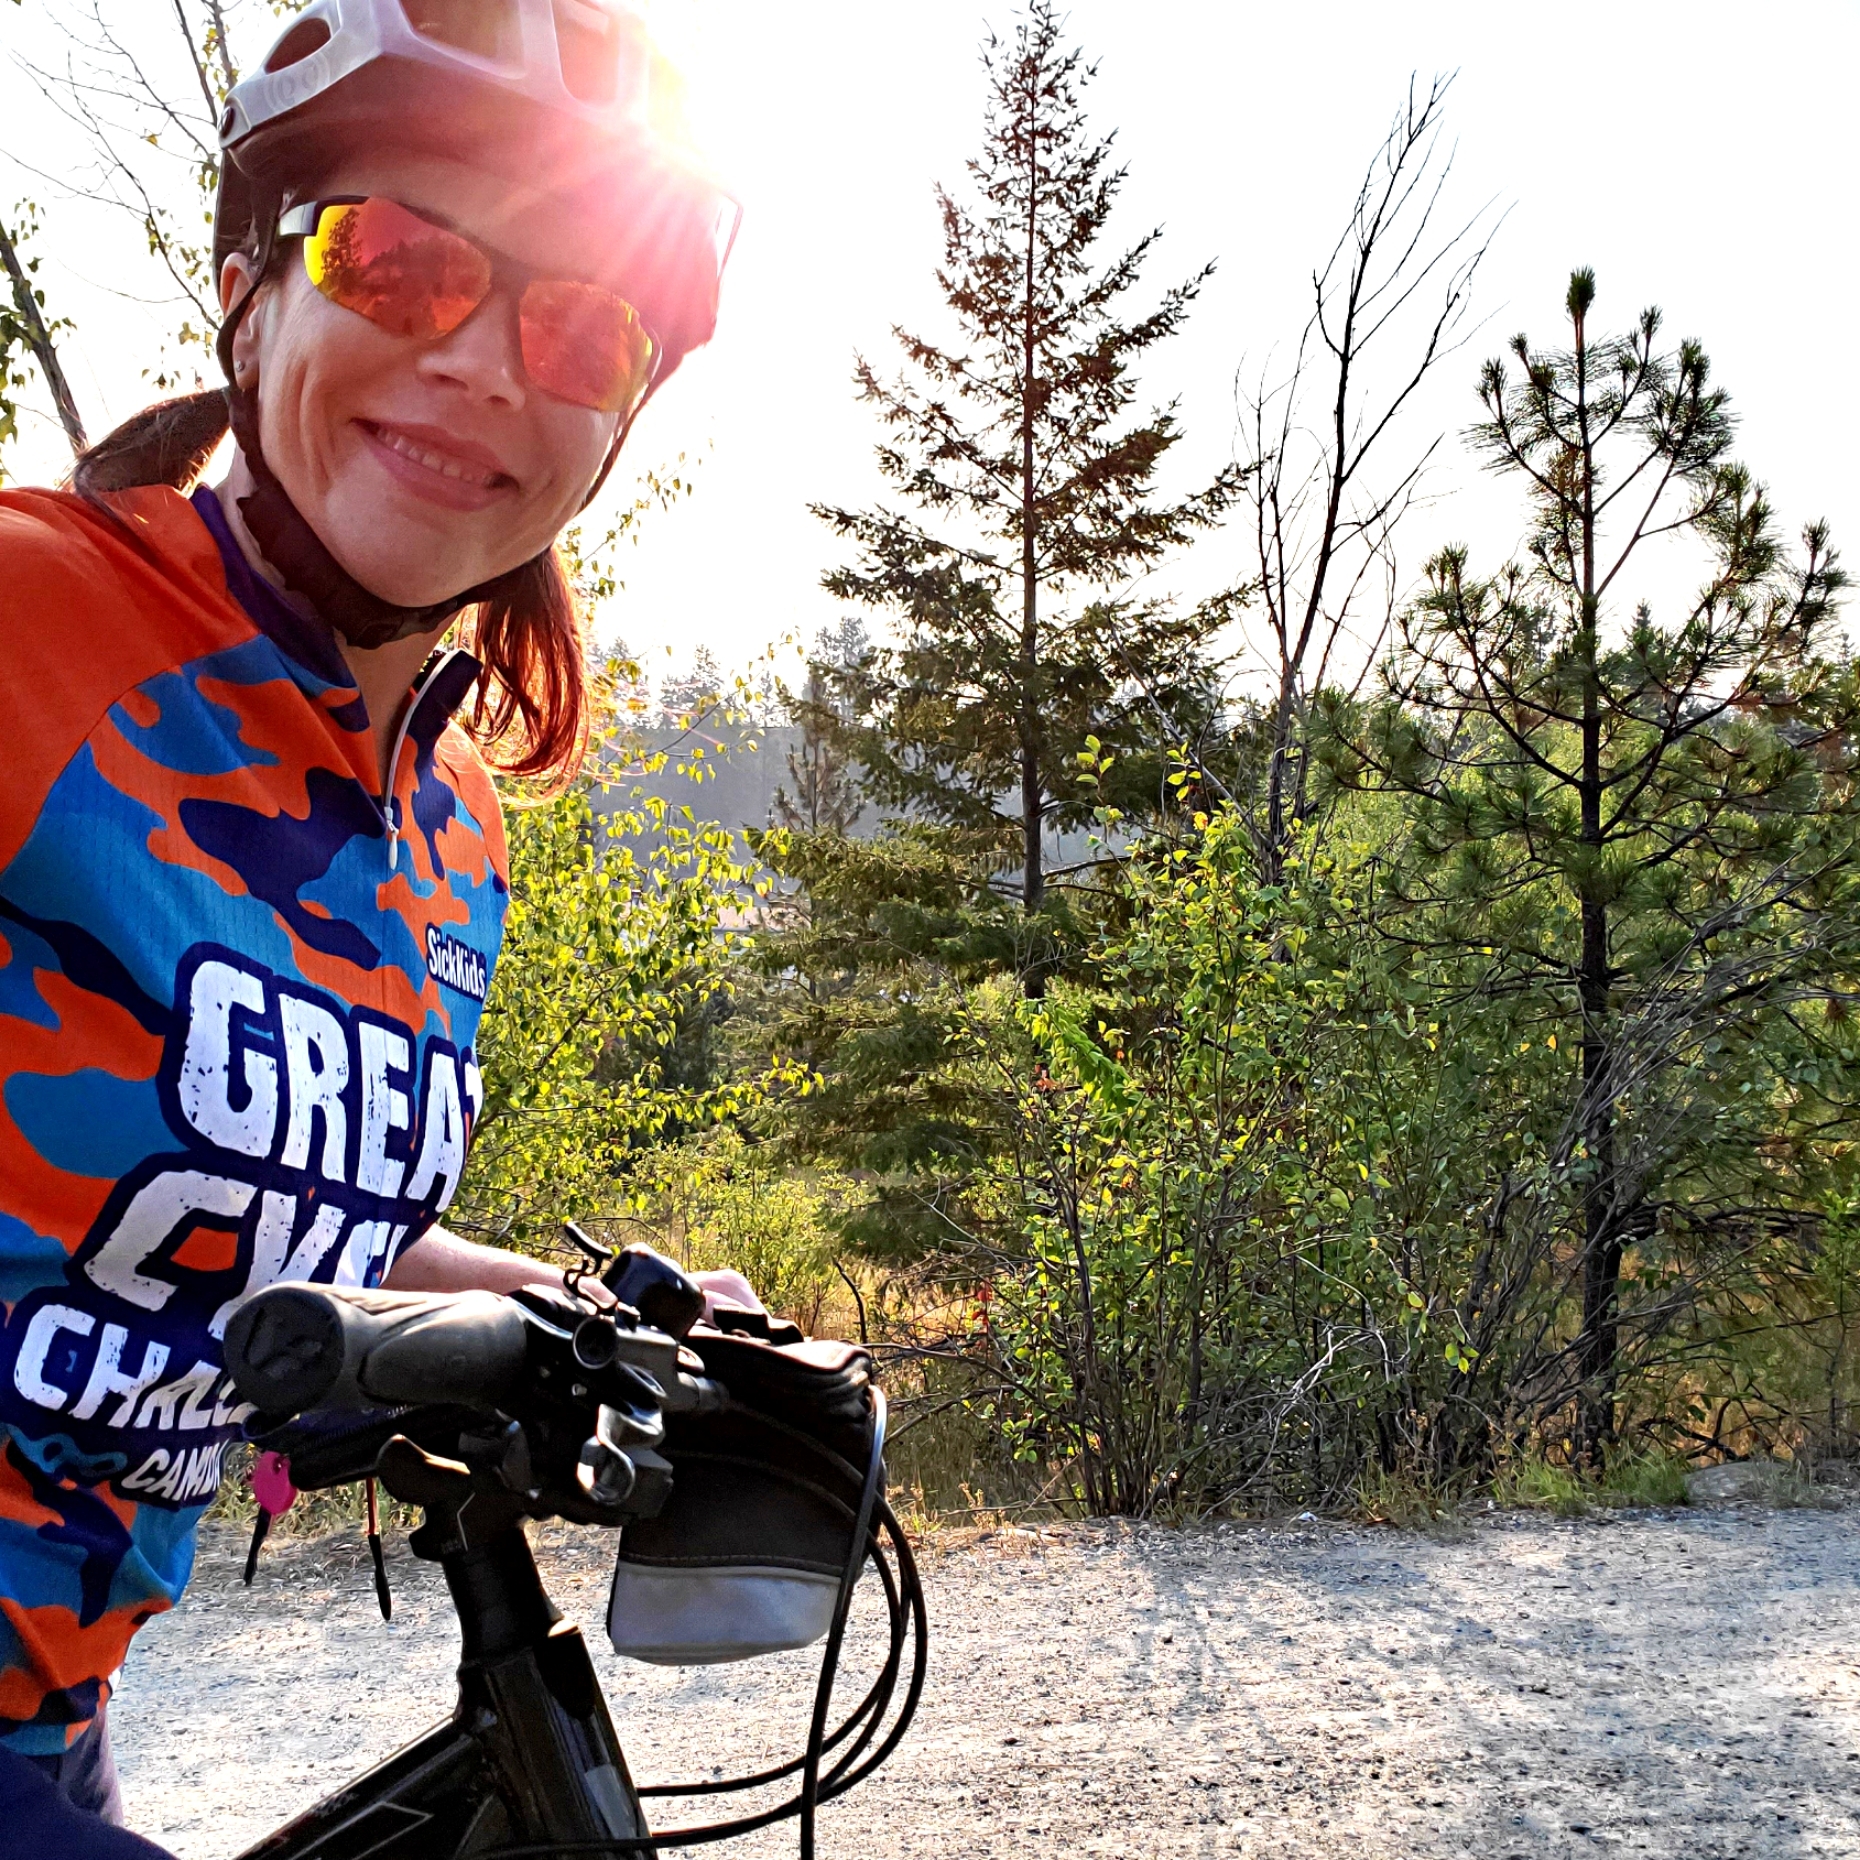
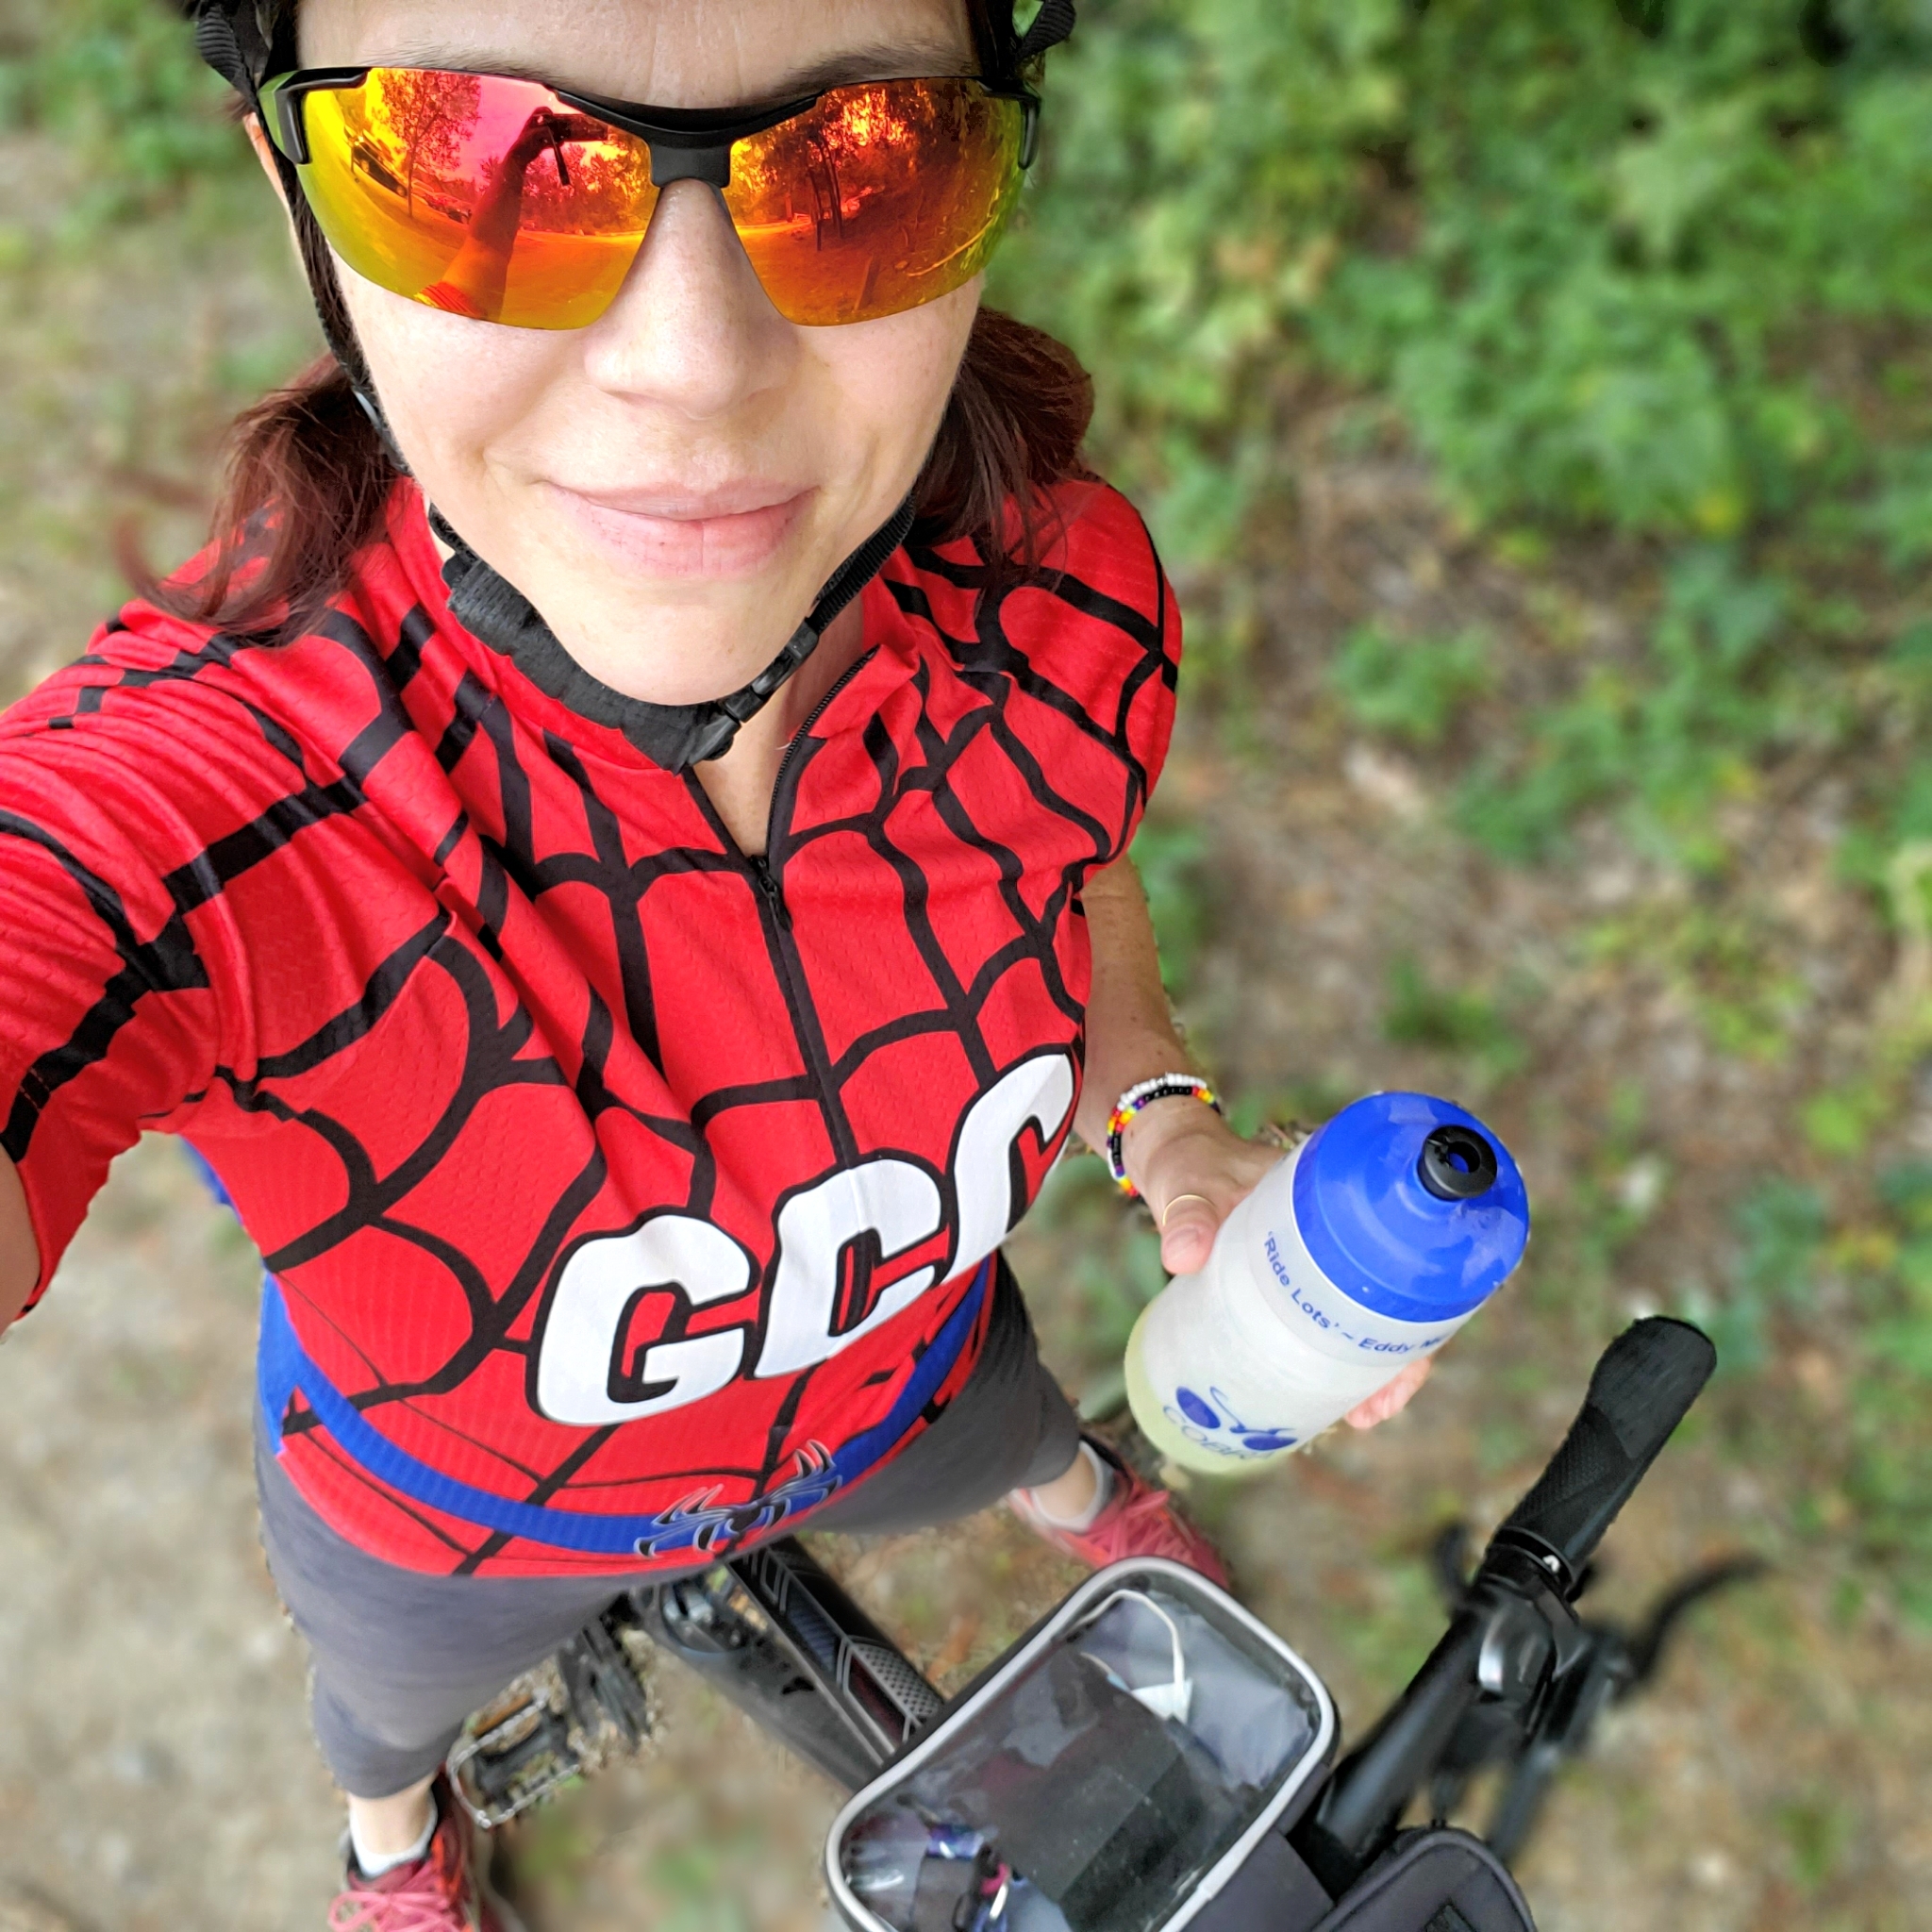
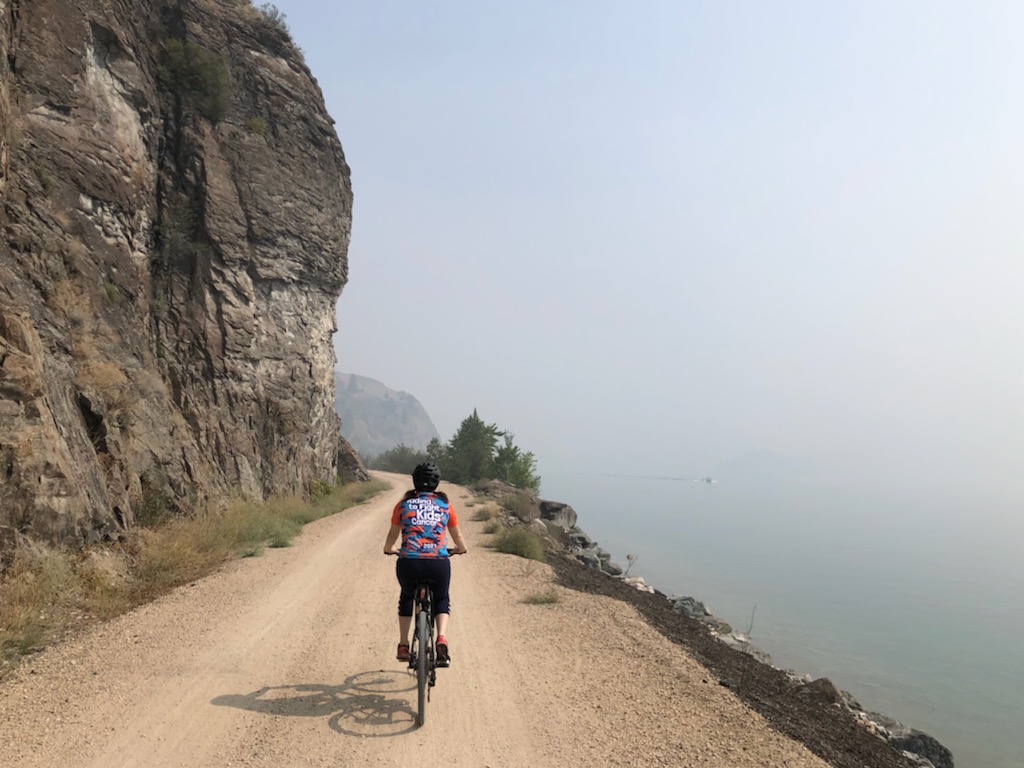
Approximately 62 hours were spent on my bike. I rode during the heat waves, the wildfire smoke, and the rain. My longest bike ride was 110km! When I took a selfie, I smiled for the camera. When I didn’t take photos, it was because I was too focused or too depleted to put in the effort.
Not only did I reach my $5,000 fundraising goal, but blew by it, for the whopping total of $8,420 in donations!! I am delighted by the amount of support and encouragement I received from family, friends, customers, and even strangers!
31 days of exhaustion. My wrists, legs, butt, and neck were always stiff and sore. My heart was often heavy as I thought of all the kids who are fighting for their lives and all those who lost their fight far too soon. I thought of the parents and siblings. I thought of the aunties, uncles, and grandparents. No child should be stolen by cancer. Ever.
I gave up a month for them. One month. That is absolutely meaningless when you hold it up against what the families have to give up when cancer forces its way into their homes.
Donations are still being accepted toward my fundraising efforts all through September. Perhaps you’d like to show your support and make a difference in the little lives and their families. You can see more details and donate on my Great Cycle Challenge fundraising page. Funds go toward childhood cancer research with the SickKids Foundation.
Now that my cycling adventure is done, the kids are at school, and my husband is back in his office at the university, I am enjoying my quiet productive time at home once again. I can get back to sharing my passion for papercrafting with you!
Back to the card!
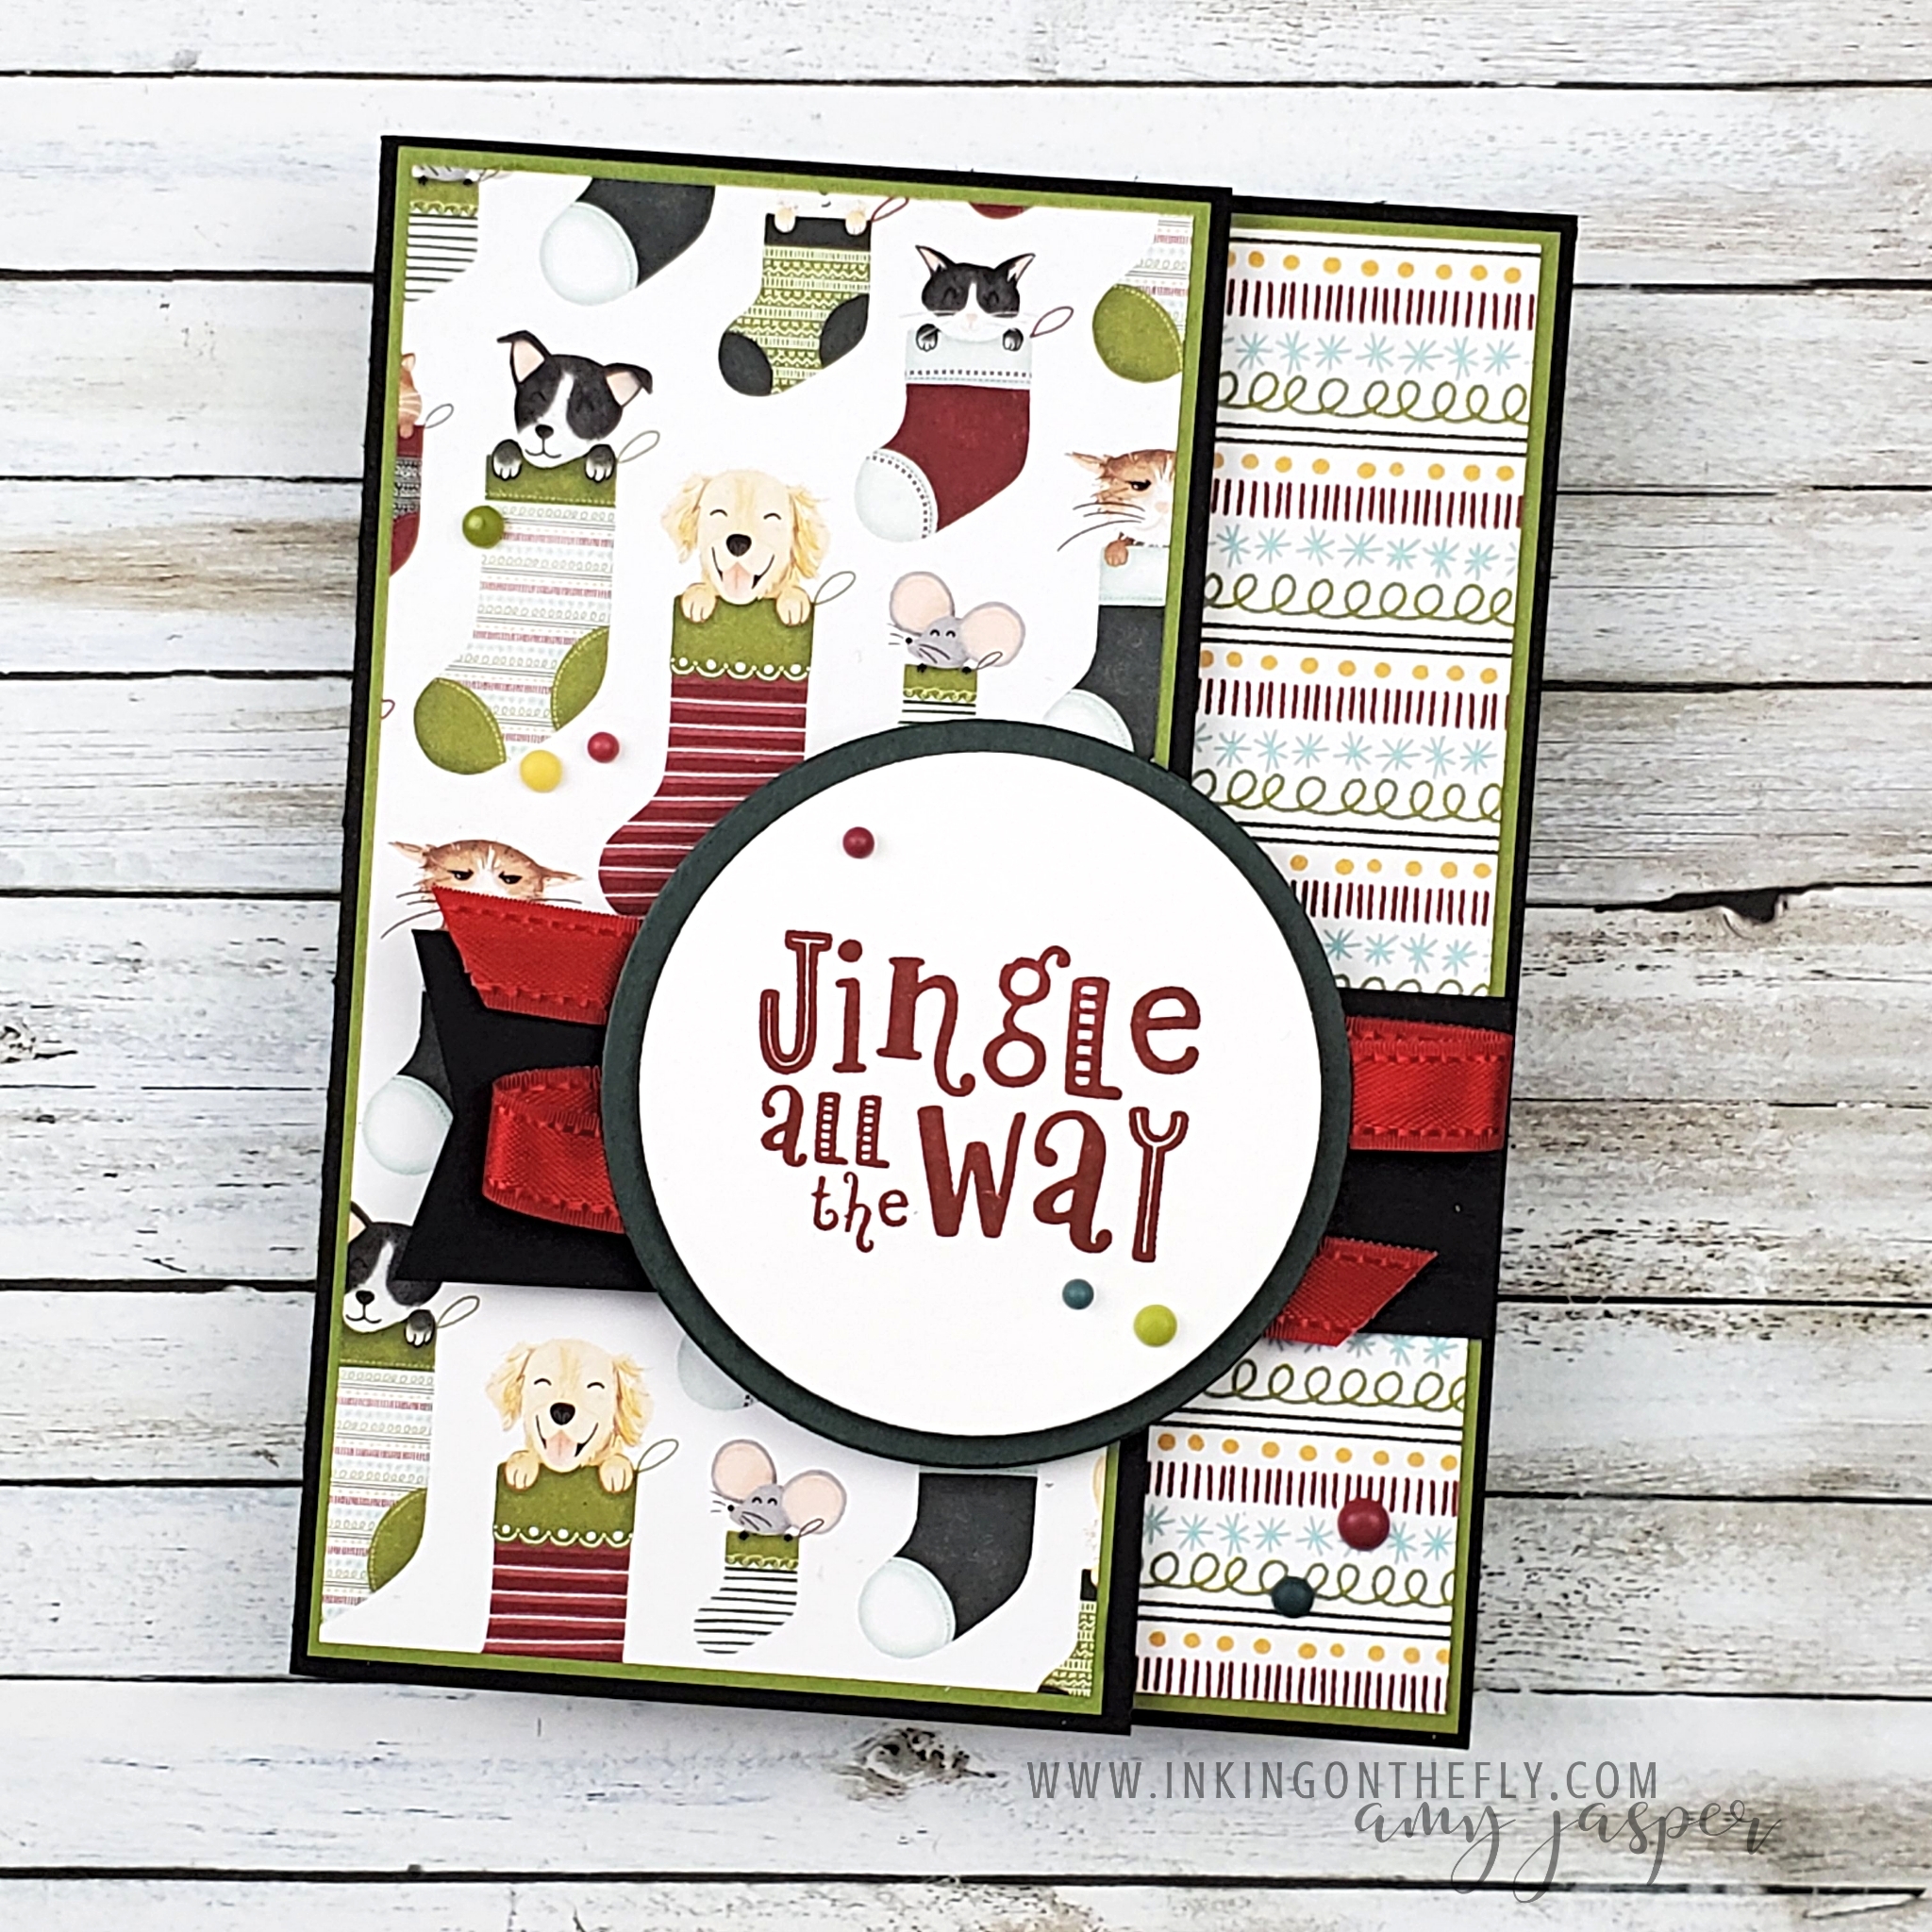
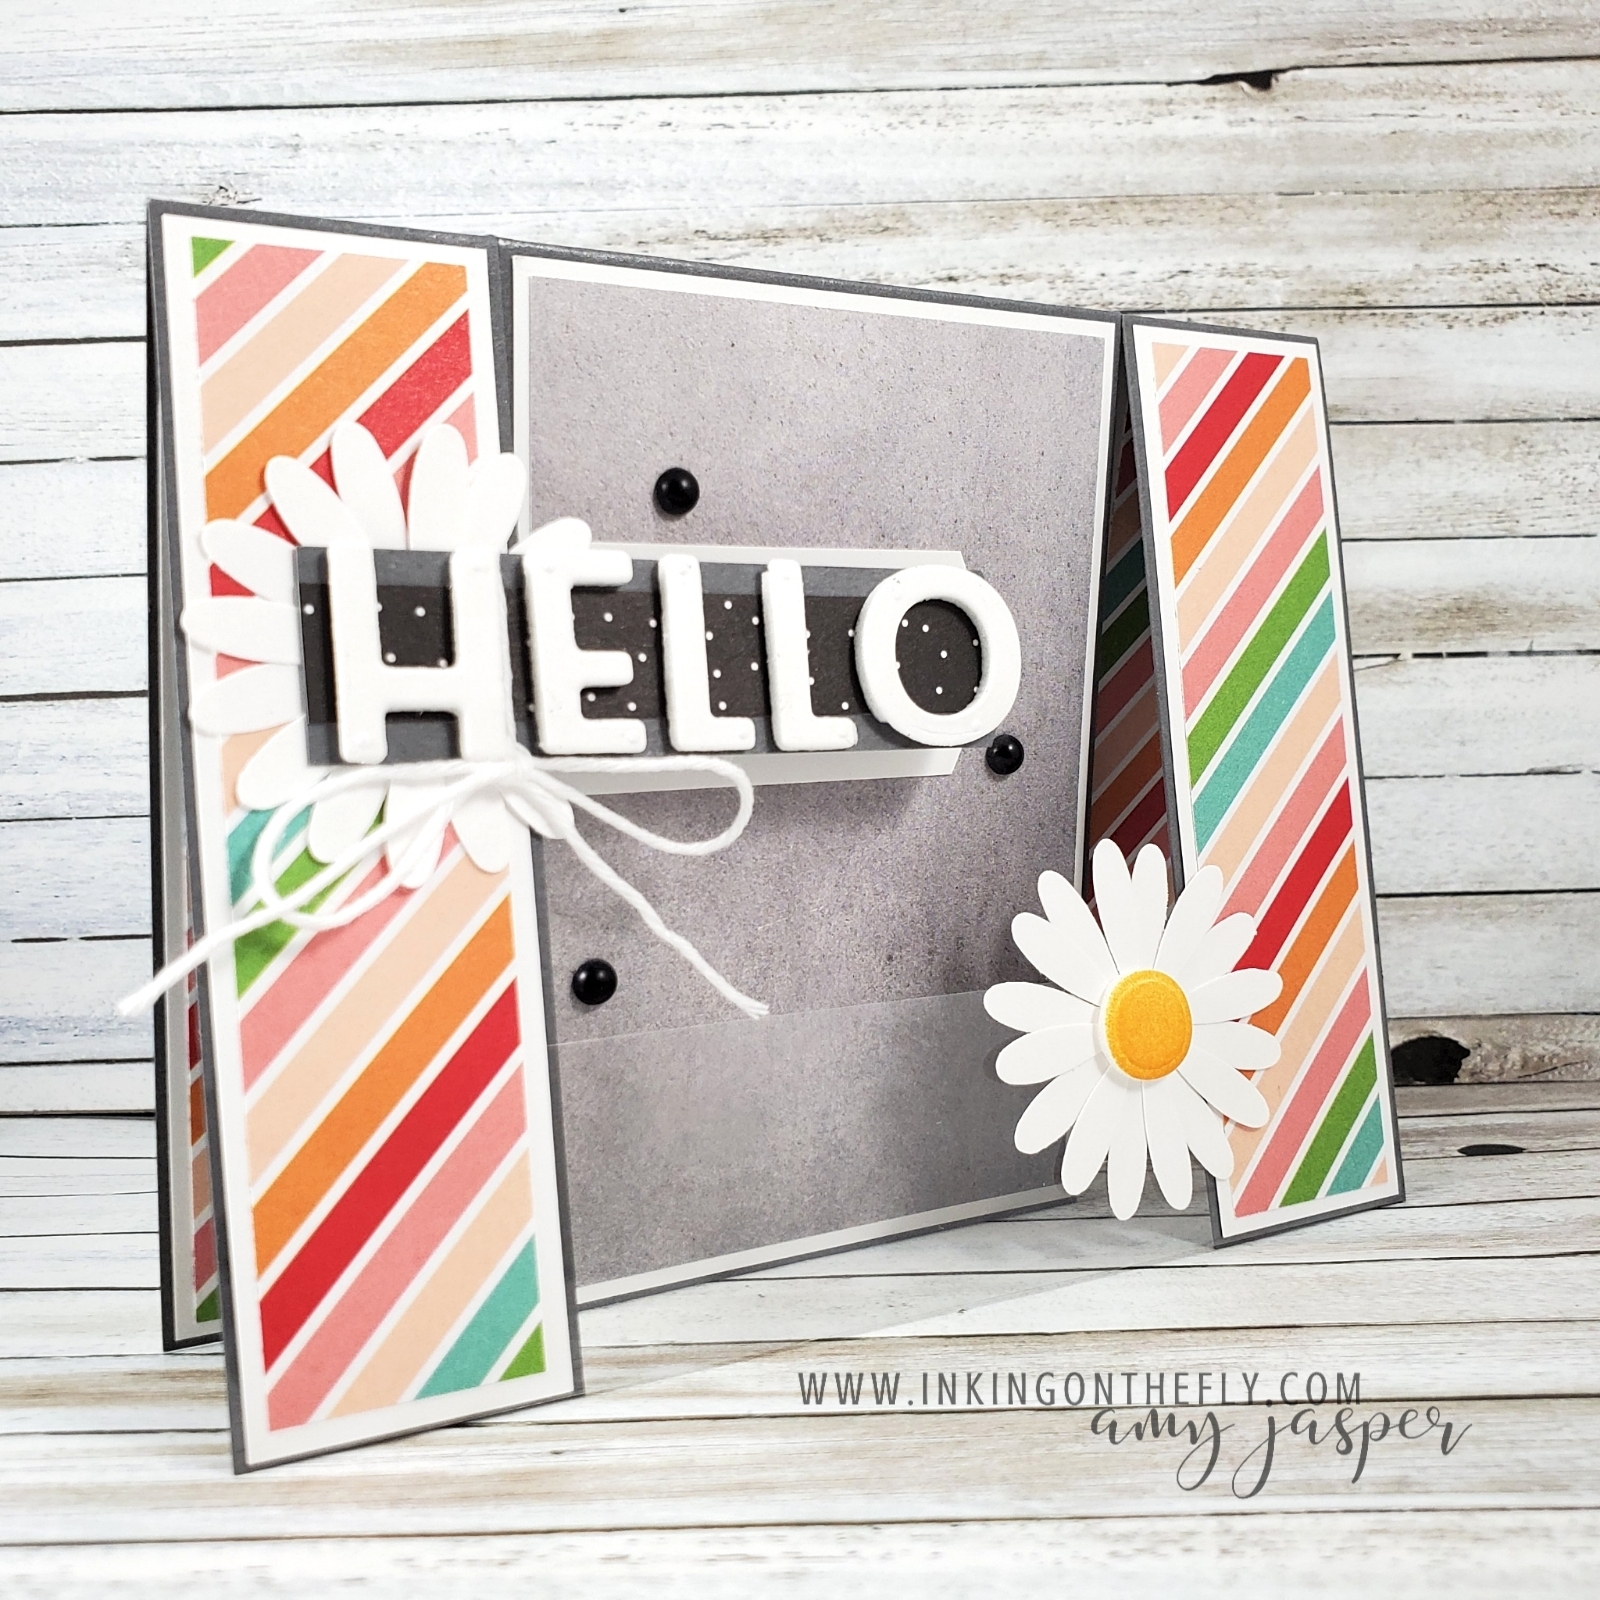
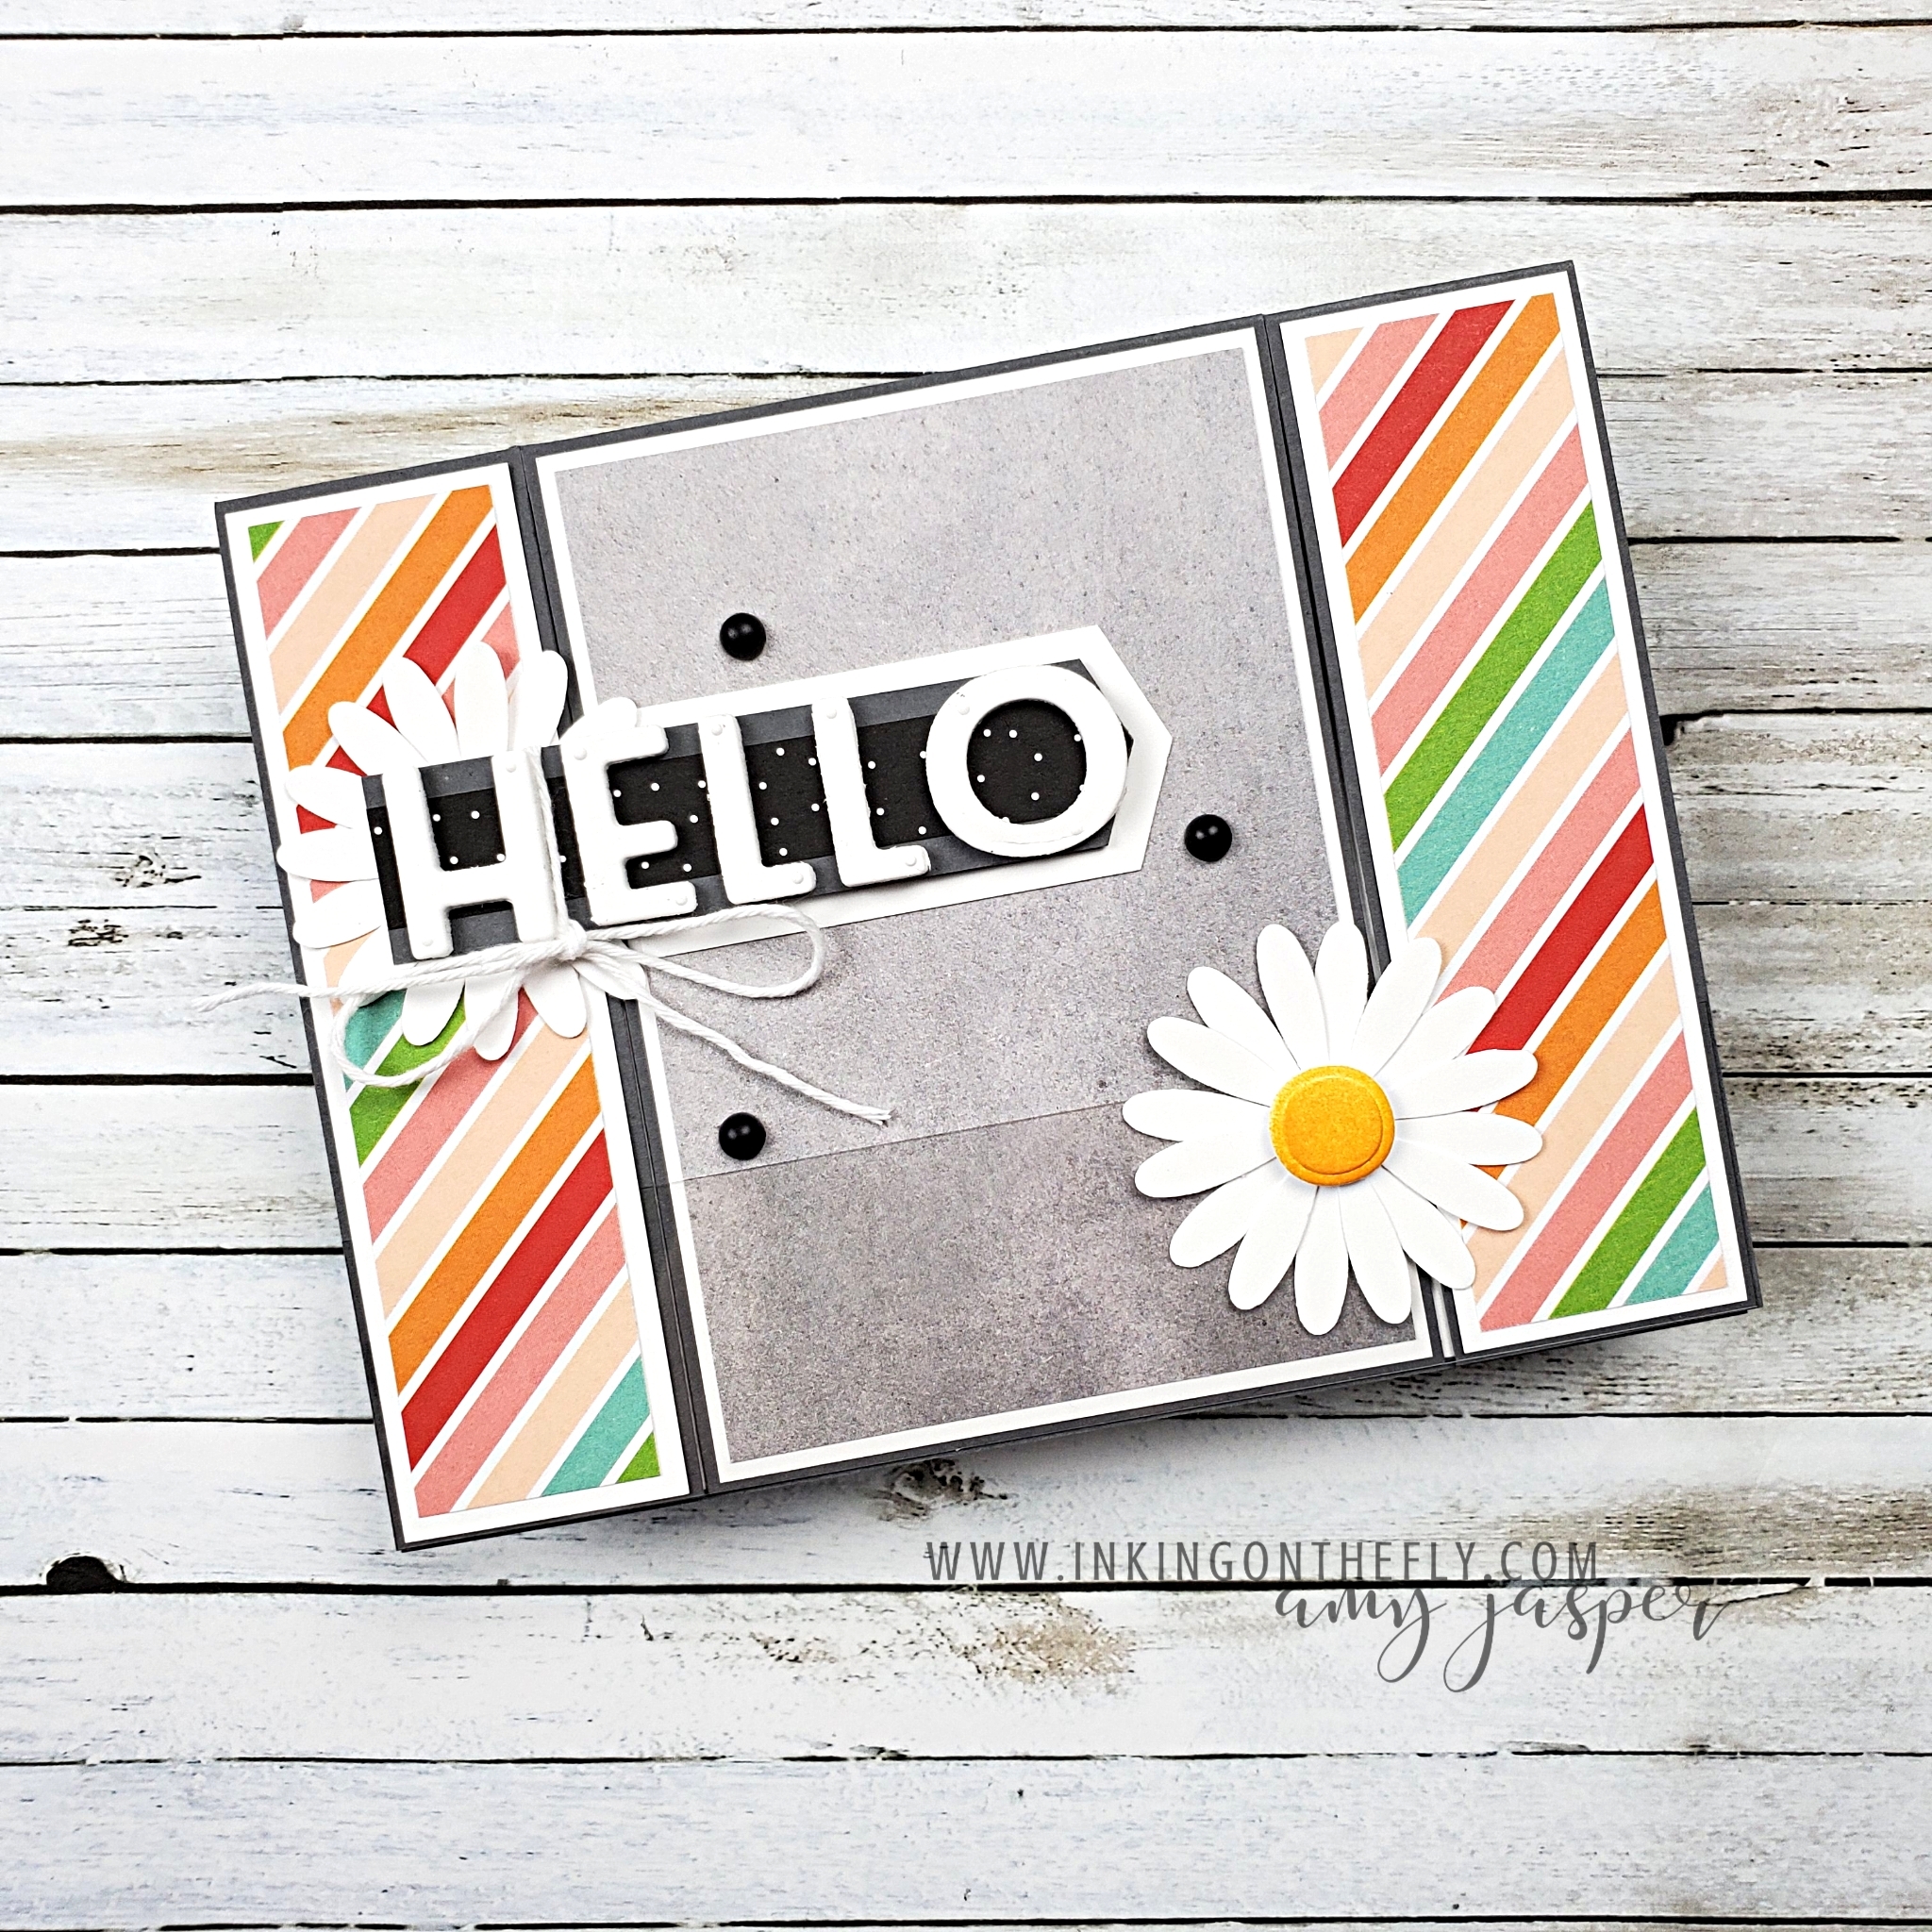
This fun-fold design shows off some of the cheerful paper from the Pattern Party Designer Series Paper (only available to hosts!).
The front of the card is split into three panels, with a spanning piece between the two side sections. I used a Window Sheet to span the space between, but I’ve also seen this type of card with paper across the front instead of the acetate.
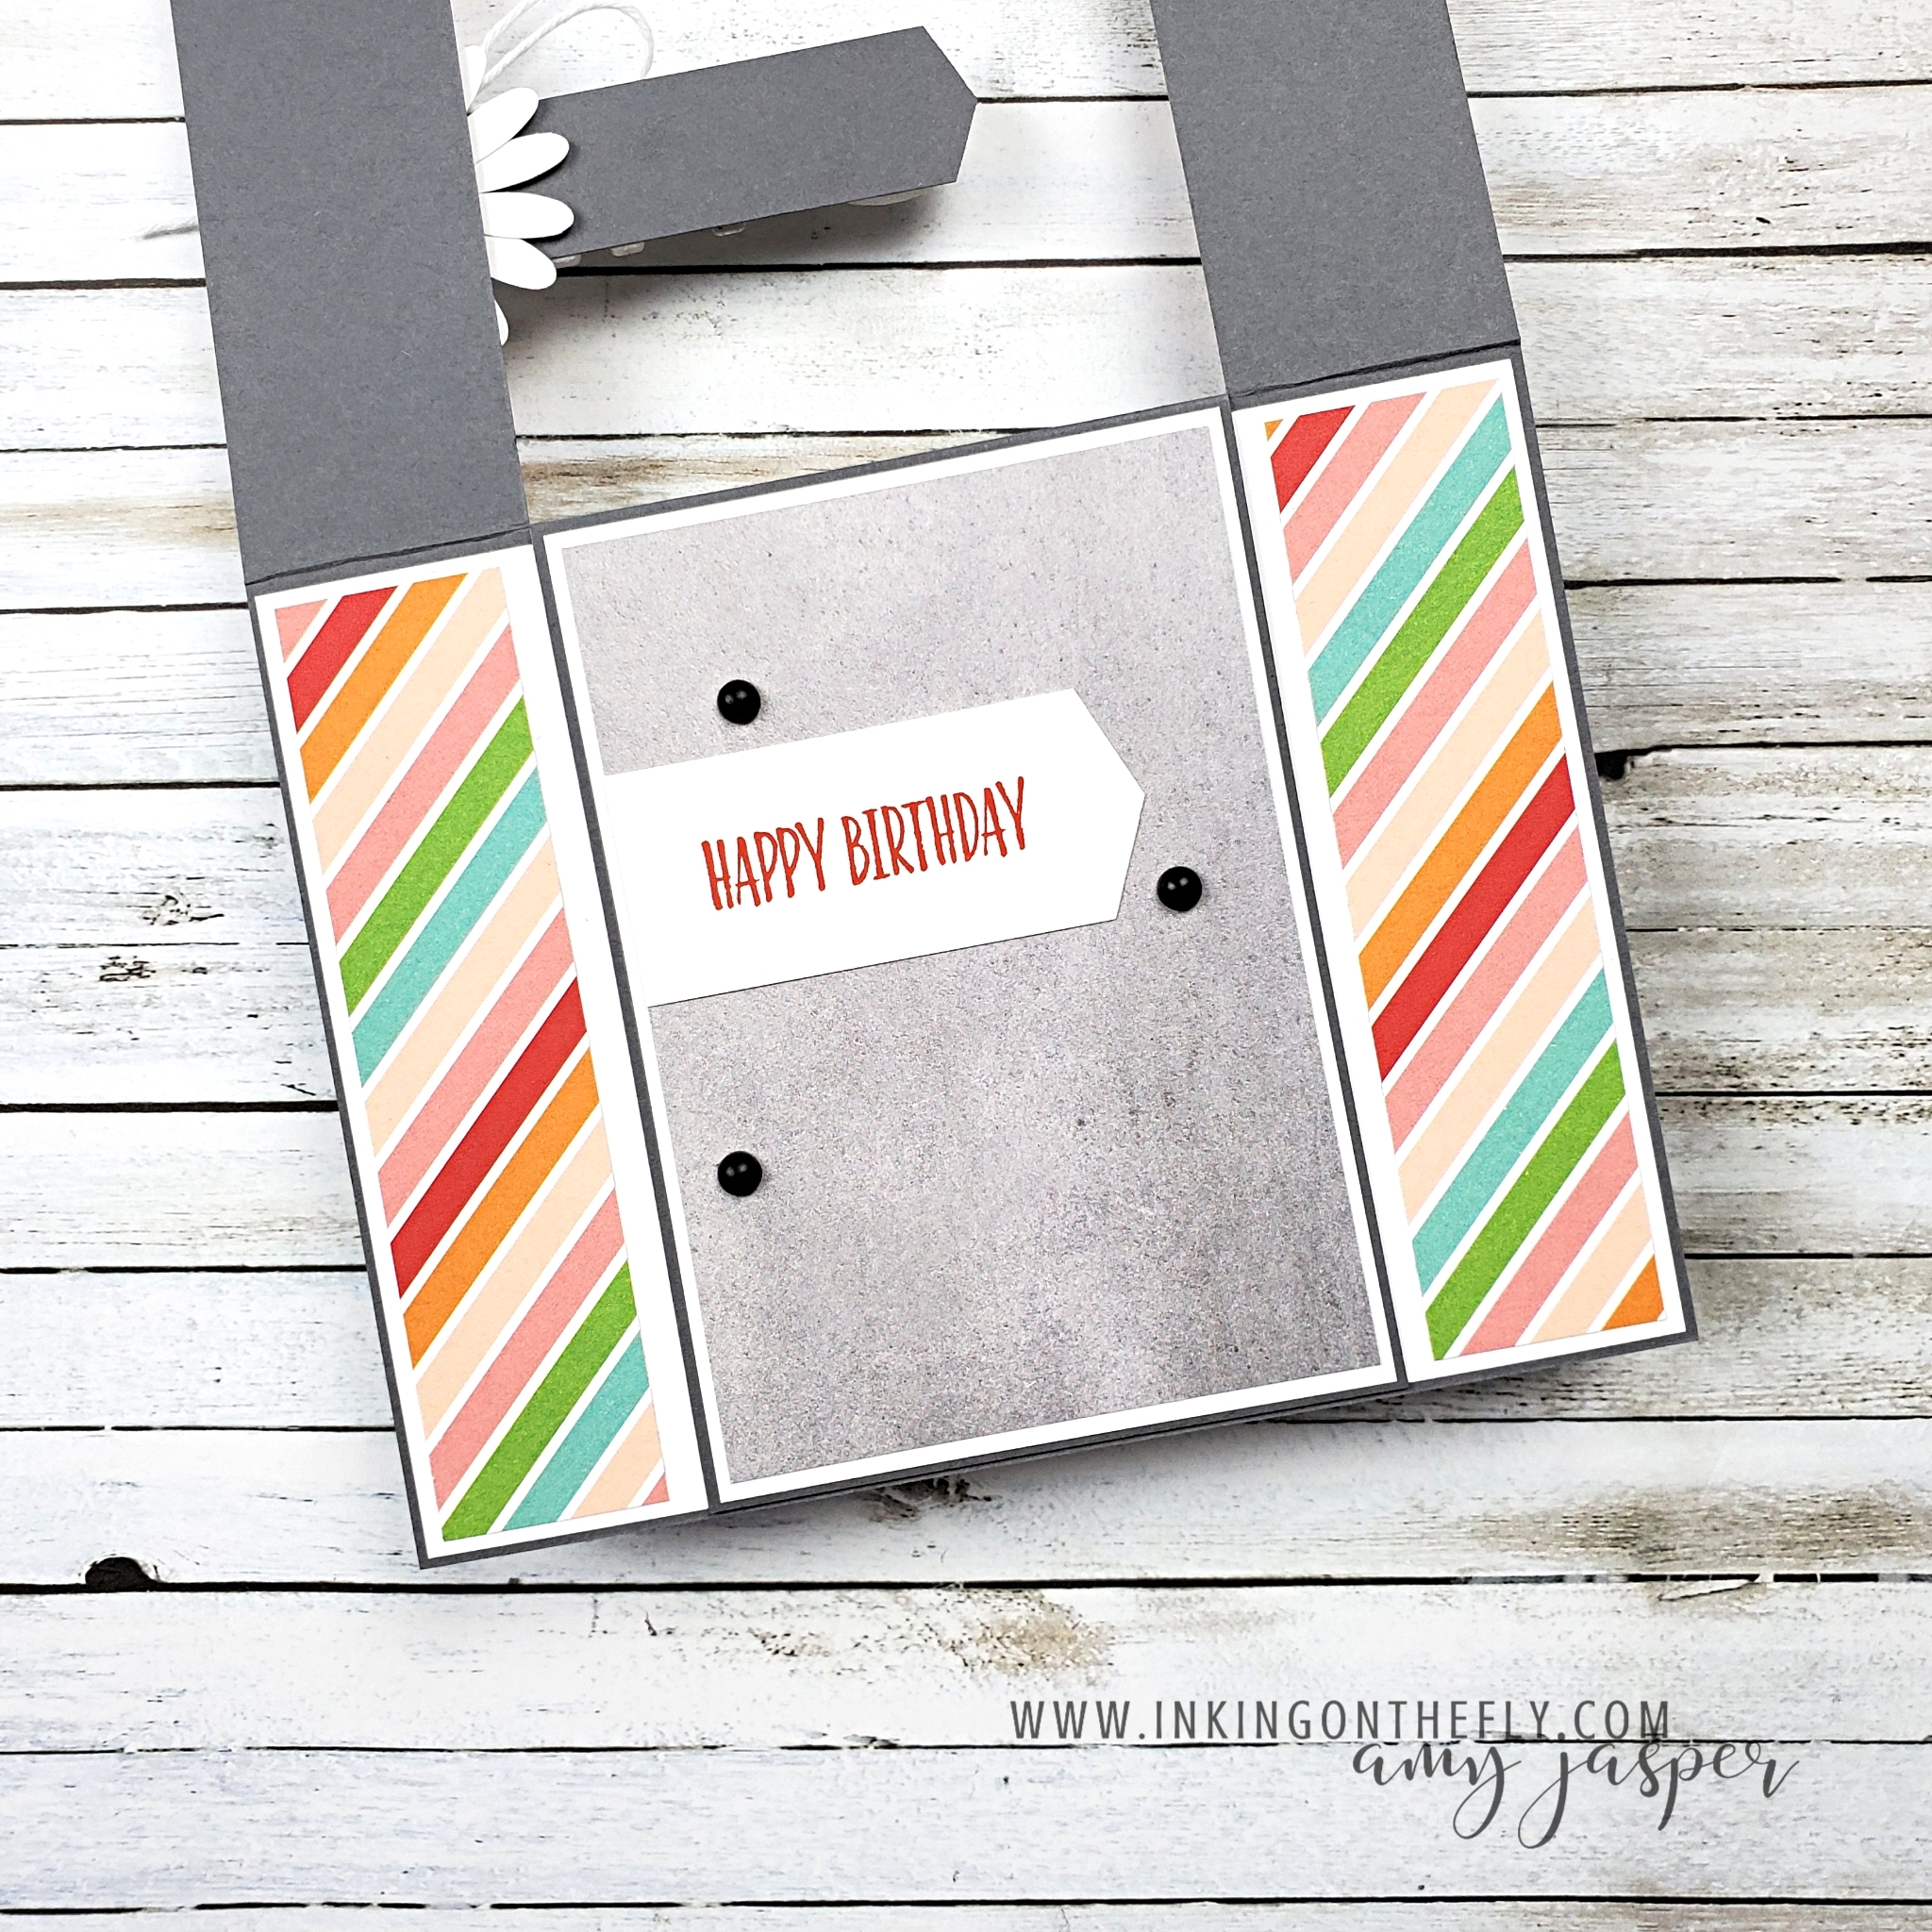
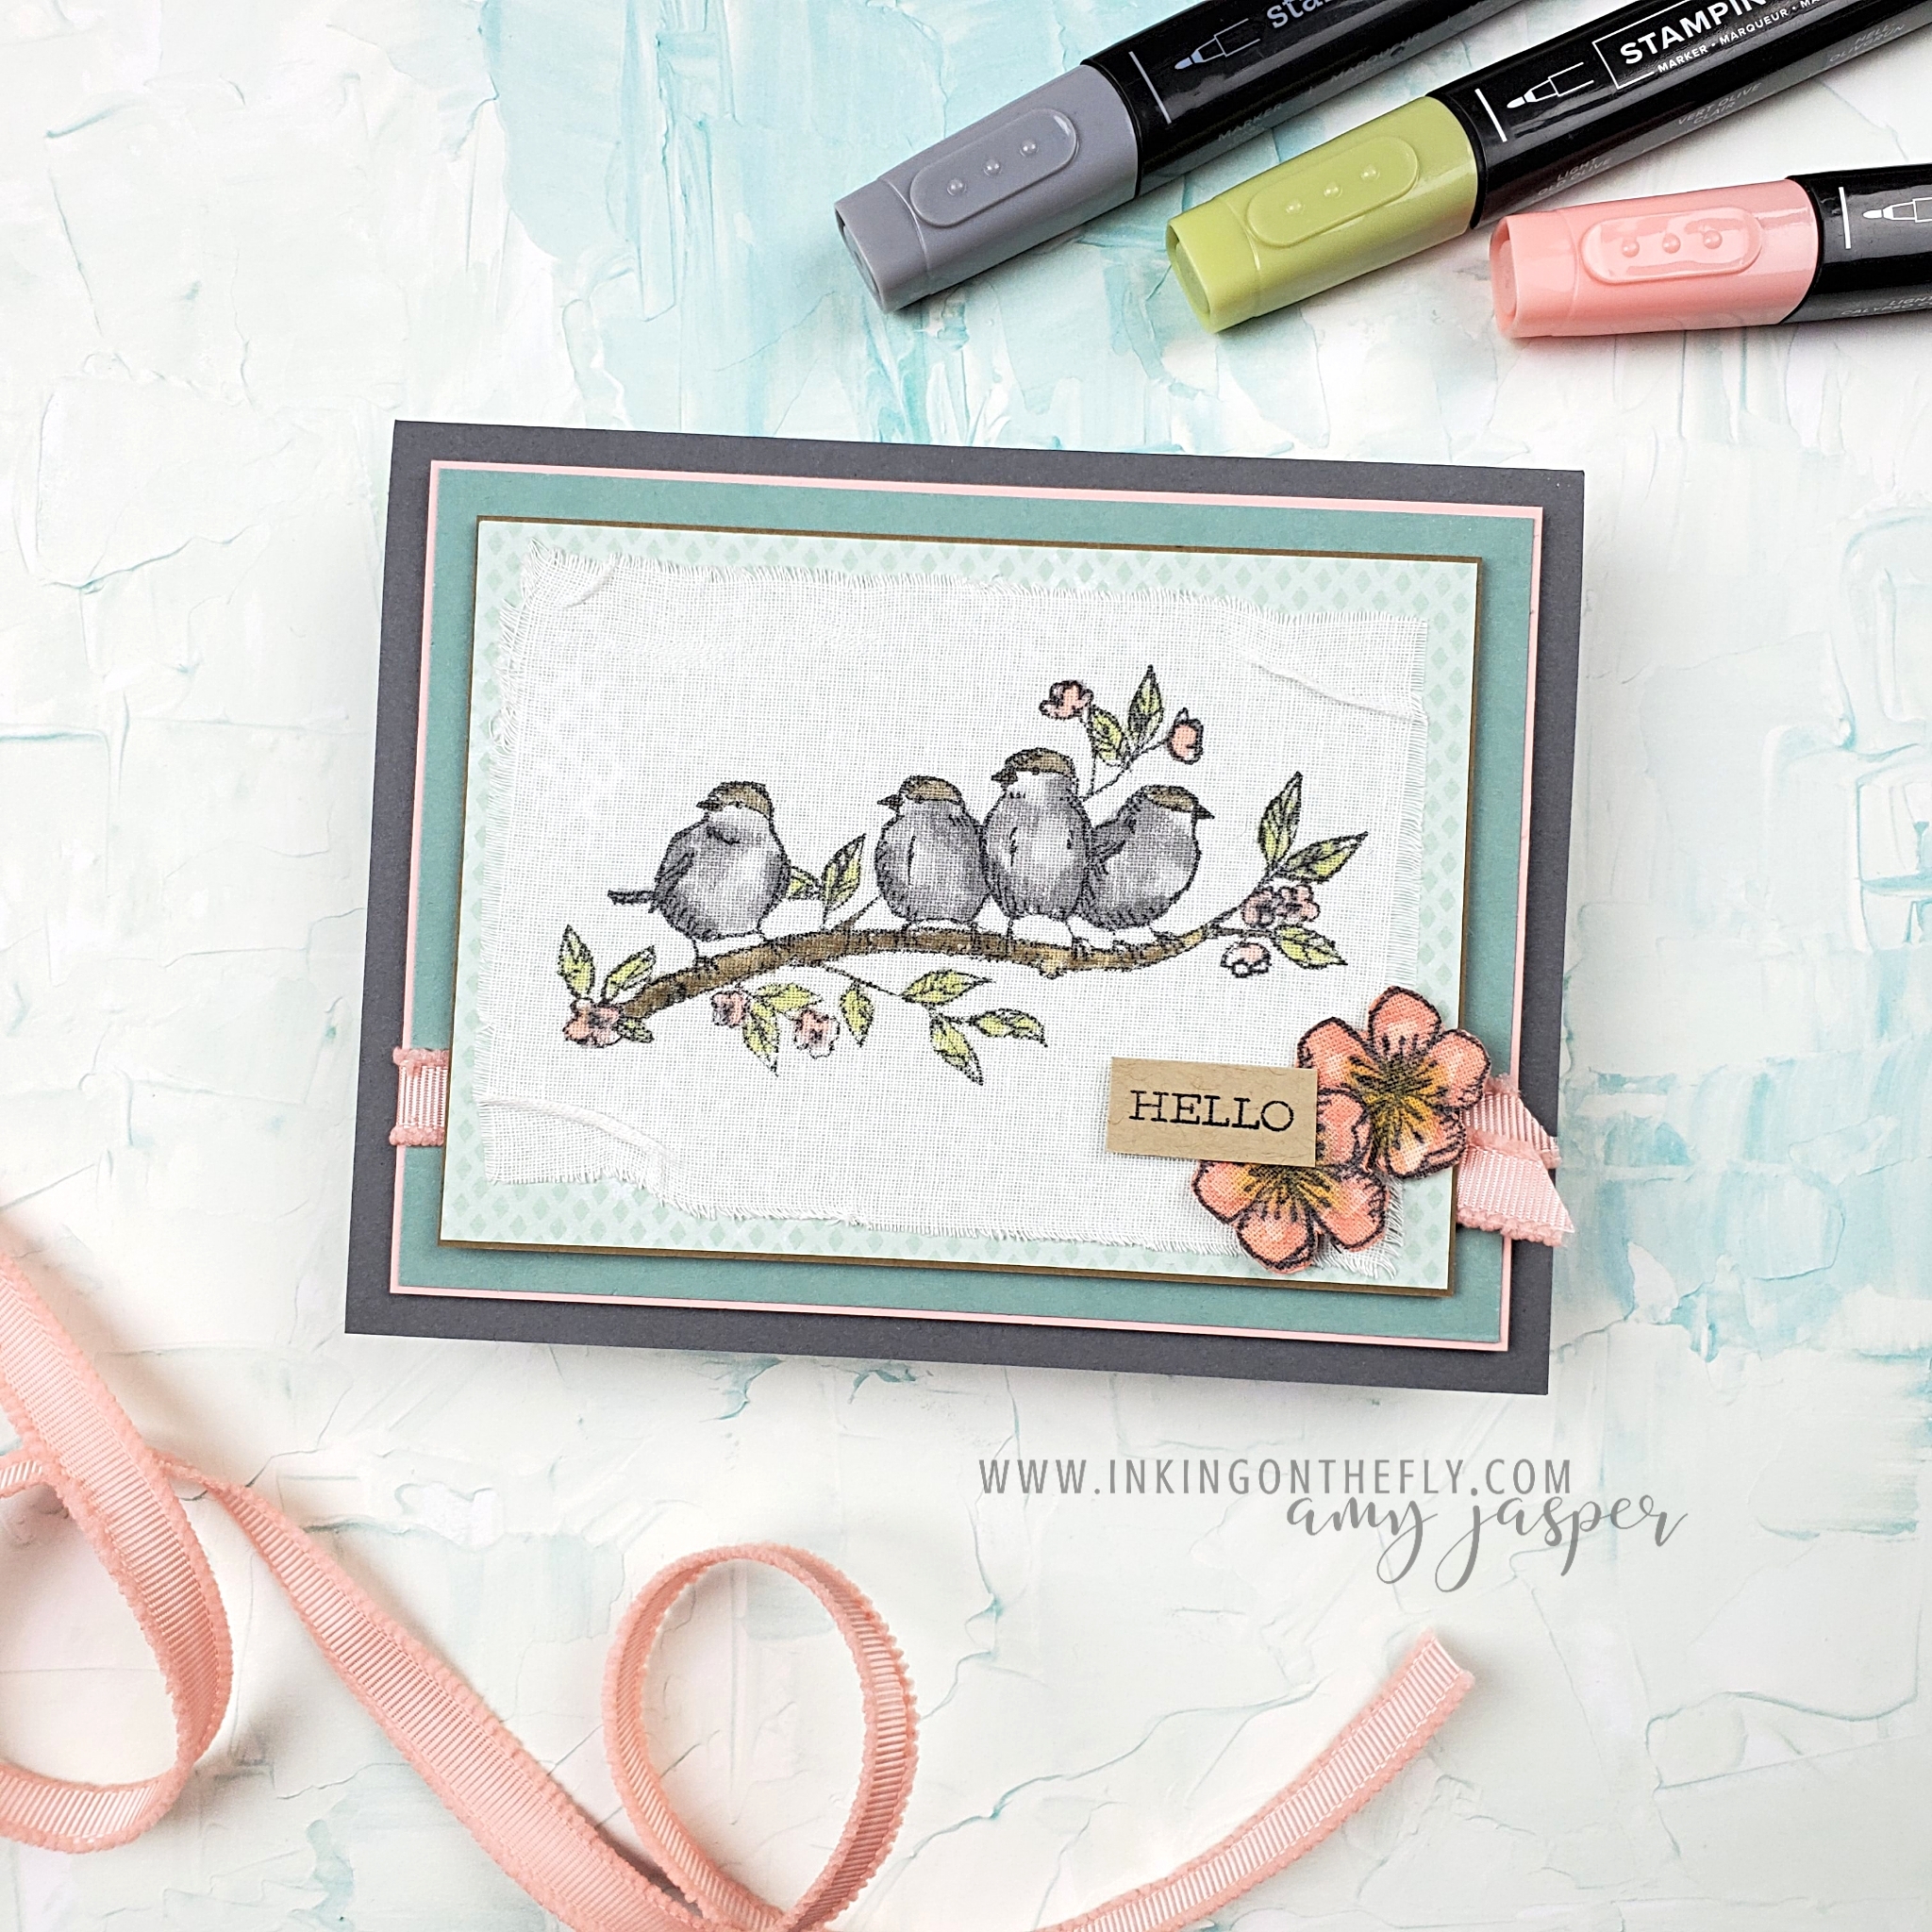
One thing I really like about this kind of card design, is that you have the opportunity to fit in some little extras in the layers. I chose to have the “hello” on the front of the card cover up another sentiment. That way, when you lift up the front, you have something to surprise you!
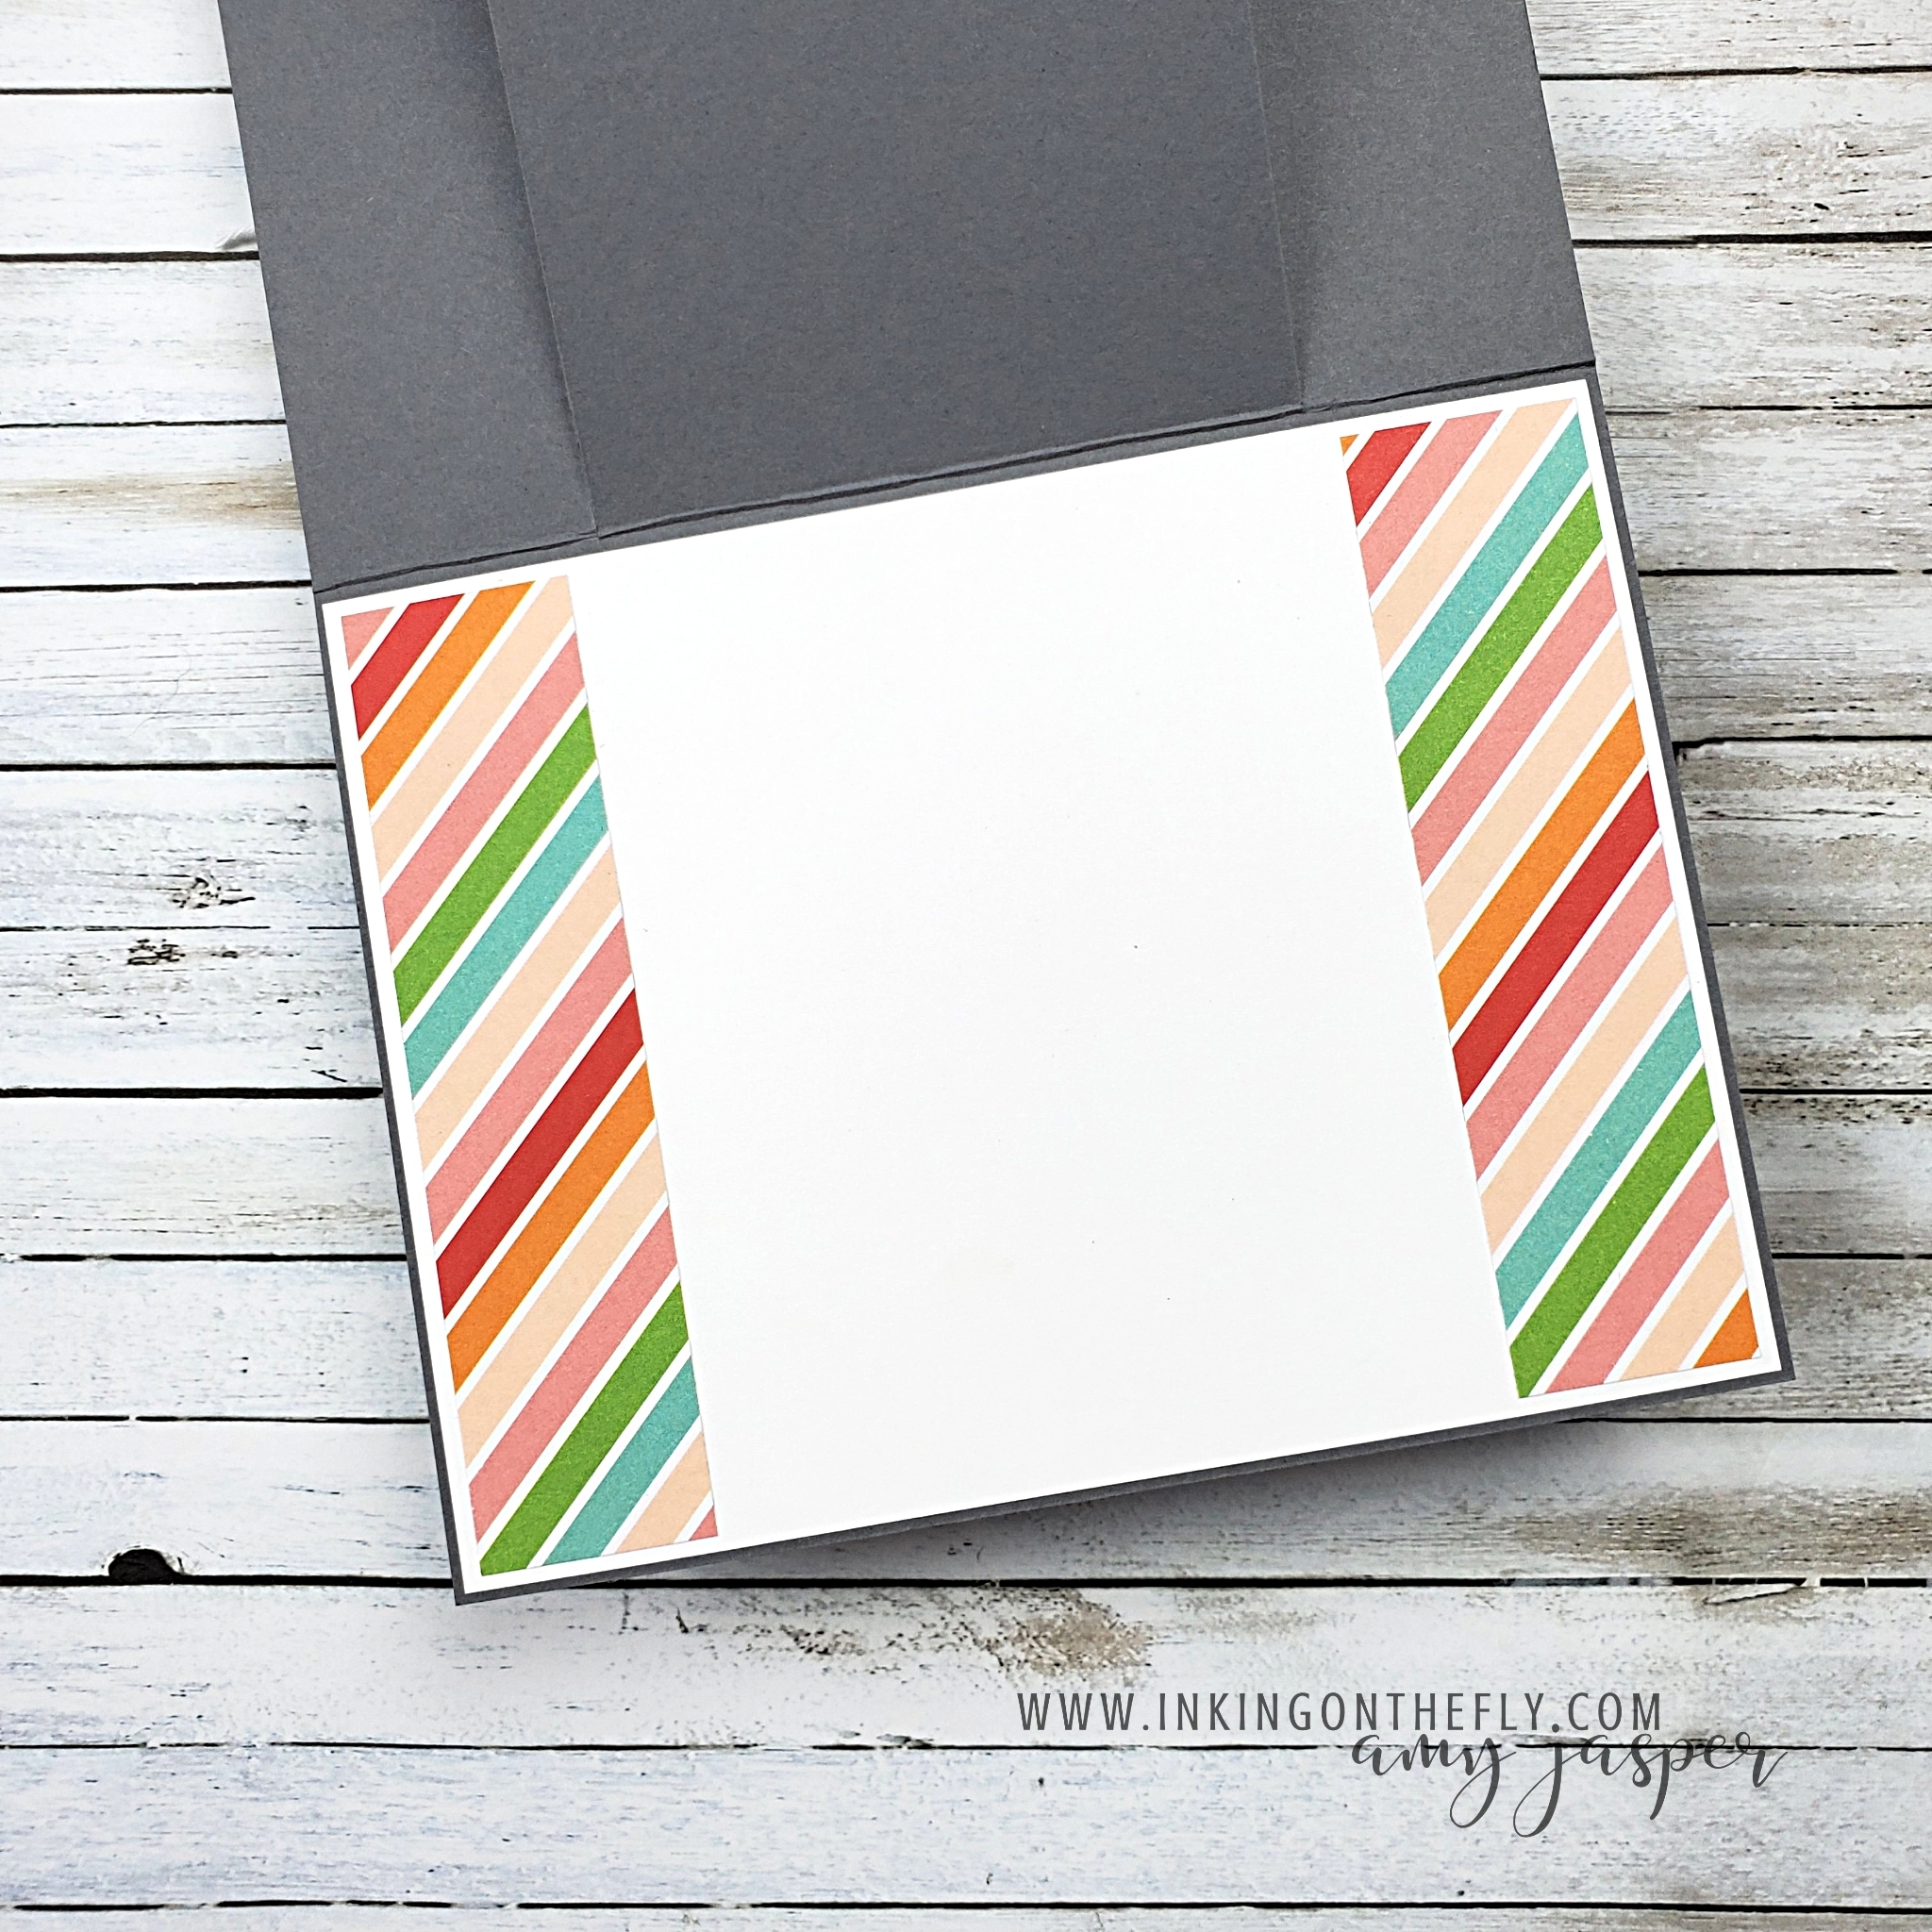
Finally, you flip up that middle section to reveal the area where you can write a personal message.
You can follow along with me in my video tutorial to see exactly how to make this card. You might not have the same products as I did, but you’re clever. I know you’ll be able to make something beautiful with your favourite supplies.
Of course, if you like any of the items that I used on this card, you can always order them from me here in Canada on my online store.
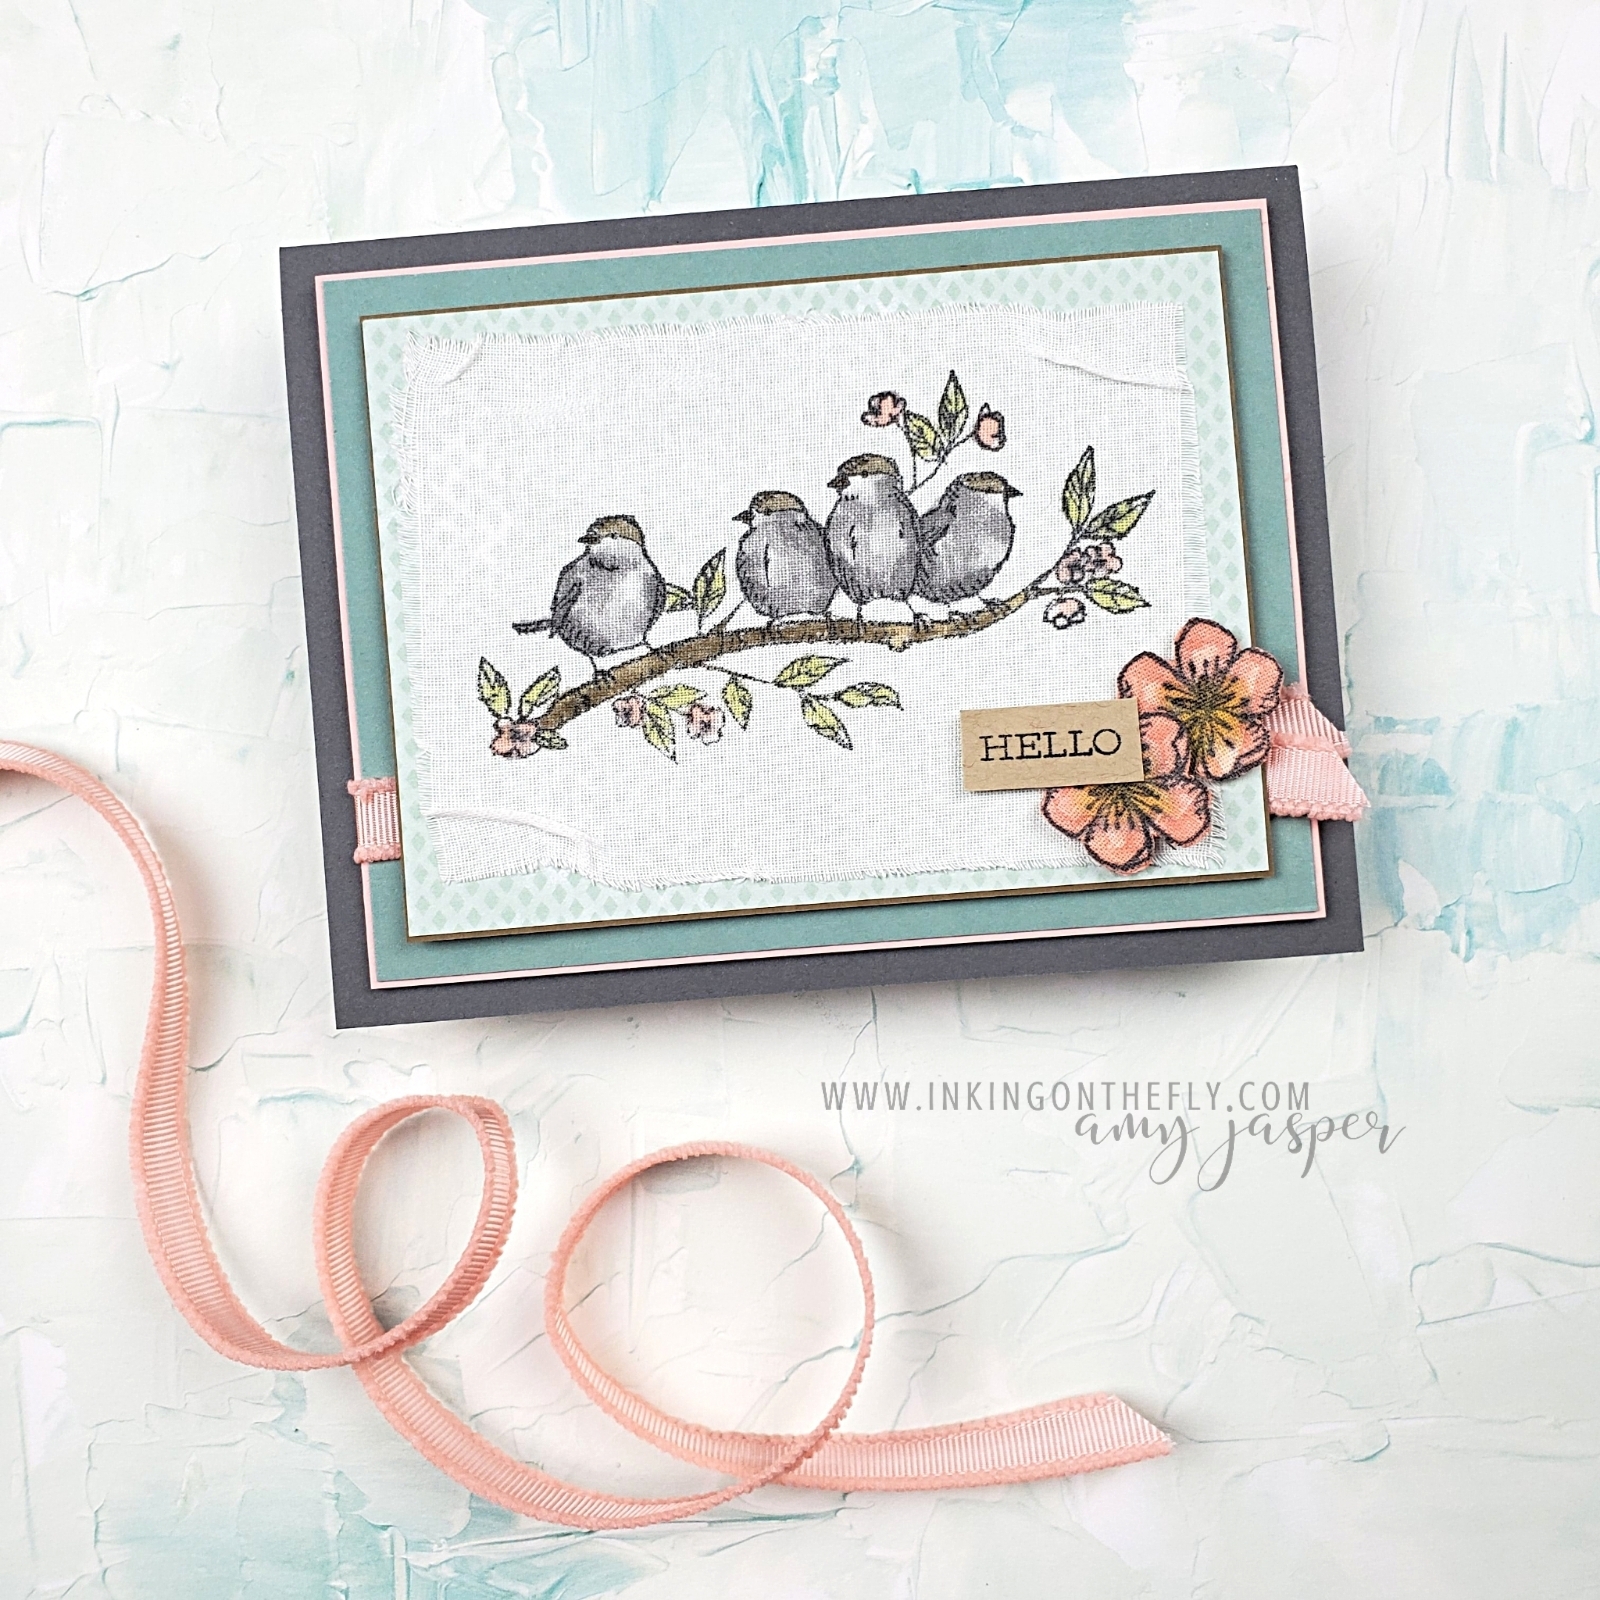
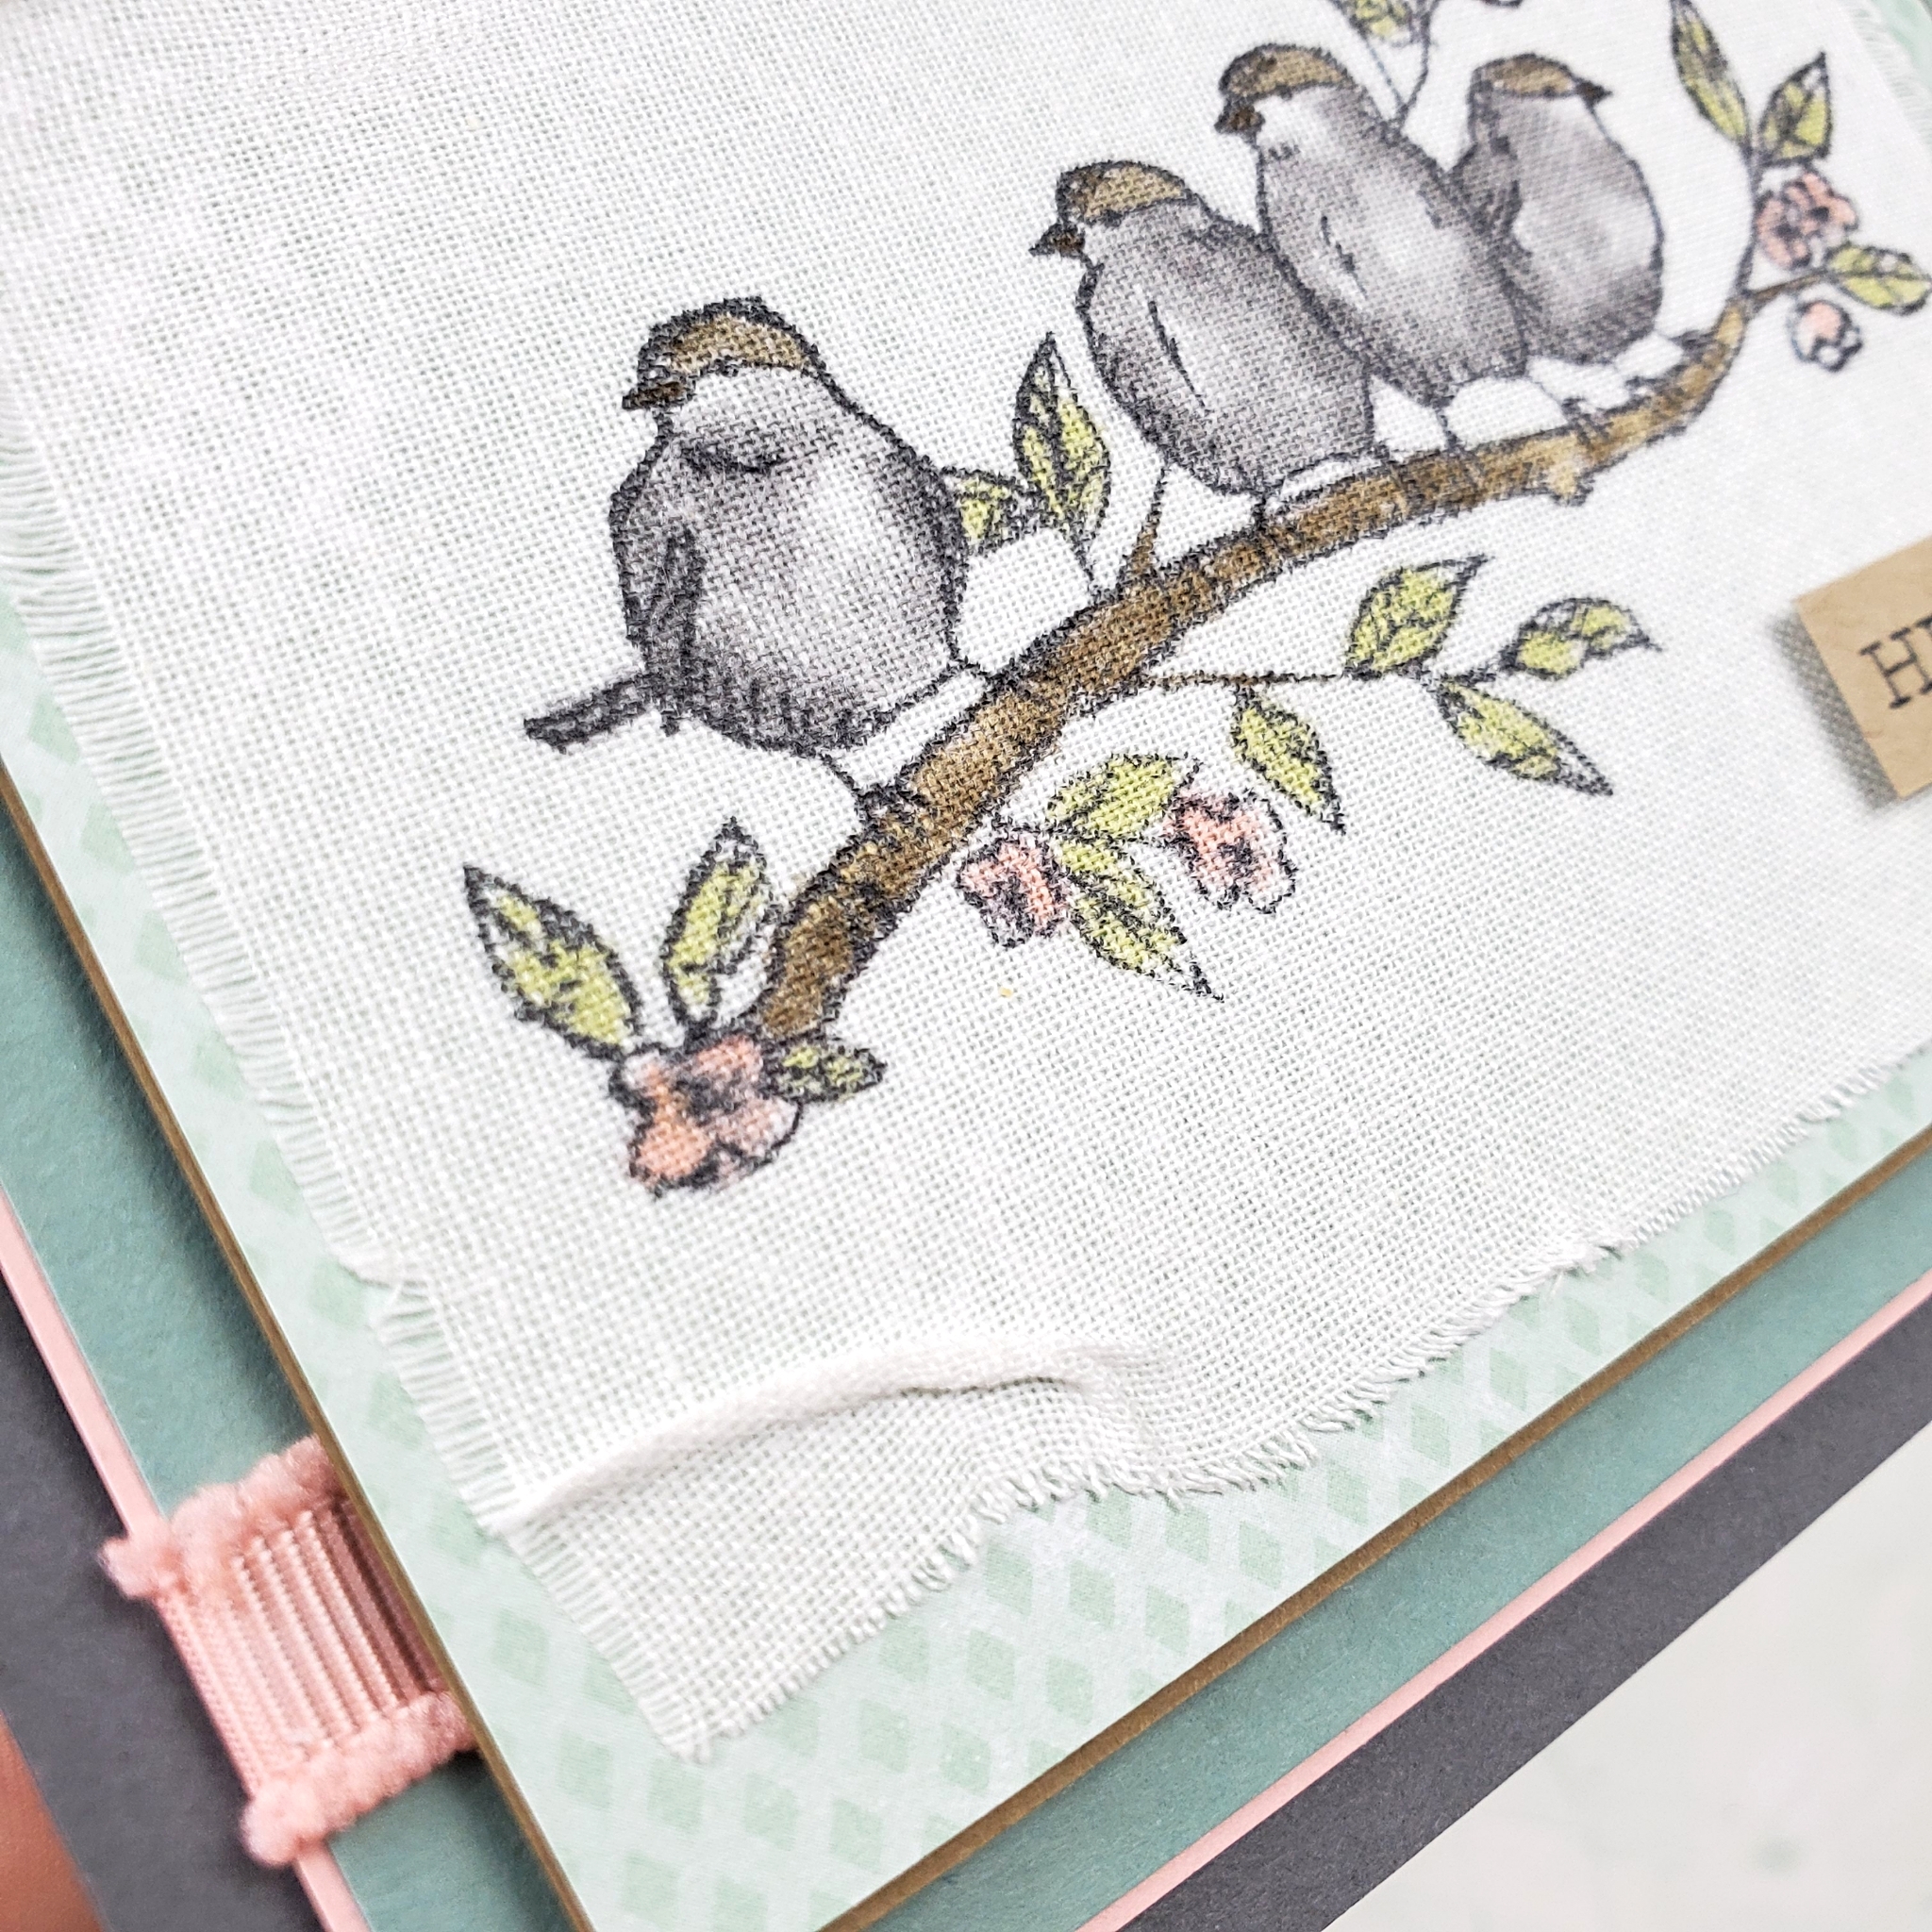
I can’t believe that I haven’t used the Linen Paper from Stampin’ Up!®️ until now! It was so much easier than I expected to use this adhesive-backed fabric. It’s fantastic!
I started by stamping the bird image on the Linen Paper with Jet Black Stazon Ink. Because this is an alcohol-based ink, I felt that it would be less likely to bleed on the fabric. As it turns out, my exploration of this unique paper showed me that the Tuxedo Black Momento ink also works great!
Colouring Tips
Stampin’ Write Markers and Stampin’ Blends Markers were both used to colour my birds. While the Stampin’ Write Markers seemed to place the ink where I wanted it to go, the ink from the Blends Markers would spread. Using a feather-light touch, I was able to control the spread of the Blends Markers ink and have it work for me instead of against me.
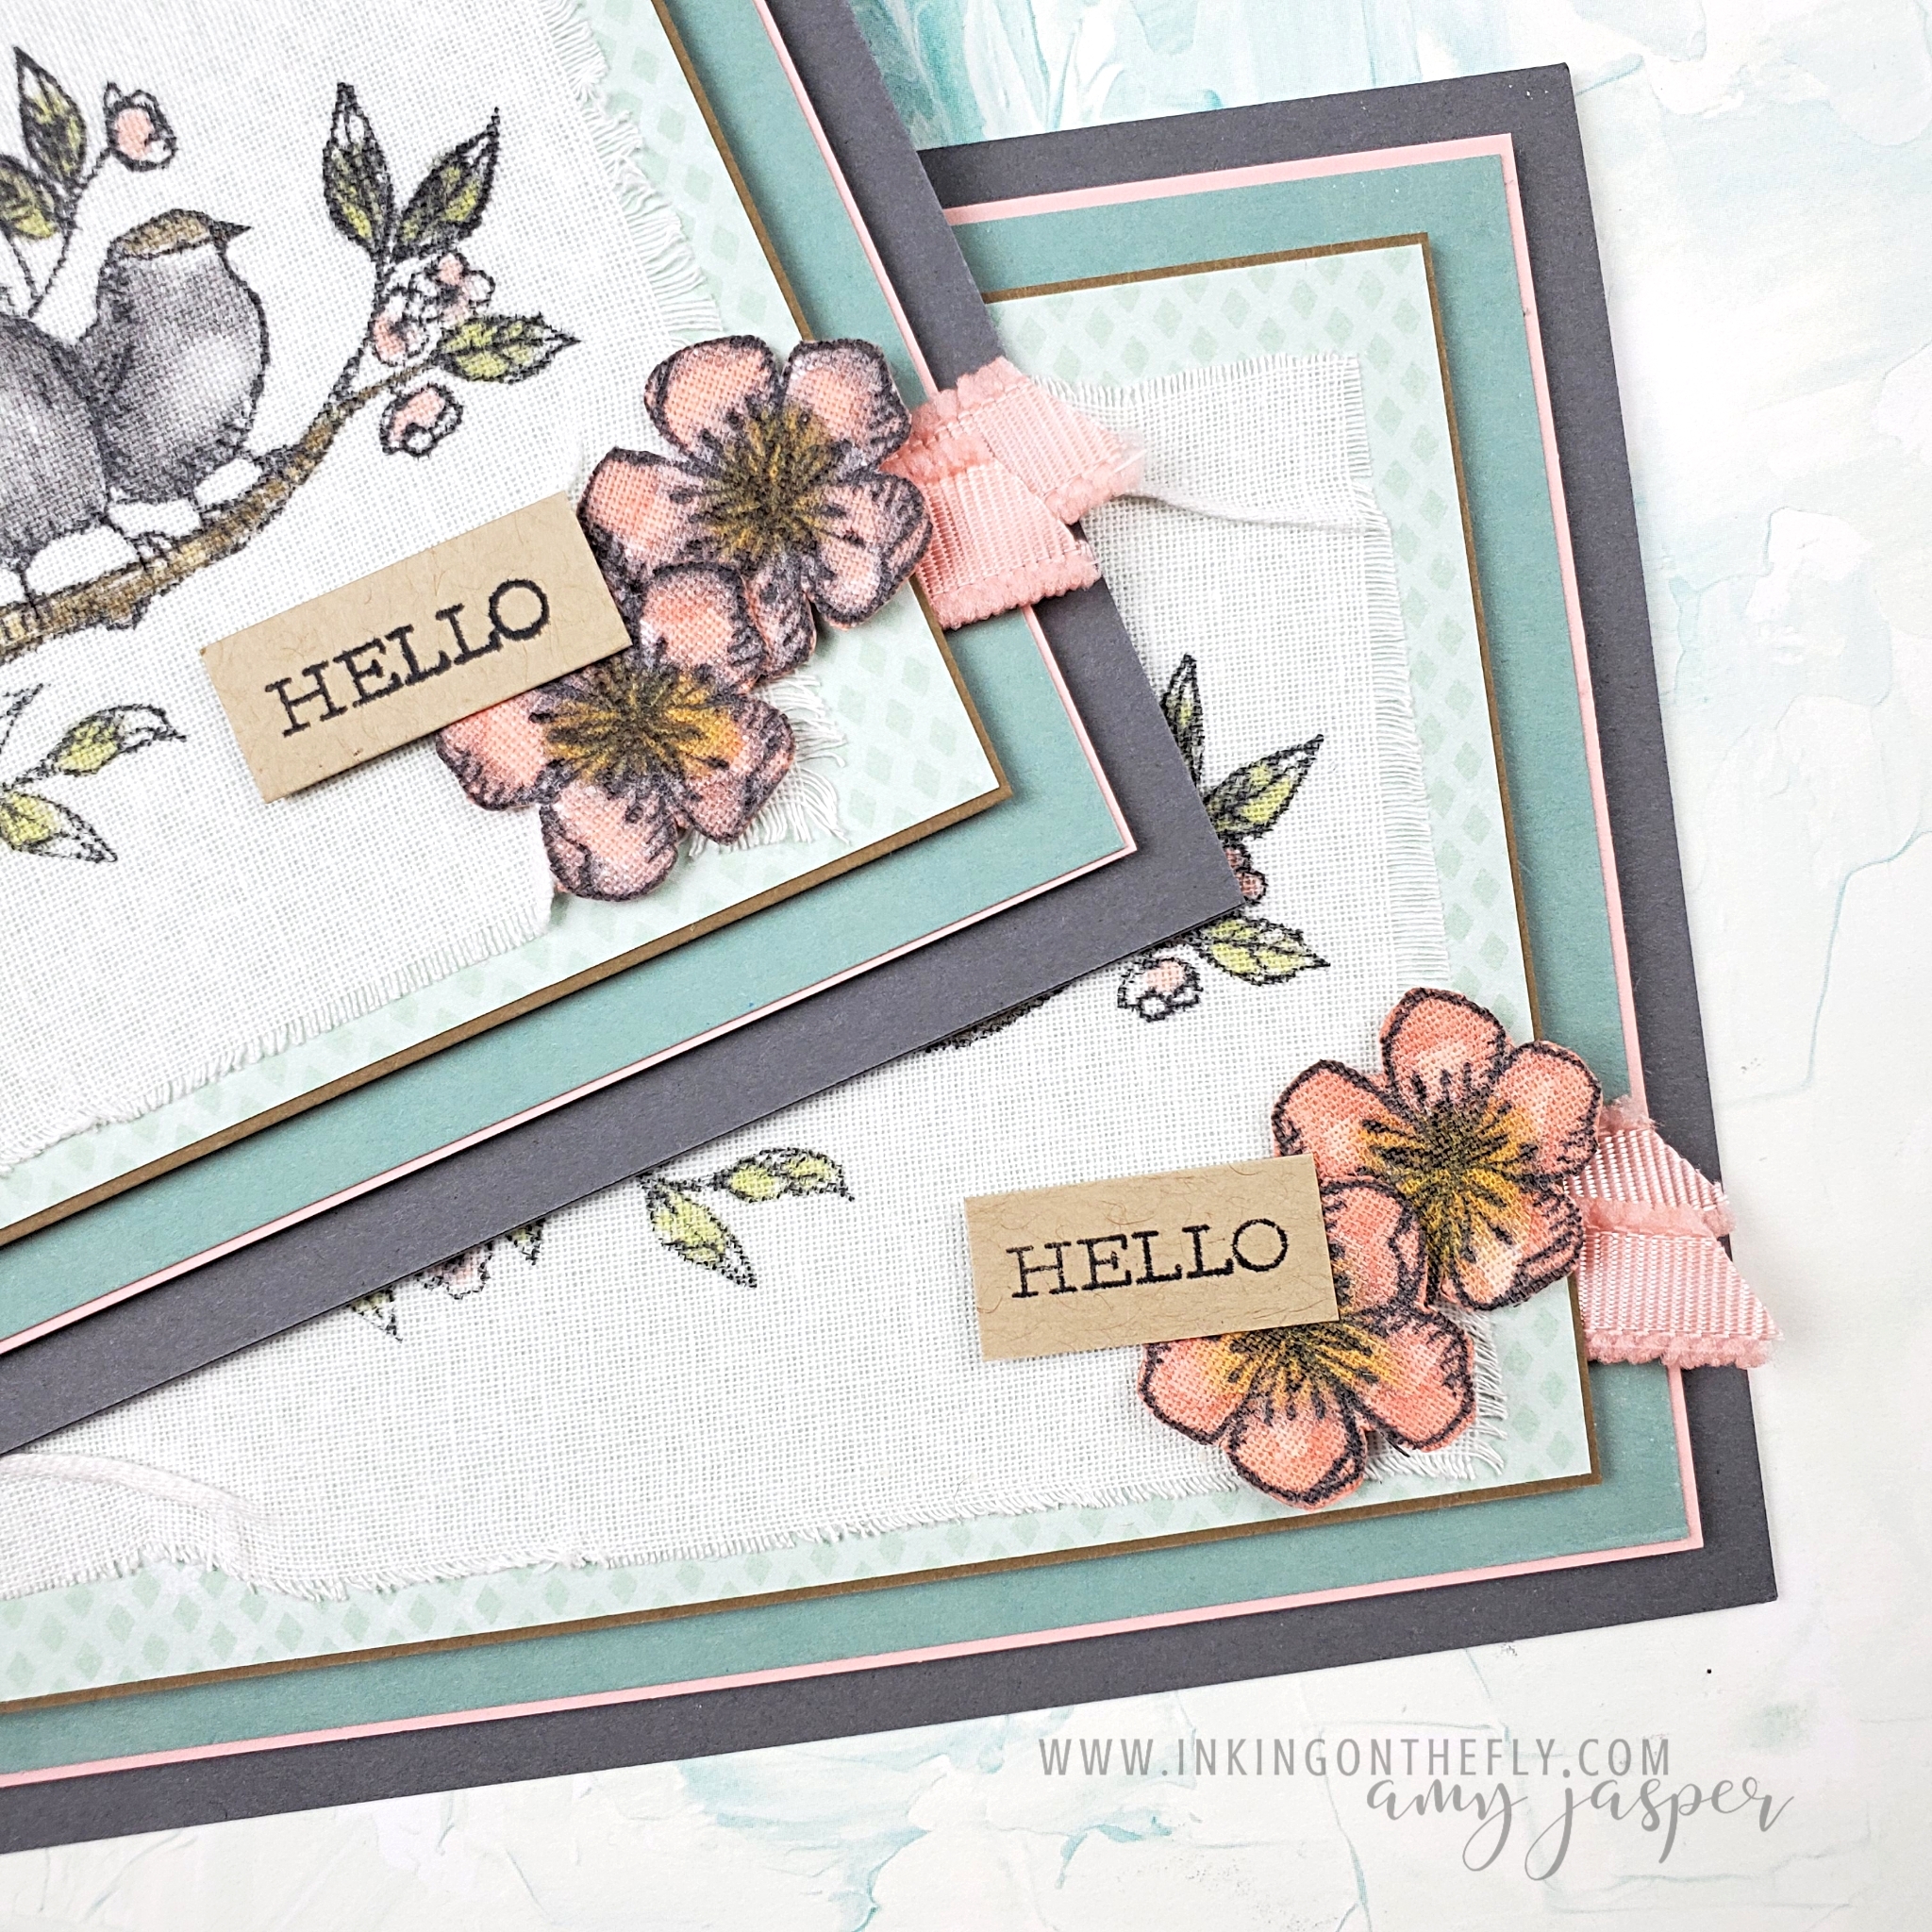
After using the Stazon ink and Blends Markers on the birds, I stamped the little blossoms on the Linen Paper. I coloured them with the Blends Markers, but with a heavier hand and discovered that it caused the Stazon ink to bleed and mix with my colour. This isn’t really surprising, considering that Stazon and the Blends Markers are both alcohol-based inks. However, what was surprising was that the markers didn’t cause the Stazon lines on my bird image to bleed. The lesson here is that a light touch while colouring reduced the risk of bleeding the lines, while the heavy hand increases the risk.
In the end, if you use Momento Tuxedo Black ink when colouring with the Blends, you won’t have to be concerned with this happening.
You can see in the image above, the difference in my flowers. The flowers on the left were stamped using Stazon ink and coloured with the Blends Markers. Comparatively, the flowers on the right were stamped using Momento ink (water-based ink) and coloured with the Blends markers. Voila! Crisp lines and clean colours!
Every $60 of product that you order allows you to get a FREE Sale-a-bration item. This is a great time to stock up on your favourite products and get free stuff.
Watch the video
Follow along or skip to the good parts to observe my colouring technique and how I frayed the edges of the Linen Paper. You’ll see a few more colouring tips and tricks.