whimsy & wonder

Repeat the Sounding Joy

Sometimes I start making a card with a very specific plan, then something happens and my plan morphs into something completely different. That’s exactly what happened with this design.

Not that my original idea was bad, it just wanted to be something else, LOL!

I made this card as one of the samples for the As You See It Challenge blog. You can go over there and check out some of the other ideas posted. If you’d like to try this challenge, then you can also share it over there on the blog. We love to see your beautiful designs!

Today, the AYSI blog has an assortment challenge for us. You must include all of the items listed to participate in the challenge.

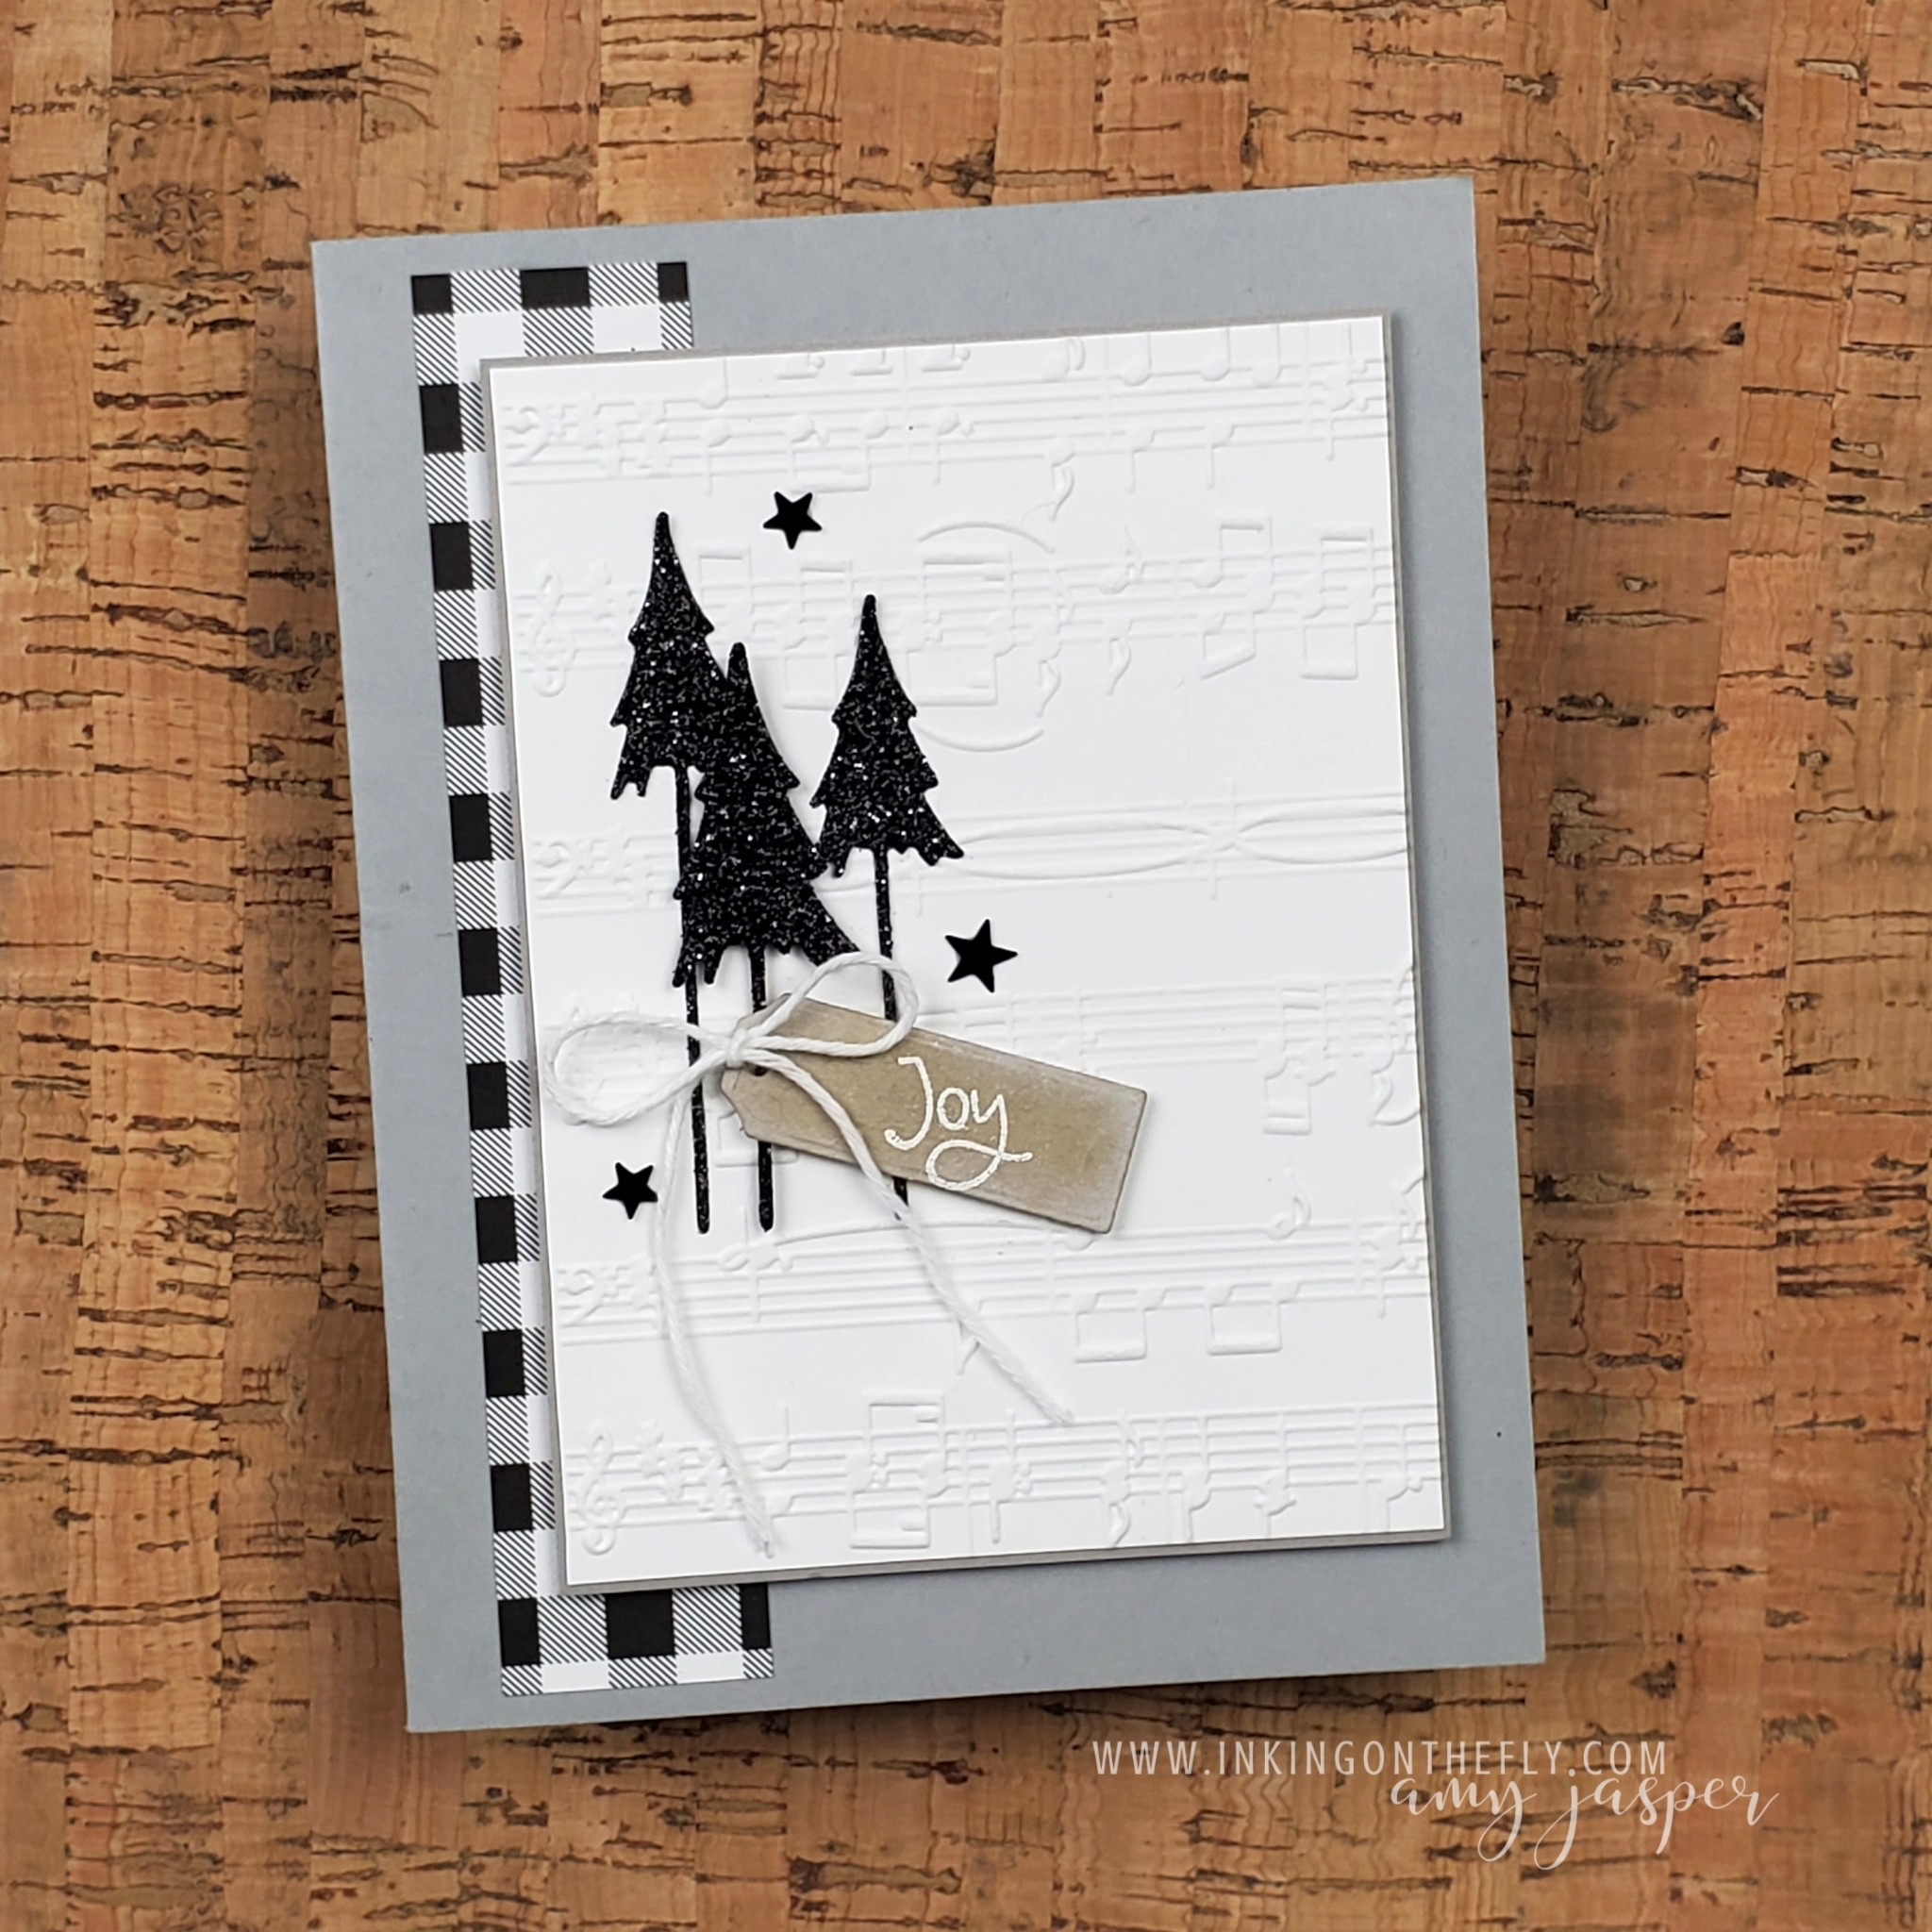
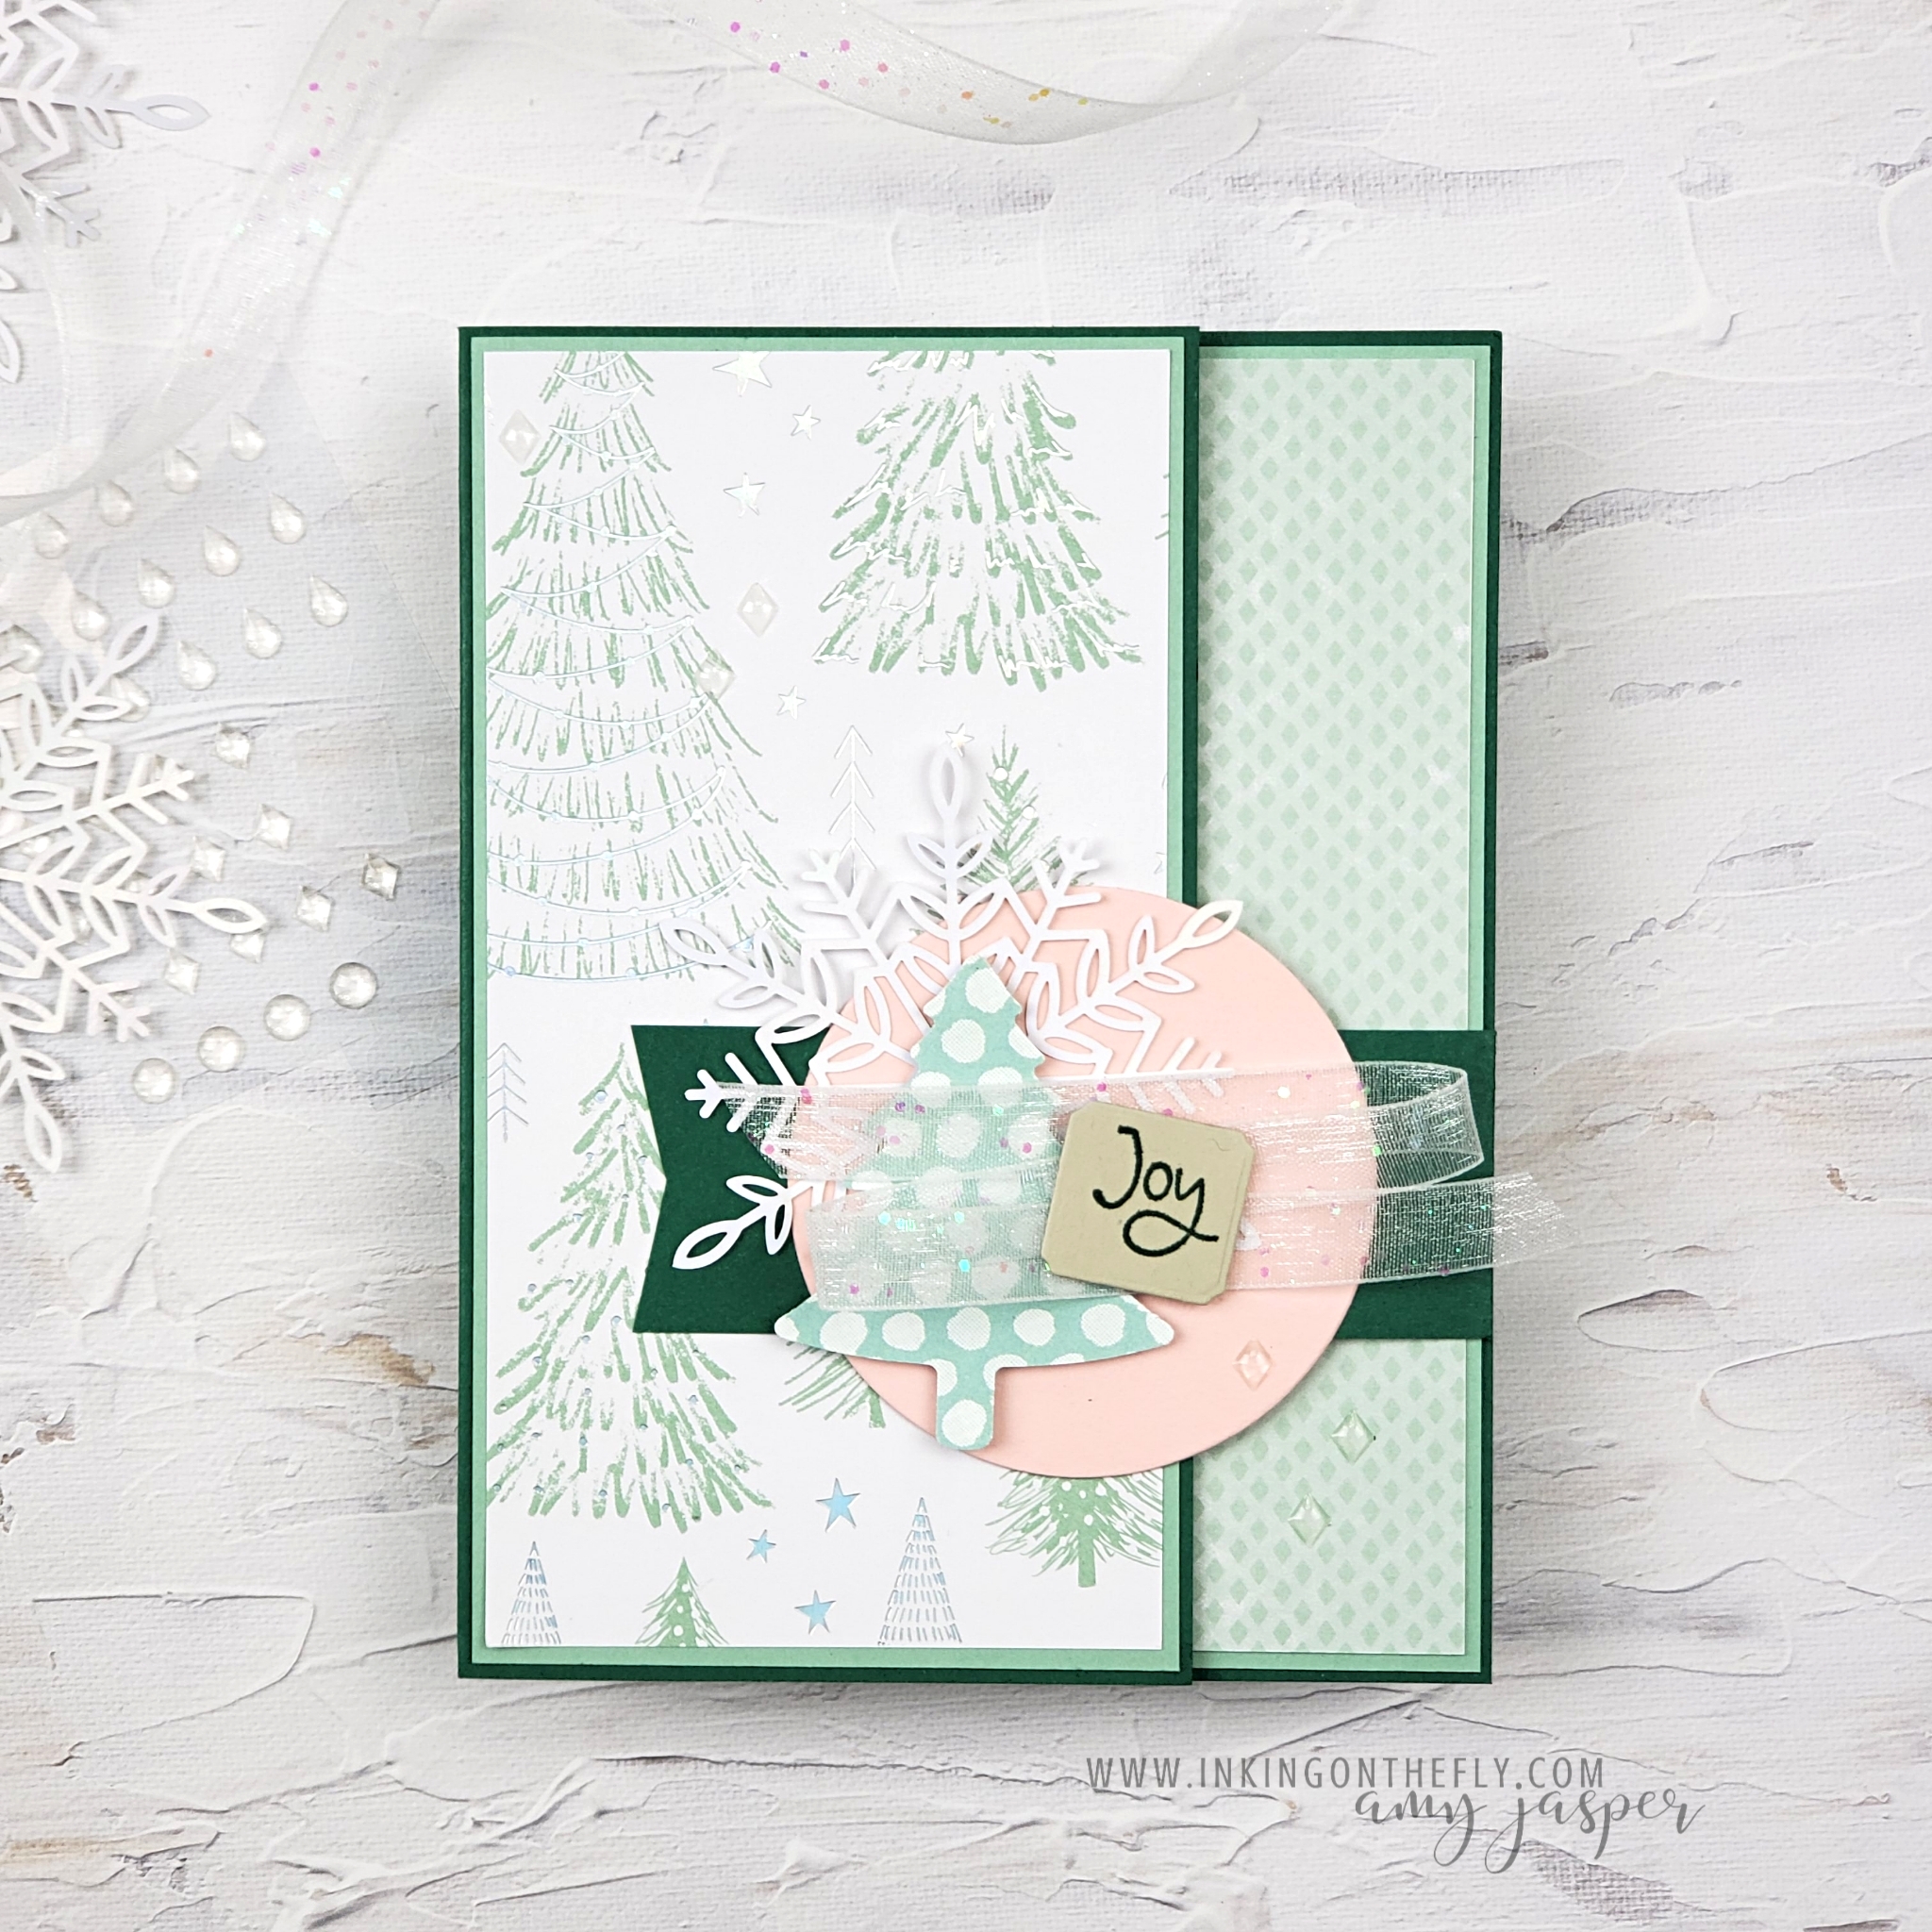
Originally, I wanted to work with Crumb Cake and Basic White for a classic and clean design. However, as I went along, I ended up with a Smoky Slate card and only a pop of Crumb Cake! The black accents were not part of the original plan, but once I reached for the black gingham paper from the Pattern Party designer paper, that’s when everything started to shift.

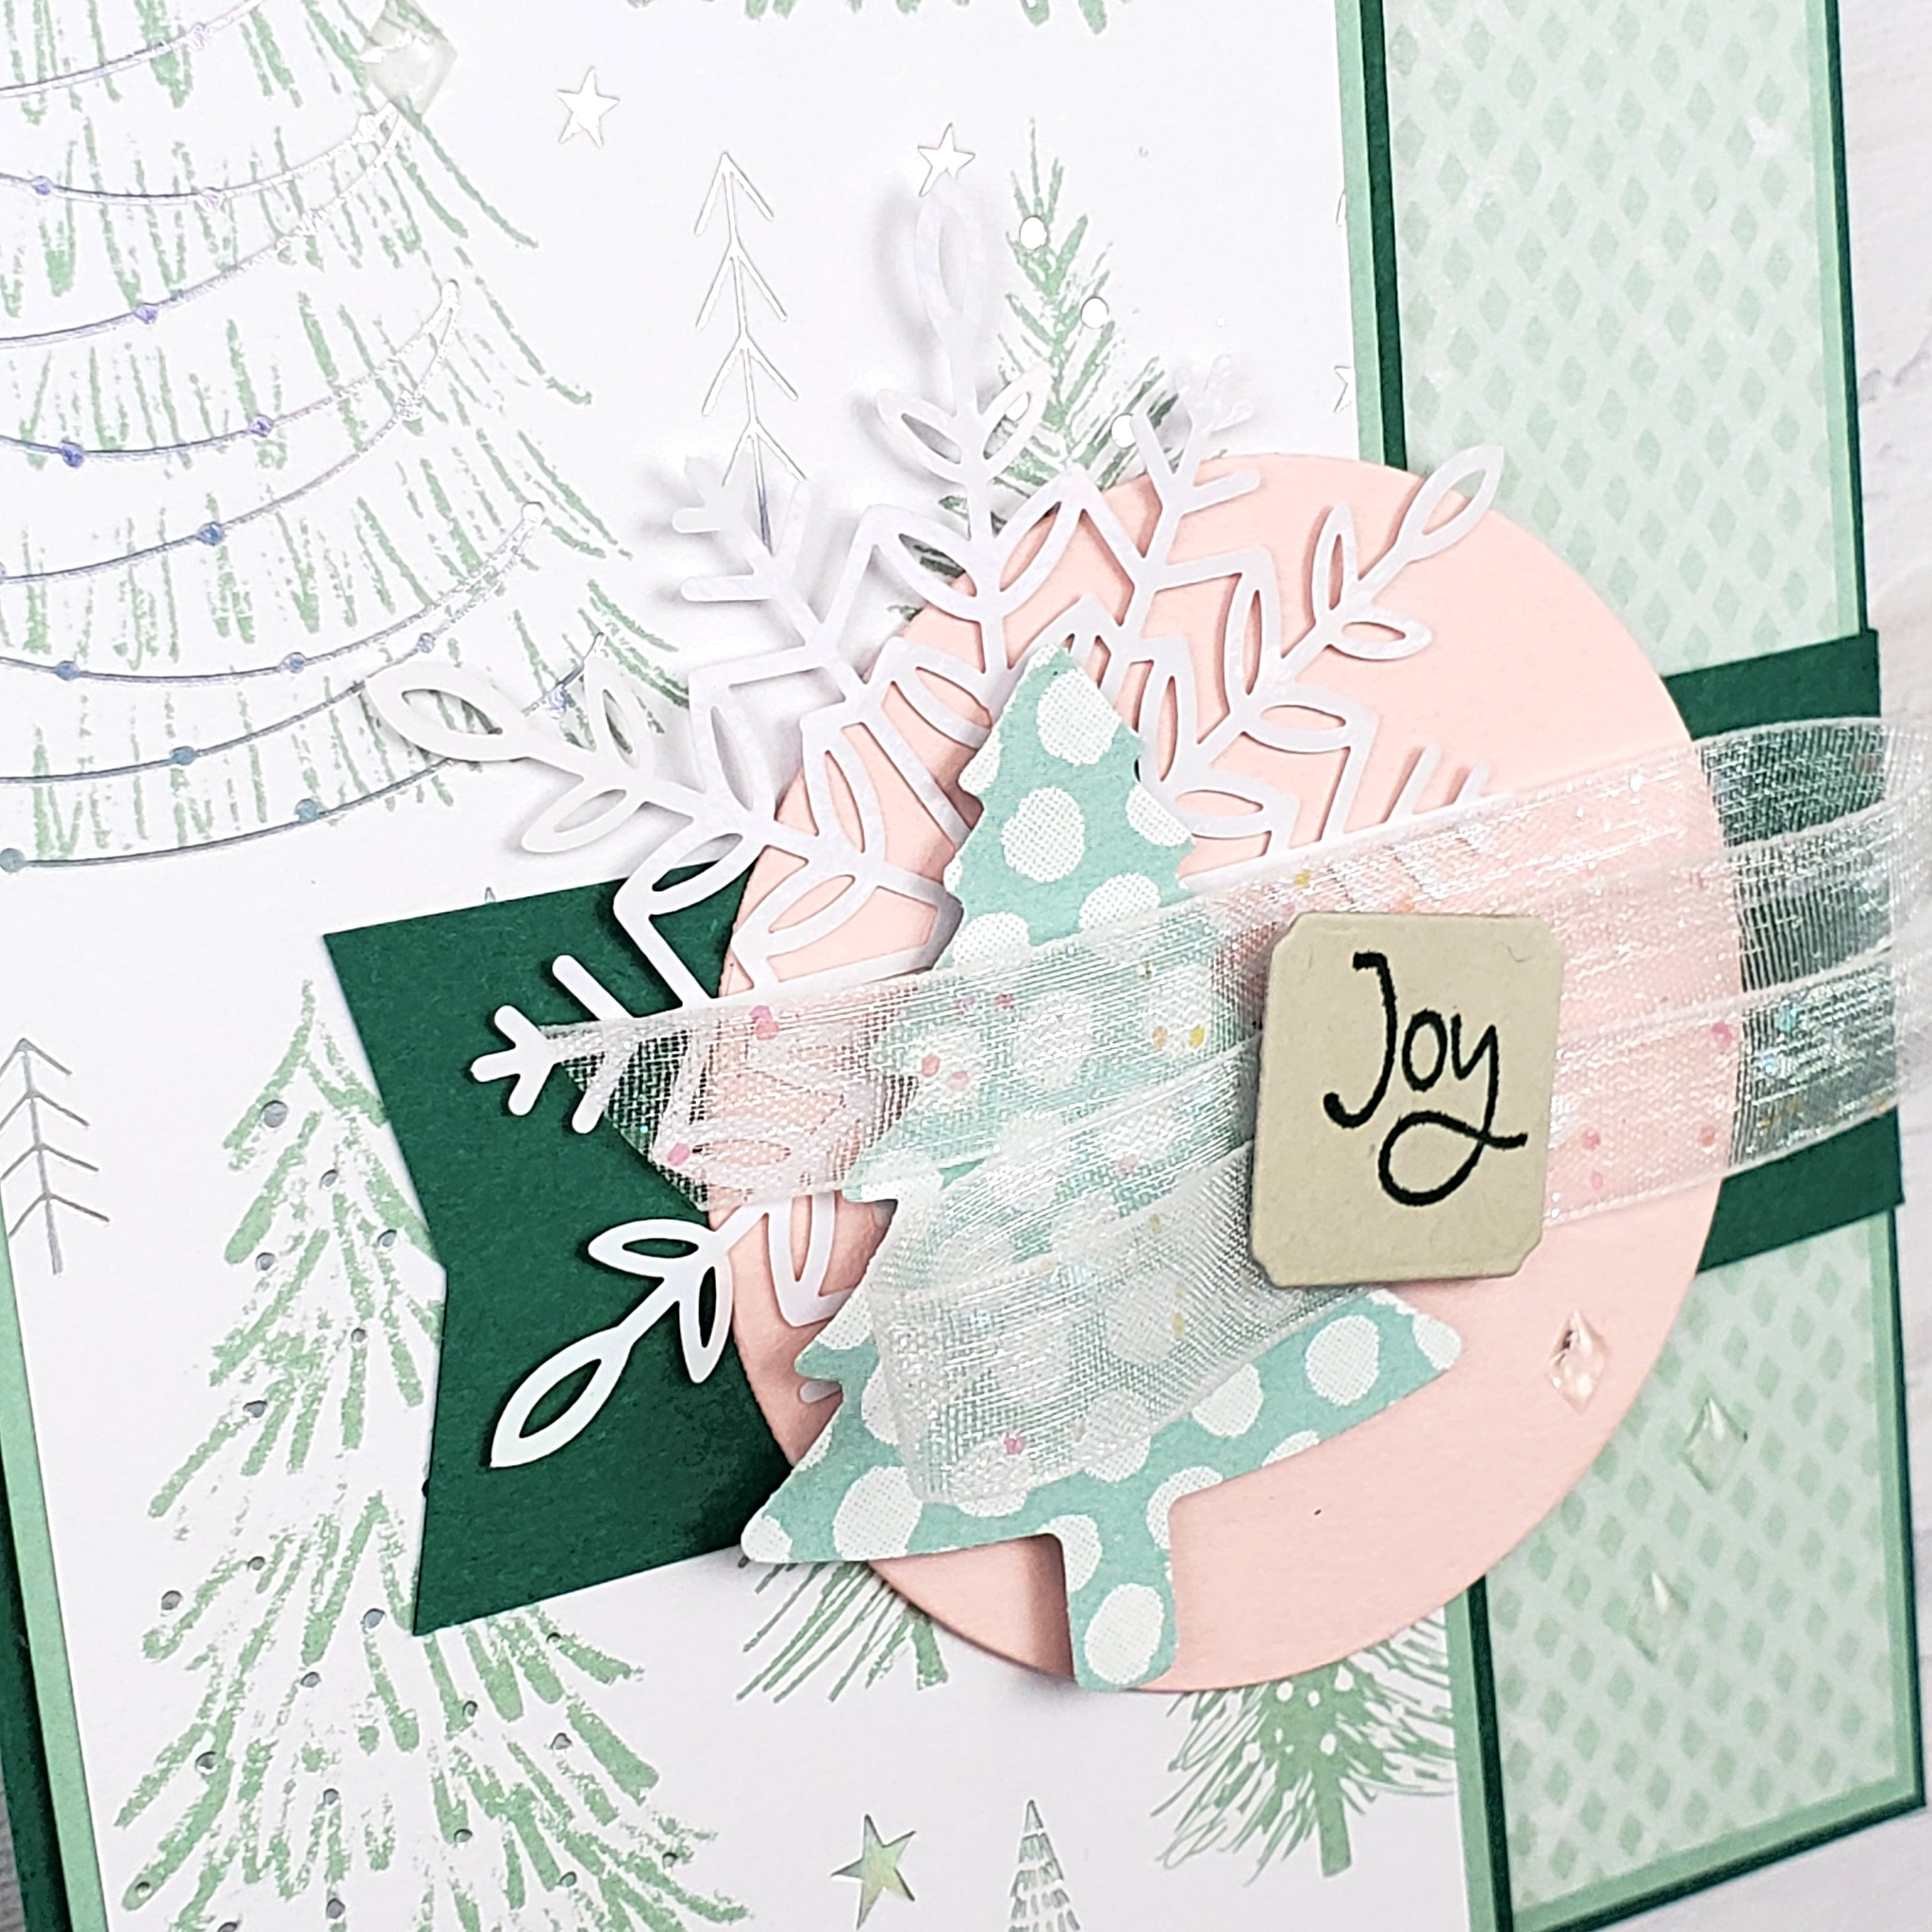
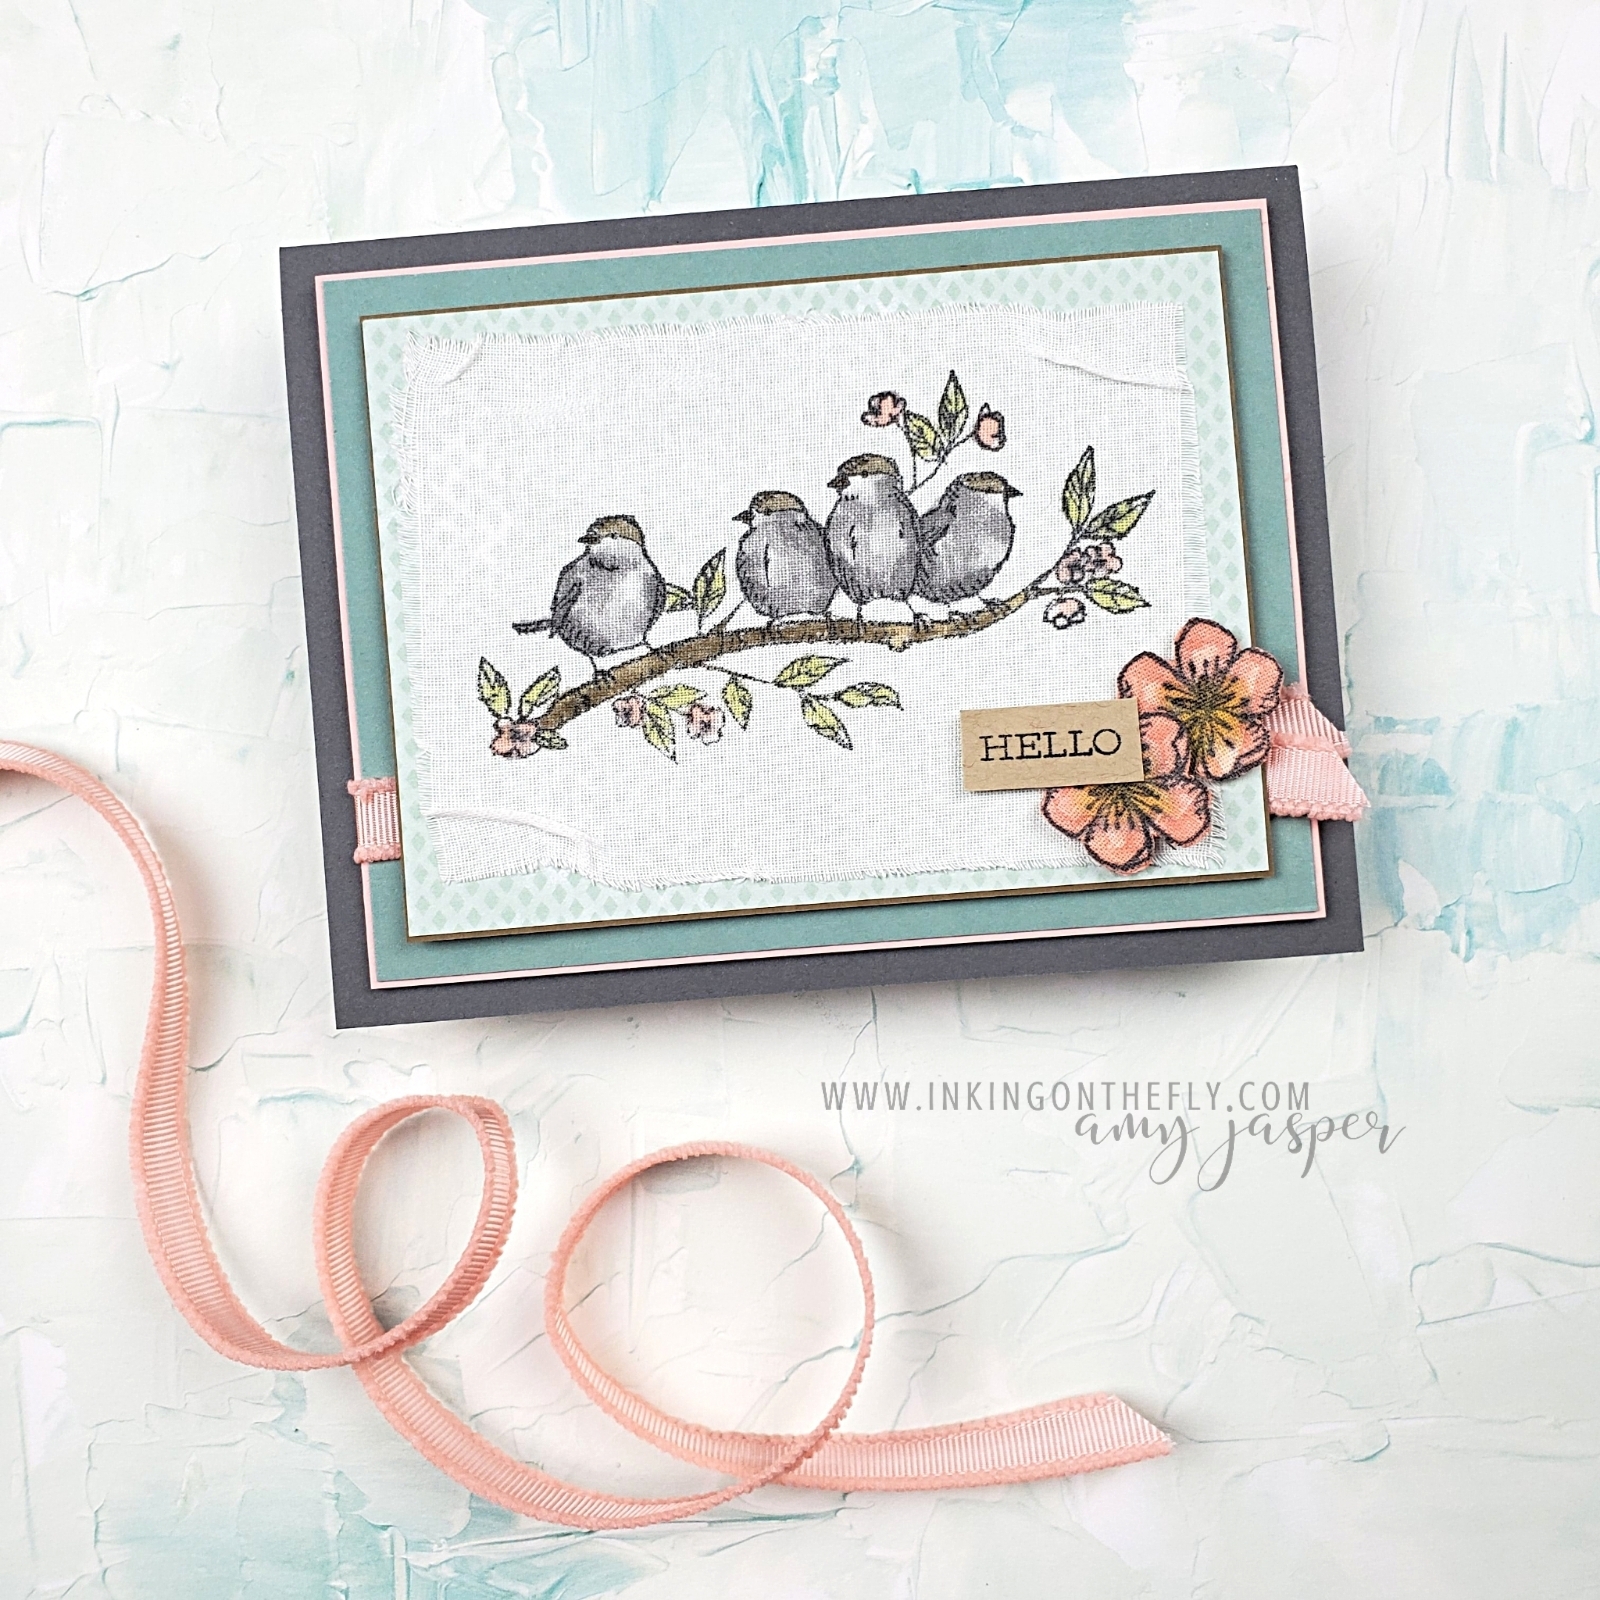
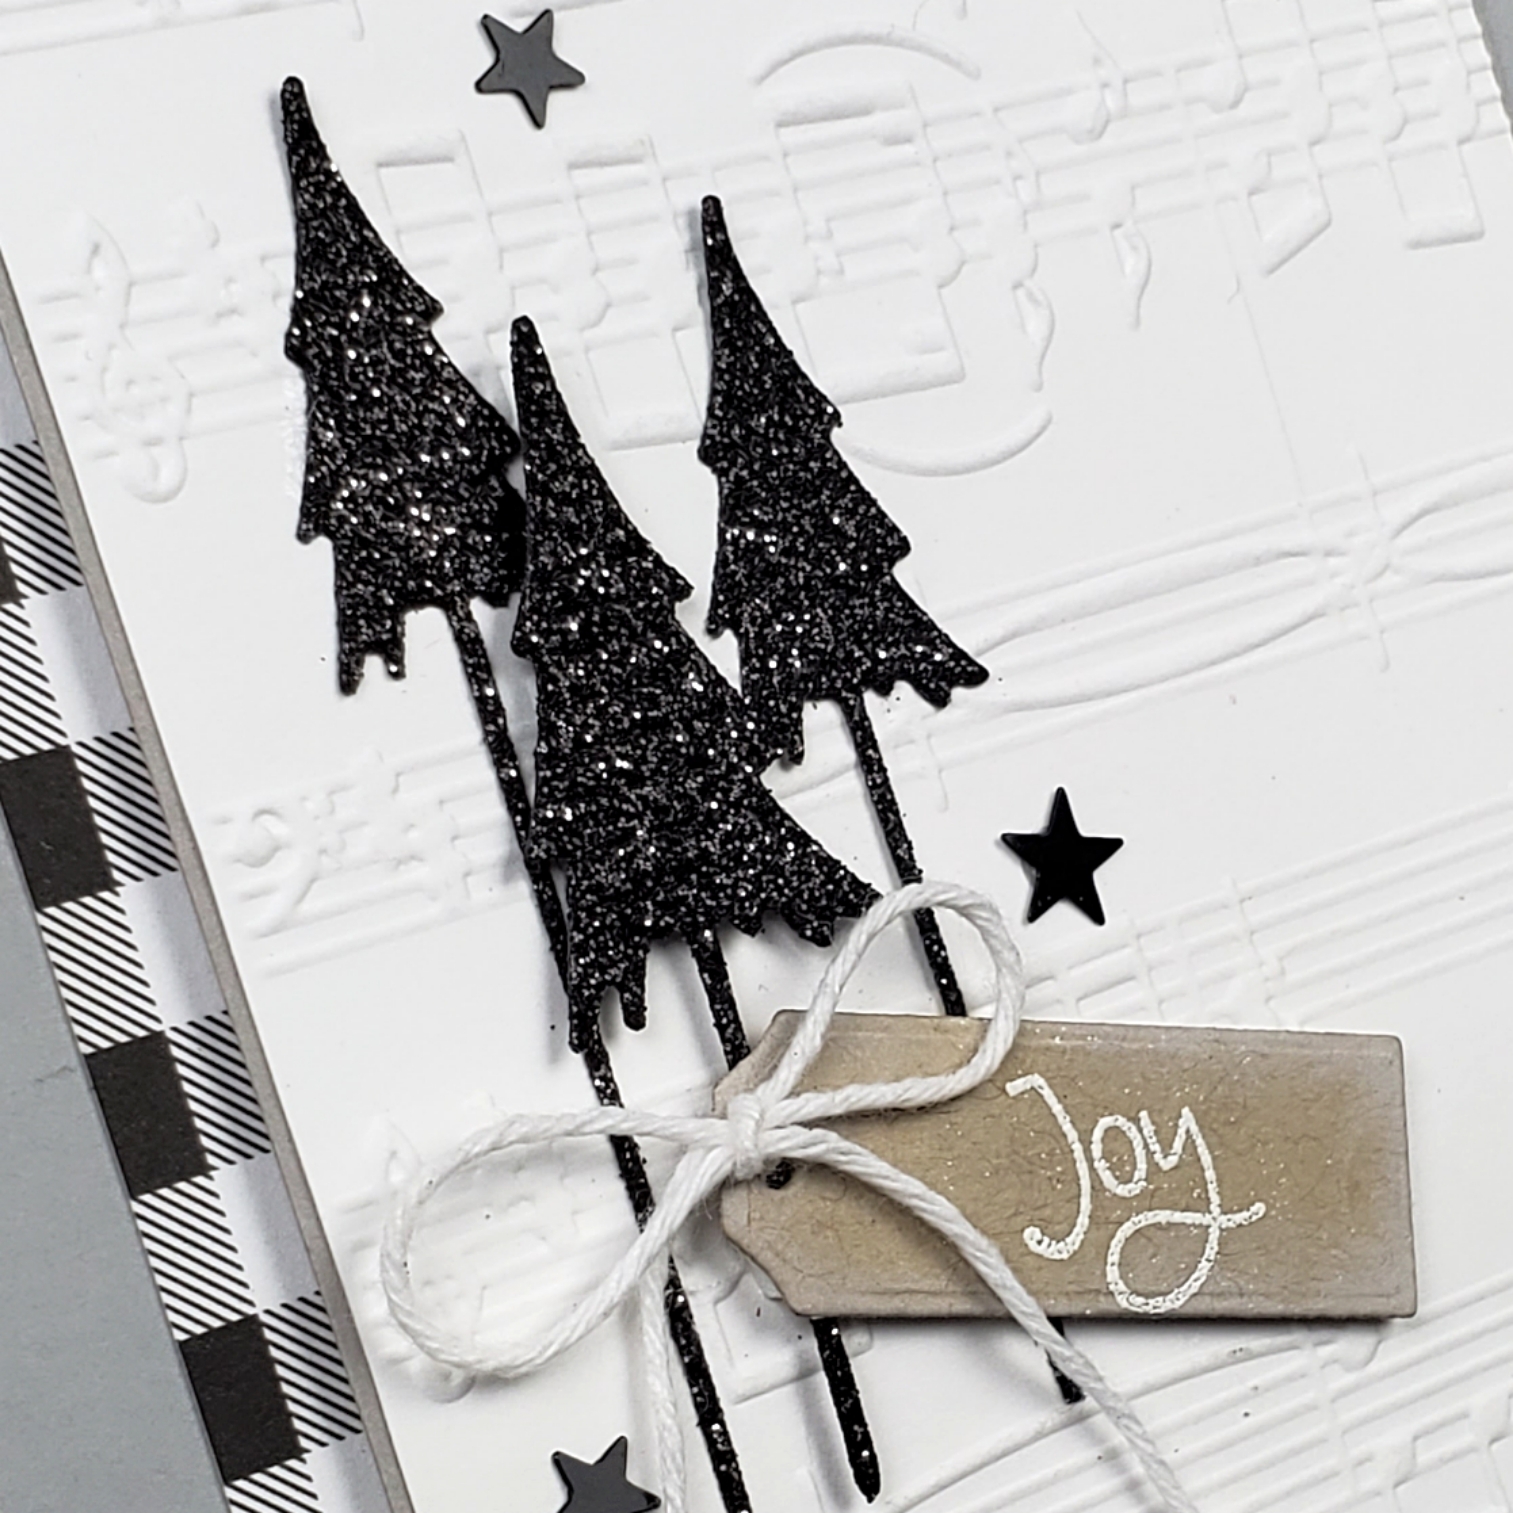
As you can see, my one word sentiment is “joy”. Using this word on a card inevitably has me singing “Joy to the world”. Am I just weird or do you do that, too? The sentiment is stamped and embossed with White Embossing Powder on a Crumb Cake label, which was cut using the Ornate Frames Dies. I sponged the edges with Whisper White Craft ink. Cute, right!?

The Basic White layer lays over a layer of Gray Granite. I used the beautiful Merry Melody Embossing Folder to give it some texture and, of course, to make sure I have that embossed element required for the challenge.

The three little Black Glitter Paper trees are die-cut with the Christmas Trees Dies. I love these little trees!

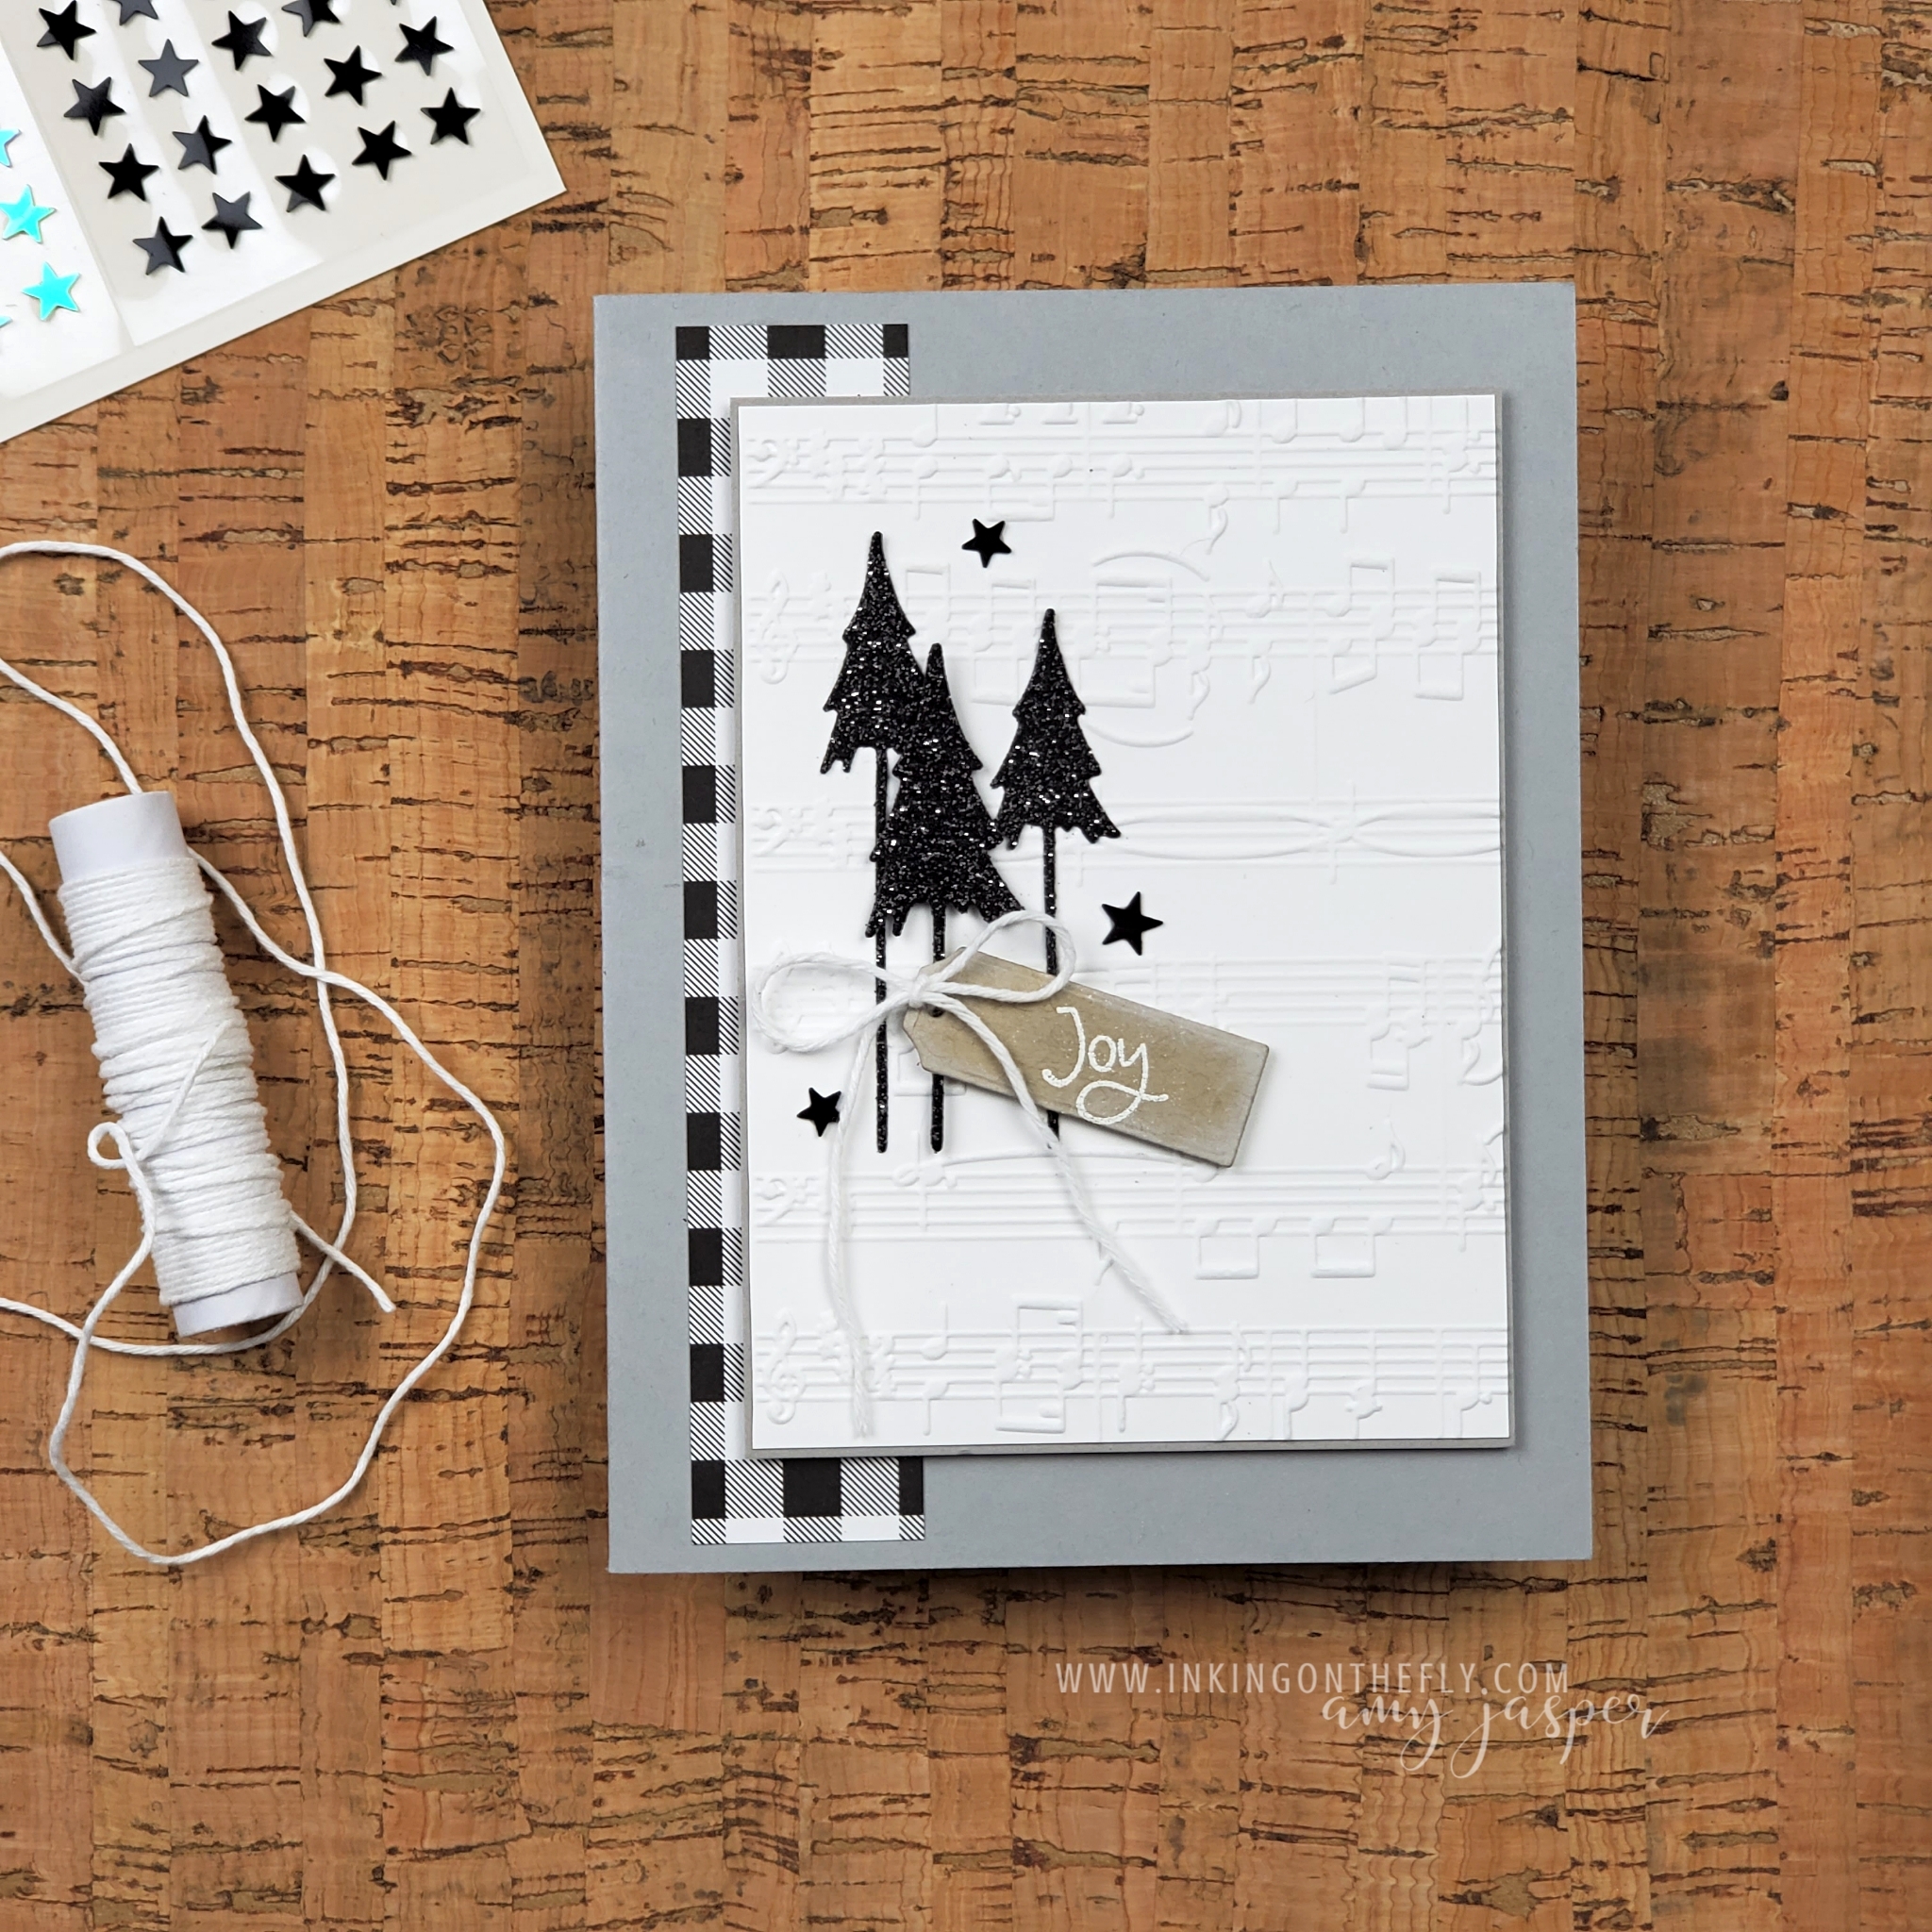
The White Baker’s Twine and the black stars from the Cute Stars Adhesive Backed Sequins pack add just the right amount of texture and interest to catch the eye.

As always, you can go to my online store to order Stampin’ Up! supplies from me in Canada. If you don’t want to order, you can show your support by leaving me a note in the comments. I love to know that you stopped by!

How to Make this Easy Front Flip Fold

Seriously! This fun fold card is so easy! When I find an easy card design that I like, I end up making a lot of them!

I think it’s the kind of card that is also fun to receive because of the unique opening. I shared this design at my October virtual gathering with my team of demonstrators because it’s a great card to make together with friends.

The card base is a piece of cardstock, measuring 5 1/2″ x 8 1/2″, scored at 4 1/4″. However, you will cut off a 1 1/4″ section from the front of the card and use it to attach the front flap.

With those two pieces for your base, you can create multiple versions of this style of card. After that, it’s a simple matter of what patterned paper to use.

I have Christmas on the brain!

Since this fun fold is so easy to make, I was able to make a few different versions.

Both of the cards below feature the Holly Jolly Wishes Stamp Set for the sentiments. Though they are the same layout, they have a very different feel. The Sweet Stockings patterned paper gives a playful design, while the Peaceful Place patterned paper has a more serene presentation.

As you can see, the card in my video tutorial uses Shaded Spruce, Mint Macaron, Blushing Bride and Sahara Sand cardstock. Those colours coordinate nicely with the Whimsy & Wonder Designer Series Paper as well as the Pattern Party Designer Series Paper. I also used the Pine Tree Punch and one of the iridescent Wonderful Snowflakes with the Messages Die and White Glittered Organdy Ribbon.

The clear Epoxy Essentials are such a cute and simple addition to a card design. I like how the diamond-shaped ones coordinate with the pattern of the paper.

Check out the video to see how to make this easy fun fold card.

Let me know in the comments if you have any questions. I’m always happy to help when I can!

Video: Stamping on Linen Paper is Easy

I can’t believe that I haven’t used the Linen Paper from Stampin’ Up!®️ until now! It was so much easier than I expected to use this adhesive-backed fabric. It’s fantastic!

I started by stamping the bird image on the Linen Paper with Jet Black Stazon Ink. Because this is an alcohol-based ink, I felt that it would be less likely to bleed on the fabric. As it turns out, my exploration of this unique paper showed me that the Tuxedo Black Momento ink also works great!

Colouring Tips

Stampin’ Write Markers and Stampin’ Blends Markers were both used to colour my birds. While the Stampin’ Write Markers seemed to place the ink where I wanted it to go, the ink from the Blends Markers would spread. Using a feather-light touch, I was able to control the spread of the Blends Markers ink and have it work for me instead of against me.

After using the Stazon ink and Blends Markers on the birds, I stamped the little blossoms on the Linen Paper. I coloured them with the Blends Markers, but with a heavier hand and discovered that it caused the Stazon ink to bleed and mix with my colour. This isn’t really surprising, considering that Stazon and the Blends Markers are both alcohol-based inks. However, what was surprising was that the markers didn’t cause the Stazon lines on my bird image to bleed. The lesson here is that a light touch while colouring reduced the risk of bleeding the lines, while the heavy hand increases the risk.

In the end, if you use Momento Tuxedo Black ink when colouring with the Blends, you won’t have to be concerned with this happening.

You can see in the image above, the difference in my flowers. The flowers on the left were stamped using Stazon ink and coloured with the Blends Markers. Comparatively, the flowers on the right were stamped using Momento ink (water-based ink) and coloured with the Blends markers. Voila! Crisp lines and clean colours!

New products available today!

When I made this card, the Whimsy & Wonder Designer Series Paper and the Blushing Bride Frayed Grosgrain Ribbon were not yet available. Today, they ARE!! New products and the summer Sale-a-bration are both launching today. Go to my online store to see the new products. You will also be able to order the Free As A Bird stamp set, the Linen Paper and all the inks and papers used to create this card.

Every $60 of product that you order allows you to get a FREE Sale-a-bration item. This is a great time to stock up on your favourite products and get free stuff.

Watch the video

Follow along or skip to the good parts to observe my colouring technique and how I frayed the edges of the Linen Paper. You’ll see a few more colouring tips and tricks.