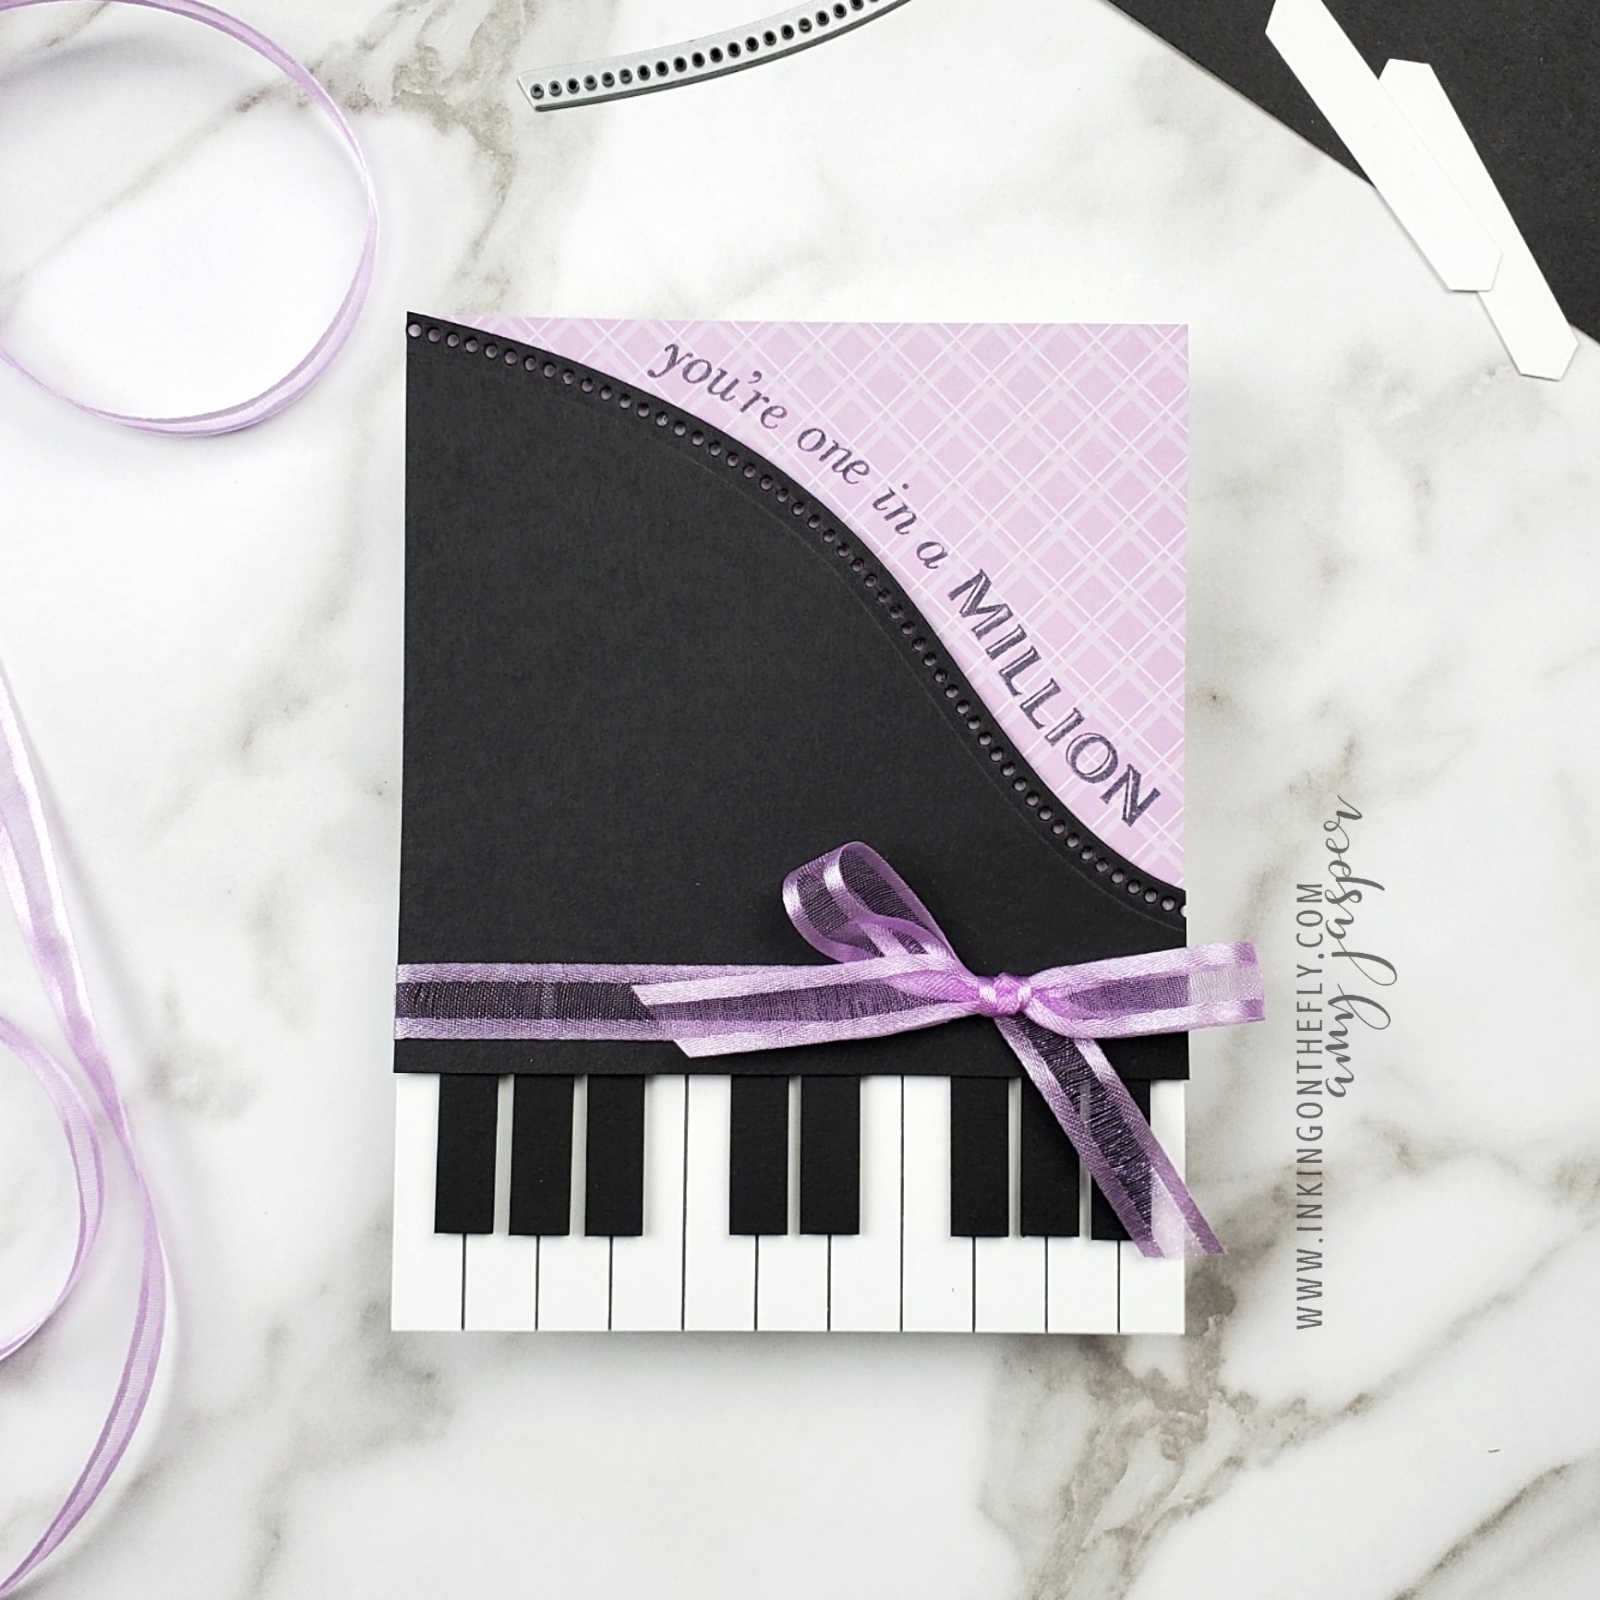
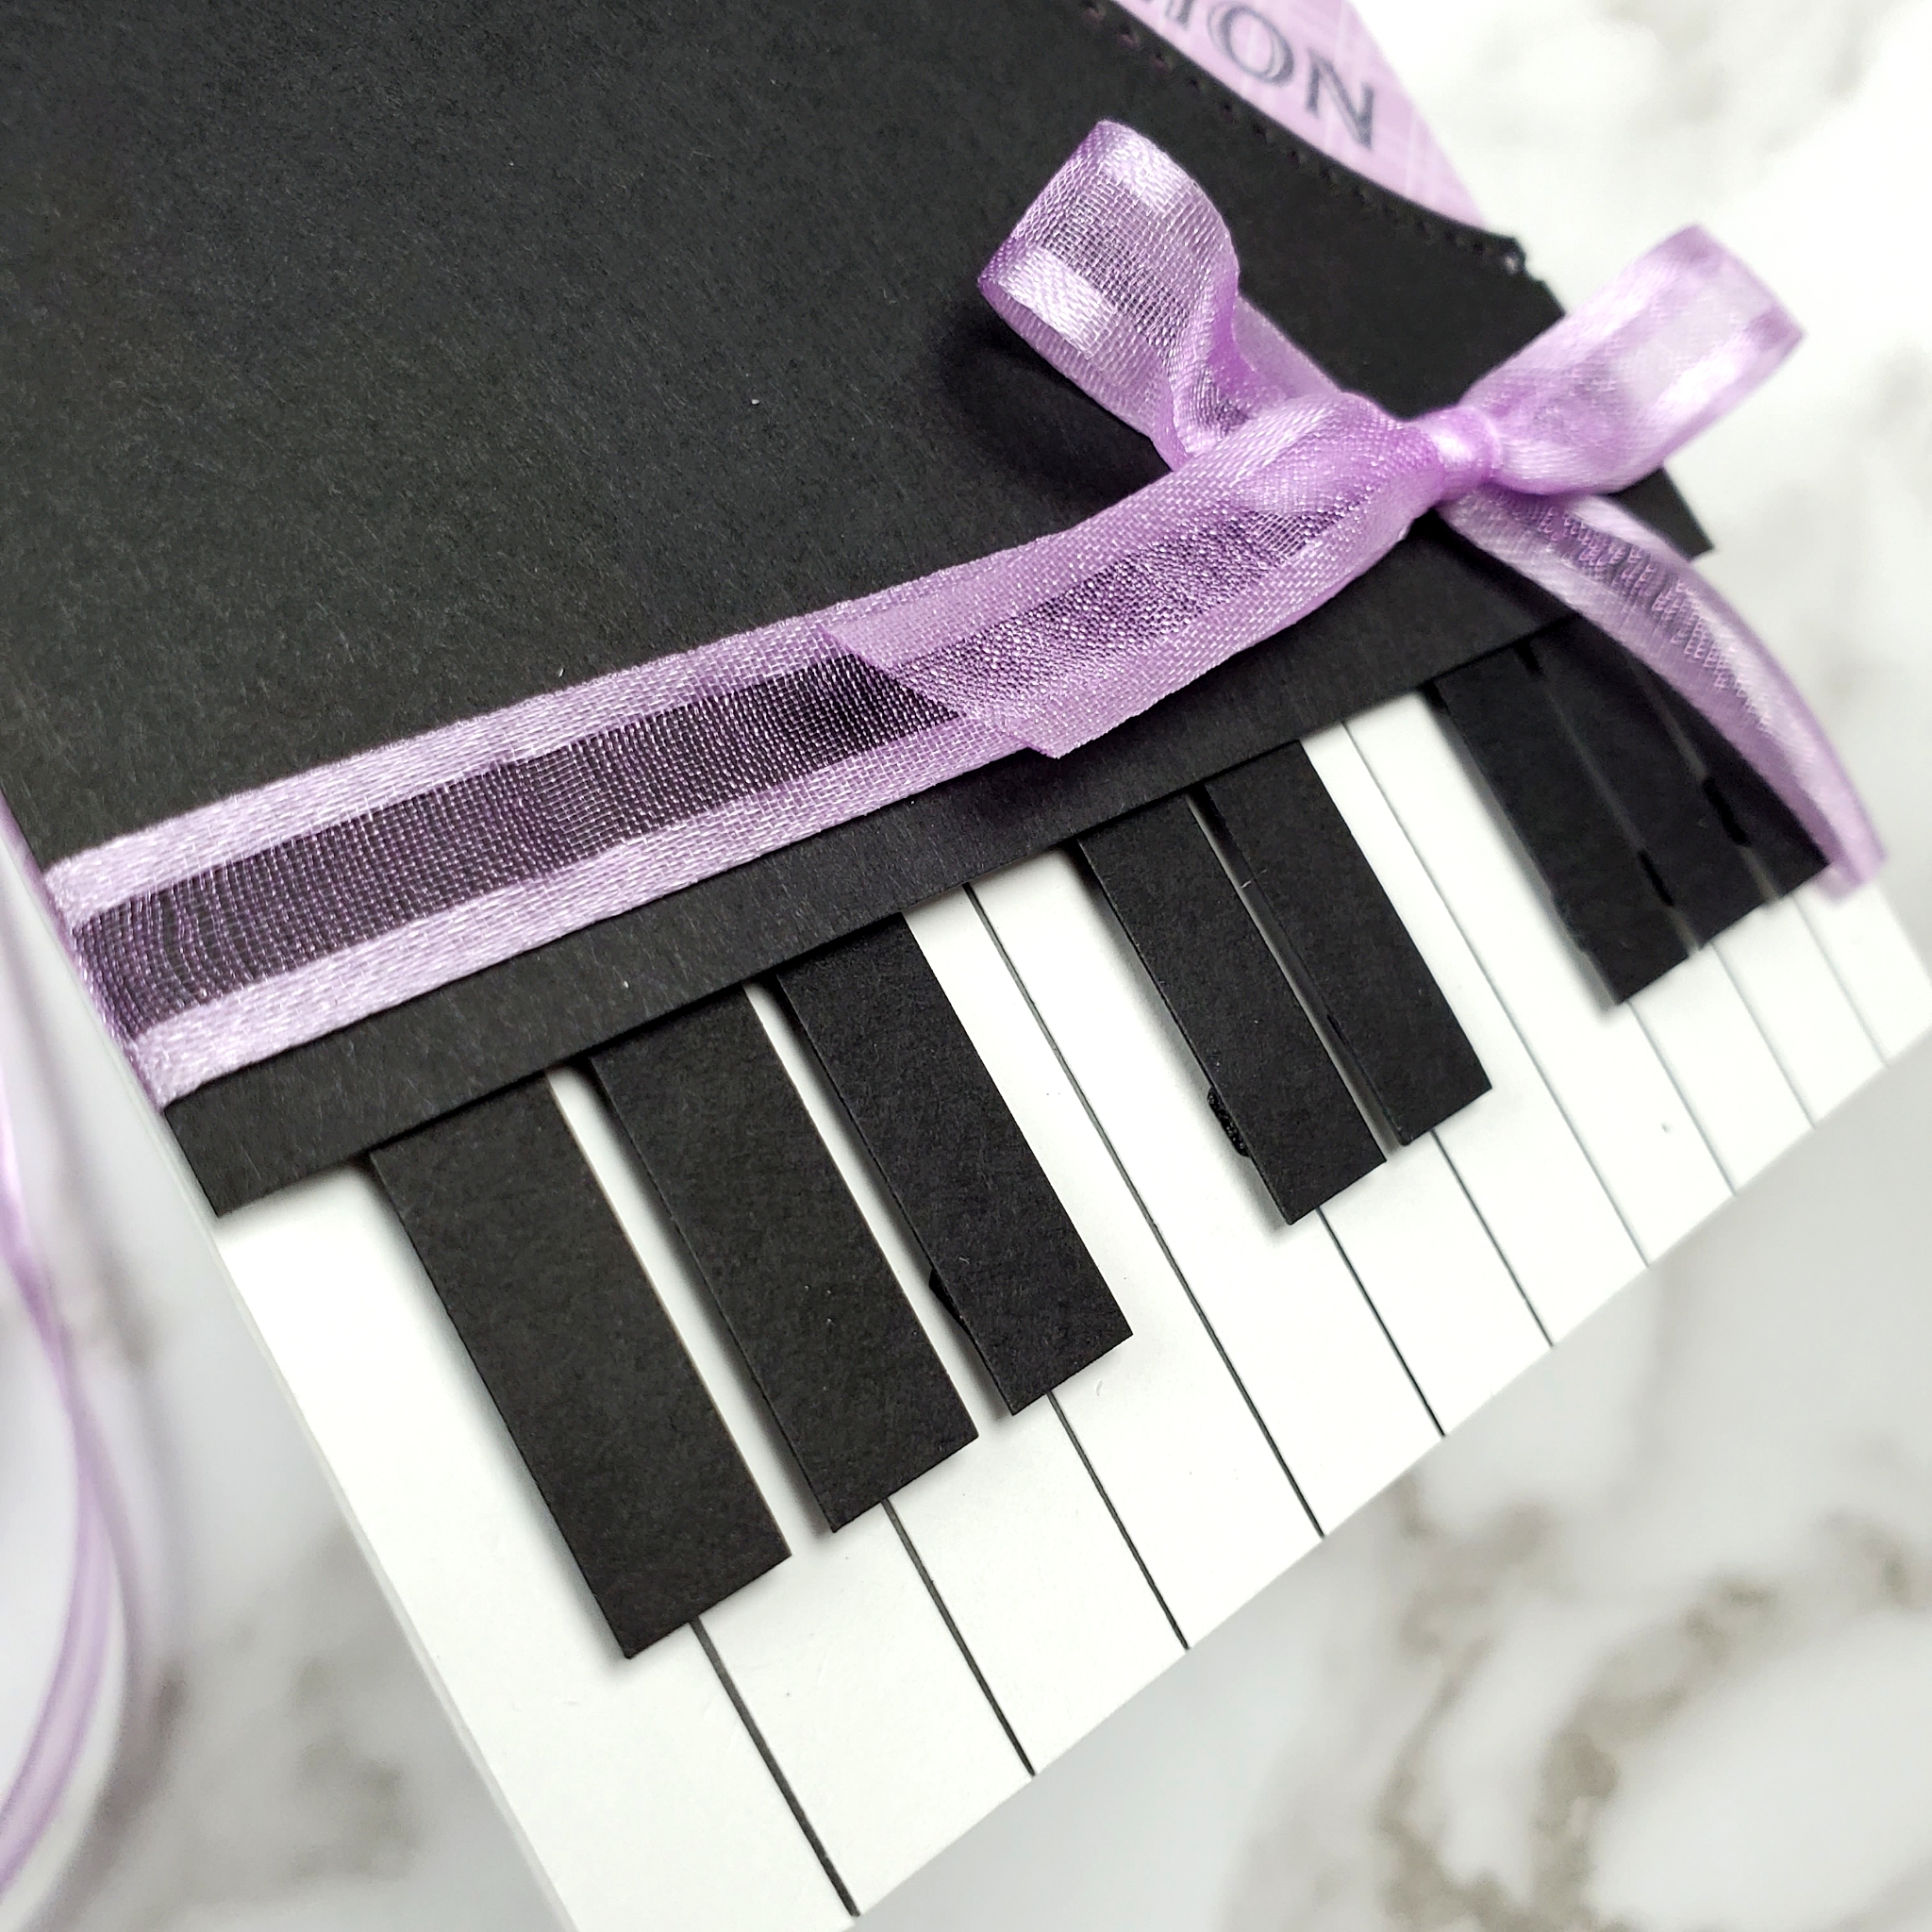
When I first saw the Curvy Dies from Stampin’ Up!, I knew that I wanted to use one of the curves to make a card like the one I have to share with you today.
I want to tell you more about this card, but I am suffering from a shoulder injury that is aggravated by typing on my keyboard and by using my phone to scroll or write. I’m currently pecking this out with only my right hand to protect my left shoulder from pain.
I just hope that I can still create this week! I have inspiration that I need to follow!
Below is the video tutorial of this cool piano card. You’ll just have to watch it if you want more info. I’m off now to Netflix and chill – and by chill, I mean with an ice pack on my shoulder! LOL!
The Curvy Dies and Quite Curvy stamp set are retiring soon, so head on over to my online store and get them before they’re gone.
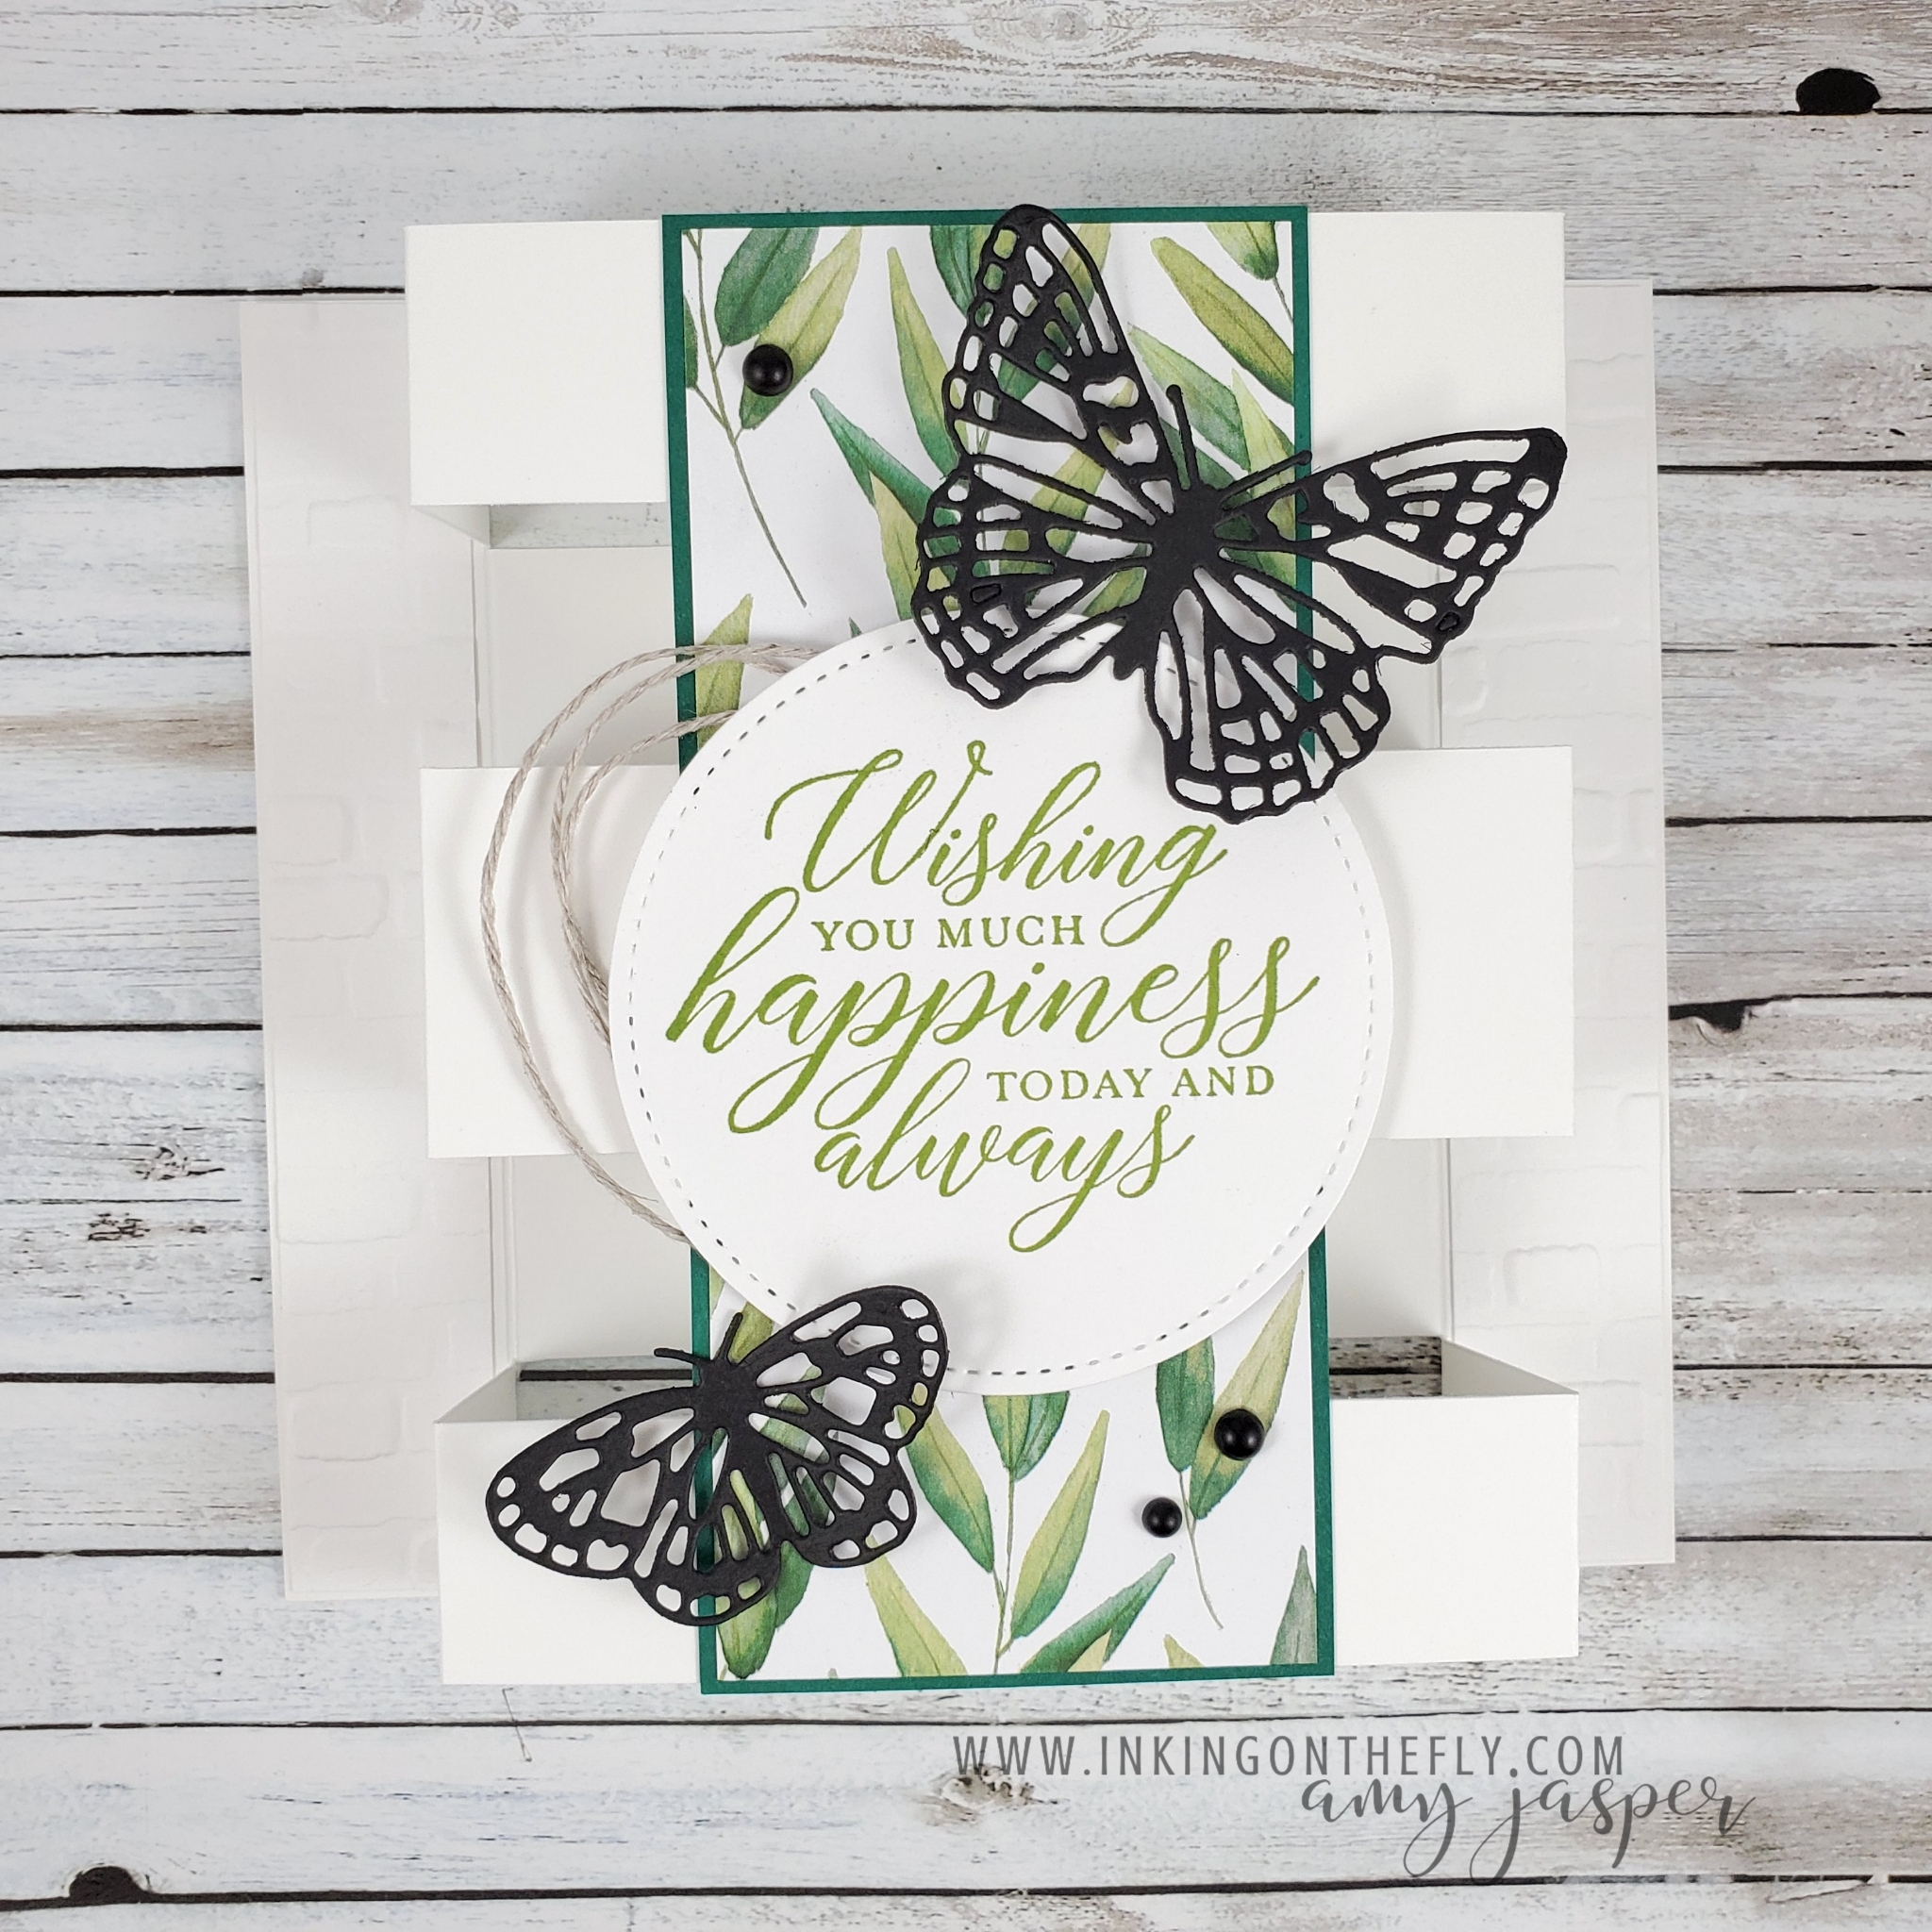
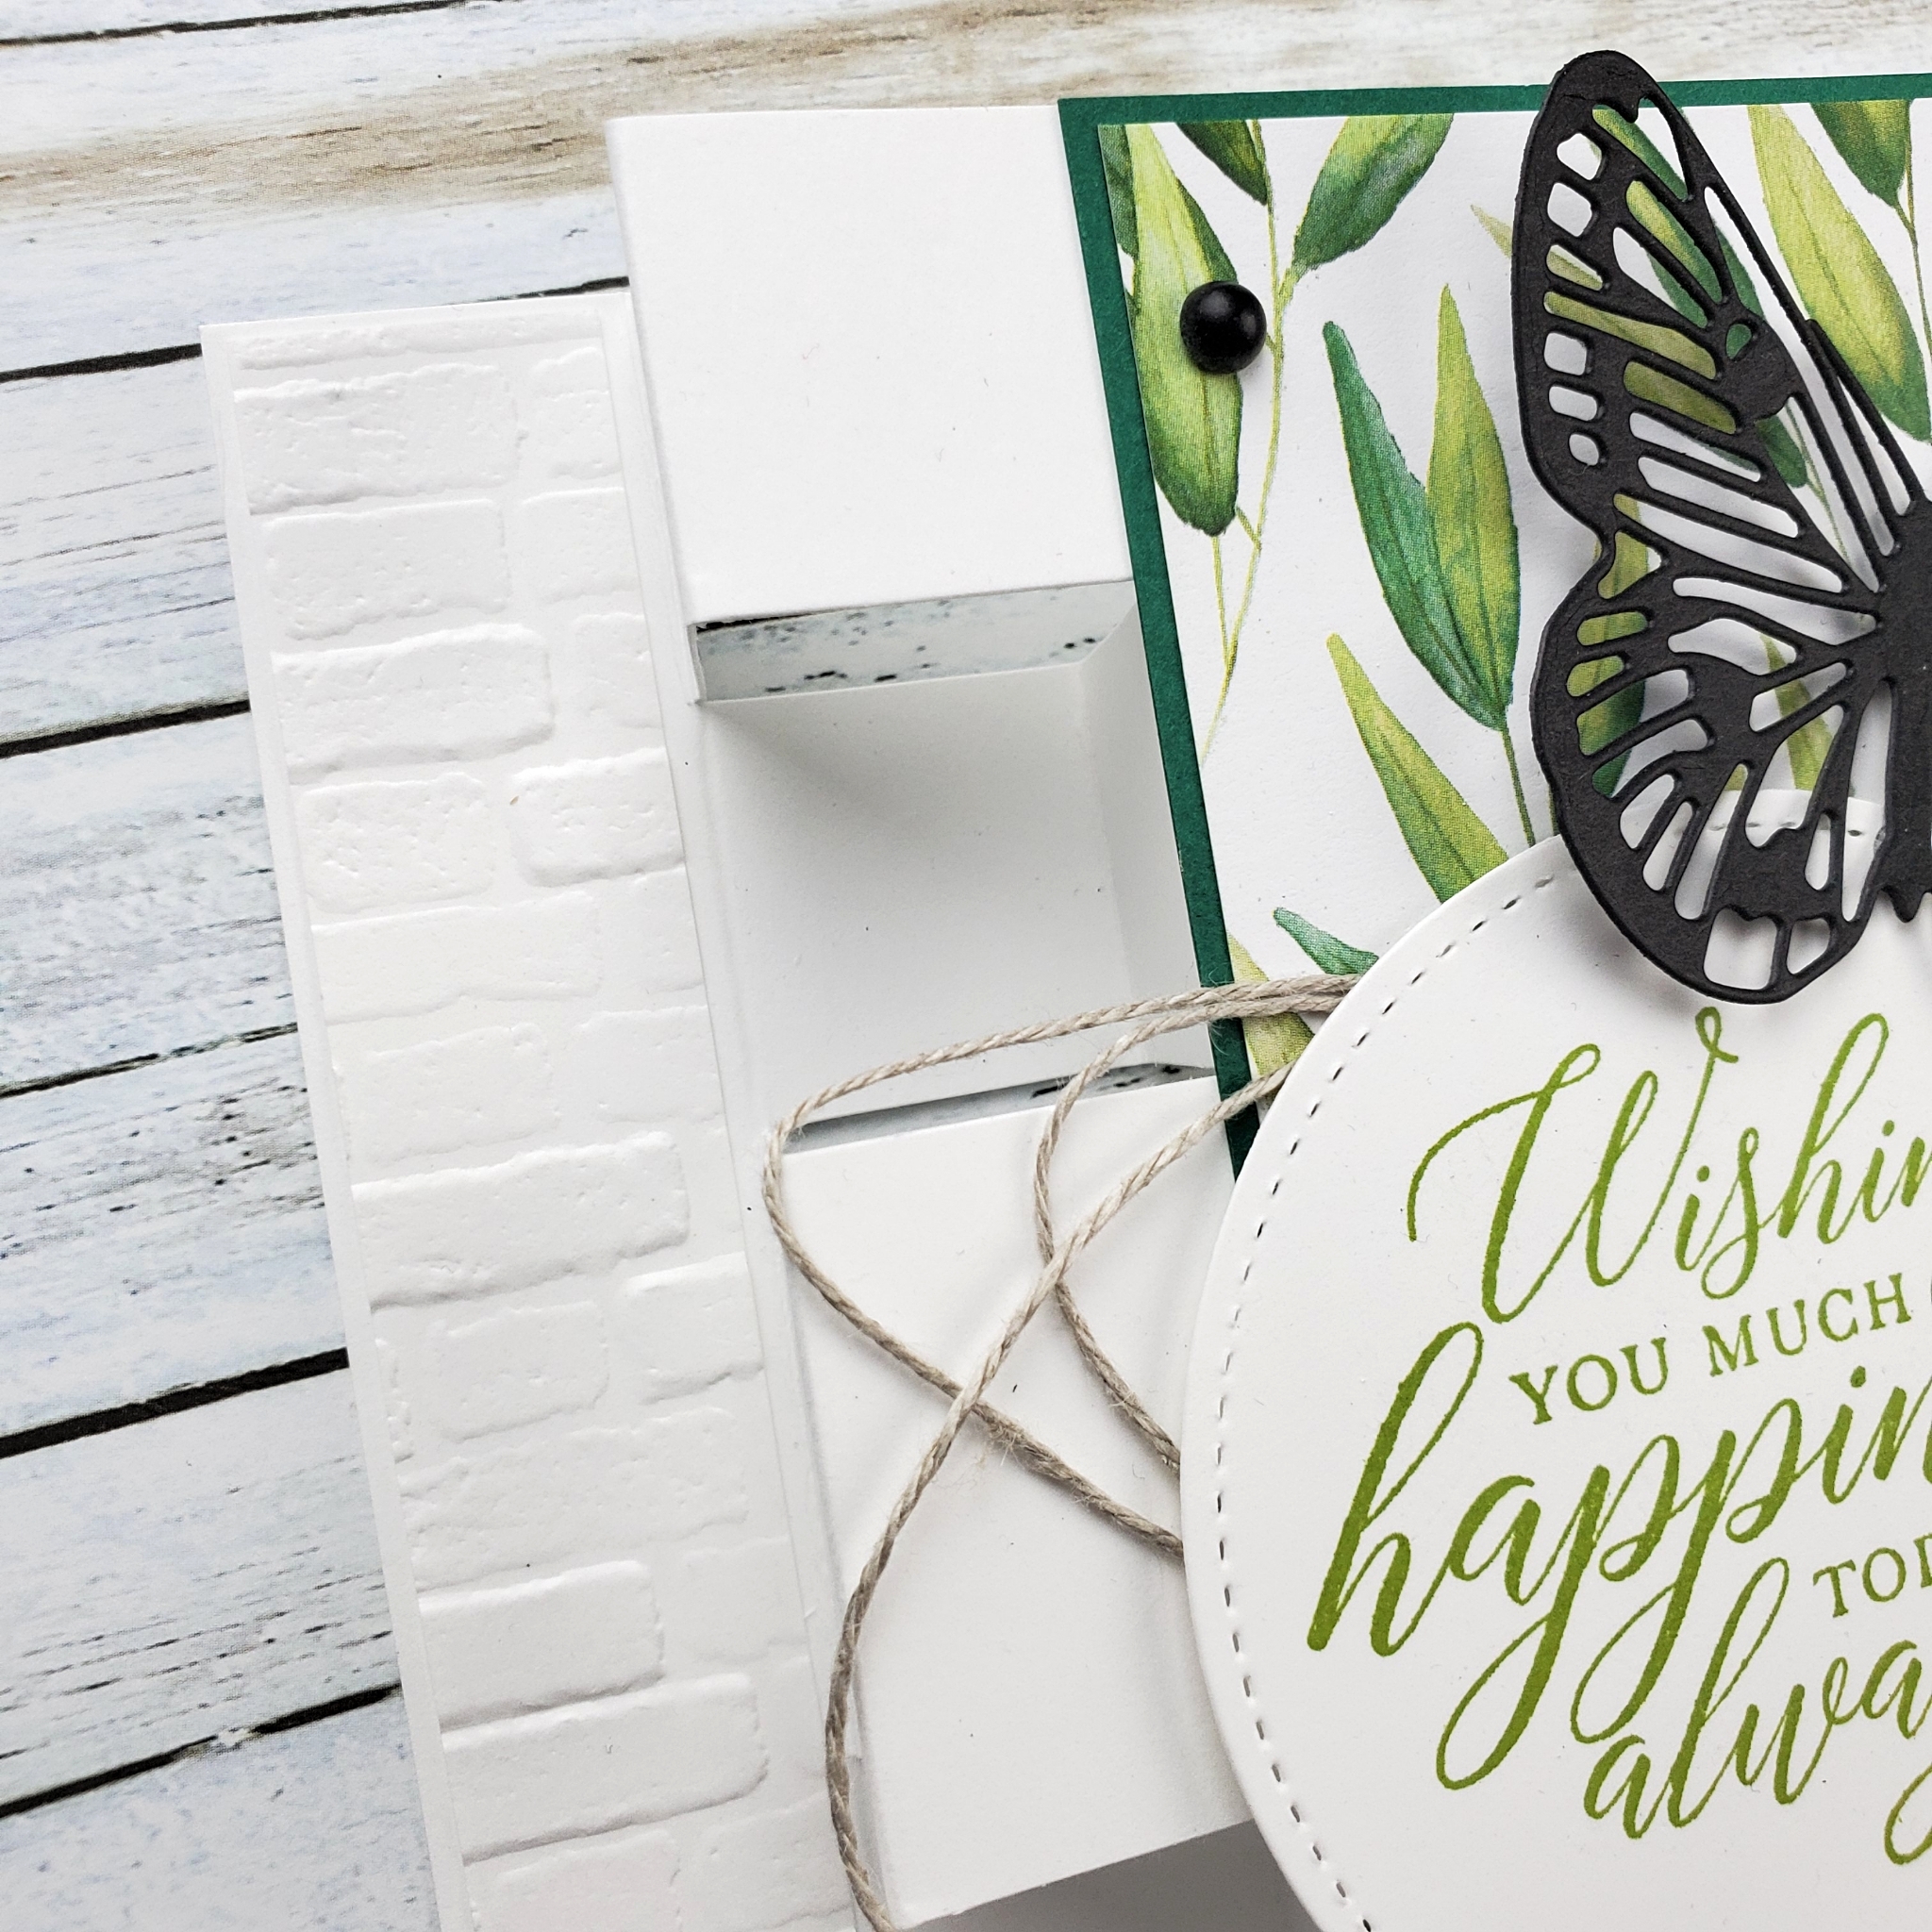
The tower fun fold card design is so unique and is actually very easy to make. You just need to know where to cut and where to fold!
Thankfully, there are amazing and generous people who share their talents online! I first saw the idea shared on one of my demonstrator groups on Facebook, then was directed to the tutorial shared by Julie Davidson, who simplified the concept that she saw from someone else. I think it’s very cool how we get to learn from each other and then make it our own!
My card is one that I offered in my technique class back in March. Those who attend my monthly technique class and those who have VIP Access to the tutorials are given sole viewing privileges for two months. After their private access has come to an end, the tutorial video is available for the general public. Since I designed this project two months ago, some of the supplies used may no longer be available for purchase.
On this particular design, there are three items that are no longer available to purchase from Stampin’ Up!. You can no longer order the stitched circle die, the stamp, or the patterned paper. I recommend using the Layering Circles Dies in place of the stitched circle. The new Expressions in Ink Specialty Designer Series Paper has some beautiful greens that may be a good replacement for the greenery patterned paper that is no longer available. You can use any sentiment that will fit in the circle.
Measurements and supplies used:
8 1/4″ x 5 1/2″ Thick Basic White (cut and scored as explained in the video tutorial)
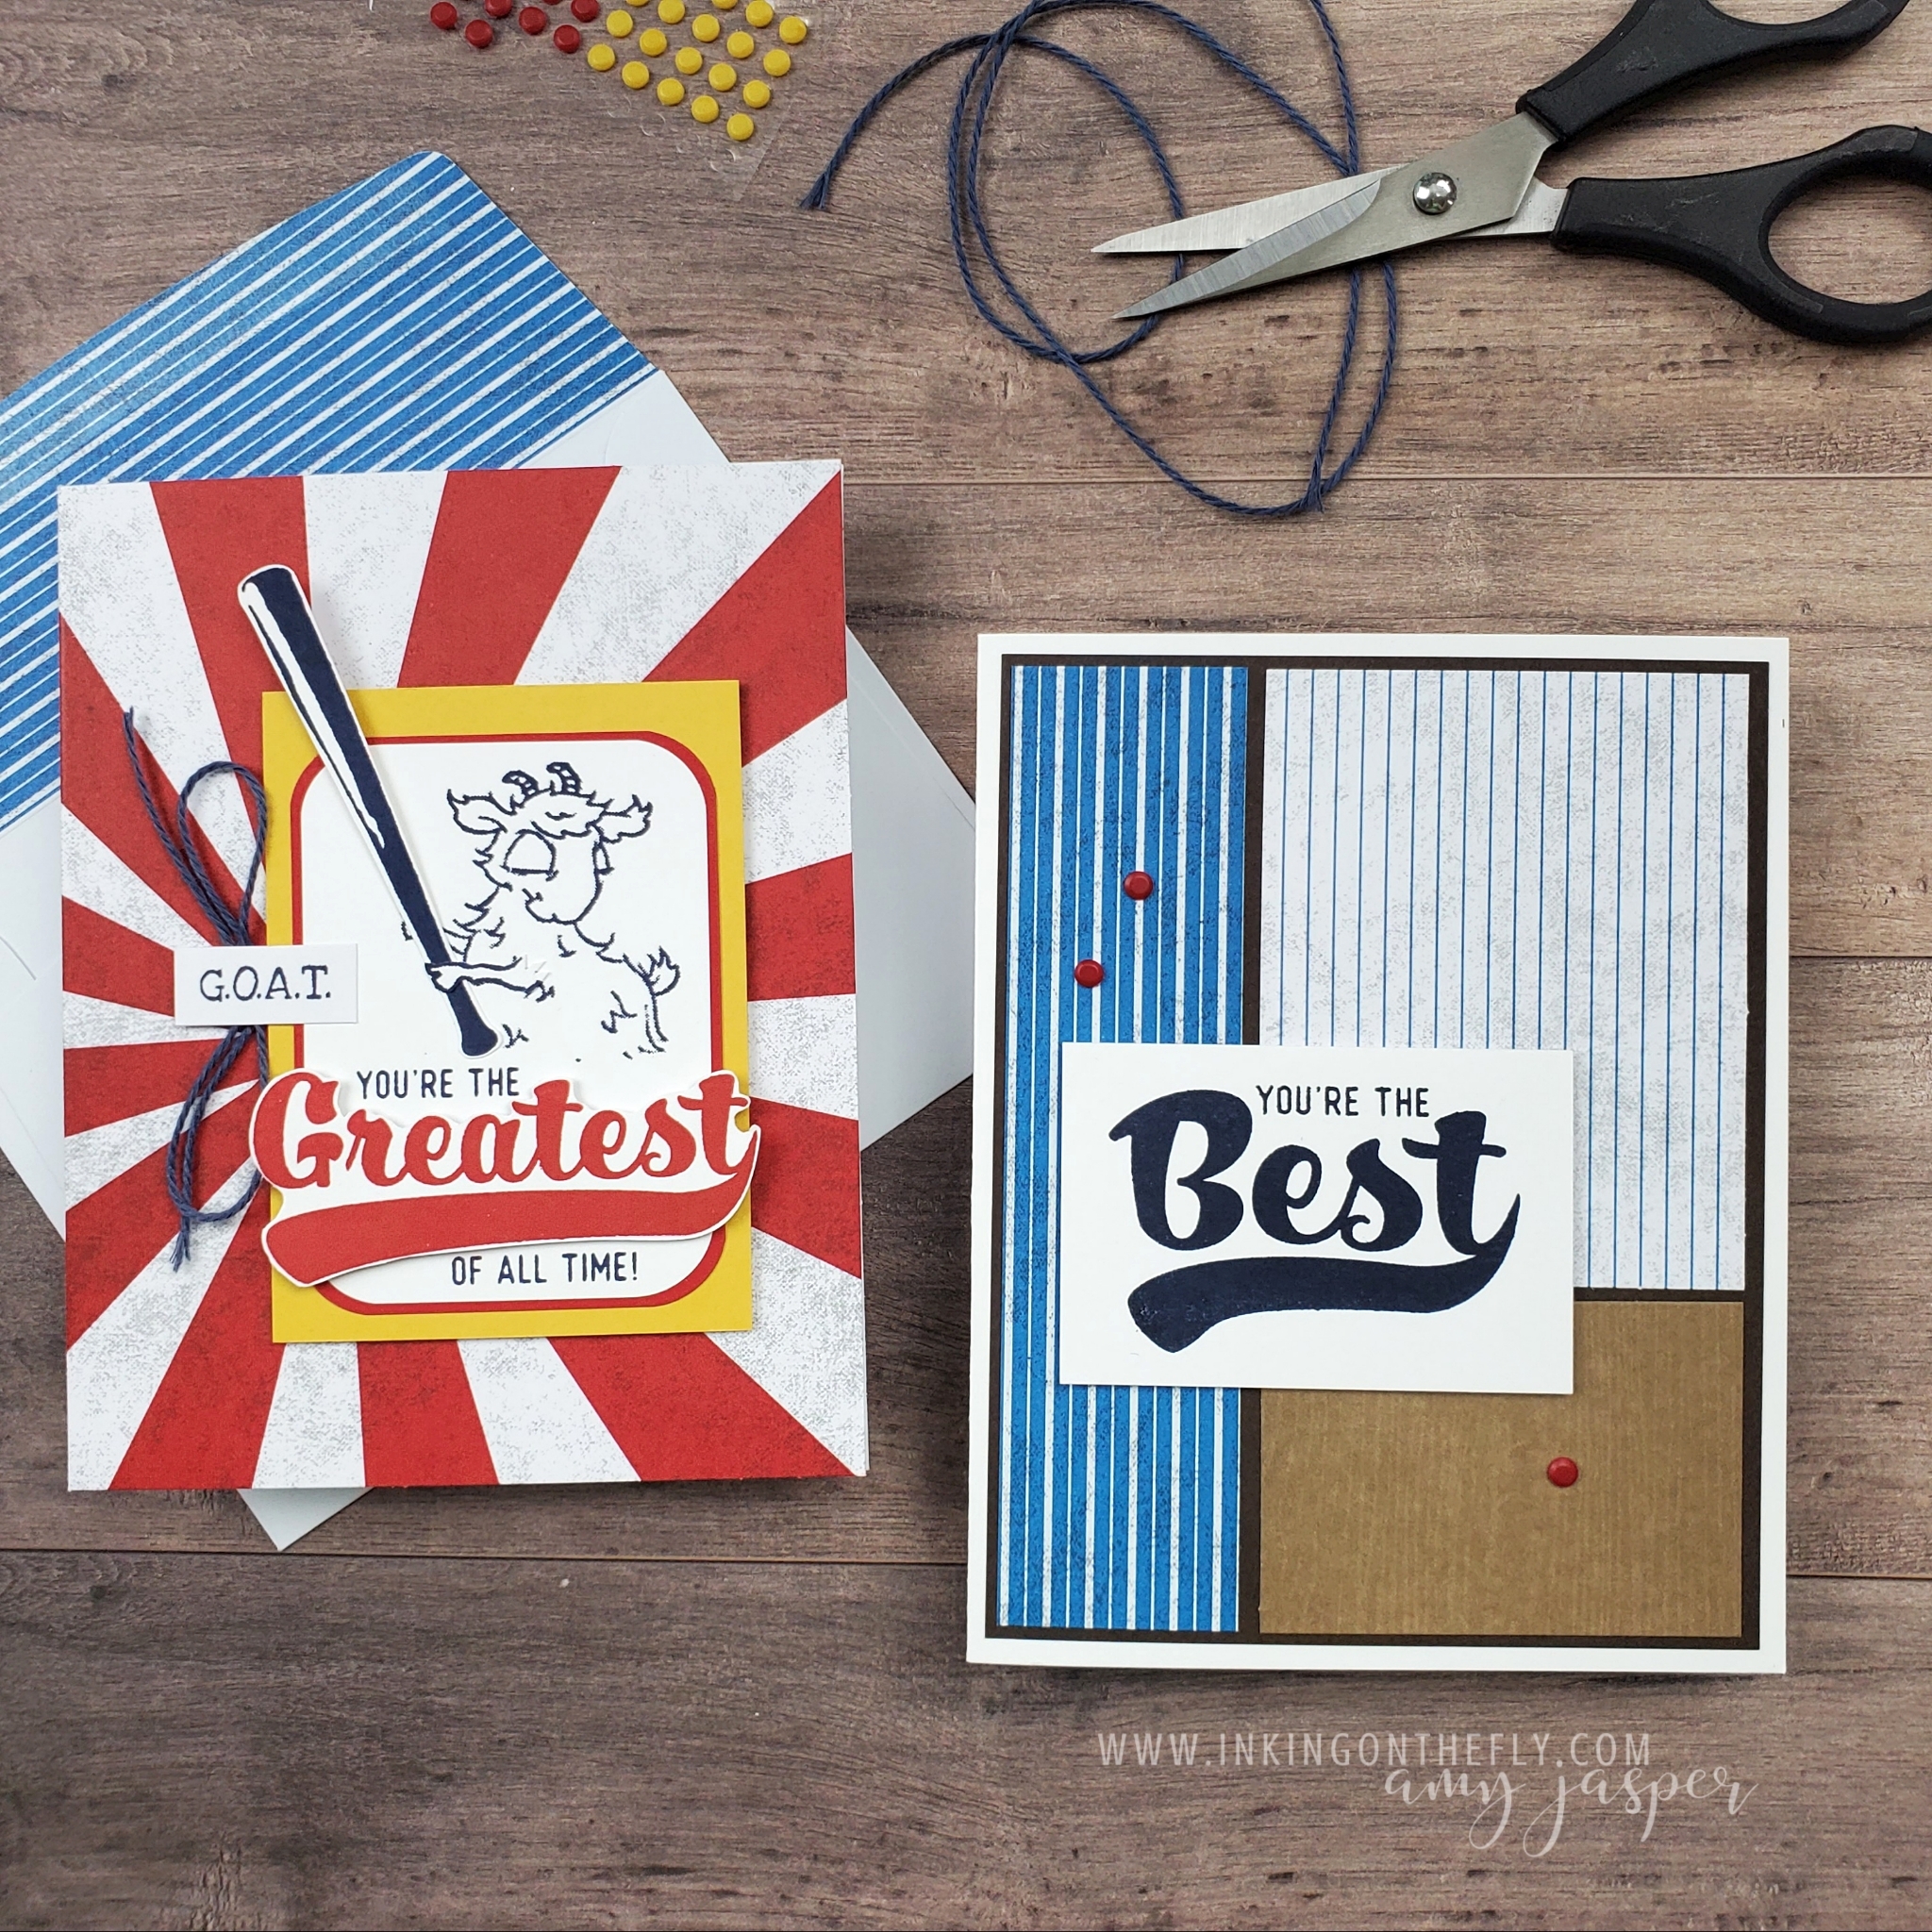
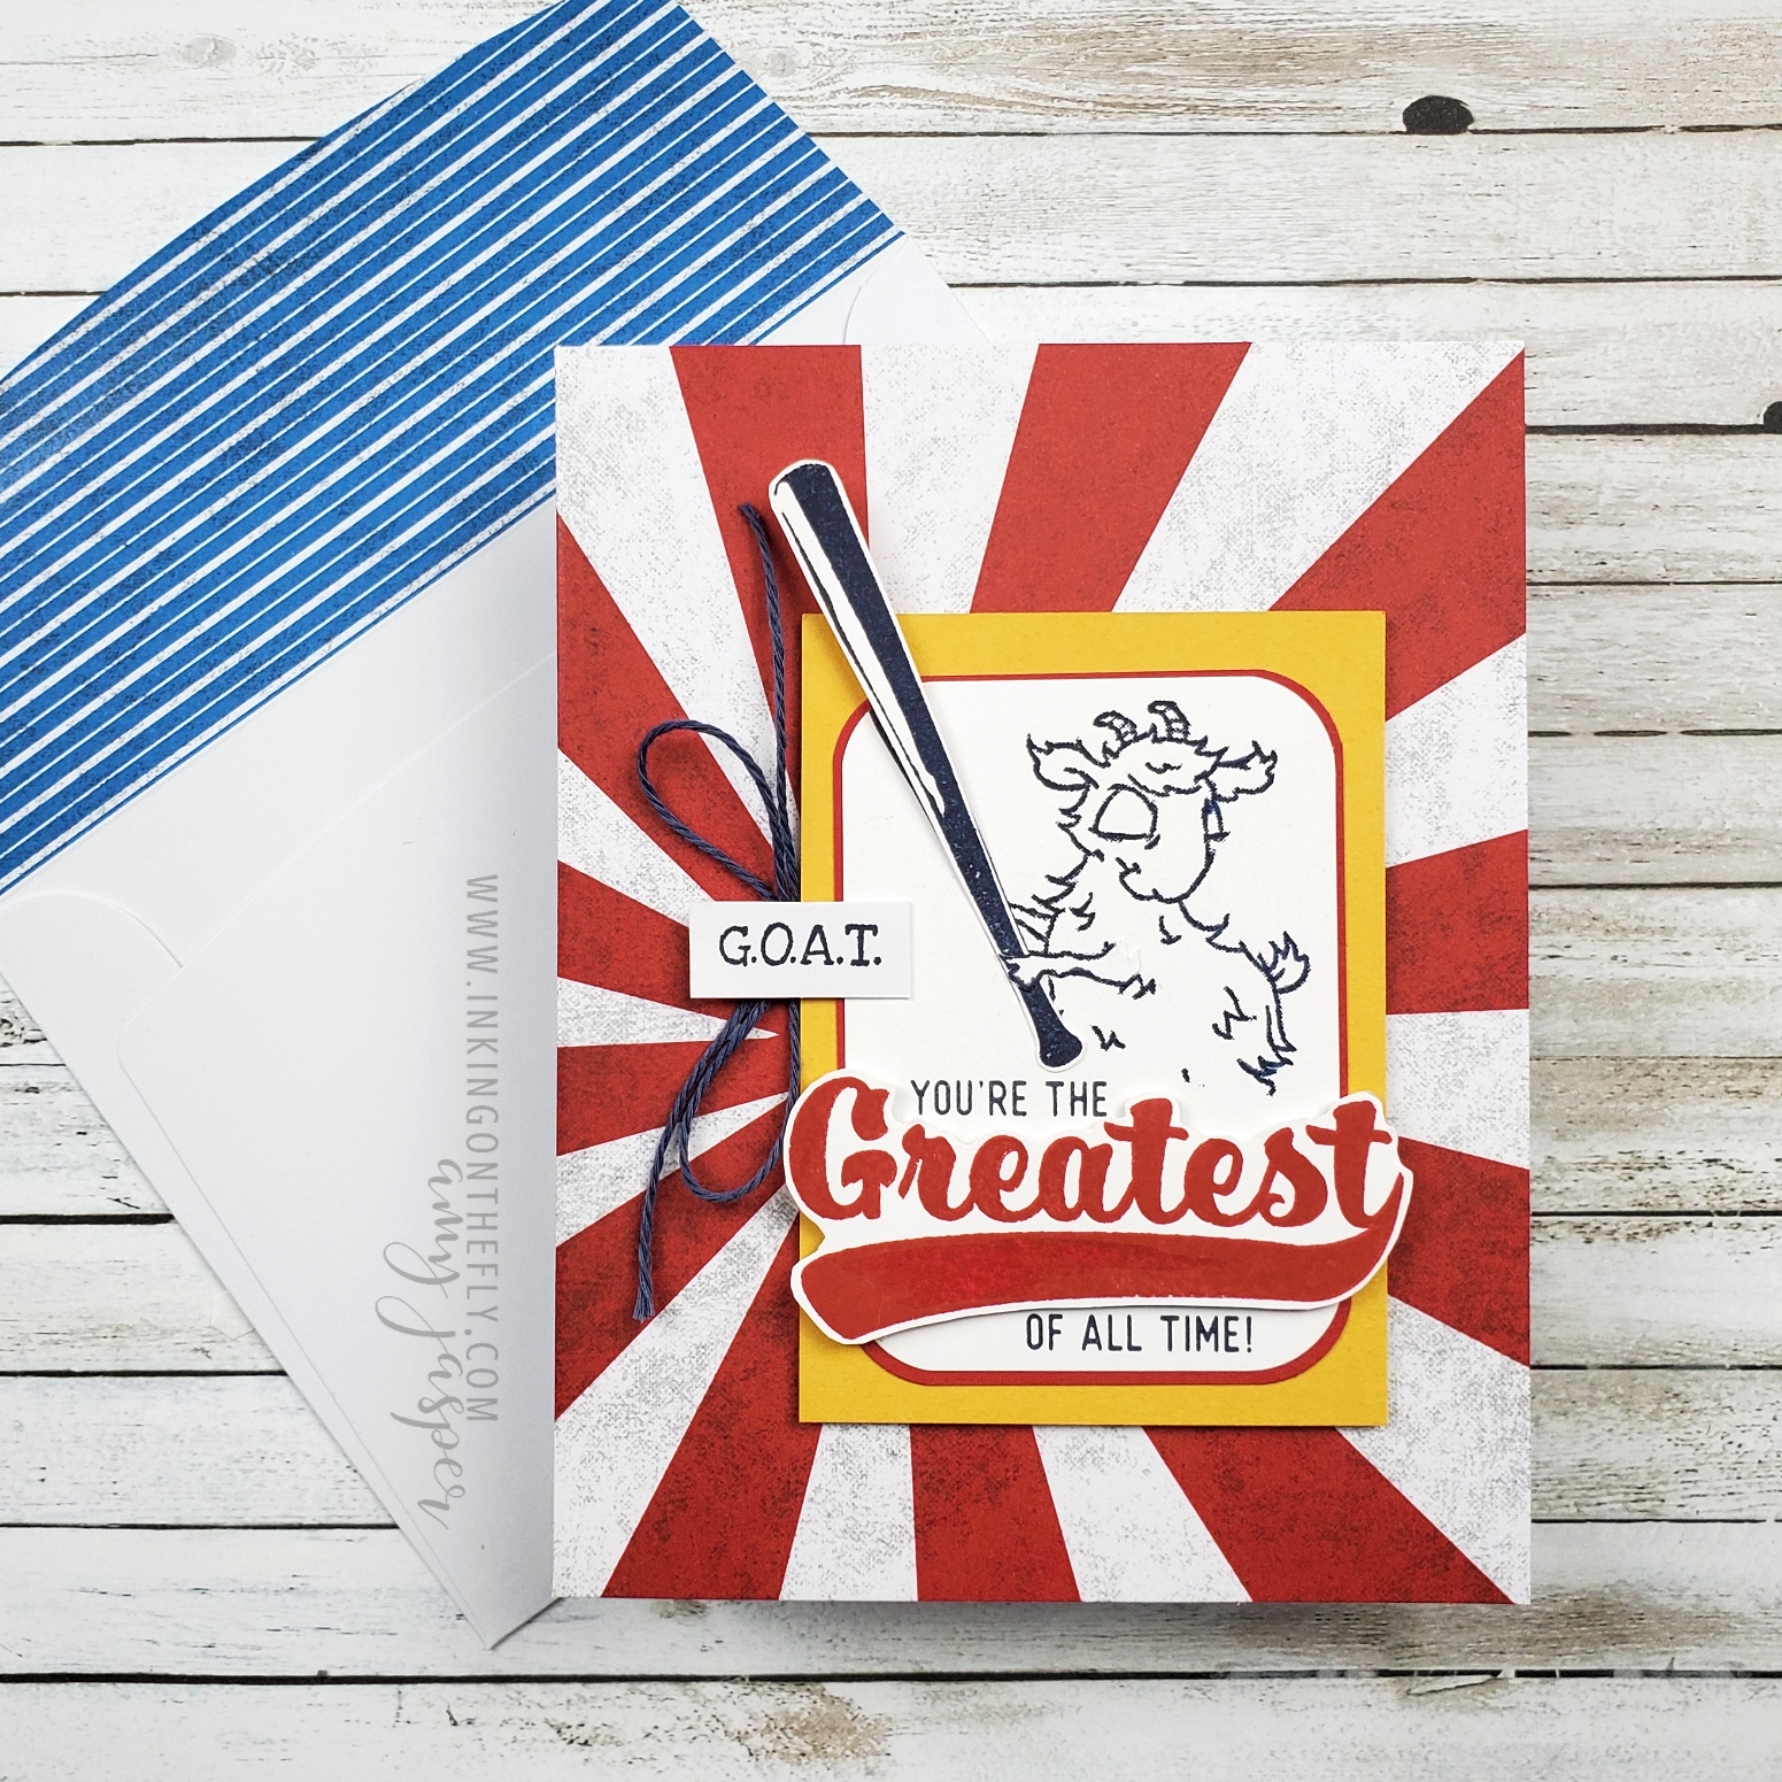
Check out my alternative projects using the May 2021 Paper Pumpkin kit – Batter Up! I’m not much of a baseball player, but that doesn’t matter. These cards will be great for my brothers’ birthdays. I might send one out to an uncle or two as well!
One of the cards is super simple and primarily focuses on the stamp set and supplies found in the kit. The other card is one that I’m particularly fond of, but it features an additional stamp set, Way to Goat.
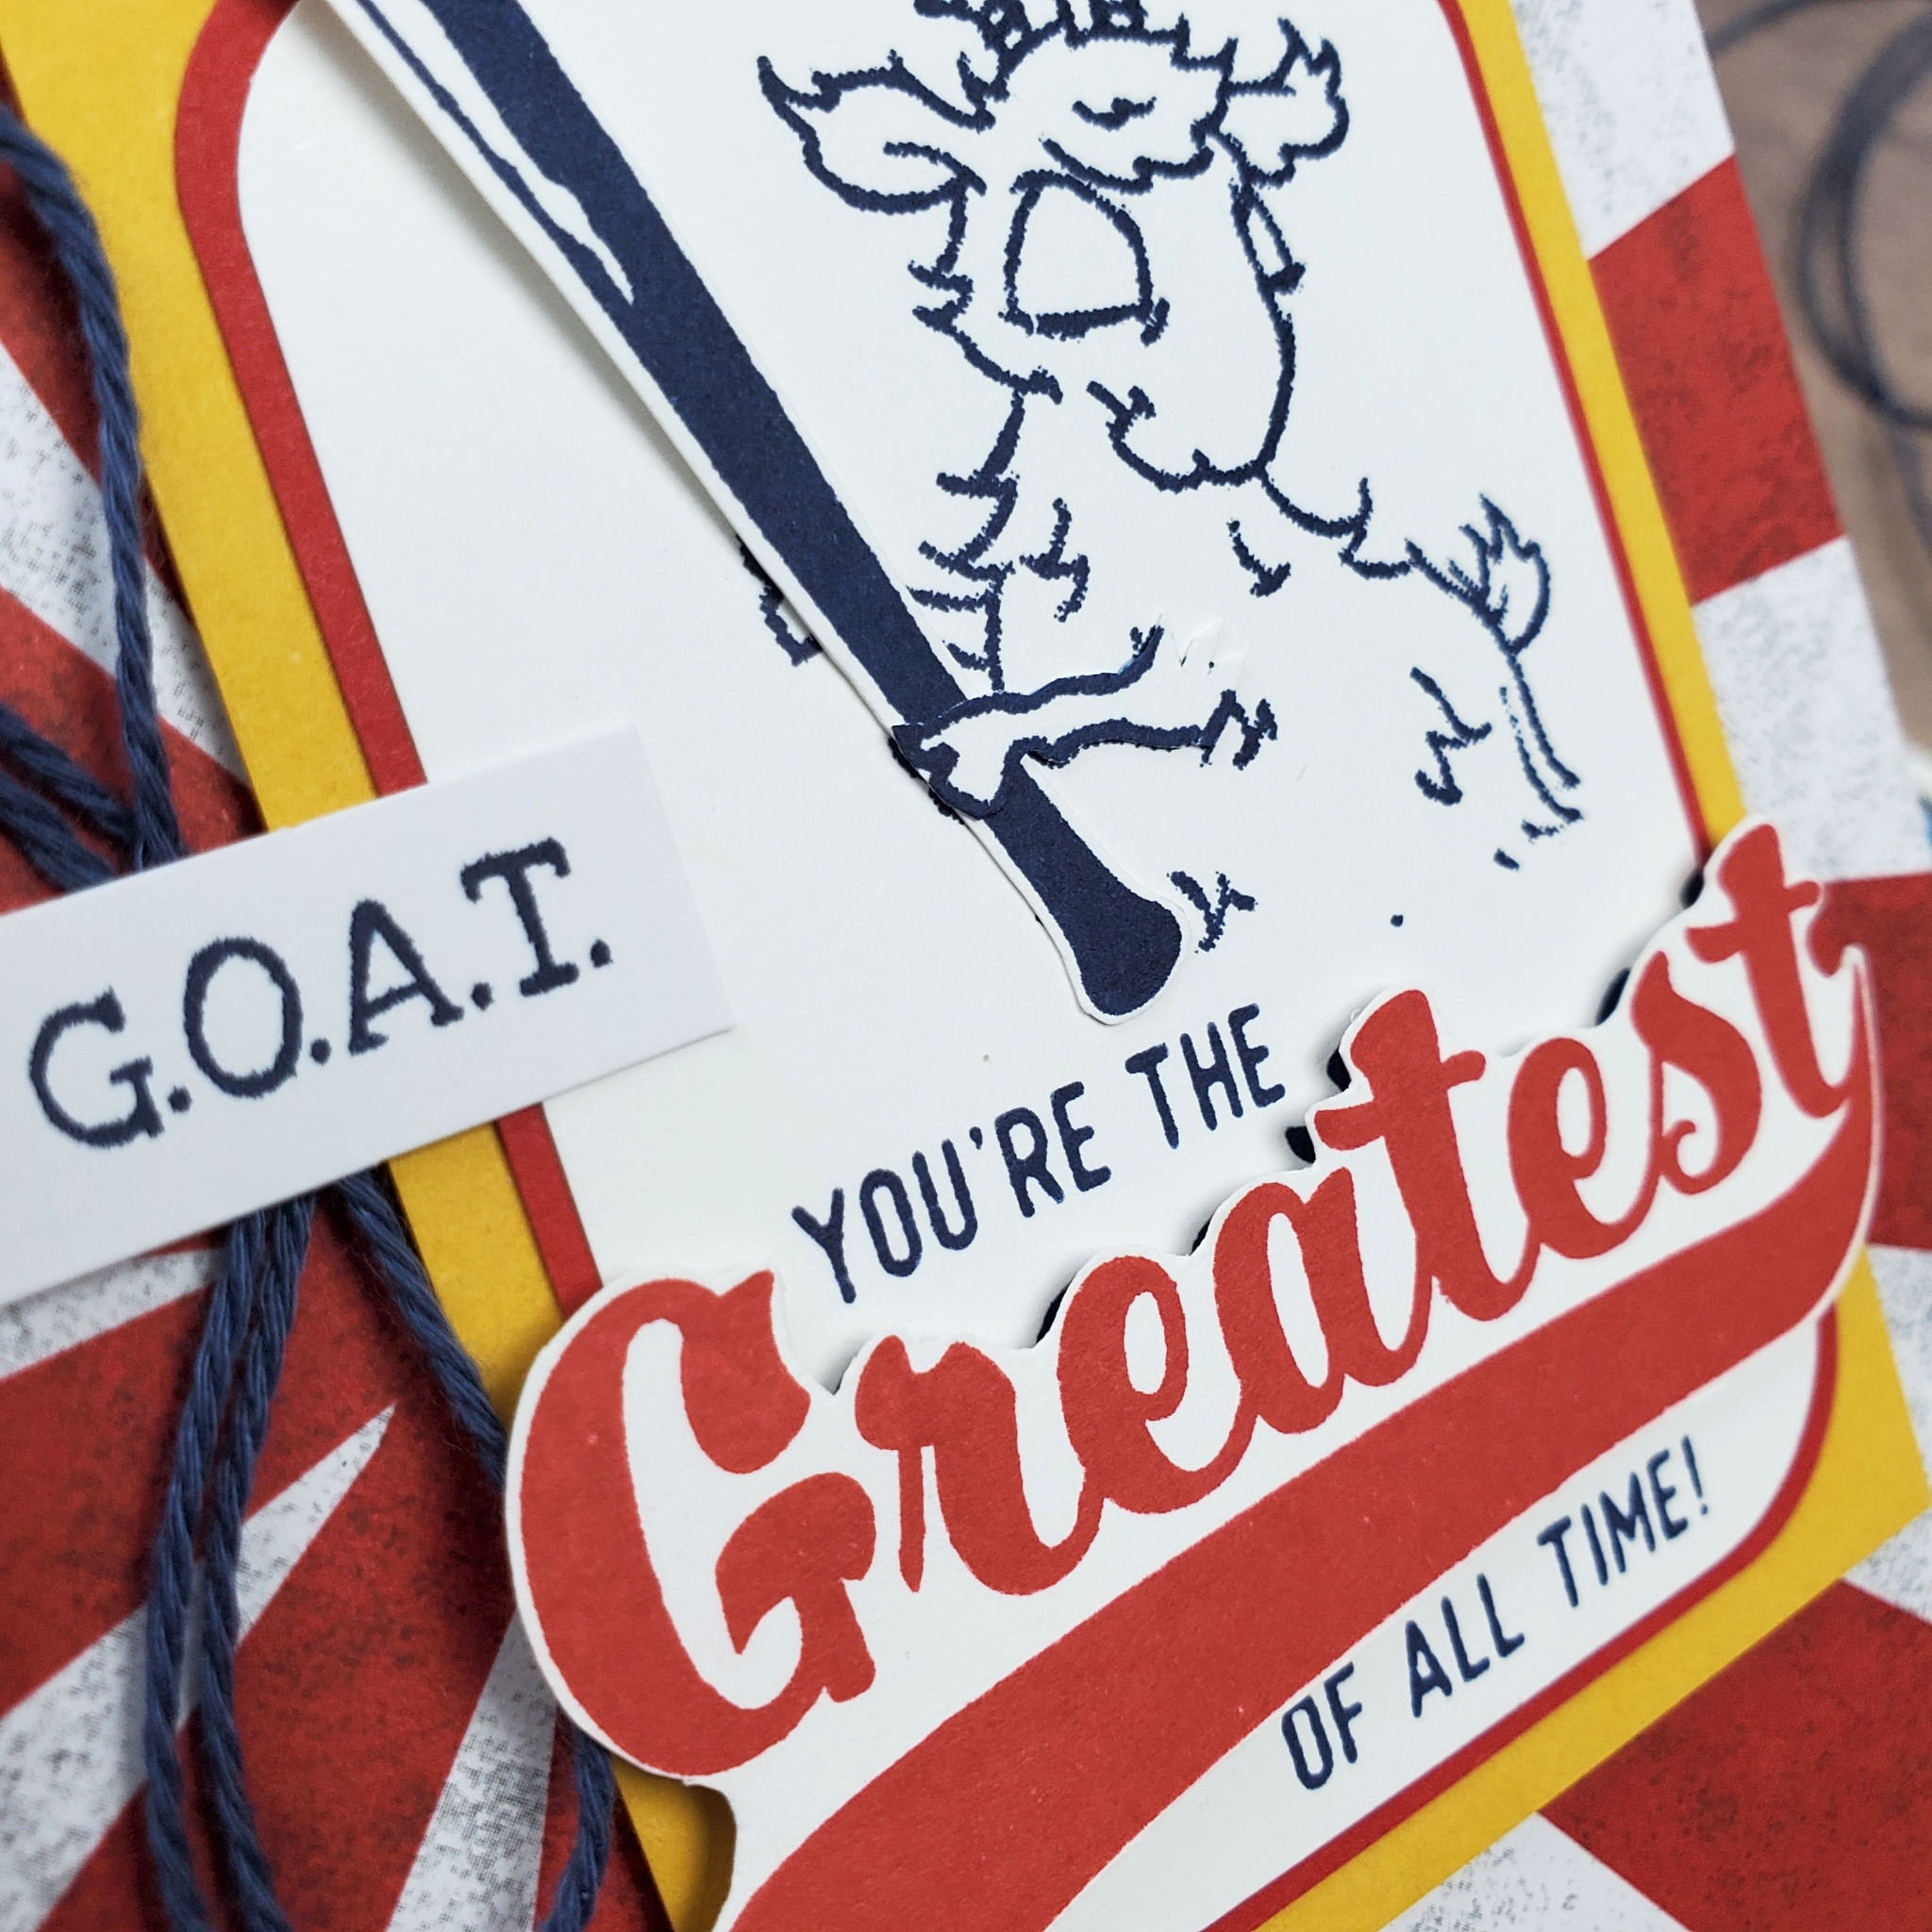
It might seem like an odd choice to combine goats and baseball, but I hope you get a chuckle at the result! I felt very clever while making it and it still makes me chuckle just thinking about it!
If you’re in Canada, you can sign up with me to receive your monthly Paper Pumpkin kit and have your own personal creative escape to enjoy each month.
Check out the details of how to make these cards by watching the video below.