tutorial

Video: Easy Alternative Cards with Expressions in Color

The June 2021 Paper Pumpkin Kit includes some beautiful paper with ink patterns. I have two alternative projects to share with you today that either show off the paper or use the stamps in the kit to make my own!

Paper Pumpkin Subscription

If you aren’t getting the little box of creative goodies each month, then go ahead and click here to get your subscription started! Your first kit will come with an acrylic block to use with each future kit that you receive. All the kits come with everything else that you need to make the projects that were exclusively designed for Paper Pumpkin.

I like to follow the instructions in the kits. No fuss. No thinking. Just easy and beautiful every time! It can also be fun to stretch your creativity and use the supplies to do your own thing.

Alternative Cards

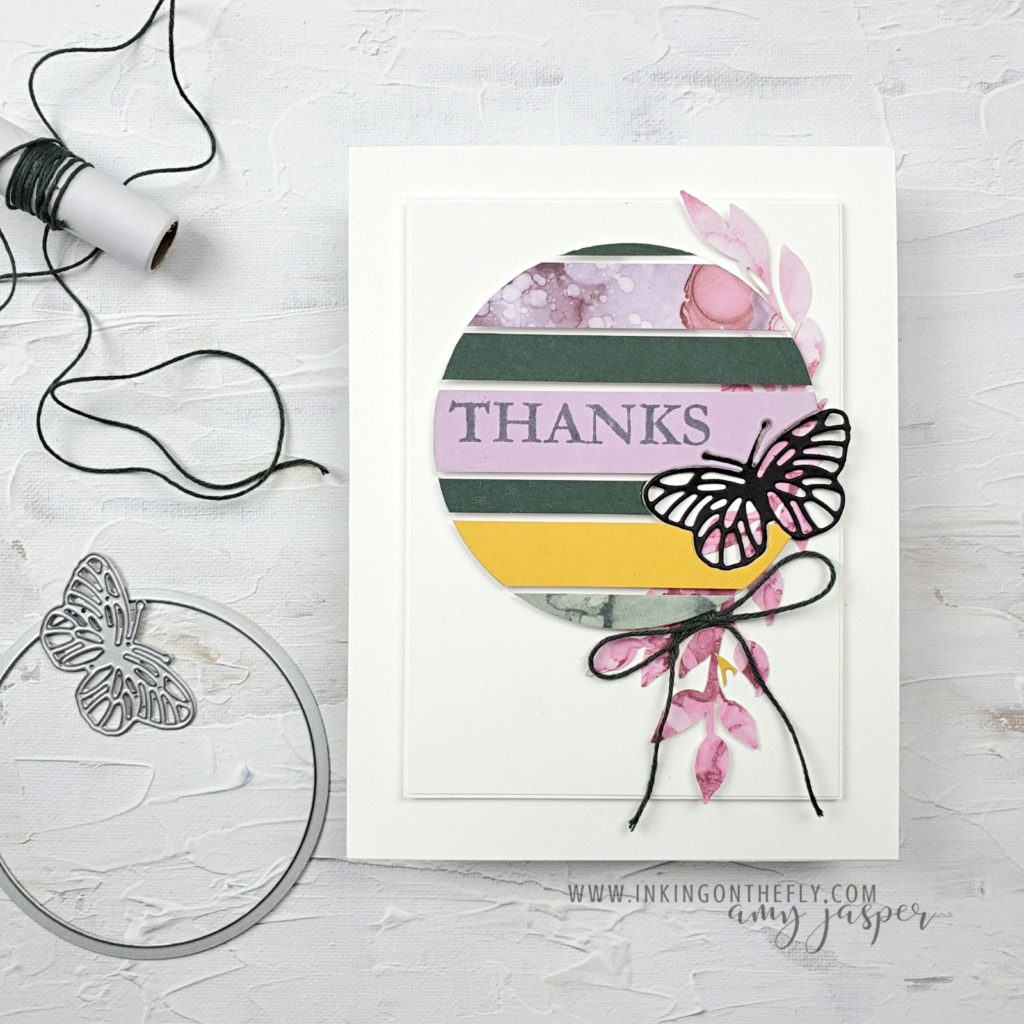
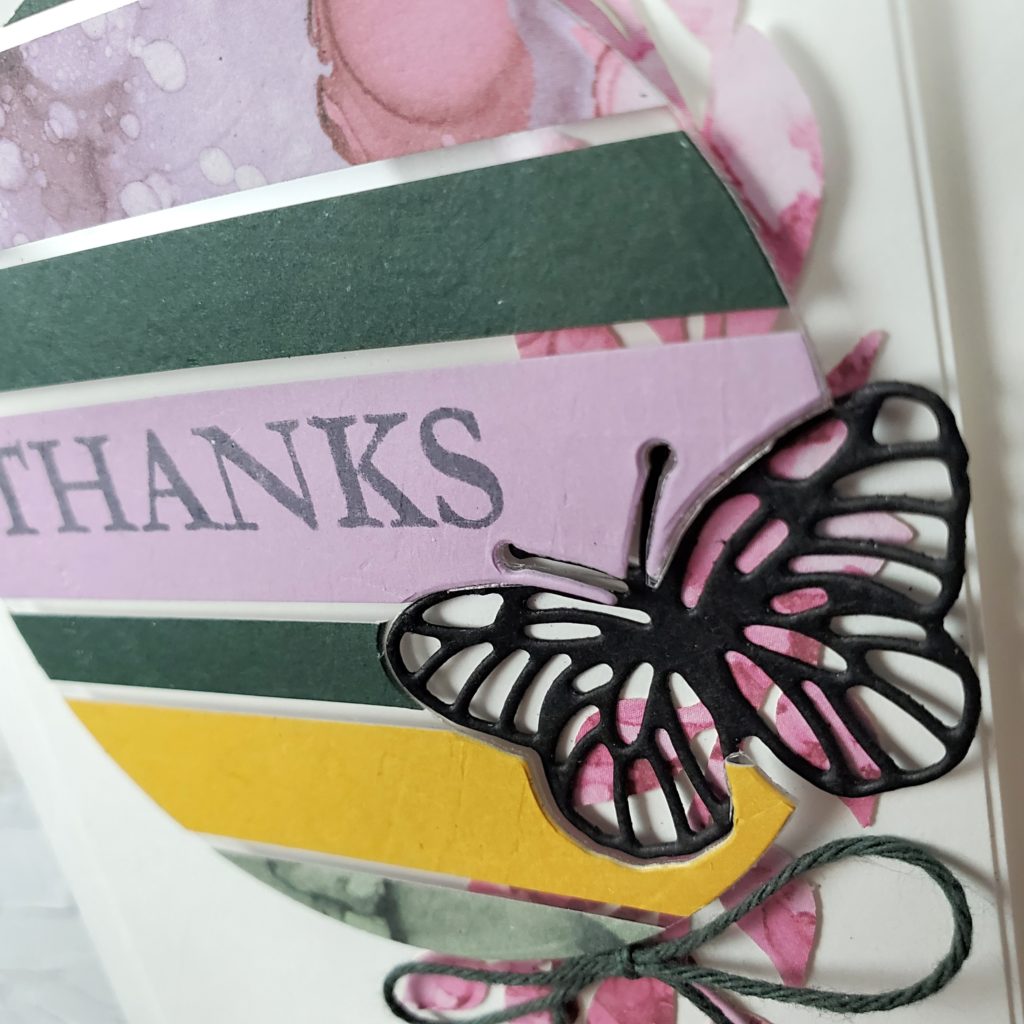
The butterfly on this card is die-cut using the Brilliant Wings dies from Stampin’ Up! I glued strips of the various papers in the kit to a piece of Window Sheet, then die cut the circle and the butterfly. The circle is raised on Stampin’ Dimensionals, while the butterfly is adhered directly to the cardfront. This gives it an interesting inlaid look.

I stamped the sentiment on the circle with Evening Evergreen ink. I think it would look really great if it were stamped with Versamark ink and heat embossed with Black Embossing Powder. I’ll have to try that with my next card and see which one I like better.

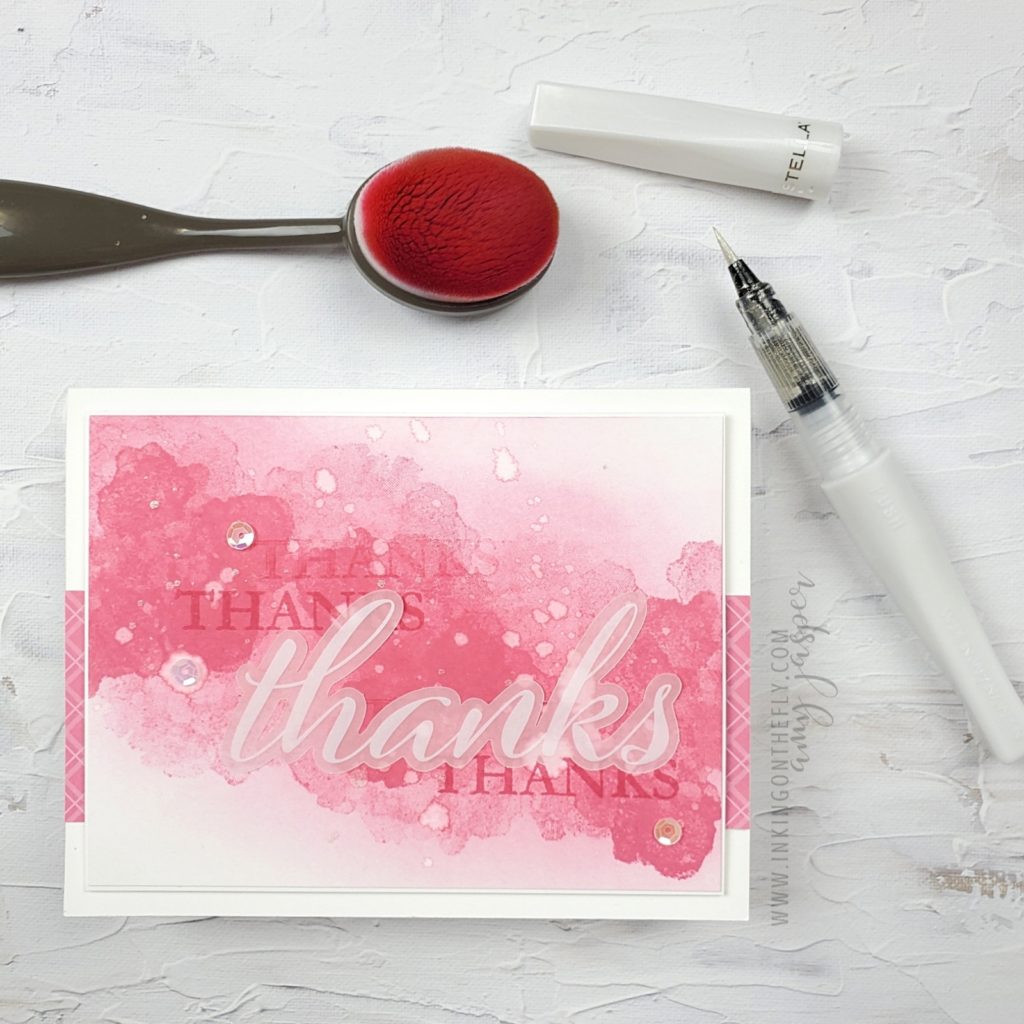
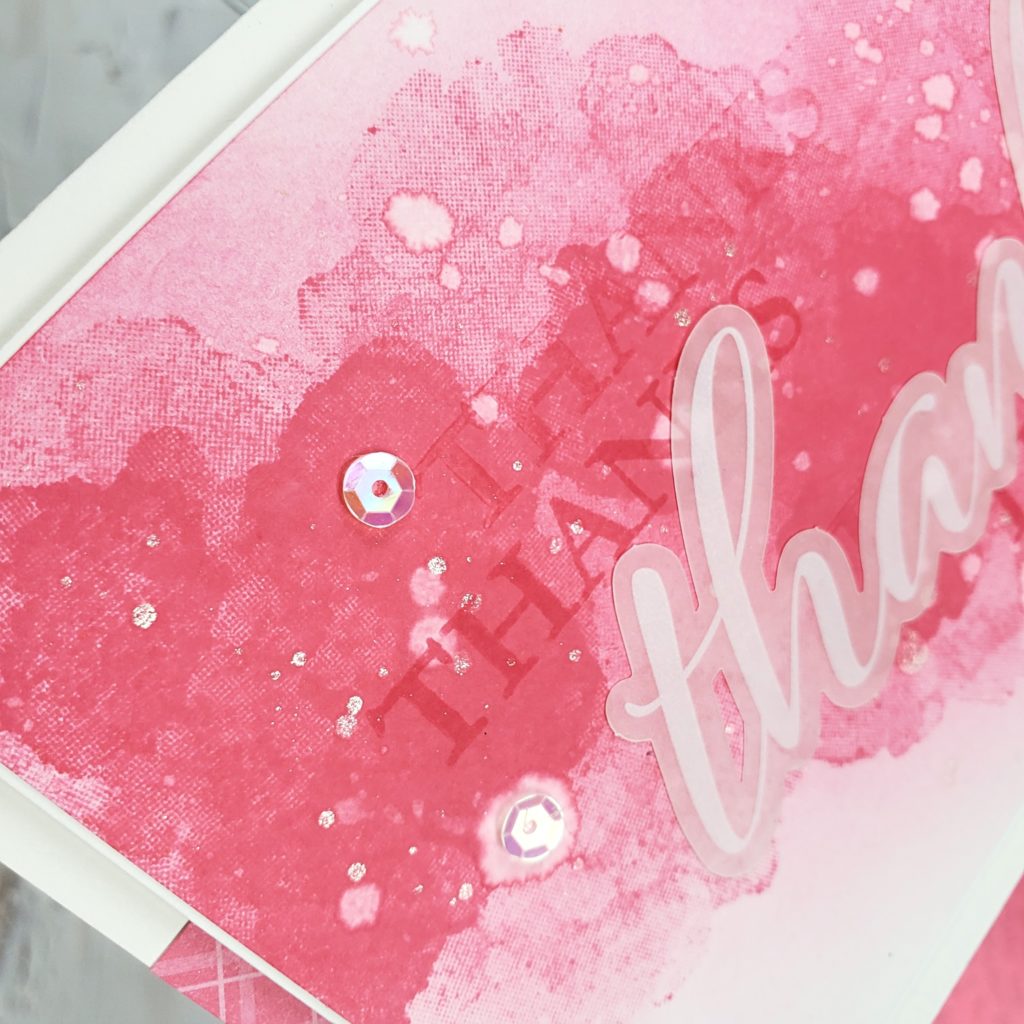
The pink card is created with the stamps in the kit. I used Polished Pink ink and included the wide strip of a piece of the 6″ x 6″ In Color DSP Assortment patterned paper peeking from the background. My Blending Brush and more pink ink soften the edges of the stamped images.

Water droplets create some spatter in the ink. I also added some Wink of Stella spatter for a hint of sparkle!

Watch the video below so you can see how these cards were made.

You can watch it in double time or skip to the best parts! If you like it, be sure to subscribe to my channel and help me to grow my business. Your support keeps me sharing!
My How-to Video Makes this Fun Pop-up-flap Card Easy

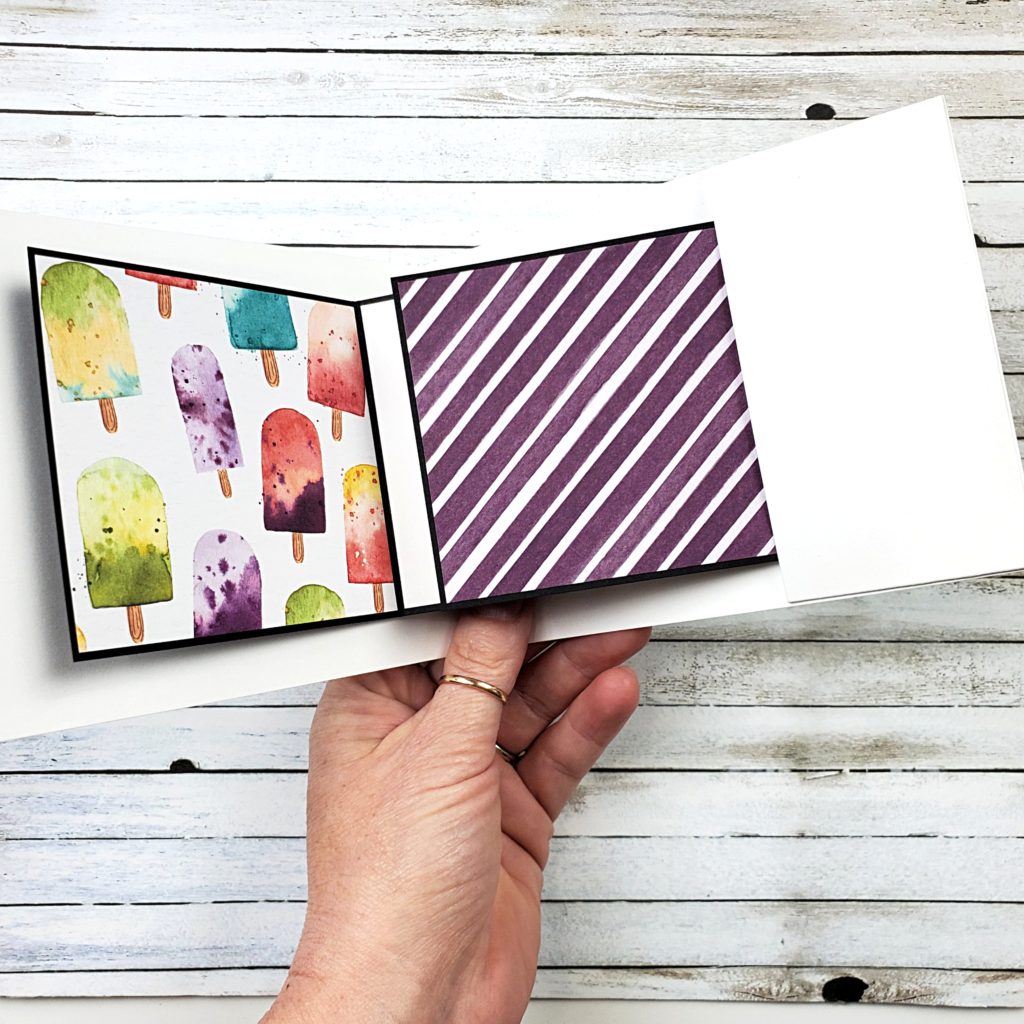
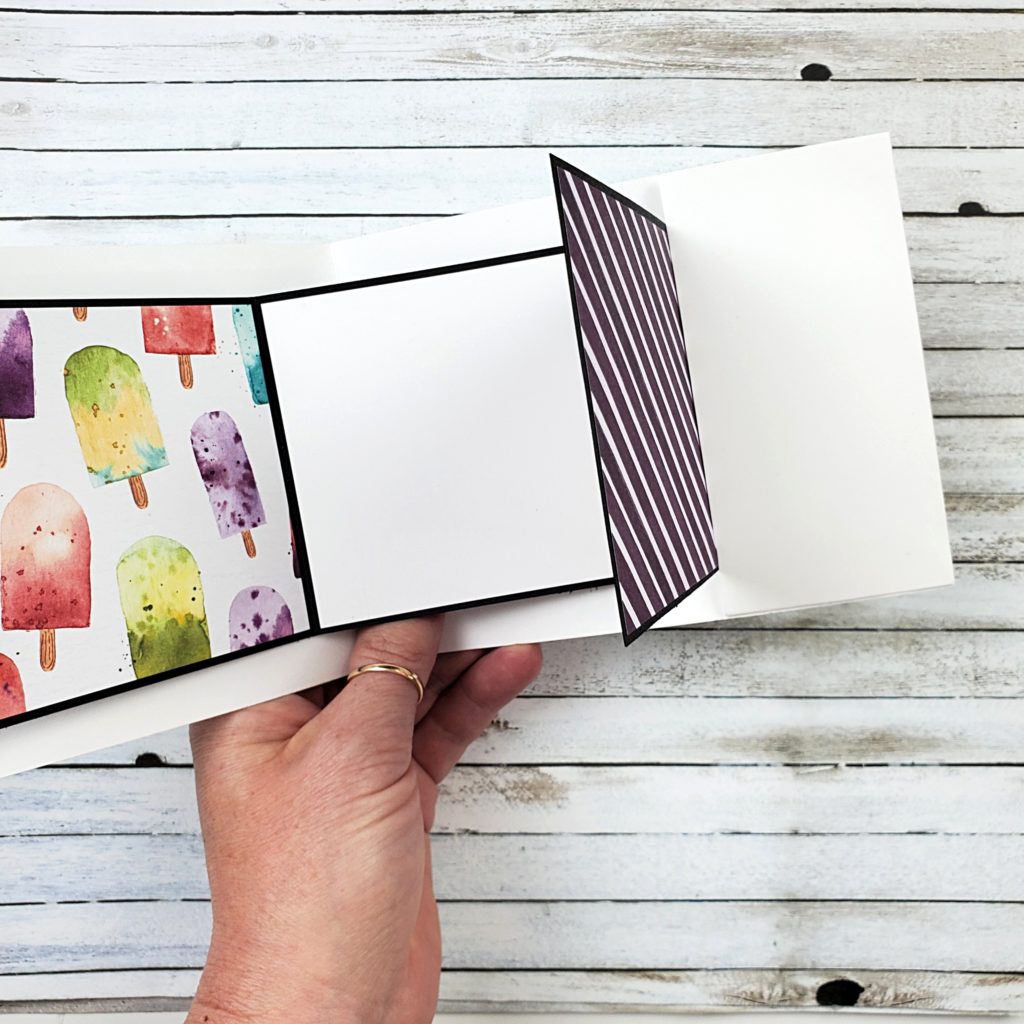
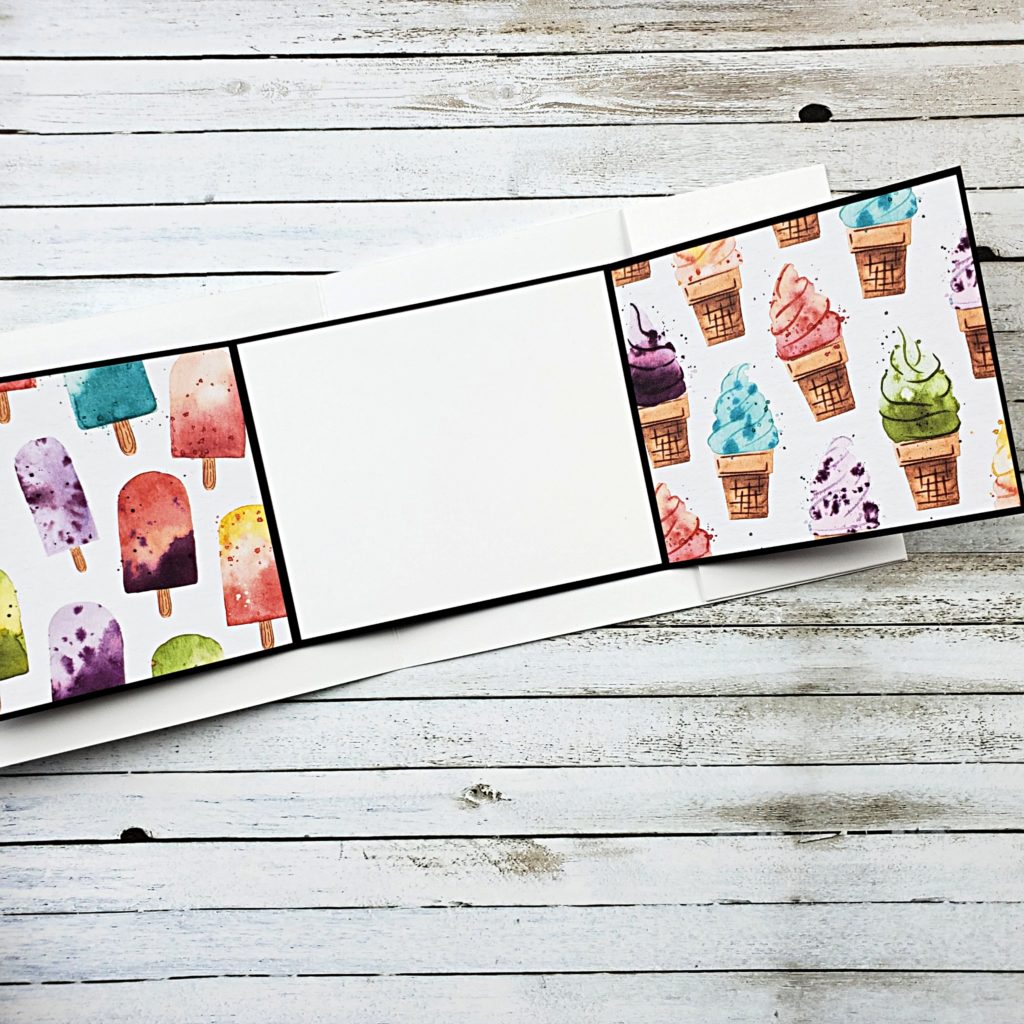
I love pop-up cards and this design is one of my absolute favourites! I first discovered this style of pop-up by watching a video tutorial shared by Mitosu Crafts. You should definitely check out their great ideas on YouTube.

I didn’t follow their directions exactly. Instead, I made a few adaptations to the pop-up mechanism to make it a little less bulky and, hopefully, a little bit simpler.

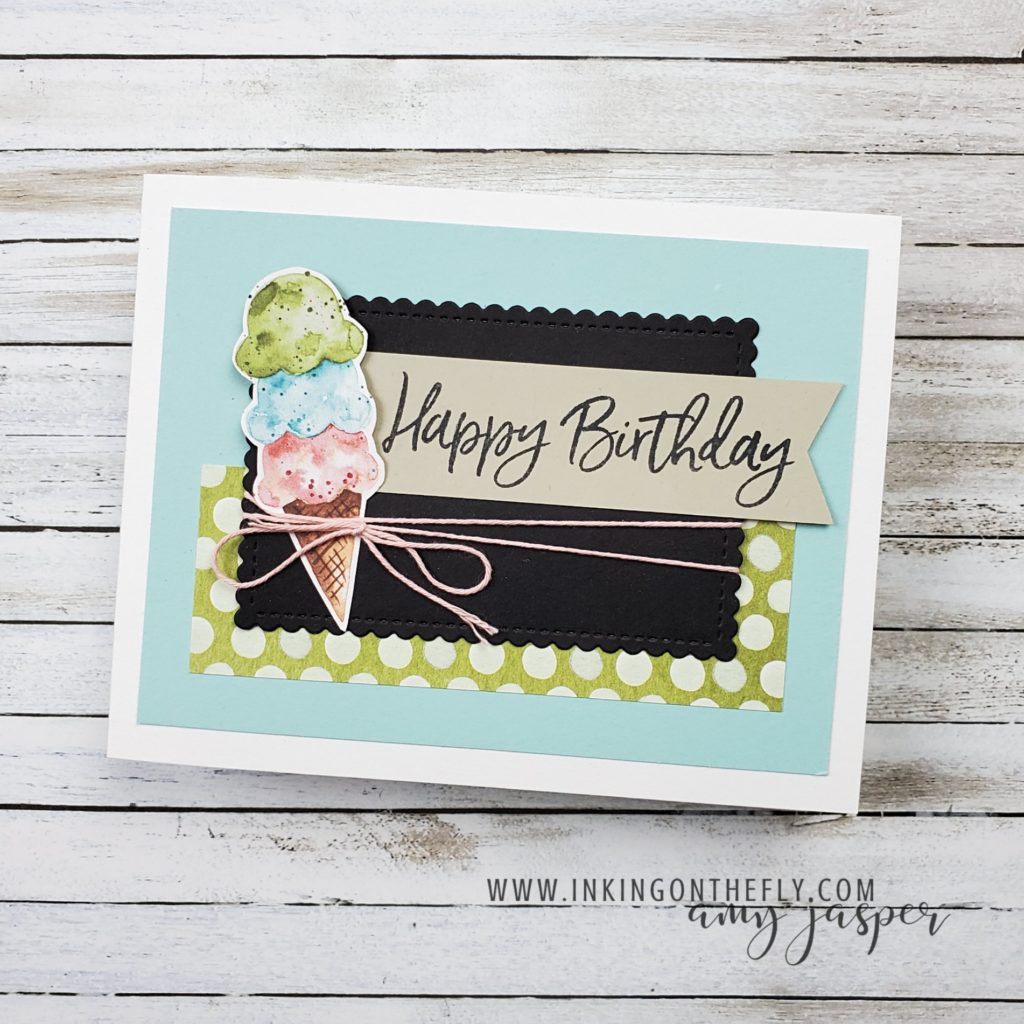
The ice cream patterned paper pack is no longer available from Stampin’ Up! I don’t think that will be a problem for you because I know you’re very clever crafters and will be able to make a beautiful card with different paper. In fact, I’d like to make another card like this one and use some of the bright and cheerful paper from the Pattern Party Paper Pack. It has 48 sheets of 12″ x 12″ paper that you can only get with Host Rewards from hosting a workshop or placing an order for yourself that’s over $200 CAD.

The ice cream cones on the front of this design are also from the retired Ice Cream Corner paper, but can easily be replaced using the Ice Cream Cone Builder Punch and the Sweet Ice Cream stamp set from Stampin’ Up!.

Follow along with my video tutorial below and give this pop-up card a try. I think you’ll be pleasantly surprised to find that it’s easier to make than you think! You’ll fine the cutting measurements at the bottom of this post.

Measurements for the Card Front

4 ¼” x 11” Thick Basic White, score at 5 ½”
5” x 3 ¾” Pool Party
1 ½” x 4 ¼” Ice Cream Corner paper
Fussy-cut ice cream cone from Ice Cream Corner paper
3 ⅝” x 2 ⅜” Basic Black Stitched So Sweetly die-cut
3 ¾” x 1” Sahara Sand
21” Baker’s Twine

Measurements for the Inside

2 ⅛” x 5” Thick Basic White, score at ⅜”, 4 ⅝”
2” x 3” Thick Basic White, score at 1”, 2”, 2 ½”
11” x 3 ¼” Basic Black, score at 3 ½”, 7 ½”
3 ⅞” x 3 ⅛” Basic White
2” x 2 ½” Clear envelope (or plastic bag)
3 ⅜” x 3 ⅛” Ice Cream Corner DSP (x3)

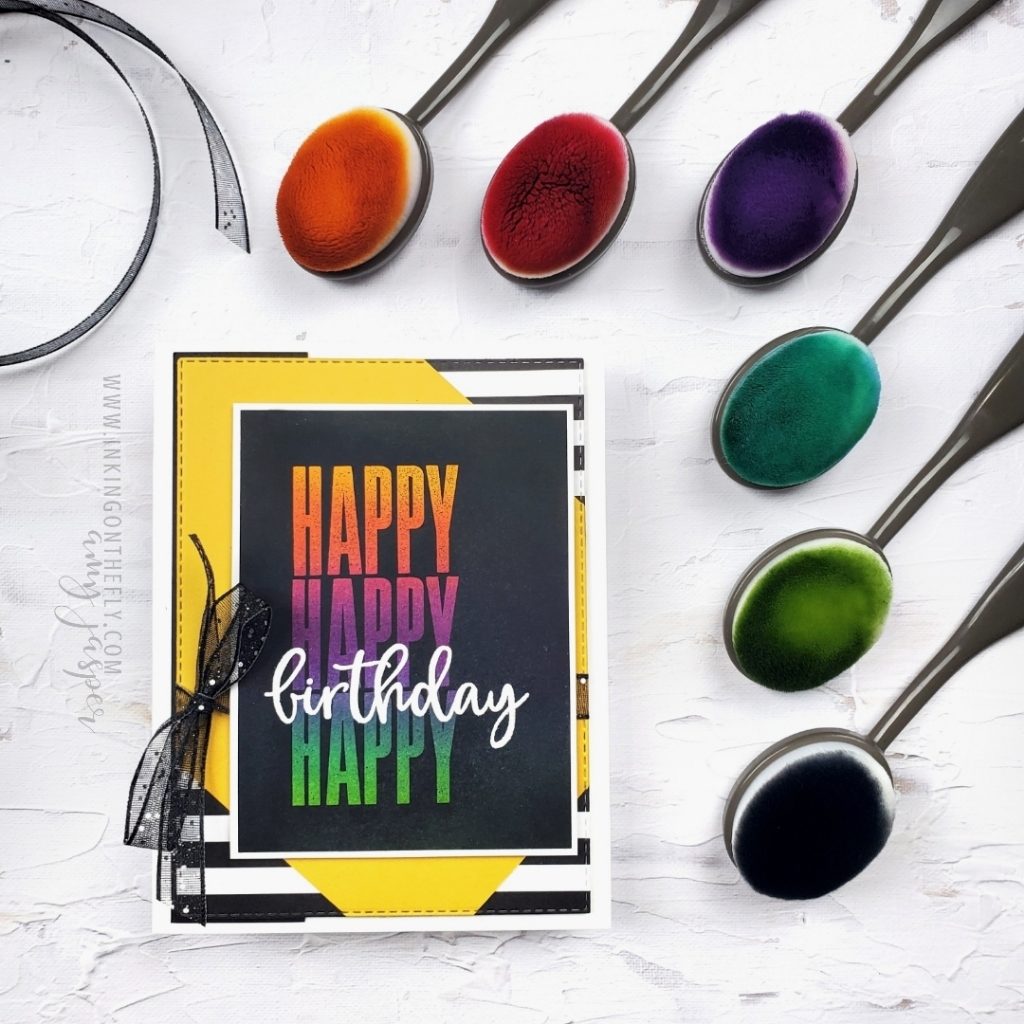
Make your design POP! with embossed layers

You can layer heat-embossed images with the right tools and a little bit of patience.

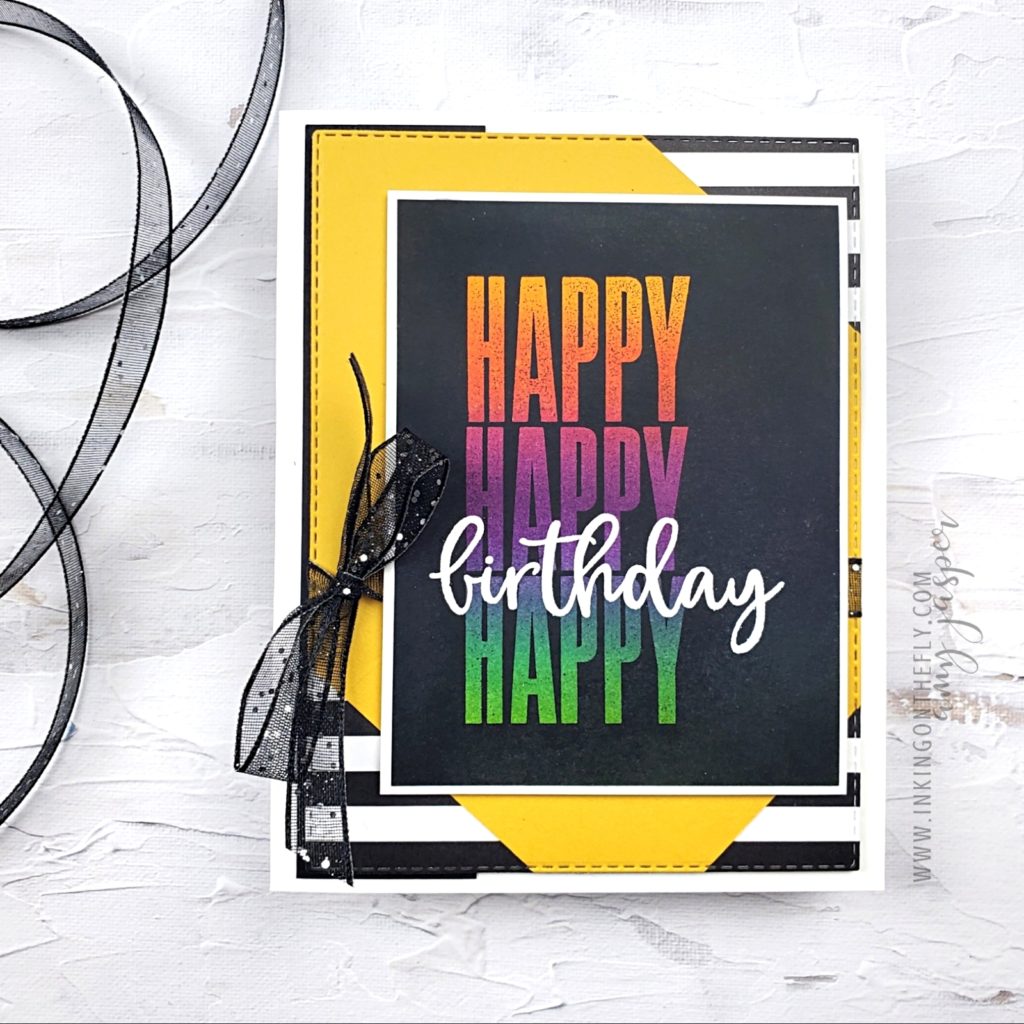
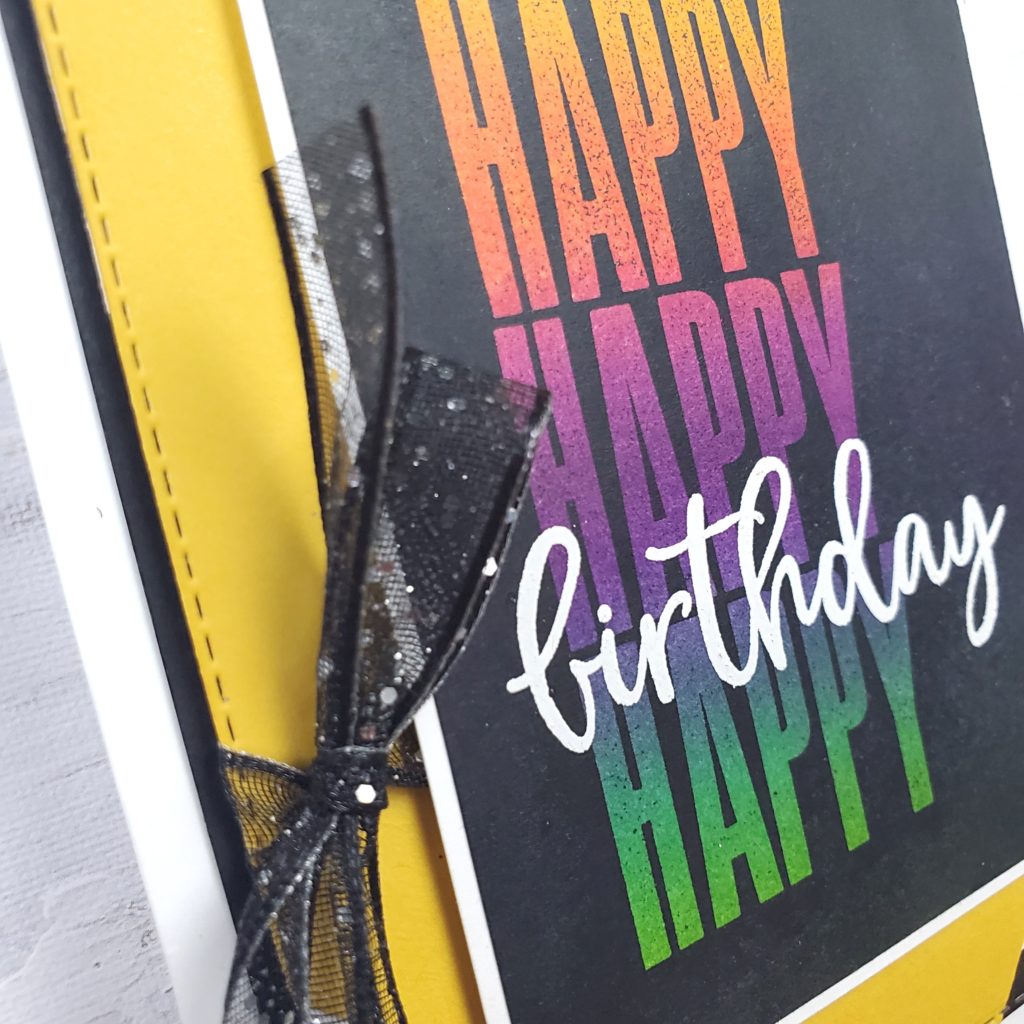
This is so cool! Watch the video below to find out exactly how I created this colourful sentiment on the black background.

It starts with a Joseph’s Coat technique

  1. Sponge multiple ink colours on cardstock.
  2. When completely dry, stamp bold image with Versamark ink
  3. Apply clear embossing powder and heat set until glossy.
  4. Apply Tuxedo Black Momento ink to completely cover cardstock. The embossing will resist the ink.
  5. Gently wipe ink residue off of embossed image to reveal all the glorious color!

Then the magic happens!

The next step is to carefully heat the embossed image and remove the embossing powder while it’s warm and melted. In my video, I used a heat and wipe technique with my heat tool and paper towel. This is a bit time consuming and requires moving quickly.

Another option is to take out your ironing board! Place the following layers on the ironing board: computer paper, embossed cardstock, paper towel, and a piece of computer paper on top. Use your iron on a low heat setting (without steam!) and apply to the layers. The embossing will melt and the paper towel will absorb it.

With both methods, it’s important to be careful that you don’t burn the paper.

Supplies used for this card

Watch my video to see this technique in action!