Fast Masking with Foliage
Haha! What kind of title is THAT!! “Fast masking with foliage”! Ah well. I’m just going to run with it.
And run I did! Figuratively speaking, of course, because the card that I have to share with you today is for the As You See It Speed Challenge.
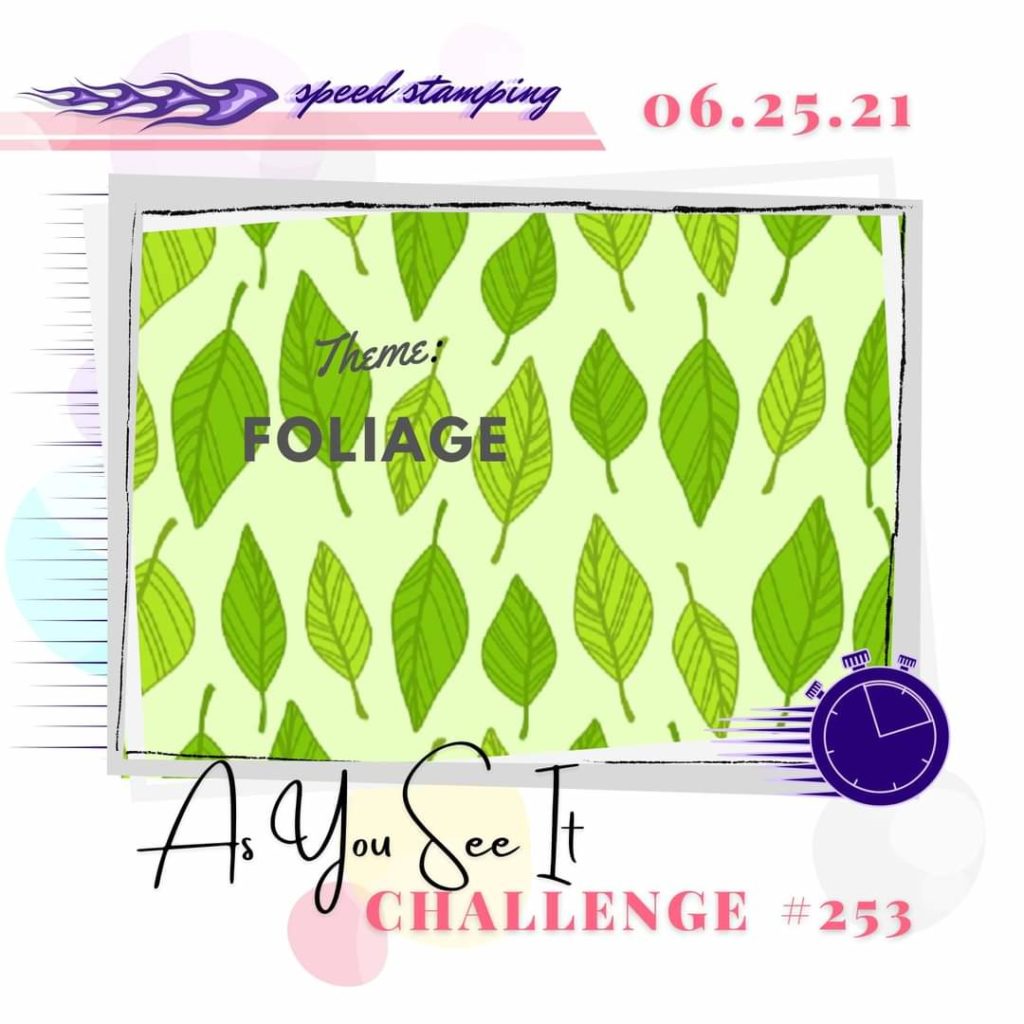
What is a Speed Challenge?
A speed challenge is when you make a plan for the card you want to make, gather all your supplies (no pre-cutting allowed!), set your stopwatch, and make a card in 10 minutes or less!
It used to be really difficult for me to do this challenge. If you’ve seen other cards I’ve made, you may have noticed that my designs tend to be … involved. However, I’ve had lots of practice and now feel quite confident. More often than not, I am very happy with my finished design!

Making the Card
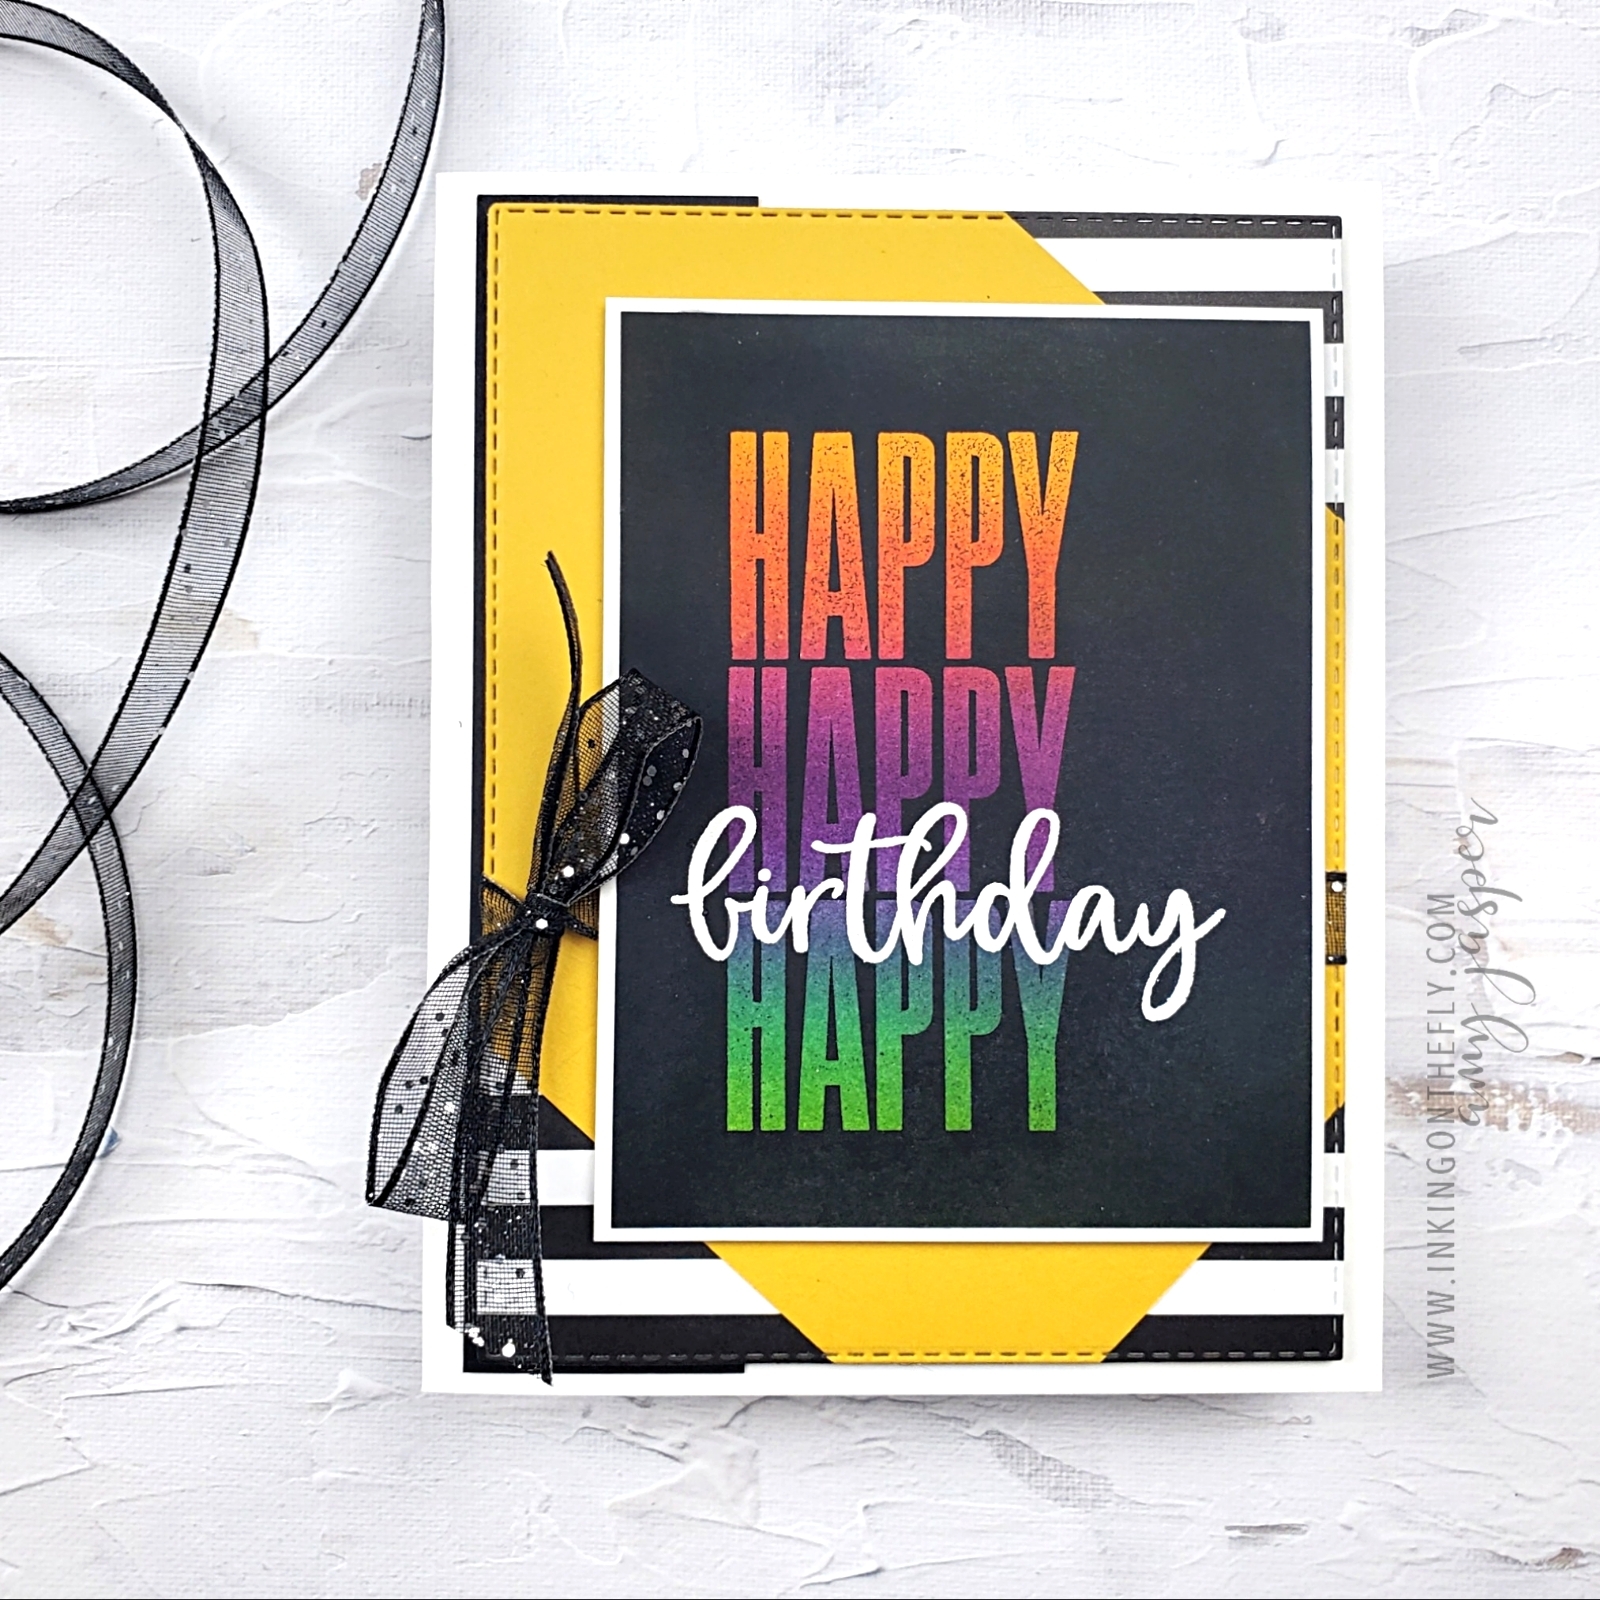
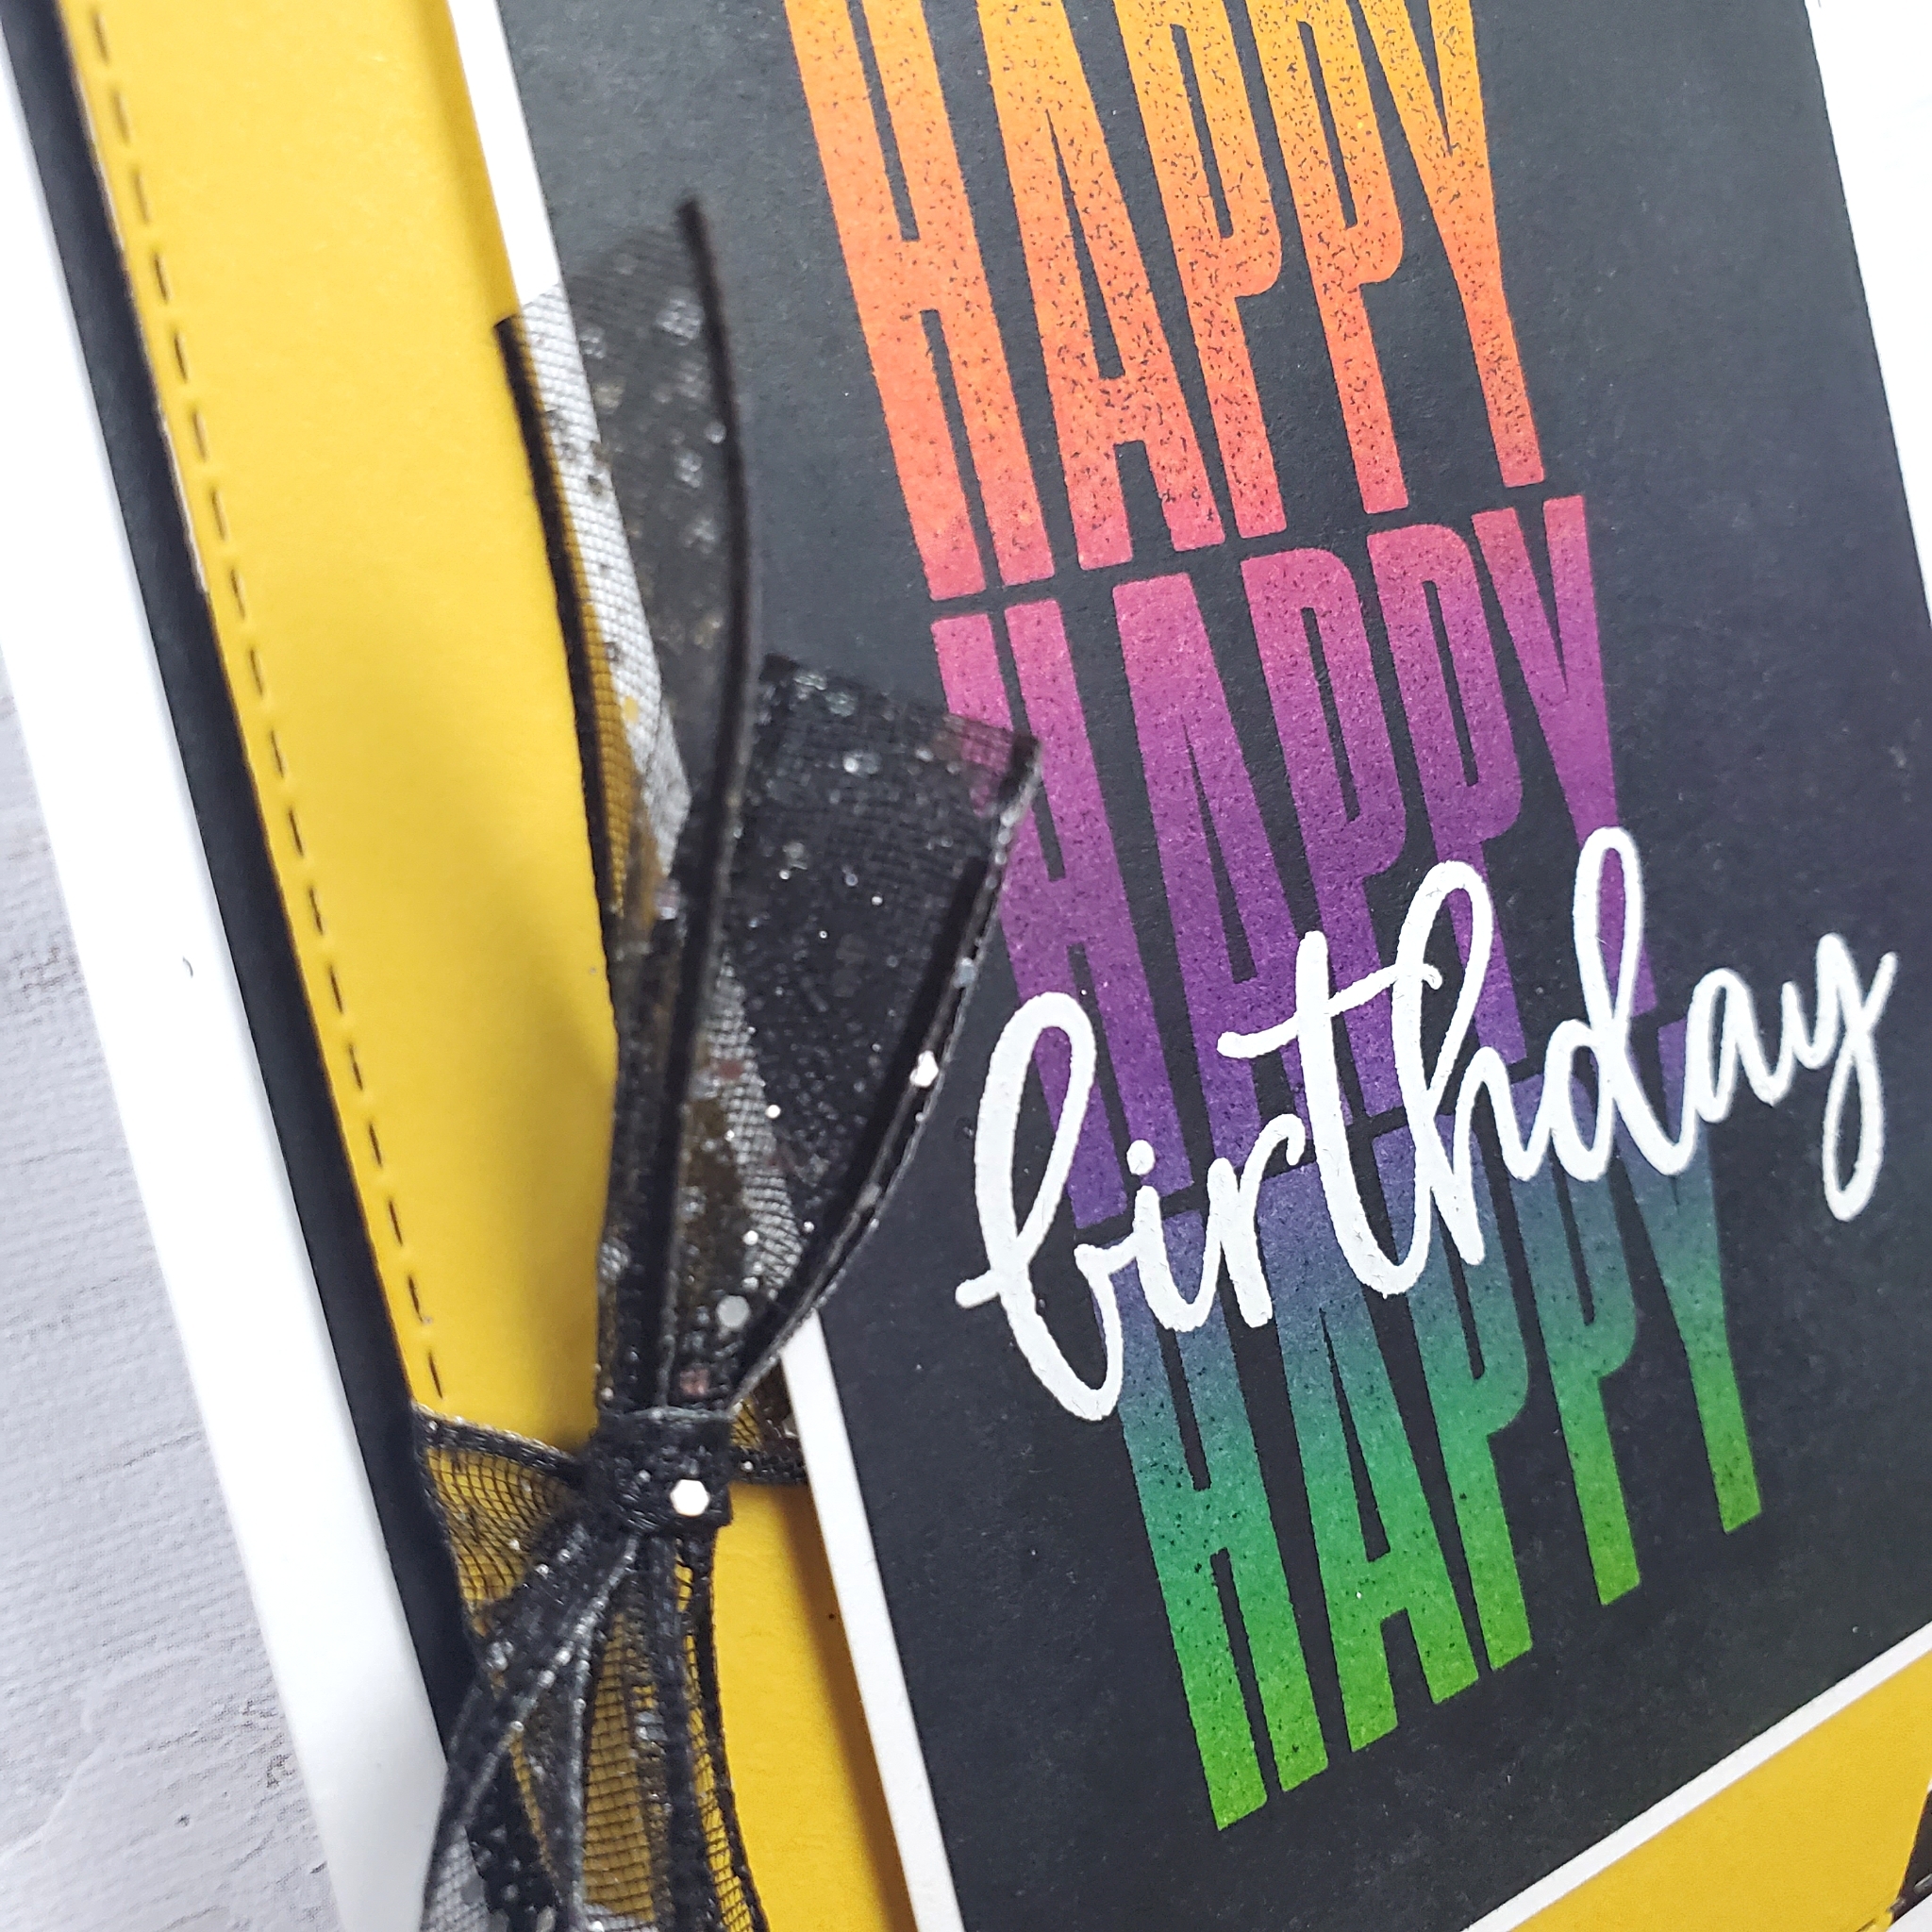
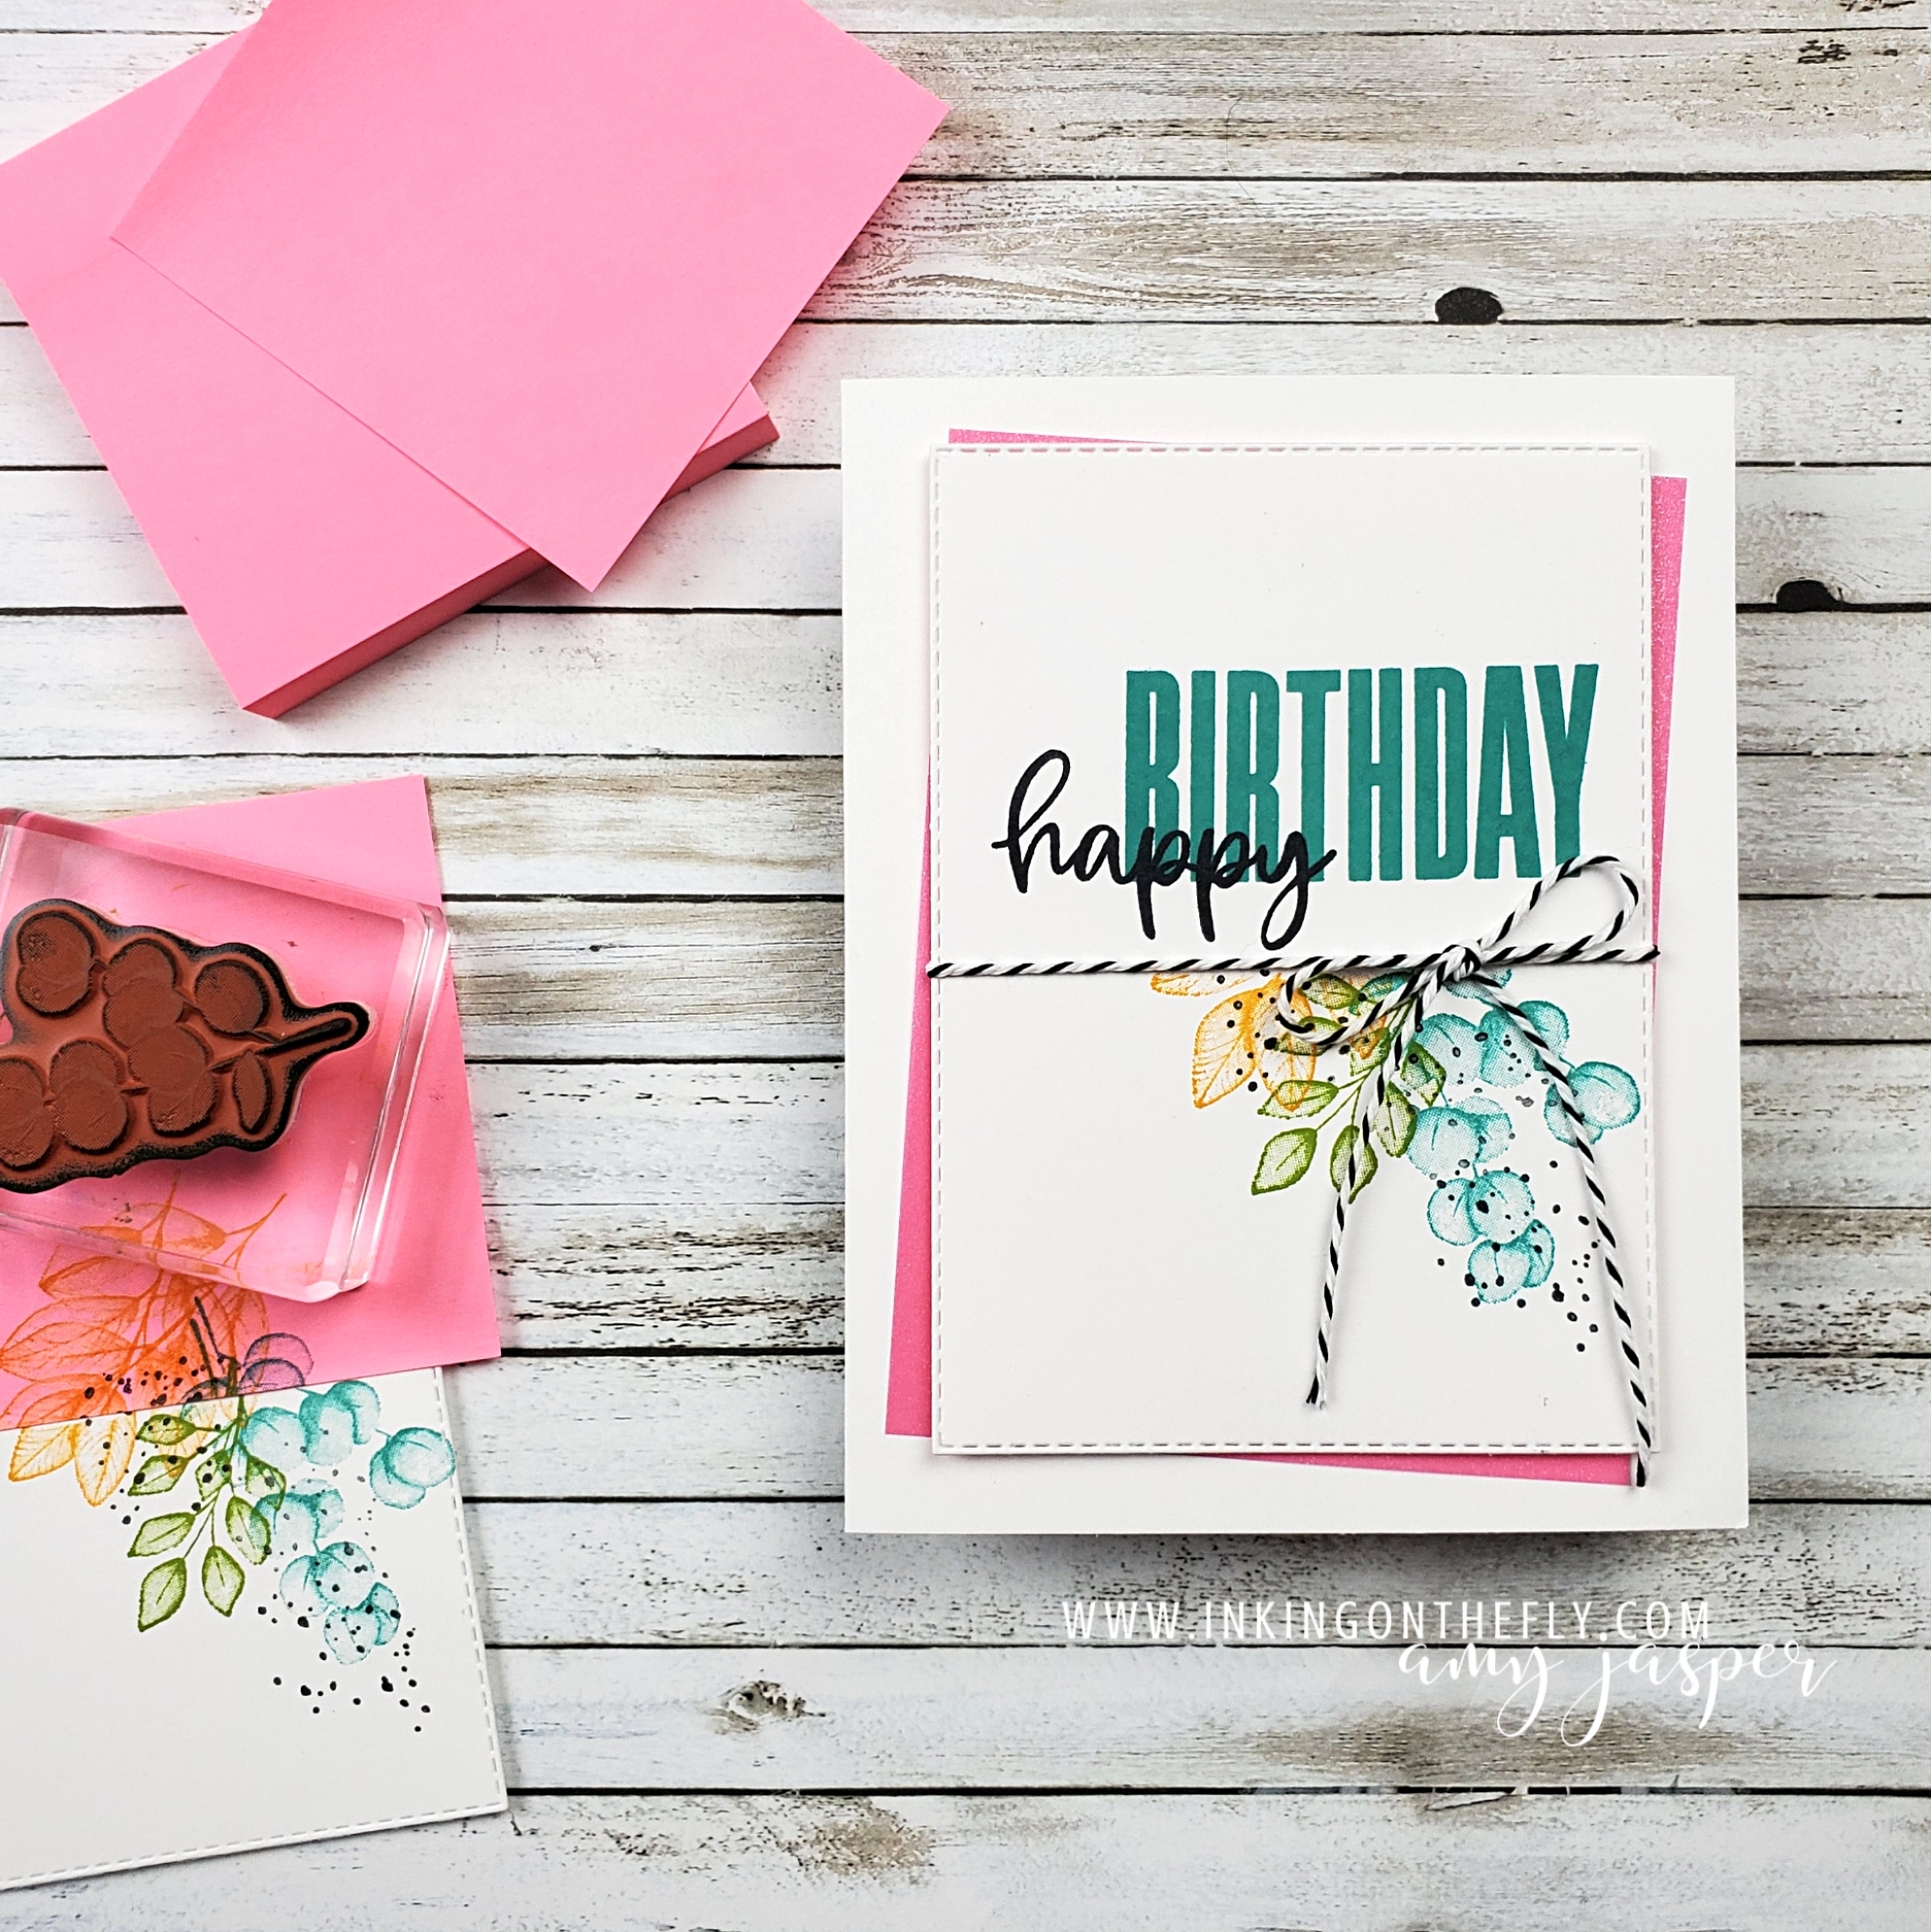
For this card, I used the Biggest Wish stamp set. The sentiment is stamped in Bermuda Bay Ink and Tuxedo Black Momento Ink on the Basic White die-cut Stitched Rectangle.
To stamp the images from the Forever Fern stamp set so that they didn’t end up with a mess of stems on top of my sentiment, I used a sticky note (aka a Post-It Note). I place the sticky note and stamped the fern images. Bermuda Bay, Granny Apple Green, and Mango Melody are colours that make me so happy! The dots from the same stamp set were added using Tuxedo Momento Black Ink.
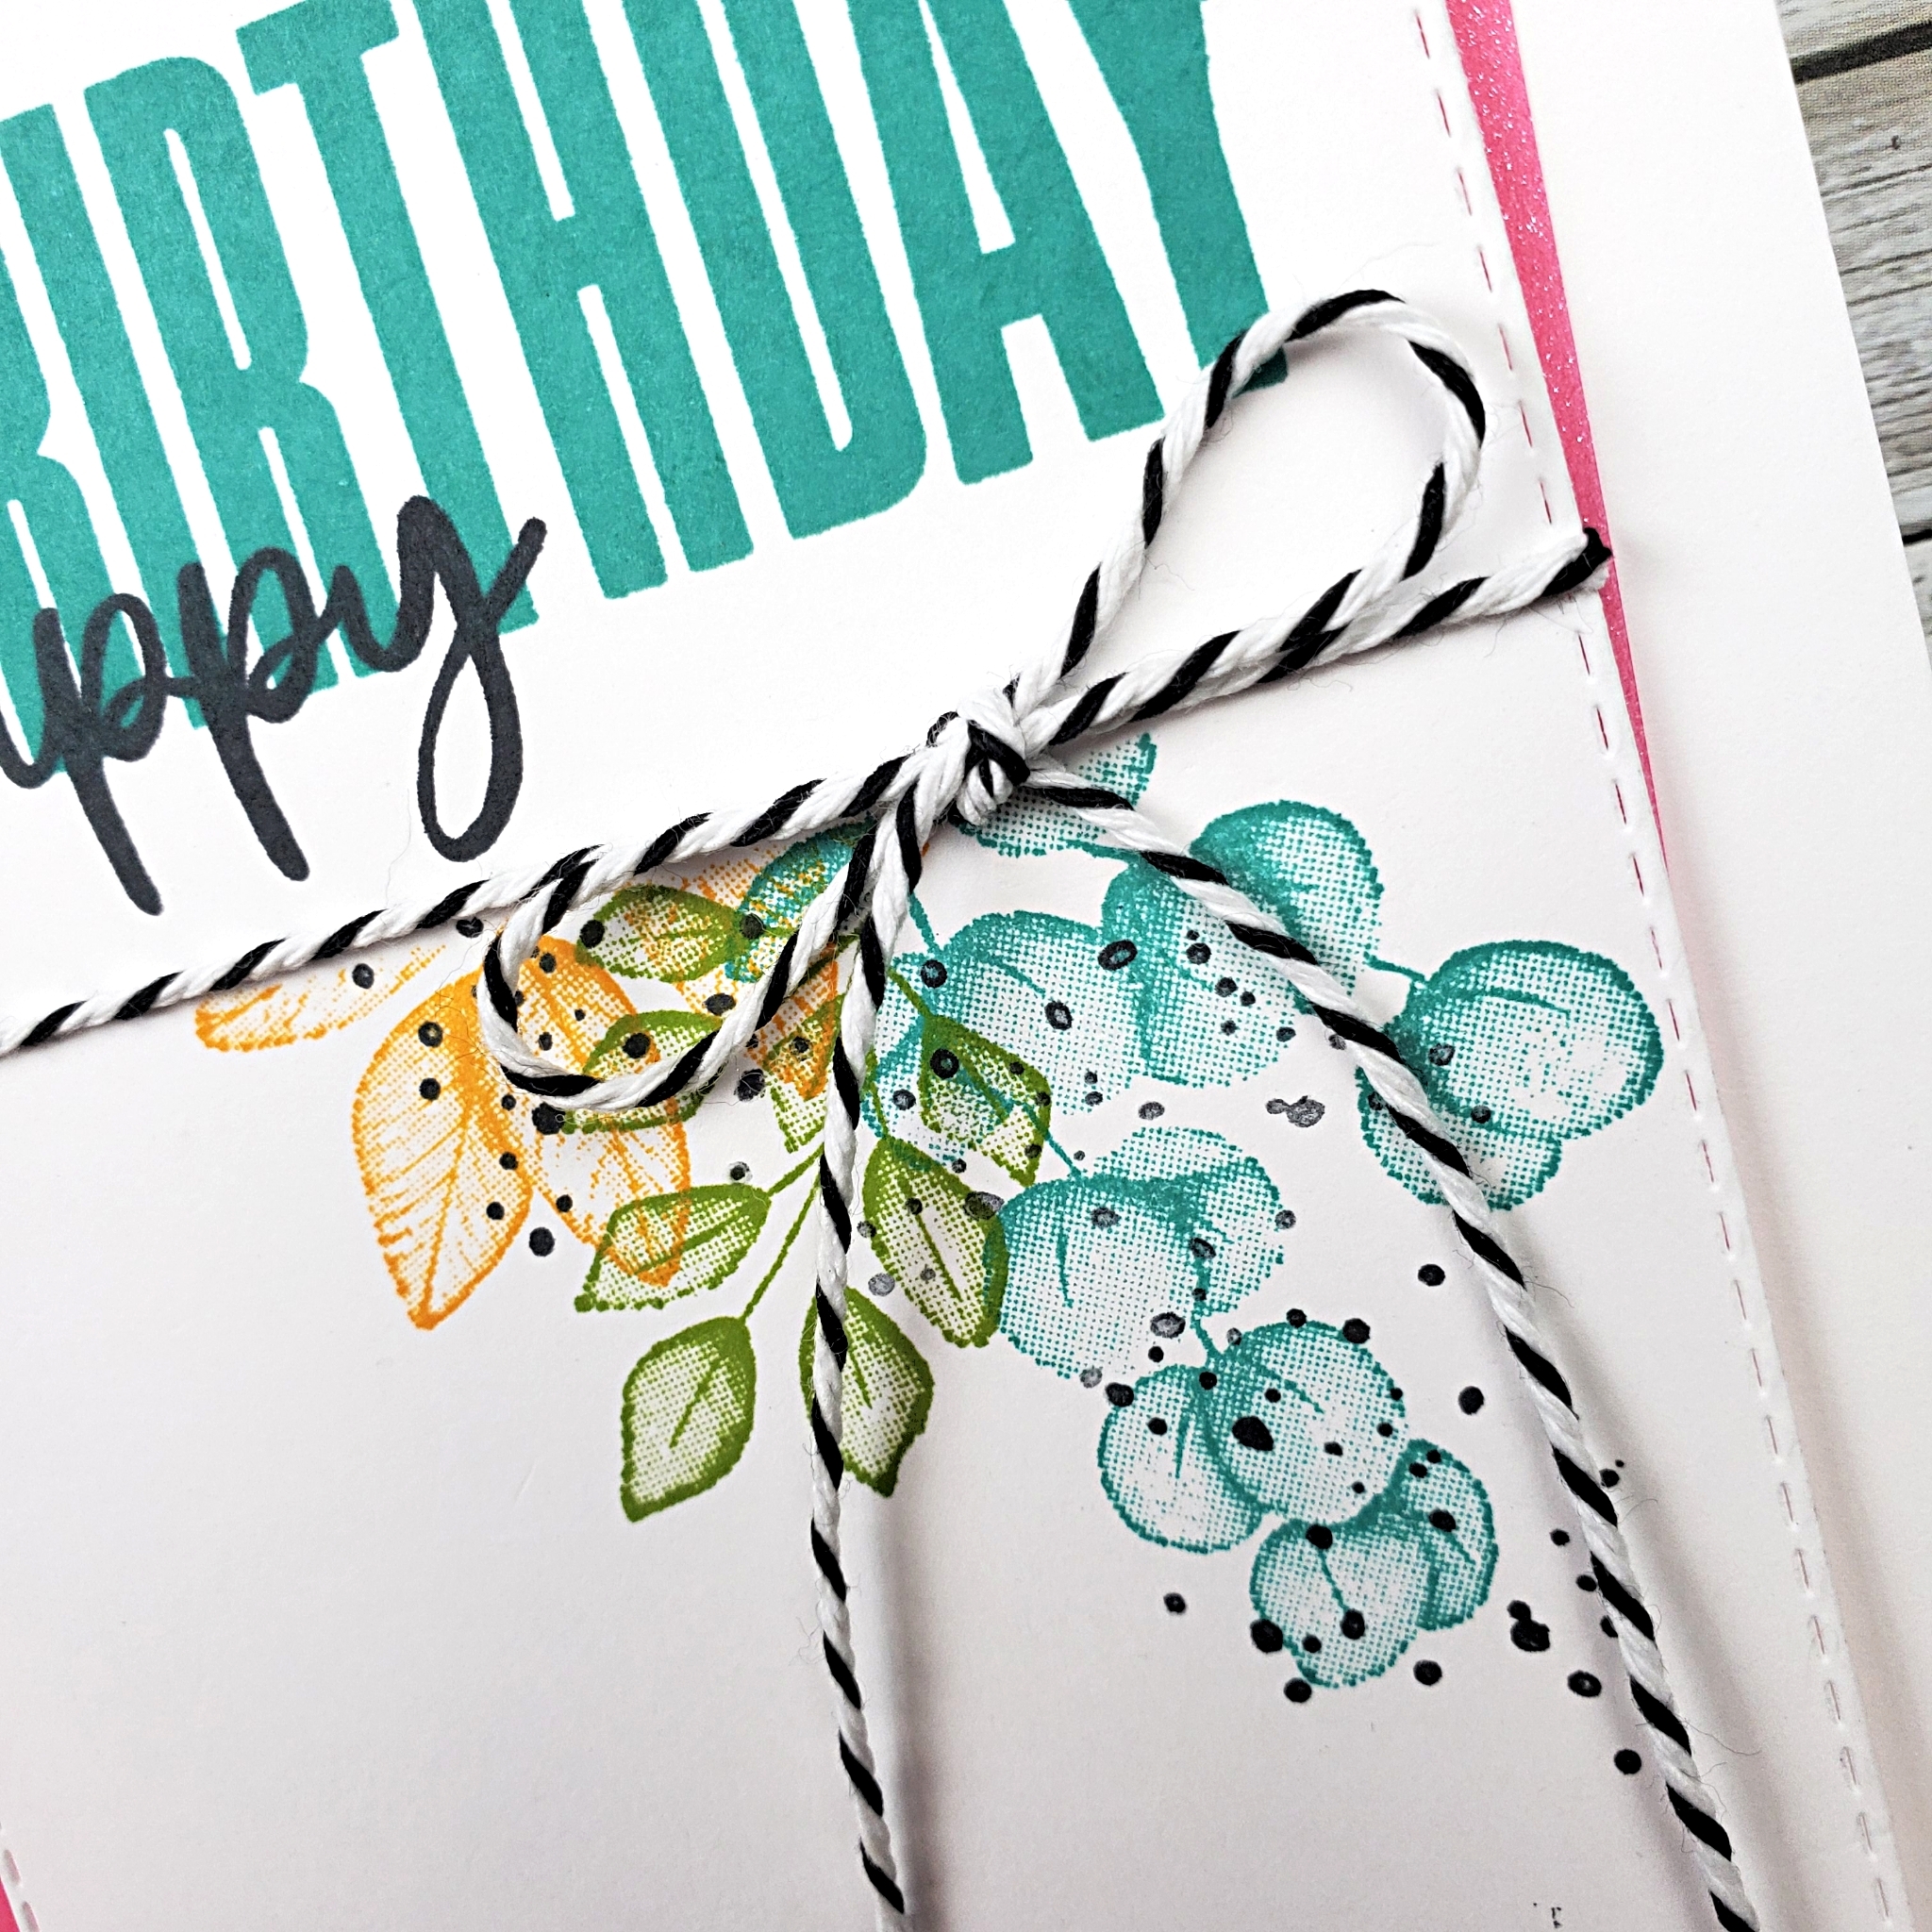
After stamping the ferns, I removed the sticky note. I wrapped the twine from the Playful Pets Trim Combo Pack around the stitched rectangle and tied it in a bow.
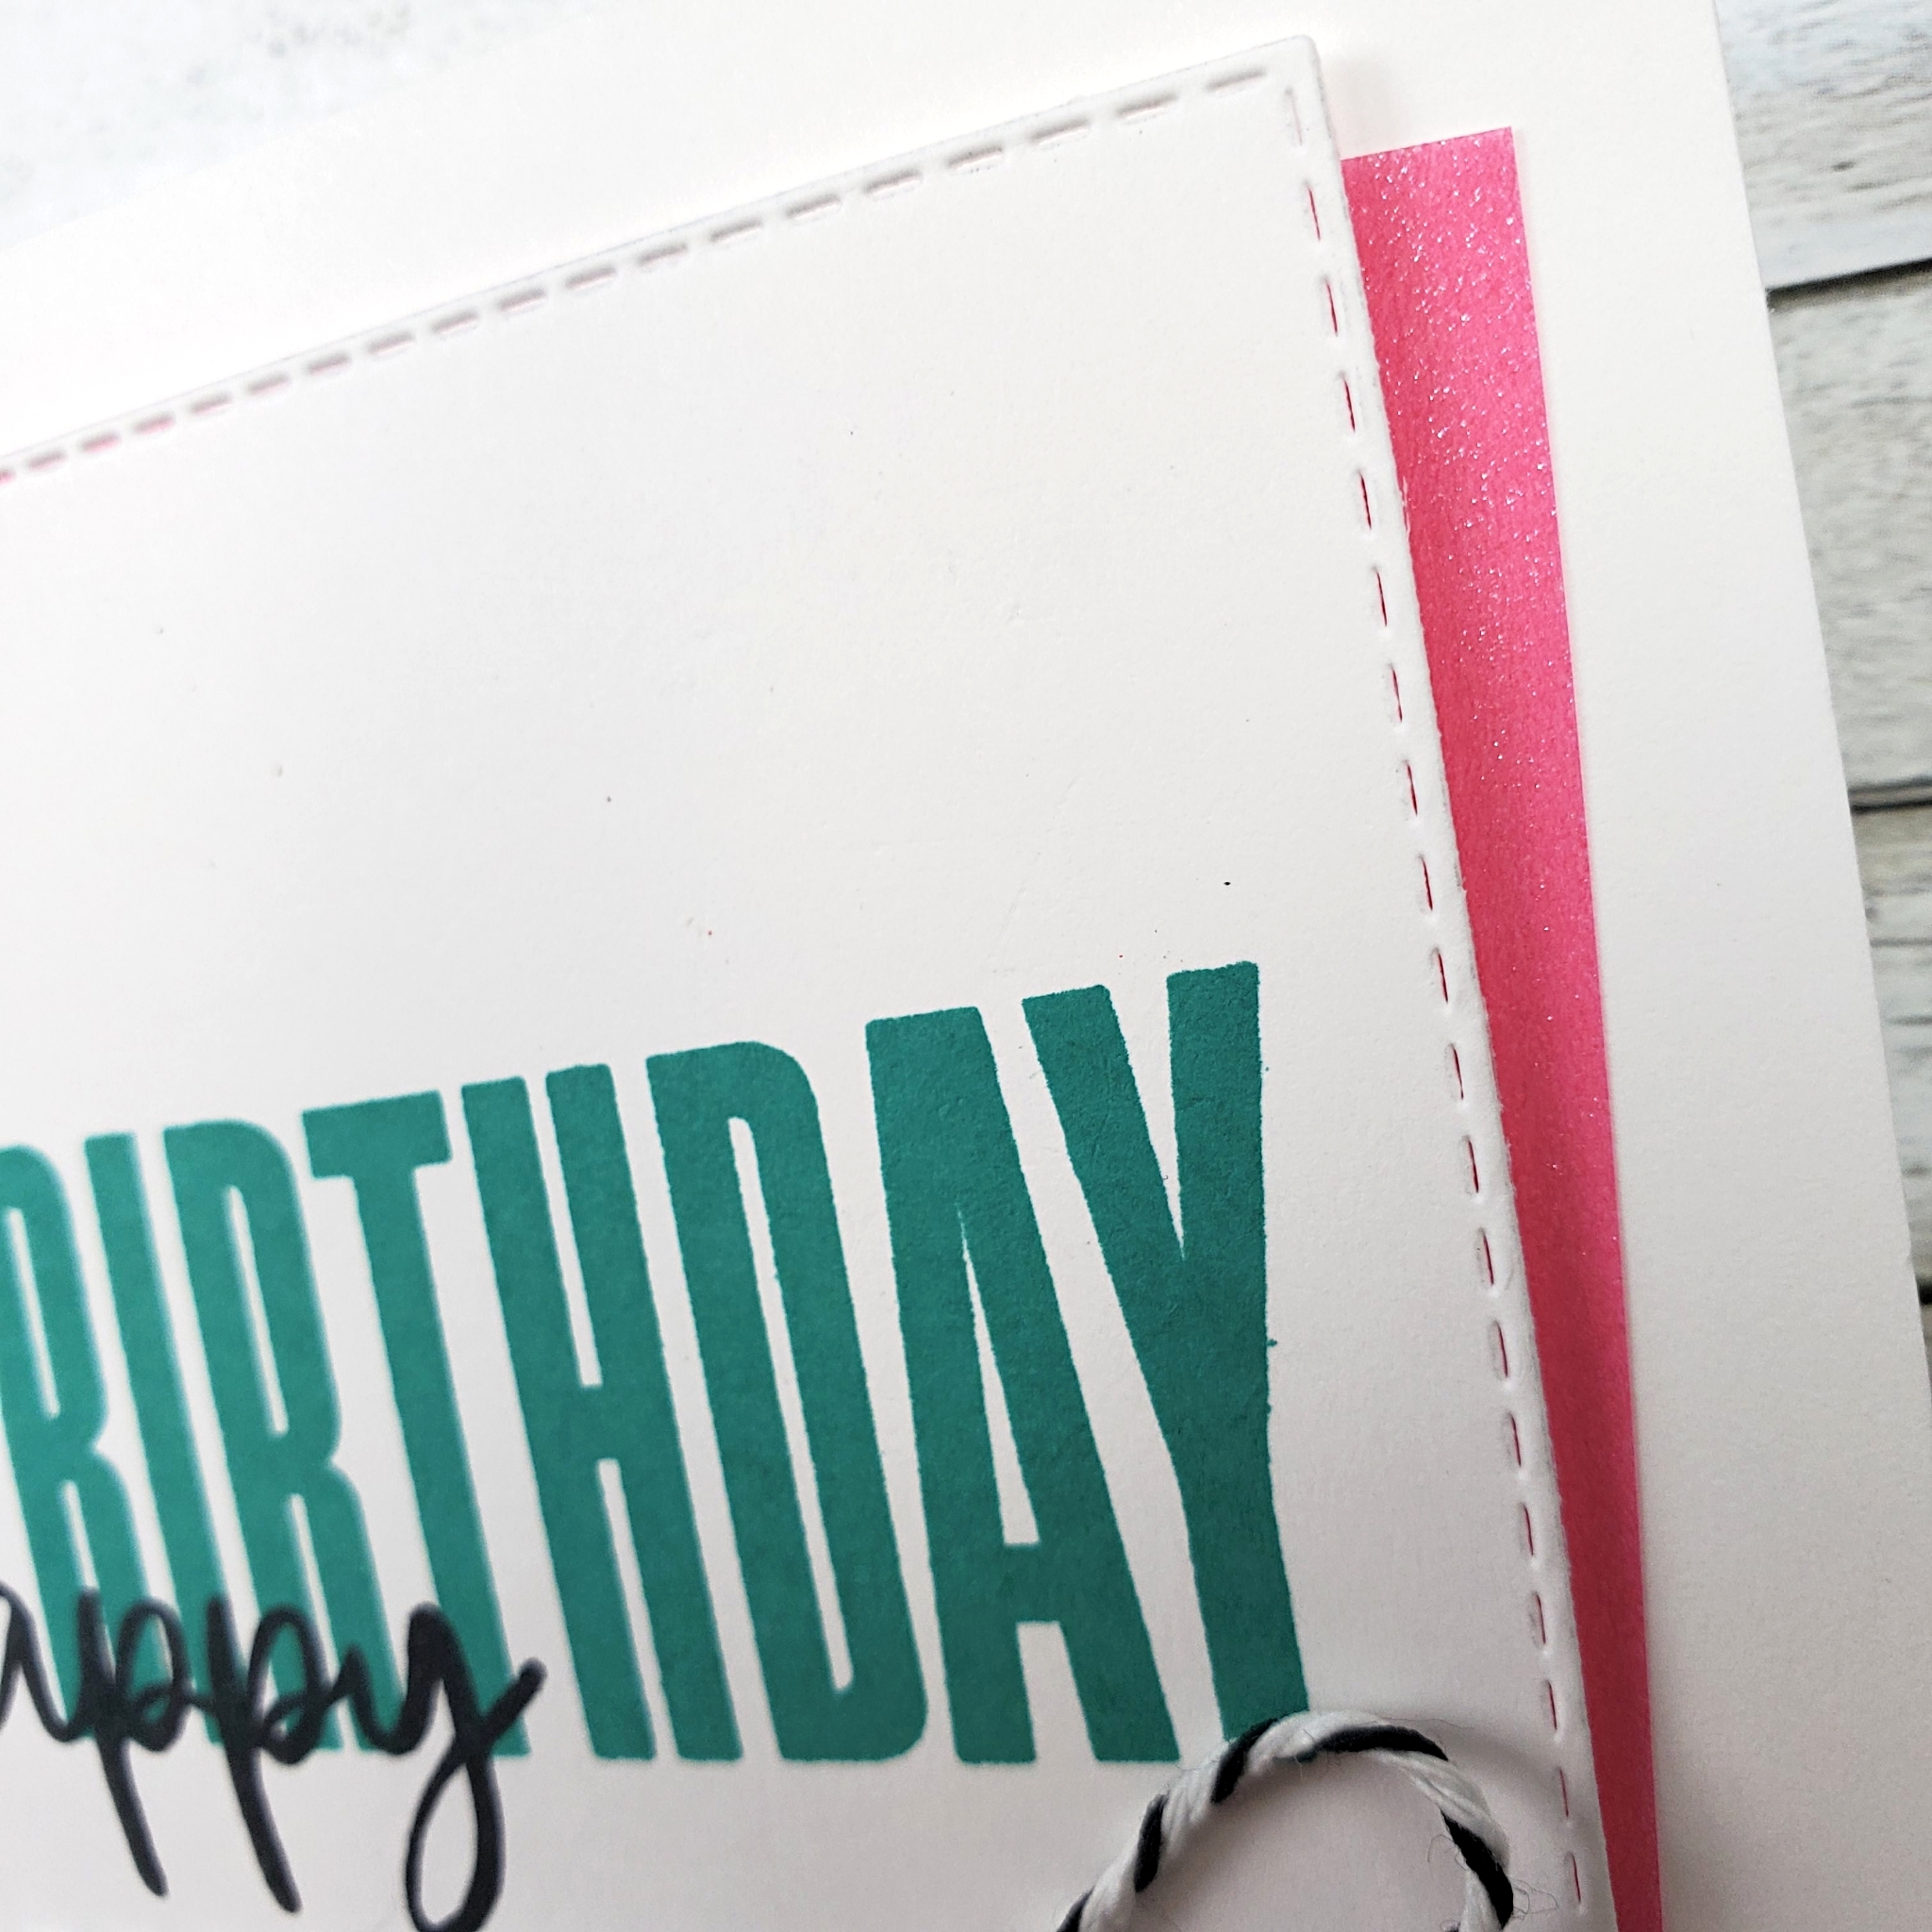
This layer was then applied with Stampin’ Up! Dimensionals over the Thick Basic White card stock and the layer of Polished Pink Shimmer Vellum from the 2021-2023 In Color Vellum pack.
Step It Up
I made another version of this design with a few extra elements to step it up a bit!
For this one, I added more foliage above the sentiment and applied some Mango Melody ink along the masked edge before removing the sticky notes. I also created an embossed line above the sentiment with my Simply Scored Tool.
And do you see the little Bee Embellishment! So cute!

I’m not sure which version I like better! Which one do you prefer?
Try out the speed challenge and share it with us at the As You See It Challenge Blog. We love to see your beautiful creations!
If you’re in Canada and are interested in purchasing the products I used for this card or if you want to see what else Stampin’ Up! has to offer, click on the SHOP circle on my blog anytime, or click HERE.