alternatives

How to Make a Pop-Up with Paper Pumpkin

Somehow I managed to do it!

I made an alternative project for this stellar Paper Pumpkin kit after already loving the design of the original cards.

If you saw my earlier post about the kit, you would know how much I love it! I didn’t think it would be possible to make an alternative project that I loved as much.

My 17 year old son tells me that this pop-up card is definitely a step up. (This, from the amazing kid who got the highest possible mark on his Advanced Placement Physics exam! So proud of him!)

I’m very happy with this design, but I have to admit that you just can’t beat the simplicity of the original tri-fold cards in the kit. For how simple they are, they look fantastic!

My design is certainly not as simple.

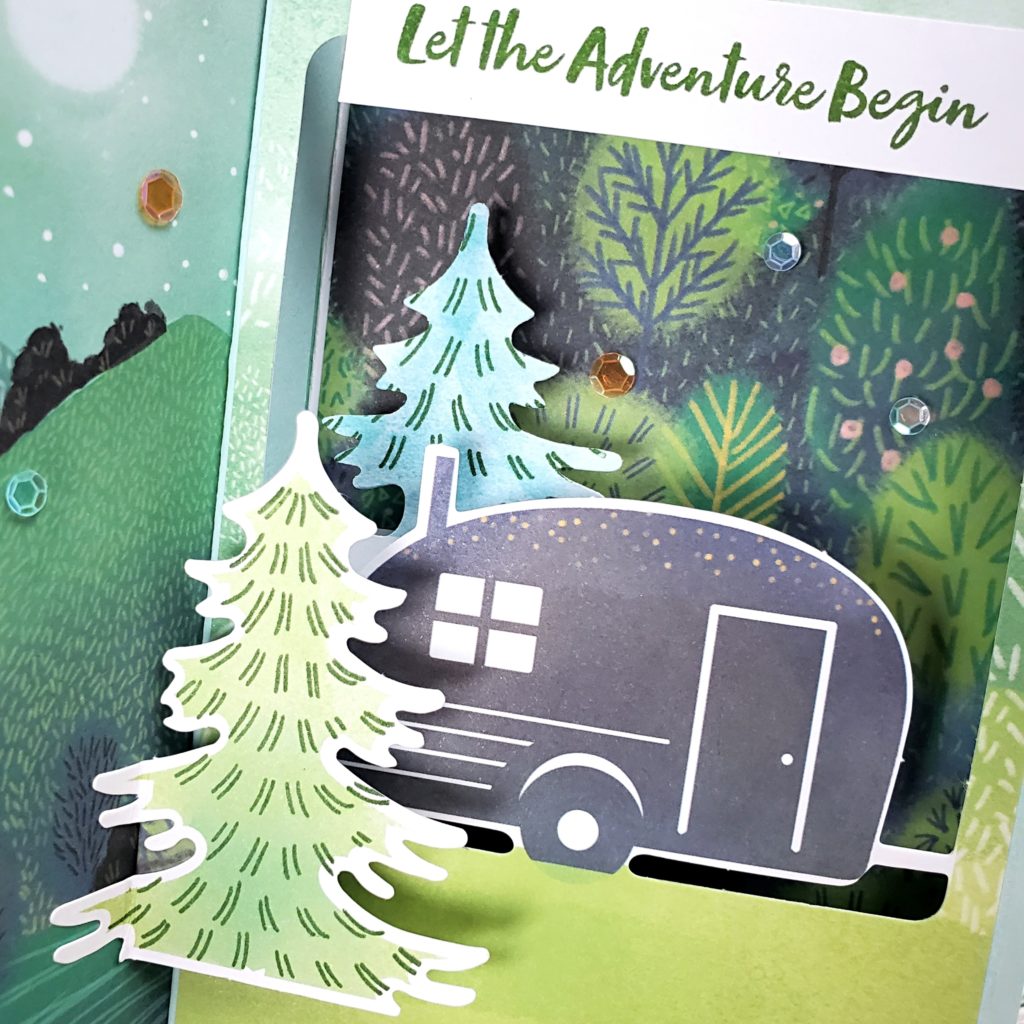
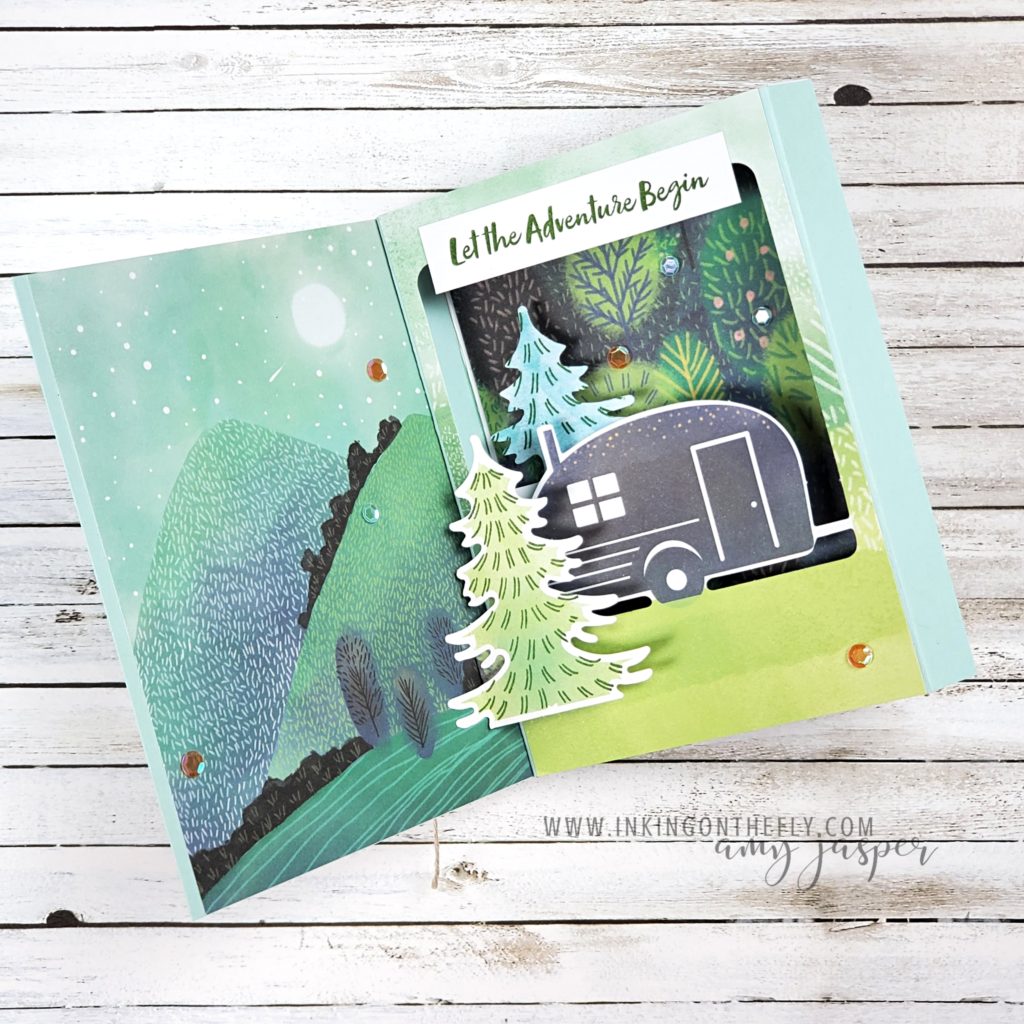
Two of the designs in the July Paper Pumpkin kit were used to create this diorama card. When you open the card, you can see that the inside is the best part with the printed scene on the left and the pop-up scene on the right. This shows off the printed parts of the cards.

How-to Video

Usually, I share my Paper Pumpkin projects in a live stream on Facebook. However, this week I’m taking a vacation, so I pre-recorded the video and scheduled it to post. (tech skills, don’t fail me now!)

Watch the video below to see how to make this fancy pop-up diorama card using the July 2021 Paper Pumpkin Kit – The Adventure Begins.

Start your Paper Pumpkin subscription today. You can choose to make the cards just as they are intended or you can stretch your creativity and make some alternatives. Either way, Paper Pumpkin is a fun escape!
Video: Easy Alternative Cards with Expressions in Color

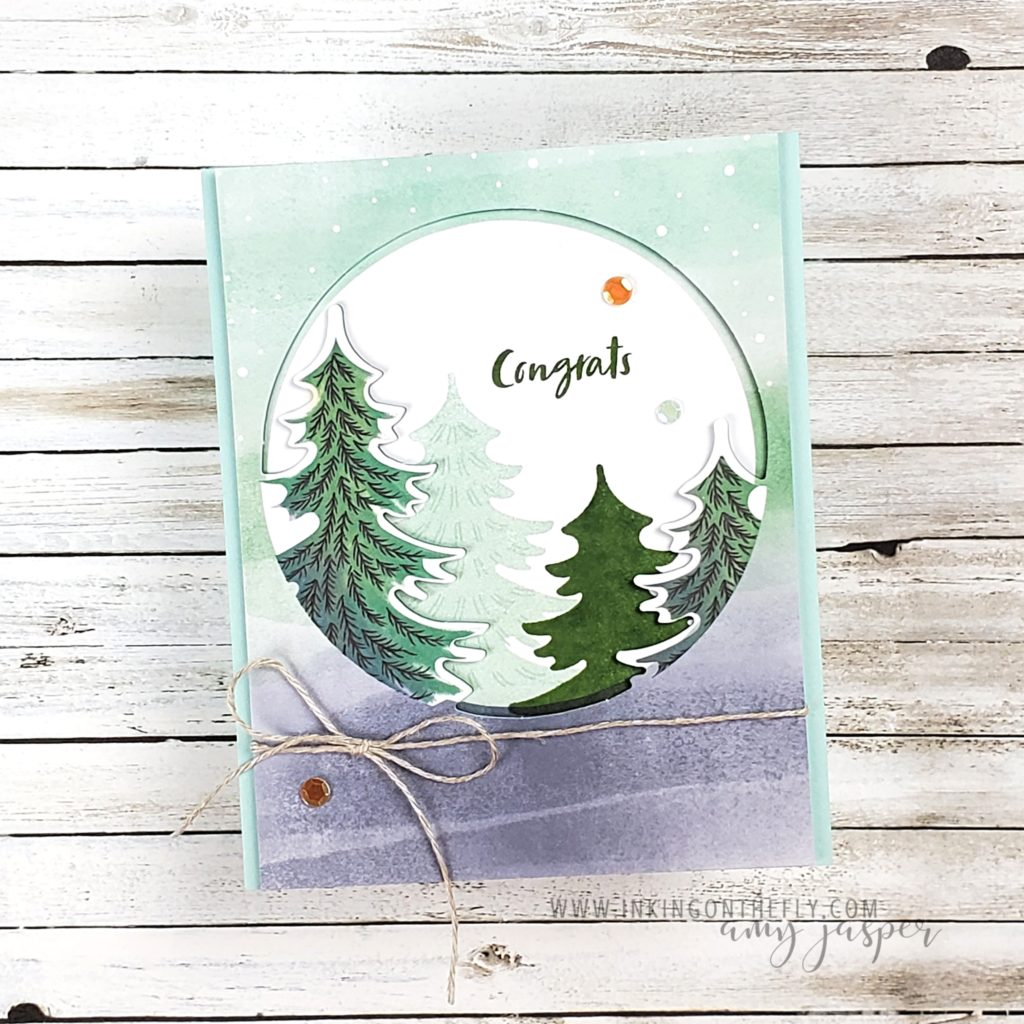
The June 2021 Paper Pumpkin Kit includes some beautiful paper with ink patterns. I have two alternative projects to share with you today that either show off the paper or use the stamps in the kit to make my own!

Paper Pumpkin Subscription

If you aren’t getting the little box of creative goodies each month, then go ahead and click here to get your subscription started! Your first kit will come with an acrylic block to use with each future kit that you receive. All the kits come with everything else that you need to make the projects that were exclusively designed for Paper Pumpkin.

I like to follow the instructions in the kits. No fuss. No thinking. Just easy and beautiful every time! It can also be fun to stretch your creativity and use the supplies to do your own thing.

Alternative Cards

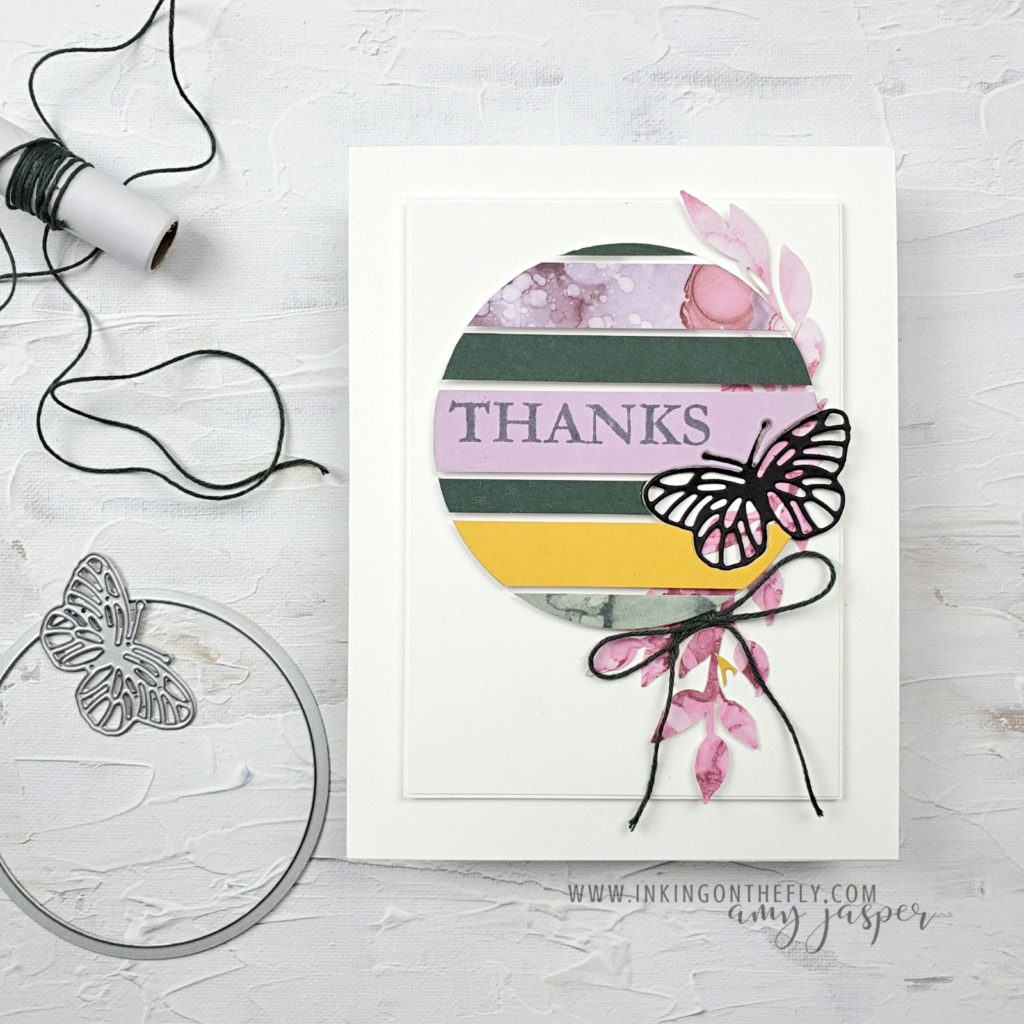
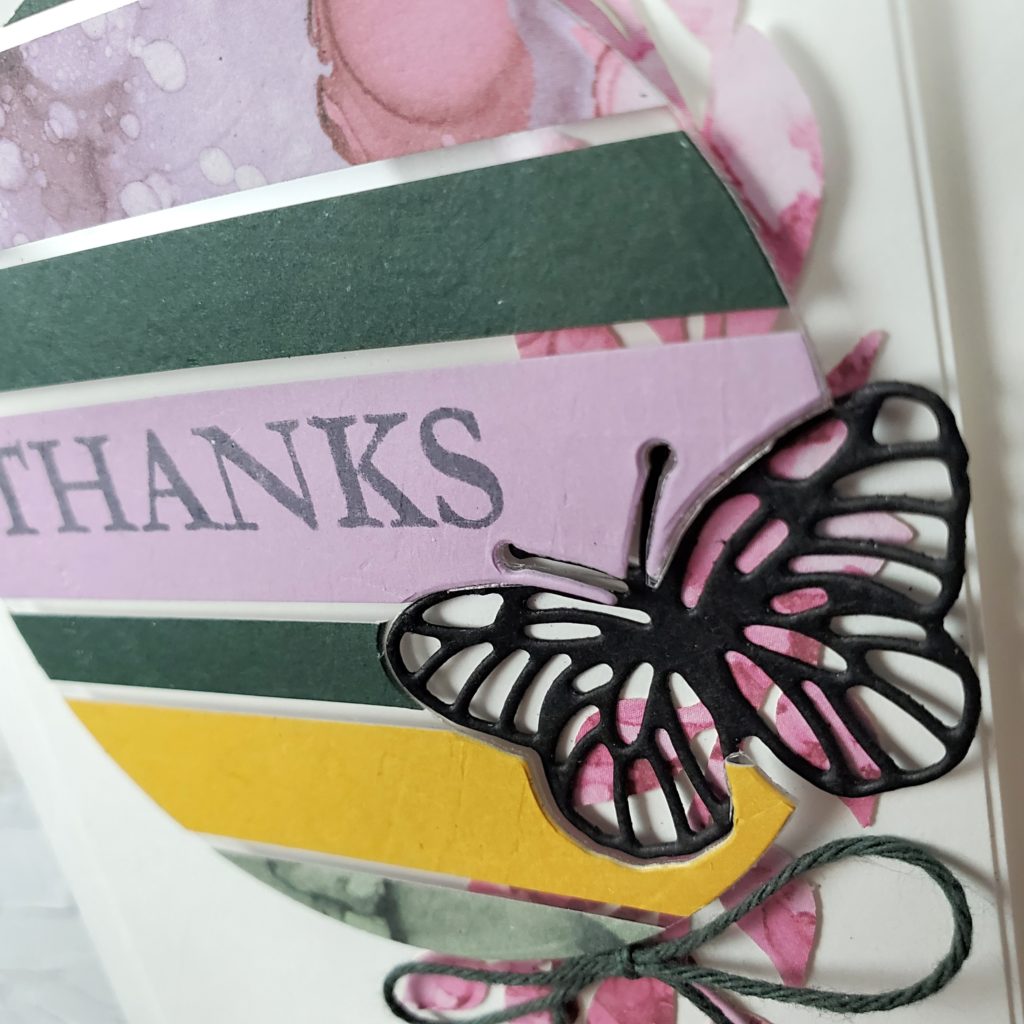
The butterfly on this card is die-cut using the Brilliant Wings dies from Stampin’ Up! I glued strips of the various papers in the kit to a piece of Window Sheet, then die cut the circle and the butterfly. The circle is raised on Stampin’ Dimensionals, while the butterfly is adhered directly to the cardfront. This gives it an interesting inlaid look.

I stamped the sentiment on the circle with Evening Evergreen ink. I think it would look really great if it were stamped with Versamark ink and heat embossed with Black Embossing Powder. I’ll have to try that with my next card and see which one I like better.

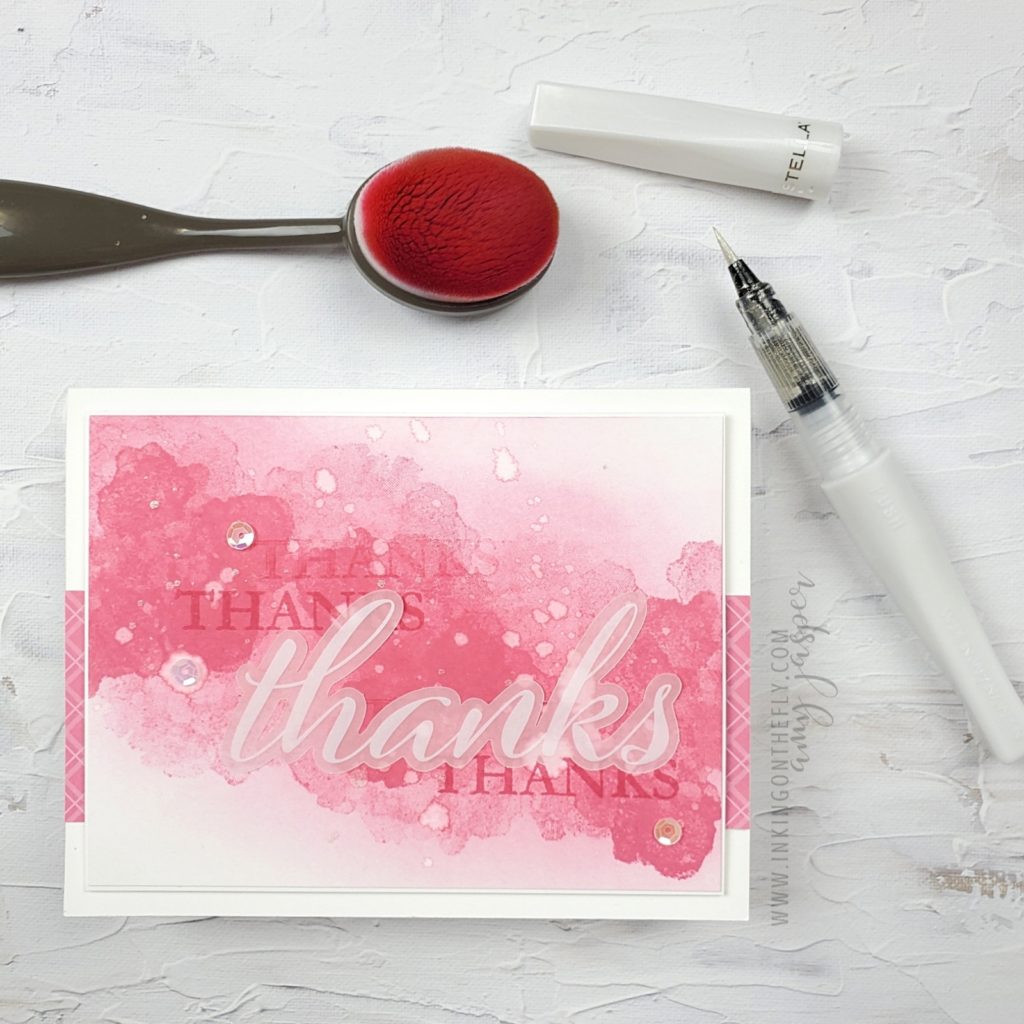
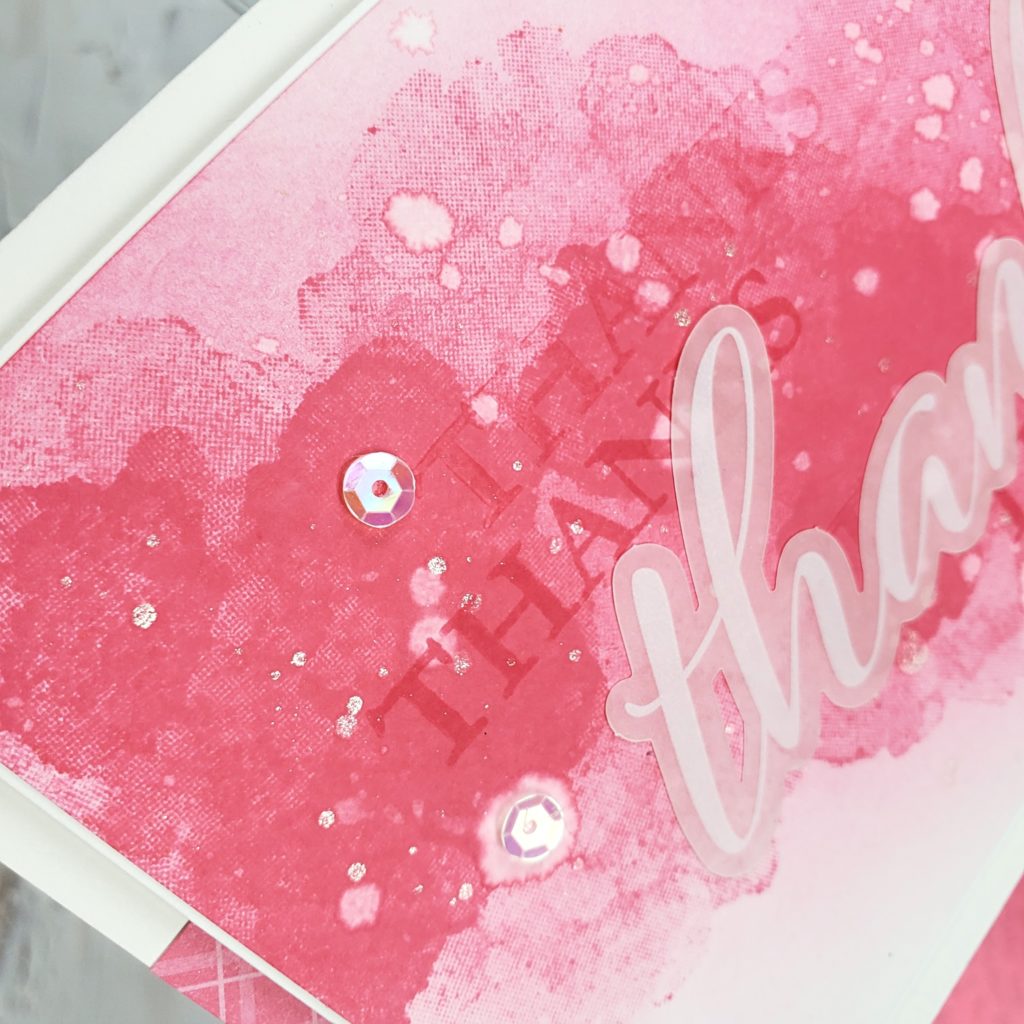
The pink card is created with the stamps in the kit. I used Polished Pink ink and included the wide strip of a piece of the 6″ x 6″ In Color DSP Assortment patterned paper peeking from the background. My Blending Brush and more pink ink soften the edges of the stamped images.

Water droplets create some spatter in the ink. I also added some Wink of Stella spatter for a hint of sparkle!

Watch the video below so you can see how these cards were made.

You can watch it in double time or skip to the best parts! If you like it, be sure to subscribe to my channel and help me to grow my business. Your support keeps me sharing!