Posts by Amy Jasper:

Do More Thanks

082header
Welcome back to my weekly blog! One of these days I’ll add a surprise post on a different day to shake things up a bit, but for now, Fridays are “blog day”.

Do you ever find that day-to-day life gets in the way of really living?

Often, I feel like I’m just jumping from obligation to responsibility and back to obligation again. Life can become a series of “have to’s” with very few “want to’s” in between. The “have to’s” can provide security and a sense of accomplishment in the long term, while “want to’s” can provide immediate happiness and satisfaction. I think both are important, but it’s often difficult to find a balance of the two. As a mother of three, a wife, an employee, a home owner, and a Stampin’ Up Demonstrator, my life feels over-run with schedules and to-do lists; little things that need to be done, add up to big things. I am always trying to keep track of what comes next.  I’m always running behind – And I’m tough on myself. It’s a very rare thing for me to say “You did a great job on that! Well done!”, because I know that my attention was divided and I can see every mistake or where I should have done things better and where my time could have been spent more wisely. (that’s the perfectionist in me. I have frequent fights with her about “good enough” and “why even start?”)

At this moment, my “have to” is to write this blog post at 11:30pm. Don’t get me wrong, I want to write my blog post each week. It gives me pleasure to share my cards and projects and thoughts with you. I just don’t want to do it at this moment when I’d rather be going to bed – and some would argue – I should be going to bed!

I’ve been reading (very very slowly) Ann Voskamp’s book, “One Thousand Gifts”. It’s all about being thankful. Even for the tough things in life – the “ugly beautiful” things, as she calls them. In all things we can give thanks. This book has taught me that what makes me most happy, is to take notice of the little things that normally go unnoticed. If only I would see them; acknowledge them; pray a prayer of thanks for them – and those little things start to feel like little treasures laid out just for me.

The “ugly beautiful” in my life is found in the obligations that pull me away from the “want to’s”. But my opportunity to seek joy in my life is in my thanksgiving for the little things; the little gifts that God gives to me within each day. I just need to look.

“God gives gifts

and I give thanks

and I unwrap the gift given: joy.”

– Ann Voskamp

I am thankful for the few lovely people who read this blog, even just once in a while. I am thankful for the opportunity to share my love of designing with ink, stamps, and paper. I am thankful that my life is full. I am thankful for the long-term security and sense of accomplishment in my life. I am thankful for my cozy bed that is waiting for me!

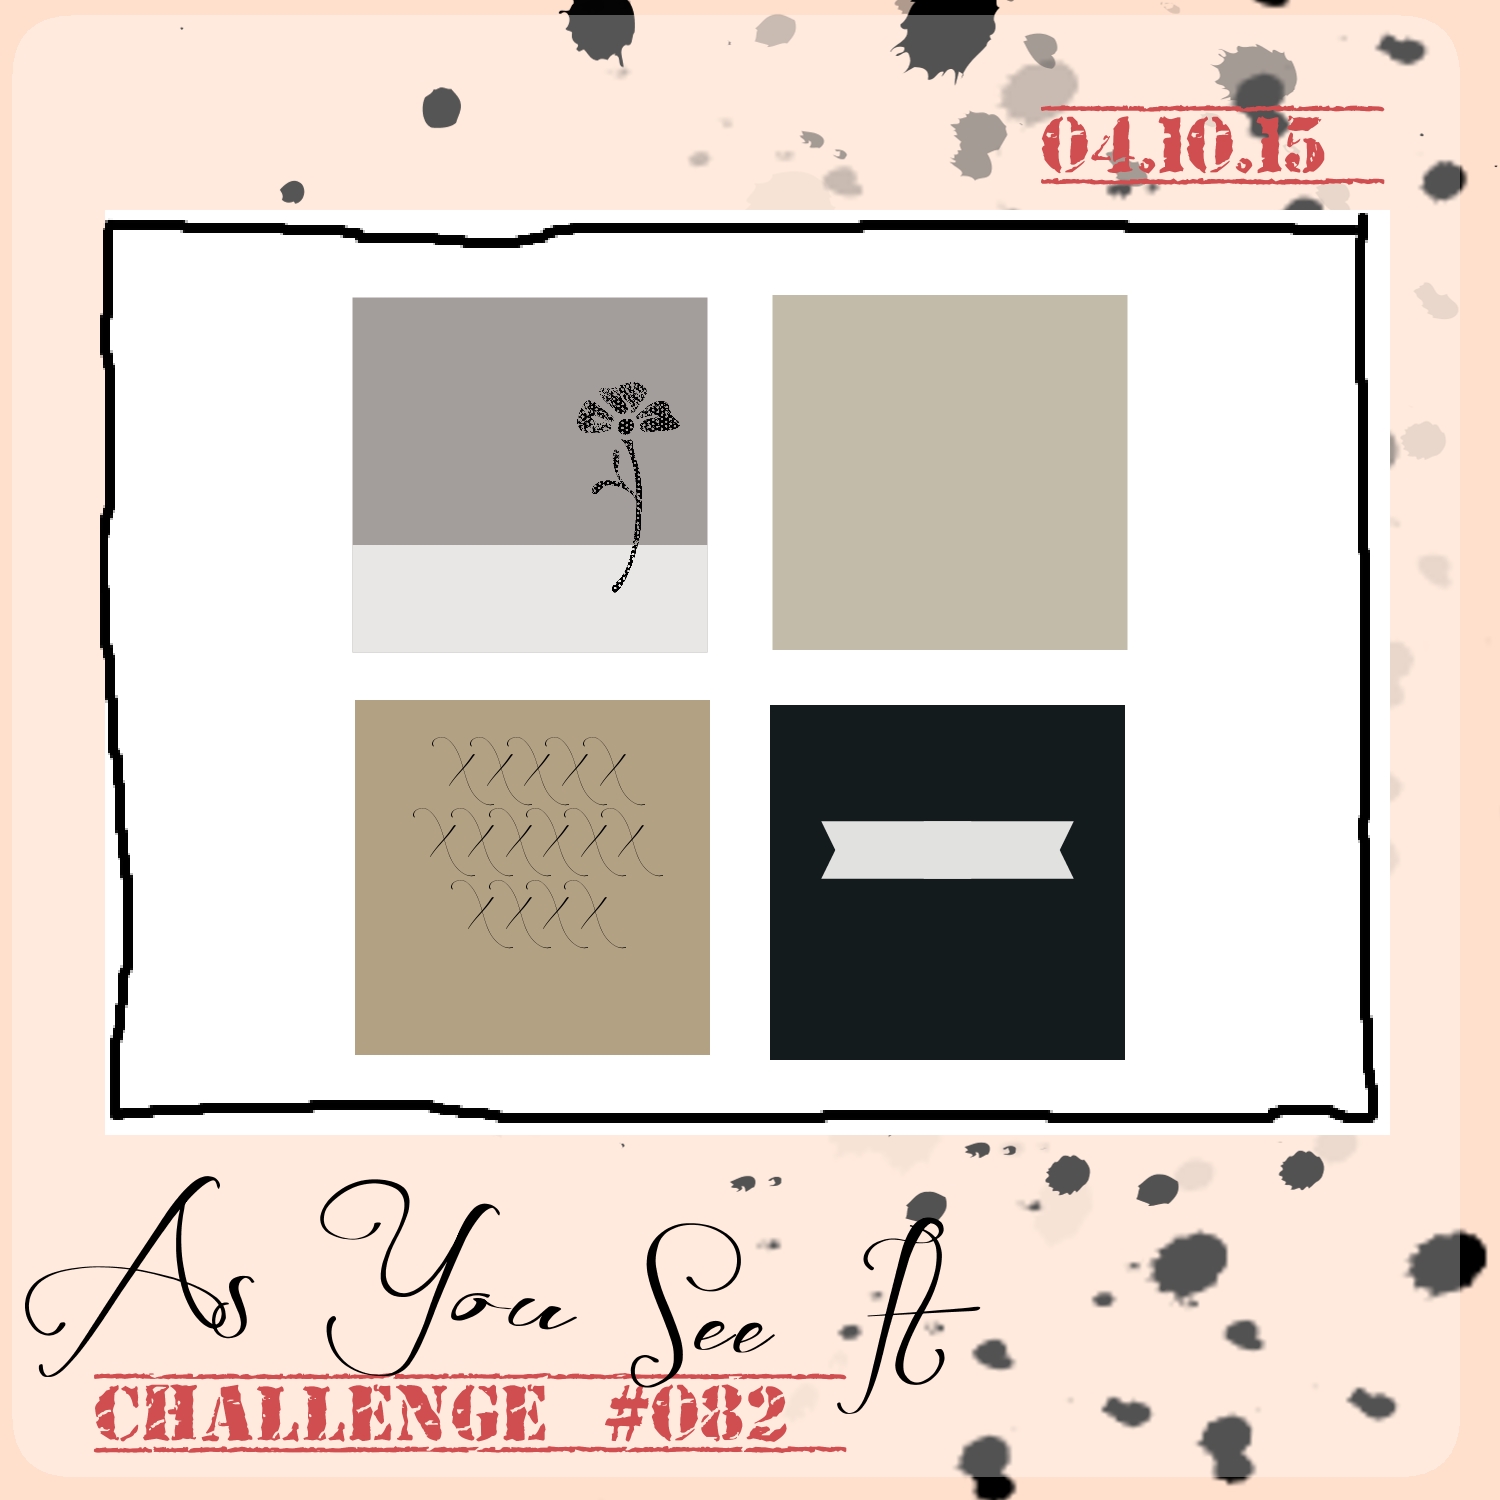
Here’s the sketch challenge from the As You See It Challenge blog this week:

AYSIChallenge082

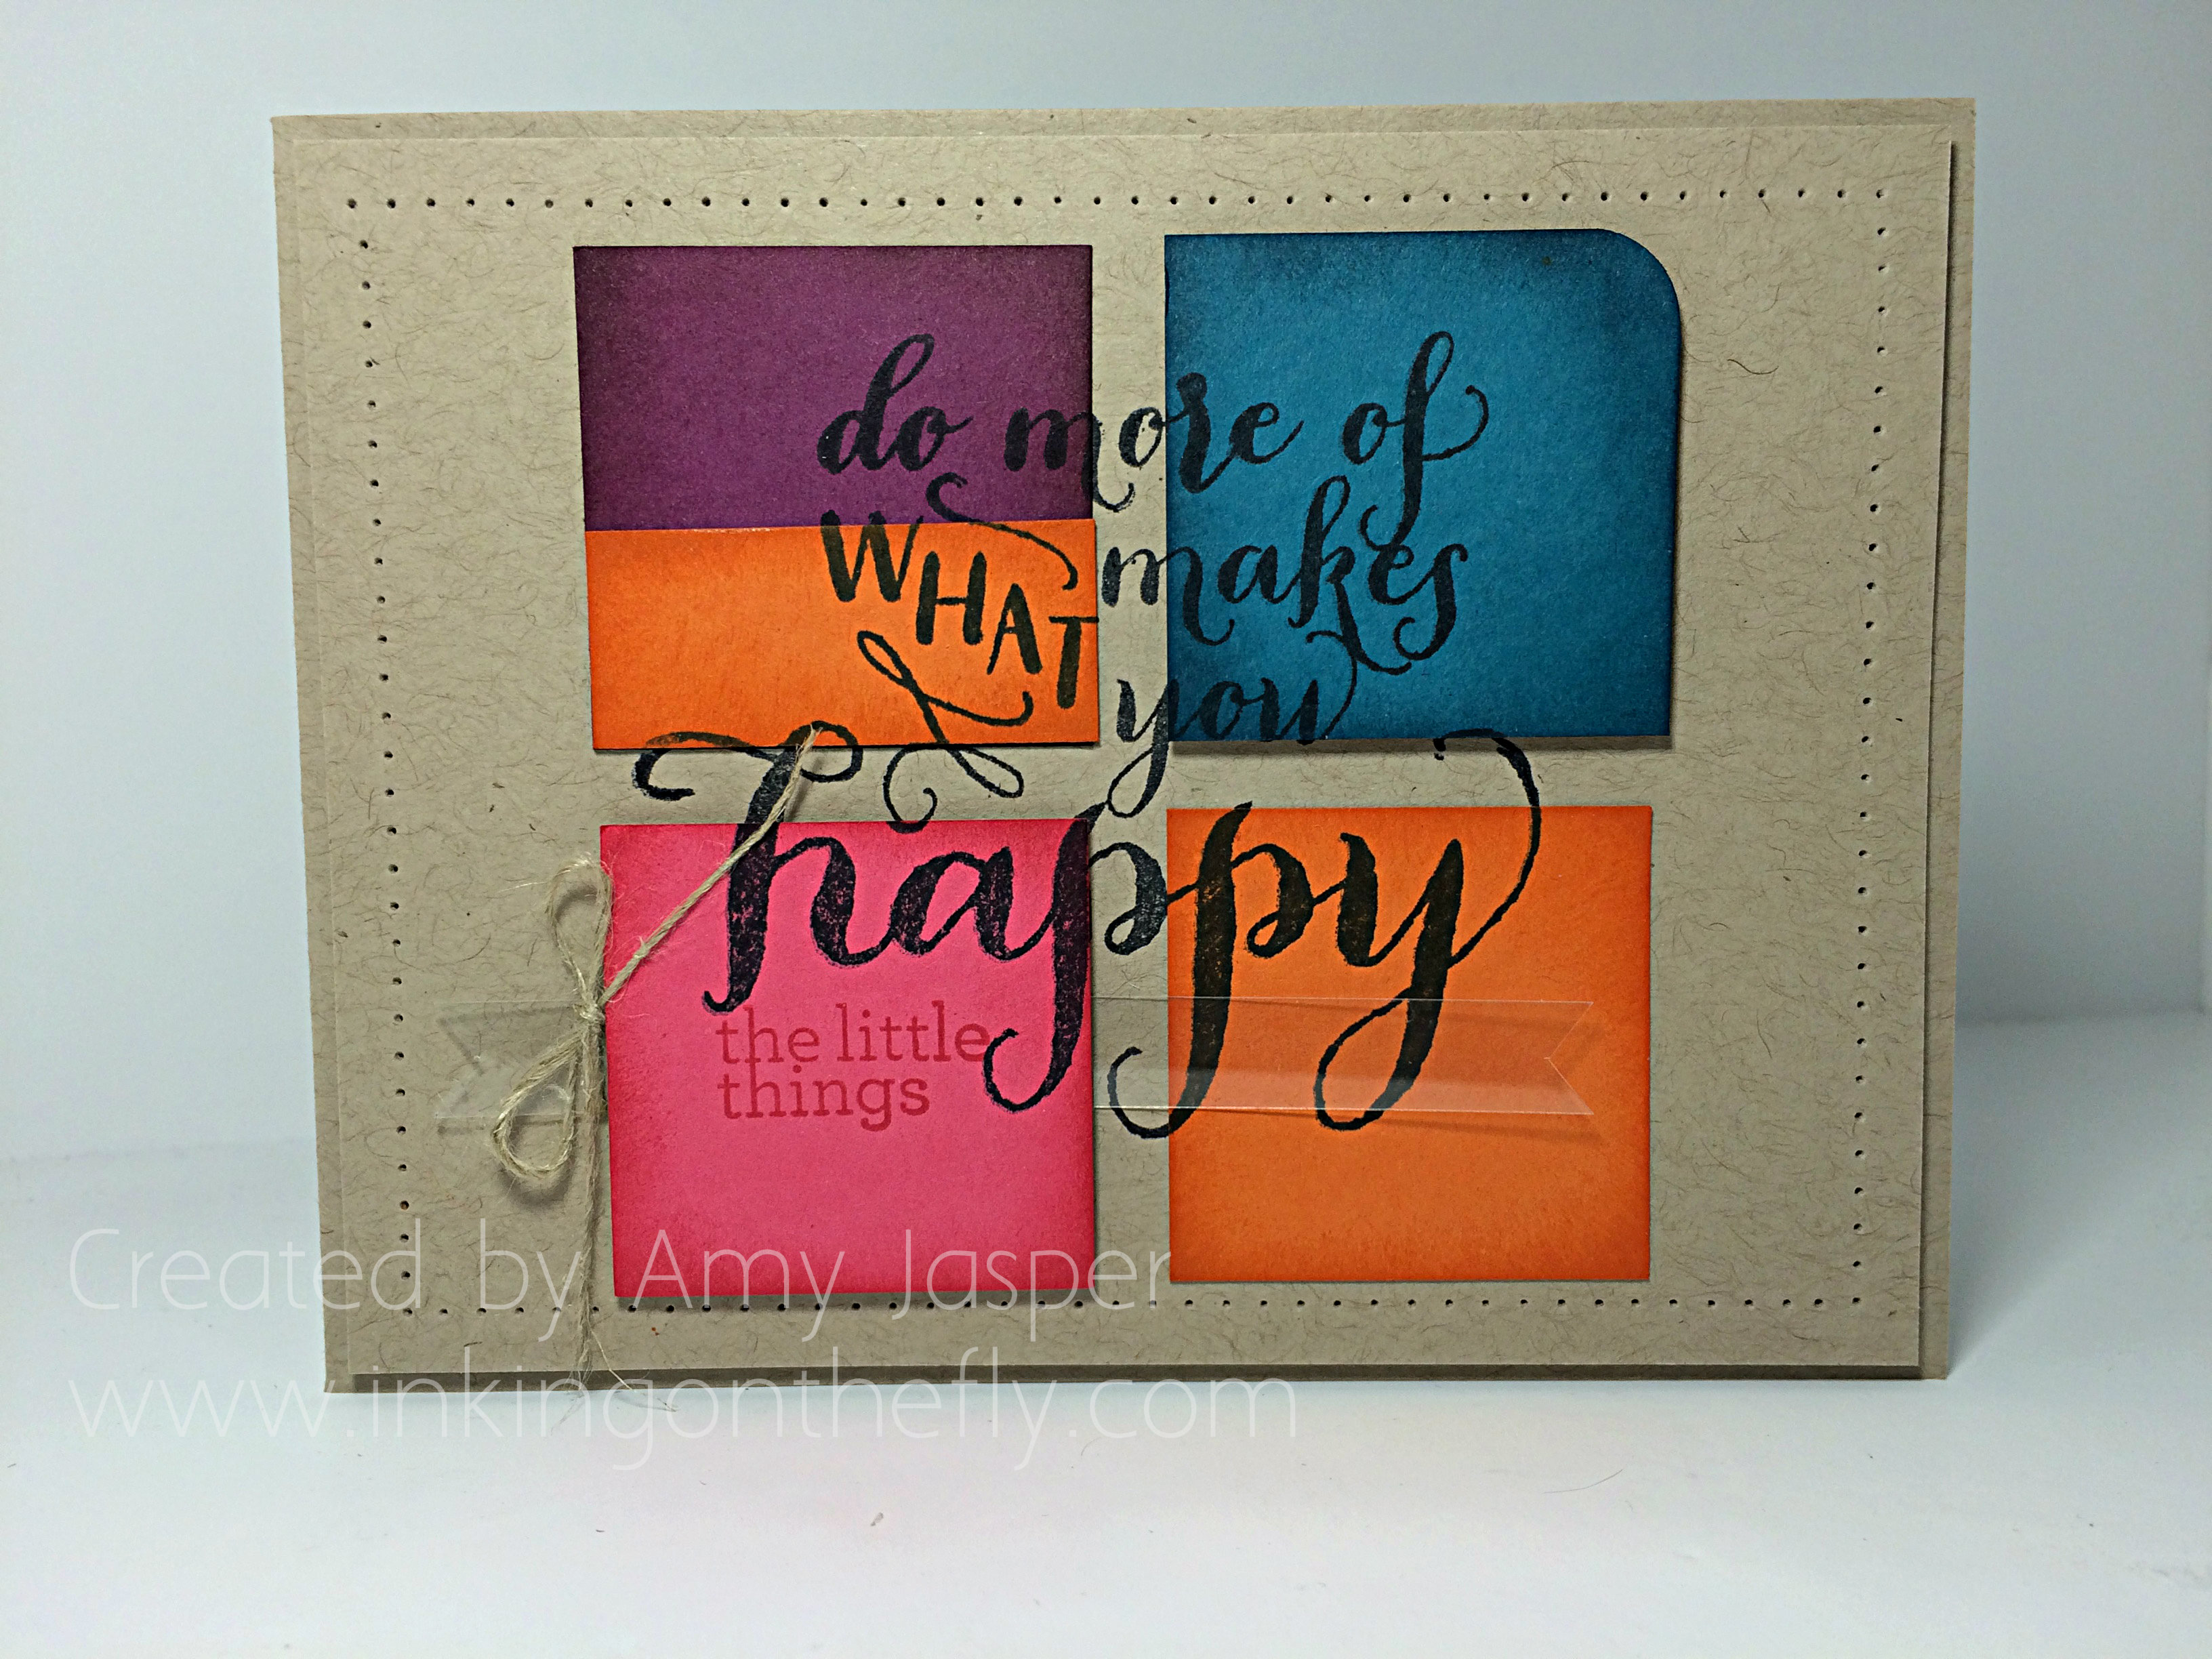
And here’s my take on the sketch. Happy colours for a happy thought. My “happy” is in the thankfulness of the little things – God’s little treasures laid out just for me.

082Amy

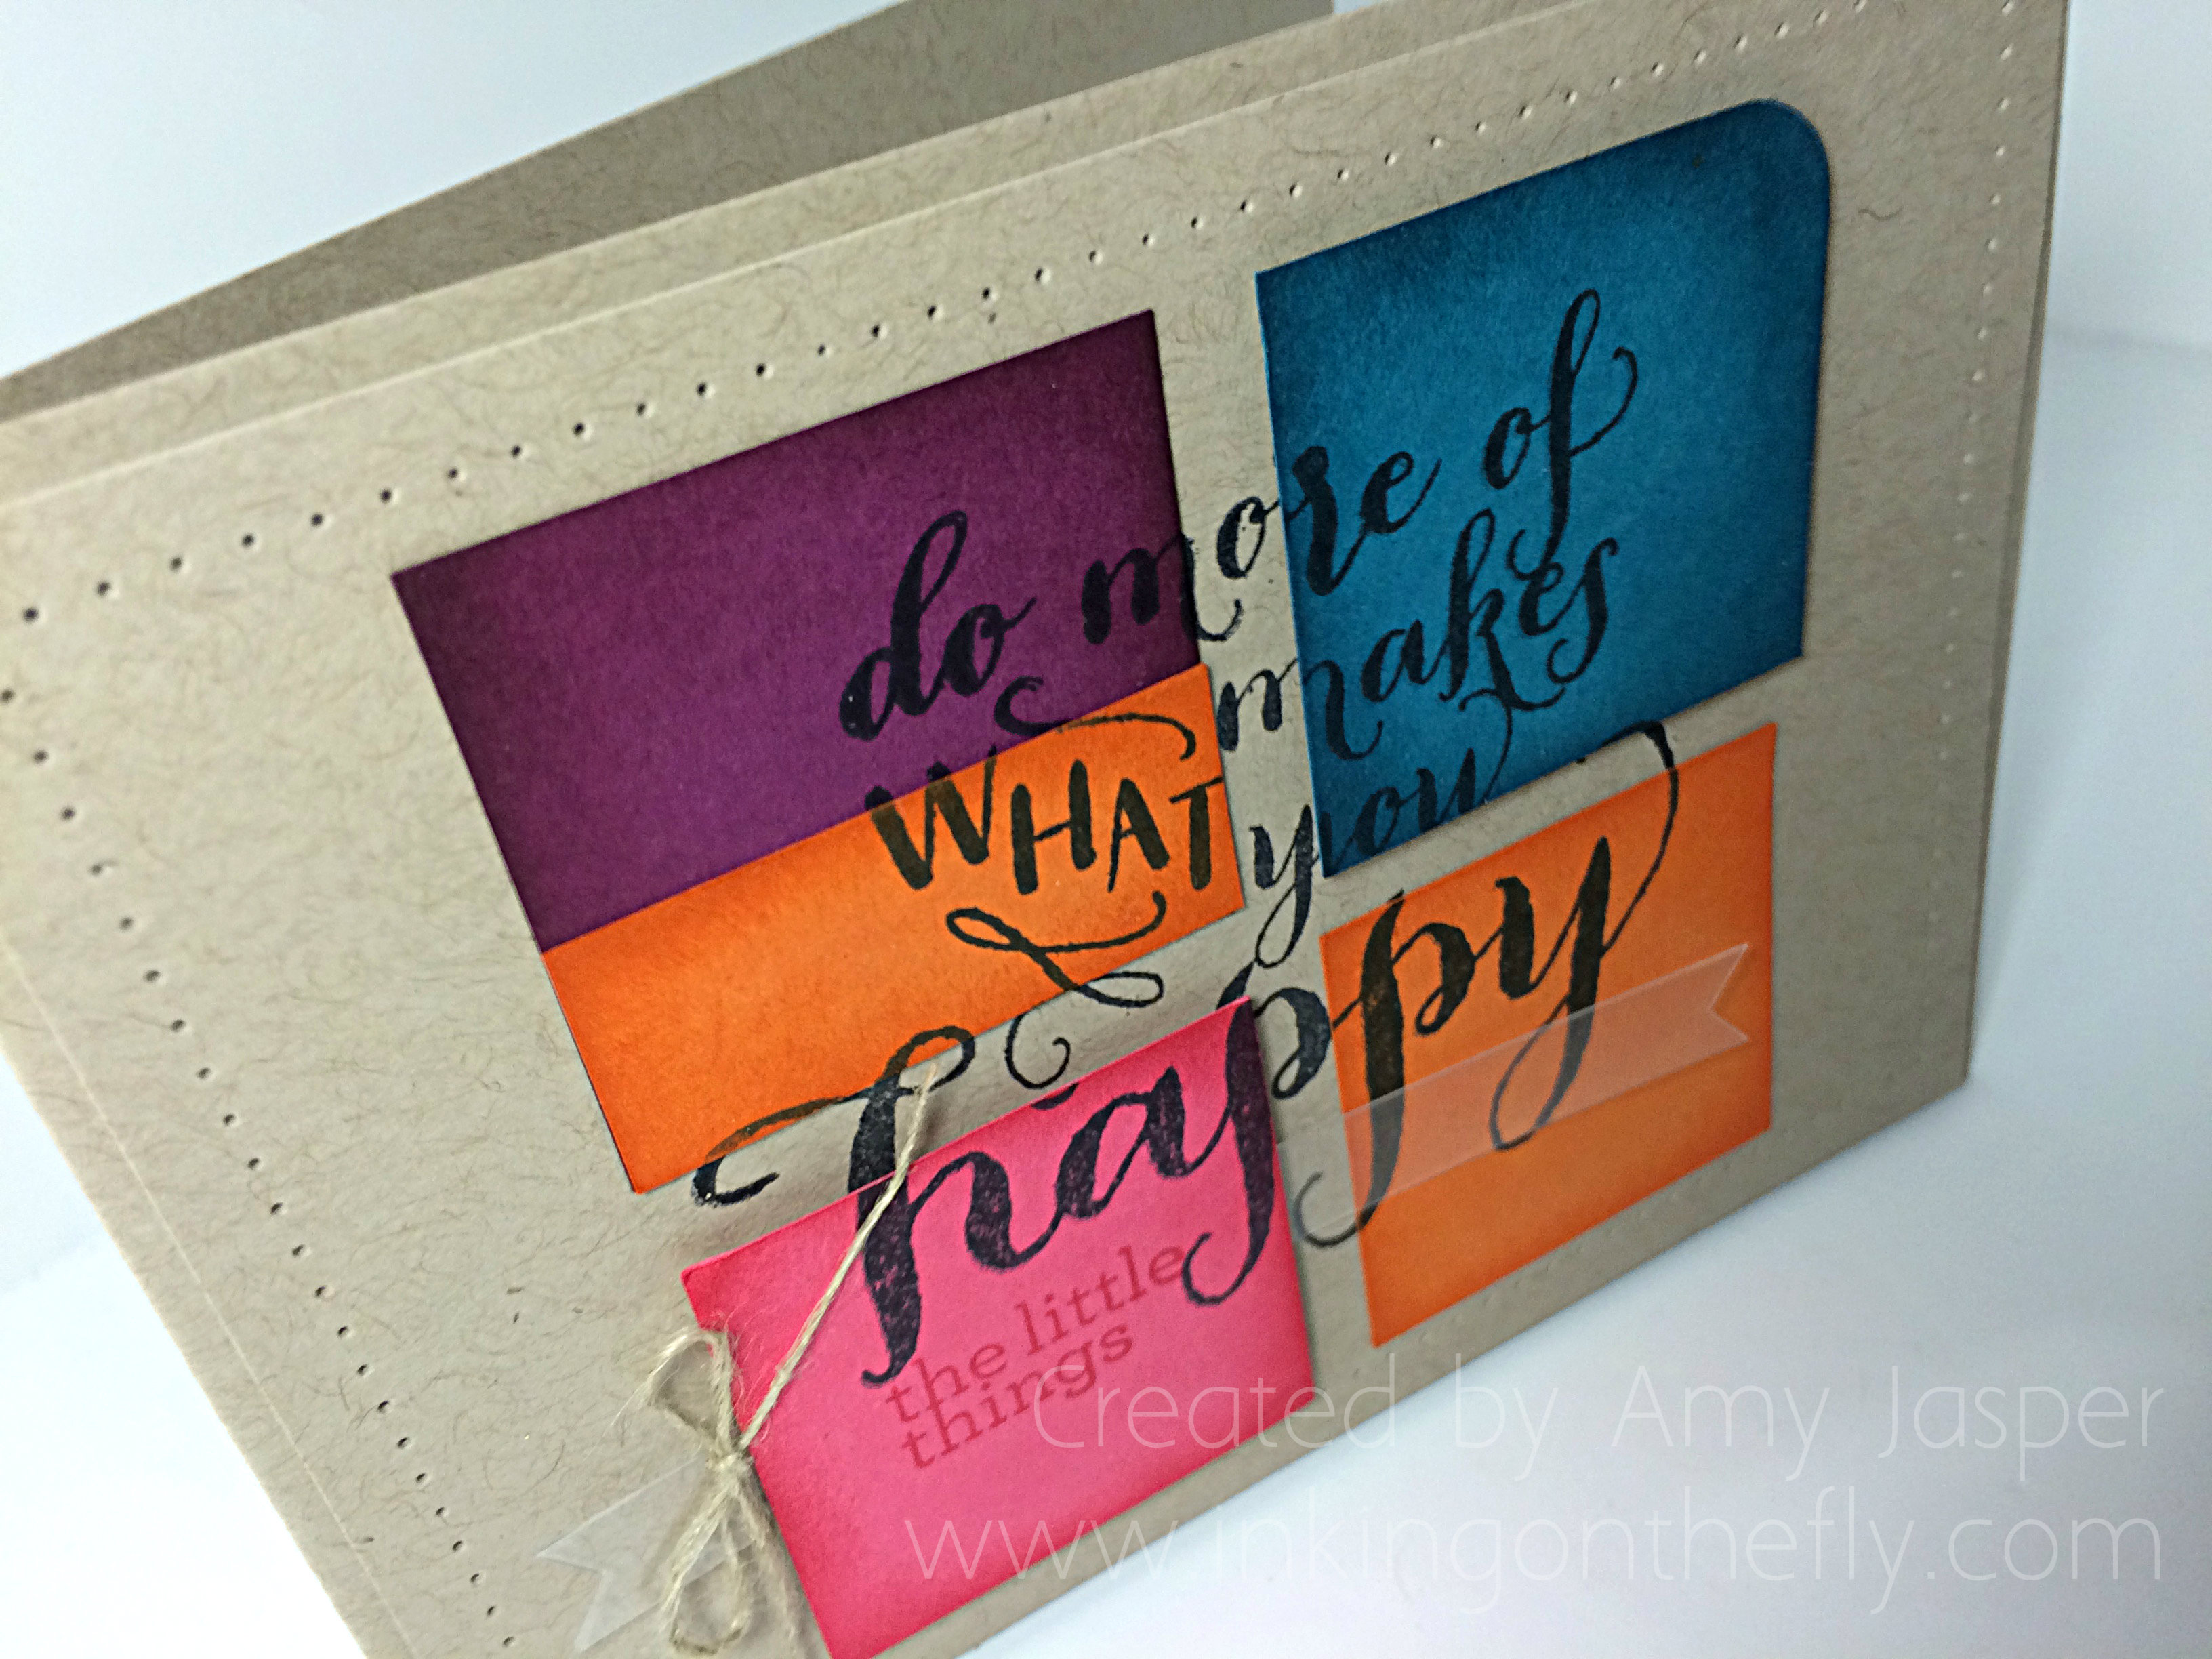
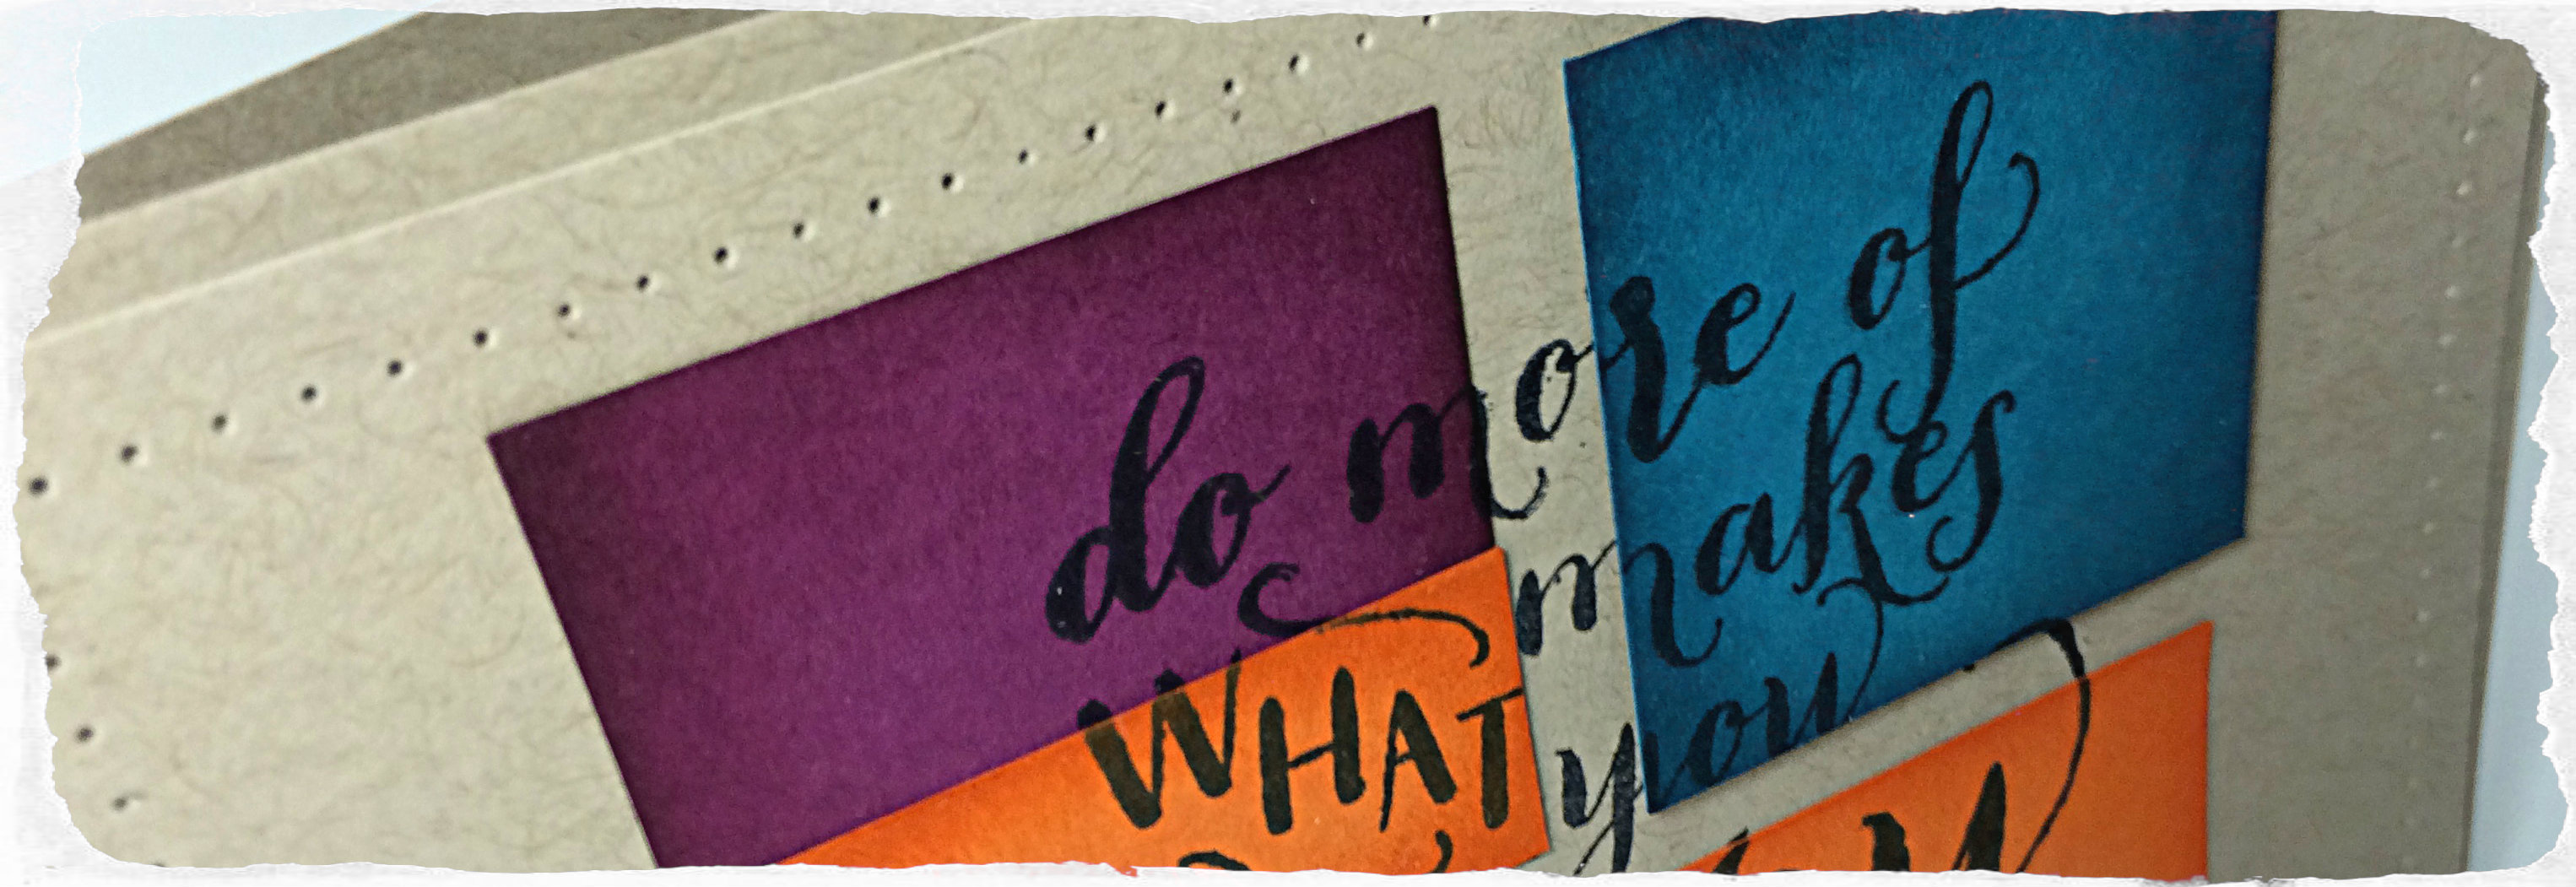
I used a Crumb Cake card base with a second layer of Crumb Cake raised up with Dimensionals and paper pierced all around the edges using the Paper Piercing Tool and the Essentials Paper Piercing Pack to guide me. I first stamped the “do more of what makes you happy” with Tuxedo Black ink on the Crumb Cake cardstock. Then, the four squares (Rich Razzleberry, Island Indigo, Strawberry Slush, Tangerine Tango) were lightly tacked down with a tiny bit of SNAIL under each of them so I could stamp the image again over the previous image, lining it up carefully so that it would match up with the previous image. Finally, I added the rectangular strip of Tangerine Tango cardstock and stamped the image carefully the third time.  I chose to add “the little things” stamp in Strawberry Slush ink to the one square and slipping a strip of Window Sheet as a banner under neath that same square.

082angle

Once I was happy with my stamping and placement, I sponged colour around the edges of each piece of coloured cardstock, using their same ink colours. This adds a beautiful rich depth to the paper. Finally, I adhered the squares. Two with Fast Fuse and two with Dimensionals. The Linen Thread was tied on to add a touch more texture.

And that’s it. My take on the sketch. My take on finding my “happy” – to see and to give thanks for the little things.

What will you do for this sketch? Share it on the As You See It Challenge blog!

Amy
Designer-Badge

Starburst Spring Card

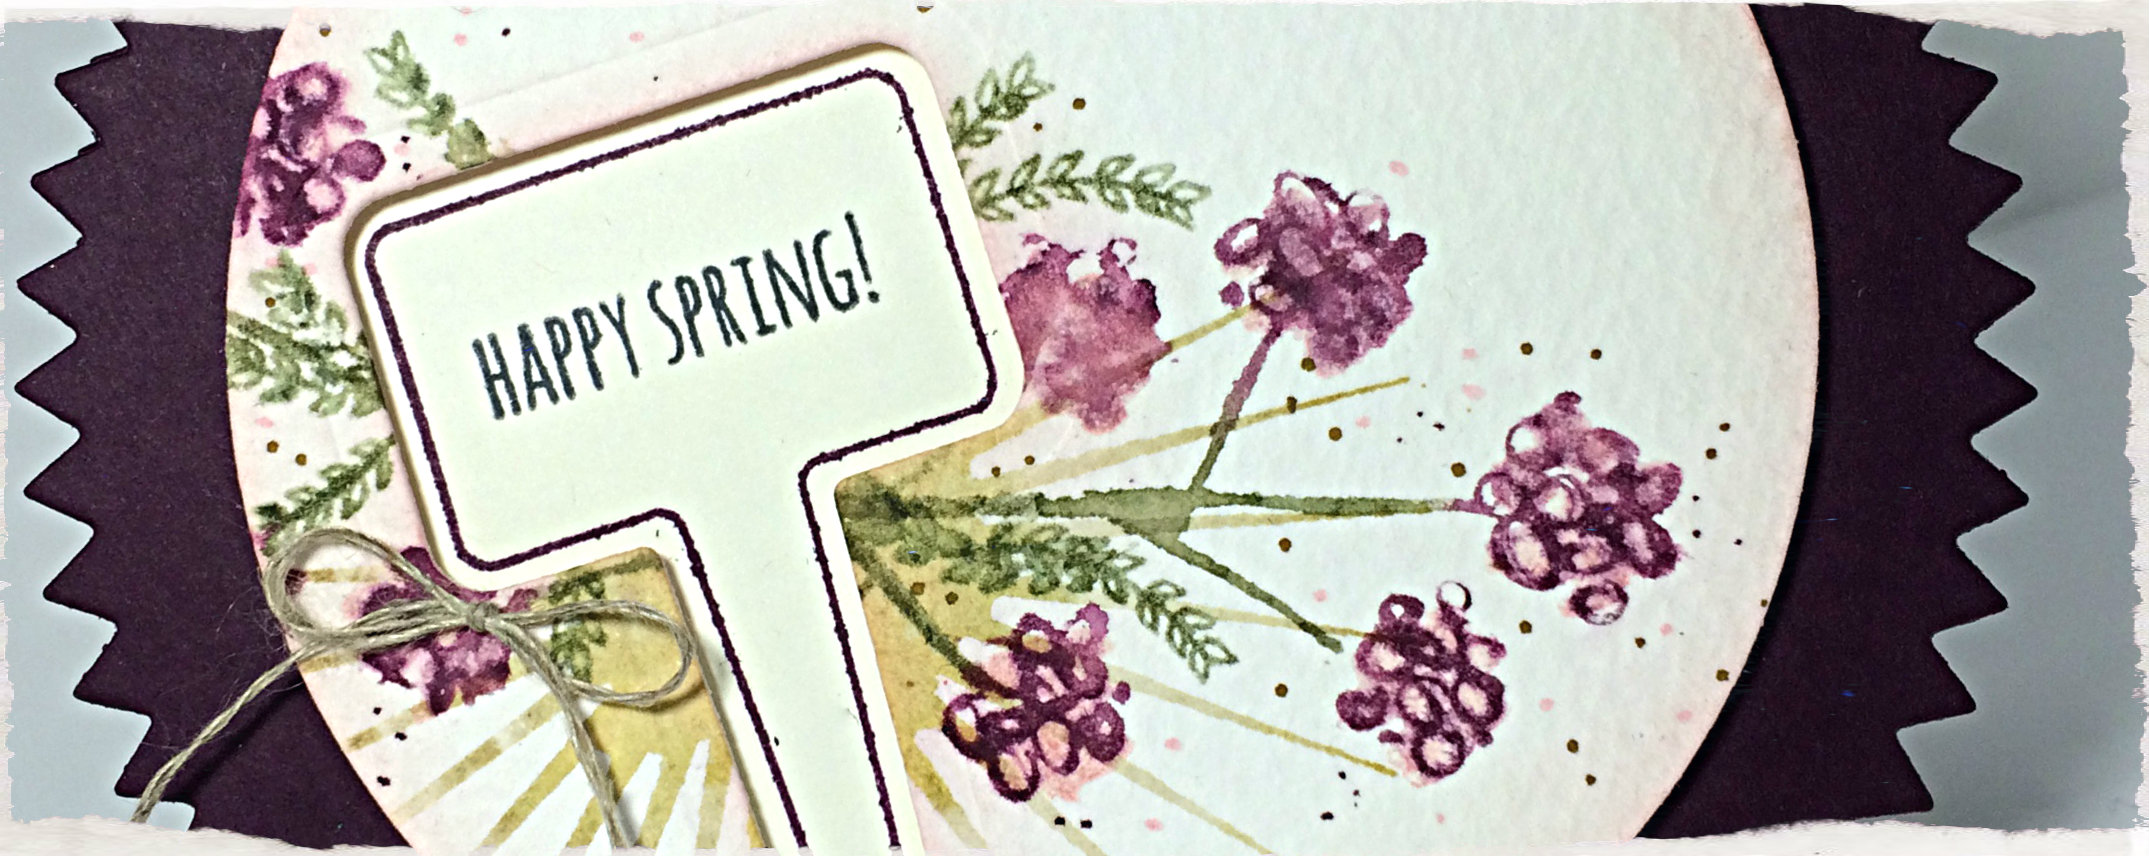
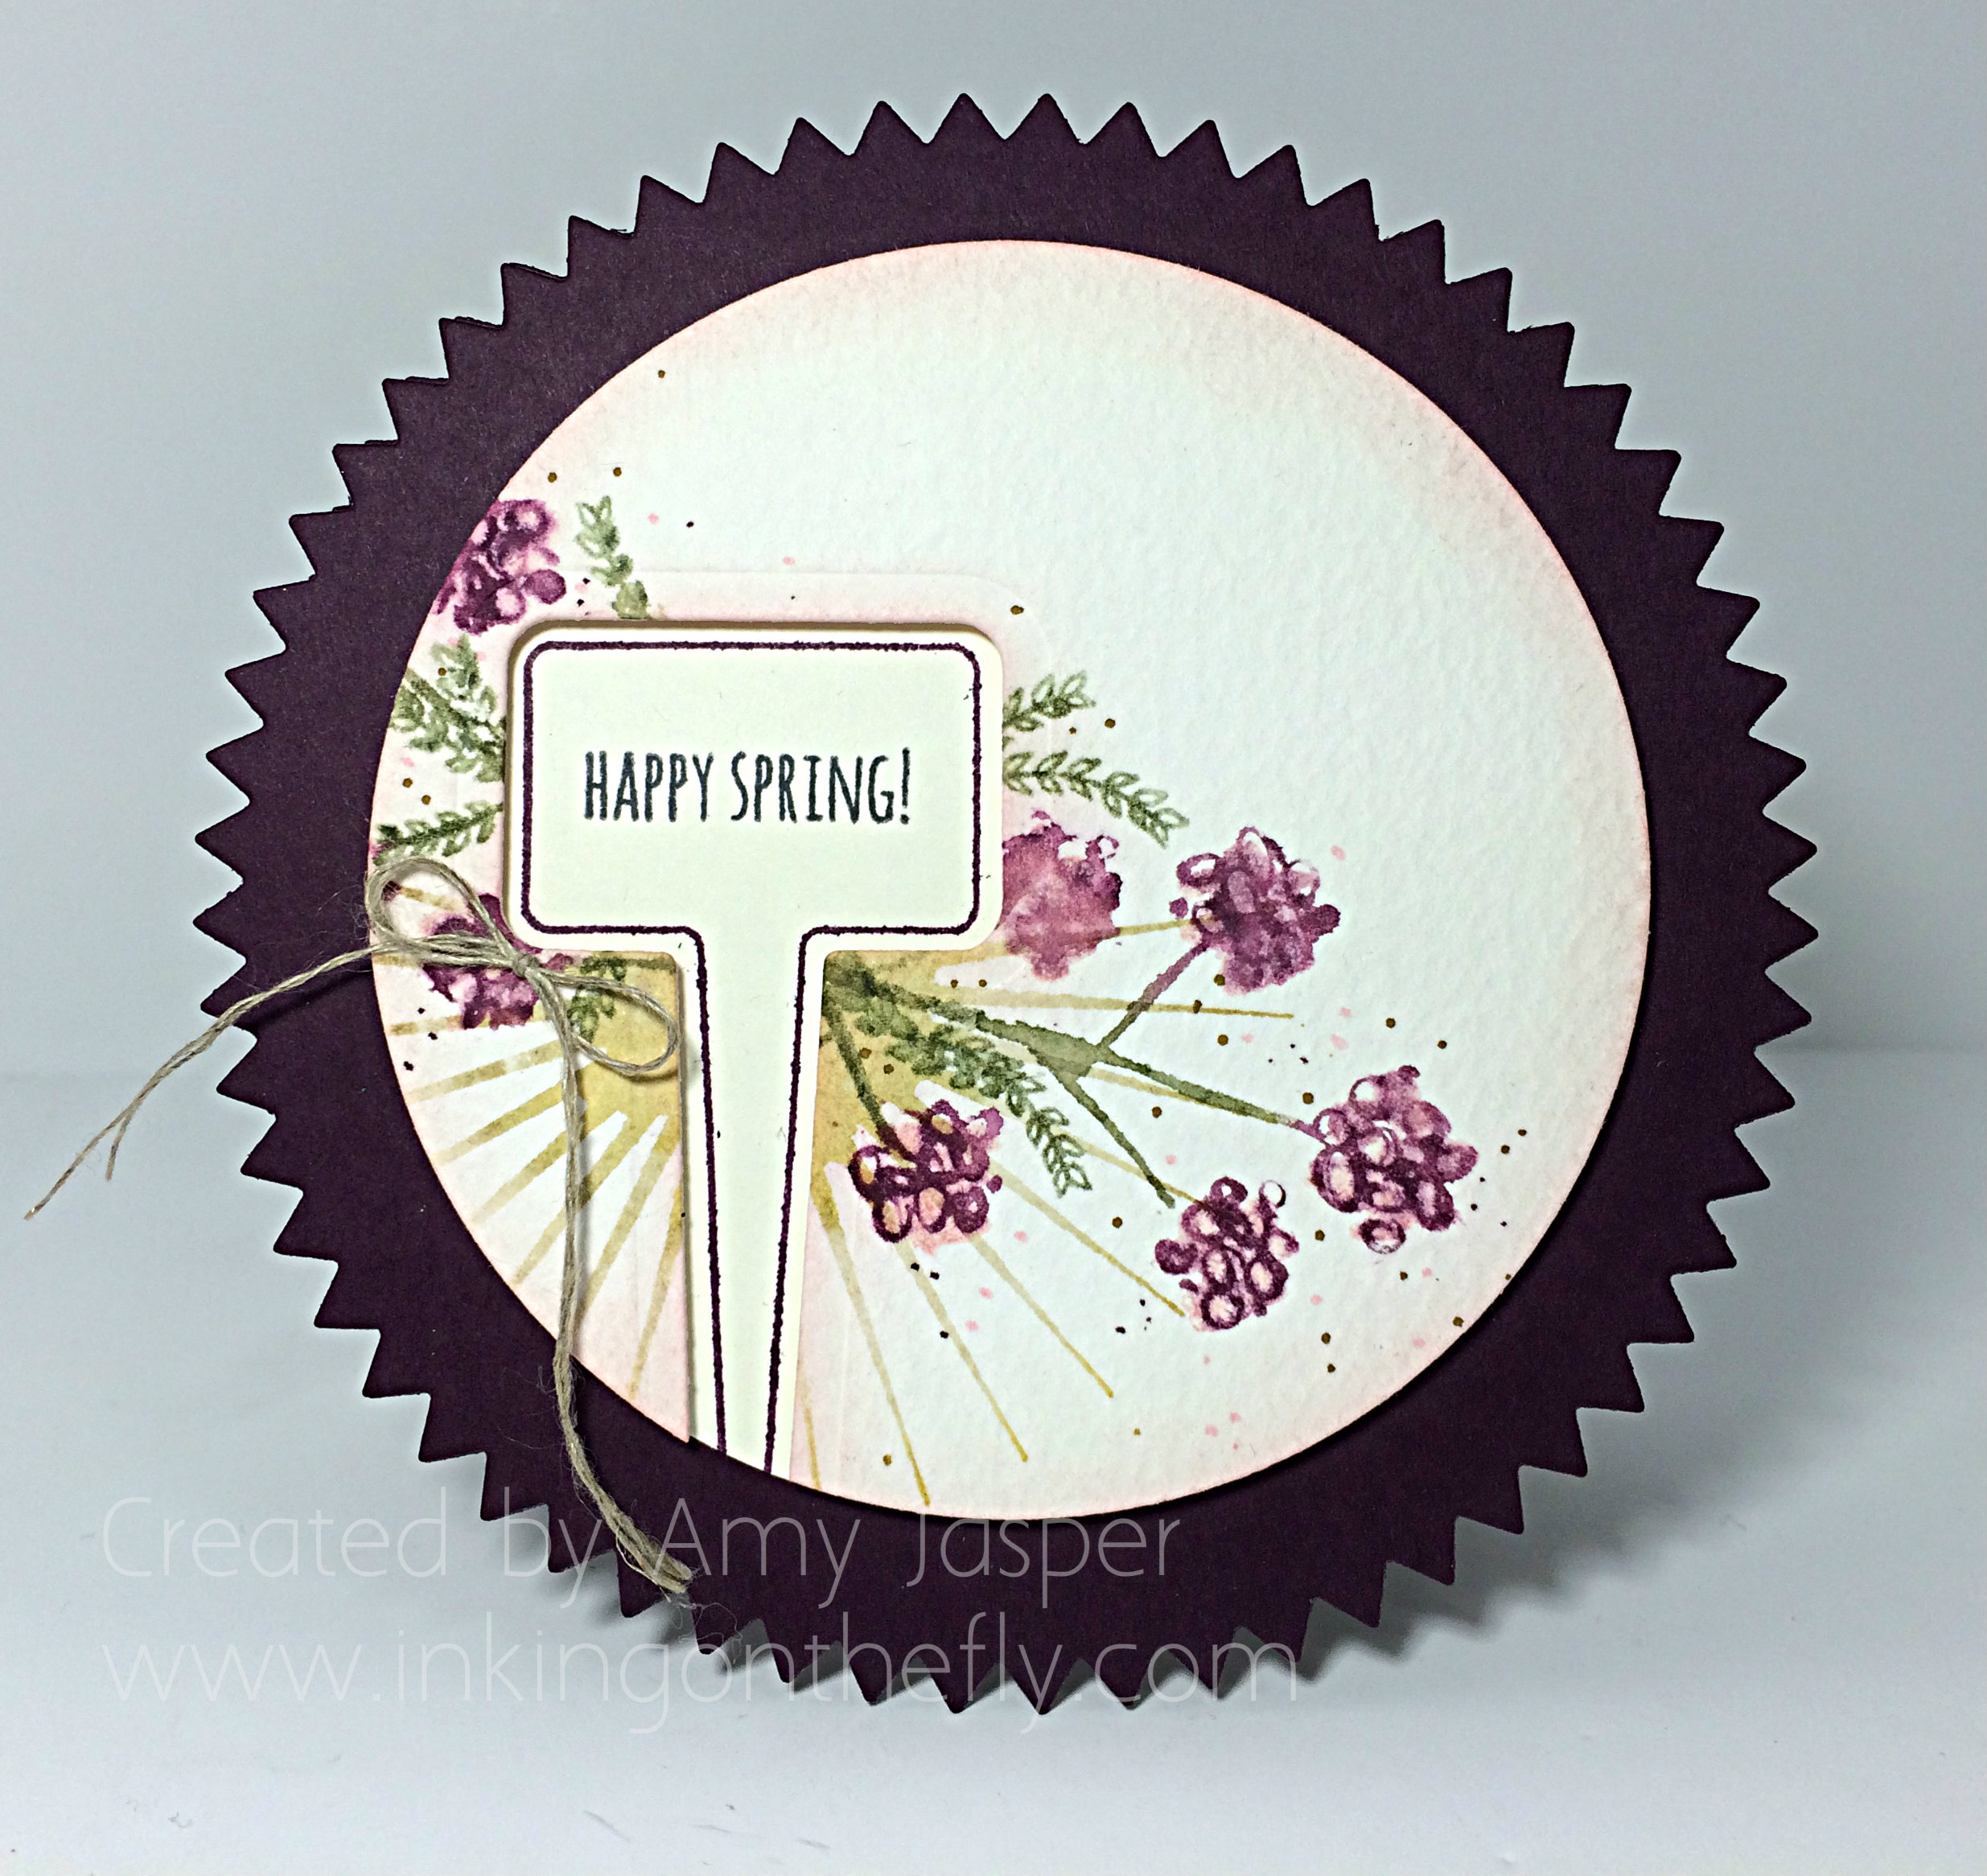
081headerIt’s time for another challenge card with my Stampin’ Up papercrafting supplies. I was getting tired of the usual 4 1/4″ x 5 1/2″ rectangles, so I went with circular card today using the Starbust Framelits and some faux water colouring. Gotta shake it up a bit now and then, lol!

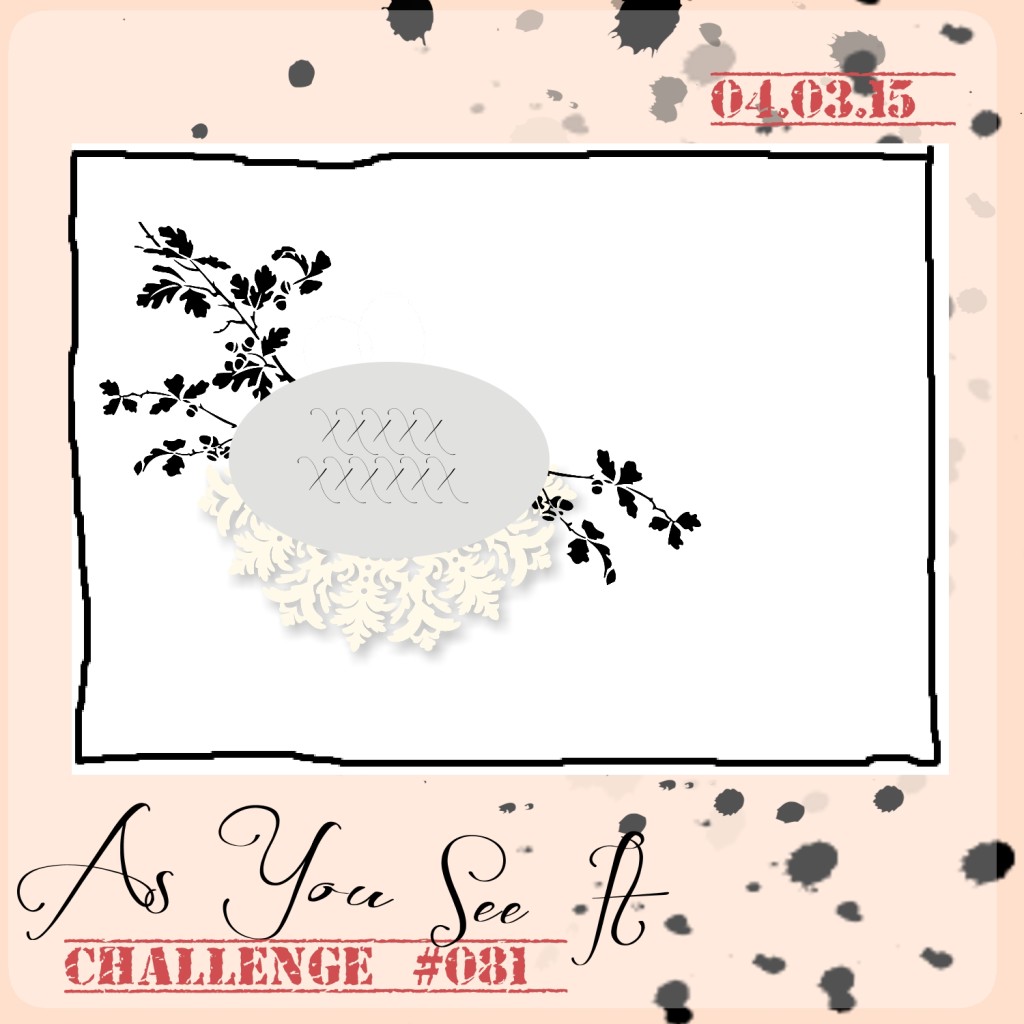
Here’s the challenge sketch that I started with from the As You See It Challenge blog:

AYSIChallenge081-1024x1024I decided to work with my Water Colour Paper, Handpicked Framelits, the From the Garden stamp set, the Mother’s Love Stamp set and some spritzing with water!

I shared this card with my technique class just the other night. My monthly group have become some of my closest friends. They really are the main reason that I have remained a Stampin’ Up Demonstrator for so long! Don’t get me wrong, I love creating with stamps and ink; I love the coordinating colours in paper, inks, and embellishments; I adore the tools and how easy they make it to create something beautiful; but what really carries me through and holds the most meaning and significance for me as a Demonstrator, are the relationships. It’s all about the people, the smiles, the laughter, the playful banter, the excitement and joy, and, especially the silliness.

Here’s the card:

081AmyAh, Blackberry Bliss. I wish you would photograph a bit better.

I think the most challenging element of this card was to stamp the outline image inside the cut out! We tried a few different ways, but the two that seemed to work the best were to lay the Water Colour paper with the cut out (from the Handpicked Framelits) over top of the Very Vanilla circle (cut with the Big Shot and the Circle Framelits), then either outlining the inside of the cutout with pencil, then using the pencil outline as a guide for where to lay your image; or simply stamping through the cutout itself.

In hindsight, drawing the pencil line, then using the Stamp-a-majig would have probably been the best solution to the challenge (sorry, Mom, I should have thought about that!)

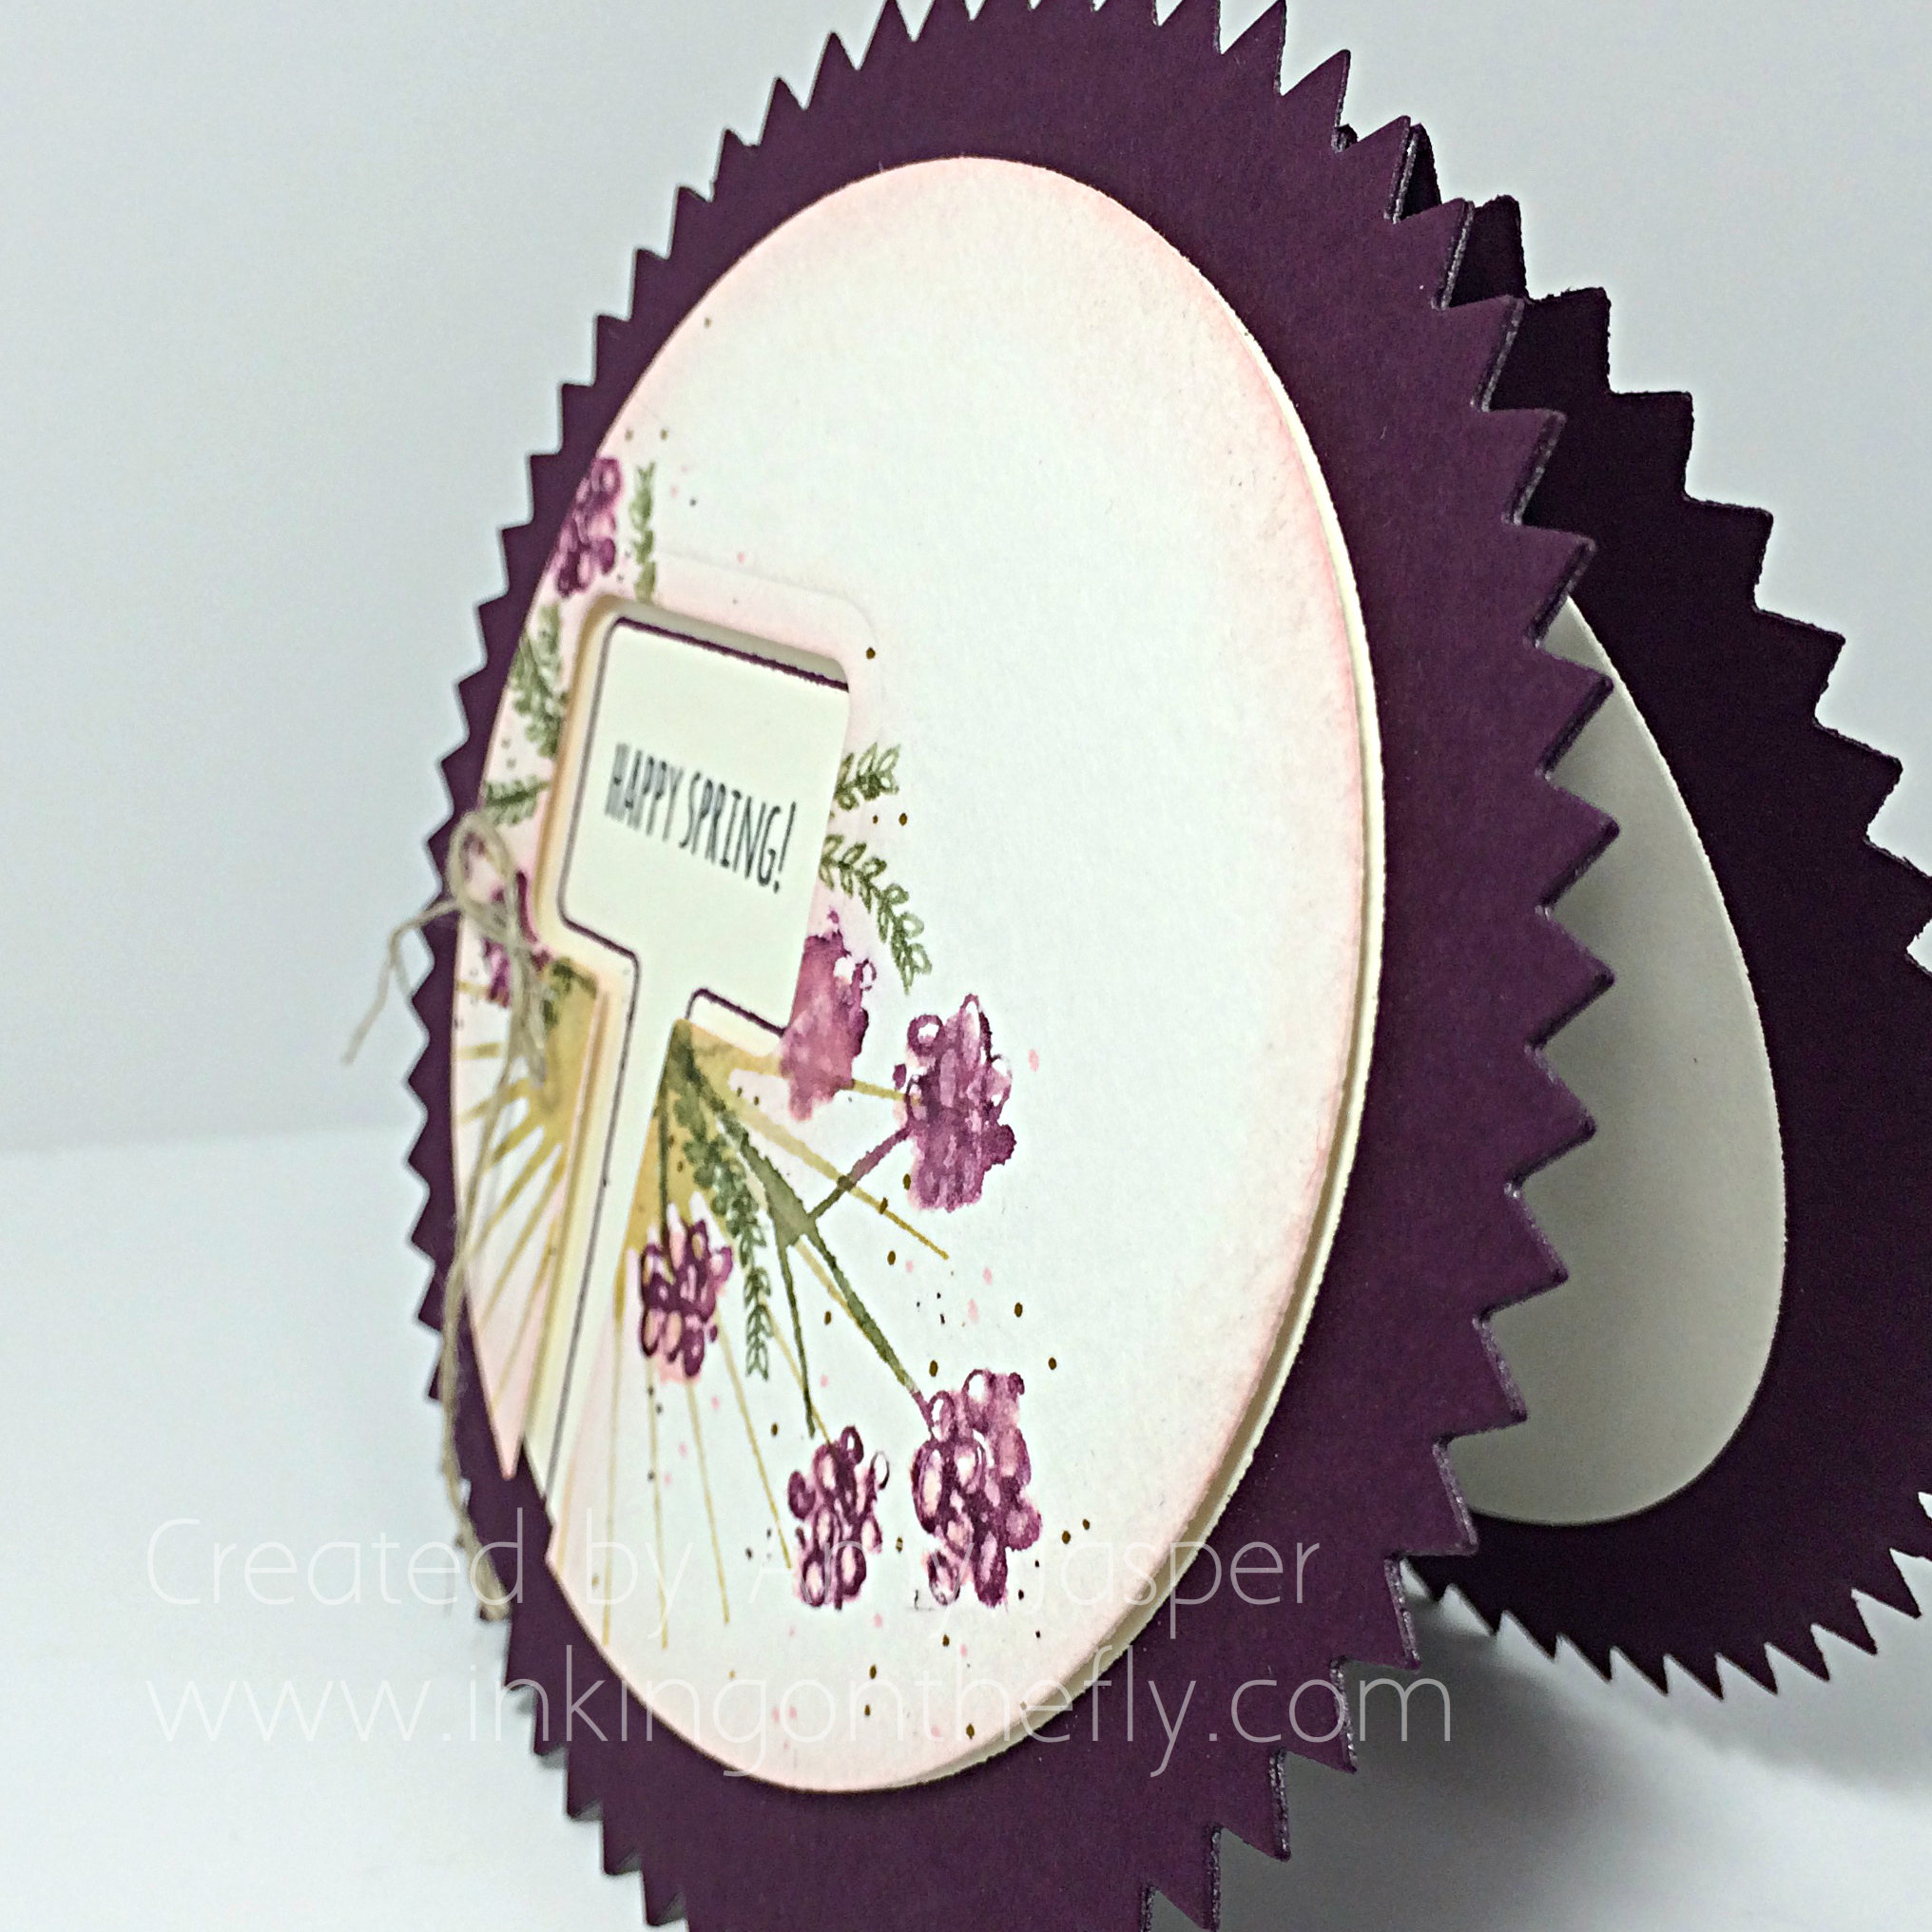
081sideThe images were first inked either with the ink pads as you normally would, or with markers, then the photopolymer or rubber was spritzed with water before stamping the image on the Water Colour paper. The Mother’s Love set has a very pretty two-step stamping method so that we could do the outline image of the flowers with Blackberry Bliss and Mossy Meadow ink (using the Stampin’ Write Markers), then we could fill in the flowers with the coordinating flower stamp, using Pink Pirouette ink. One important trick with layers of images like in this card, is to allow each layer to dry before stamping the next layer, otherwise you could end up with a bit of a muddy mess as the colours run into each other and lose the definition of the images. When you are impatient, you can dry it a little faster by dabbing the really wet spots with a paper towel and drying the rest with a Heat Tool before moving onto the next layer.

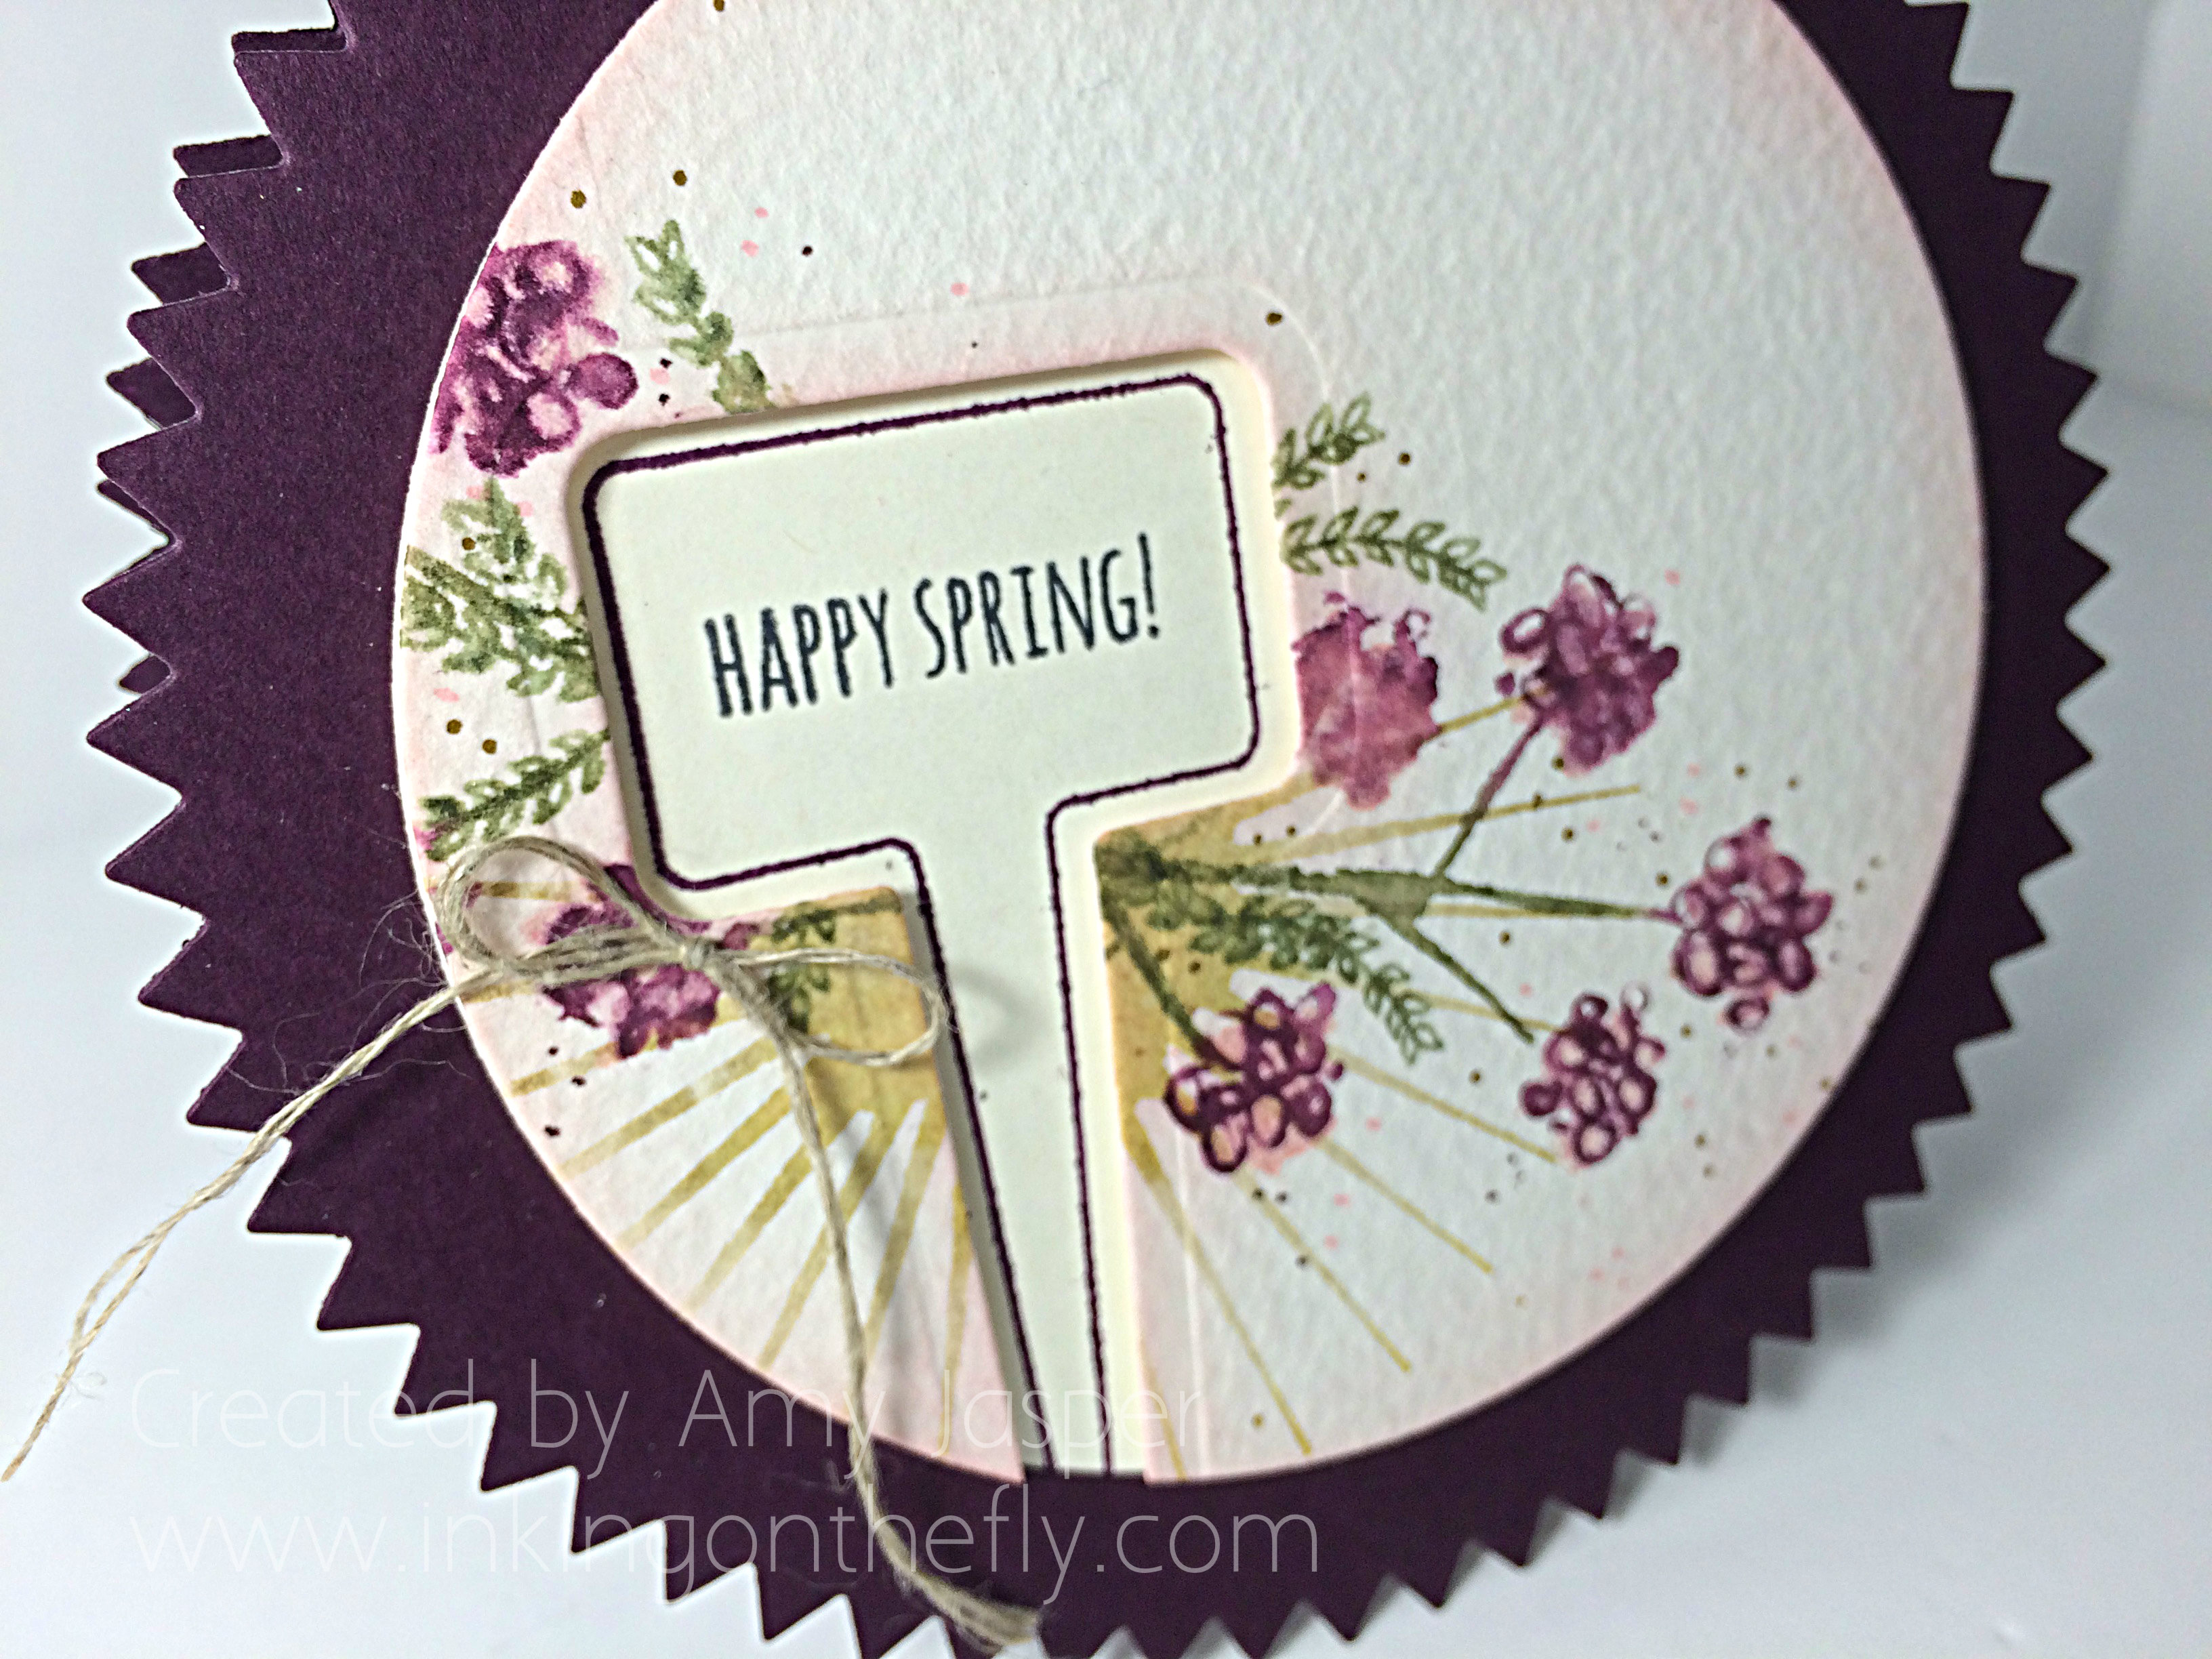
The starburst image is from the Kinda Eclectic Stamp set. I used a piece of paper to mask off the upper portion of the image as I wanted only the lower portion of the stamp to show on my card (to work best with the challenge sketch). I originally used Sahara Sand ink for that image, but you can see that it looks very yellow here – I think the stamp had not been cleaned after it was last used – oops. When my stampers recreated this card, they used Hello Honey, which worked quite nicely to mimic this unknown colour, lol!

081CloseOnce all the images were in place, I sponged Pink Pirouette ink all around the edges of the Water Colour paper to give it a soft finish. It still didn’t look done, so I got a hold of my Gold Glimmer pen, Blackberry Bliss marker, and my Pink Pirouette marker and added randomly placed dots around the flower clusters. Up on Dimensionals, it went over top of the Very Vanilla circle and the Linen Thread bow was added with a dab of Multipurpose Tombow Liquid Glue.

Now, who to give this card to for spring? – I think it looks like a great Mother’s Day card. What do you think?

Be sure to try out the sketch at the As You See It Challenge Blog and share it with us there. Inspiration comes from every card I see, so bring it on!

Amy

Designer-Badge


Peekaboo Card

080header

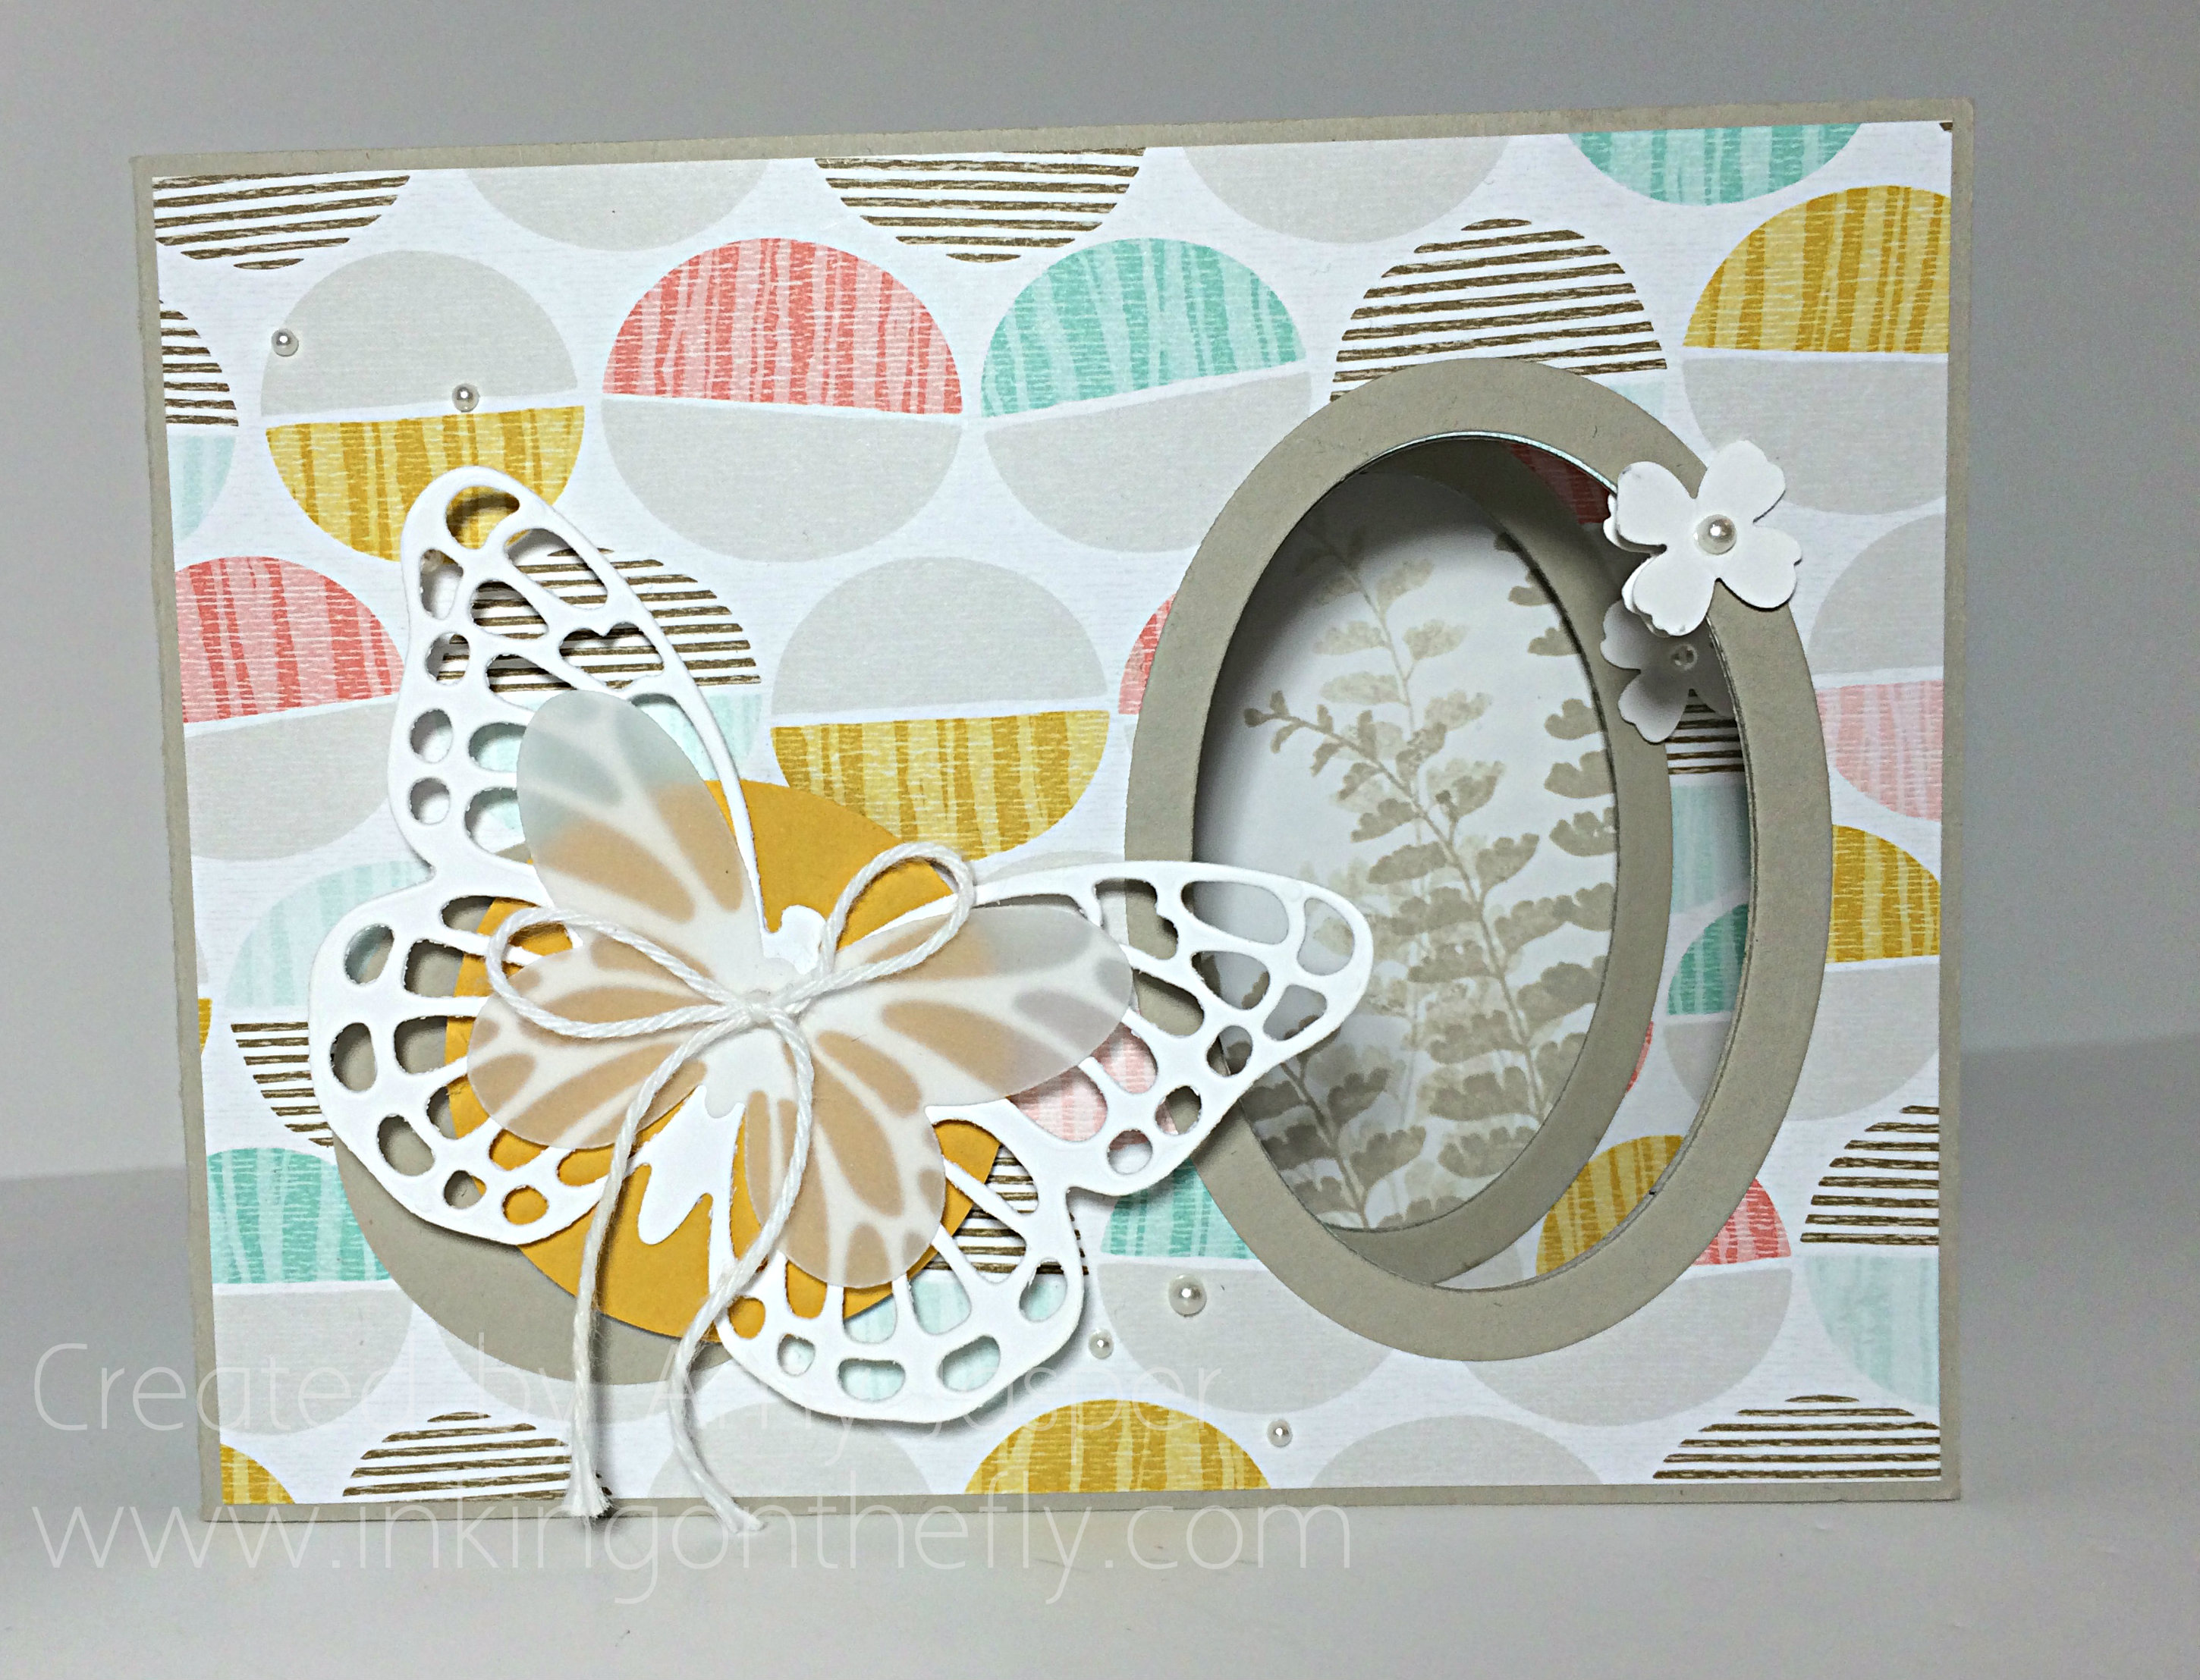
This fancy fold card is sure to surprise and wow it’s recipient! Not only is it cute, but the technique creates a fun interactive experience that you don’t normally get with paper greetings.

This blog post is inspired by As You See It Challenge #80: try a new technique.

AYSIChallenge080-1024x1024

Lucky for me, I needed to learn a new technique so I could show my monthly stampers group something they hadn’t seen before (they’ve seen A LOT!). As a designer for the AYSI blog, I have the privilege of receiving the challenges in advance, so my stampers group did this card with me a couple weeks ago (and with great success, I might add).

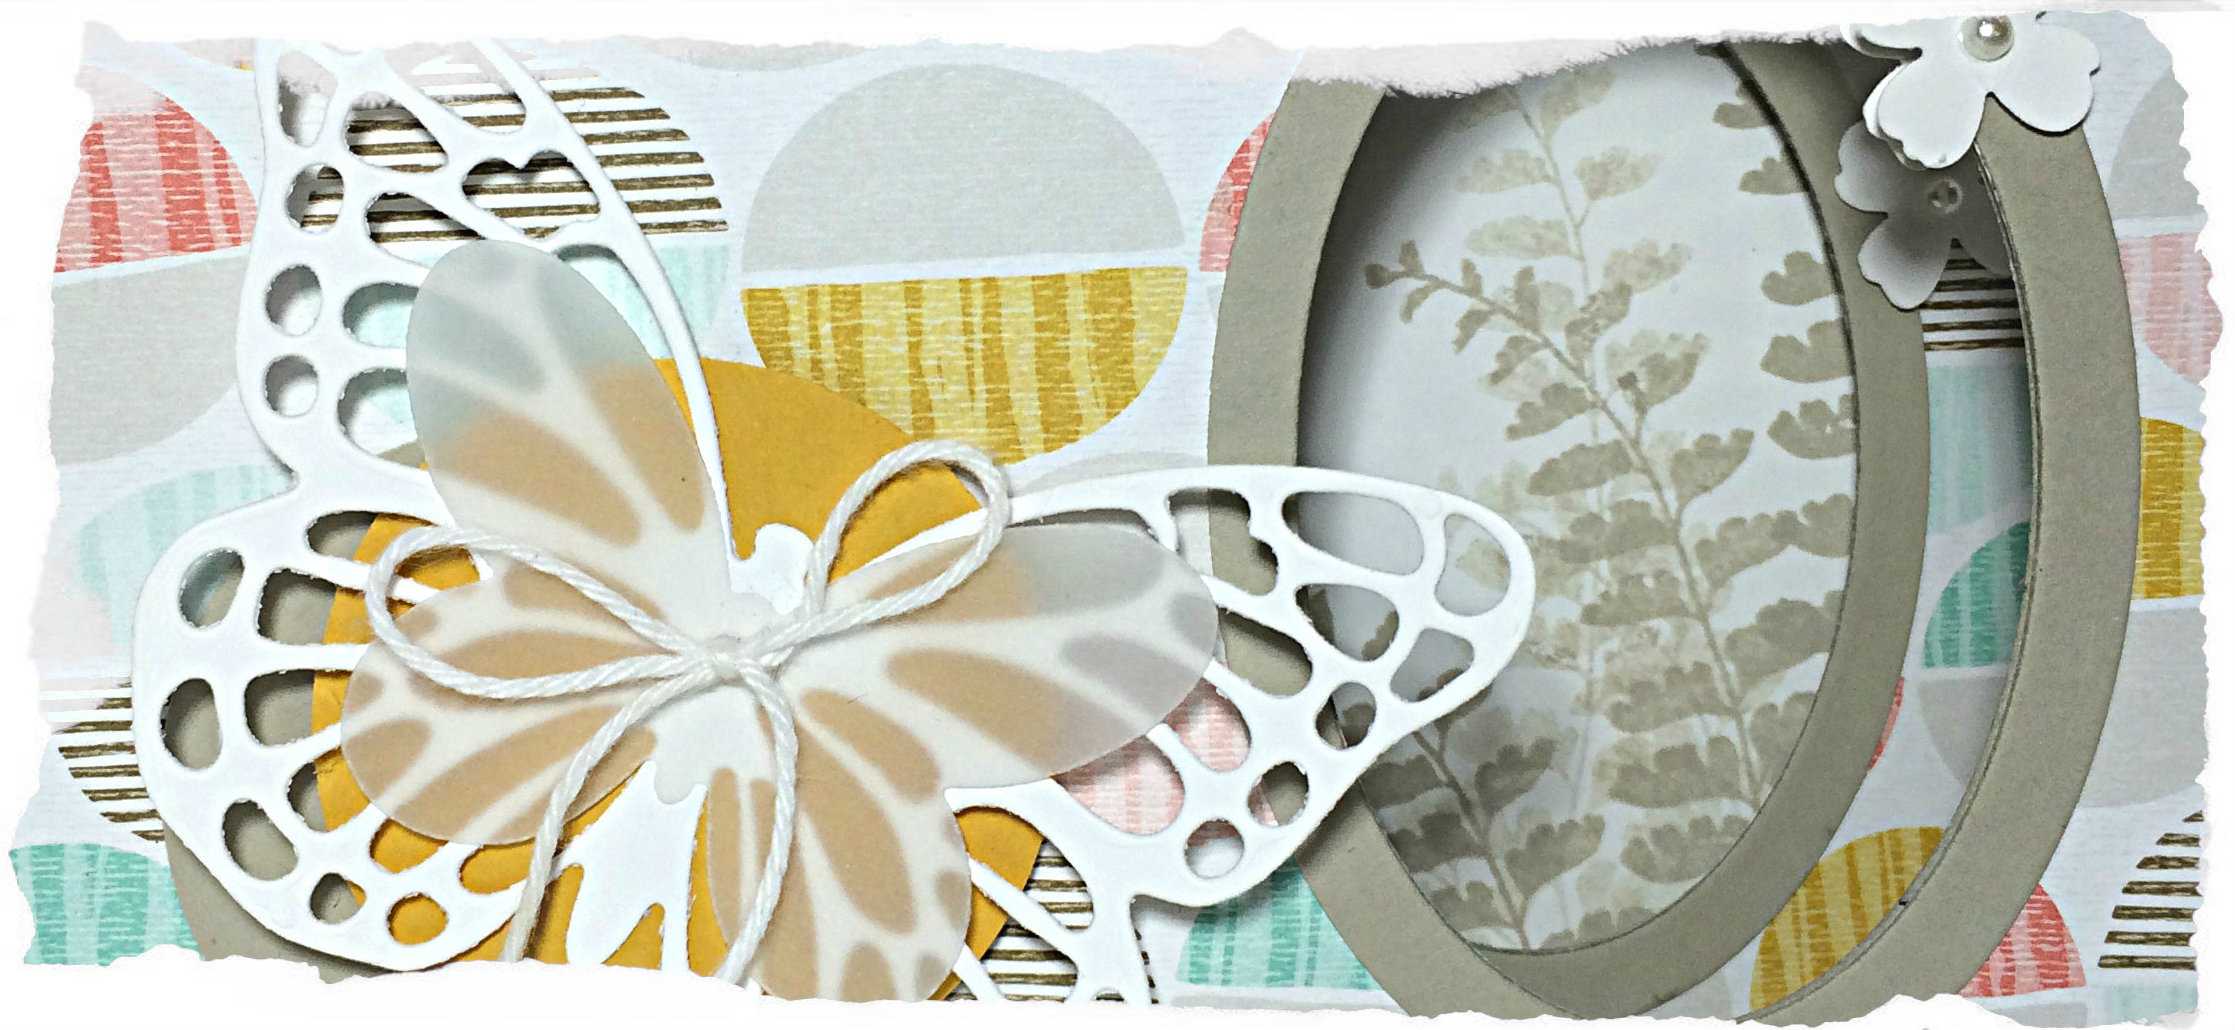
080Amy

It doesn’t look so fancy just like that, but check out this video to see what happens when you open it!

I used this fabulous tutorial from Splitcoaststampers.com to create this card, but changed the dimensions a bit so that they would fit into Stampin’ Up! envelopes. The paper sizes I used were as follows:

Card base (mines in Sahara Sand):

  • 4 1/4″ x 8 1/2″
  • 4 1/4″ x 8 1/4″
  • 4 1/4″ x 5 3/4″

Patterned Paper layers (I used Best Year Ever Designer Paper):

  • 4″ x 4″ (you need two of these)
  • 4″ x 5 1/4″

I also added a space to write in the back of the card in Whisper White cardstock that is simply 4 1/8″ x 5 3/8″.

Other product used includes Butterfly Thinlits, Ovals Framelits, White Baker’s Twine, Basic Pearls, Butterfly Basics Stamp Set, 1 3/4″ circle punch, Sahara Sand cardstock, Crushed Curry cardstock, flower punch from the Itty Bitty Accents punch pack, White Vellum, and, of course, Tombow Multipurpose Liquid Glue, Stampin’ Up Dimensionals and Glue Dots.

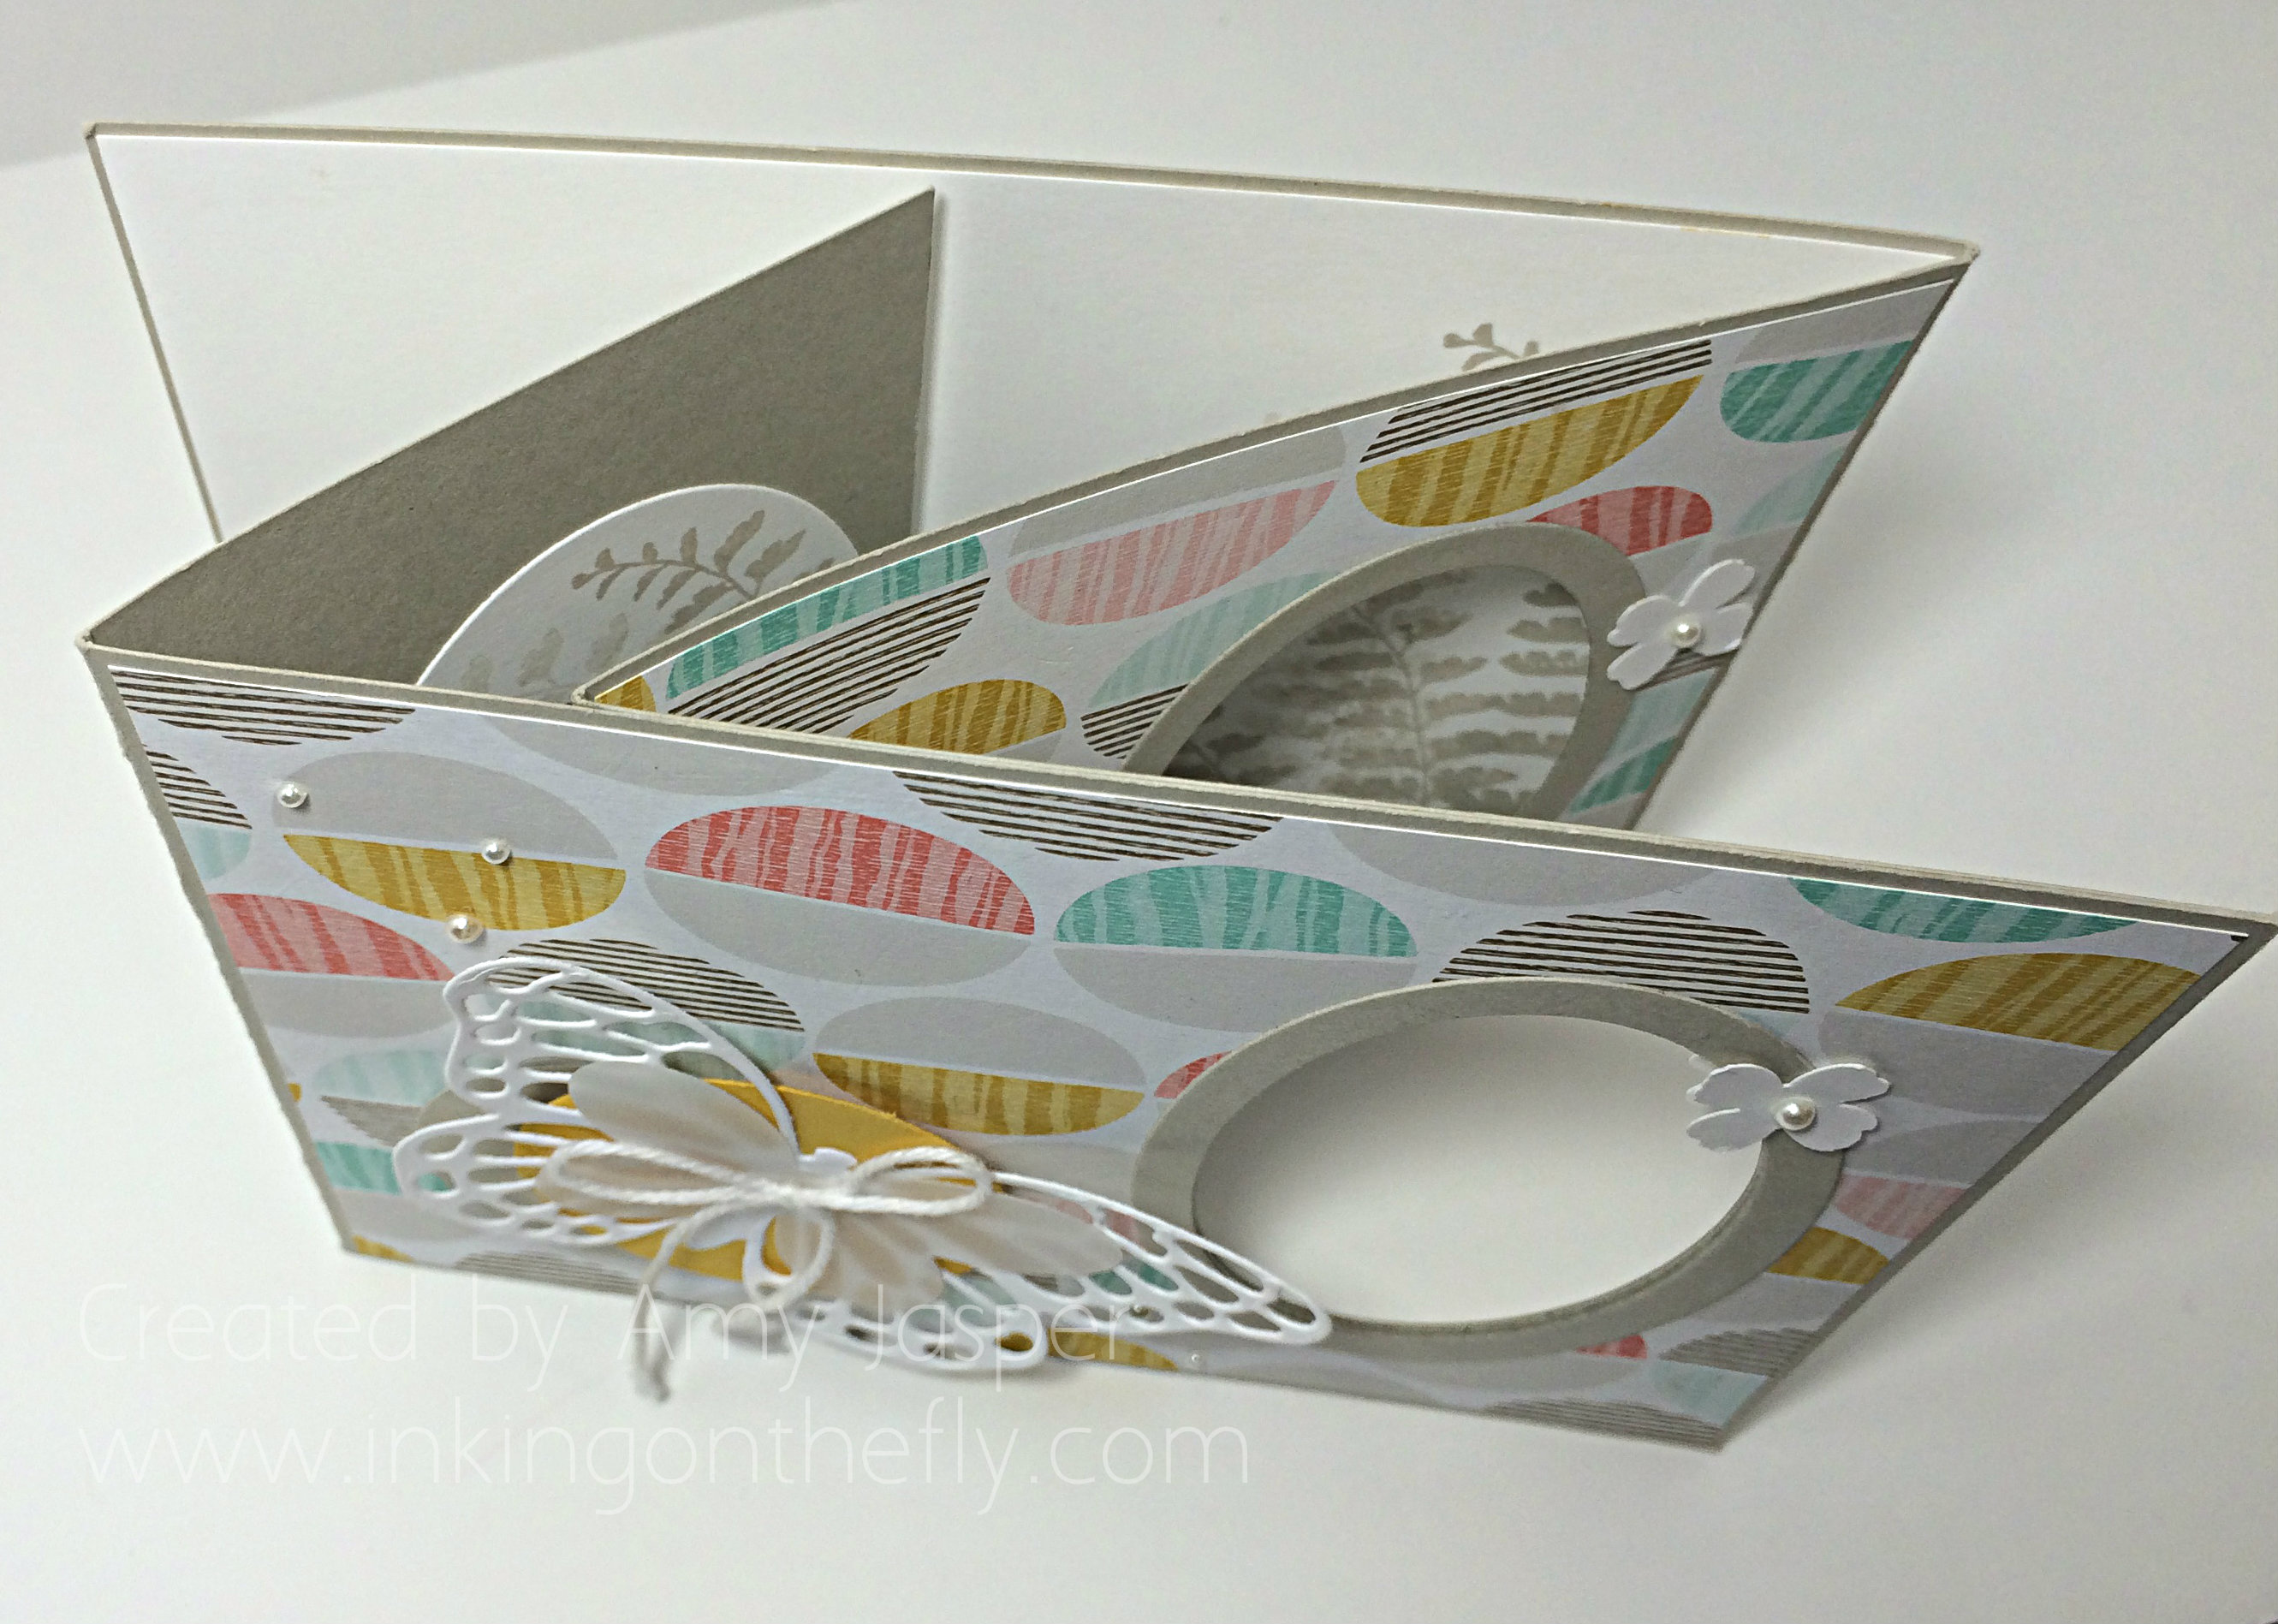
080topview

You can see how the card looks from the top side with all of its layers. This is a card that you might want to give to someone in person so you can show them how it works. Otherwise, they might find it very strange and confusing, lol!

Amy