As You See It Challenge

Do the Impossible

My niece is a competitive cross-country skier and has qualified to compete in the Biathlon World Youth Championships in Switzerland this month! Her entire family (my brother, his wife, and the two daughters) all compete in biathlon. I think they’re a little crazy, but I am crazy proud of all of them and their determination and discipline to compete.

The card I made for today’s blog post is for my niece for her birthday (shhh, it isn’t until February). I am so pleased with how I was able to use an image of a jogger and make it look like a skier with a little extra simple drawing skills.

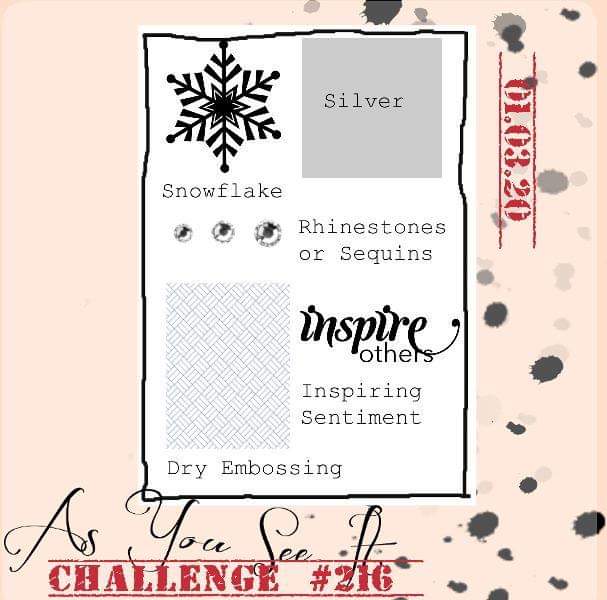
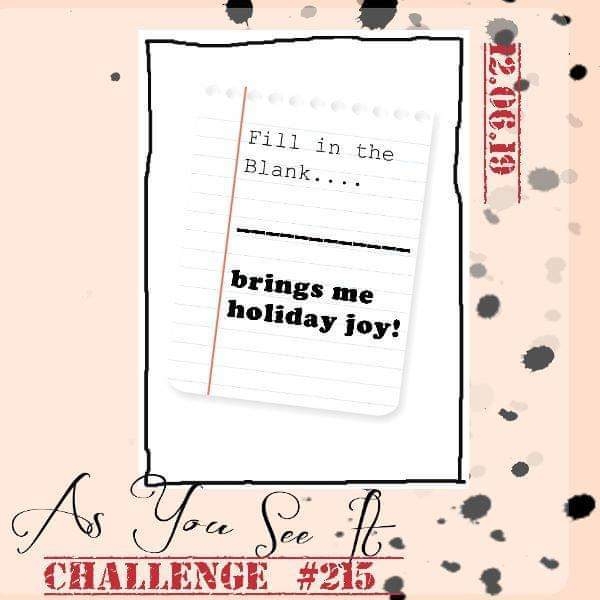
I had this As You See It Challenge to get me started:
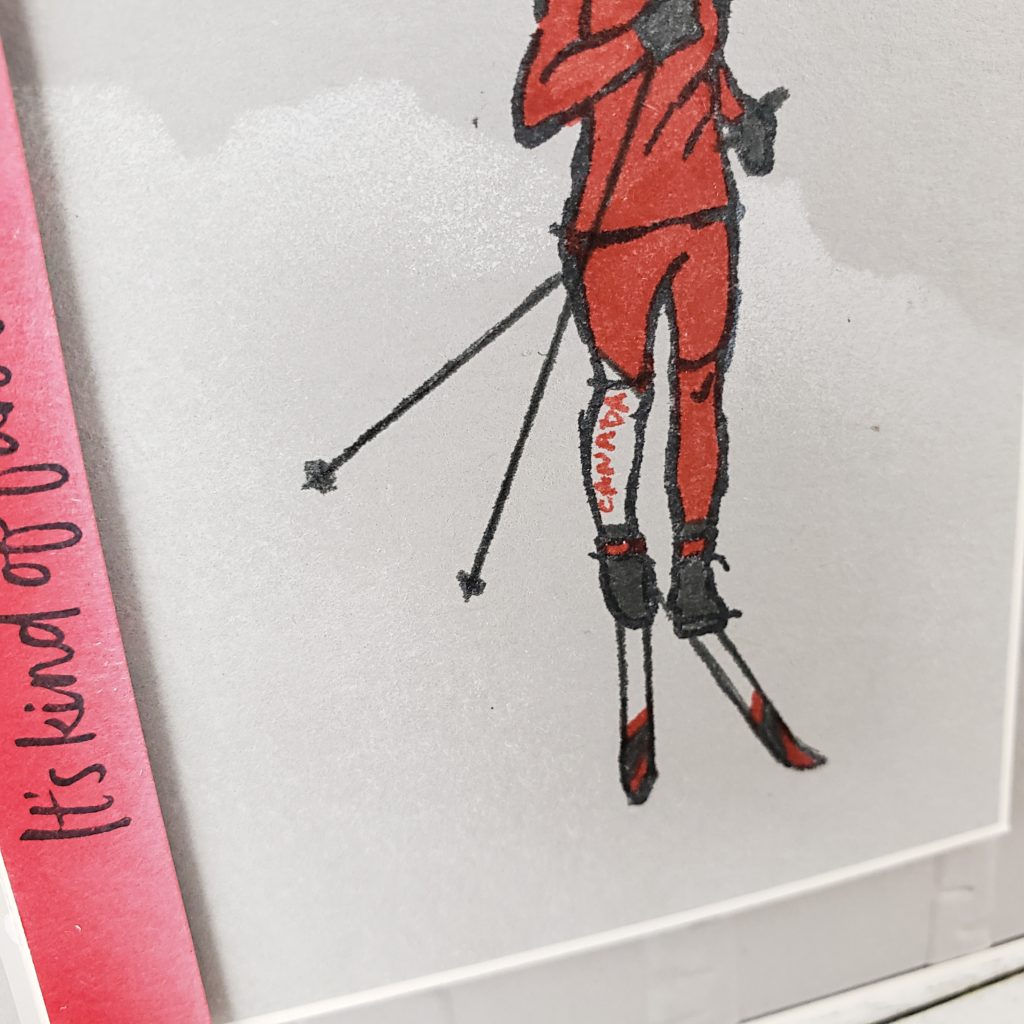
For my card, I used the “Do the Impossible” stamp set from Stampin’ Up! One of the images is of two people jogging together. I inked up only the one with the long hair and stamped on Smoky Slate cardstock with Tuxedo Black Momento ink. Then I used a Basic Gray Stampin’ Write Marker to carefully draw in the lines for ski poles and skis. The skis were a bit difficult to get the angle right, but I think it came together. This sketch-style image makes it very forgiving to add to the image like this.
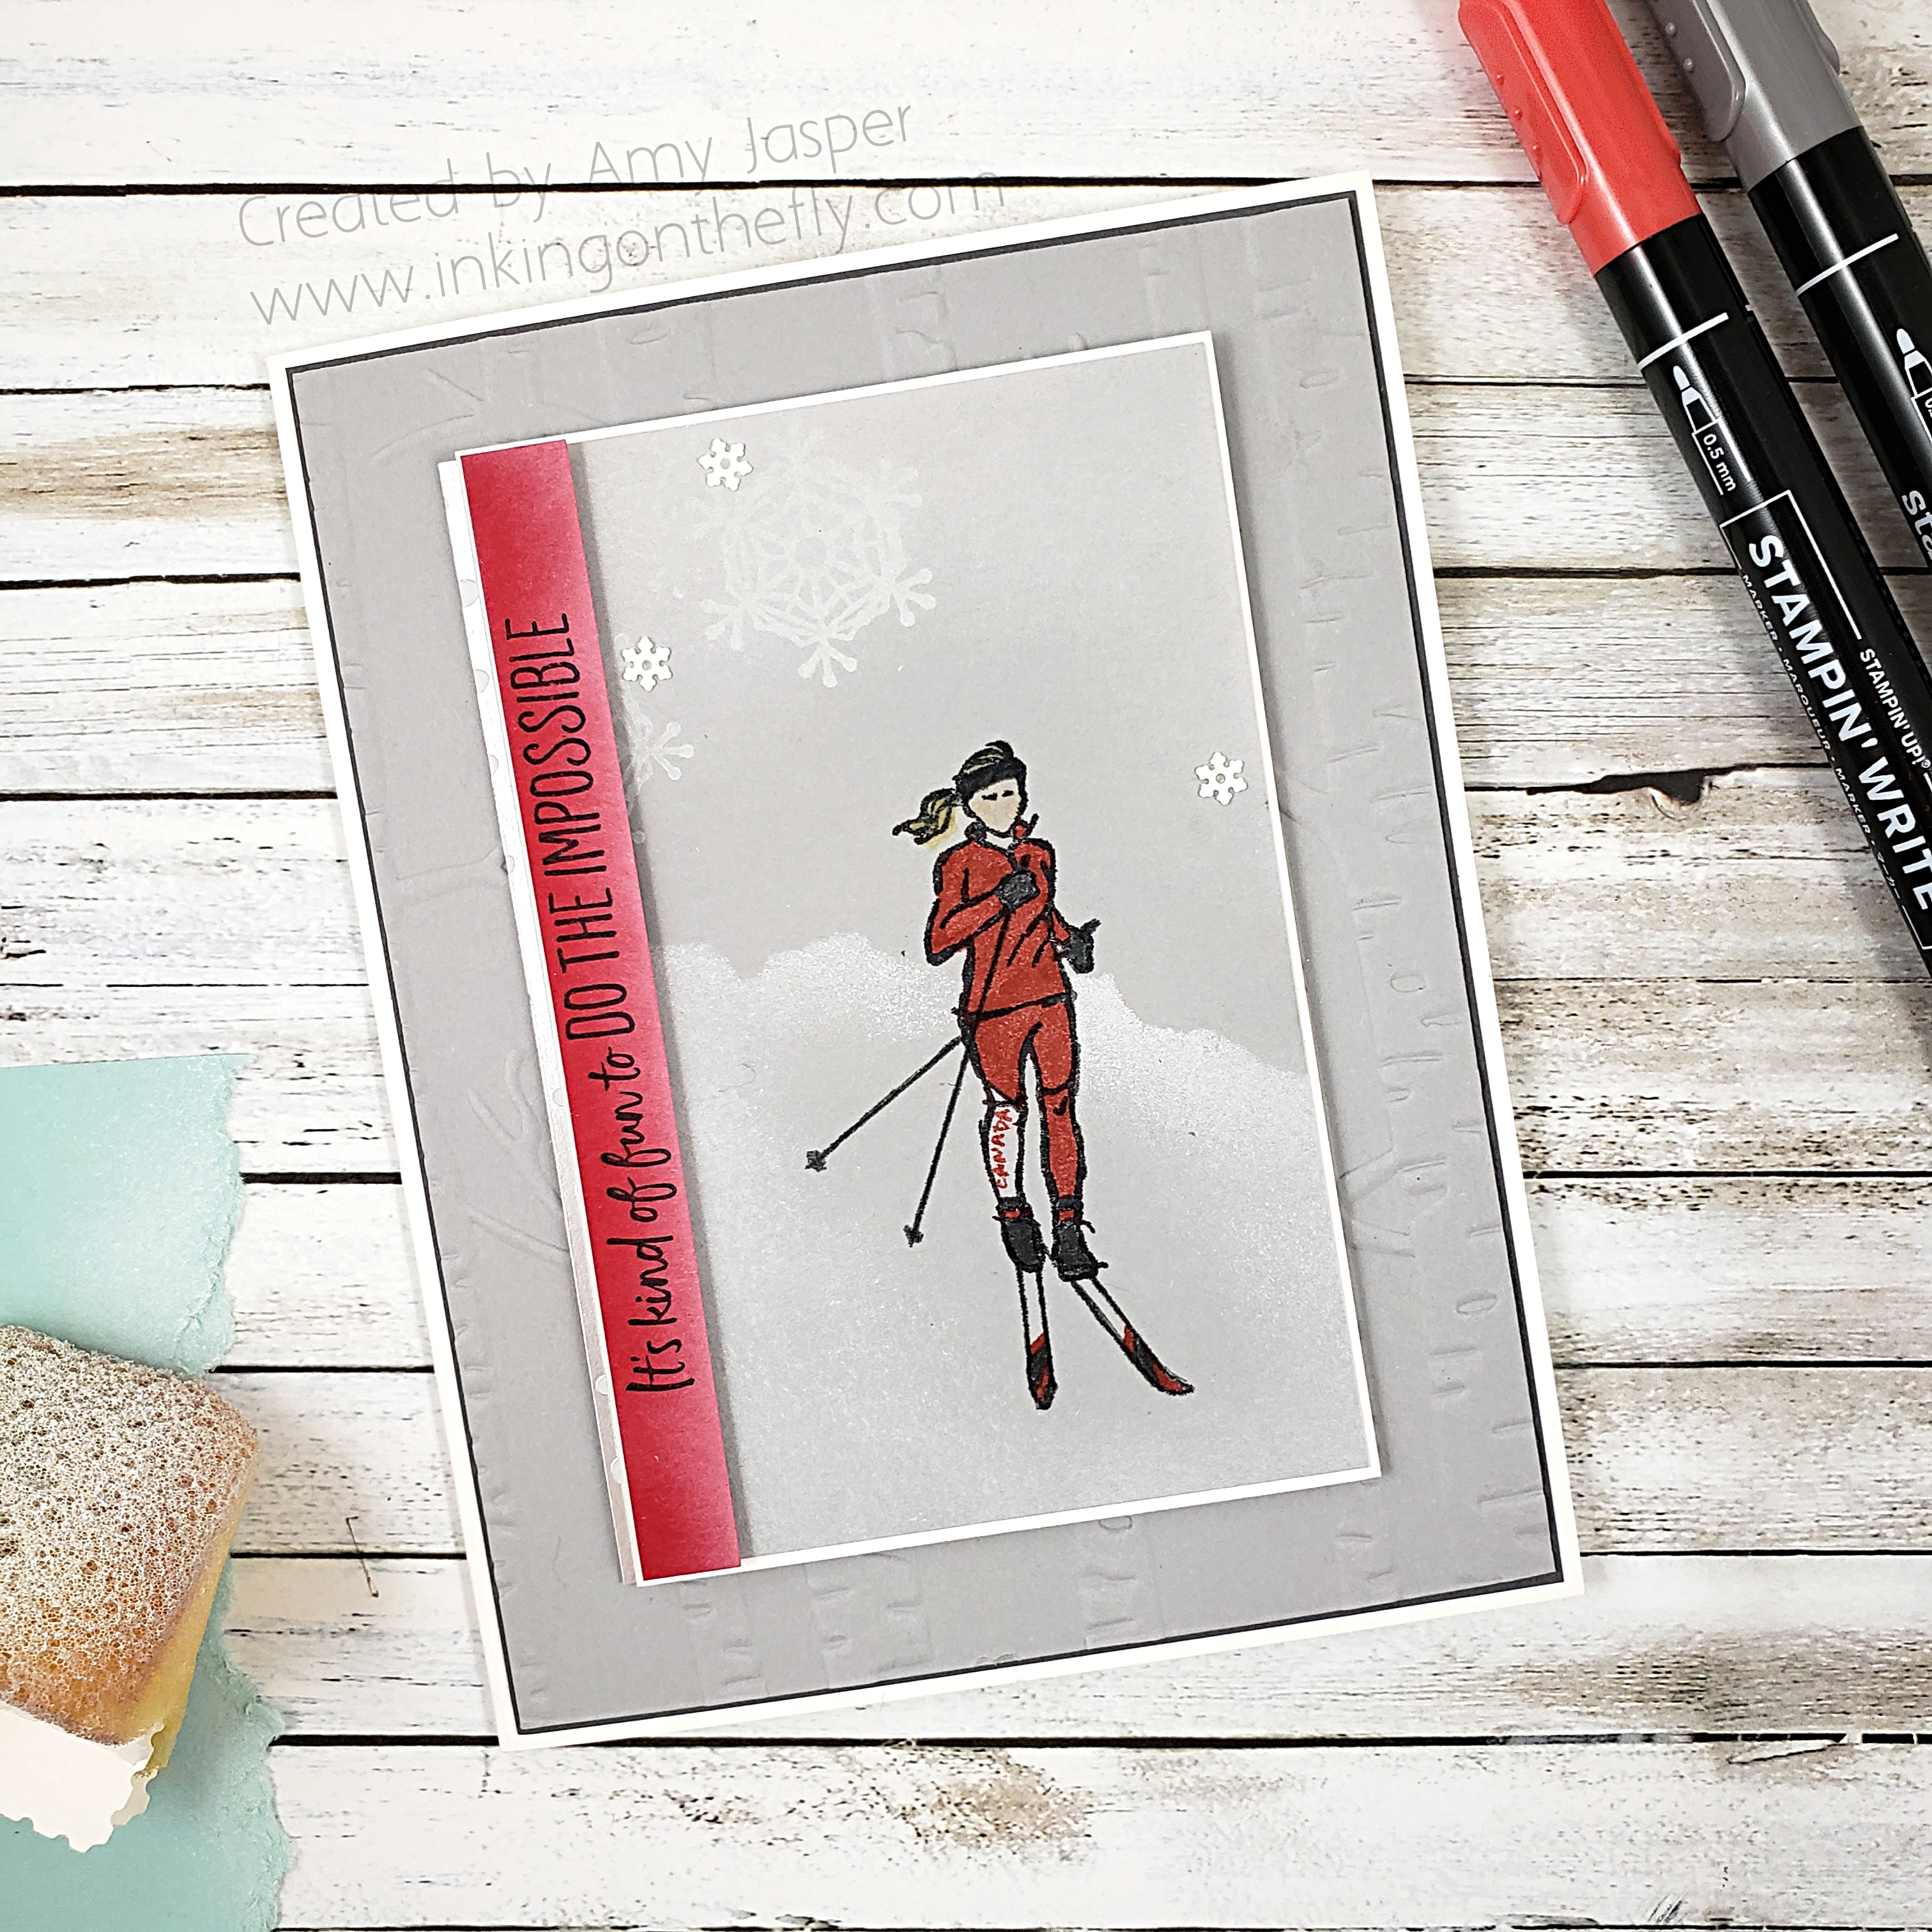
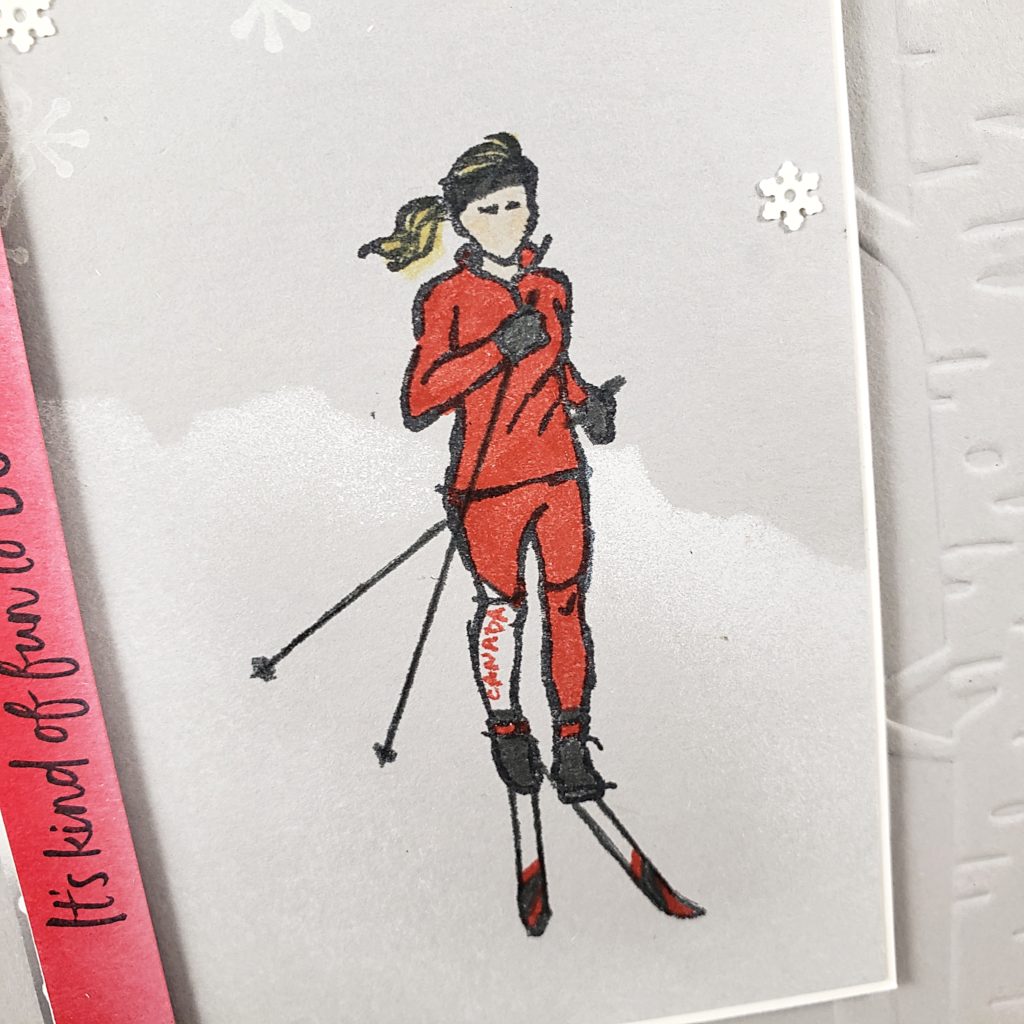
I coloured her ski suit with the Poppy Parade Stampin’ Write marker, trying to make it look like her Canadian racing suit. I even wrote “Canada” on the lower leg, just like the suit has (I thought that was pretty clever, LOL!).
I gave her a headband to keep her ears warm by using that Basic Grey Stampin’ Write Marker again. I used it for her gloves, boots, and some detail on her skis as well. I coloured her hair with a So Saffron Stampin’ Write Marker, but I coloured her face and neck with the Ivory Blends Marker, adding a touch of colour with the Light Petal Pink Blends Marker.
To create the snowy background behind my skier, I stamped the image again on a sticky note and fussy cut it so I could place it over my image to use as a mask. Then I tore a piece of cardstock and lay it over the upper part of my skier and sponged Craft White ink. Then I added a bit more light sponging of the Craft White to the edges of the Smokey Slate cardstock. I stamped the snowflake image from the “Colorful Seasons” stamp set with Craft White ink. The snowflake sequins are from the October 2019 Paper Pumpkin kit!
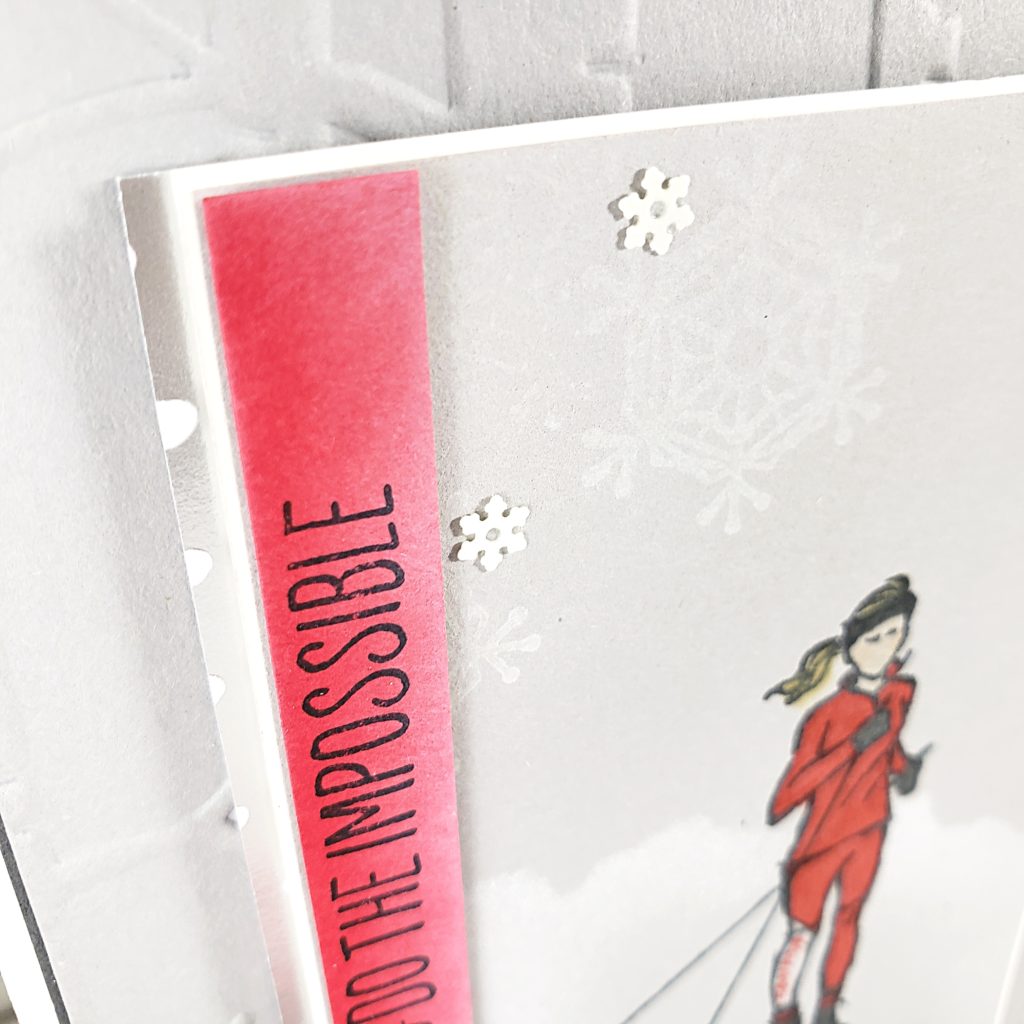
The rest of the card is pretty self explanatory. I sponged a bit of Craft White ink on one side of a strip of Real Red cardstock before stamping the sentiment using Tuxedo Black Momento ink. Just to the left of that you can see my subtle peeking of silver paper – this is patterned paper from the Feels Like Frost Designer Series Paper pack (not available to purchase again until September). Behind all of this, I have a piece of Smoky Slate cardstock that was dry embossed with the Woodland Embossing Folder from Stampin’ Up! and matted with a thin matte of Basic Grey Cardstock on a Thick Whisper White card base.
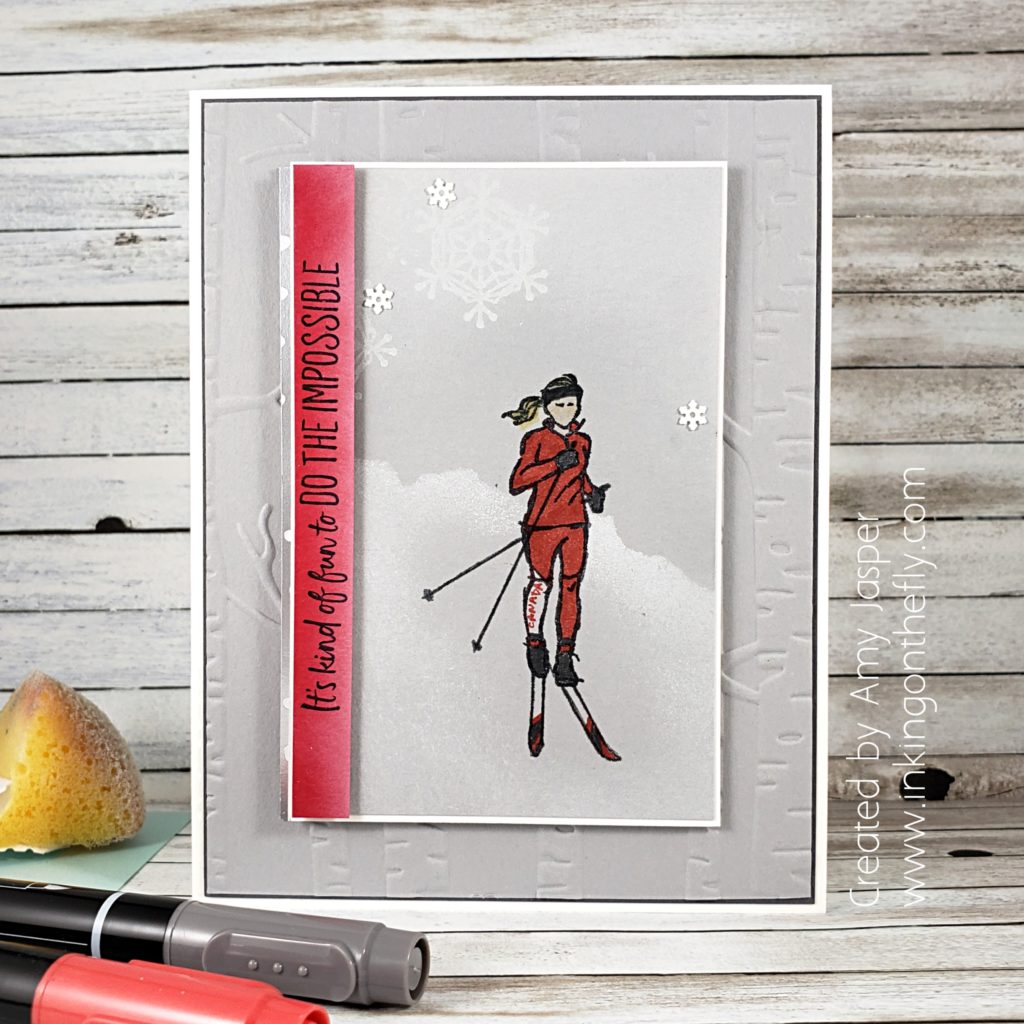
And if you have ever seen my cards before, you KNOW I used Stampin’ Dimensionals to pop up some of these layers. Oh yes!!

This card layout could easily be simplified by taking out the extra drawing and the sponging. I think I might make another one with the two joggers from the original image in the Do the Impossible stamp set from Stampin’ Up! I’ll make sure I add a link to this post when I share it!

Now, stop looking at card ideas on the internet and go stamp something!! Why not try the challenge at the As You See It Challenge with us? Don’t forget to share it! We love to see your creations!!
Christmas is Family

What brings you joy during the holidays? For me, it’s spending time with my family. I love the time together playing games, opening gifts, sitting by the fireplace, and just existing together.

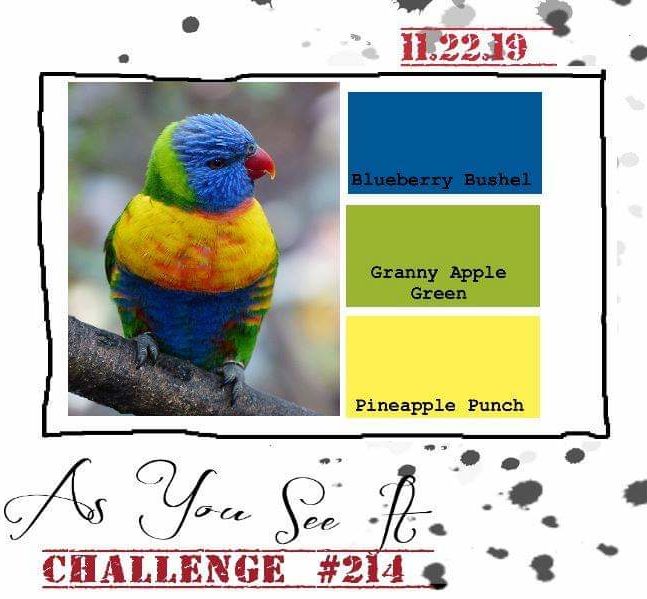
My card today is inspired by the As You See It Challenge: it’s a fill in the blank!

At first, I wasn’t sure what I would do on a card for this one. How would I depict family on a holiday card?

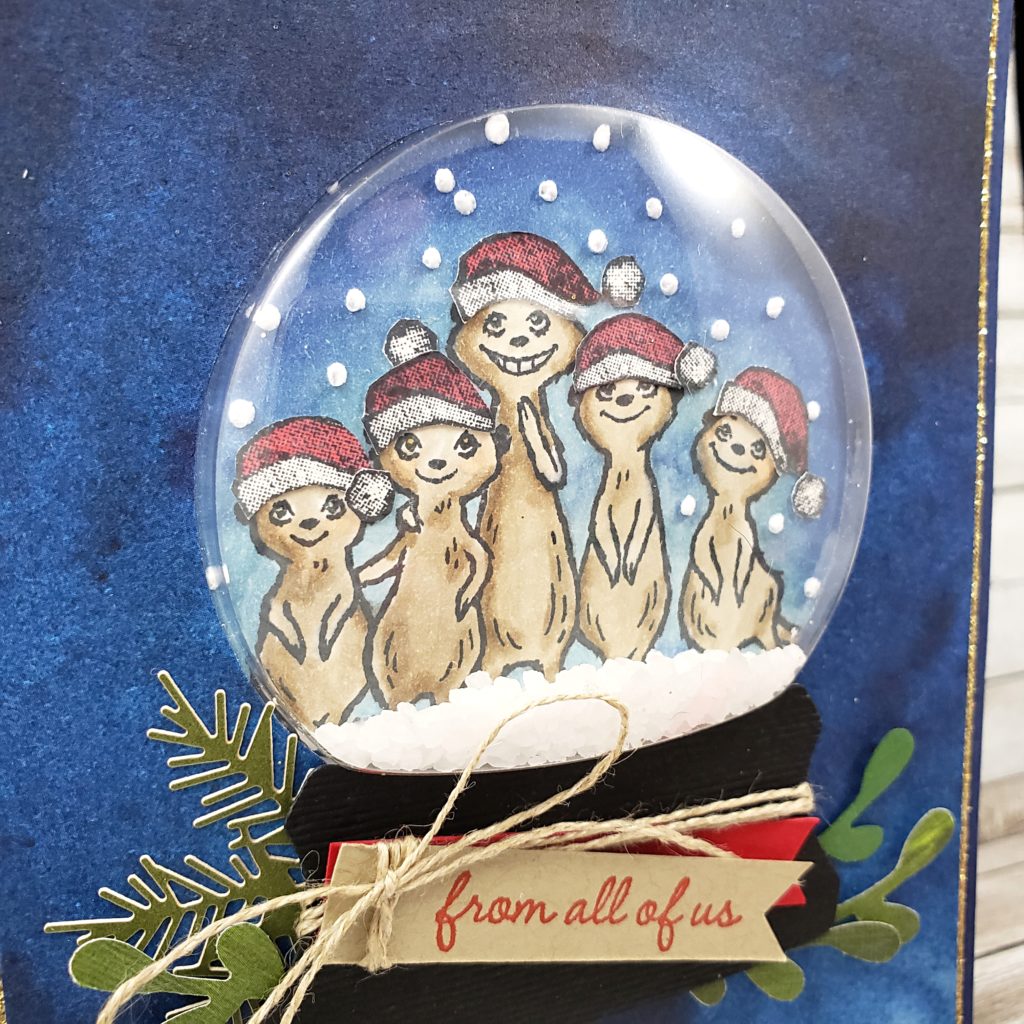
Then I remembered a stamp set that I got in my pre-order for the upcoming Stampin’ Up! catalogues! “The Gang’s All Meer” stamp set will be available from the Sale-a-bration Brochure in January.

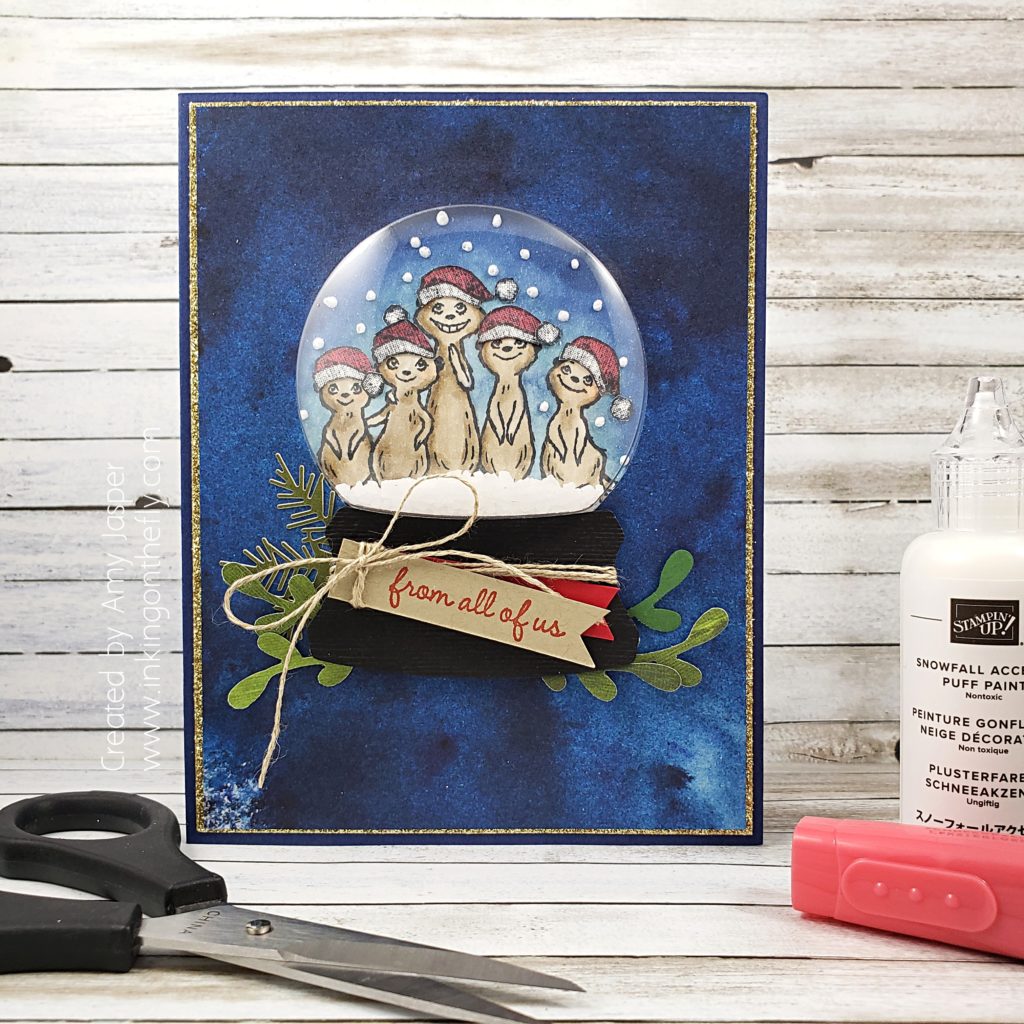
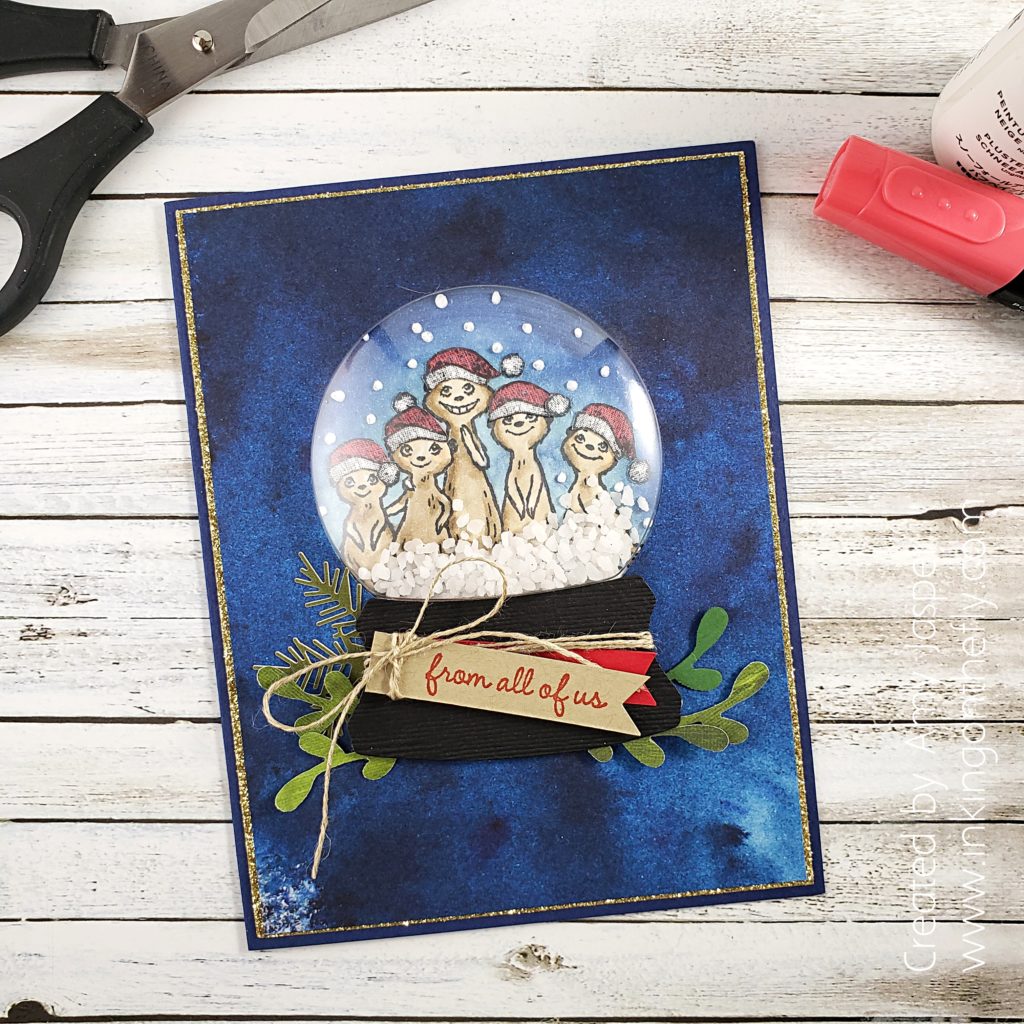
I realized that there are five people in my immediate family and this image has five meerkats!! I saw someone put Santa hats on the critters for a card, so I decided to give it a go!

I stamped the meer cat family on some Whisper White cardstock with Tuxedo Black Momento ink. I used my Stampin’ Blends to colour the image: Light and Dark Crumbcake for the cheerful crew, Dark Balmy Blue, Light Night if Navy, and Dark Night of Navy for the background, and Poppy Parade for the Santa hats.

The Santa hat image is from the Playful Penguins stamp set from Stampin’ Up! I stamped them on Whisper White cardstock, coloured them, then fussy cut them and adhered them to the little heads. The pompom on the end of the hat was cut separately, so I could attach it in different ways to the hats. That way, I could make the hats all a little bit different.

I used the Snowfall Accents Puff Paint to create the falling snow on the background, heat setting it to make that puff paint puff!!

Then I had another thought! Would the meerkats fit in the Stampin’ Up! Shaker Domes? YES, they do!!

Now, I was REALLY excited!!

I used the Snowglobe Scenes dies to cut the hole in the piece of the See a Sillhouette Designer Series Paper by Stampin’ Up!. I used about a teaspoon of pickling salt as snow in my dome and layered my pieces together over the Night of Navy card base and a matte of Gold Glimmer Paper.

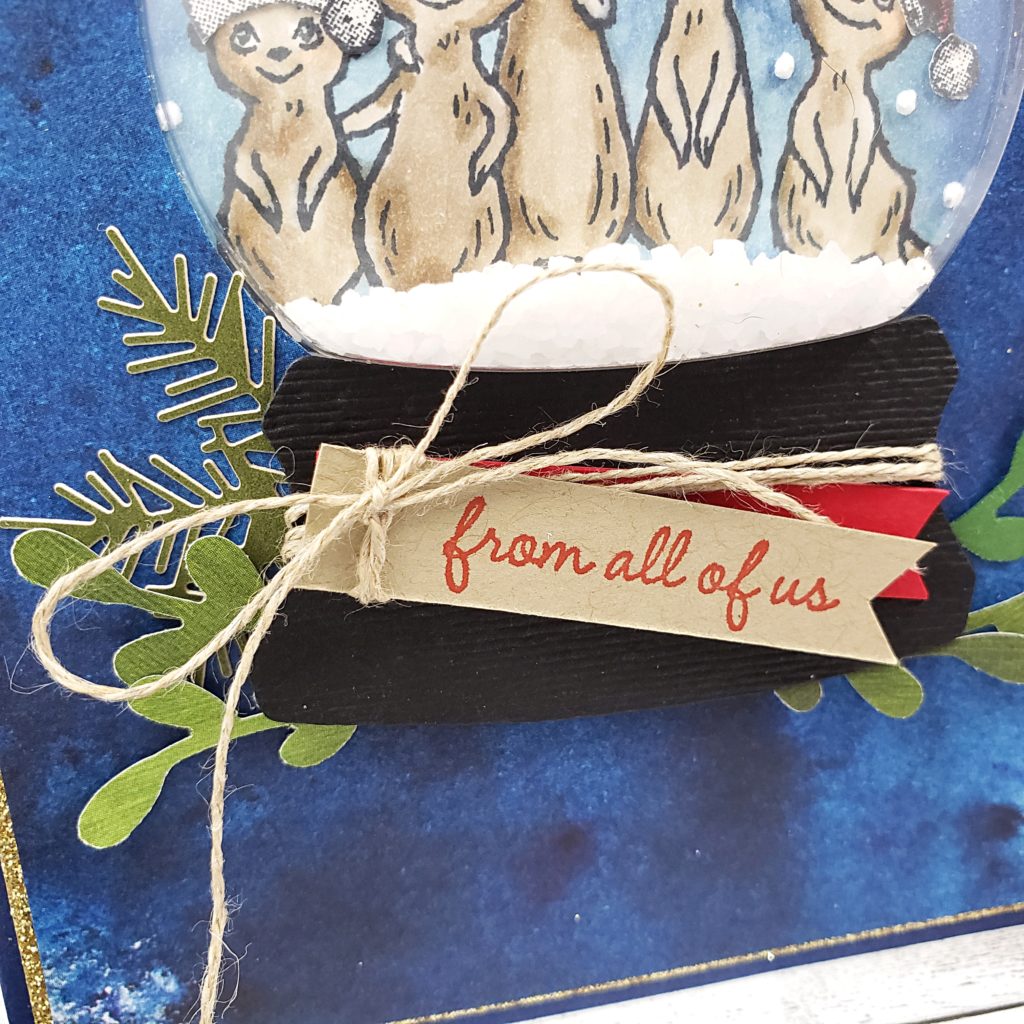
The base of the shaker globe is created with Basic Black cardstock, cut with the same die set and my die cutting machine. I also used the Subtle embossing folder to give it some texture. I wrapped a piece of Linen Thread around the base of the globe and secured it on the backside before adhering the globe base to the card with Stampin’ Dimensionals. I tucked some leaves under the globe base that I punched out of Garden Green cardstock and a random scrap of Perennial Essence Designer Series Paper. You might also notice the pine bough on the left side, which is a sticker left over from my Christmas Countdown Calendar kit.

Finally, I stamped the sentiment from “The Gang’s All Meer” stamp set in Poppy Parade ink on Crumb Cake cardstock. I flagged the end and tied a Linen Thread bow on it and adhered it over a strip of Real Red cardstock, also flagged on the end.

If you like these products, you can click on the SHOP option in the top menu of this page and seek them out on my online store. If you are visiting my page from anywhere other than Canada, you won’t be able to shop with me, but you can look for demonstrators in your area. I know they would be happy to help you!

“The Gangs All Meer” stamp set is not yet available. Watch for it in January when the new catalogues come out!

Now get Stamping!

Blueberry Watercolour Blossoms

My husband has been trying to convince me to go to Las Vegas for a few years now, but it was never a city that interested me. I’m not one who enjoys crowds of people, flashy lights, or casinos. So, when I found out that Stampin’ Up! was hosting one of their OnStage Local conventions in Las Vegas, I thought that was a great opportunity to get there with my husband for a weekend adventure. Alas, my husband teaches at the university and wasn’t able to take the time off work. So … I went without him!

Las Vegas was pretty much exactly as I expected. Lots and lots and lots AND LOTS of people, lots of flashy lights, lots of smoky casinos. As an introvert, I found it overwhelming, over-stimulating, and just exhausting.

But you know what I DID like? I loved being with other Stampin’ Up! demonstrators. They are my friends and travel companions. I loved watching them get excited about the fountain at the Bellagio, the Bellagio buffet, and the boats in the indoor canal at the Venetian. I loved watching them, with their different way of handling our surroundings, as they chatted up the bartender when we stopped to rest our feet and have a slushy cocktail at the Hard Rock Cafe. I loved how they went out of their way to find a coffee shop that could make me a great latte. I loved how they sat with me while I ate gelato, even though they decided they didn’t want any after all. I loved seeing them turn in their seat in the airplane to wave and make funny faces at me when I was sitting with strangers a few rows back because I refused to pay extra to be able to choose my seat. I loved exchanging roomie gifts, business tips, and sharing ideas. I love how different we are and yet, we still can get excited about the beauty that we each bring to the world. I also love the Cirque de Soleil show, “O”. It was absolutely spectacular!

I’ve been home for 5 days now and I still don’t feel like I’ve recovered and recharged! I felt like I could have slept for three days straight when I got home!

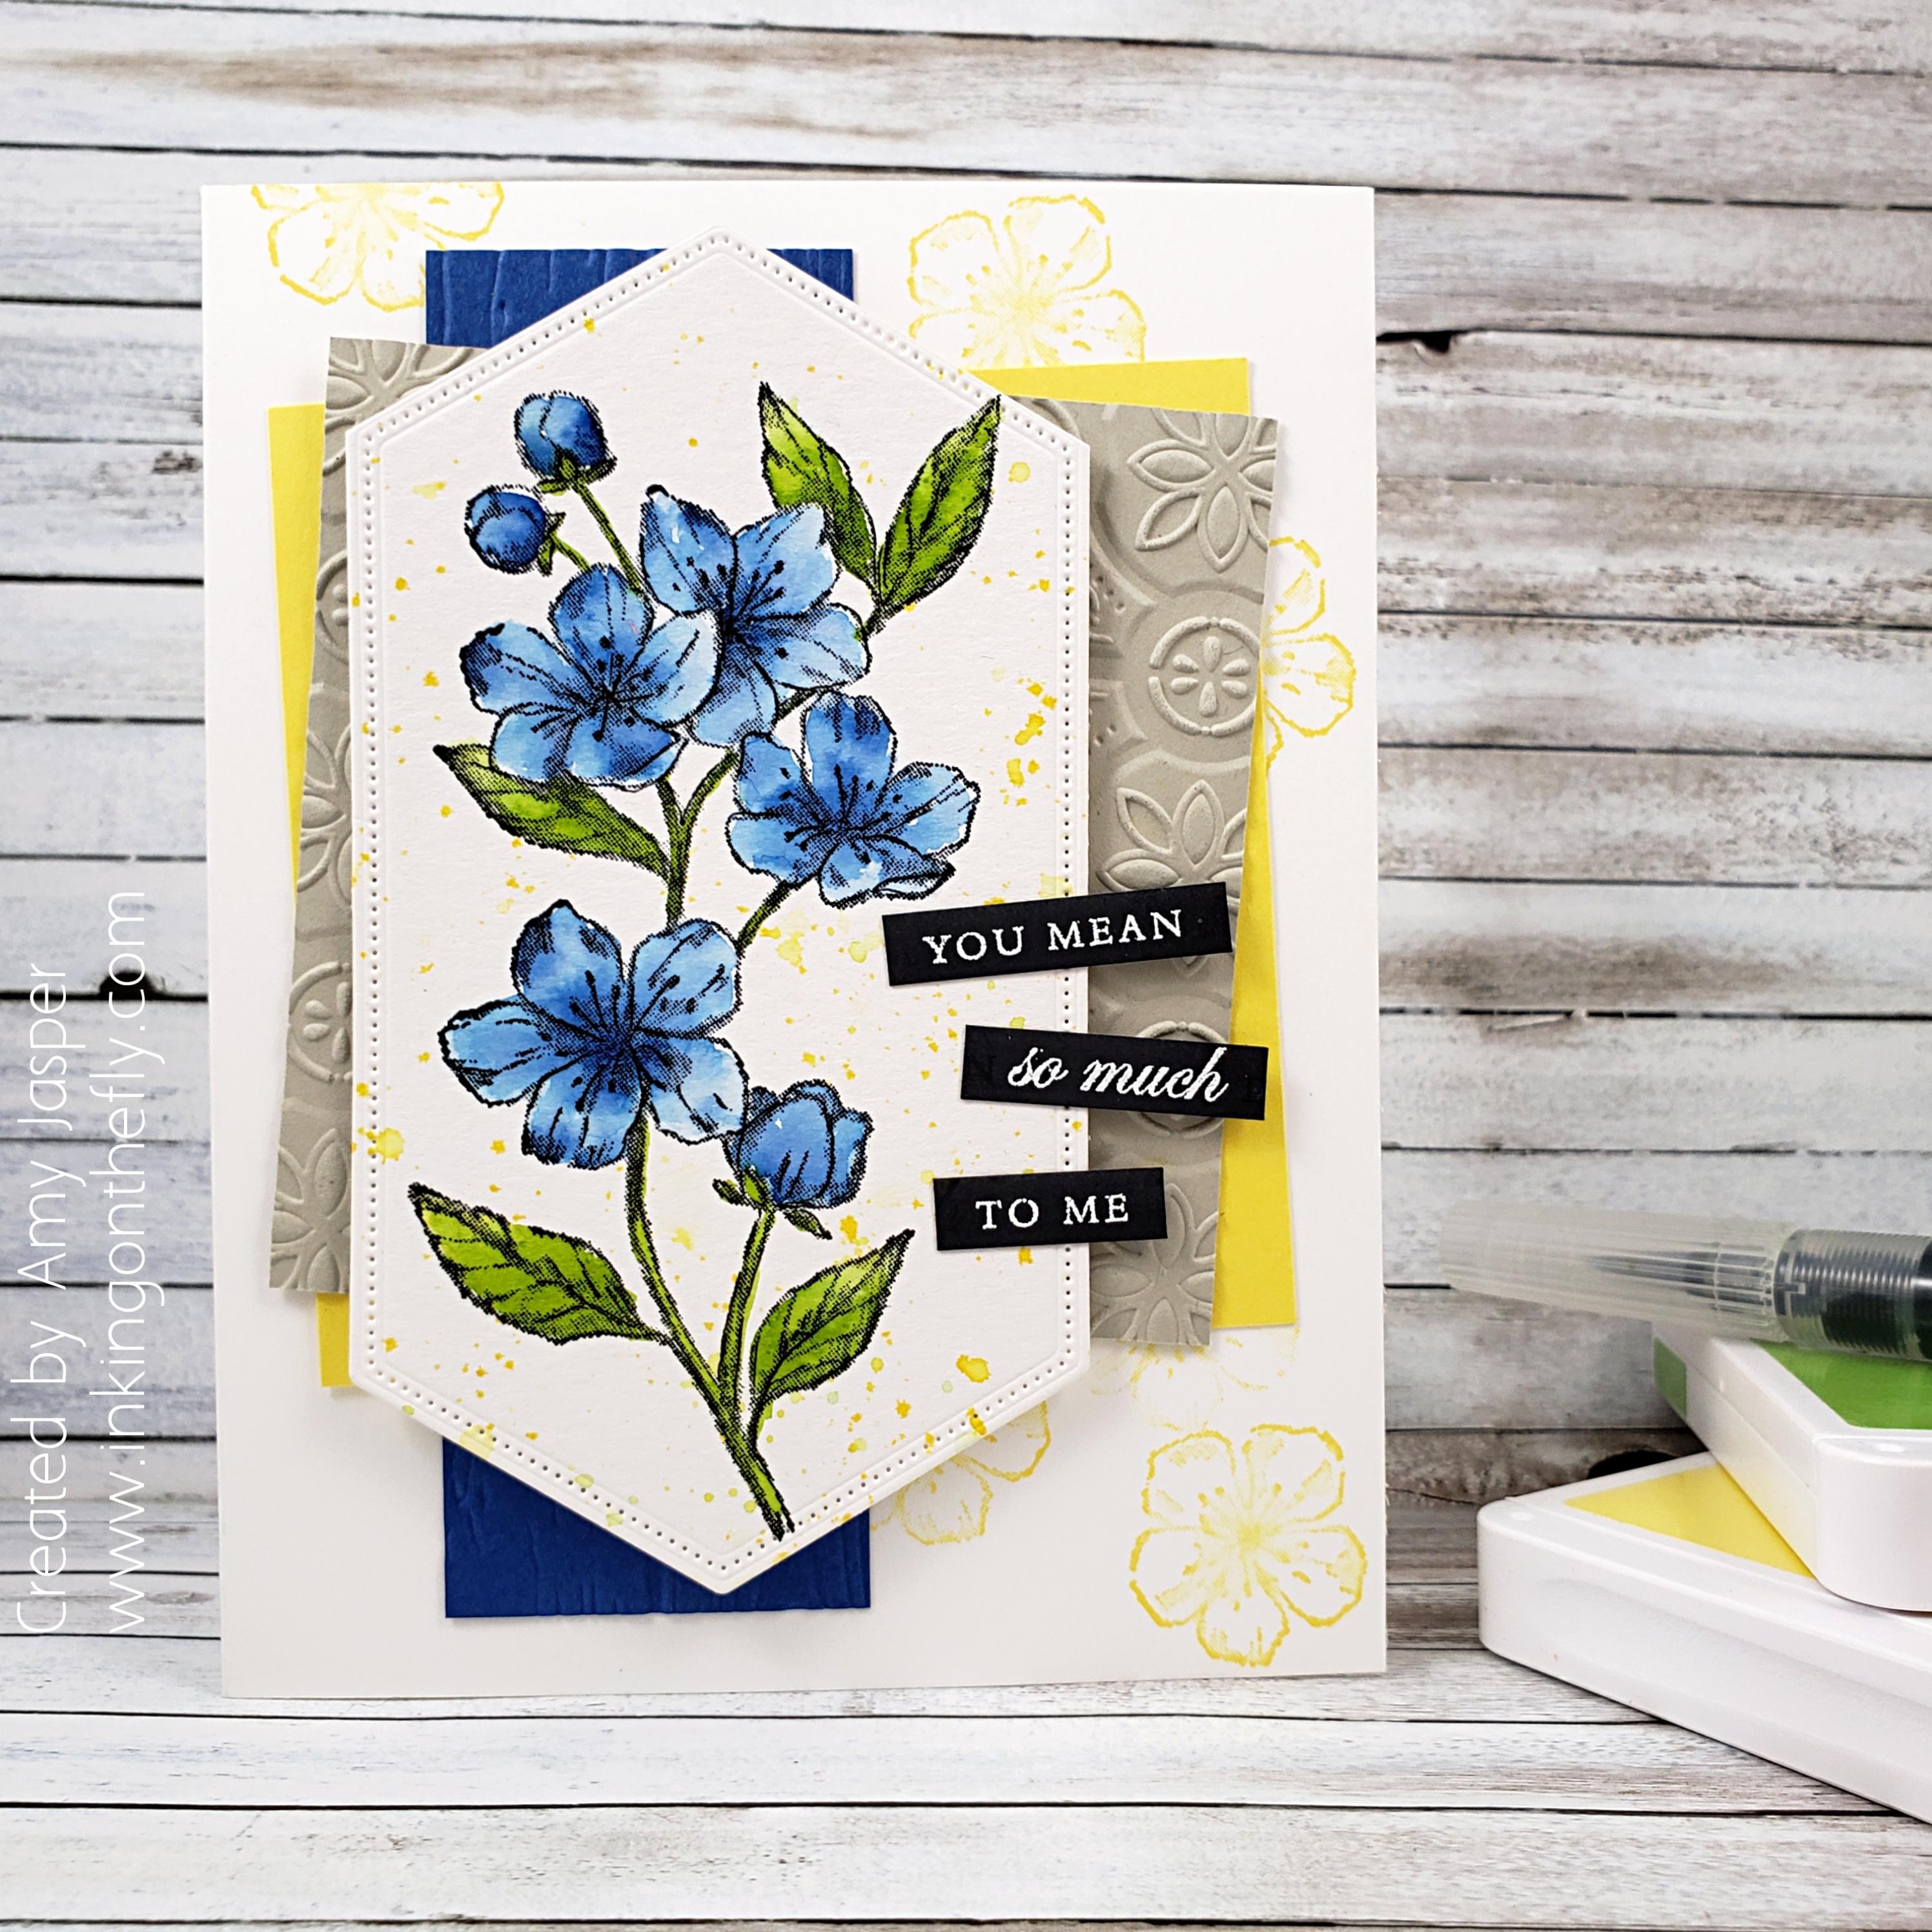
Working on my design for the As You See It Challenge card was actually really helpful for me. It gave me the focus that I needed to take my head out of the fog caused by over-stimulation. This bright and cheerful colour combination was just what I needed to grease my creative gears.

Of course, the fun part about going to a Stampin’ Up! OnStage event, other than the fabulous community of demonstrators, is the free product!! My card today is made using the Forever Blossoms stamp set I received for FREE! This set will be available to purchase in January when the new Occasions Catalogue comes out.

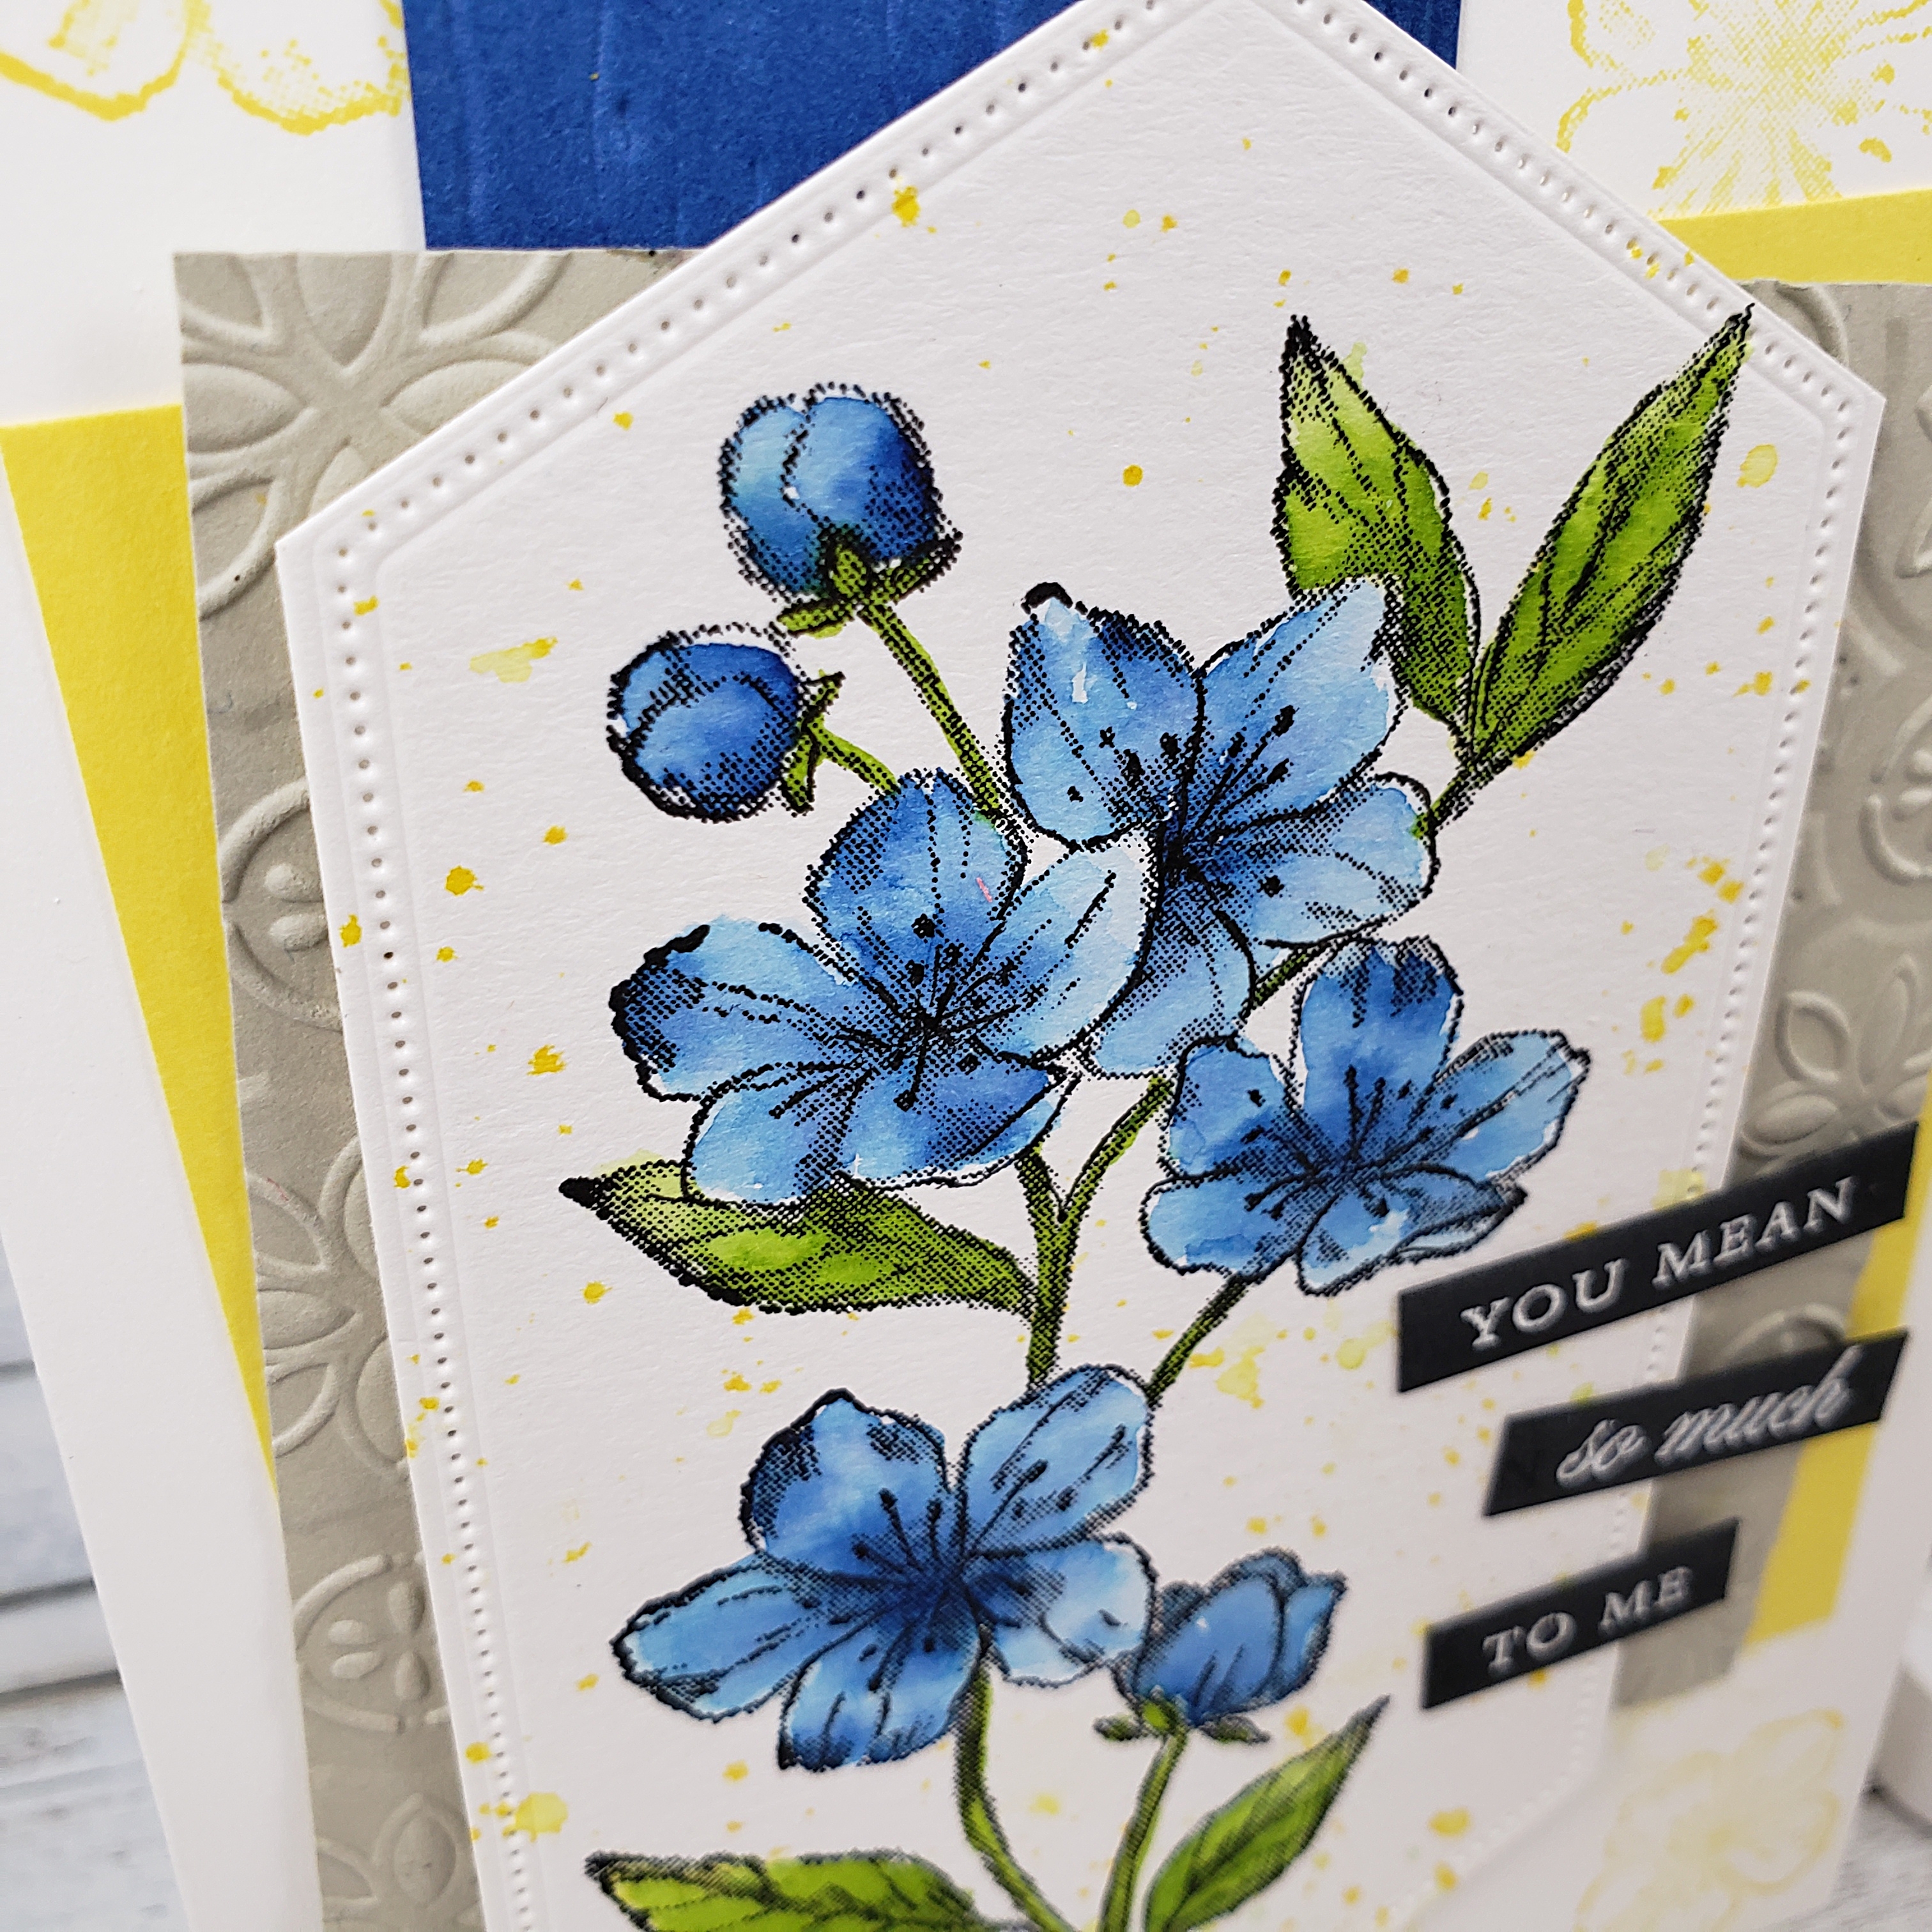
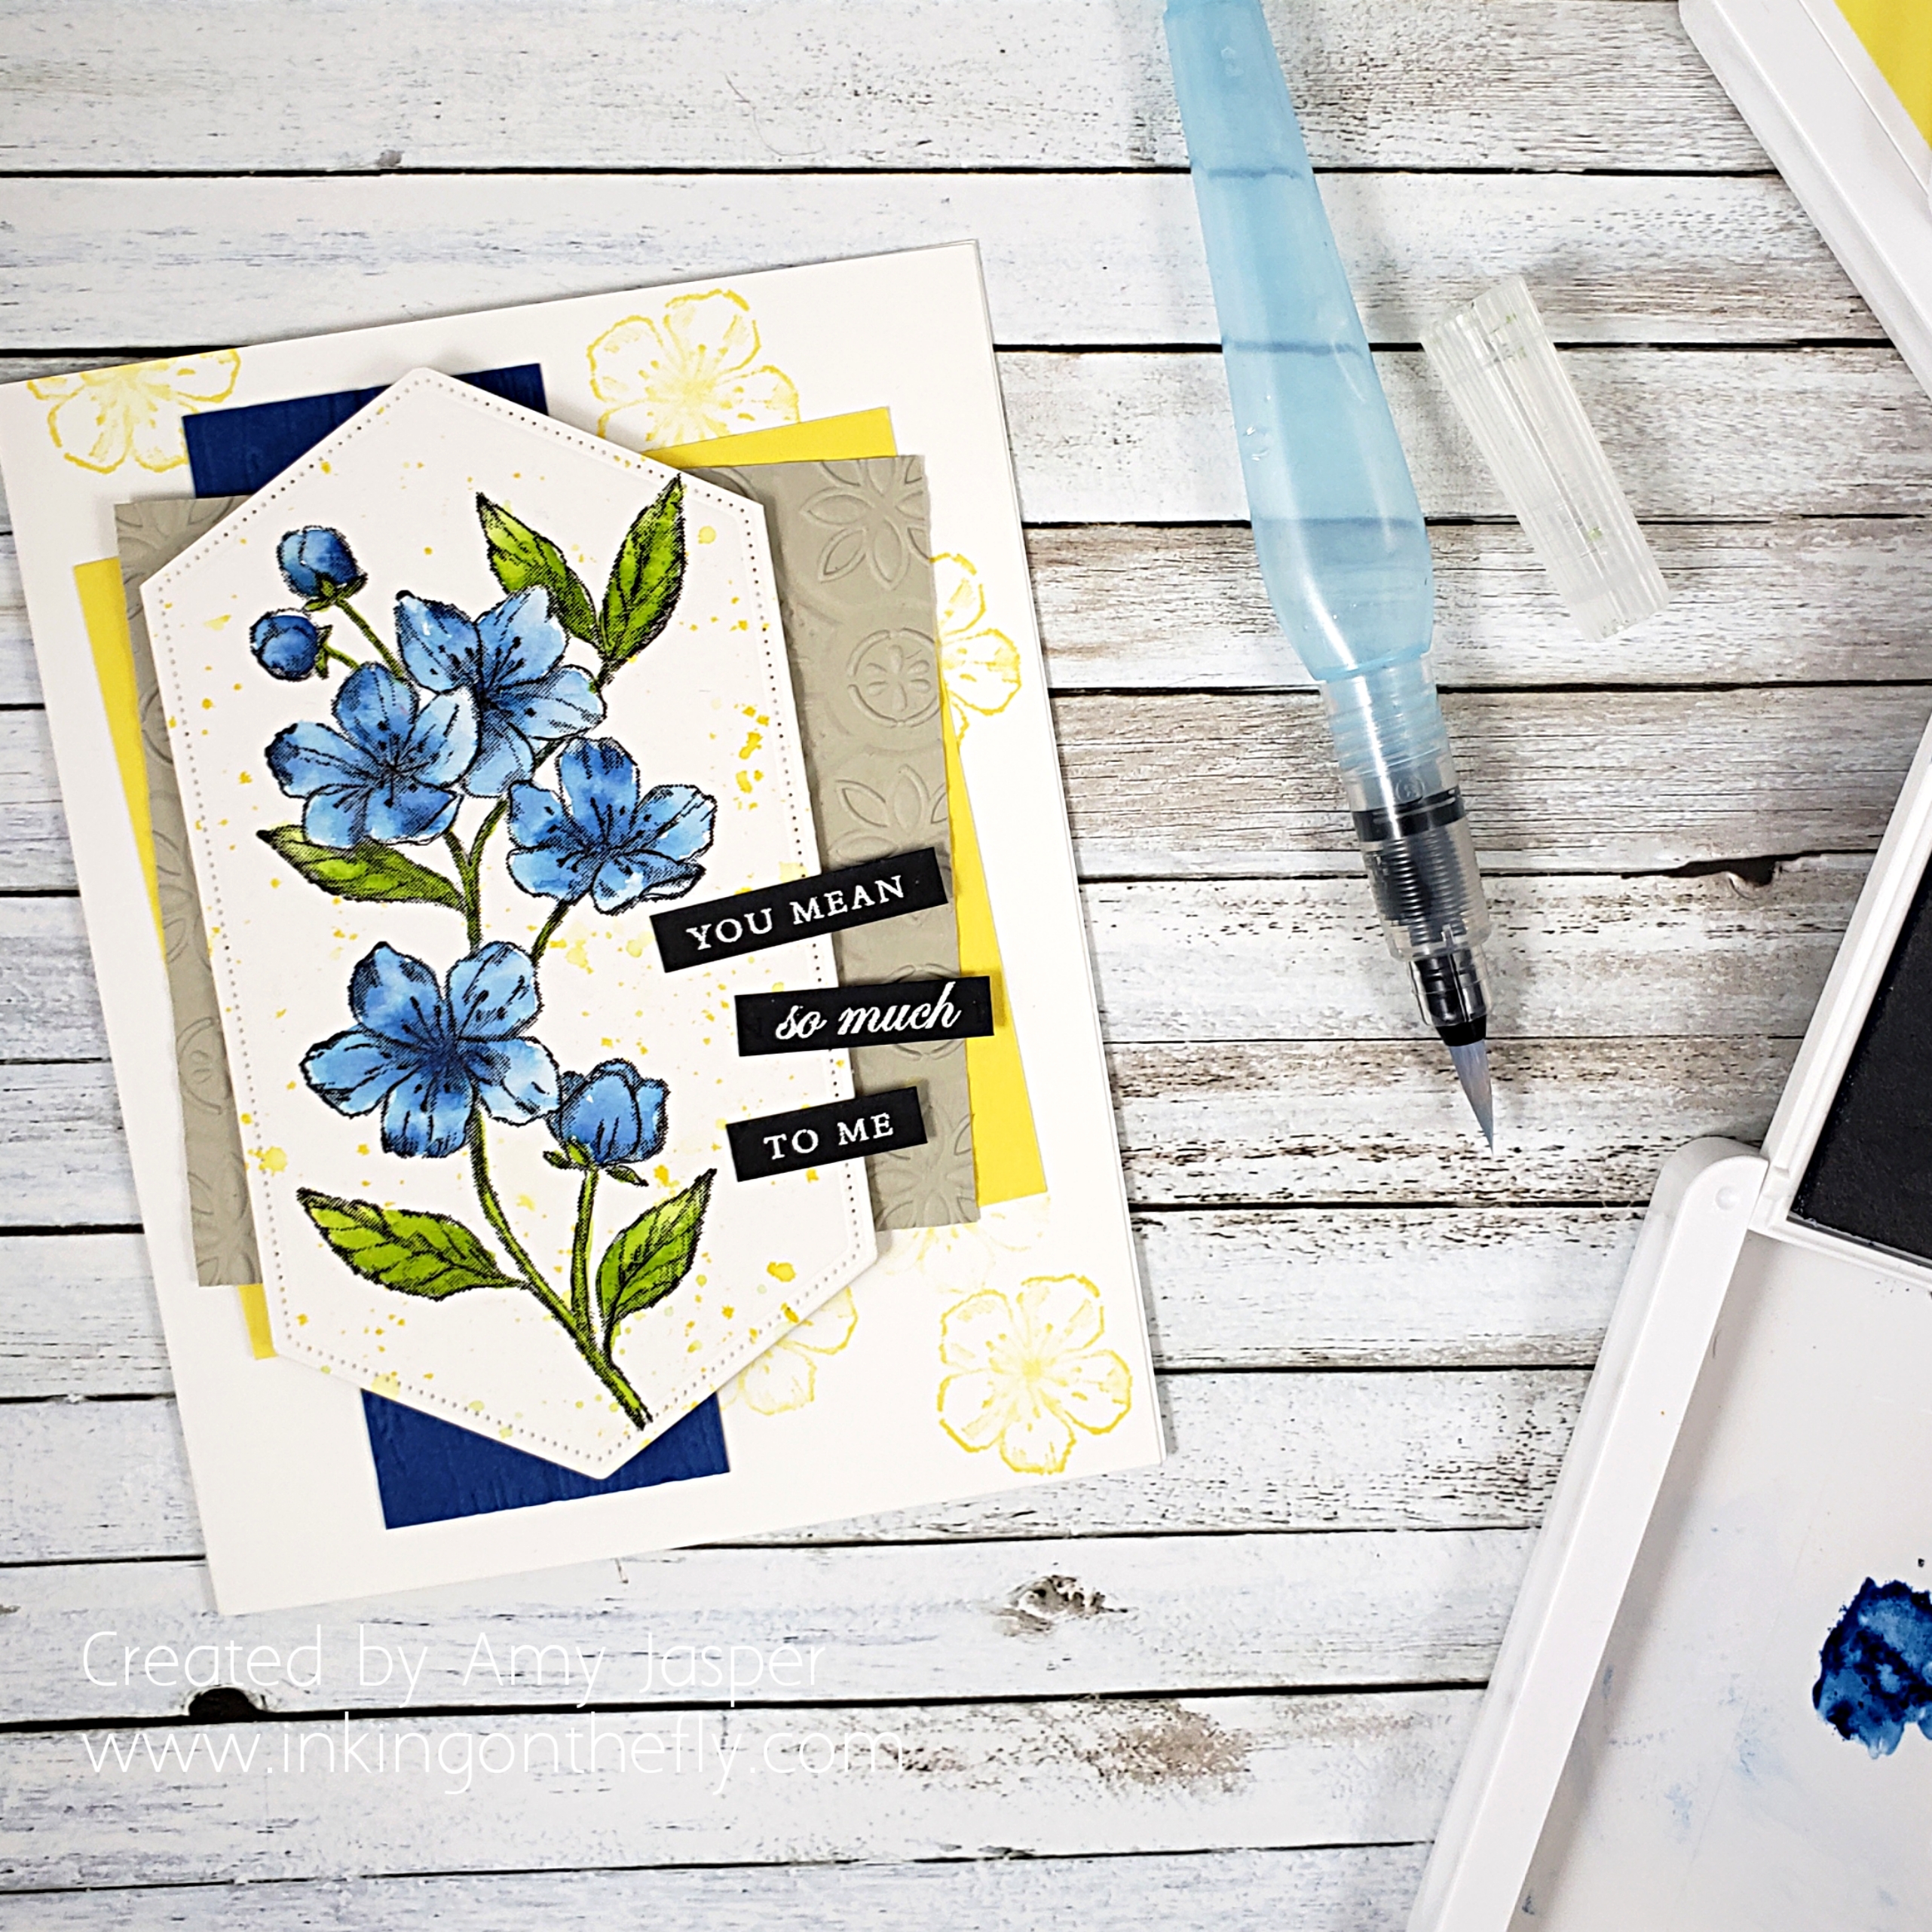
I decided to do some watercolouring with the flower image. I used Blueberry Bushel for the blossoms and Granny Apple Green for the leaves. The yellow spatter is created from loading the brush tip of an Aqua Painter with Pineapple Punch ink, then briskly tapping the Aqua Painter against my finger over the watercolor paper. To protect the blue blossoms from turning green from the wet yellow ink, I first stamped the blossoms on a piece of Post It Note and loosely cut them out so I could use the Post It as a mask over my blue blossoms. See! No green on my flowers!

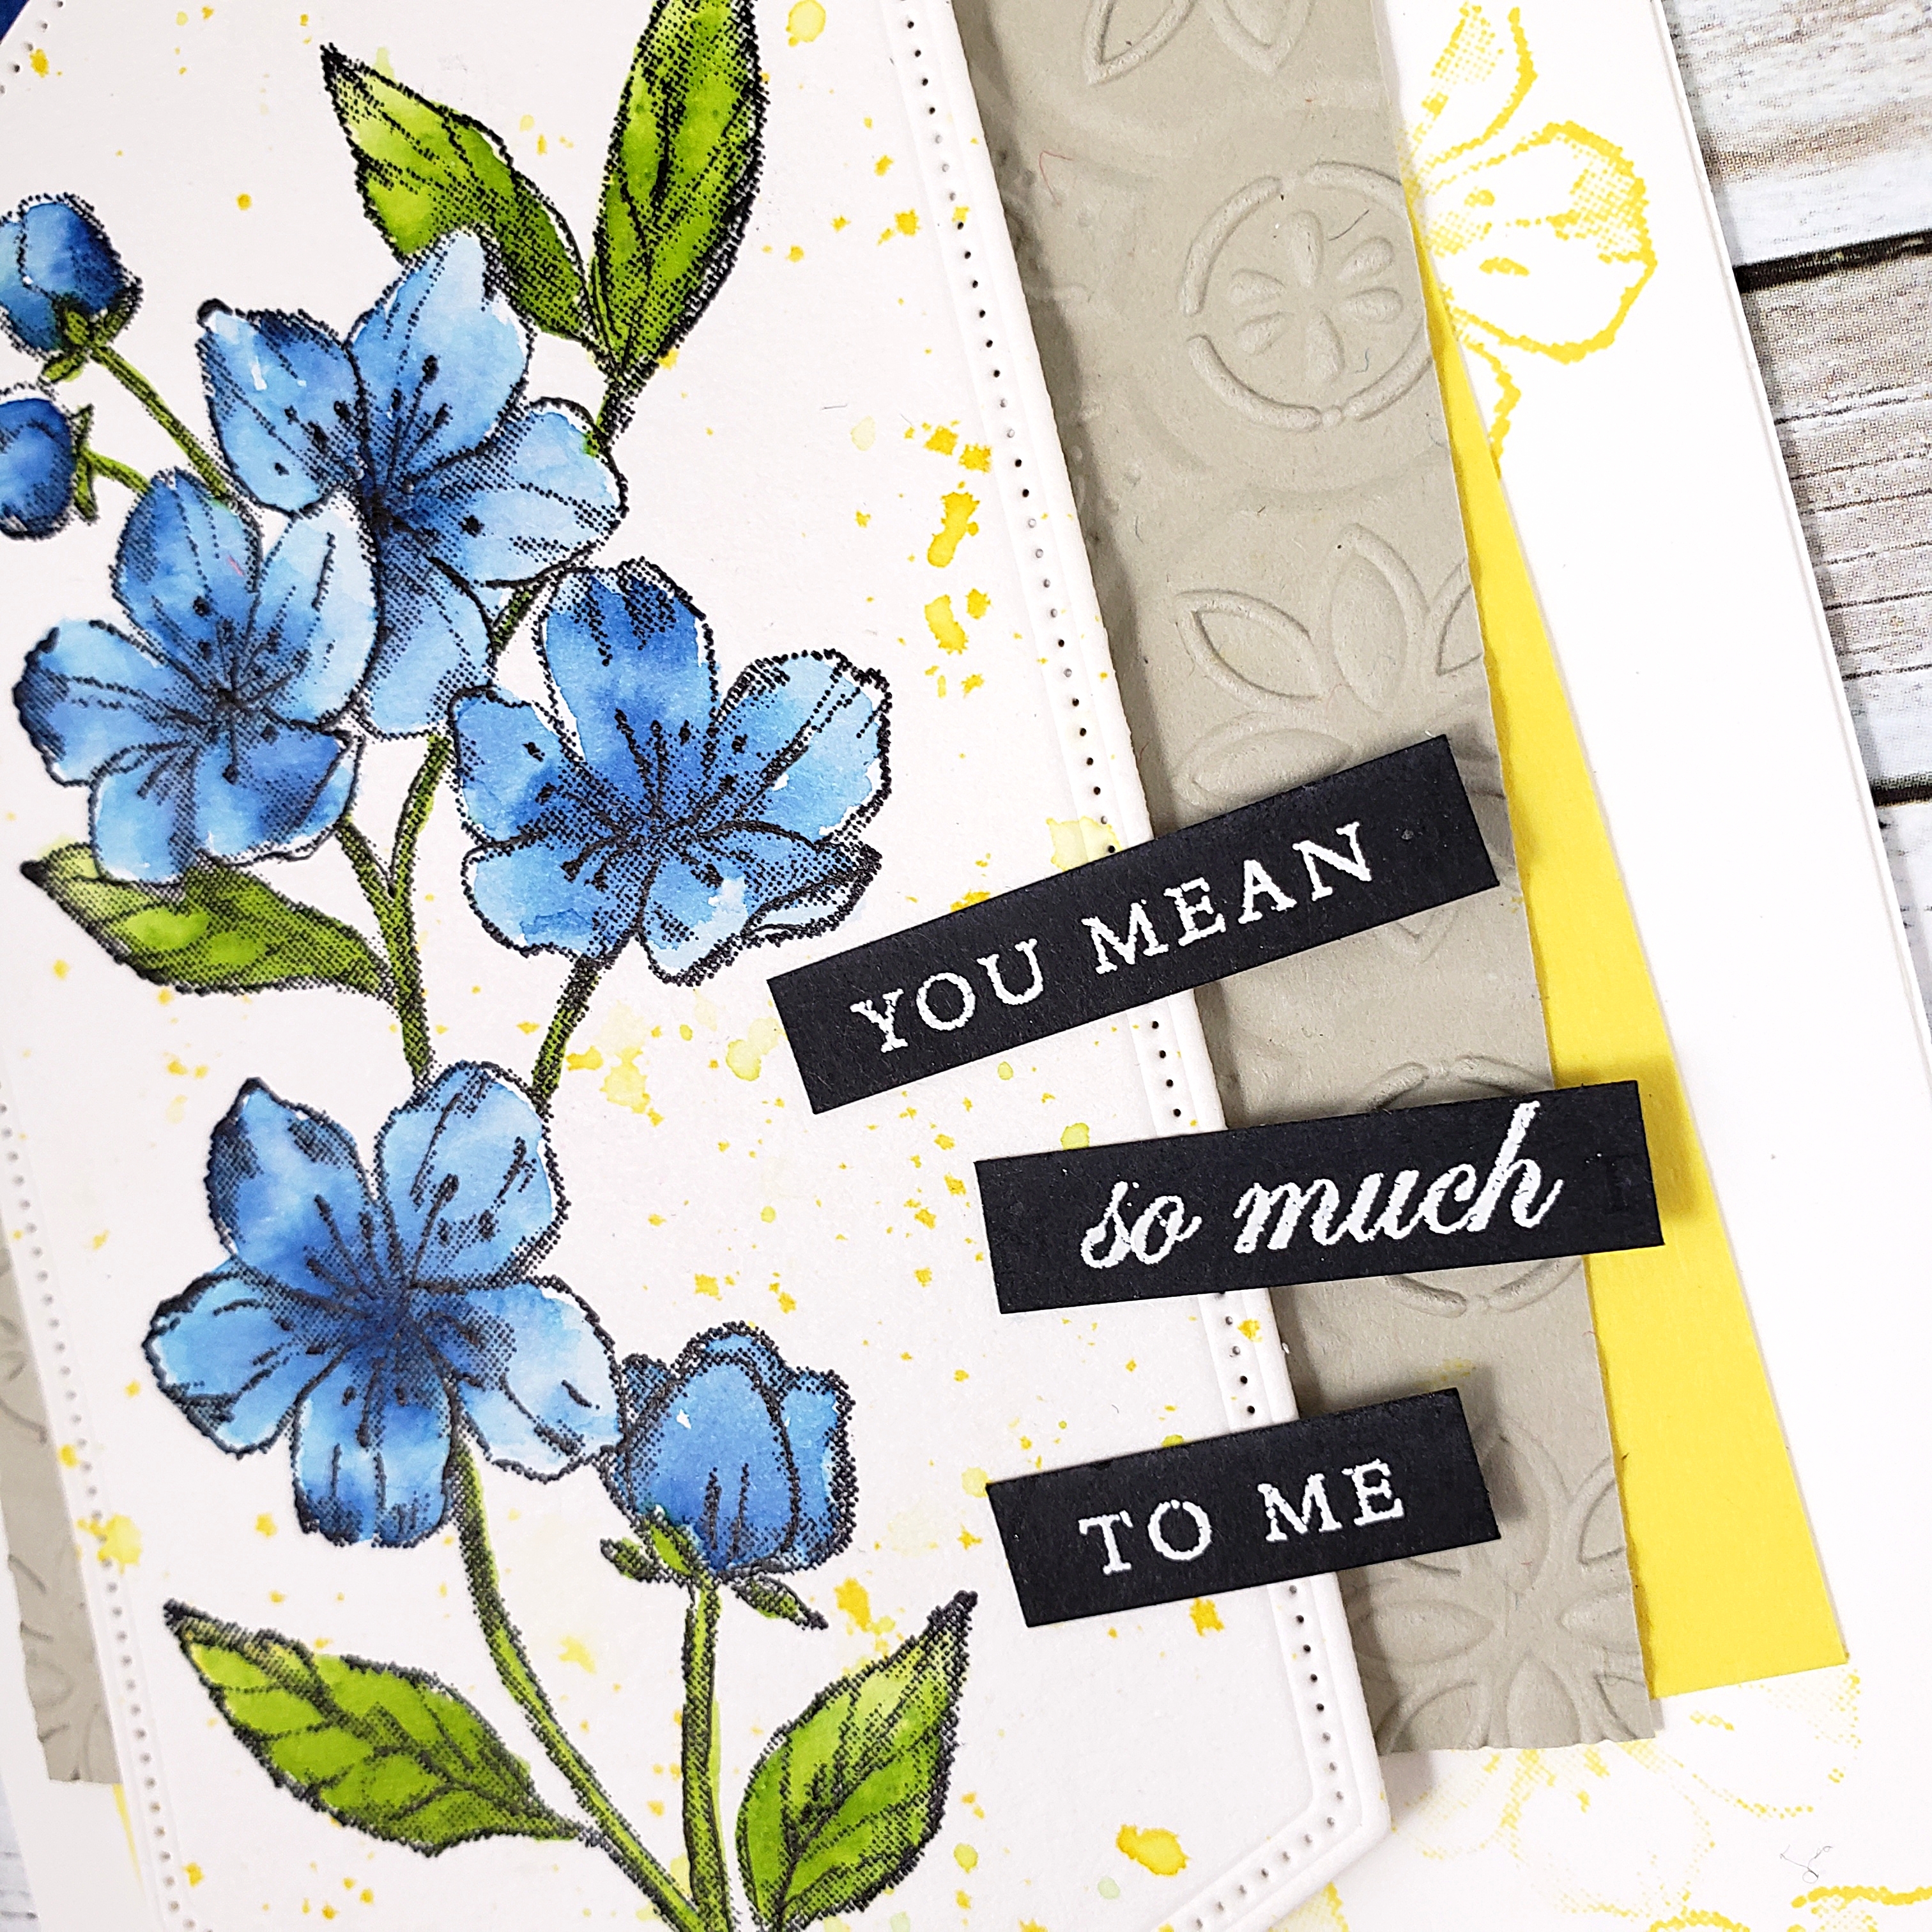
I used the Stitched Nested Labels Dies to cut the stitched shape with my die cutting machine and adhered it to the card with Stampin’ Dimensionals (the black ones, actually! they are great!!). Behind that is the Sahara Sand cardstock that was embossed using the die cutting machine and the Tin Tile 3D embossing folder. I layered a piece of Pineapple Punch cardstock behind that and a strip of Blueberry Bushel cardstock behind that, which was embossed as well, using the die cutting machine and the Pinewood Planks 3D Embossing Folder.

I stamped the sentiment with Versamark ink on Basic Black cardstock (using my Embossing Buddy first, of course), then applied the White Embossing Powder to the stamped words and heat set it with my Heat Tool. I then cut the sentiment into three sections and attached them to the card front using the combination of Stampin’ Dimensionals where it needed to be raised and Tombo Liquid Glue where it attached to the watercolor paper. I stamped the single blossoms from the stamp set on the Thick Whisper White card base with Pineapple Punch ink (before adhering all the things to the card base, of course, LOL!)

AVID STAMPER TIP: the words in the sentiment are actually quite close together, making it awkwardly tight when cutting them into sections. To add a bit of space, I actually stamped the sentiment twice and applied the powder. Before heat setting it, I brushed the powder off of the “so much” part of one of the stamped sentiments and off of the “you mean” and “to me” parts of the second stamped sentiment. After doing that, I heat set the powder with my Heat Tool. That way, when I cut the sentiment into the three sections, I was able to have a bit more space before and after the words on each section that I cut.

After all my talk about how Las Vegas wasn’t my thing, you might assume that I would never go there EVER again! That’s what my husband thought. But, you know what? I would totally go again! I would just do it a little differently. I would go with my husband and enjoy a few shows, maybe a couple of museums, and definitely would go off of the strip for some nature hikes to escape the crowds, the flashy lights, and the cigarette smoke. I would go see performers doing Sinatra, Elvis, Billie Holiday or Big Band music.

Yes, I would go again. I just need to look a little harder to see past the flashy, “adult Disneyland”, to seek out the natural and the historic Vegas. But, I might need to get in a few camping trips here in British Columbia first. I need a bit more nature to make up for all that …. cement.

Have you been to Vegas? Would you go? Let me know what you think by leaving a comment.