As You See It Challenge

So Very Happy Birthday – As You See It Challenge #38

038header

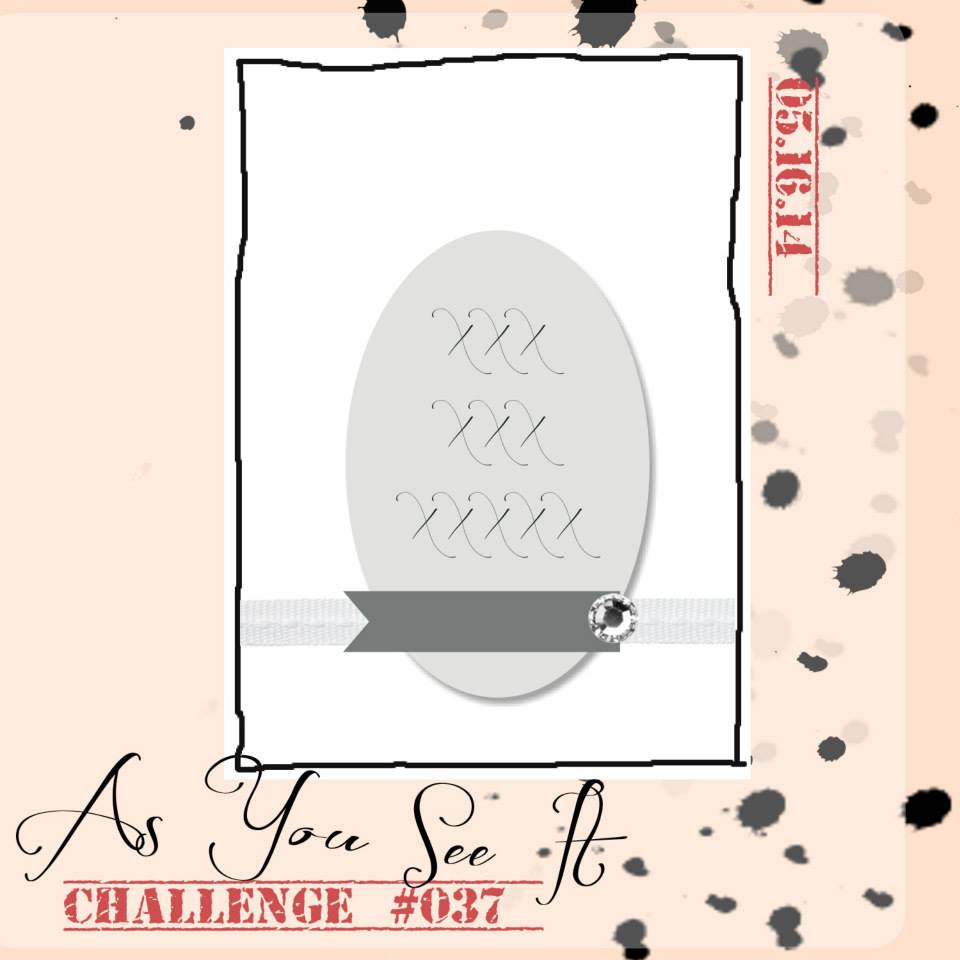
Welcome to my blog where I share my love of designing with Stampin’ Up tools, inks, and stamps! It’s time for another As You See It Challenge!

#38

When I think of a collage, I automatically go to my elementary school days when we cut out images from a magazine and glued them all together in overlapping layers onto a sheet of poster paper.  That’s definitely a collage.  But you can basically think of a collage as a collection of images or elements layered onto a page. They can be organized or be randomly placed. They could be a collection of items that represent a theme, or items that simply coordinate well together. It’s a style of art which I feel like many cards and scrapbook pages already depict just by being layers of paper, embellishments and photos.

I decided to go with stamps for my collage elements. Stamps and ink are what I know best. I think it would be really fun to play around with this theme more and see what else I could make into a collage … maybe a collage of butterflies! Hmmm, YES! The creative mojo is flowin’!! I’ll leave that for another day perhaps, lol!

038Amy

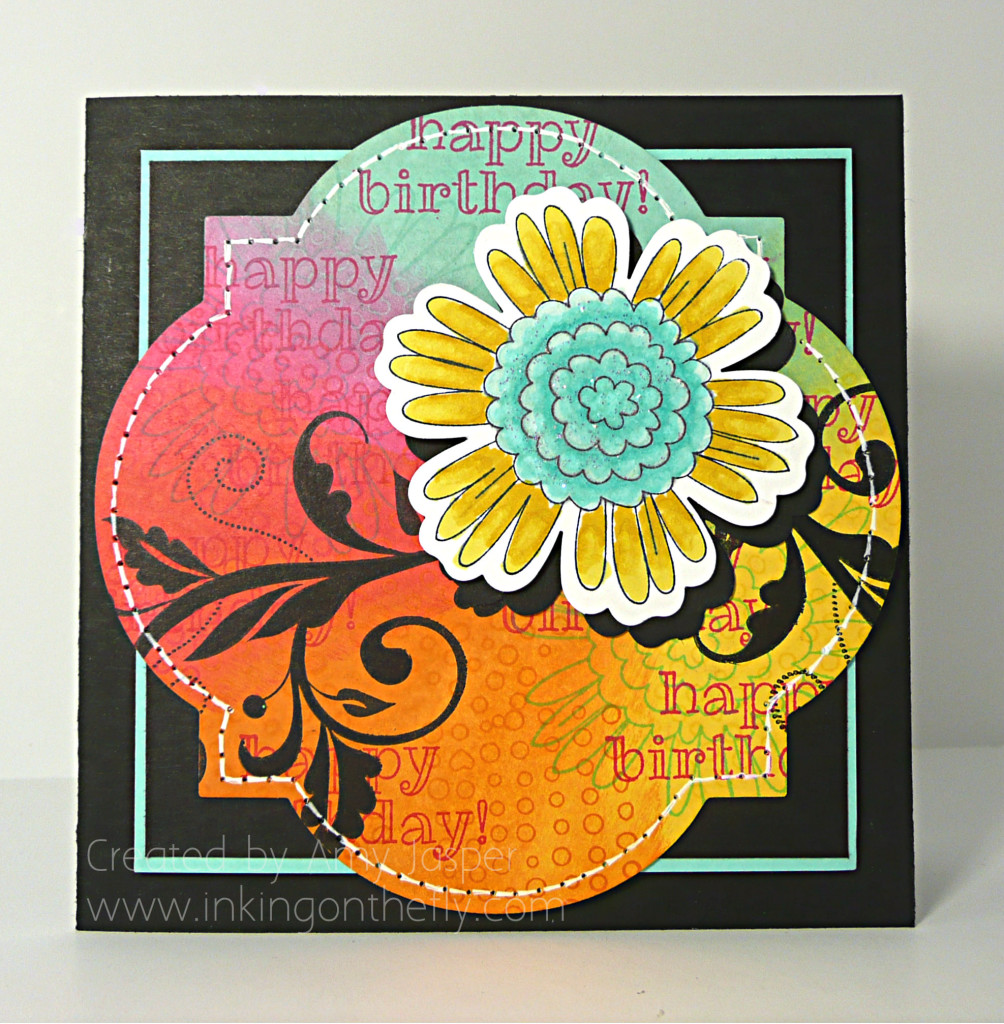
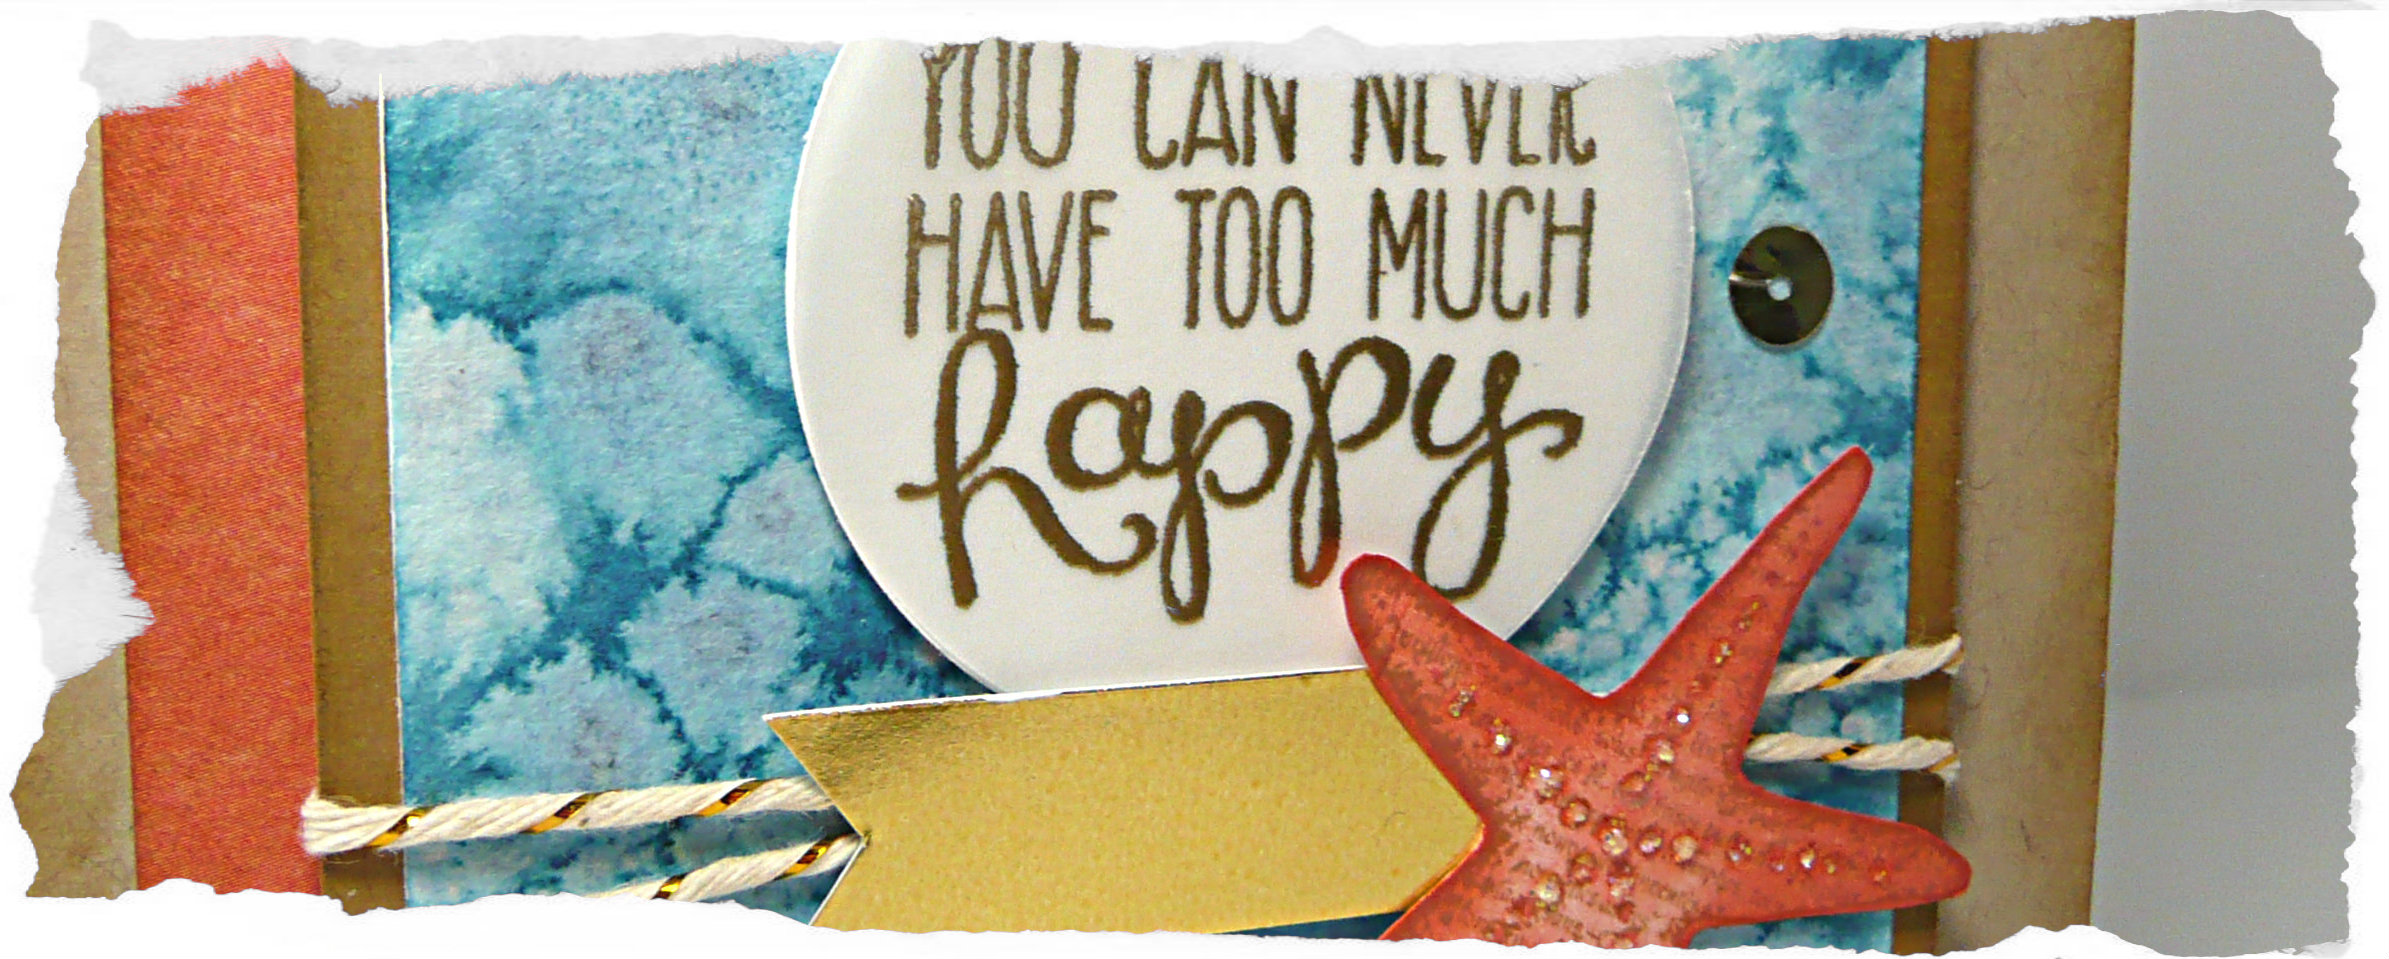
This card makes me happy. It shows off the So Very Happy stamp set that we received from Stampin’ Up at the Leadership Conference in Houston, Tx. They like to spoil us! This set will be available on June 1st withe the launch of the new catalogue.

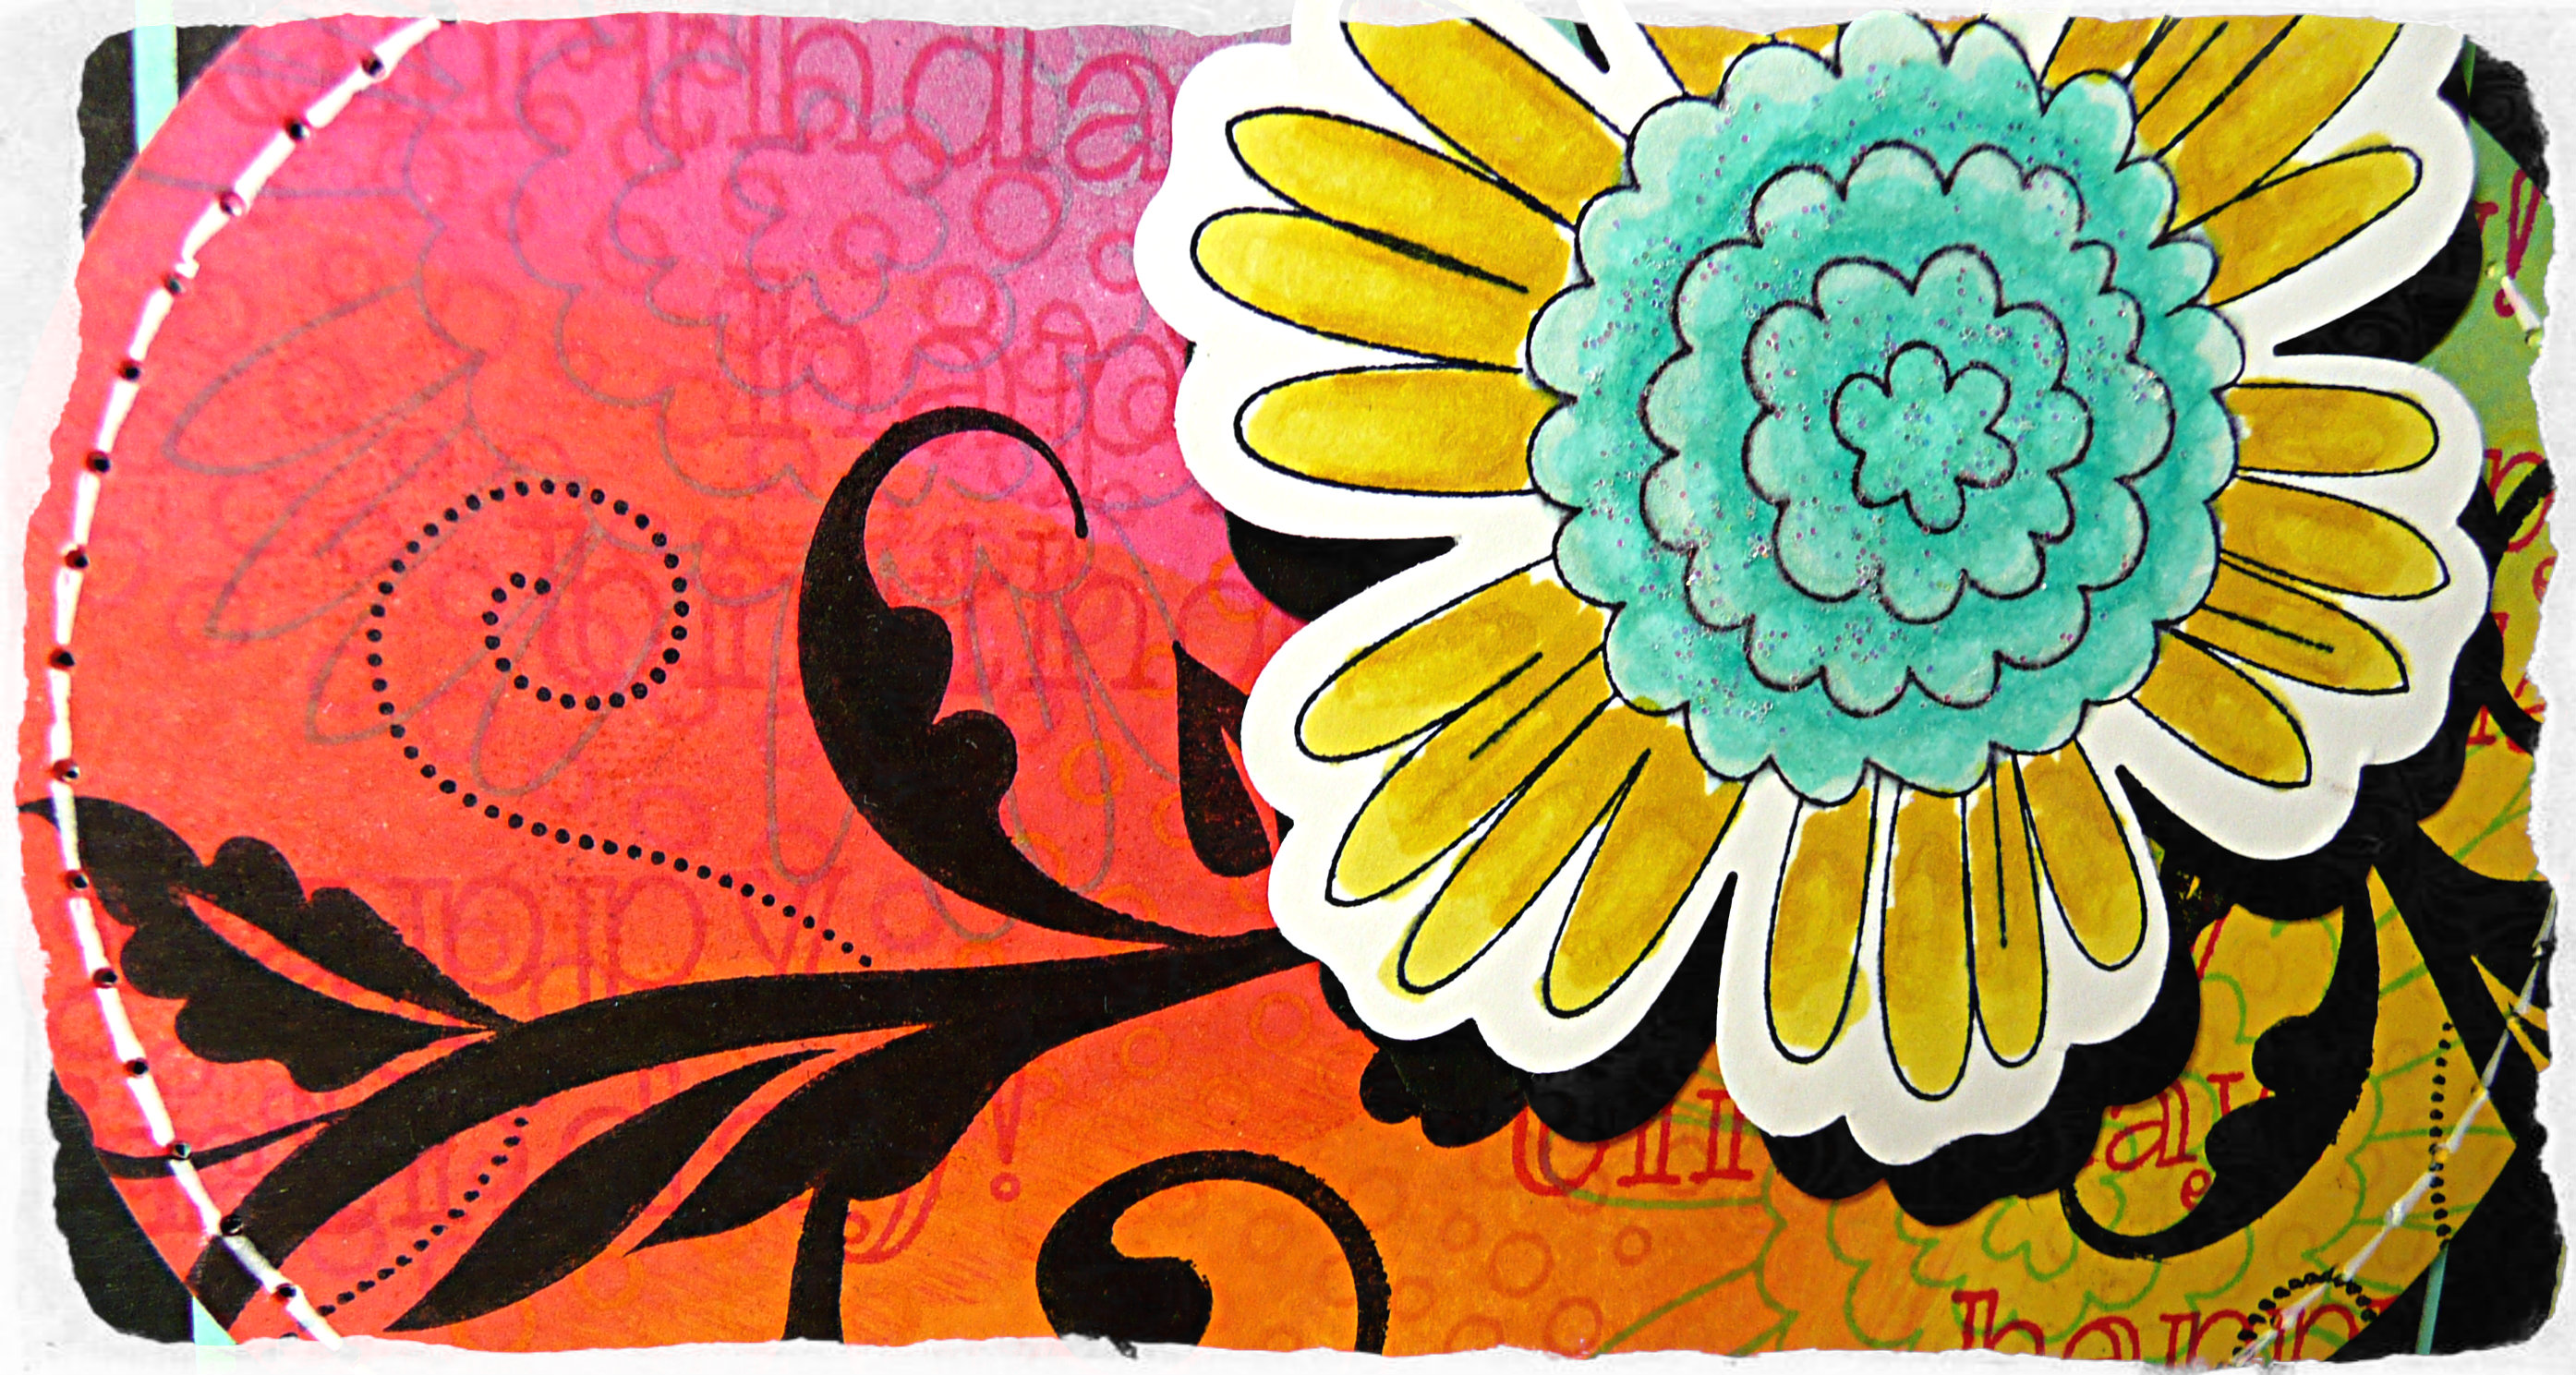
Layers of Pumpkin Pie, Daffodil Delight, Melon Mambo, and Cool Caribbean ink were sponged for the background, then layers of stamps in those same colours were placed over the ink. I added the Flowering Flourishes image over top in Jet Black Stazon (I didn’t stamp it very evenly, so I coloured over it with my Basic Black Stampin’ Up marker). I used the Window framelit to cut the large label shape, then the Festive Paper Piercing template came into play to help me paper pierce all around the edges of the label. Faux stitching with my White Gel pen completed the look that I wanted!

038close

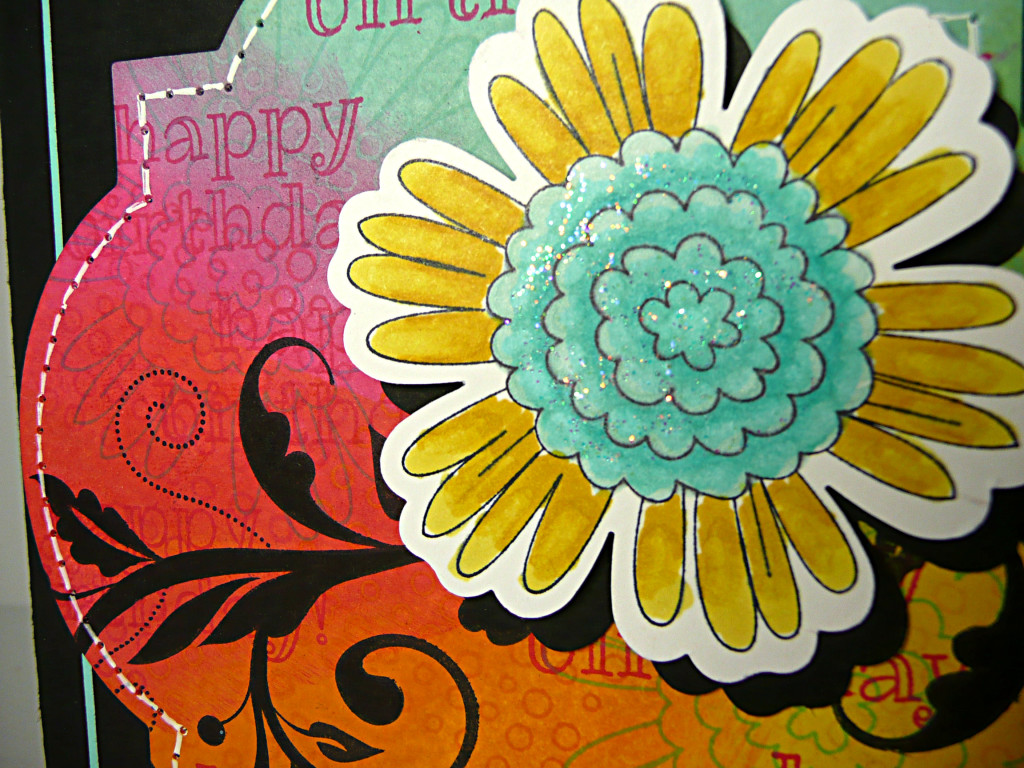
Over the colourful layers of ink was added a punched out flower (Blossom Punch) in Basic Black cardstock. Then I was able to play with my Blendability markers (available to you on June 1st) to colour the flower stamped from the So Very Happy stamp set and also punched out using the Blossom Punch. I used Cool Caribbean and Daffodil Delight to colour it, then added Dazzling Details to give it some glitter and fun!

I added Dimensionals under the coloured flower and the Window framelit to give the card a bit more pop and interest.

Of course, you can see that the card is square with layers of Basic Black and Cool Caribbean. I will use my Envelope Punch Board to make a custom envelope for this 4.5″ card.

So glad you stopped by to have a look today! Be sure to head on over to challenge #38 and link up your collage project to share your creativity and give us some inspiration over at the As You See It Challenge Blog!

Don’t forget that if you leave a reply here on my new blogsite, you will have your name entered into a draw for a Stampin’ Up care package provided by me! I will draw a winner on the evening of June 15th.

Signature-Amy


By the Tide Salted Watercolour Background

037Amycloseheader


I am still working out the details on this new blog where I share my love of designing with Stampin’ Up! paper, tools, inks, and stamps. I am excited for all the things I will be able to do with this site!!

Today is Friday!! It’s time for an As You See It Challenge!


#37


The first thing I thought when I saw this sketch was, “Aw, stink! An oval!” I am not a big fan of ovals for whatever reason. So, I decided to skip the oval and do a circle instead! And that, my friends, is what the As You See It challenges are all about. Yay me! lol!


037Amy


Isn’t the background fabulous!!? It’s so easy, too. I’ve been taking a watercolour painting class these last few weeks (which I’m really enjoying, though it’s harder than it looks). This salted watercolour background was the first technique that I learned. All you need to do is coat  your watercolour paper with very watery paint, then sprinkle coarse salt and a bit of finer salt over it, then let it dry! When using Stampin’ Up ink, you can either use the ink like paint with water, or you can cover the watercolour paper with just water (use your aqua painter or spritzer) until it has a puddly layer, then add some drops of ink refill to the paper, spreading it out as you wish with a paintbrush or your aqua painter. Then add your salt. The salt absorbs the colour from the water, leaving a white space around the grains of salt. The coarser salt leaves larger patches, while finer salt leaves smaller patches. If you leave some space that doesn’t have salt, you get a nice random design. If you sprinkle the salt very evenly, you’ll get an all over more even look.

I used salt that I had in the house: pickling salt (hubby made pickled asparagus years ago) and table salt. This background was done with Island Indigo ink refill with an intentional white space on the top of the background, intending to look like the ocean surface.


037Amyclose


The Seastar (apparently, it’s not called a Starfish anymore, people) from the By the Tide stamp set is stamped on Very Vanilla cardstock in Baked Brown Sugar and fussy cut before sponged all around the edges with Calypso Coral ink. I also coloured in the dots along the spine of the star with Calypso Coral and added dabs of Dazzling Details.

Other products used include, Baked Brown Sugar cardstock, a strip of the retiring Epic Day Designer Series Paper, Crumb Cake cardstock, sponging with Baked Brown Sugar ink, Gold Baker’s Twine, Gold Foil paper, Gold Sequins, Versamark ink, Gold embossing powder on vellum paper over Whisper White cardstock, 1 3/4″ circle punch, Stampin’ Dimensionals (of course), and Yippee-Skippee stamp set.

I have a couple other cards that I can show you that use this technique, but I’ll share those another day!

Go over to the As You See It Challenge blog, give this great sketch a try, upload your project to your blog, Pinterest, or other site where we can view it and comment on it, then link your project to Challenge #37! If you have any trouble, give me a shout and I’ll help you through the process!