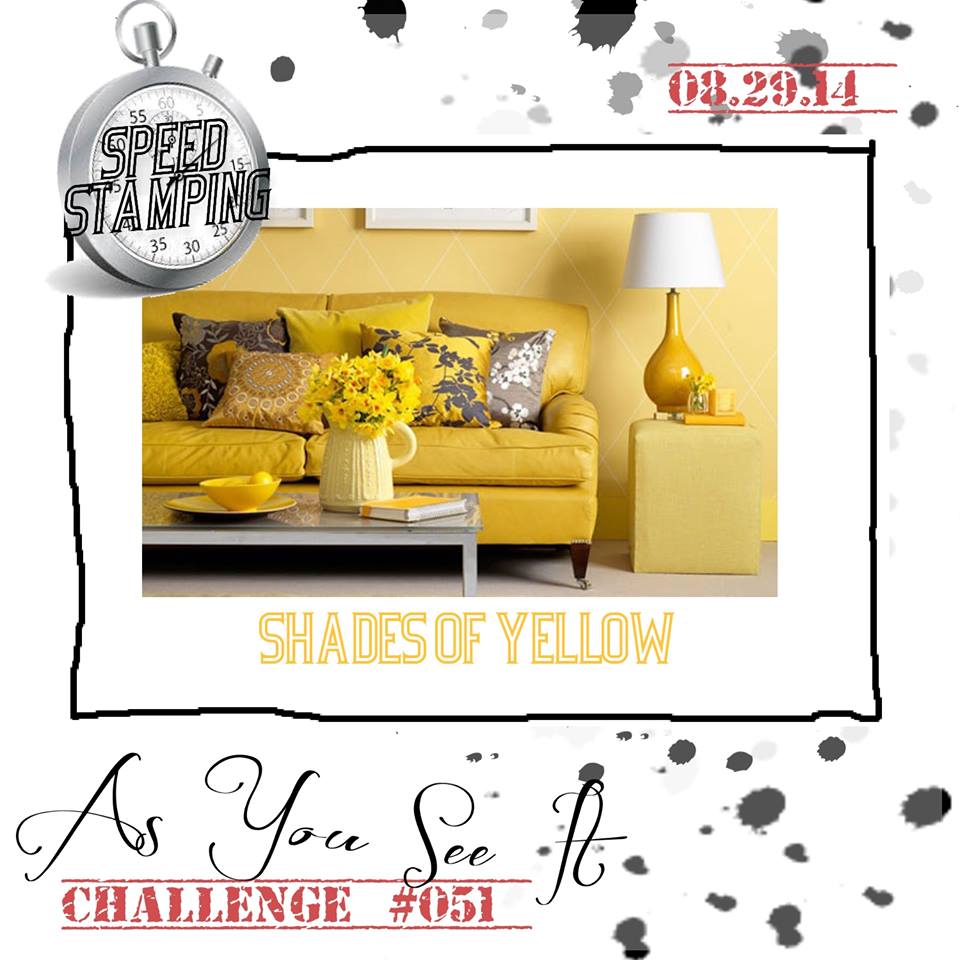
Paper, ink, stamps and tools from Stampin’ Up! make me happy! Yellow makes me happy, too. Today’s project uses both!
We have a speed stamping challenge for you over at the As You See it Challenge blog! These timed challenges are tough, but I like that I can get a project done fast (though a little furious, sometimes). This time, it was fast, but mellow.
I decided to try to mimic a layout that I found on Pinterest for my card this week. I was actually pretty relaxed for this challenge. I planned it all out in my head, got everything ready and 9 minutes 11 seconds later, completed my card!
TIME: 9 minutes 11 seconds
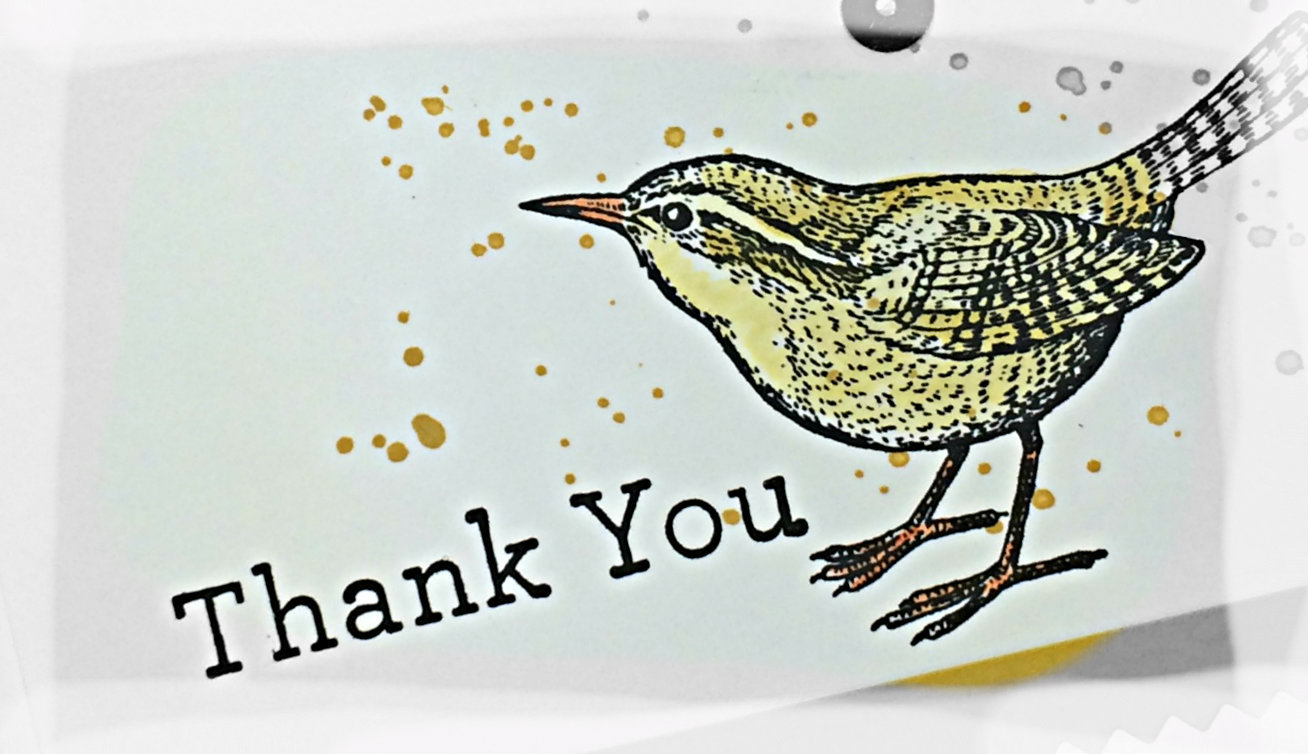
My husband asked me “what are those vinyl records doing floating around the birds head?”, lol! I guess the photo doesn’t show that those are gold sequins. I could hand draw a few little musical notes in there, though. (Rockin’ Robin).
This card is simple and I like it. Hope you do too! The stamps are from An Open Heart stamp set. I used the Beach House Designer Washi Tape and Hello Honey cardstock that was cut with the Finishing Touches Edgelits to frame the right side of my bird. The bird and sentiment are stamped with Stazon Black ink and I coloured my bird with Hello Honey and Tangelo Twist using my Blender Pens. The splatter stamp from my Gorgeous Grunge stamp set was stamped on the Whisper White cardstock with Hello Honey ink.
If you think you’re up for the 10 minute speed challenge, go on over to the As you See It Challenge Blog and check out the details.
Welcome to my blog where I share my love of designing with Stampin’ Up! ink, paper, stamps and tools!
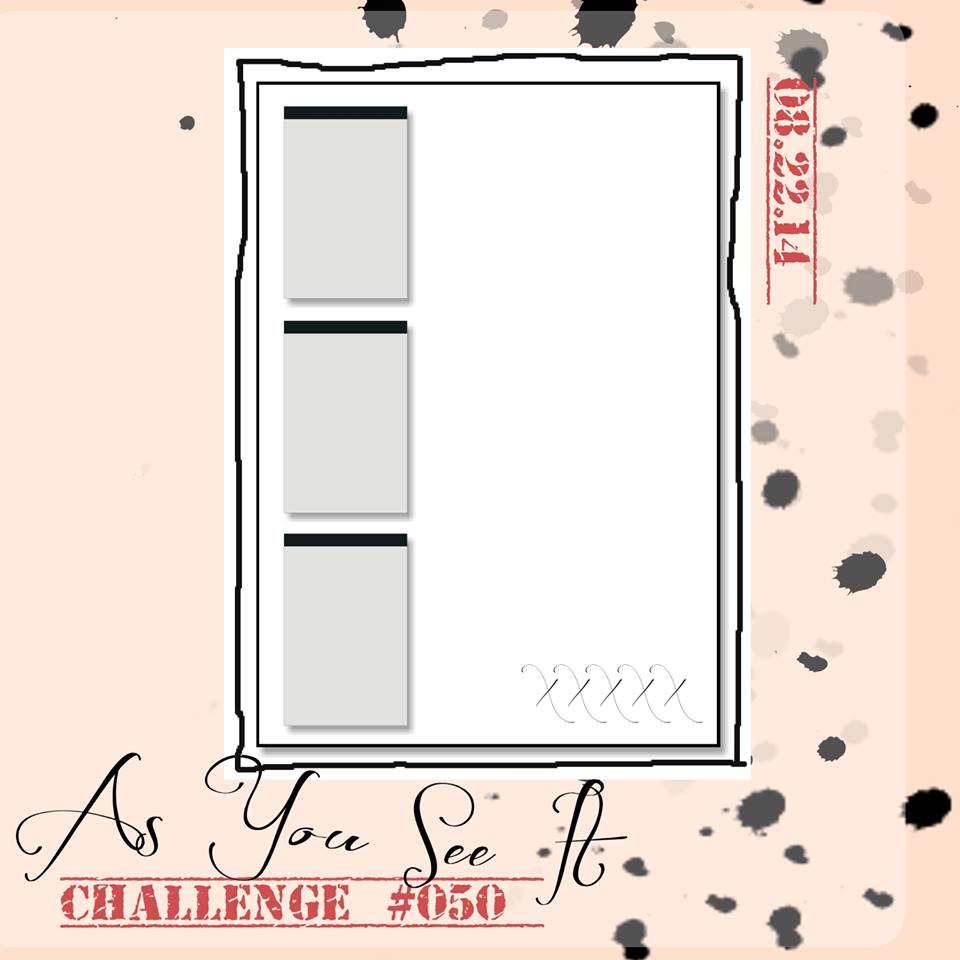
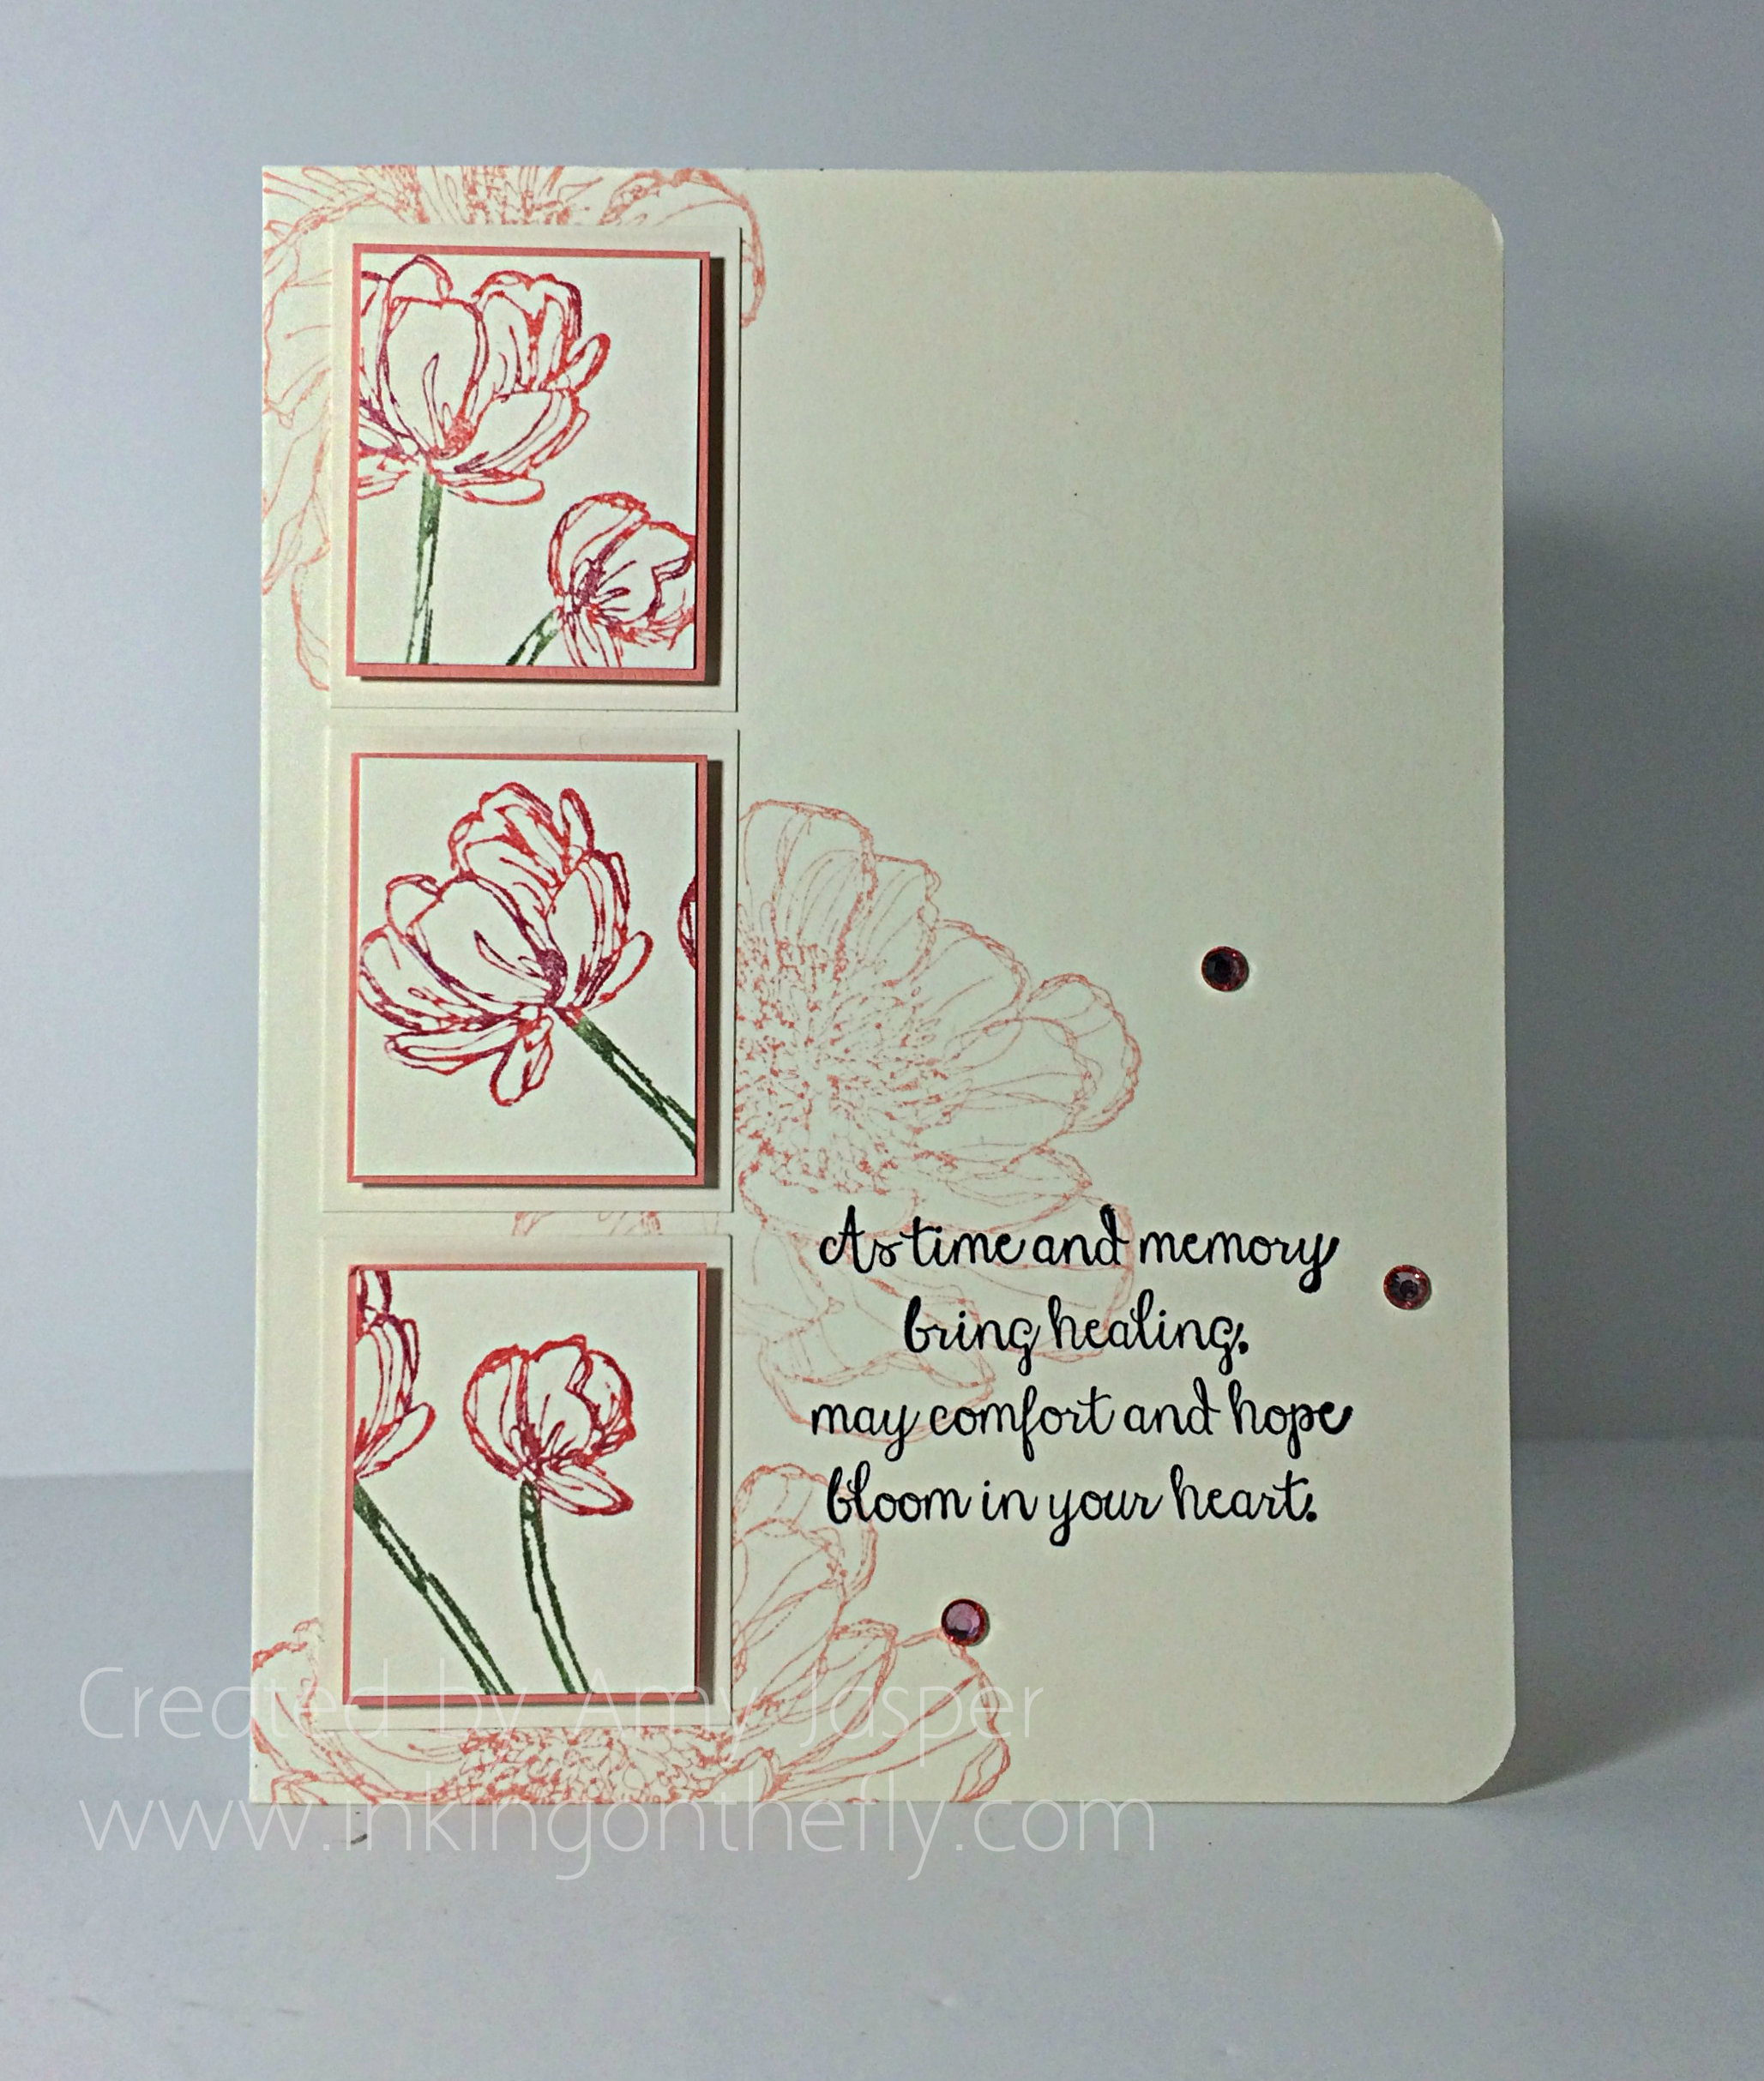
Are you up for something a little different from my usual style? My design today is clean, simple and pretty (at least I think so). The As You See It Challenge blog has a sketch challenge for you this week. I knew right away how I wanted to play with those little rectangles to the left of the design and it would involve flowers!
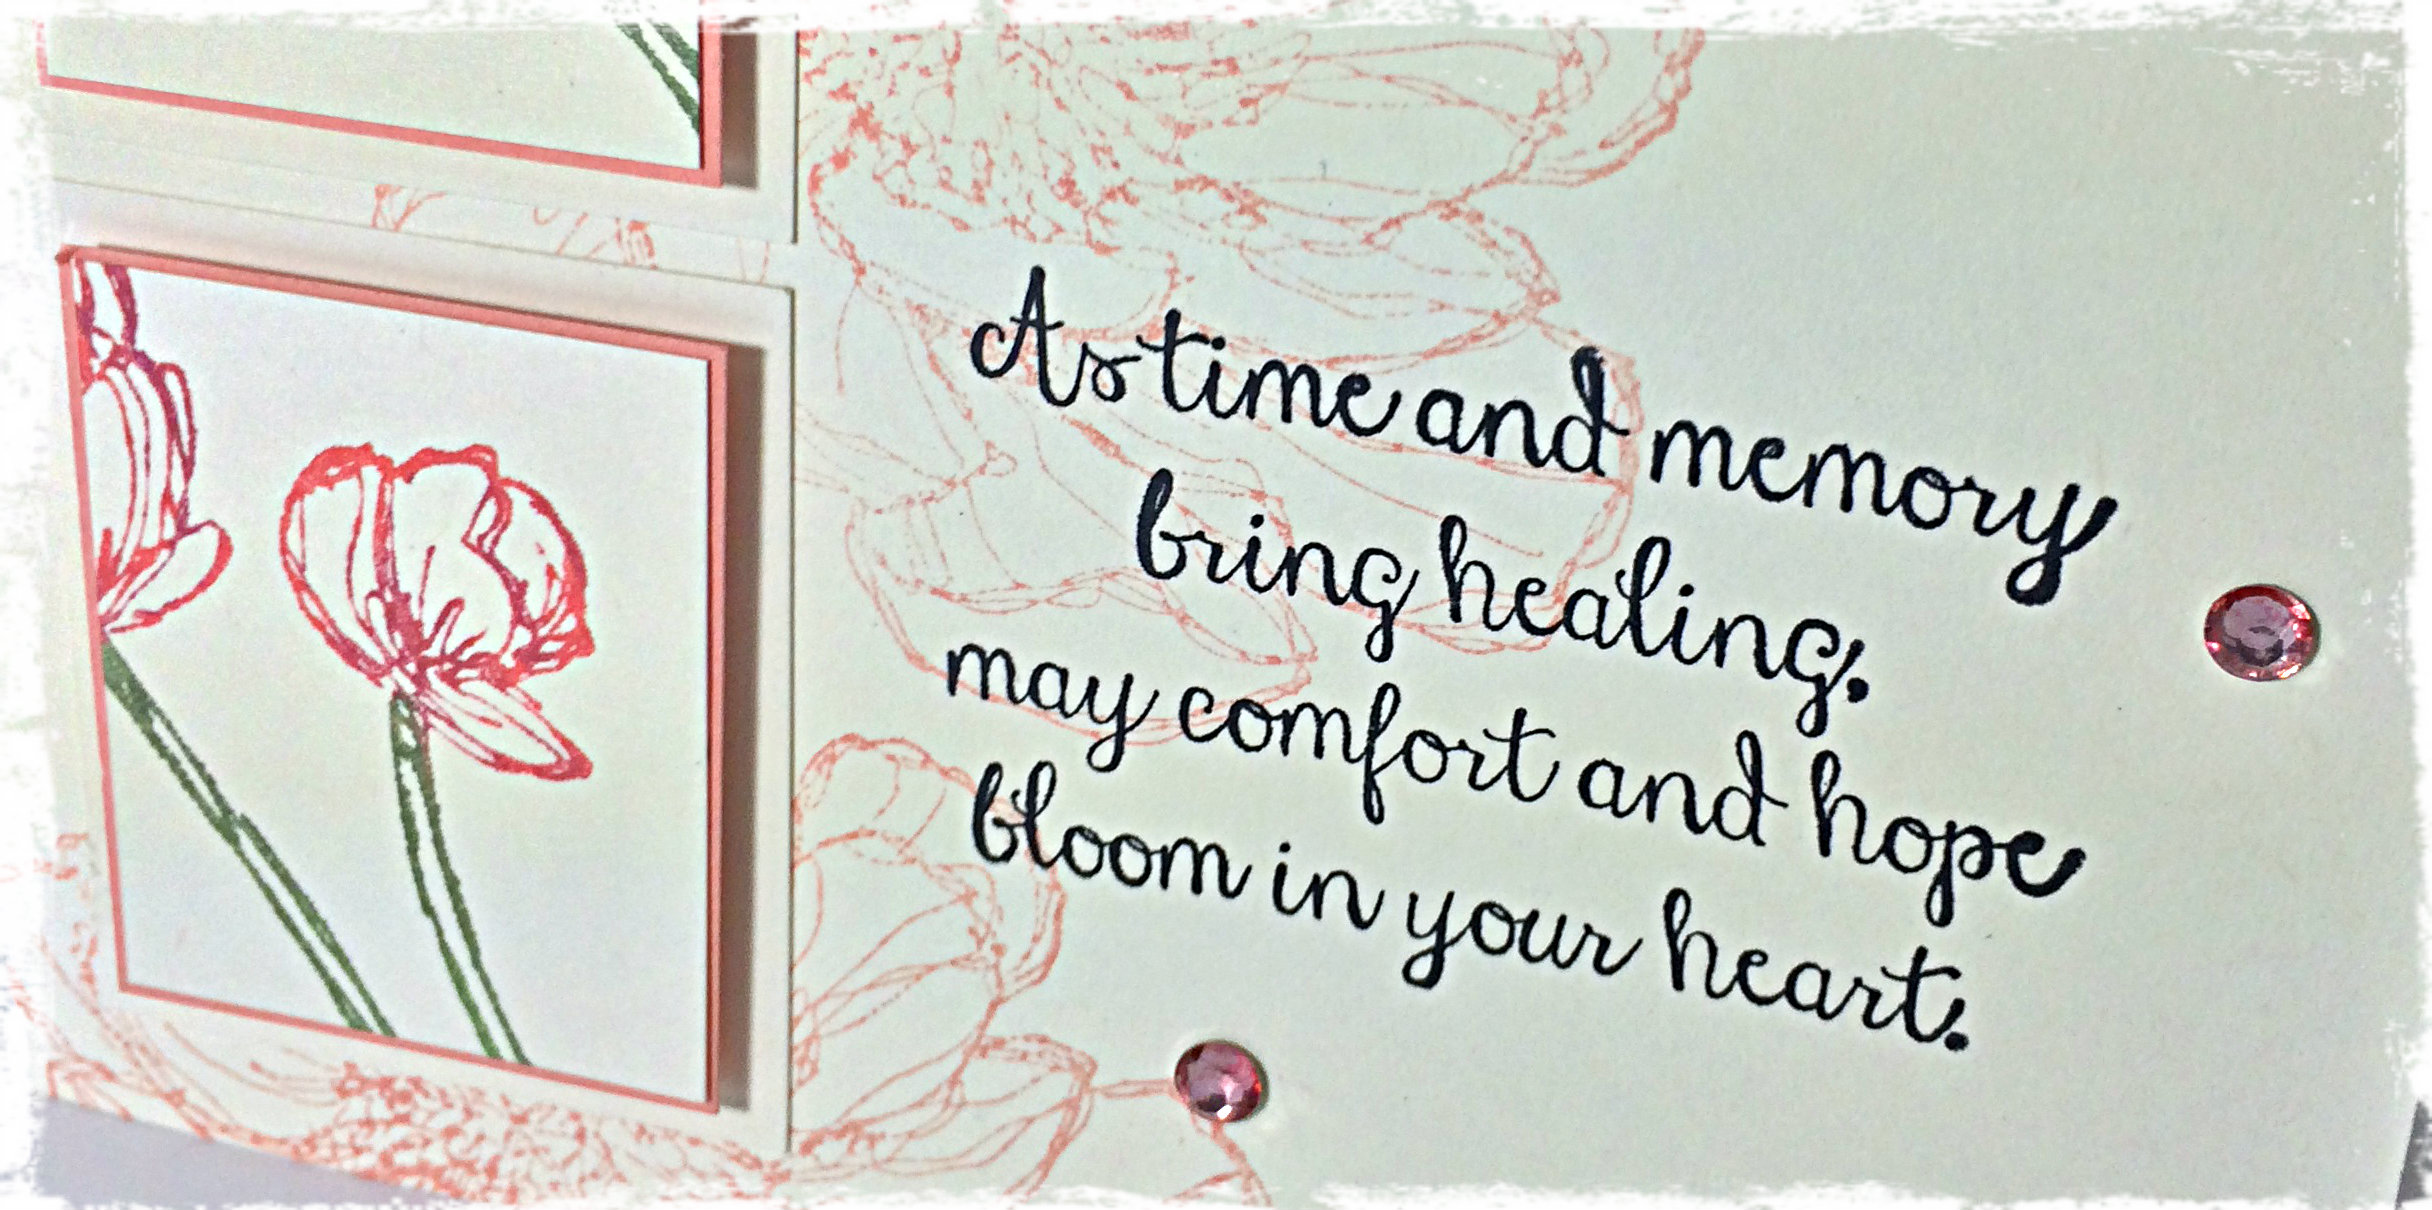
I wanted my card to be simple and elegant. I had intended on keeping it neutral in colour, but ended up giving it a splash of Crisp Cantaloupe – still soft, still elegant, but adds a touch of feminine grace, too.
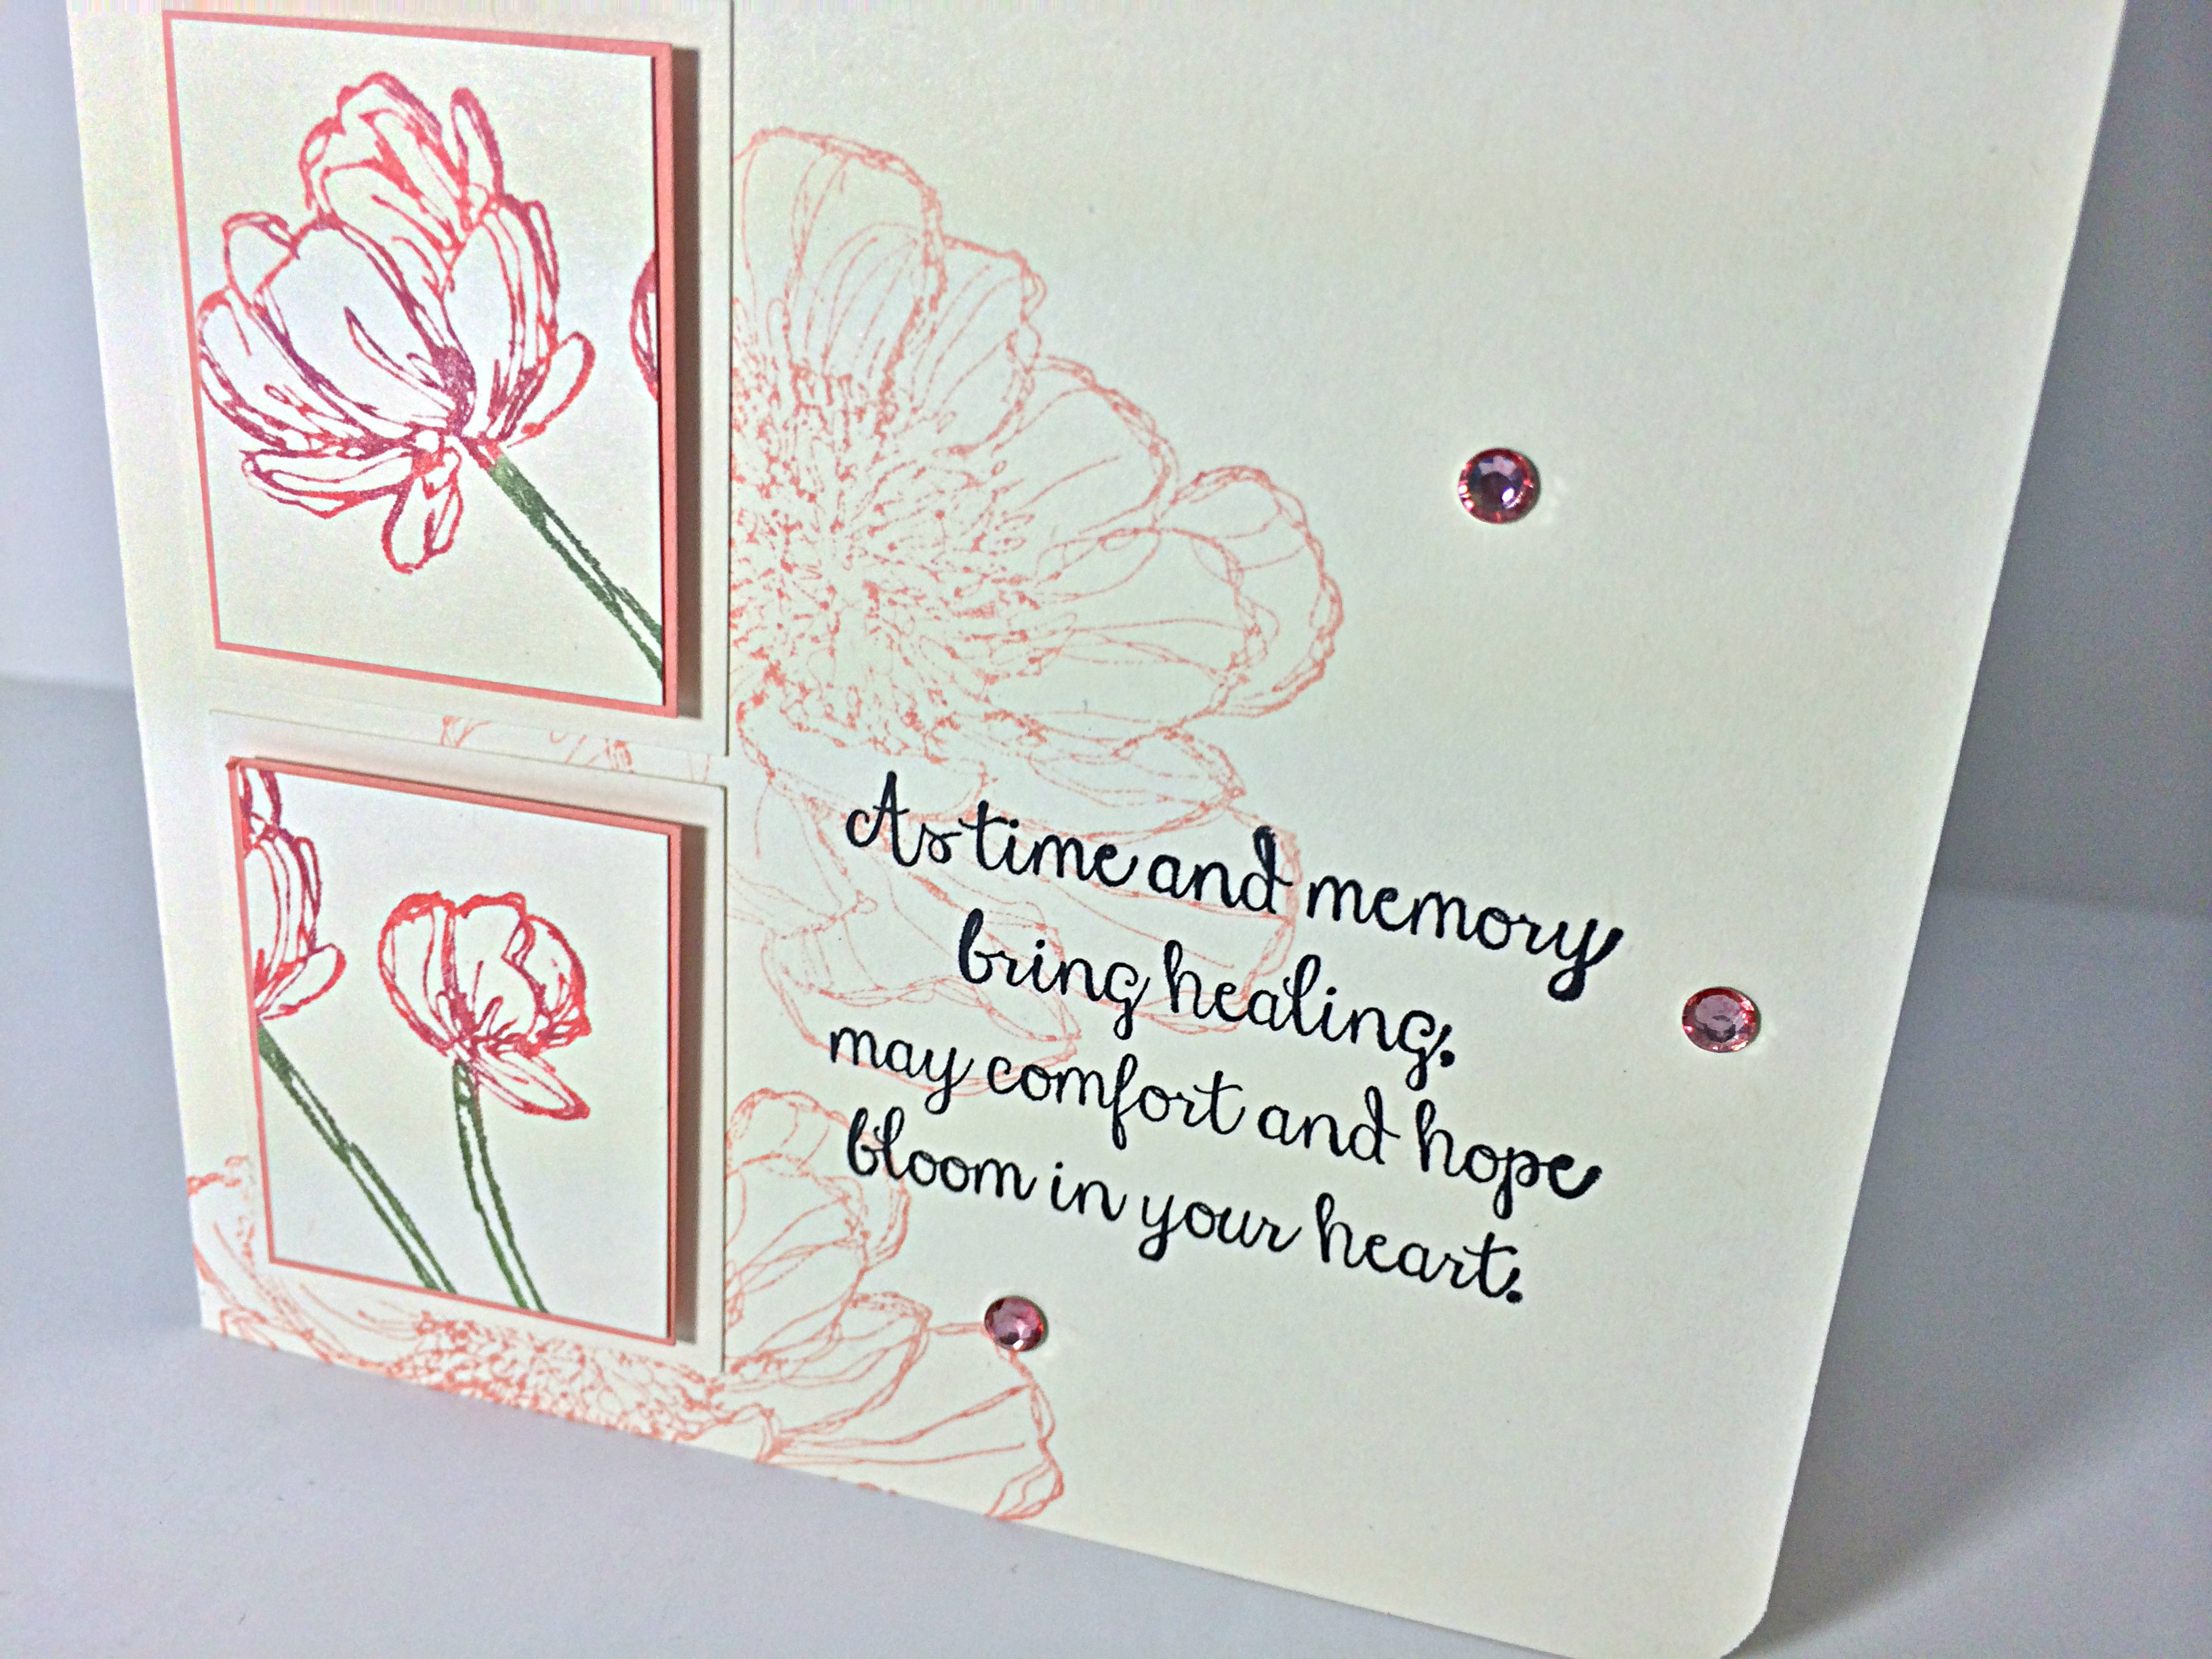
I love the Rhinestones!! I coloured them with the medium Calypso Coral Blendability marker. Before I added them, the card was too heavy on the left side. They add balance.
The stamp set I used is the Bloom with Hope hostess set. It is a beautiful set, but you can only purchase it with your hostess dollars when you host a workshop. I’d love to do this card with you and your guests so you can get this gorgeous collection of stamps for free!
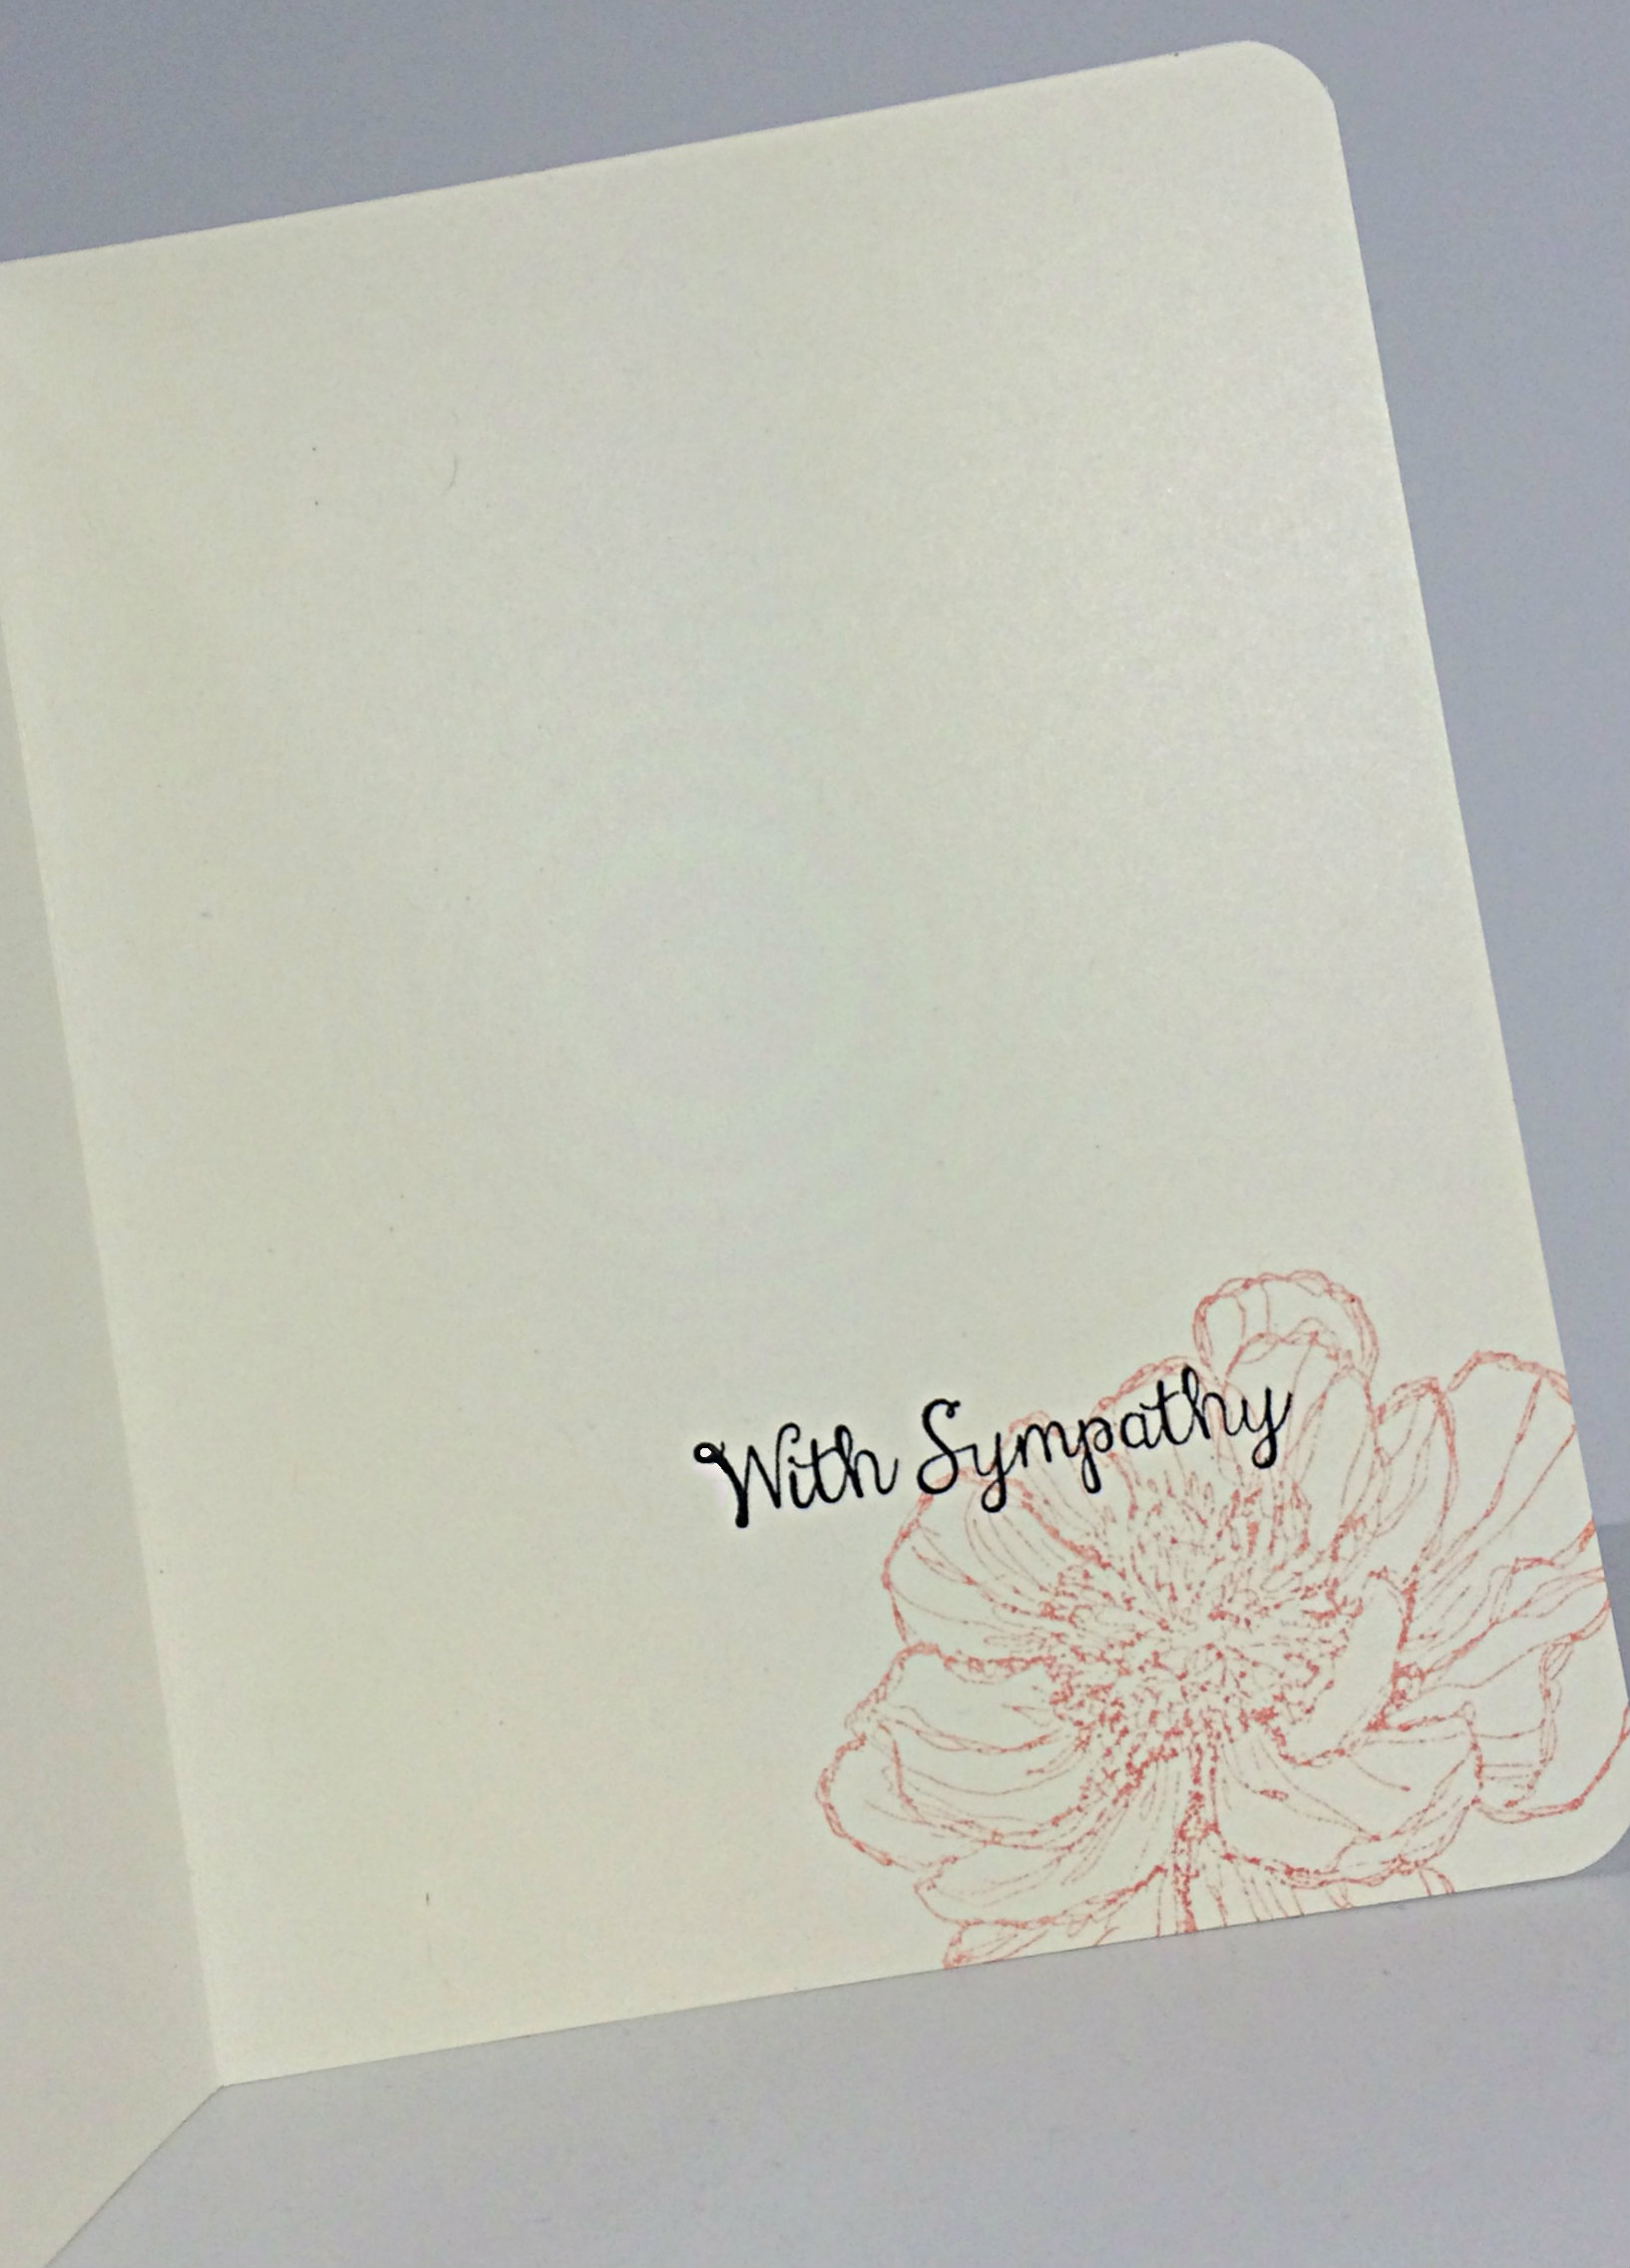
I used Very Vanilla for my base card. I honestly am not drawn to vanilla (well, unless it’s ice cream!), but it is much softer than Whisper White and definitely works for a sympathy card. I stamped the large flower on the card base with Crisp Cantaloupe, stamping it off once on a scrap piece of paper so it would be a softer image. Then I used my Stampin’ Write Markers to colour my rubber stamps directly before stamping the images that are on the rectangles. I used Crisp Cantaloupe and Wild Wasabi first, then randomly added daubs of Rich Razzleberry to the blooms and Mellow Moss to the stems. Don’t forget, that whenever you colour your rubber with the markers, you should ‘huff’ on the rubber before stamping your image on your cardstock. This will ensure that the ink is re-moistened and will give you the image quality that you intend.
If you have no idea what I’m talking about, ‘huffing’ involves a heavy exhale of your breath onto the rubber while it’s close to your open mouth. While we take the time to colour directly on the rubber stamp, the areas that you coloured first start to dry. The slight moisture from your breath that would normally fog a mirror is enough to re-activate the ink’s moisture on the rubber. It sounds weird, but is a necessary step with this technique.
I layered my rectangles with the thinnest mat of Crisp Cantaloupe cardstock as possible, then matted it again with a wider Very Vanilla. You can see I used Stampin’ Dimensionals to pop up each of the Crisp Cantaloupe layers.
Finally, I used the corner rounder punch on my Envelope Punch Board to round the corners of my card and I stamped my sentiments with Jet Black Stazon ink.
Don’t forget to try this layout for yourself, whether it’s for a card, a scrapbook page, or artwork for your wall. You can take a photo of it, load it to a public site (Pinterest works well), then link it to Challenge #50 on the As You See It Challenge blog!
I’m not exaggerating when I tell you that we are inspired by every card that you share with us. Everyone has their own tricks and style to share, whether they know it or not: the way your tear your cardstock, a colour combination that I’ve never thought of before, little added touches, how you tie your ribbon – I am always learning from other people’s creativity. I hope you will share yours with us on the challenge blog!
As a side note: for the first time, I’m having trouble with taking photos with my iphone. I hope it’s just the light-coloured card design, but I had to fuss with my lighting and angles more than usual to avoid weird lines and halos. You can see one of those halos in the center of my last photo. Taking a good photo of your card is about good lighting, the right shadows, a crisp image, and quality product (avoiding ink smudges or halos, cutting ribbon and cardstock with sharp blades, and making sure that things intended to be straight on your product are actually straight!) – things to keep in mind when you upload to Pinterest.
Sign up this week to be a Stampin’ Up! demonstrator, like me, and join my team!! Stampin’ Up! is offering the kit for the usual $125, tax and shipping free, but you can choose $190 in product for your kit instead of the usual $155 of product. The kit is already a great deal, but now it’s even better!! Check out the SHORT AND SWEET sign up offer by clicking on the link and learn more about it and other promotions currently available.
Welcome to my blog where I share my love of designing with Stampin’ Up! paper, rubber stamps, inks and tools!
I still have one more post of Convention photos to share with you, but now that I’m home again, it’s difficult to find the time to load the photos and share them with you. It was great fun to get away with my Stampin’ Up girls. Now I’m back to the real world and it’s real busy! If I want to reach the Grand Vacation to the Mediterranean (it’s a HUGE jump for me, so we’ll see how it goes), then I need to make time for my Stampin’ Up! business. Hope you’ll help me for the ride!!
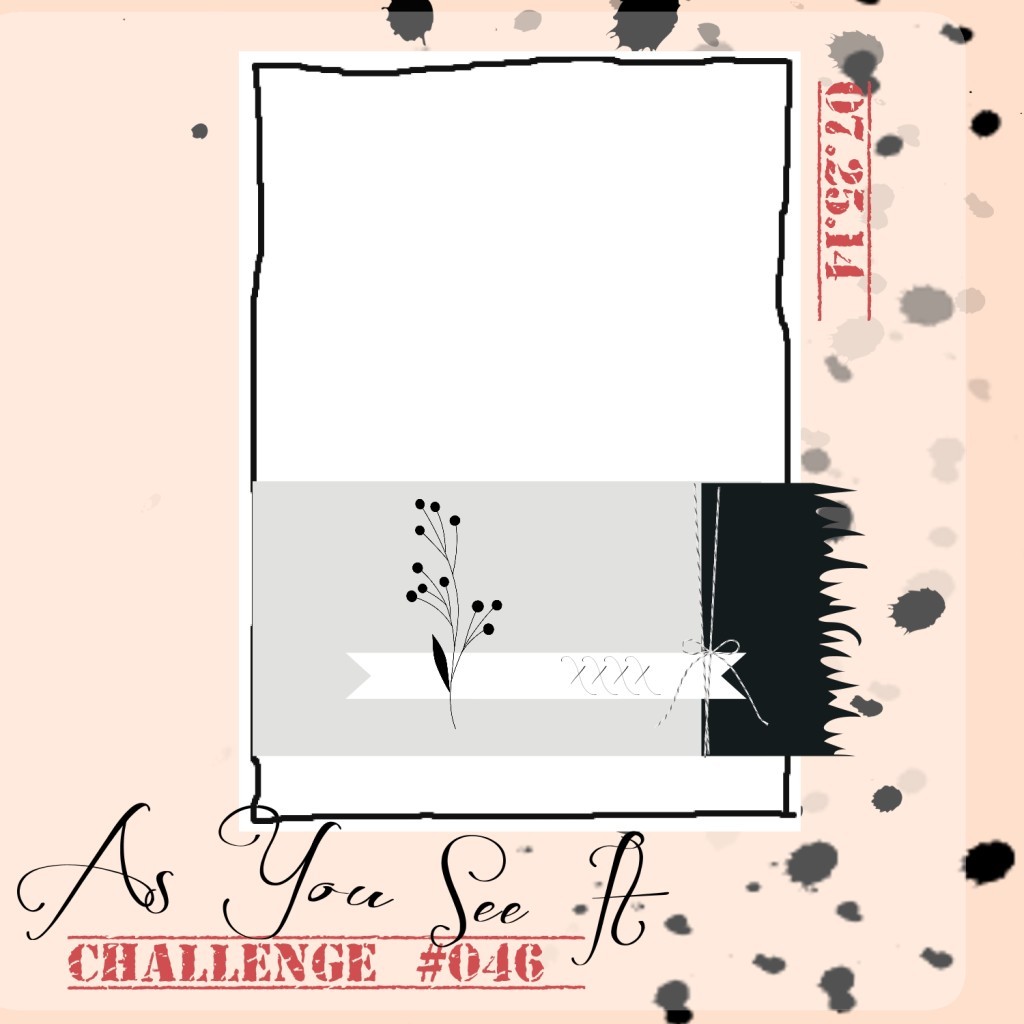
It’s been a couple weeks since we had an As You See It Challenge. Have you missed us?
This sketch is super cute, don’t you think? If I had the fringe scissors (which, shockingly, I don’t … yet!), I would have used them for that little side fringe. Instead, I chose to do the ol’ fashioned tearing technique.
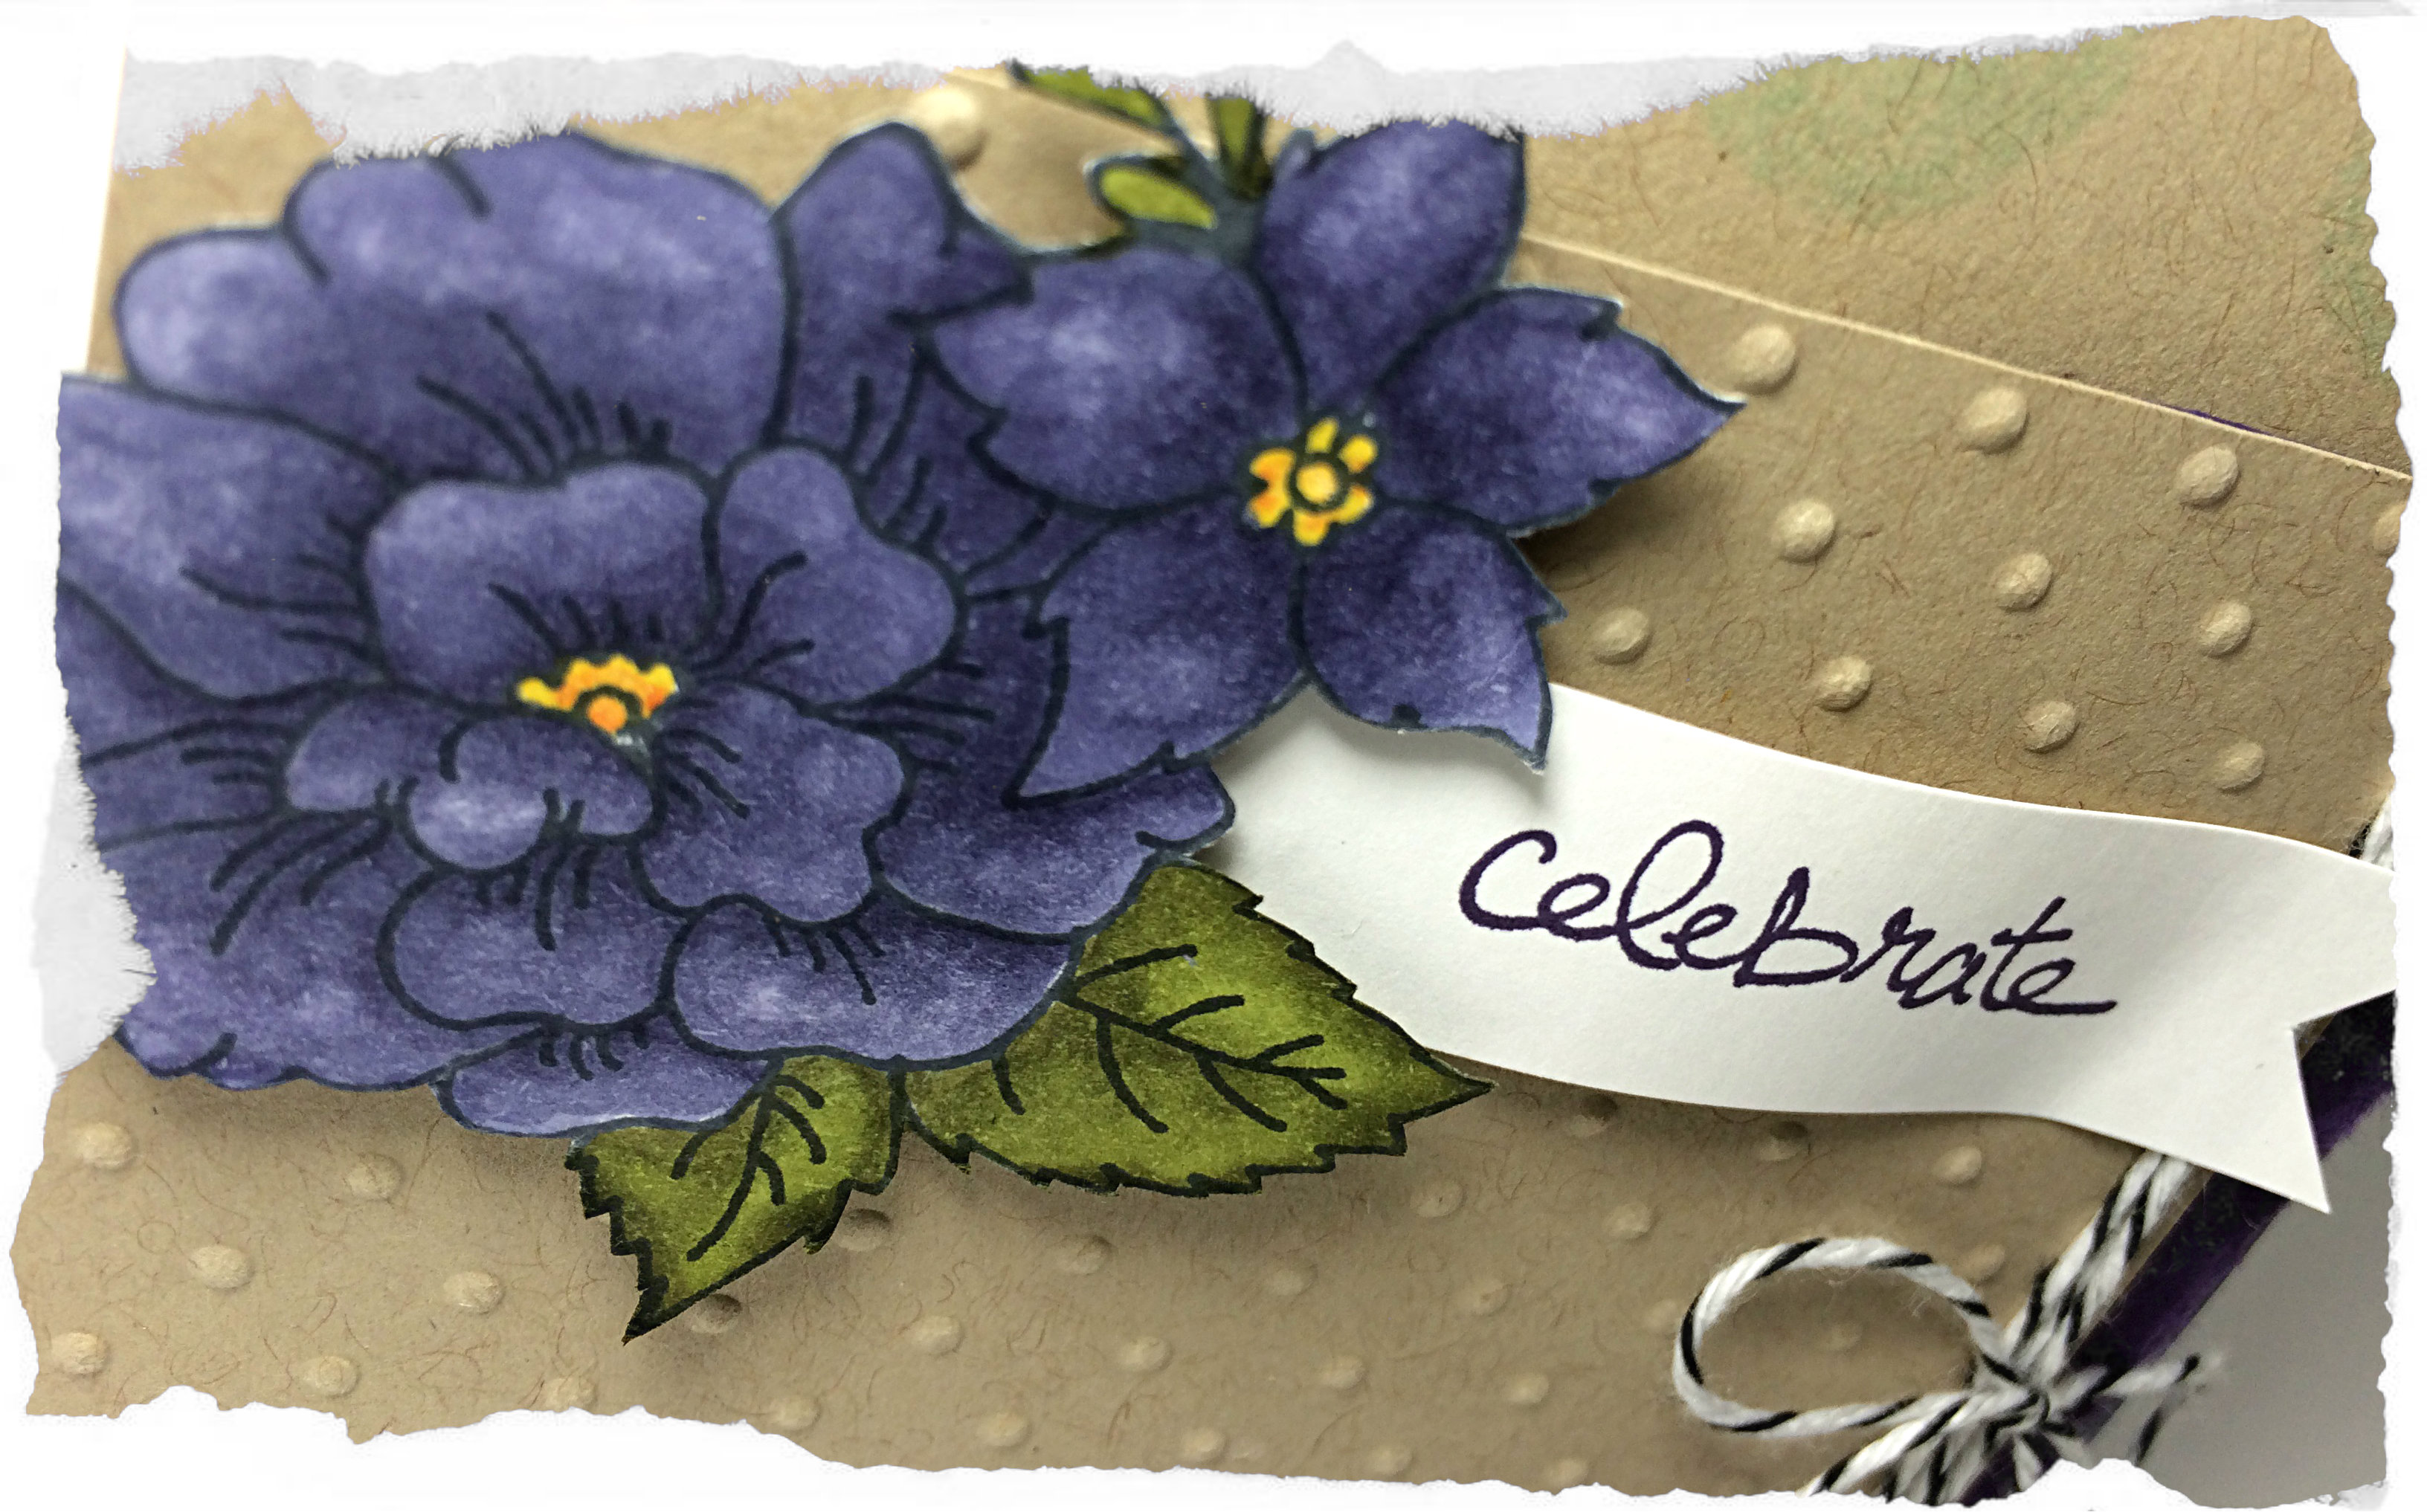
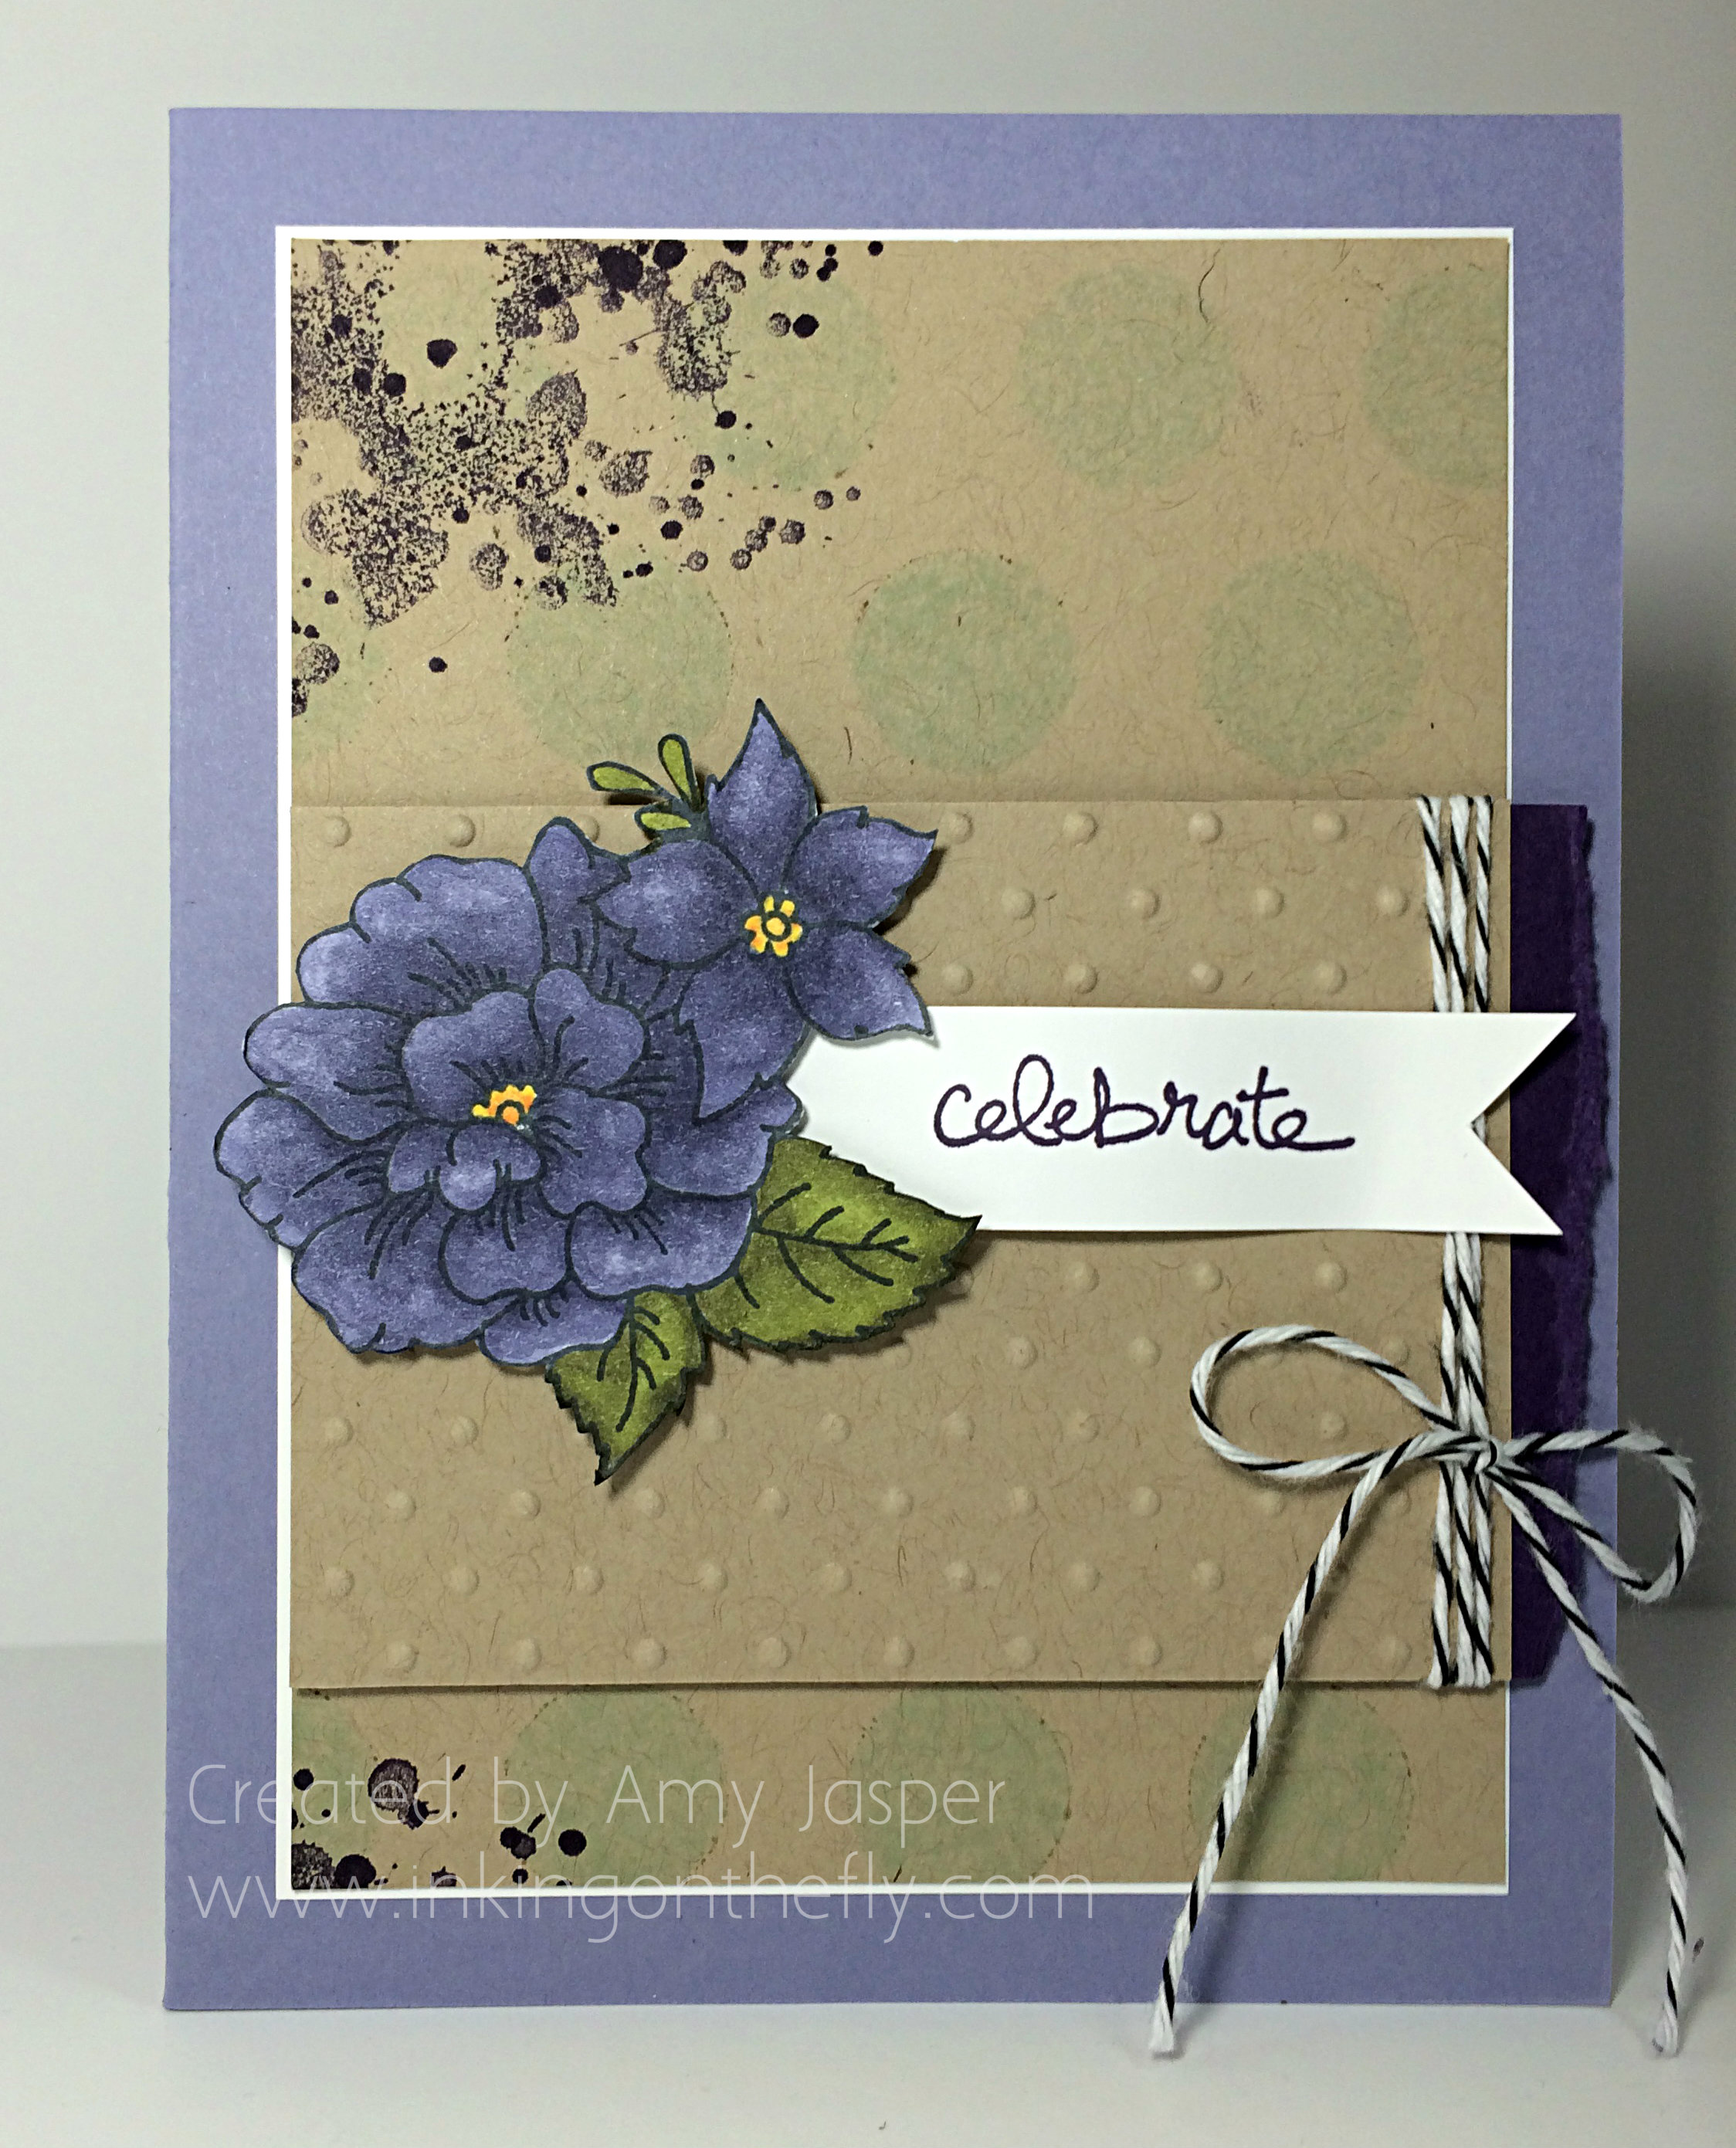
Purple isn’t my favourite colour to work with, but this card decided it wanted to be purple. I tried really hard to make it Island Indigo and Pool Party, but it didn’t let me.
I used a Wisteria Wonder card base. You can see that I used two layers of Crumb Cake cardstock. One is matted with a thin layer of Whisper White cardstock with some large polka dots. These were added using the Dots and Stripes Mask. I positioned the dots mask over my cardstock, then spritzed it with Pool Party ink that I had mixed in a Stampin’ Up! spritzer with a bit of rubbing alcohol. I added the splotches of Elegant Eggplant ink with my Gorgeous Grunge stamp set only after I accidentally dropped my ink pad on the corner of my cardstock (oops). Oh well, it worked out in the end, lol!
The smaller layer of Crumb Cake cardstock was embossed with the Perfect Polka Dots embossing folder. I added the torn piece of Elegant Eggplant to the edge of that and tied on the Black Baker’s Twine before adhering it with Stampin’ Up Dimensionals to the card.
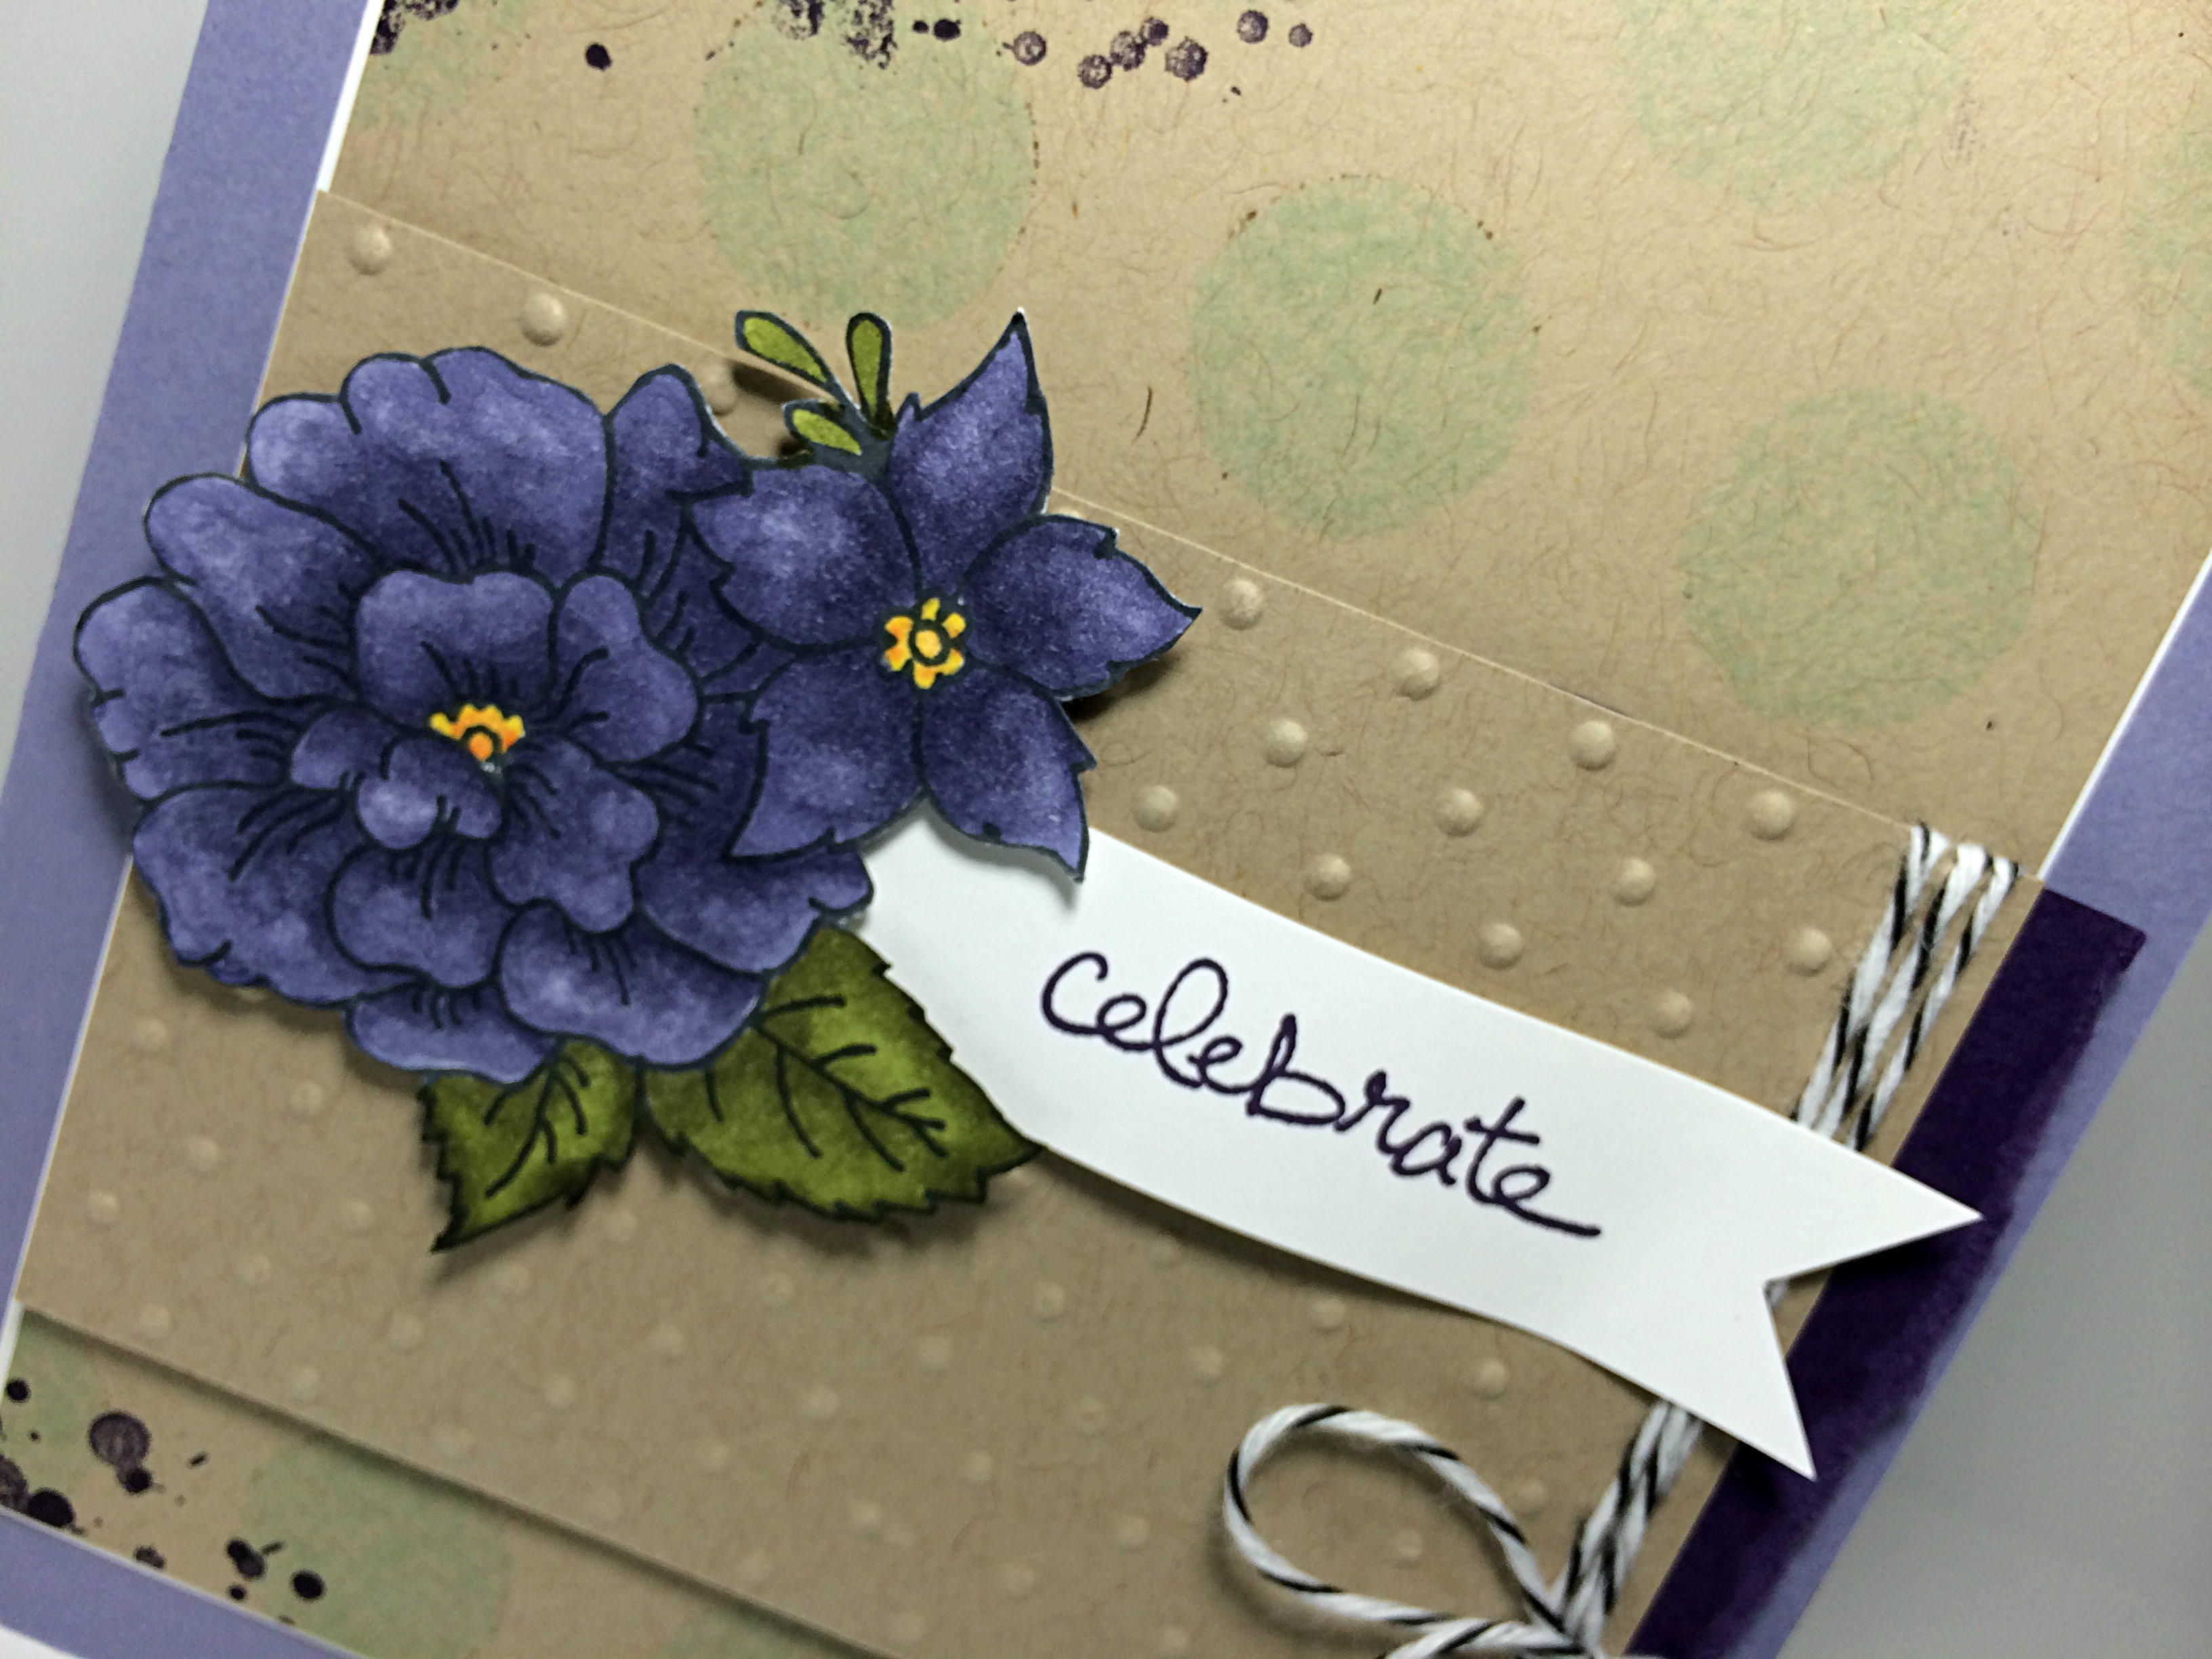
The flower is from the hostess set called “I Like You”. It’s perfect to use with the new Blendabilities. In this case, I used the Wisteria Wonder, Old Olive, and a combination of Daffodil Delight and Pumpkin Pie for the center of the flowers.
The sentiment on the banner is from the Good Greetings stamp set (not yet available) which I received for free from Stampin’ Up! for team leadership. I love free stuff!! I used my Bone Folder to curve the banner and give it a bit of shape before adhering it to my card.
Now it’s your turn! Give the sketch a try and share your creation on the As You See It Challenge page for Challenge #46. I can’t wait to be inspired by your design!