As You See It Challenge

Gold and Green

I’m thinking of the ice cream in the freezer. I should probably go get it and eat it while I write my blog. You don’t mind, do you?

. . .

Okay. I’m back with my coffee Haagen-Dazs. Yum. Though, honestly, I really shouldn’t be eating it after all of the Halloween candy I’ve been consuming. Maybe, I’m just getting ready to hibernate.

That’s a thing, right?

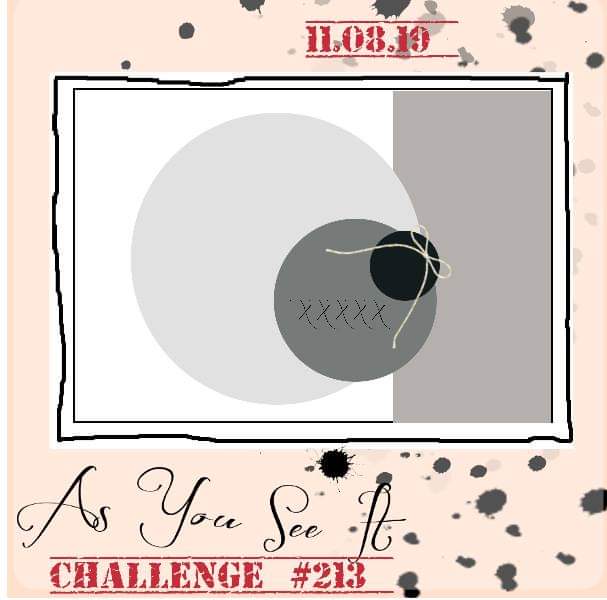
Once again, I have a card for you and once again it is inspired by the As You See It Challenge for which I am a designer.

Sketch challenges are pretty great because they provide some clear parameters, but still offer so much opportunity for your own creative spin. I decided to take this sketch and create a square card, rather than the more common 4-1/4″ x 5-1/2″ size.

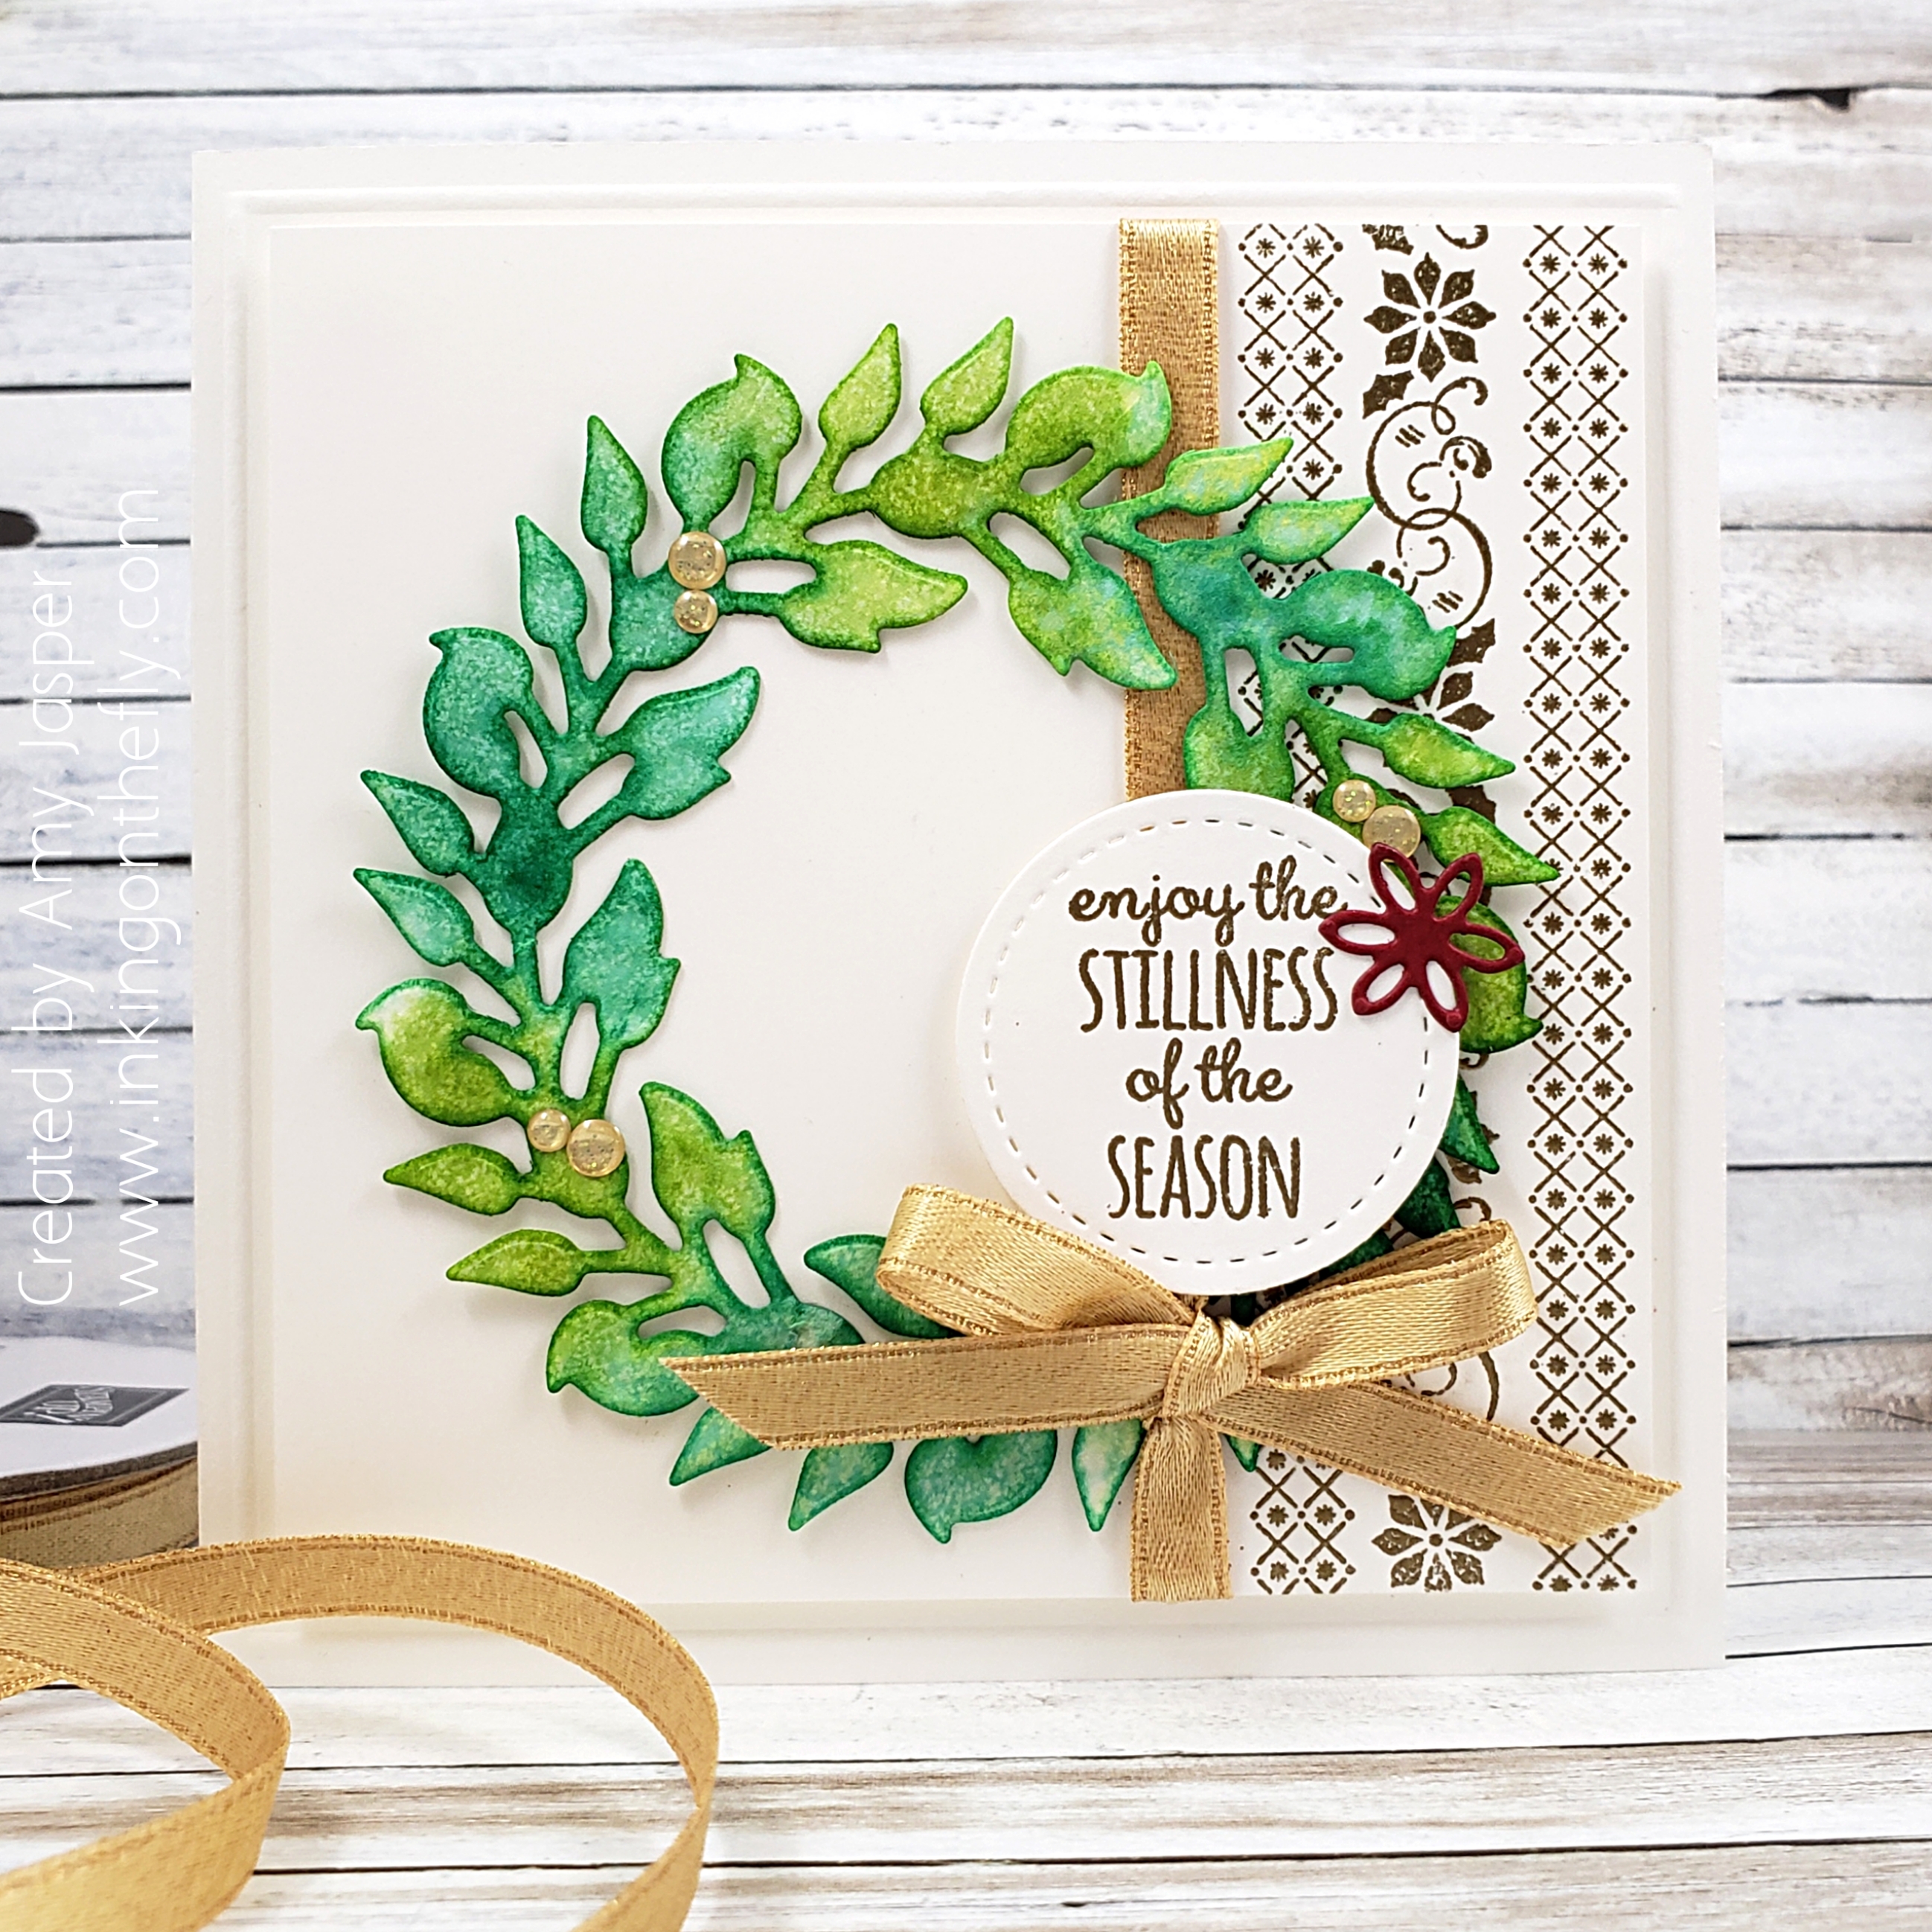
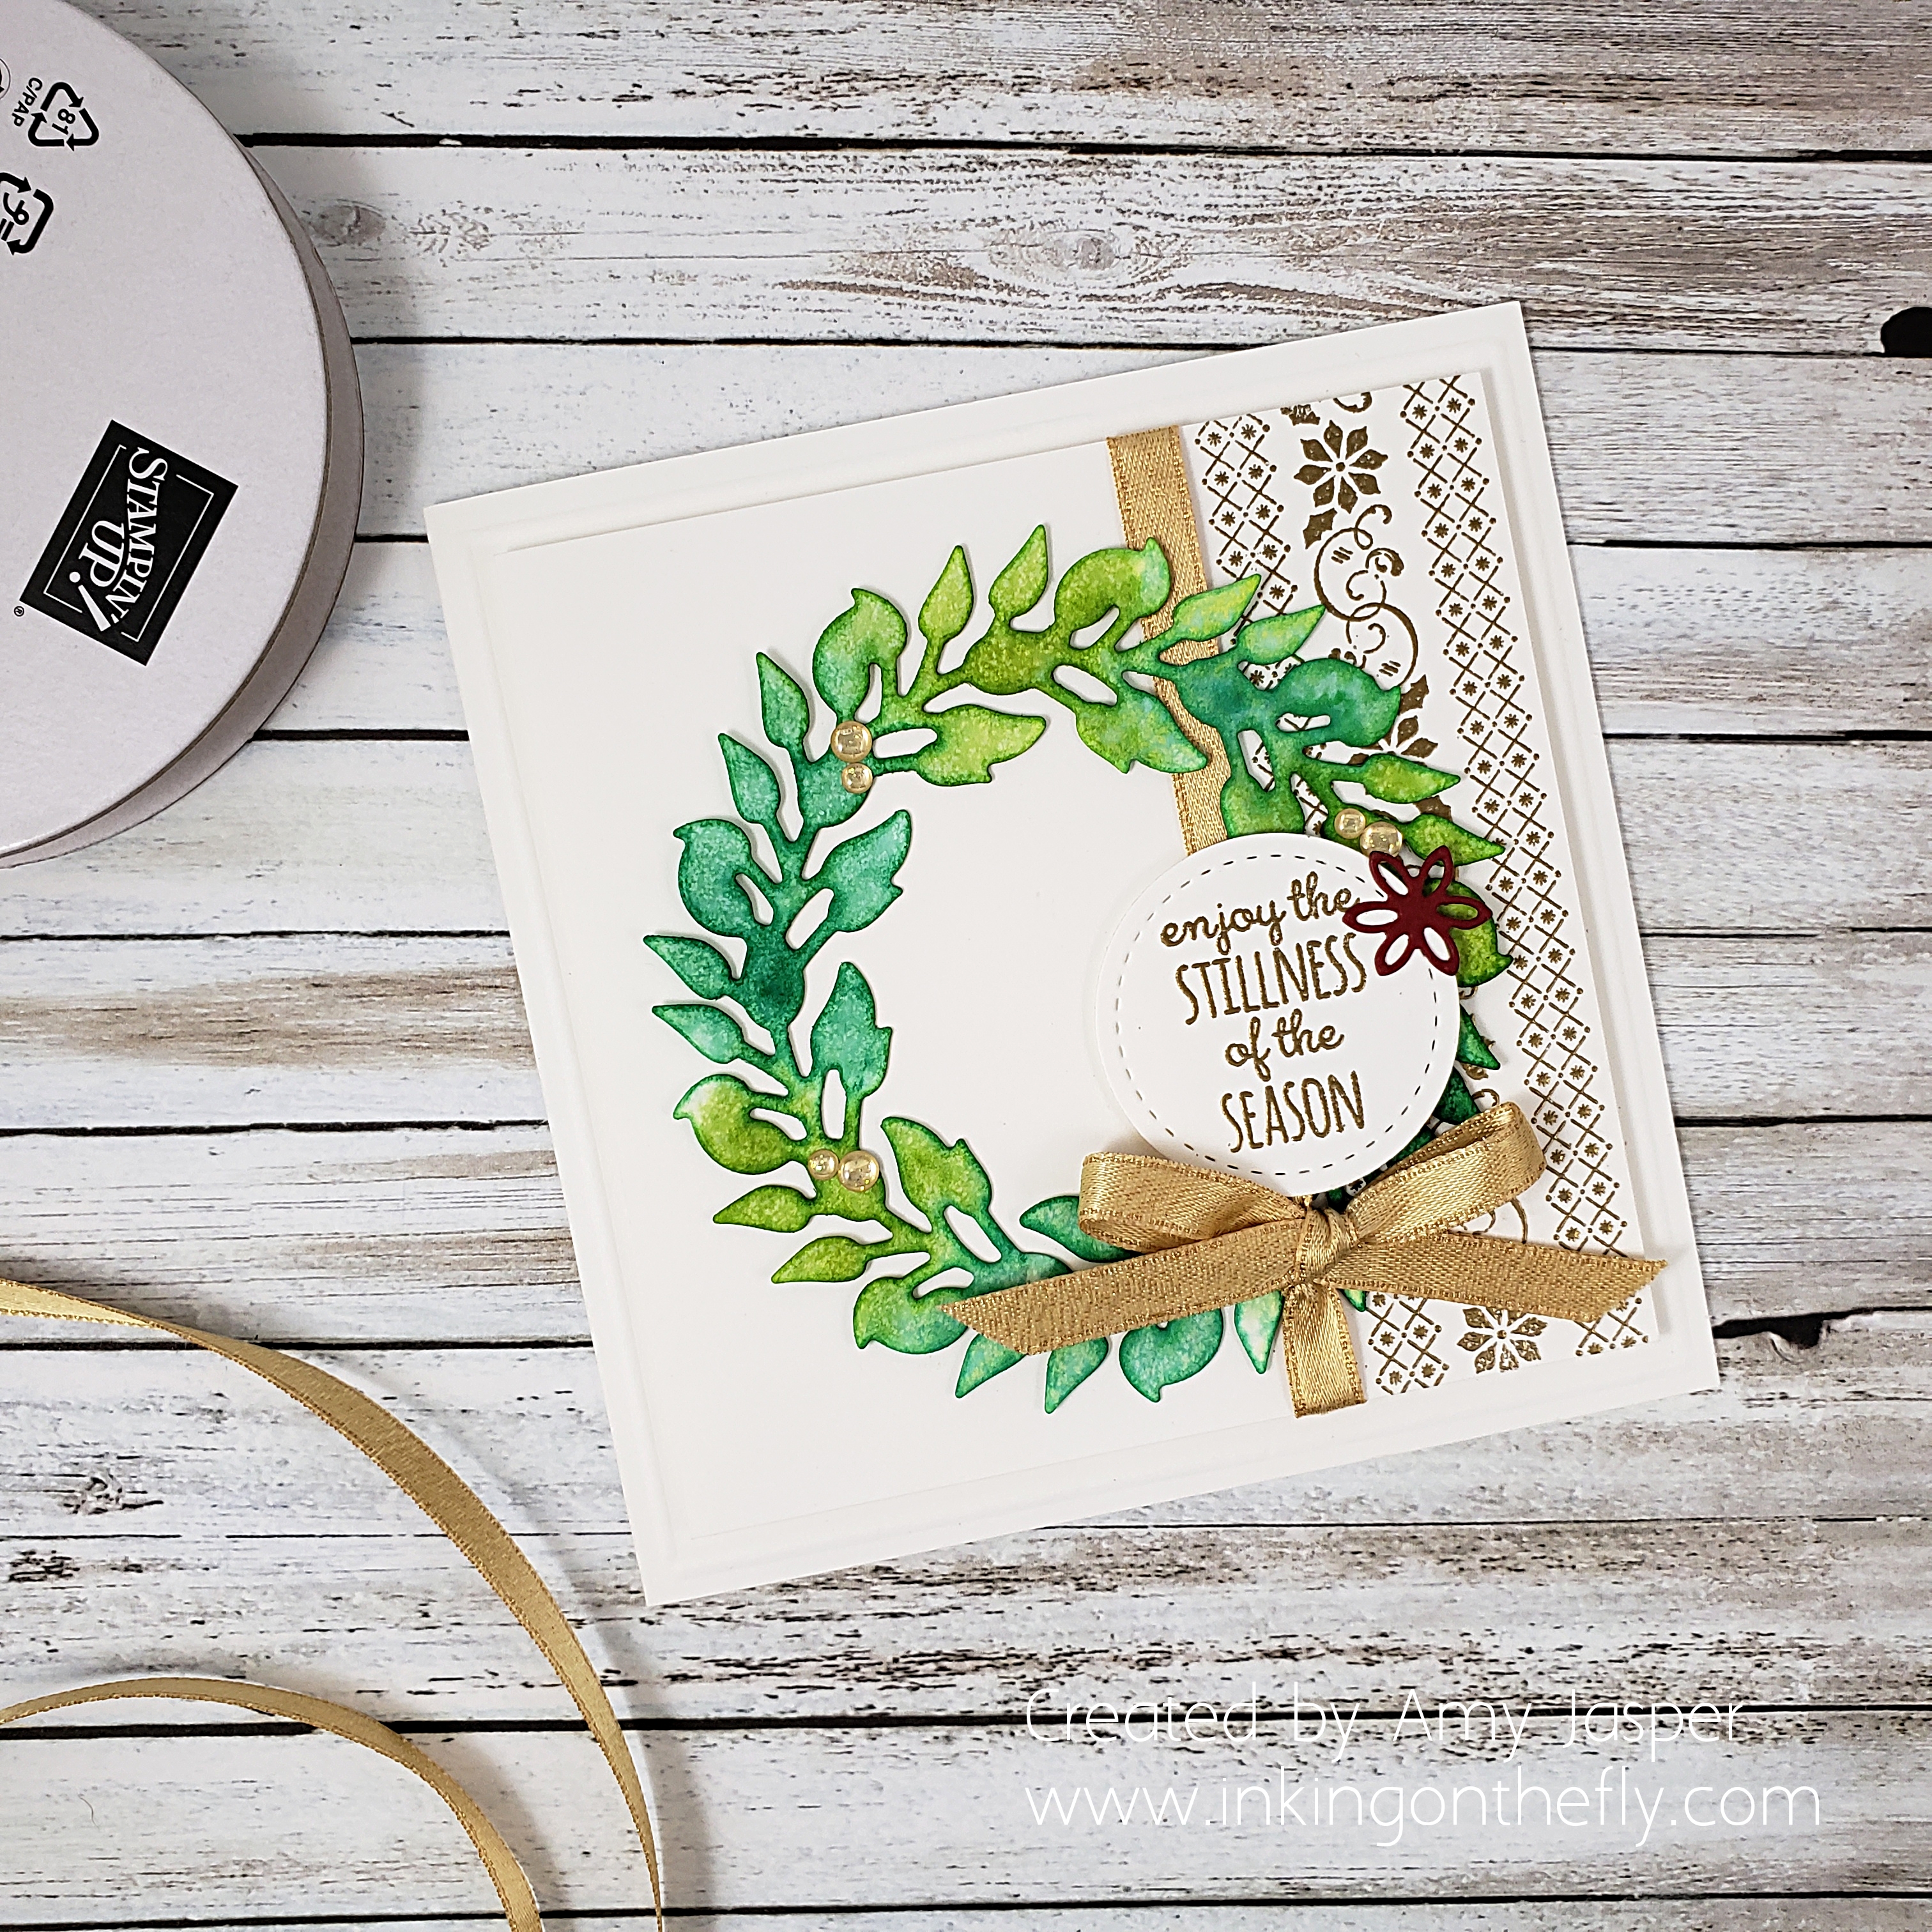
I have seen some beautiful watercolour wreaths created from the All Around Wreath Dies from Stampin’ Up!, so I thought I should give it a try. I cut the wreath from a piece of Watercolor Paper and placed it onto one of the clear plates of my Stamparatus. I then used an Aqua Painter to saturate the Watercolor Paper with plain water. Next, I applied ink using the Aqua Painter and Ink Refills. I used Call Me Clover, Granny Apple Green, and Coastal Cabana. As I applied each colour, I enjoyed watching it spread quickly over the paper because of the water that already prepared the way. Once I was happy with the saturation of colour, I used my Heat Tool to speed up the drying time so I could carry on with the rest of my card.

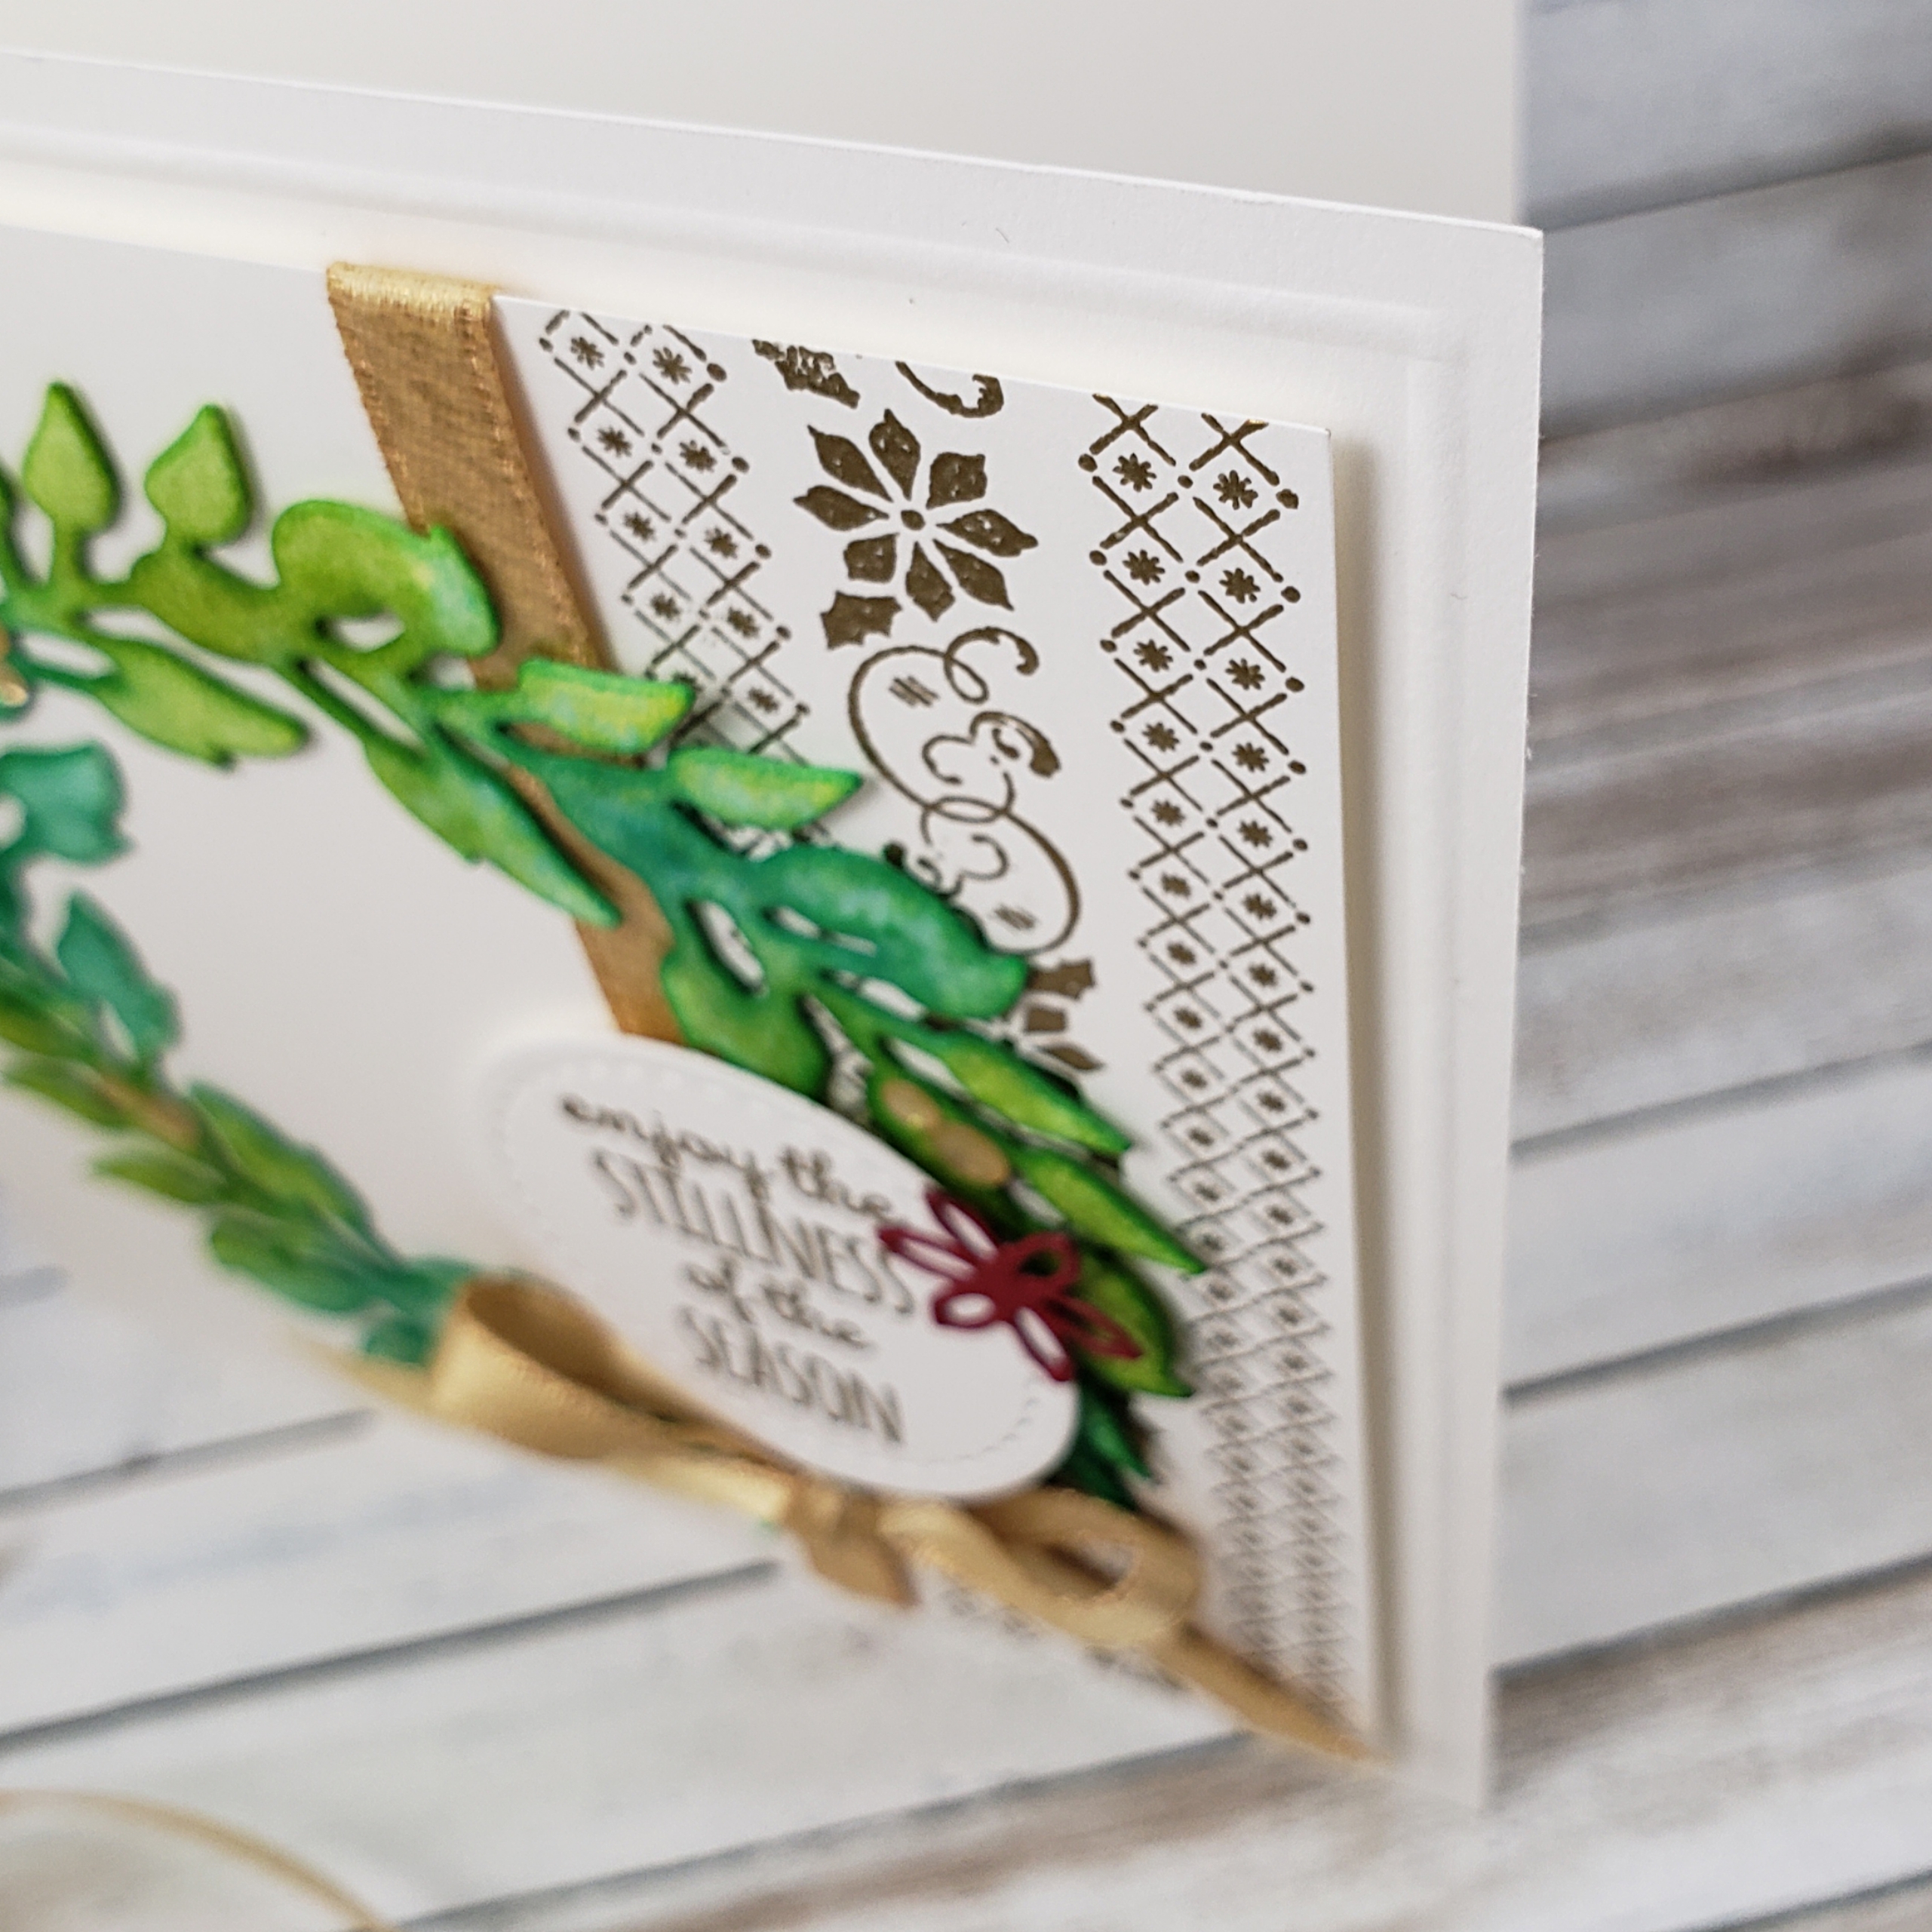
The card base is Thick Whisper White, which I cut to 8-1/2″ x 4-1/4″ so that I could have a completed 4-1/4″ x 4-1/4″ square card. This is a good size for a square, because it will still fit in Stampin’ Up! envelopes. I used the Simply Scored Tool to create an embossed outline around the card base. I like how that simple step somehow instantly makes a card more elegant.

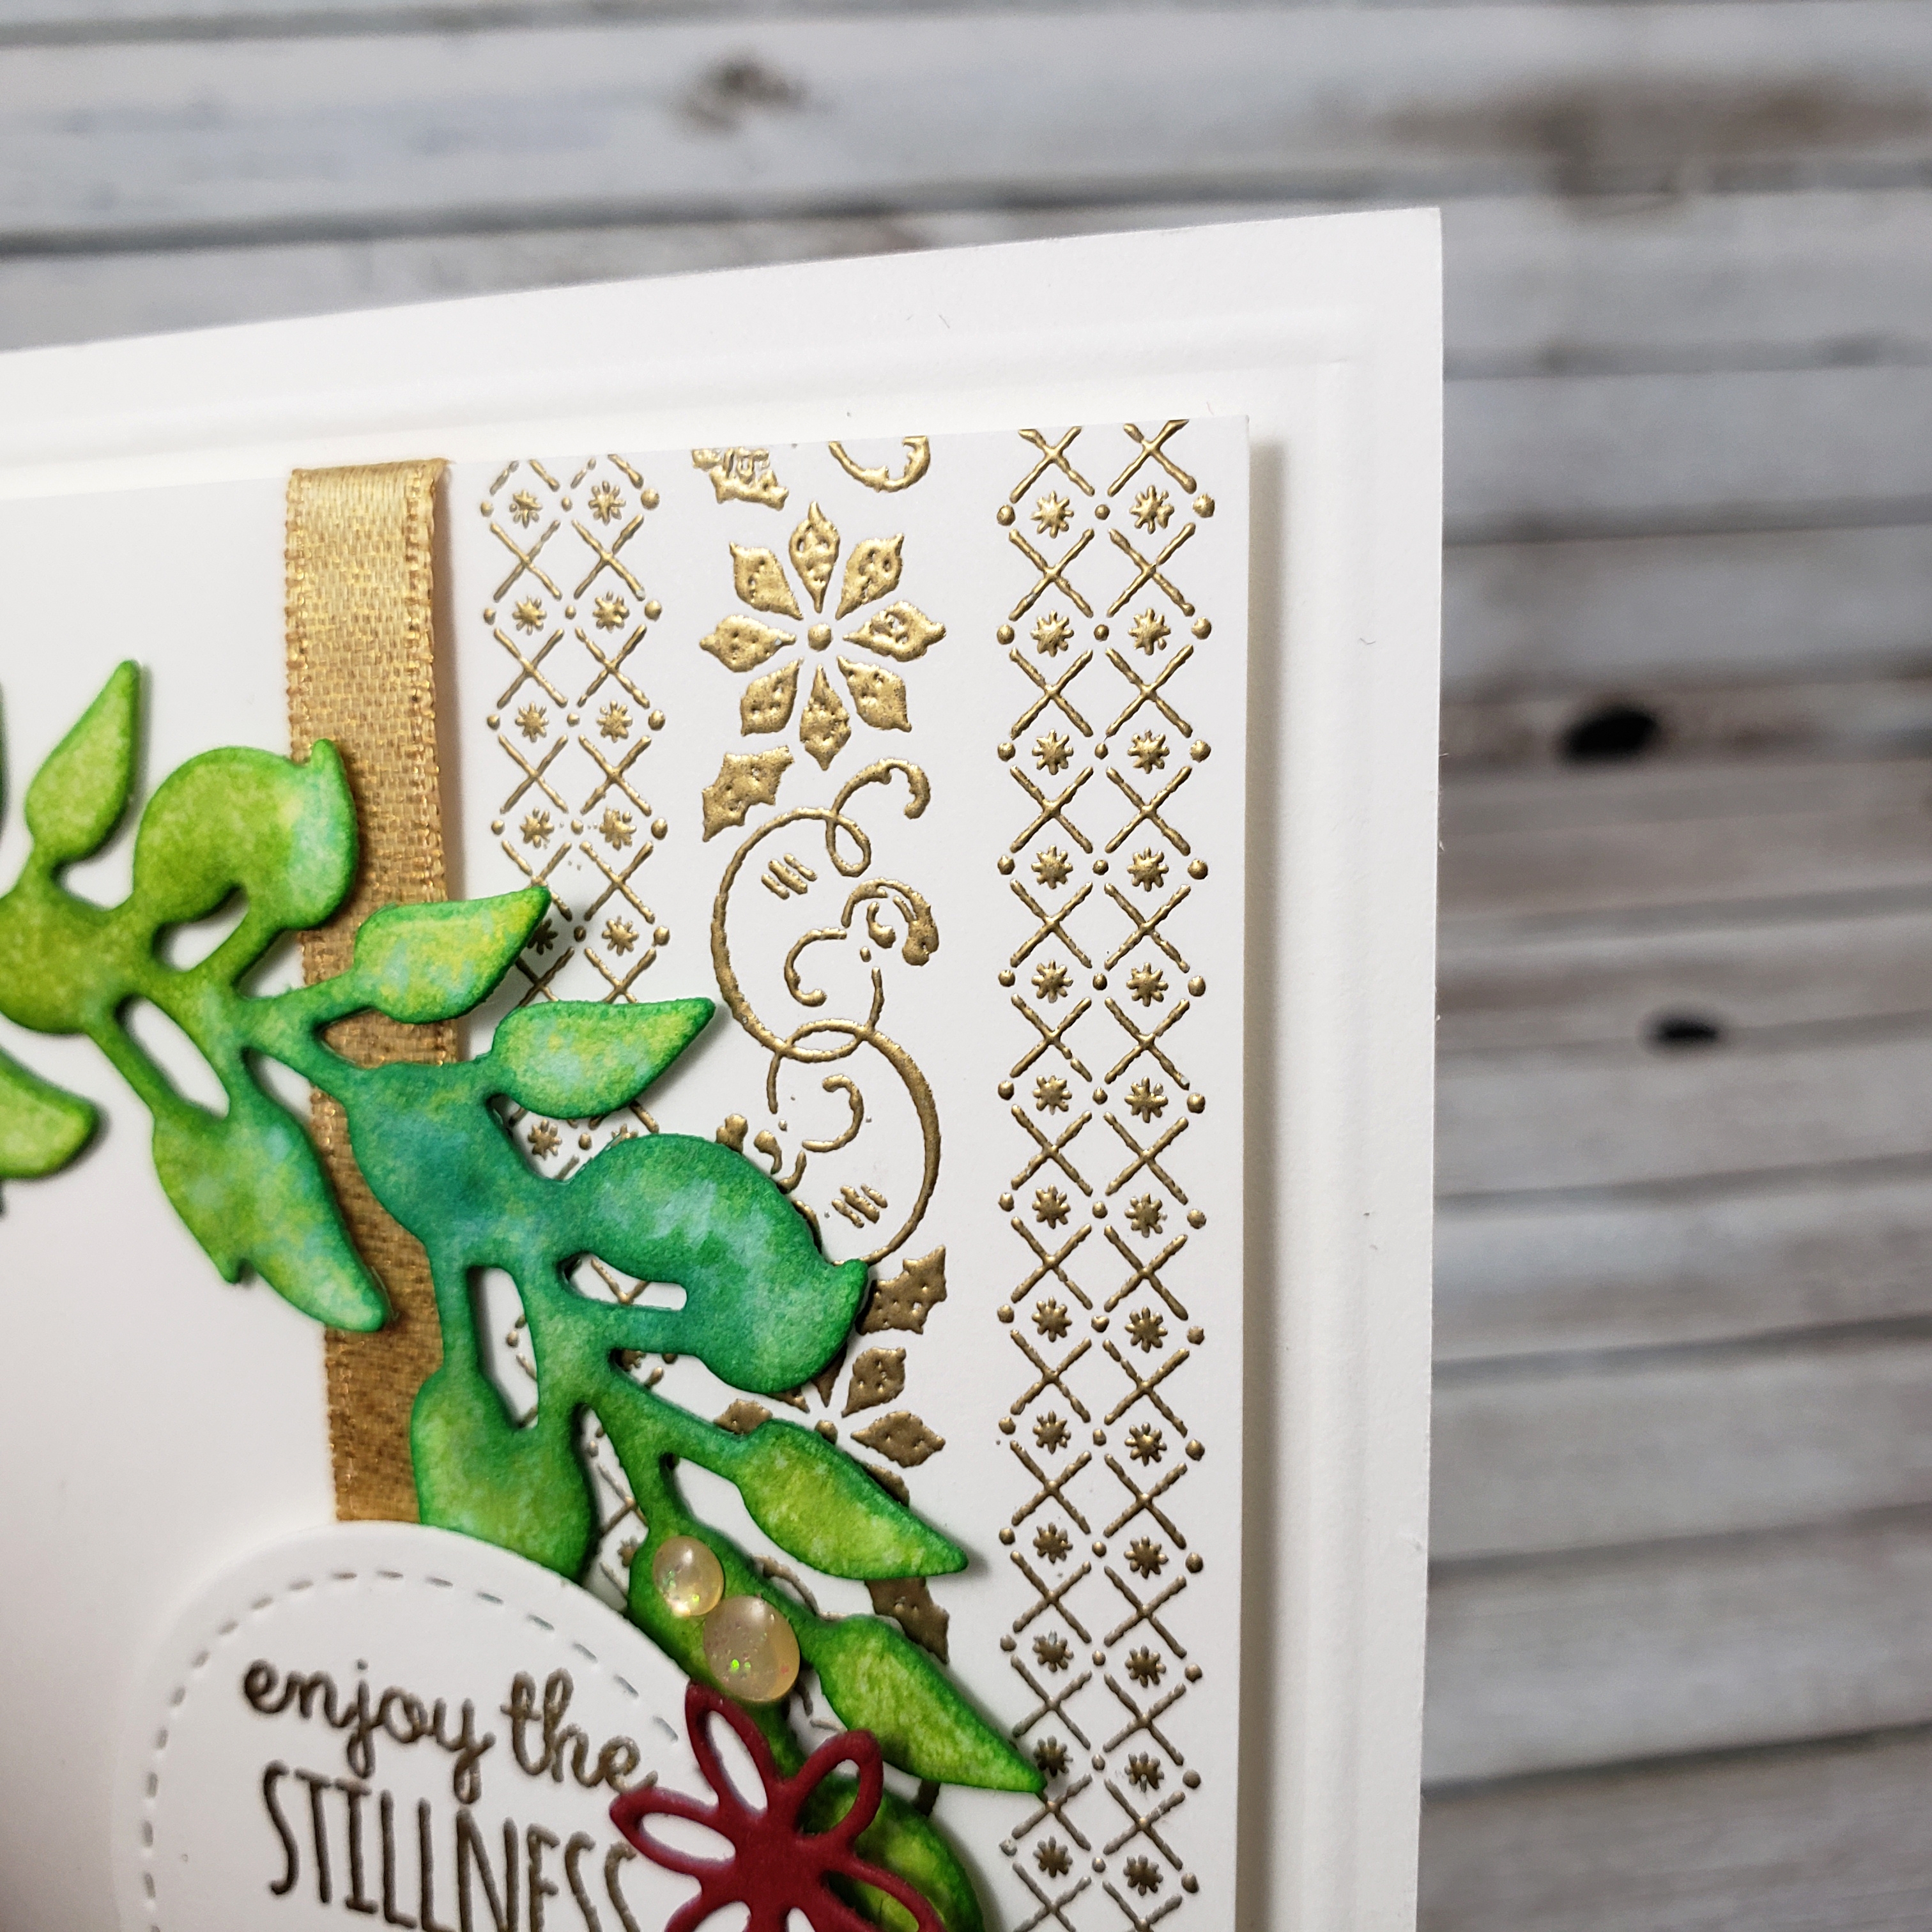
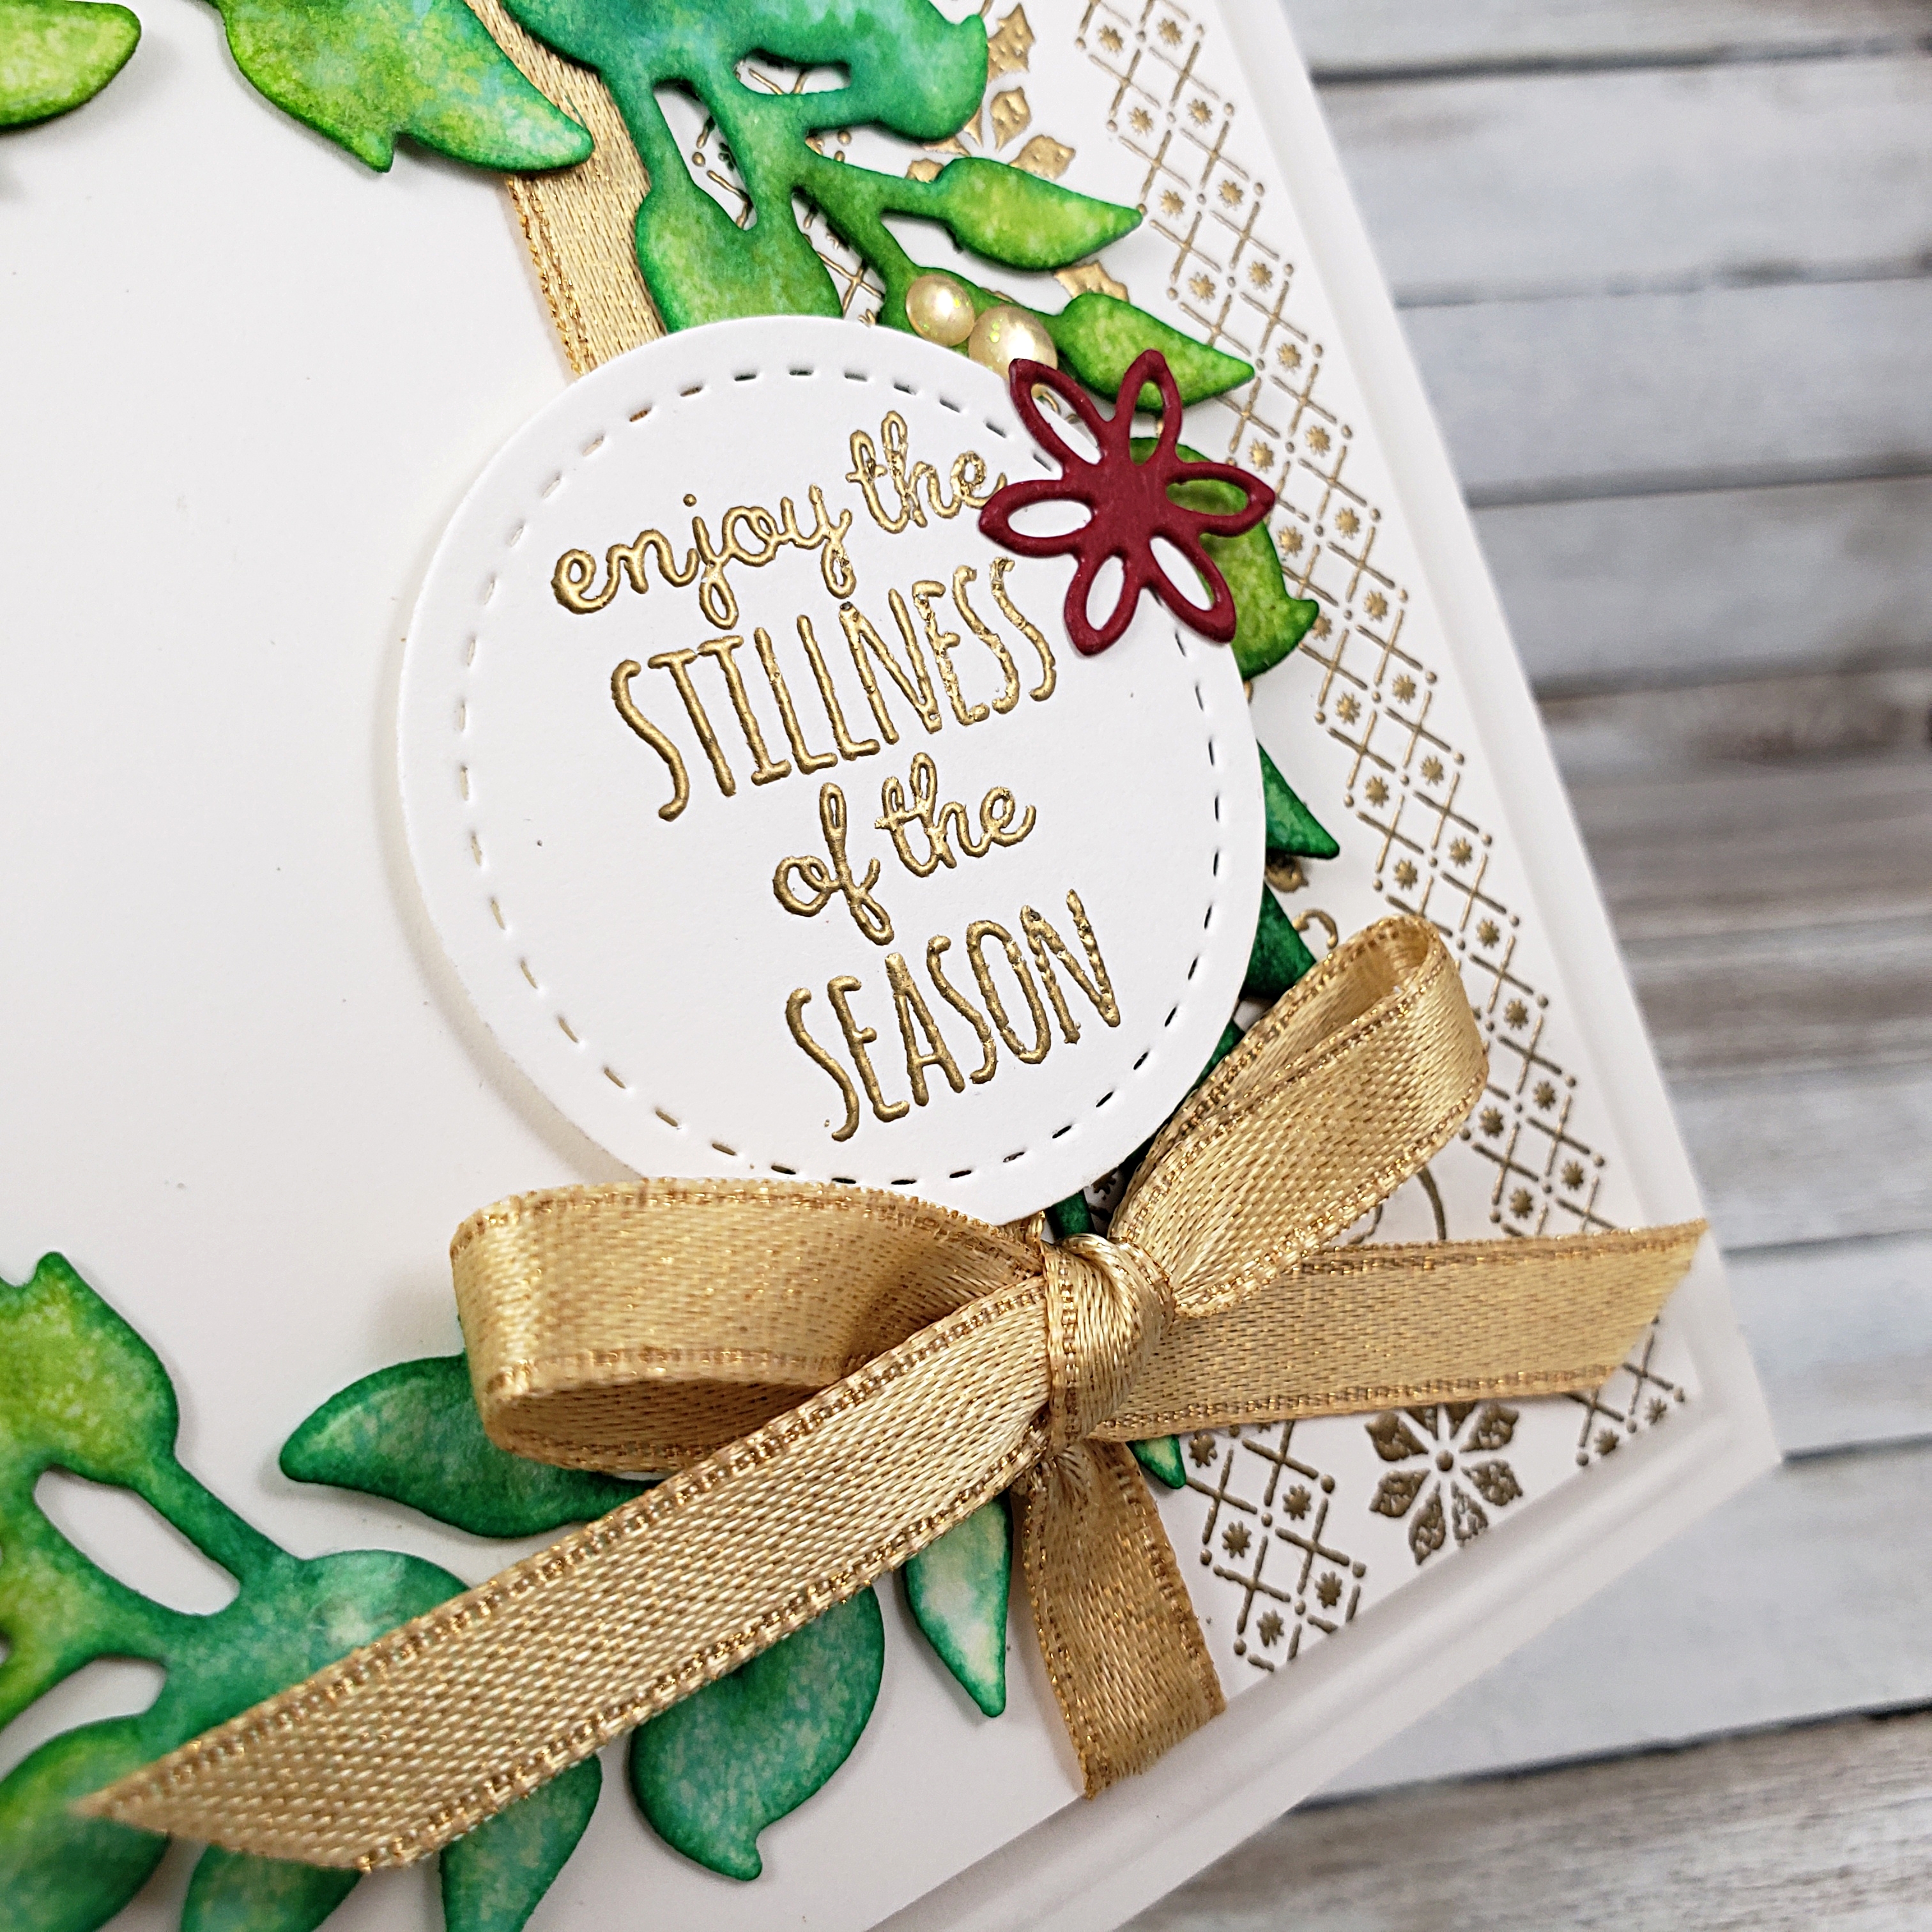
The next layer is a Whisper White square on which I stamped the line stamps from the Christmas Countdown Cling Stamp Set from Stampin’ Up!. I stamped these in Versamark ink and applied the Gold Embossing Powder, melting it to a beautiful shine with my Heat Tool. I wrapped the Gold 1/4″ Shimmer Ribbon (from the new and only available while supplies last, Christmastime is Here Suite!) around this piece and tied it in a bow. This was attached to the card base with Stampin’ Dimensionals.

The dry watercoloured wreath was attached to the front of the card with glue dots, but I had to cut it to be able to tuck it under the bow of my ribbon. Pretty sneaky, right!

The sentiment is from the Merry Moose stamp set and was stamped with Versamark ink on Whisper White cardstock. Once again, I applied the Embossing Powder and heat it with my Heat Tool, before cutting it in my die cutting machine with one of the circle dies from the Stitched Shapes Dies. This was applied to the card with Stampin’ Dimensionals.

The last few things to add were the gorgeous Gold Glitter Enamel Dots (from the Christmastime is Here Suite), and the Cherry Cobbler flower, which I die cut with my die cutting machine and the Detailed Deer Dies from Stampin’ Up!.

I followed the perimeters of the sketch challenge. I would say that I moved the location of my bow, but the basic sketch is still apparent, don’t you agree?

If you like the products I used on this card, you might want to go to my ONLINE STORE and see what else there is to get excited about! Have you seen the products in the Christmastime is Here Suite? Just beautiful! Definitely have a look.

… and don’t forget to try this sketch and play along with us at the As You See It Challenge Blog!

Okay, my ice cream is done. It was yummy.
Remember to Breathe

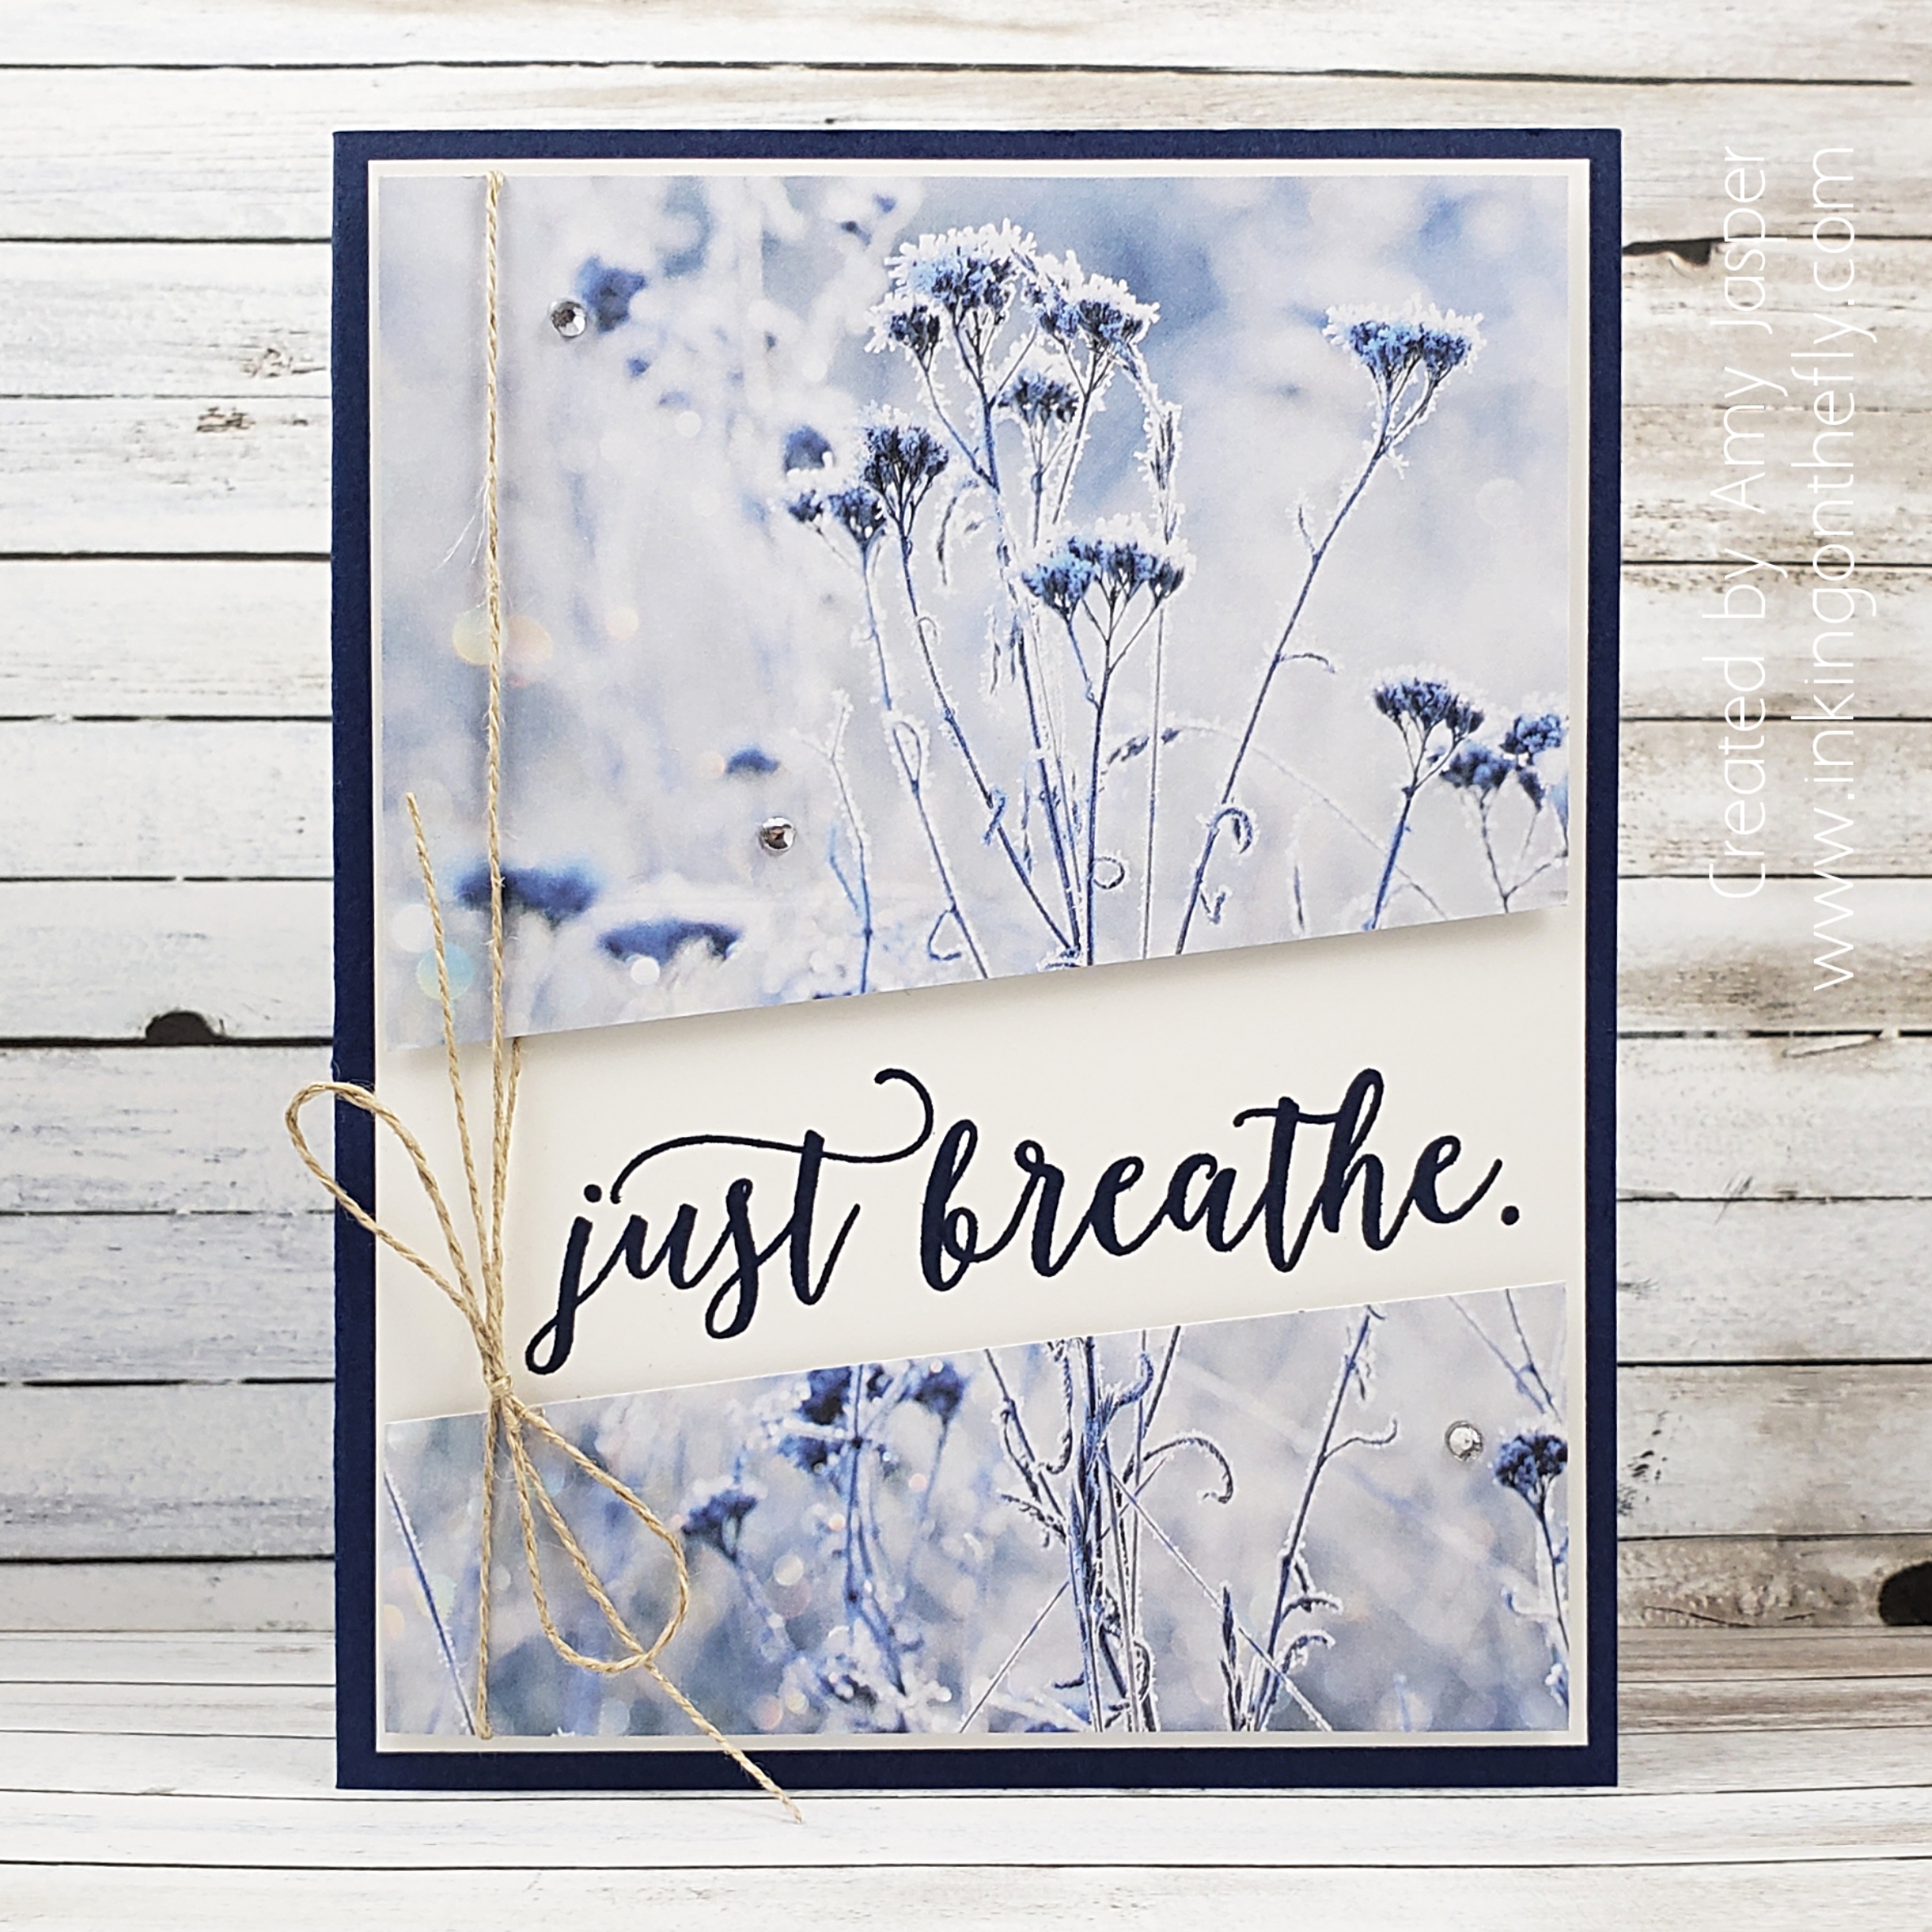
Today was a rough day. Lots of unplanned unpleasantness, resulting in a very frustrated, irritated, grumpy, and very spent, me. When I remembered that I hadn’t made my card for this challenge yet, I very reluctantly dragged myself into my messy and crowded craft room (I haven’t unpacked boxes from my last event yet and they’re all over the floor and completely in the way). I started to consider the card I would make and I realized that this card was going to be for me today. I reminded myself to breathe. The worst of the day is done. I got through it.

Just breathe.

Just breathe.

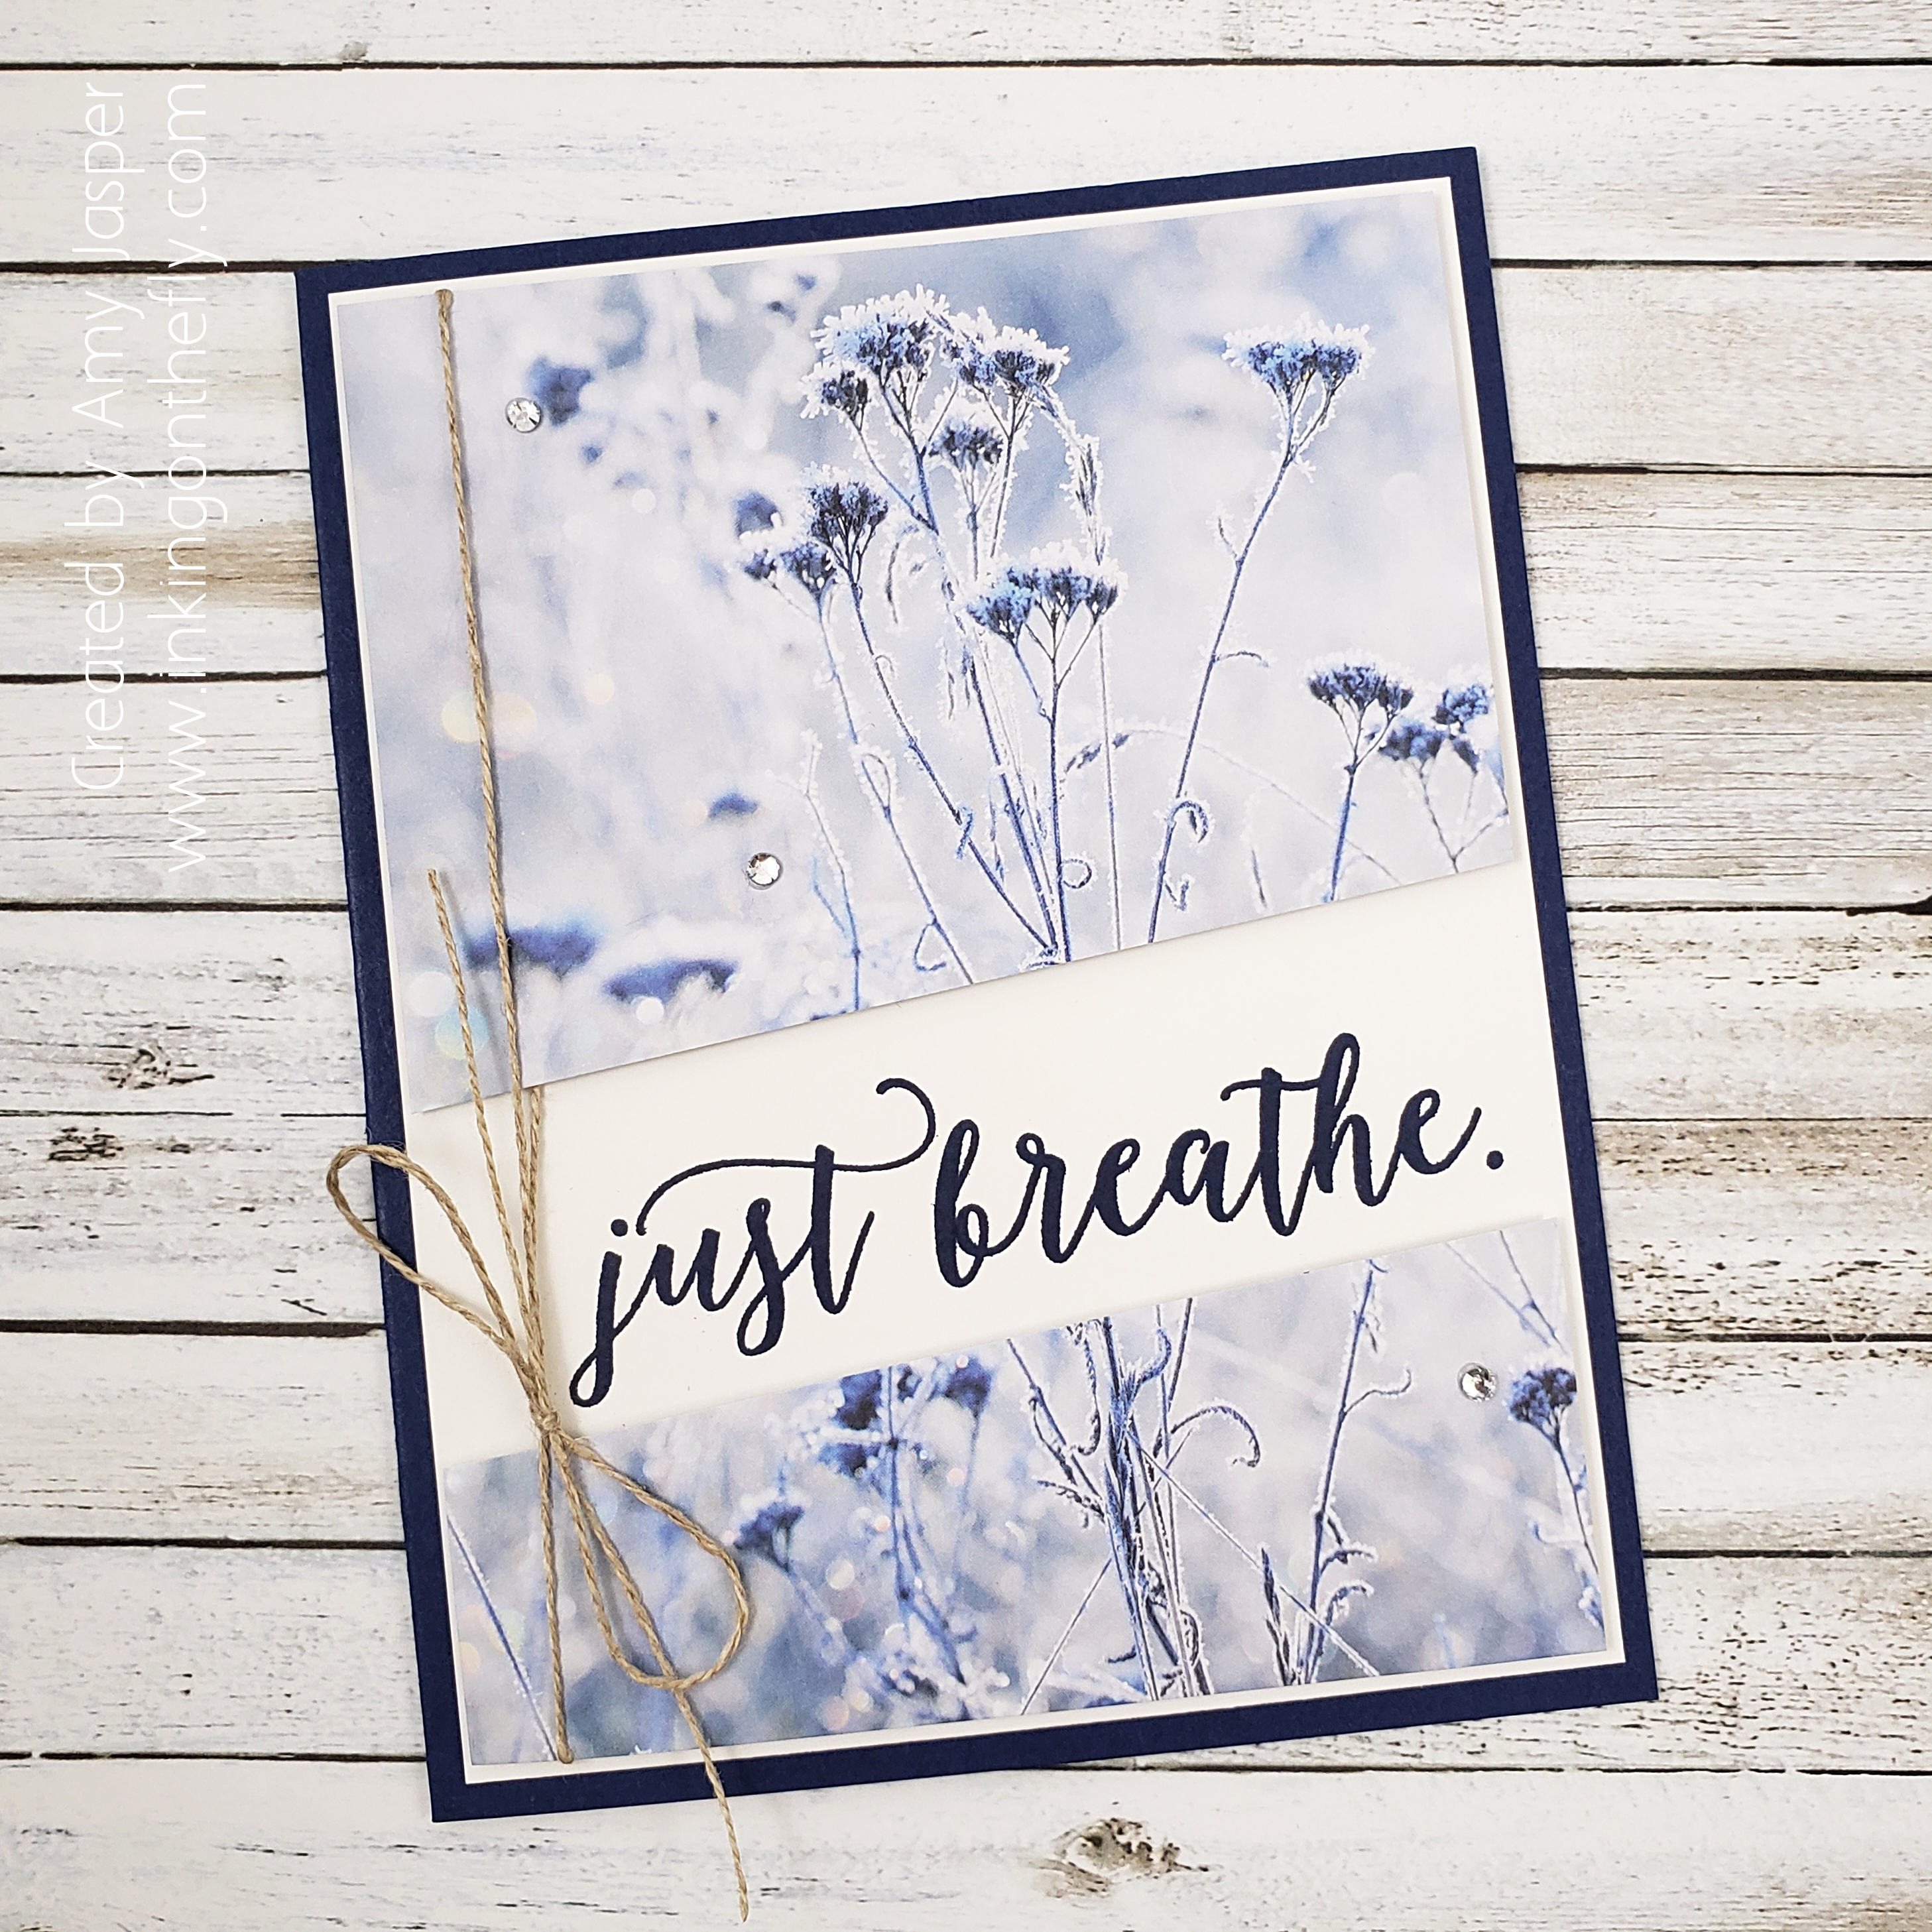
Today is a speed challenge on the As You See It Challenge blog. Not the best activity to take on at the end of the day when you’ve already been stressed and rushing around, but no problem. I didn’t rush. I knew what I wanted to do. I had a plan. I took it slow. (well, not too slow!)

Even with taking it easy, I made this card in 8 minutes and 10 seconds. Attaching any kind of ribbon always adds a significant amount of time for me, but I think it was worth it.

I made a card with a similar layout just the other day, so the basic measurements were fresh in my mind, even though it was different paper, stamps, and embellishments.

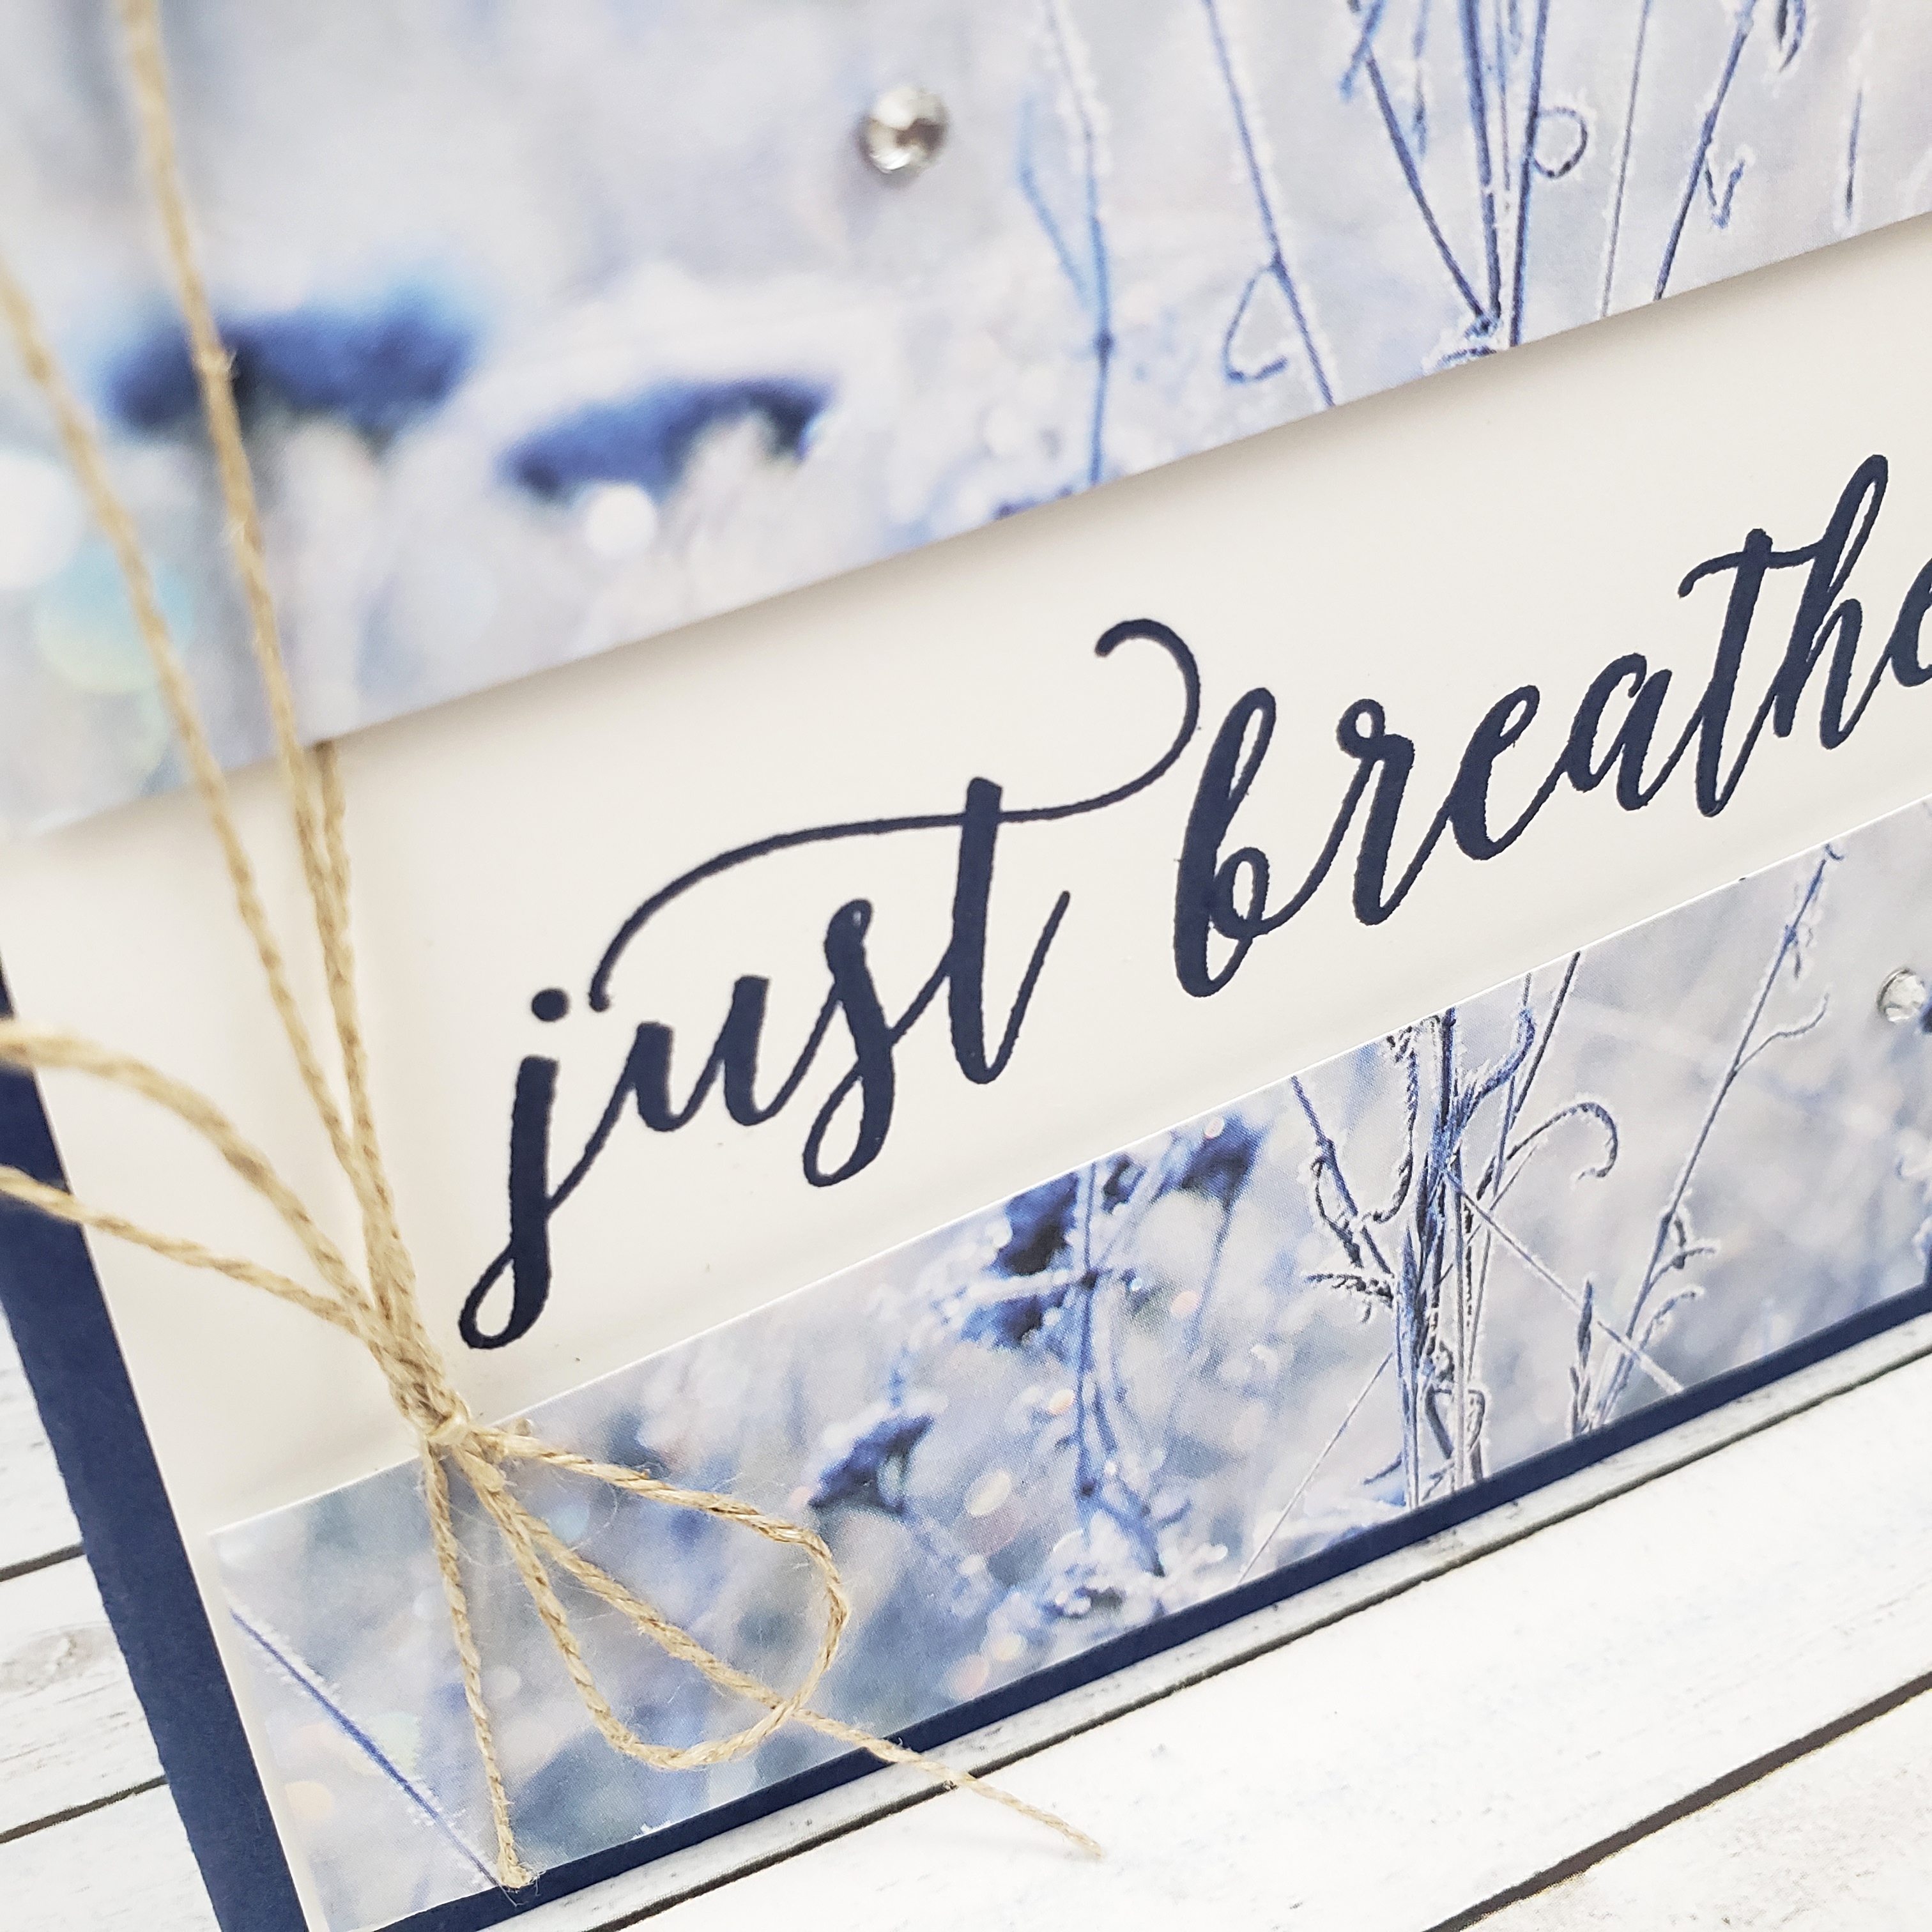
The Feels Like Frost Designer Series Paper makes anything look amazing, don’t you think! It feels like cheating! I cut mine to 3-7/8″ x 4″, then cut it on a diagonal so I could split it over the piece of 4″ x 5-1/4″ Whisper White cardstock. I laid the lower portion of the split dsp on the Whisper White cardstock so that I could use it as a guide to position my stamped words from the Colorful Seasons Photopolymer Stamp Set, which I stamped in Night of Navy ink.

Before attaching the Feels Like Frost pieces with Dimensionals, I laid the length of Linen Thread down the left side of the Whisper White cardstock so I could tie it after the dsp was adhered.

The Whisper White is layered on a Night of Navy cardstock base. Clean and fresh. Breathe in. Breathe out.

The finishing touch was to add the three Rhinestone Basic Jewels to the Feels Like Frost Designer Series Paper.

And the very last thing was to actually do what the card says, just breathe. Ahhhh. Feels good.

My day is behind me now and tomorrow will be better.

As always, you can order the products featured in my post, by going to SHOP in the menu at the top of the page, or click on the SHOP circle on the sidebar if you’re on your computer.

Now, go and try this speed challenge and share it with us at the As You See It Challenge blog. We want to see your creations!

Moose Birthday

Another challenge card for you today, inspired by the As You See It Challenge Blog.

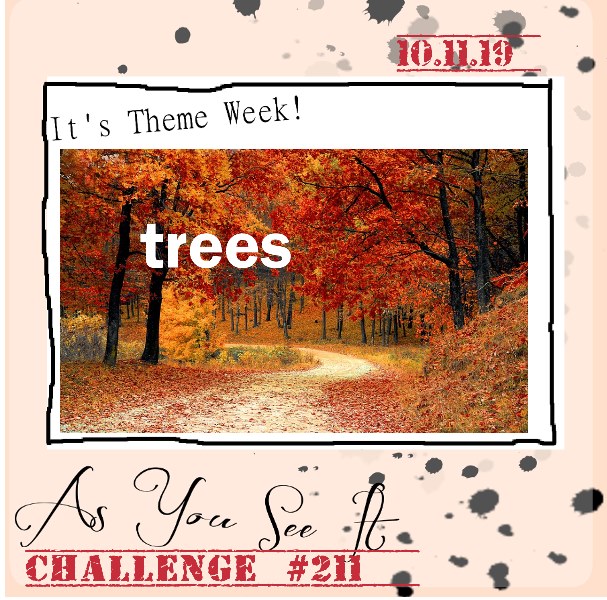
Here’s the theme challenge:

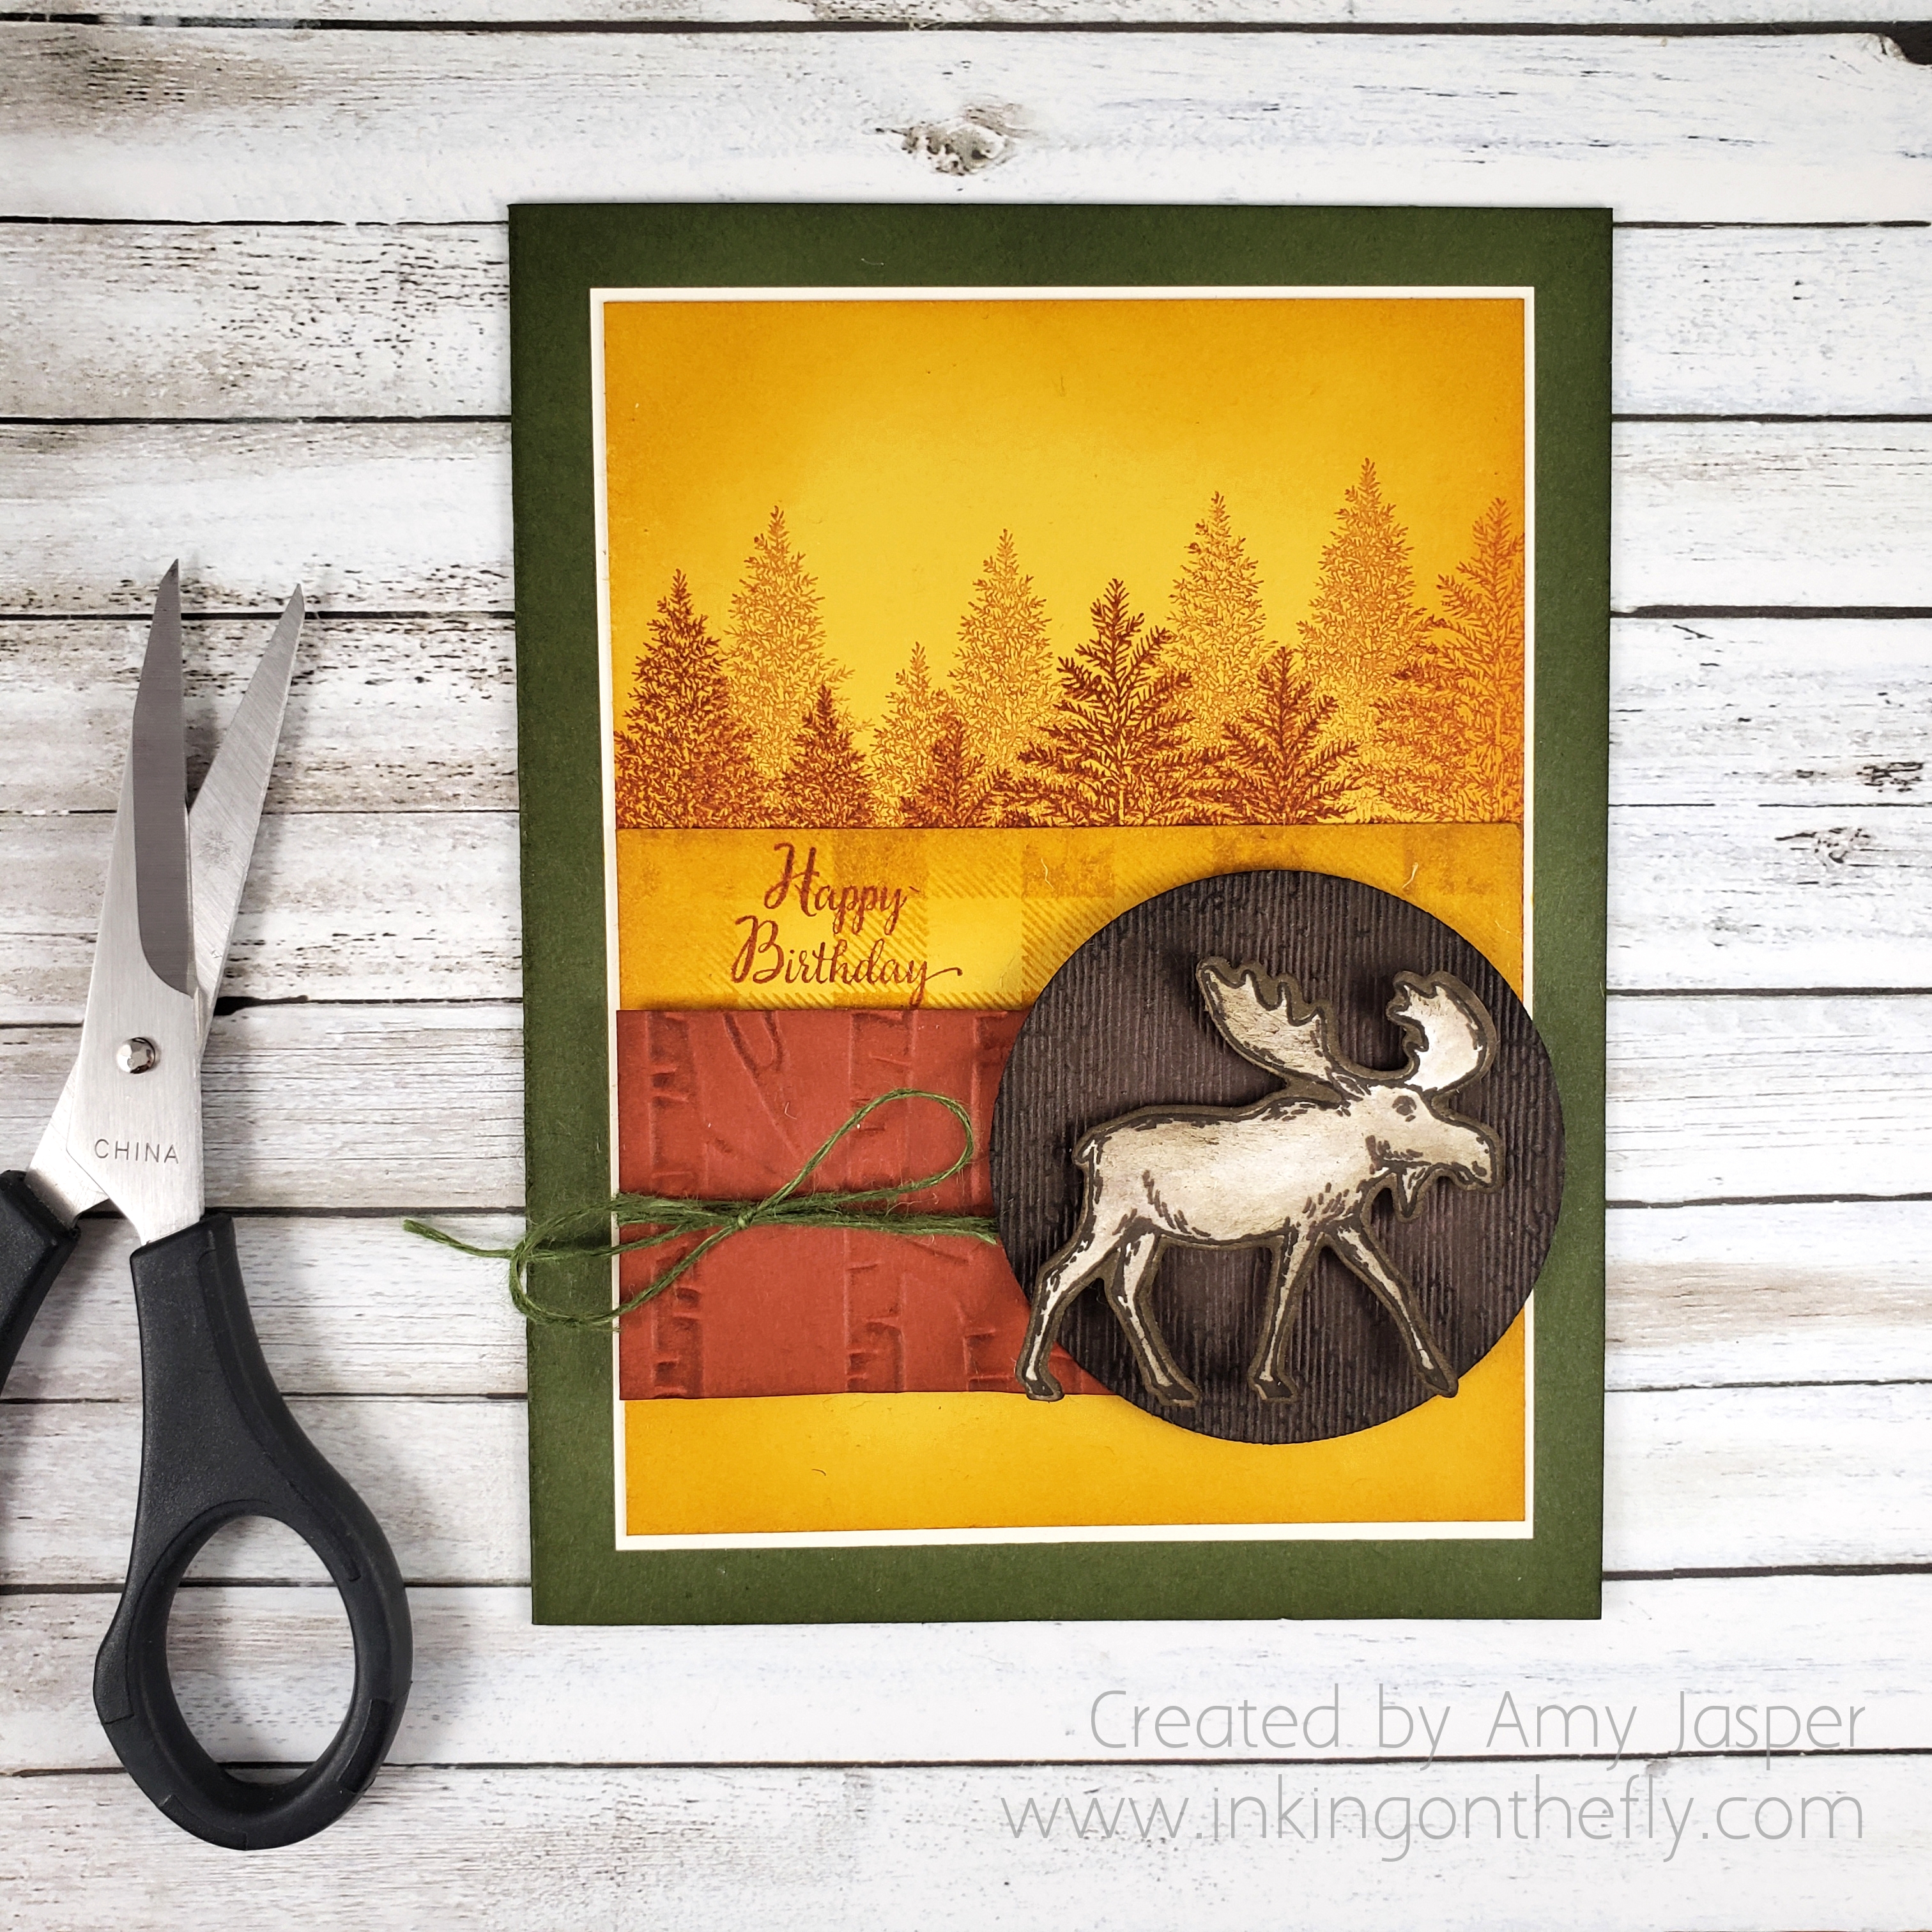
I decided to take the tree theme and go with the autumn colours, using my beloved Merry Moose stamp set from Stampin’ Up!

I love moose! How many other creatures do you know of that are so majestic and awkward-looking at the same time!

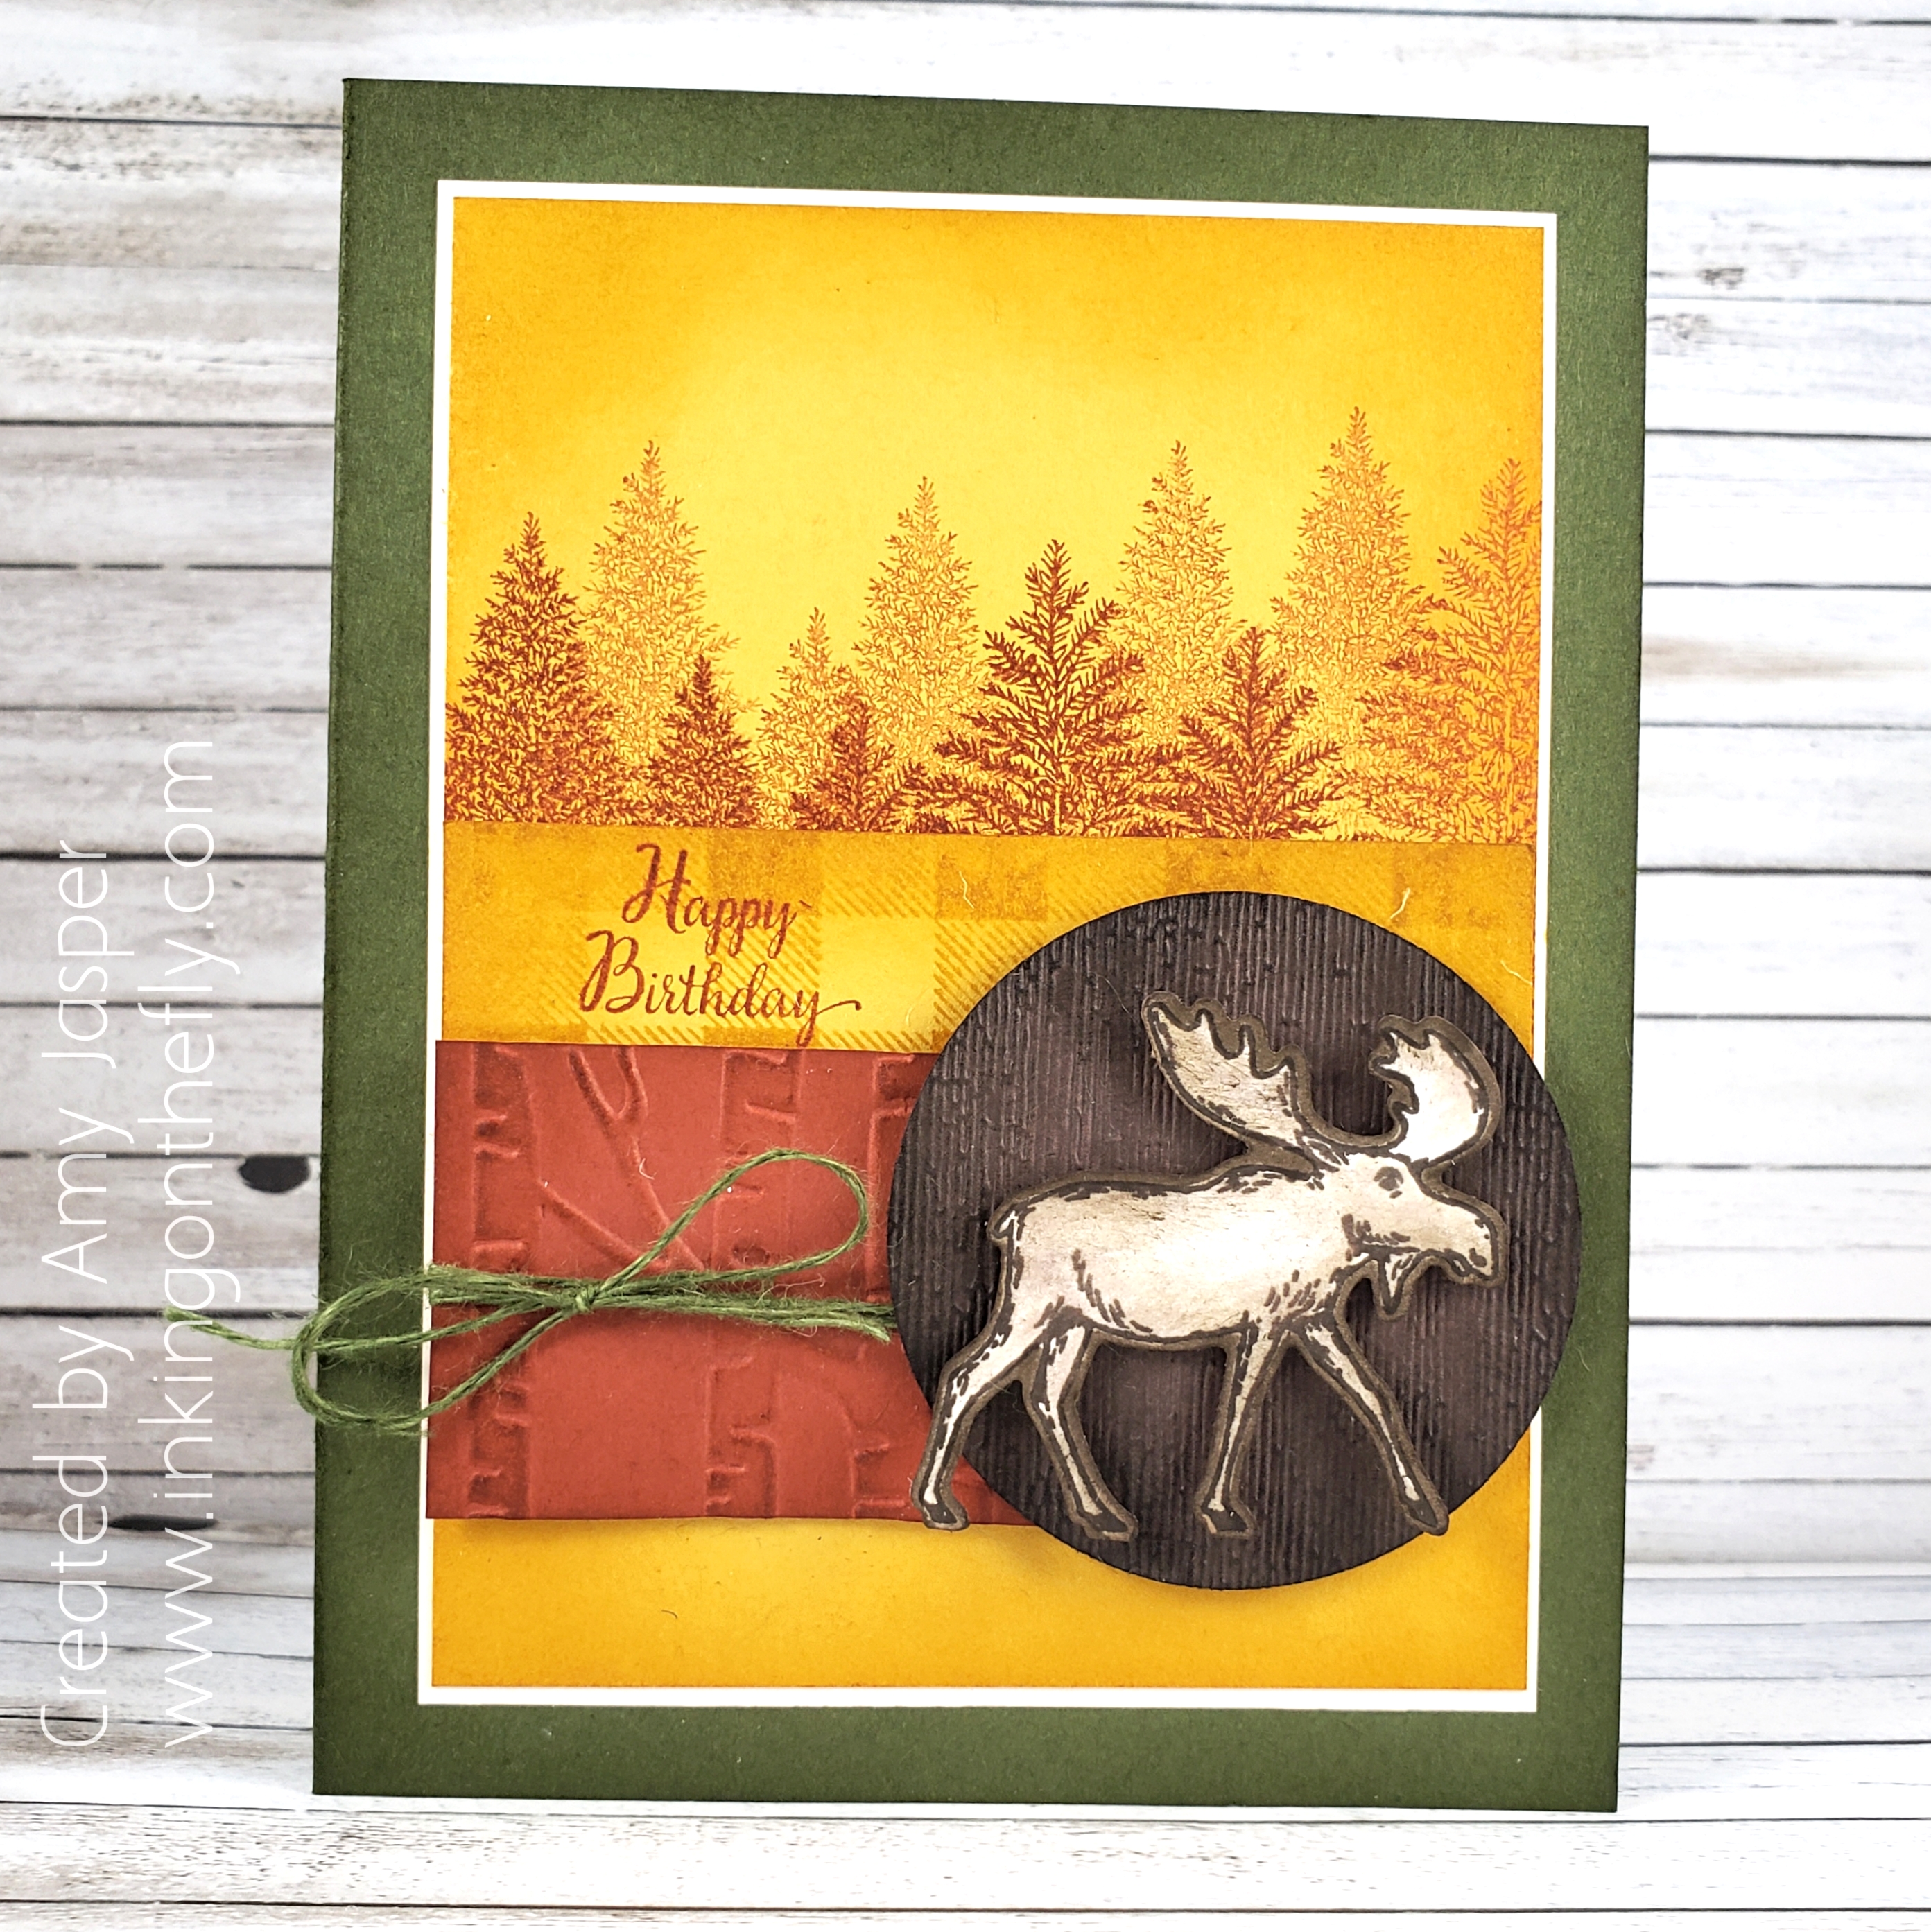
The card base is Mossy Meadow. I deepened the colour by sponging Mossy Meadow ink around the edges of the card base. In fact, I was a happy little sponger and did that with all of the paper pieces on this card (excluding the Very Vanilla matte, which I left clean. Each piece has the edges sponged with the coordinating ink.

The Crushed Curry background layer has multiple trees from the Merry Moose stamp set, stamped with Cajun Craze ink. Some are stamped full strength and some are stamped off to create some depth to the scene. I also added a strip of Crushed Curry cardstock, which was stamped with the Buffalo Check background stamp from Stampin’ Up!. For that I used Crushed Curry ink for a tone on tone effect. The Happy Birthday sentiment is from the Stampin’ Up! host stamp set, New Wonders, and is stamped with Cajun Craze ink.

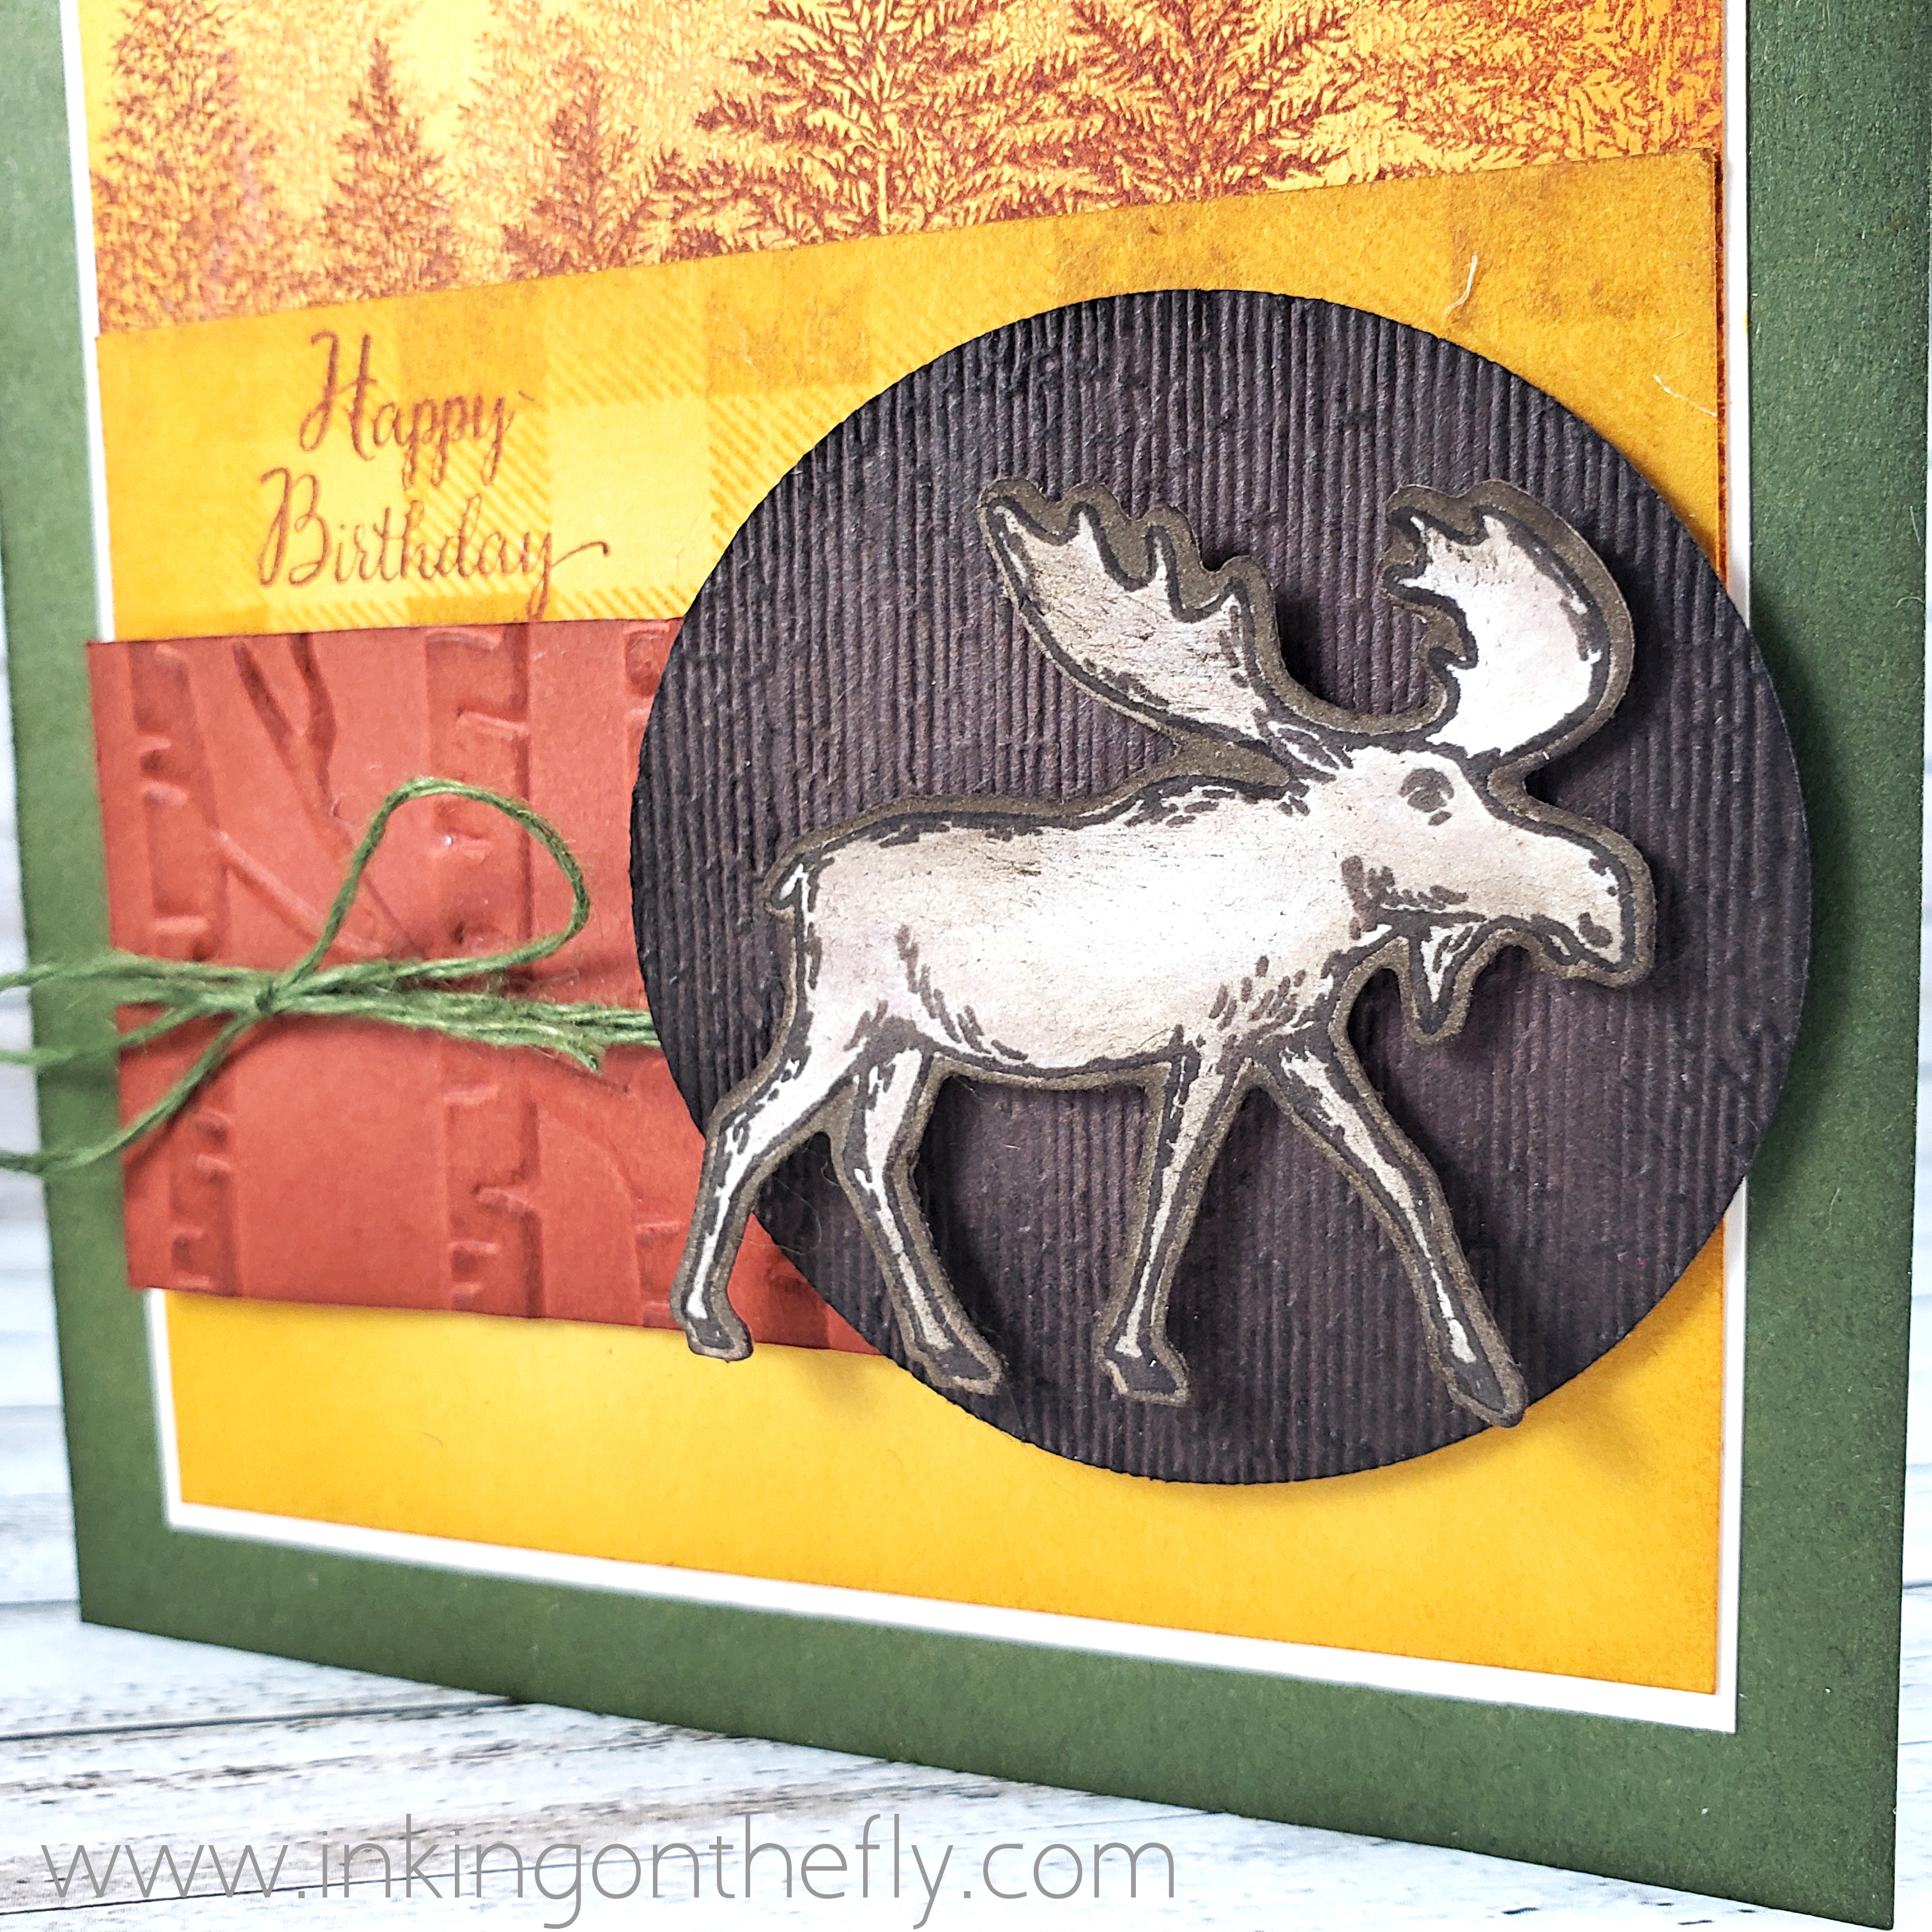
You can also see that I used the Woodland Embossing Folder on the Cajun Craze strip of cardstock and the Subtles Embossing Folder on the circle, which was punched from Early Espresso paper with the 2-1/4″ circle punch.

My moose was stamped with Early Espresso ink on Whisper White cardstock. I used my Blender Pen to drag some of the ink from the lines of the image and shade my moose. I also coloured around the outside of my moose after I punched him out (ooh, that sounds so violent!) with the coordinating Moose Punch. I don’t like leaving a white edge around a cut image very often and choose to coordinate it with whatever the colour is behind it. A bit of sponging was added to the edges of my moose in Soft Suede ink to add a little bit more shading.

The Mossy Meadow linen thread was tied around the Cajun Craze piece of cardstock before adhering it and the Early Espresso circle to my card front with Stampin’ Dimensionals. The moose is also on dimensionals.

As always, you can purchase any of the stamping supplies that I use on my blog. Just click on the SHOP button in the sidebar or in the menu at the top of the page. Not in Canada? No problem. There are Stampin’ Up! Demonstrators all over the world.

Why not give the theme challenge a try? If you do, be sure to upload it to the As You See It Challenge blog and show us your take on the theme!