Christmas

Winter Wonderland Sleigh Ride

Busy busy busy.

That’s my little life in September every year and EVERY year I forget that I shouldn’t plan any extra activities. With the kids back in school, there’s plenty of tasks to do that keep me hopping. I don’t need to add more… yet that’s what I do every year, lol!

Being busy is a good feeling. Feeling stressed and overwhelmed is NOT. It can be difficult to find a balance. So, last week I didn’t do the As You See It Challenge and didn’t post to my blog. What I did instead was continue planning for the fundraising event for which I have volunteered to sponsor and teach a class. This is a new experience for me and is very unfortunate to be occurring in September when life is already so busy. My hope is that it will be a rewarding experience and that I will come away from it ready to plan for the next one! As long as I can get through the next couple weeks!

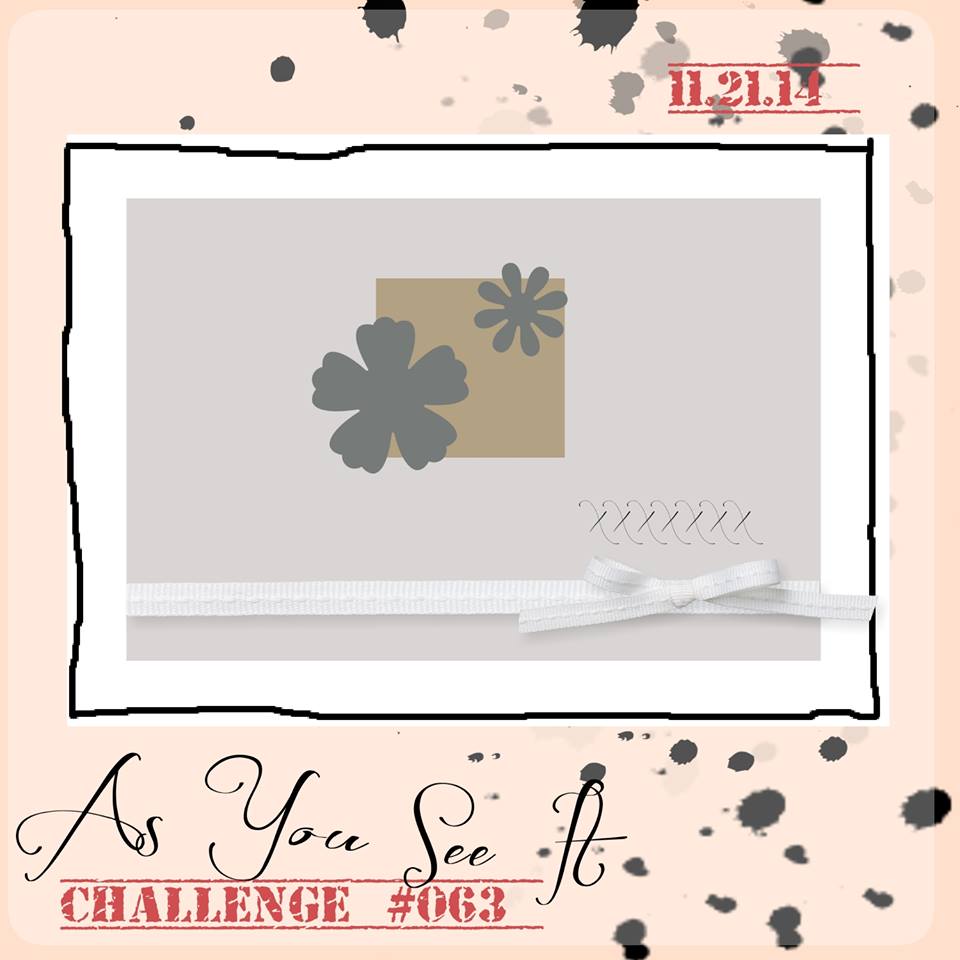
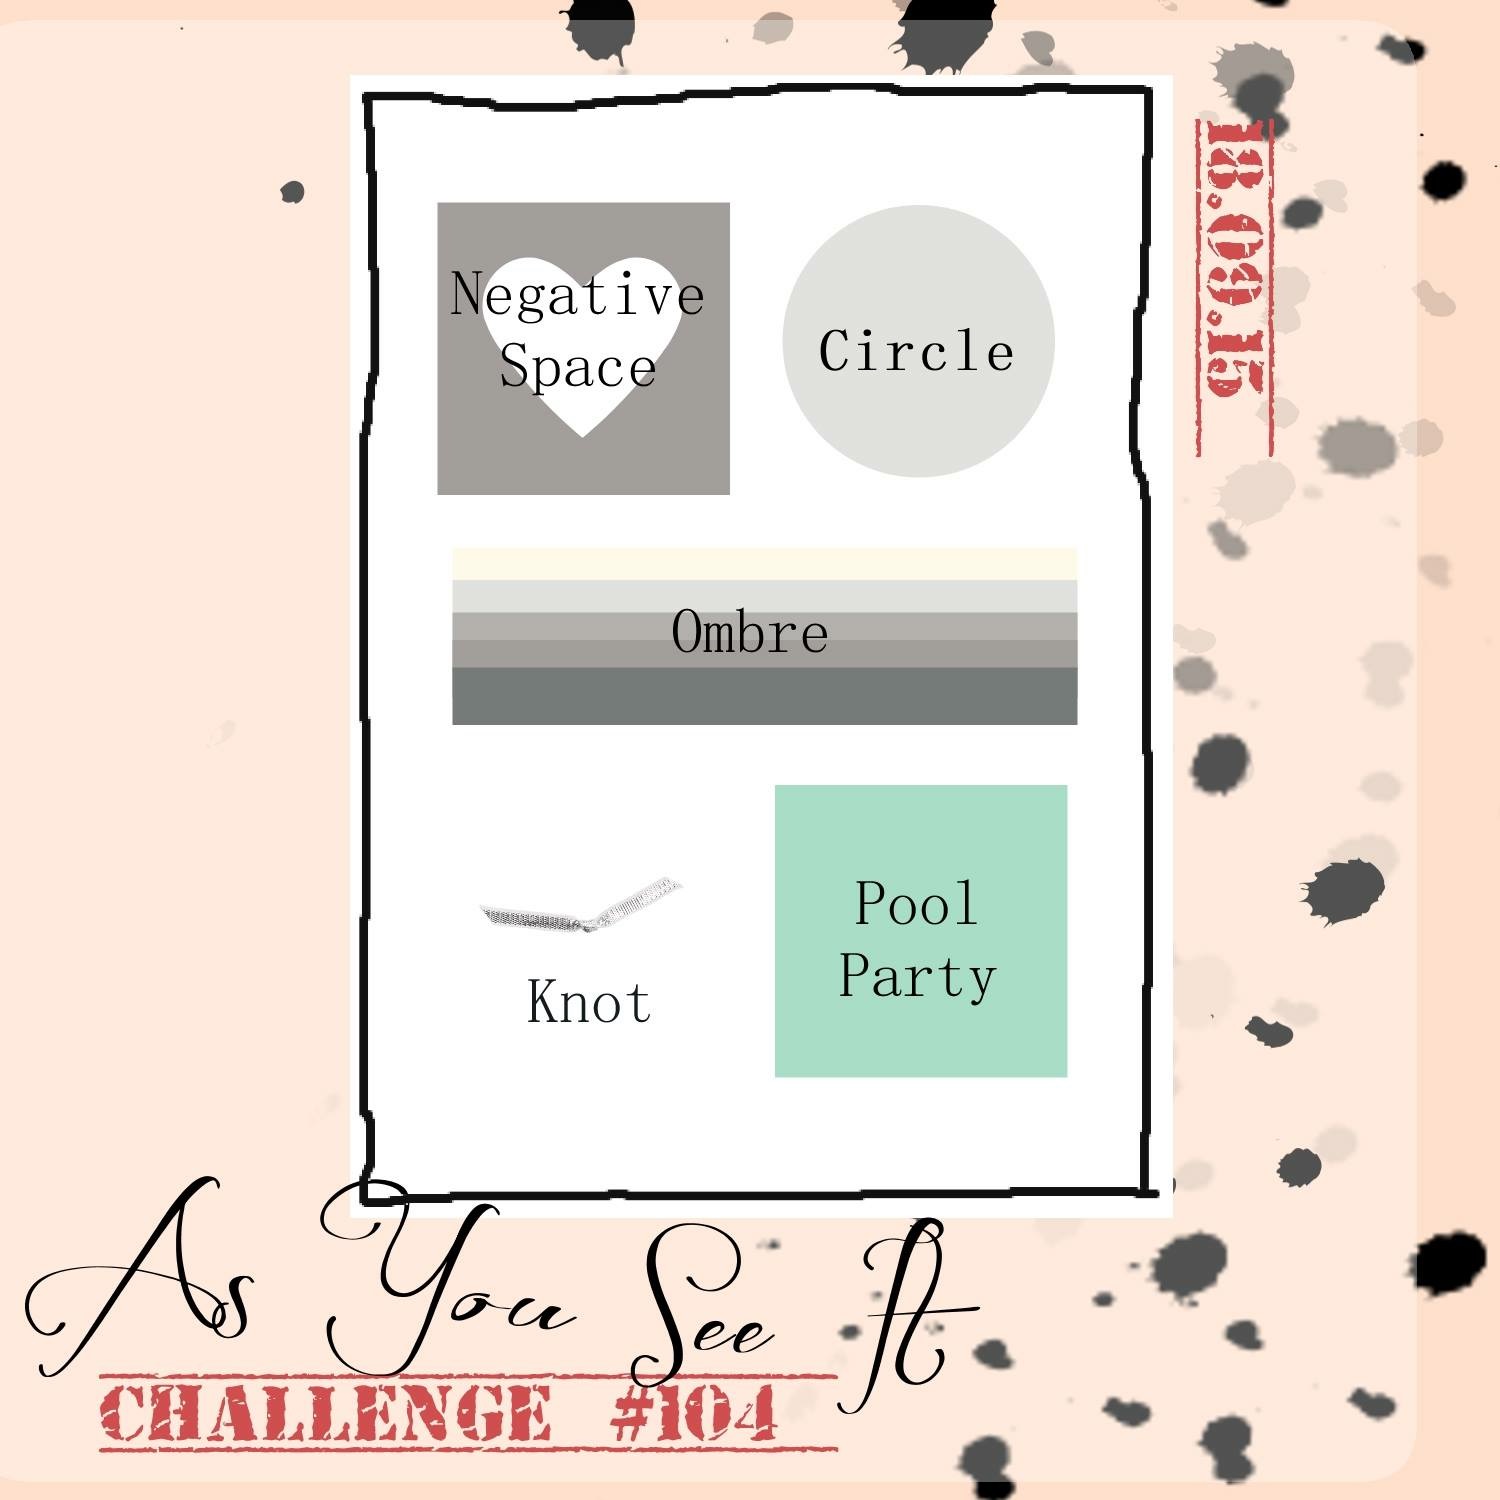
The As You See It Challenge blog has an assortment challenge this week.

IMG_6664
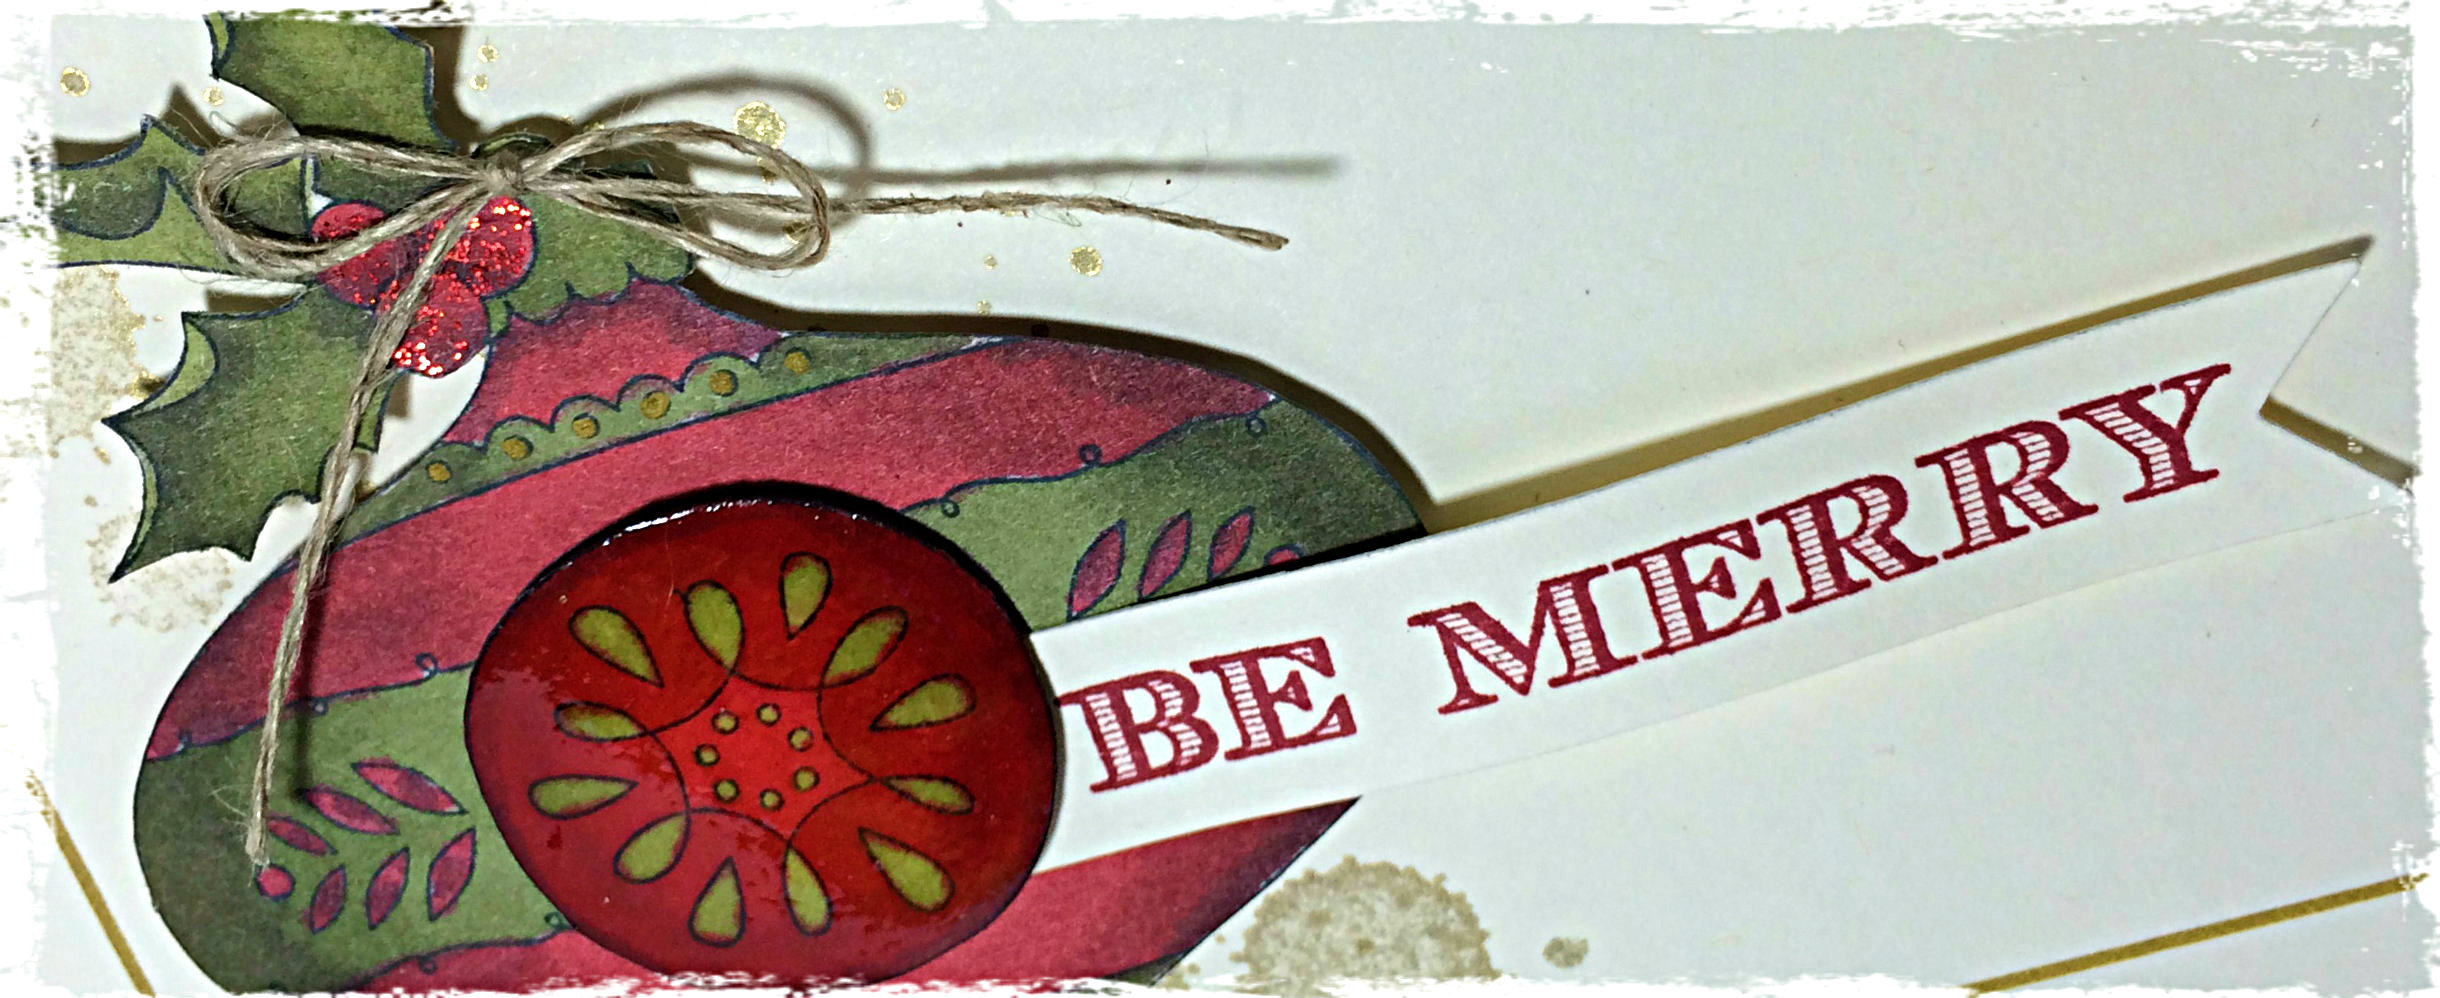
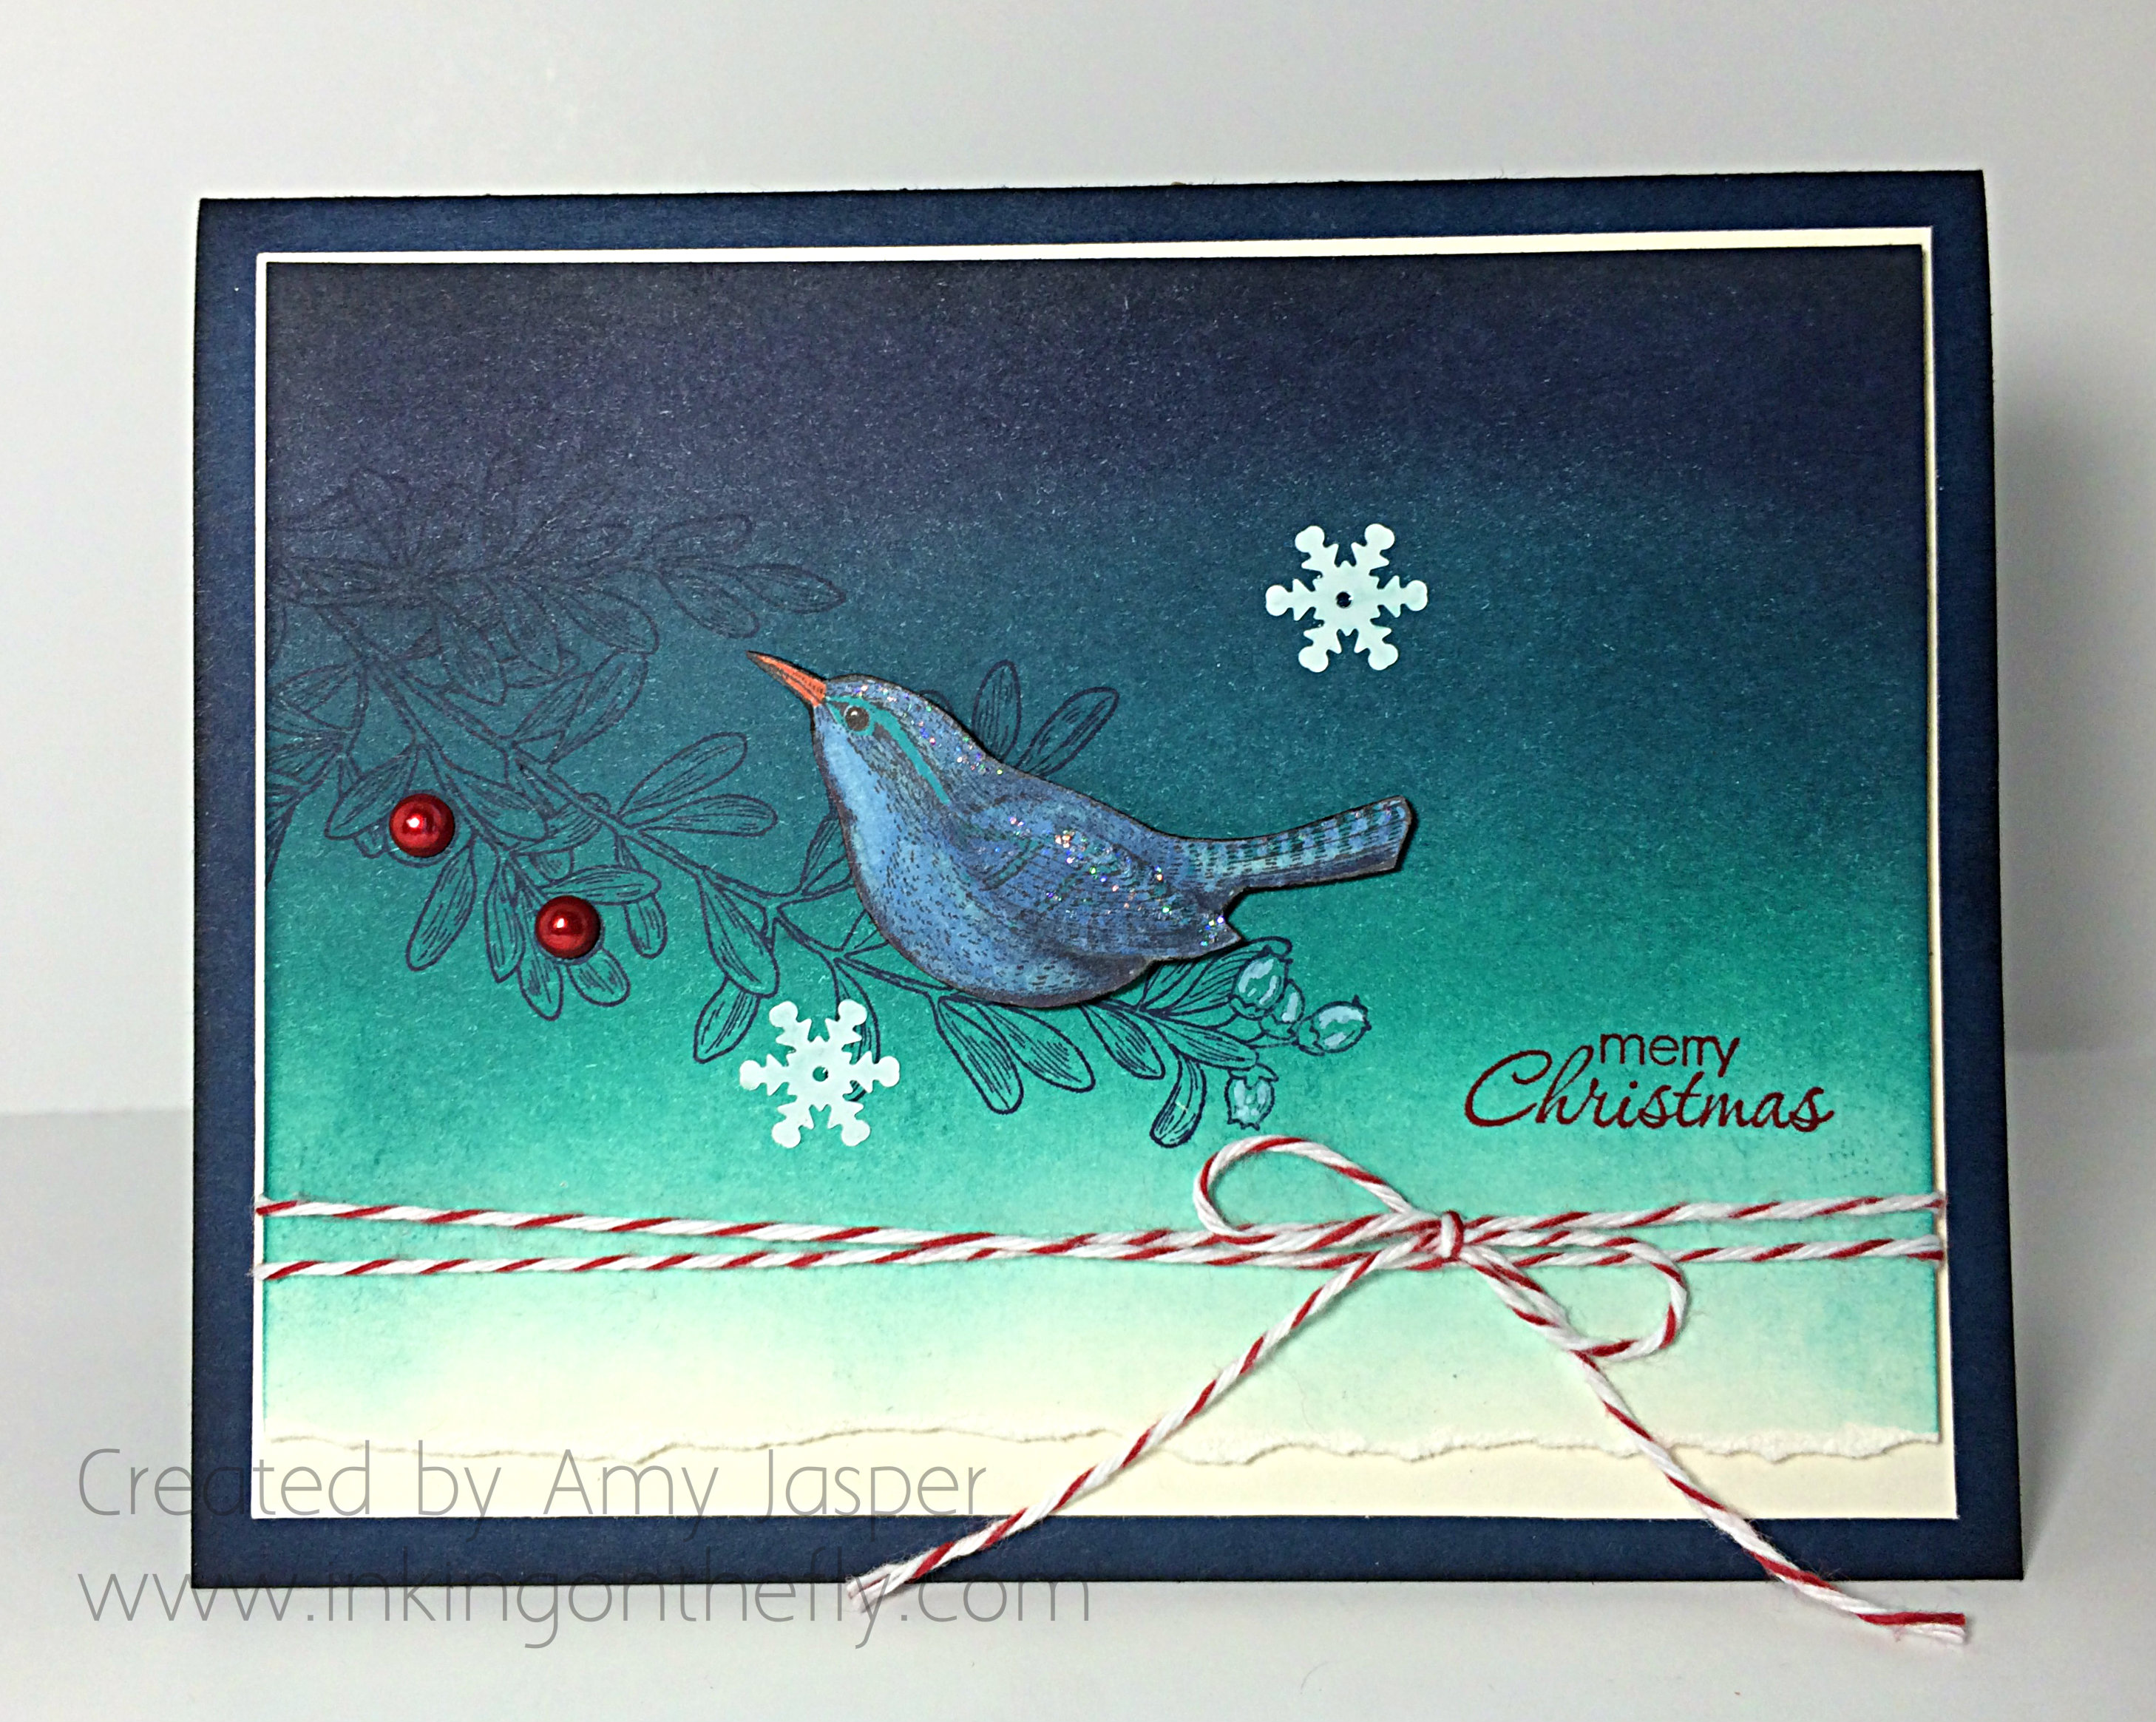
With my current level of stress, I’m not surprised that I chose this colour scheme, these images, and this sentiment. I’d be able to handle things being a bit calmer and a bit brighter. Who wouldn’t!?

Winter sleigh
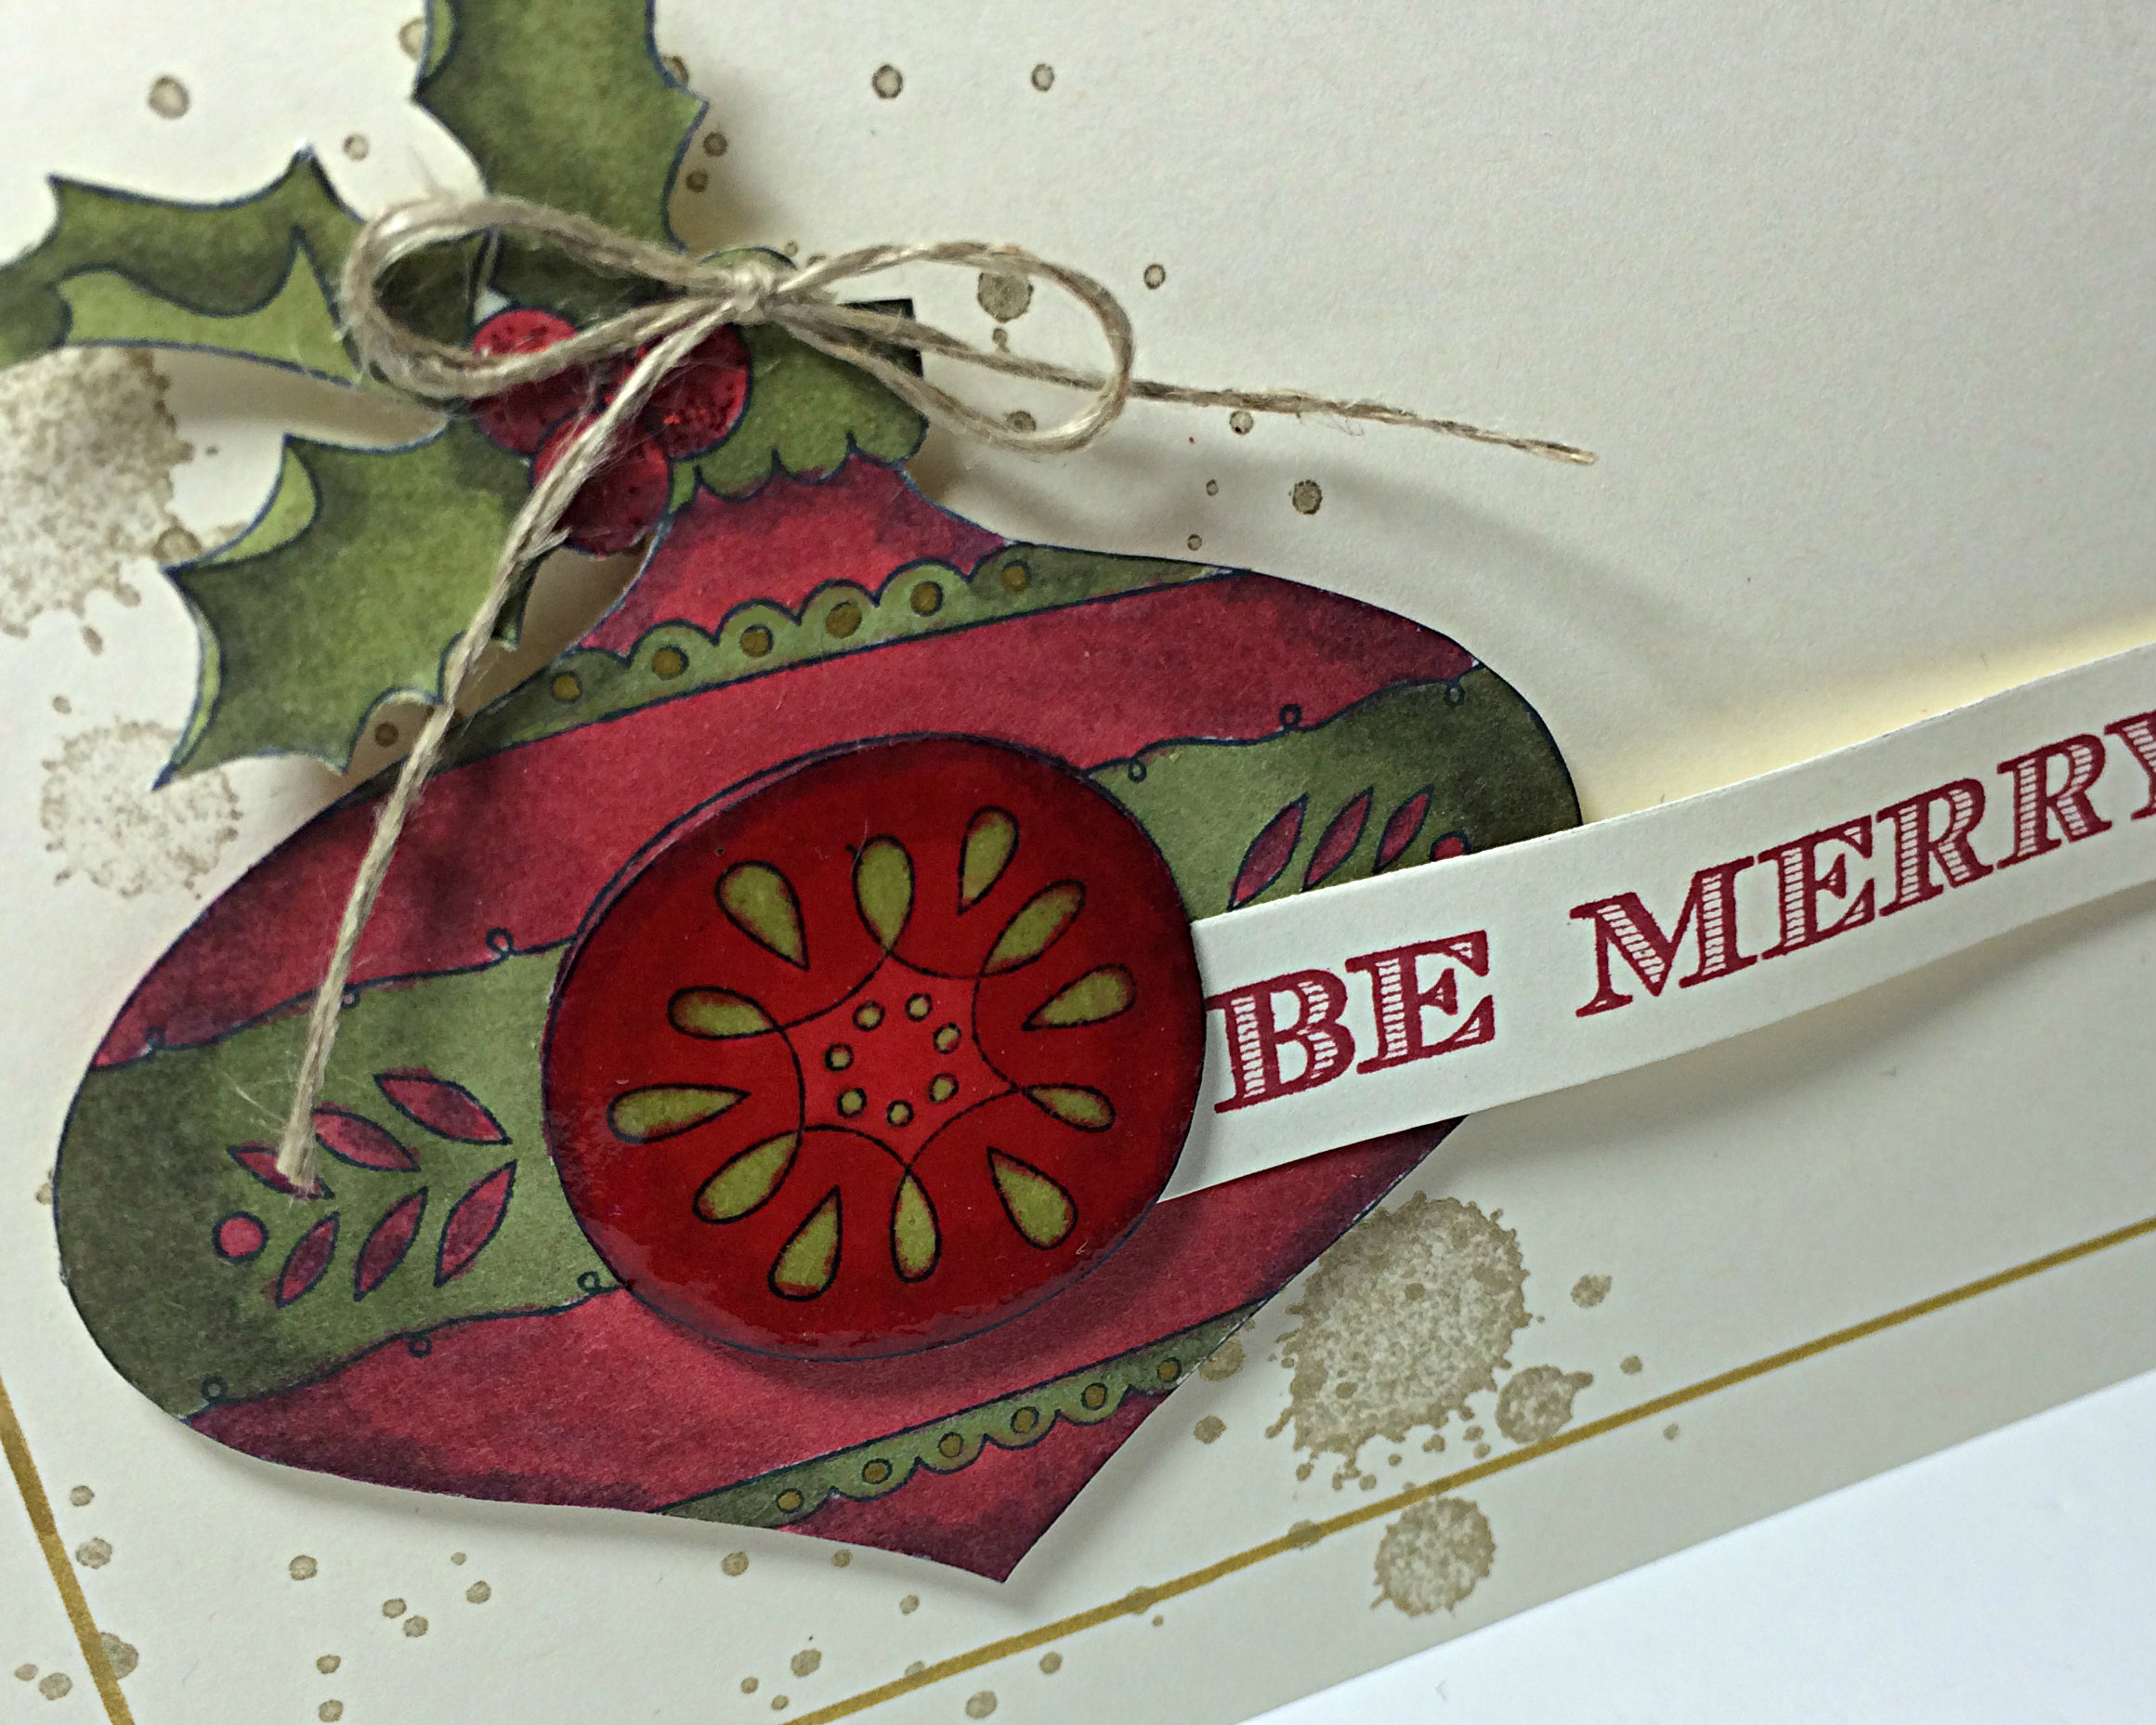
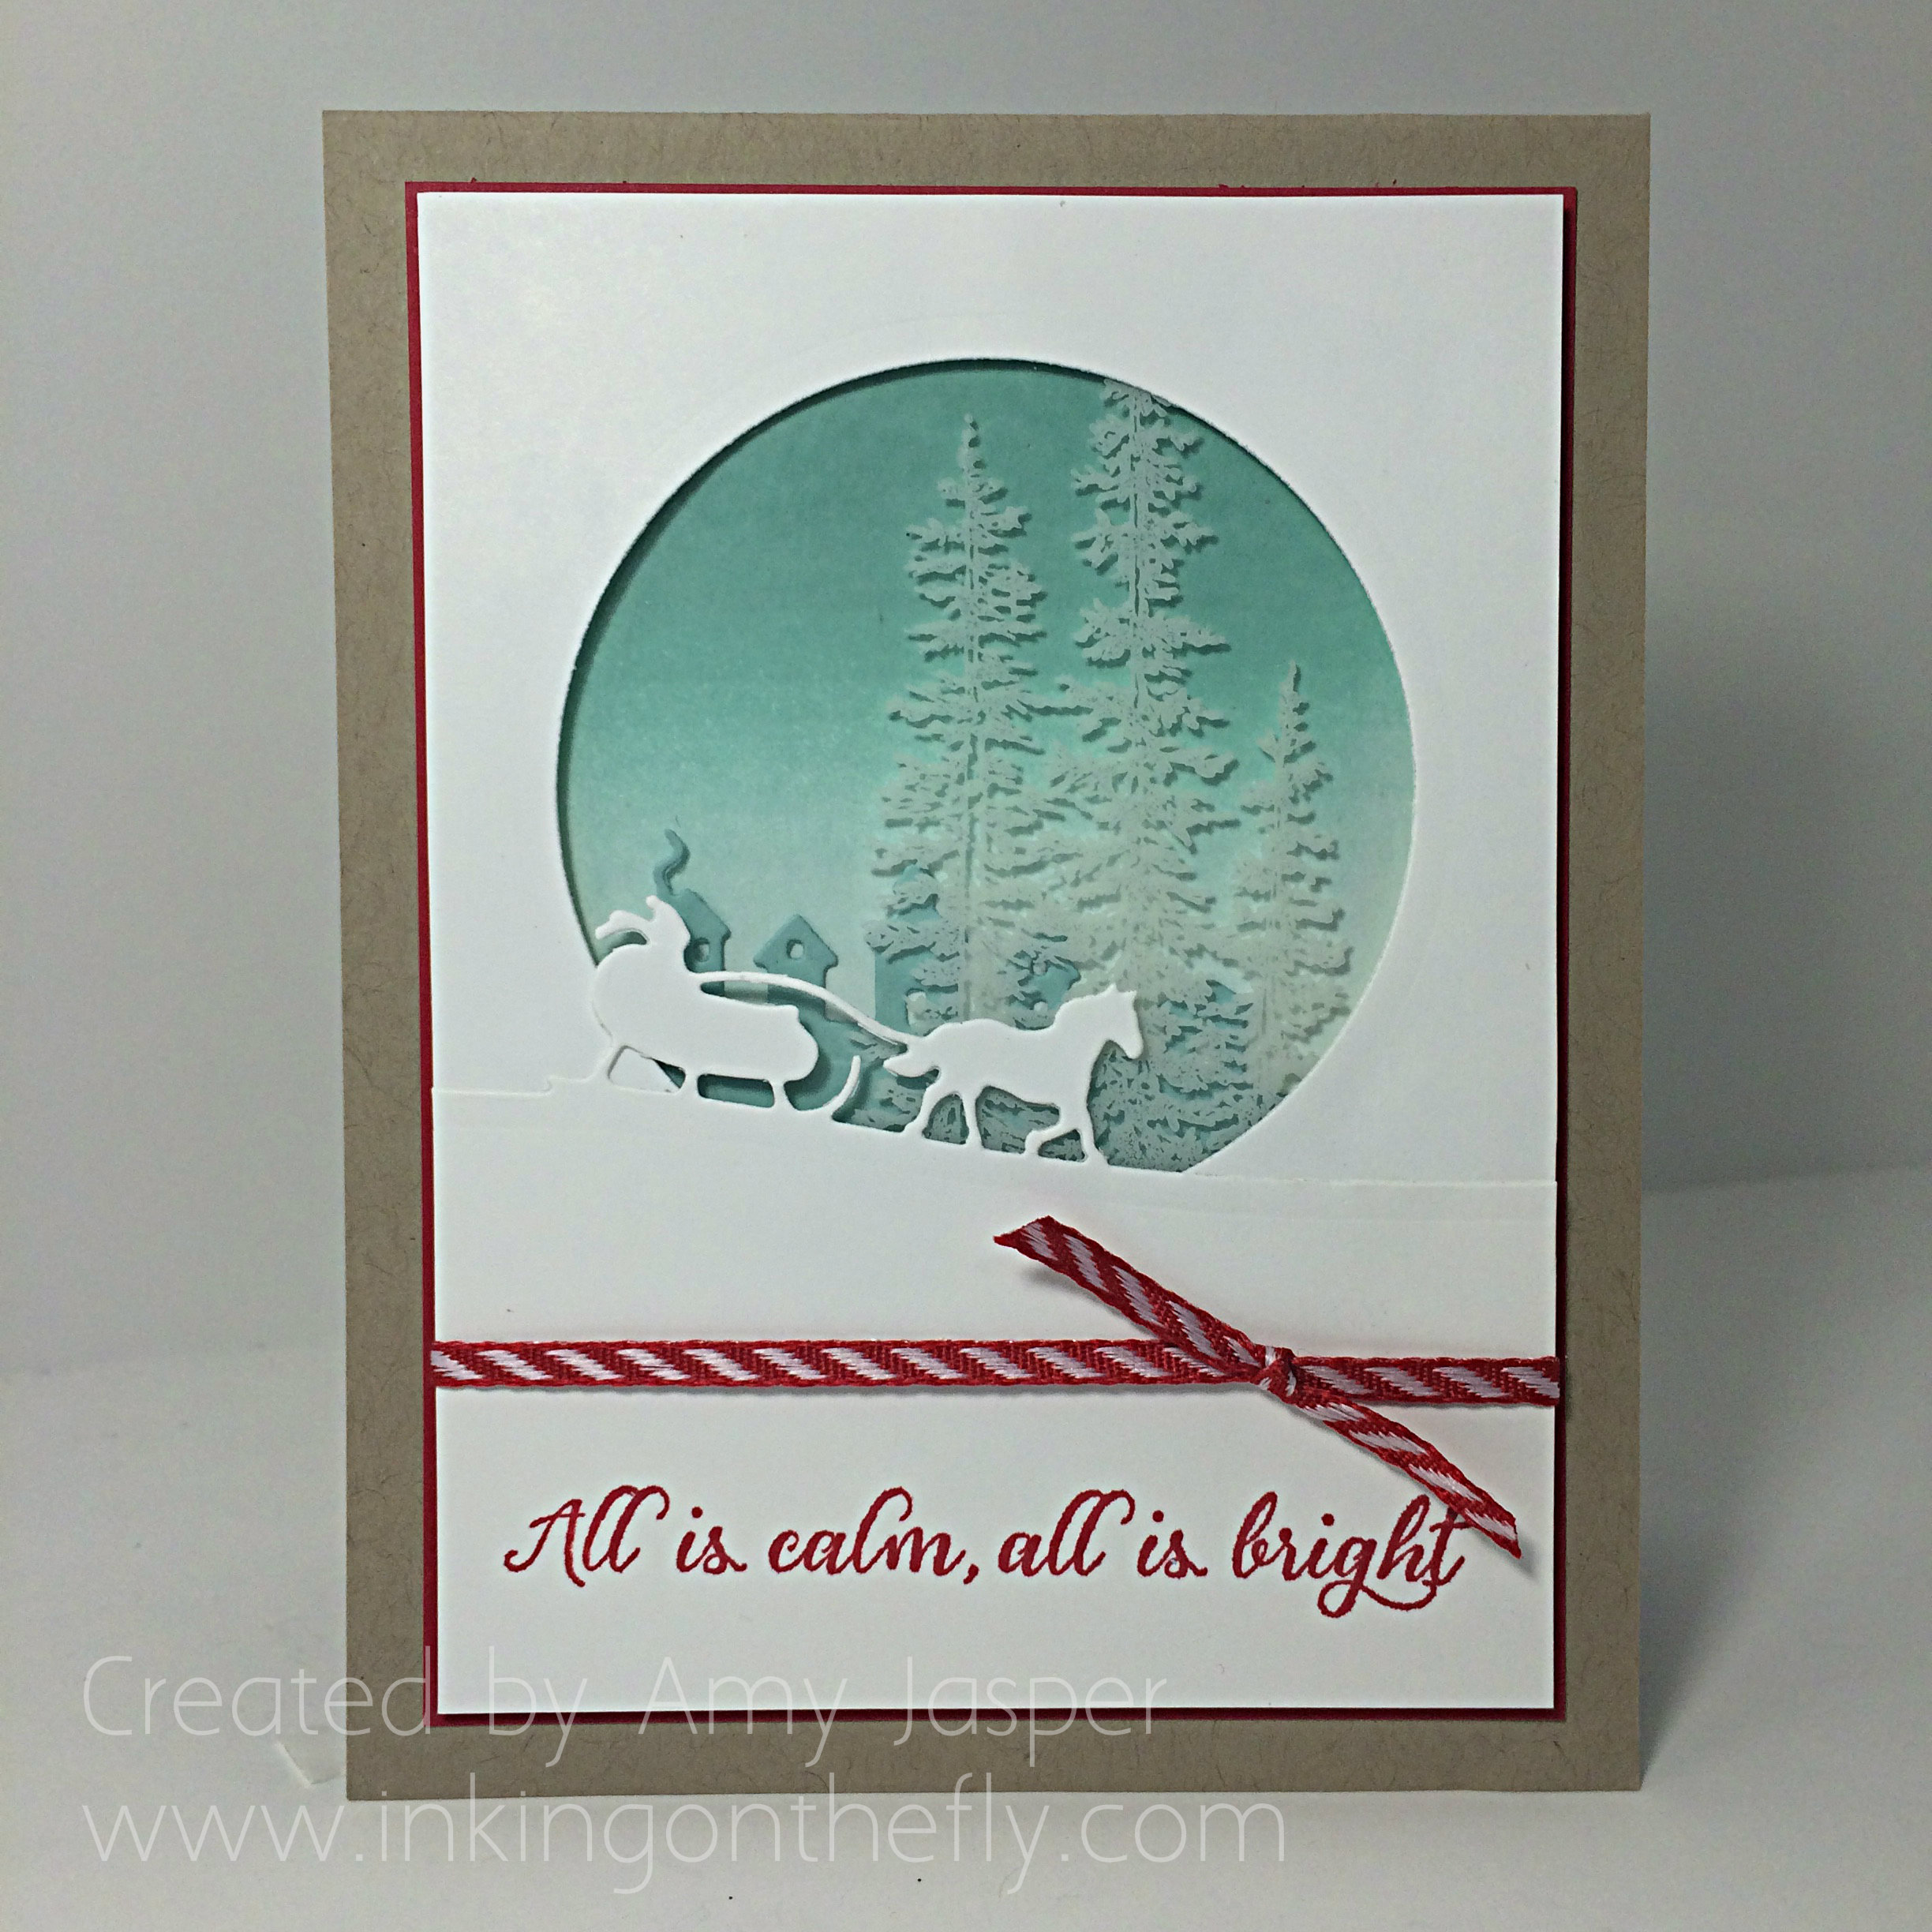
I’m not sure if I captured the true meaning of “negative space” in this project. I looked it up to make sure I understood it, but I think it’s a pretty abstract concept that is open to interpretation anyway. So I’m using the cutout circle AND the silhouette of the sleigh for my negative space.

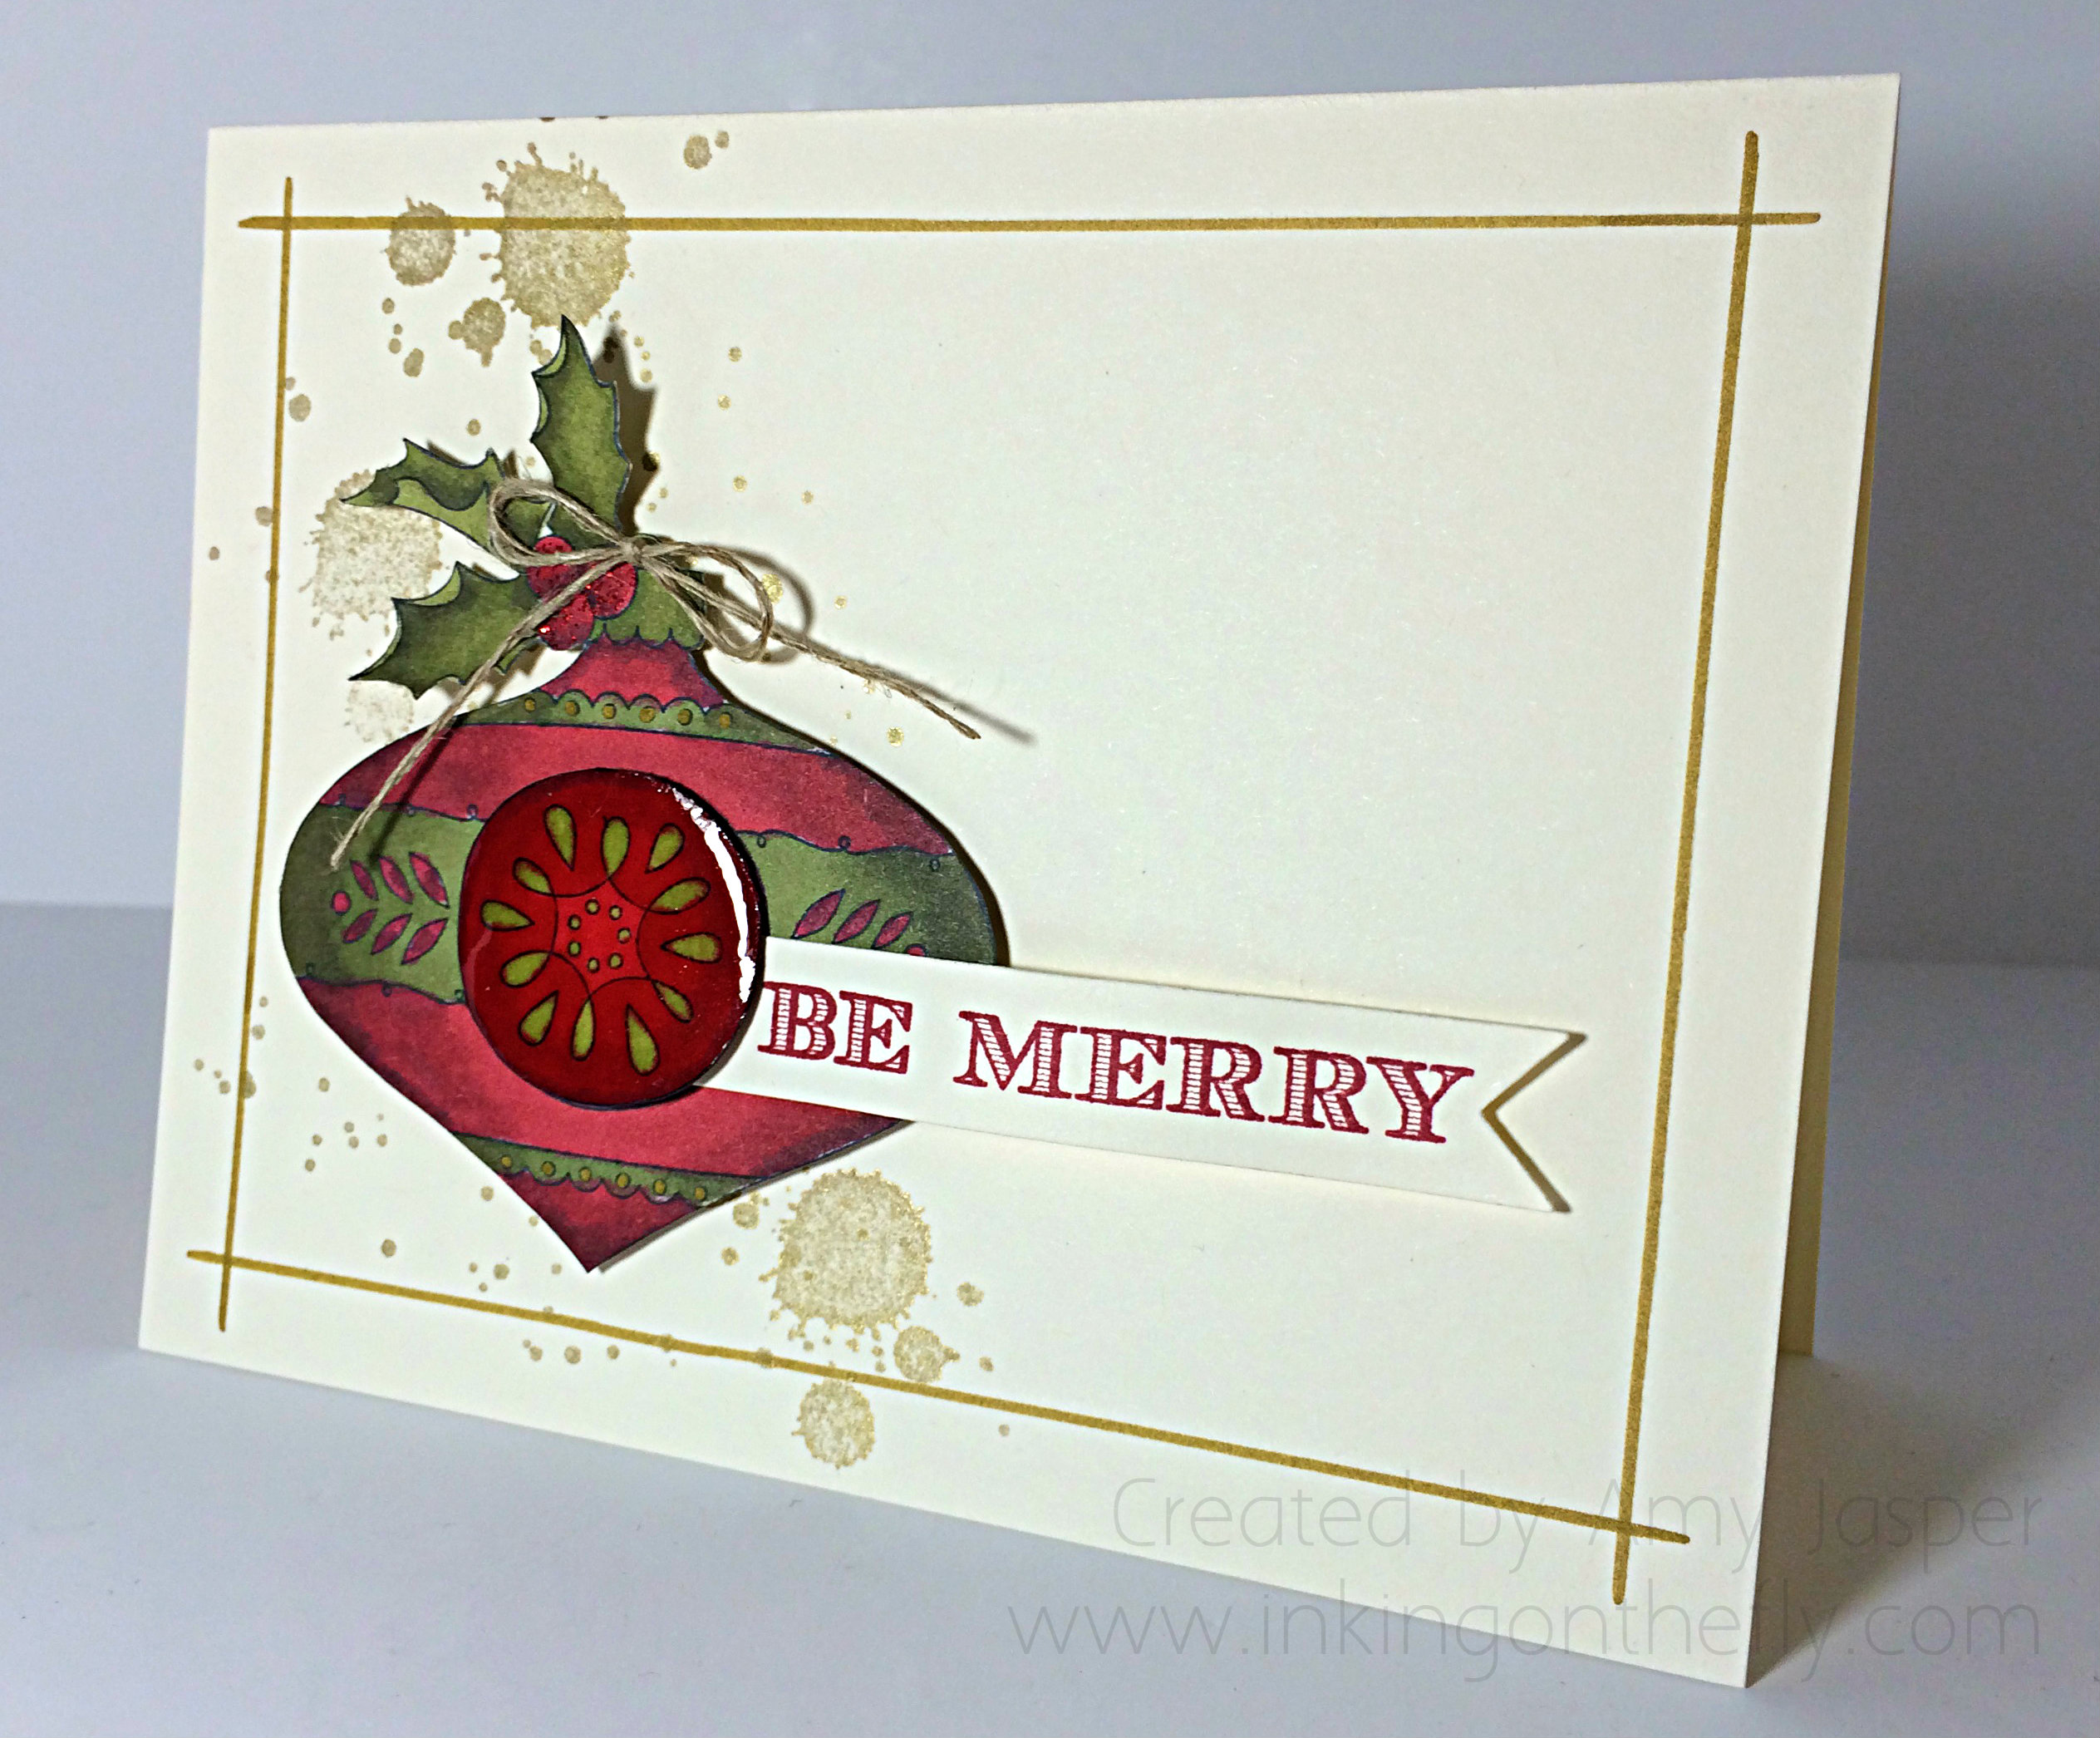
I used a brayer to create the ombre effect in the background with Pool Party ink over Whisper White cardstock. A piece of Window Sheet has been stamped in White Stazon ink with the tree image from the Winter Wonderland stamp set and covers the circle cutout. The lovely Sleigh Ride Edgelits create this winter scene with the houses in the background and the sleigh in the foreground.

103close

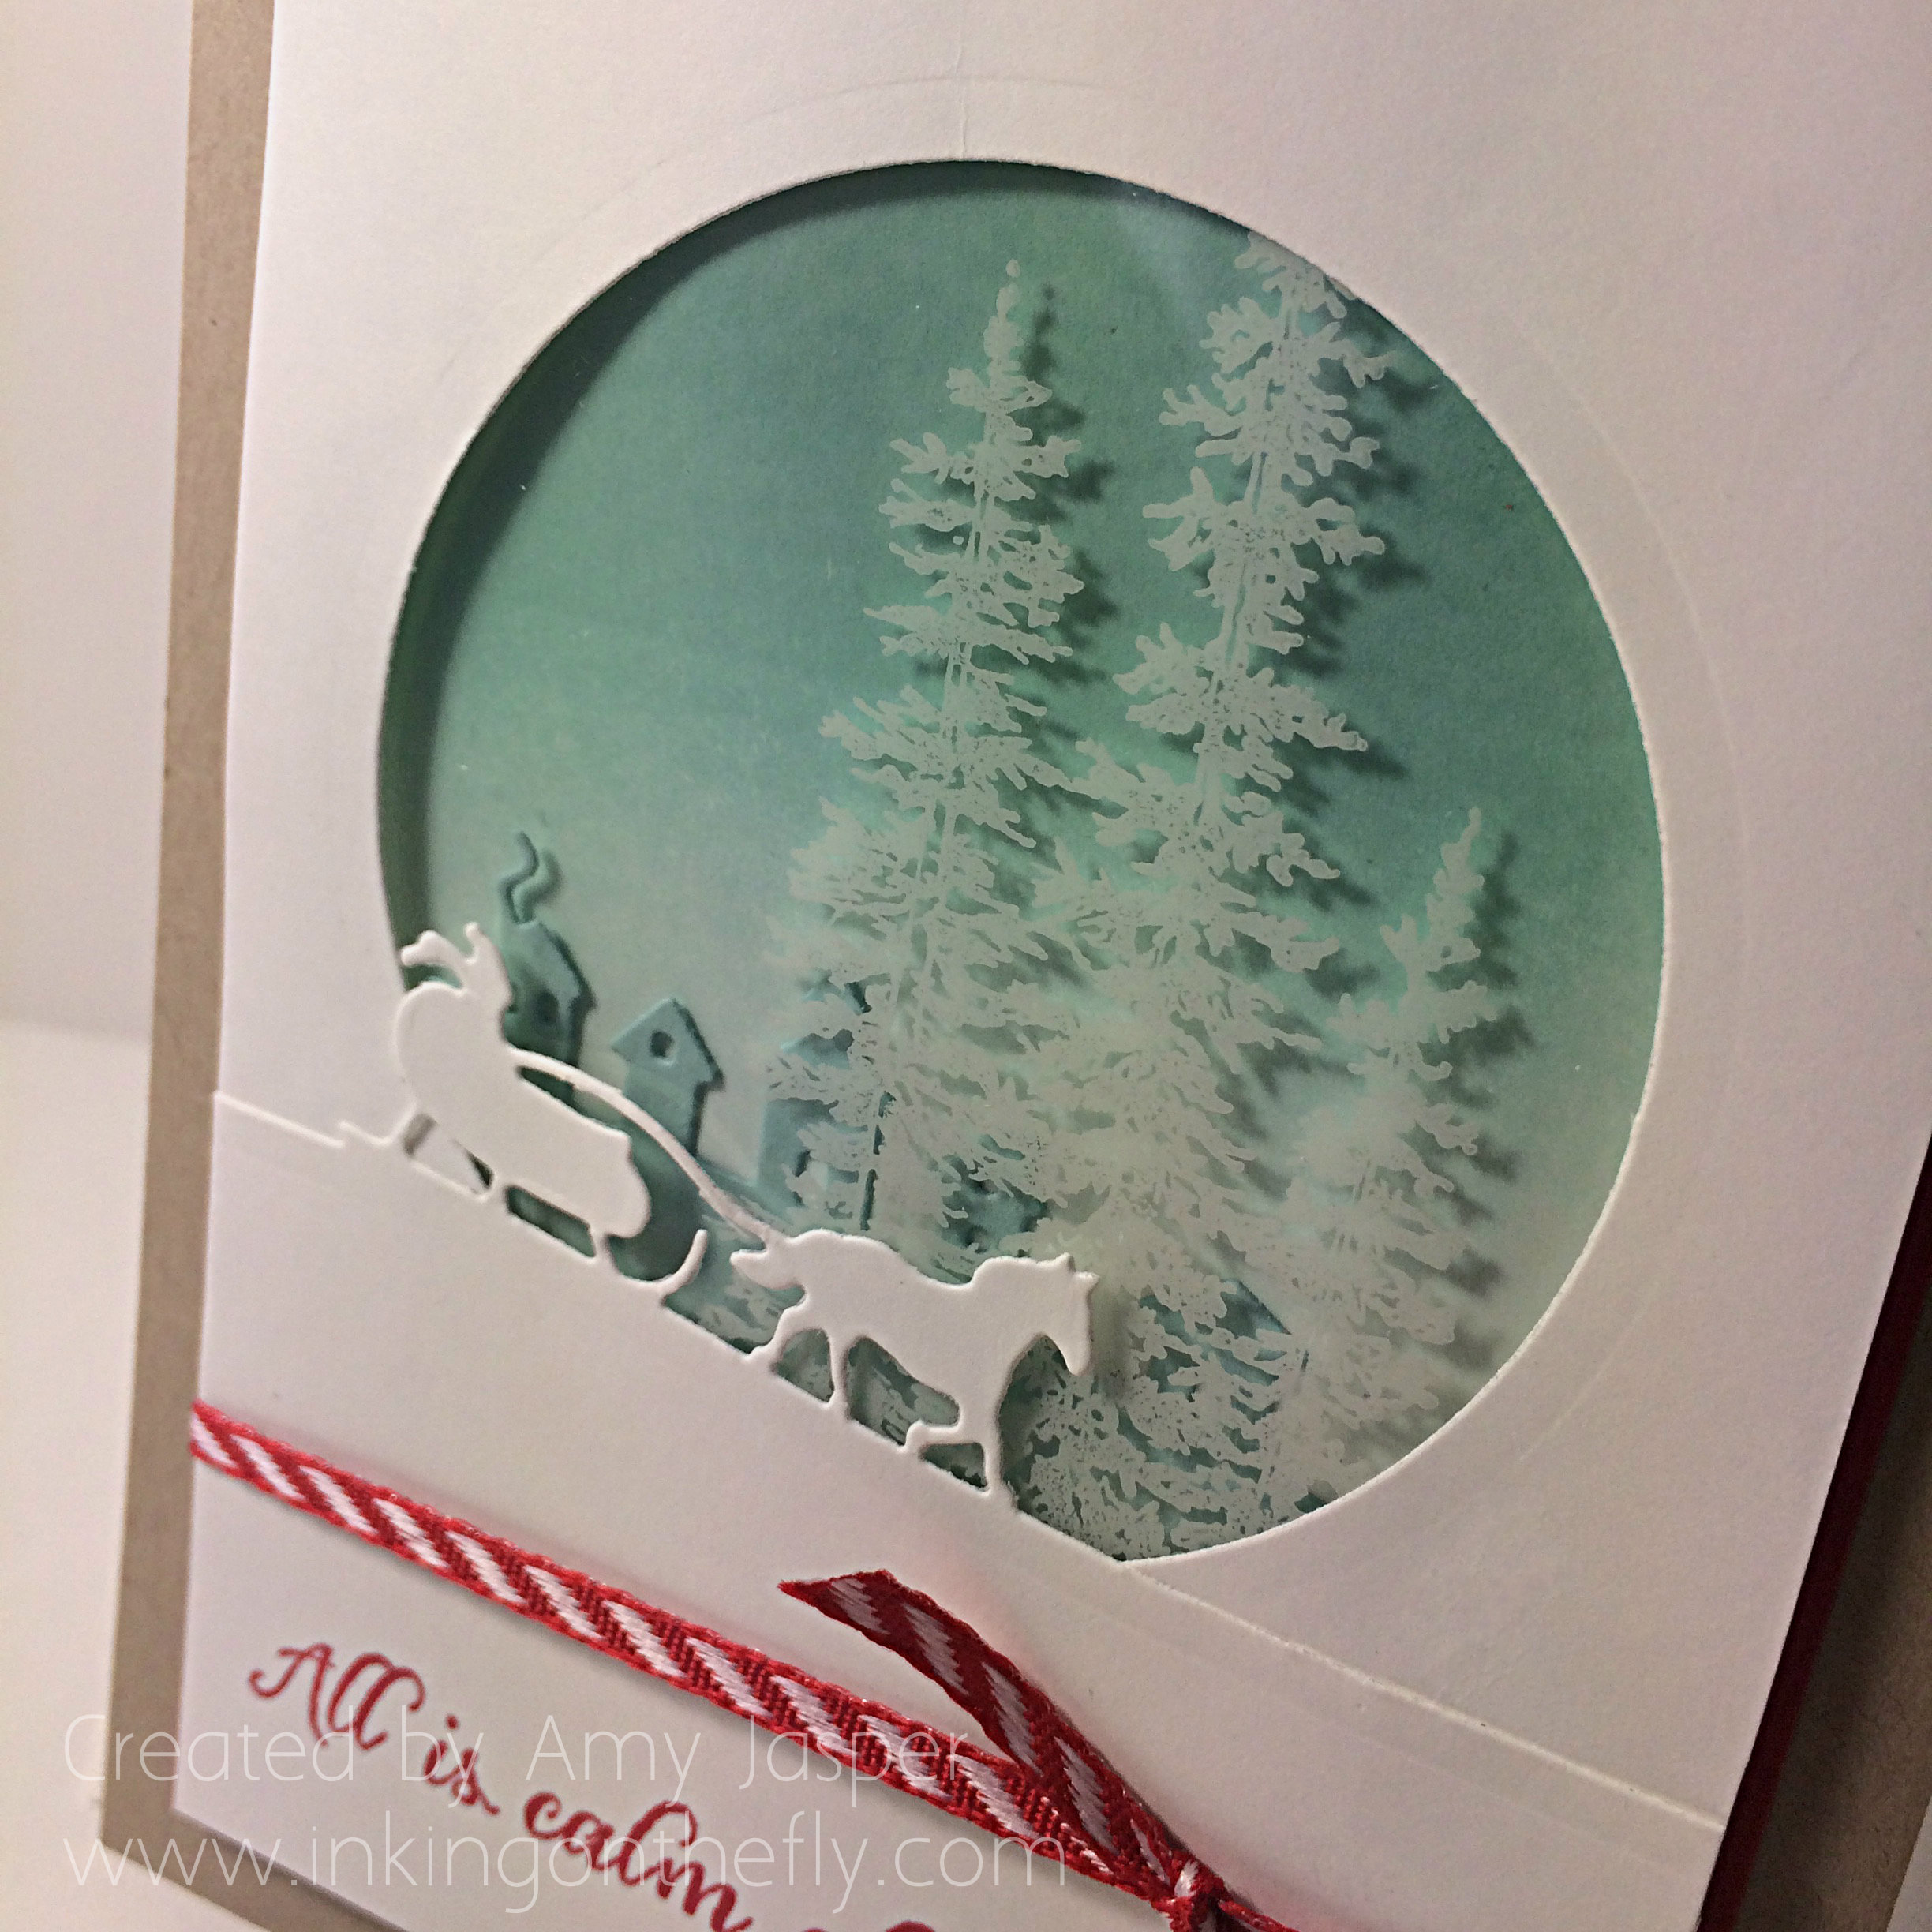
One of my favourite colour combinations for the winter is Pool Party and Real Red. It somehow portrays the peaceful coziness of those frosted days.

What colours make you think happy thoughts of winter?

Amy.

Bauble and Gold

065header

Every Friday I share a card with you designed specifically for the As You See It Challenge blog. I quite like the card I have for you today created with the Christmas Bauble stamp that I received as a free gift from the Abbotsford Fall Conference, the Holiday Invitation stamp set I received from the Inspire Create Share Stampin’ Up Convention in Utah, and my favourite Gorgeous Grunge stamp set of which I happen to have an extra set that I won at the Abbotsford Fall Conference. How awesome it that!!

AYSIChallenge065I love the simplicity that this sketch offers and I decided to go with it as a simple design, but with a LOT of colouring using my Stampin’ Up! Blendability markers and a bit of fussy cutting. I chose a Very Vanilla card base, on which I stamped two of the splatter images from the Gorgeous Grunge stamp set in the Encore Gold ink. Then I used a ruler and my Gold Dazzle marker to draw a frame directly on the card base.

065AmyThen I stamped the Christmas Bauble stamp on Very Vanilla card stock twice with Momento Tuxedo Black ink – once as a full image and once just for the center circle of the image. These I  coloured with the Cherry Cobbler and Old Olive Blendability markers and hand cut the image with my Paper Snips (LOVE these scissors!). I added a touch of the Gold Dazzle marker to the tiny dots on the image as well as some Cherry Cobbler Dazzling Details to the red holly berries and set that aside to dry.

The center circle has been given a layer of Crystal Effects, which I gave ample time to dry overnight before applying it to the Christmas Bauble with Stampin’ Dimensionals. I attached the bauble itself to the card base with Stampin’ Up! Dimensionals as well, then added the Linen Thread bow with a Glue Dot which I first rolled into a smaller dot so it wouldn’t show under the thin Linen Thread.

065closeThe sentiment from the Holiday Invitation stamp set was stamped on a strip of Very Vanilla card stock in Cherry Cobbler ink. I hand cut the flagged edge of the paper strip and slipped the end under the center circle of the bauble and secured it in place with Multipurpose Liquid Glue on the bauble side and a Dimensional on the flagged end.

And I love how it turned out! Have you ever hand drawn anything directly on your stamped card? I don’t do it very often but am pleased with what it added to this card.

Why don’t you give the challenge a try? We love to receive inspiration from all the designs that come in. So link up your card or project that you do with this As You See It Challenge sketch and show us what you came up with!

Amy

Designer-Badge

Winter Bird

063header

Check out my design this week for the As You See It Challenge blog using An Open Heart stamp set from Stampin’ Up! I love the blended ombre effect in the winter background.

I was leery of the sketch this week. The small center square bugged me. But the funniest thing happens when I am lacking inspiration with a particular layout or colour scheme: I end up really liking the final product!

#63

I can’t wait to see what everyone comes up with for this one. I found it so challenging! I decided to use the little bird from the An Open Heart stamp set in place of that square. The snowflake sequins (which were too stark white, so I coloured them with my Light Coastal Cabana Blendability marker), are in place of the flowers on the As you See It layout above. The rest is eye candy for me! Techniques and fun! The stuff I thrive on!

063Amy

I started with a piece of Very Vanilla cardstock and began using sponge and ink to shade the evening sky background. I was inspired by an image I found on Pinterest for this colour scheme and I love it! With a sponge, from top to bottom, I applied Night of Navy, Island Indigo, and Bermuda Bay ink. Once I was satisfied with the saturation of colour, I added a touch of Momento Black to the very top edge to complete the look. The most bottom edge of the Very Vanilla cardstock was left un-inked and I tore the edge for a bit of texture detail.

Then I stamped the branch image from An Open Heart in Night of Navy ink. The pearls were coloured with the Medium Cherry Cobbler Blendability marker and added for the berries on the branch. I then decided to use my Chalk Marker to accent the buds on the end of the branch. The snowflakes were also coloured (as mentioned above) and adhered to the card with a small dab of Crystal Effects. The Merry Christmas sentiment is from the Petite Pairs stamp set and was stamped with Real Red ink.

063close

The blue bird was stamped with Momento Black ink and coloured with Night of Navy and Coastal Cabana Blendability markers and a touch of Dazzling Details glitter was applied to the bird as though a wee bit of snow was glinting in the moonlight. His beak was coloured using a Tangerine Tango Stampin’ Write Marker. I cut out the bird with my Paper Snips and cut his little legs right off so he could be sitting all comfy-like on the branch. I also used my Project Life journaling pen to darken his beady little eye so it would have a little more life in it (a trick I learned in the watercolouring class I took last spring). That sweet little winter bird was then adhered to the cardstock with Stampin’ Dimensionals.

After wrapping the Cherry Cobbler Baker’s Twine around that layer of cardstock, I used Stampin’ Dimensionals to layer it over the thin mat of Very Vanilla Cardstock. This all was adhered to the Night of Navy card base which looked a little flat next to all that deep blue ink, so I added a bit of Night of Navy ink to the edges of the card base with a sponge.

What will you do with this sketch? I hope you’ll share it with us over at the As You See It Challenge blog!!

Amy.

Designer-Badge