Christmas

Deck the Halls

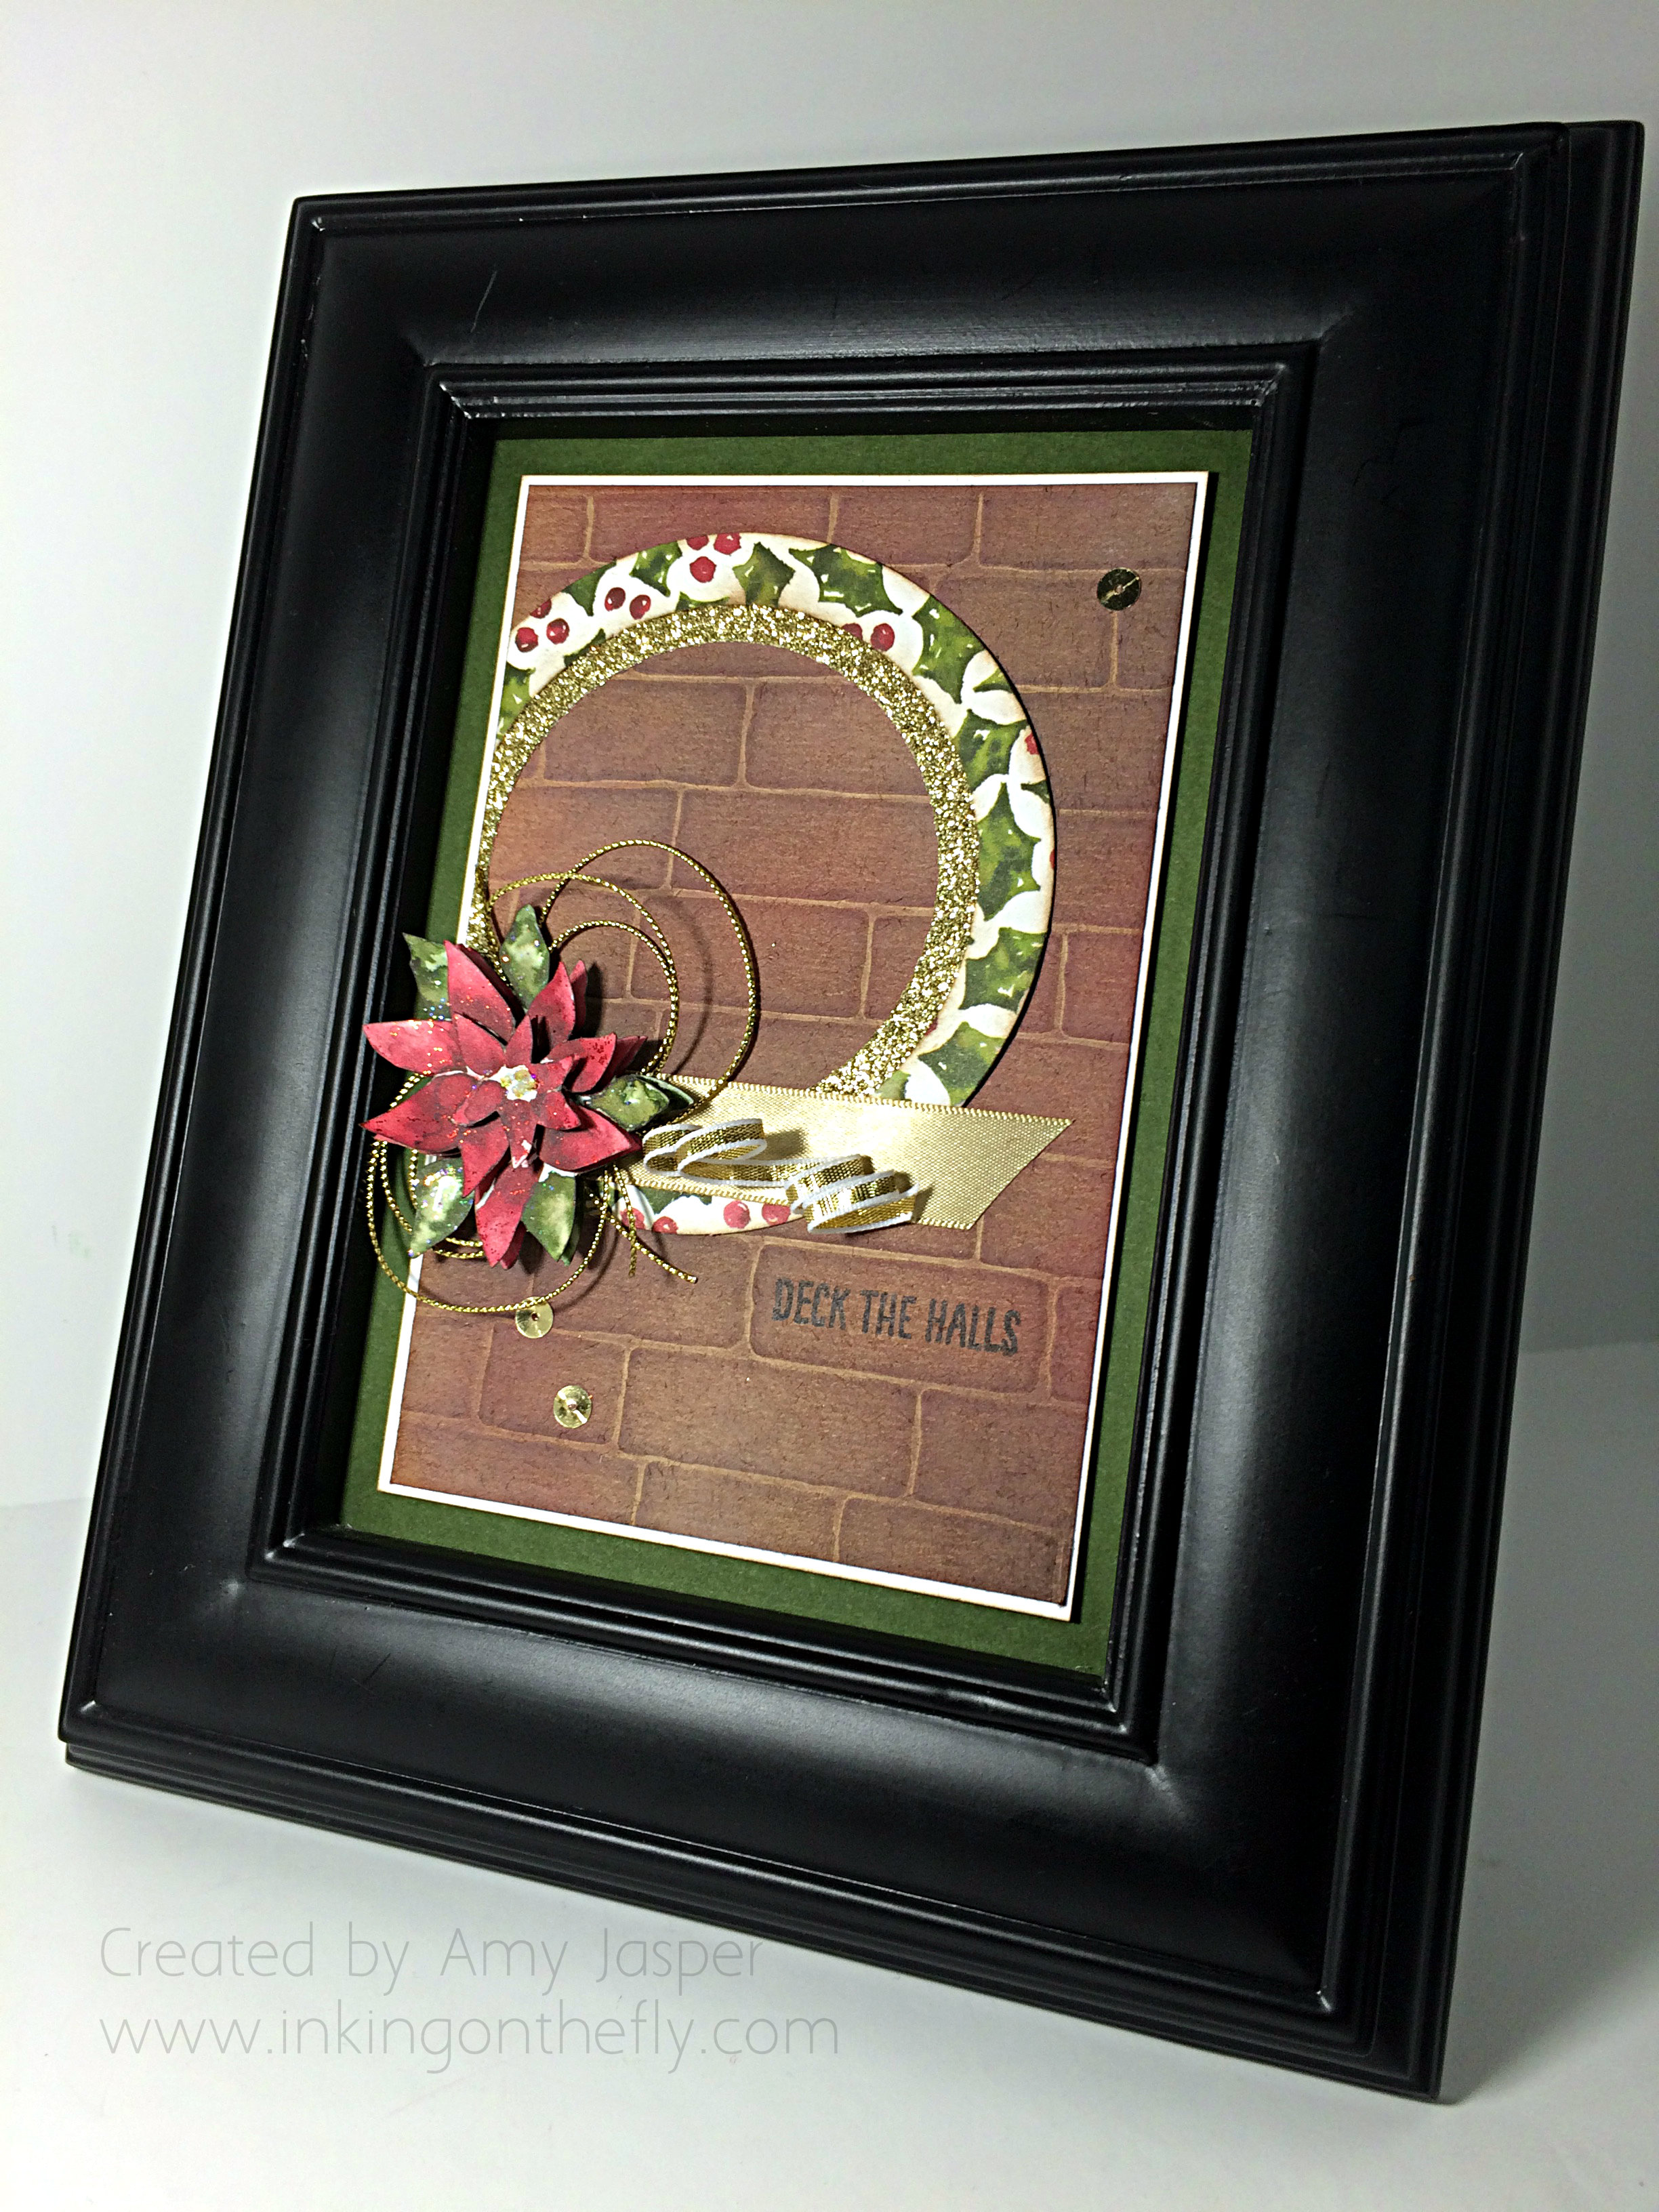
Sometimes you need to add to your home decor. Here’s a 5×7″ piece of holiday artwork you can create using Stampin’ Up products.

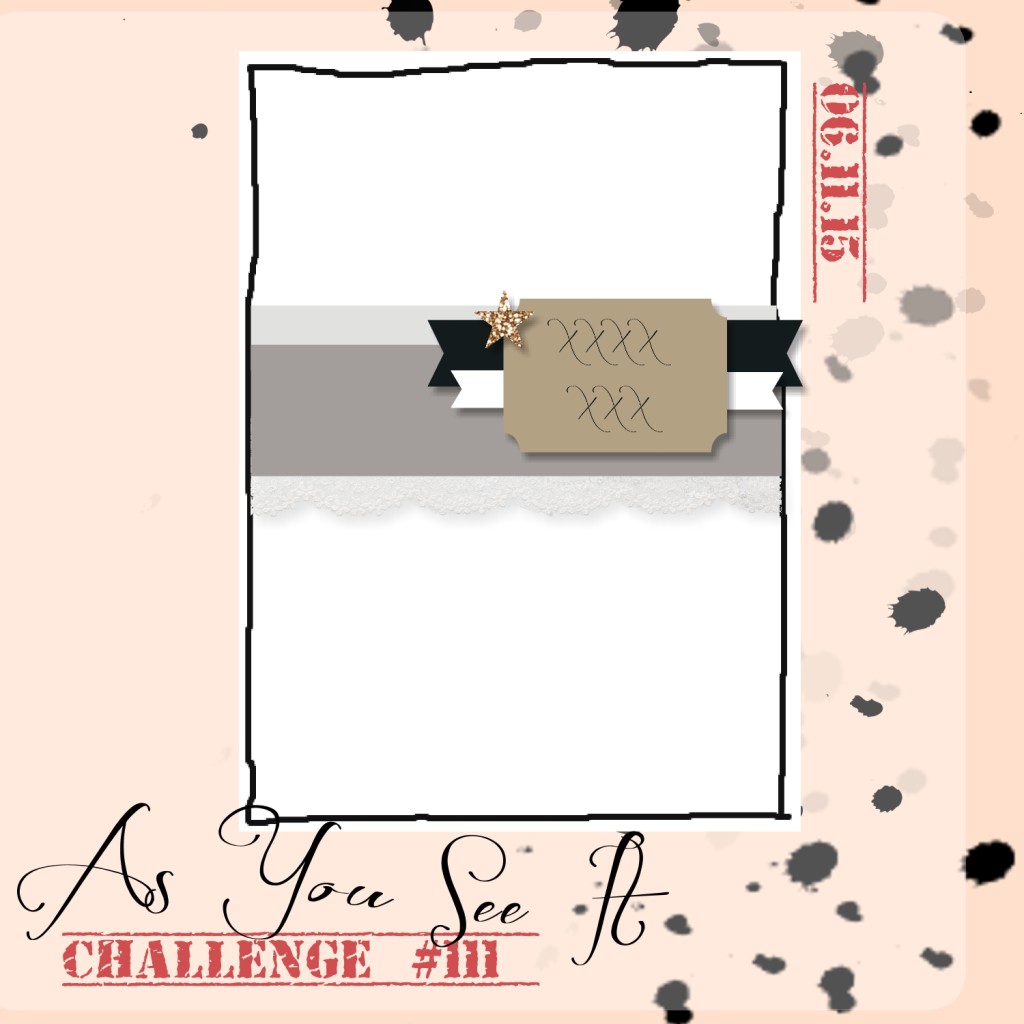
Of course, I started with this sketch challenge from the As You See It Challenge Blog.AYSIChallenge112-1024x1024 
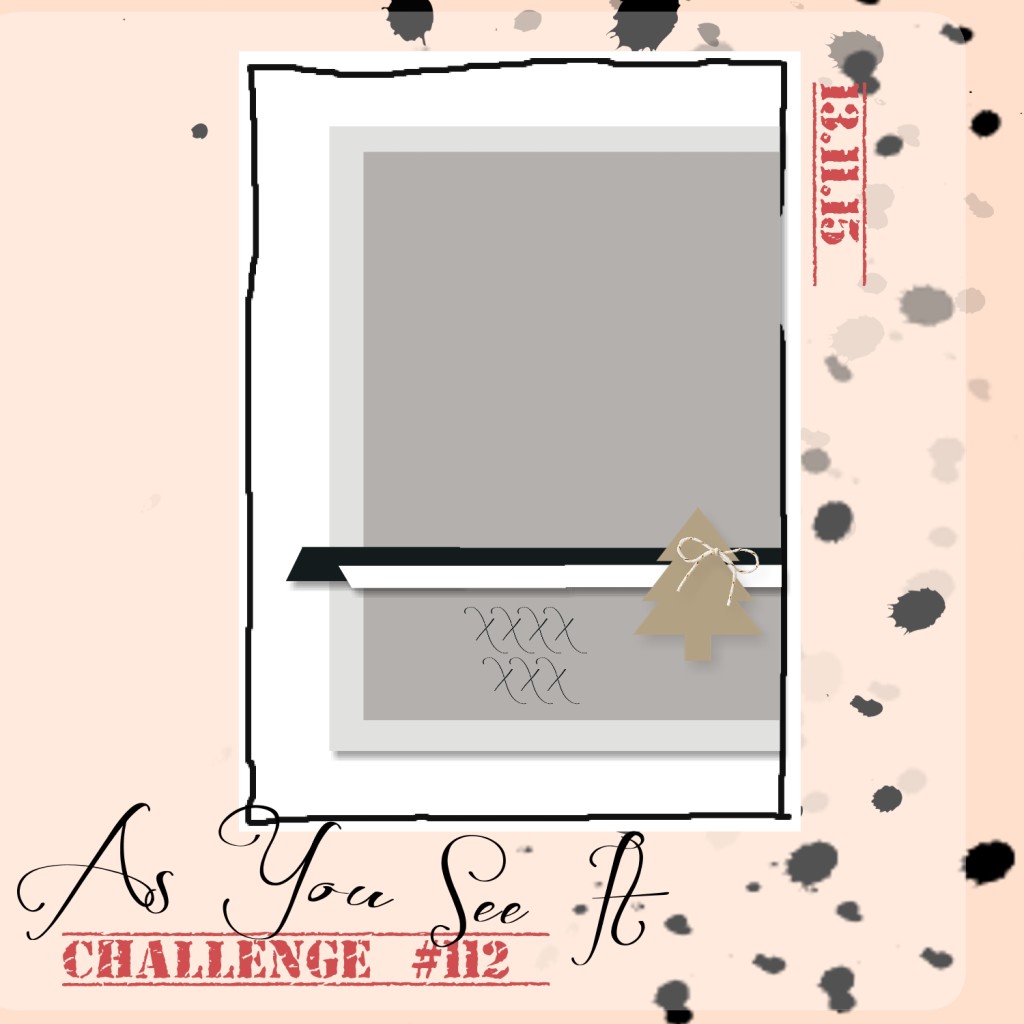
Then I decided to go with a circular background instead of a rectangle. Always trying to see things a little differently. Here’s my framed holiday artwork that I ended up with:

112 Deck the Halls Frame

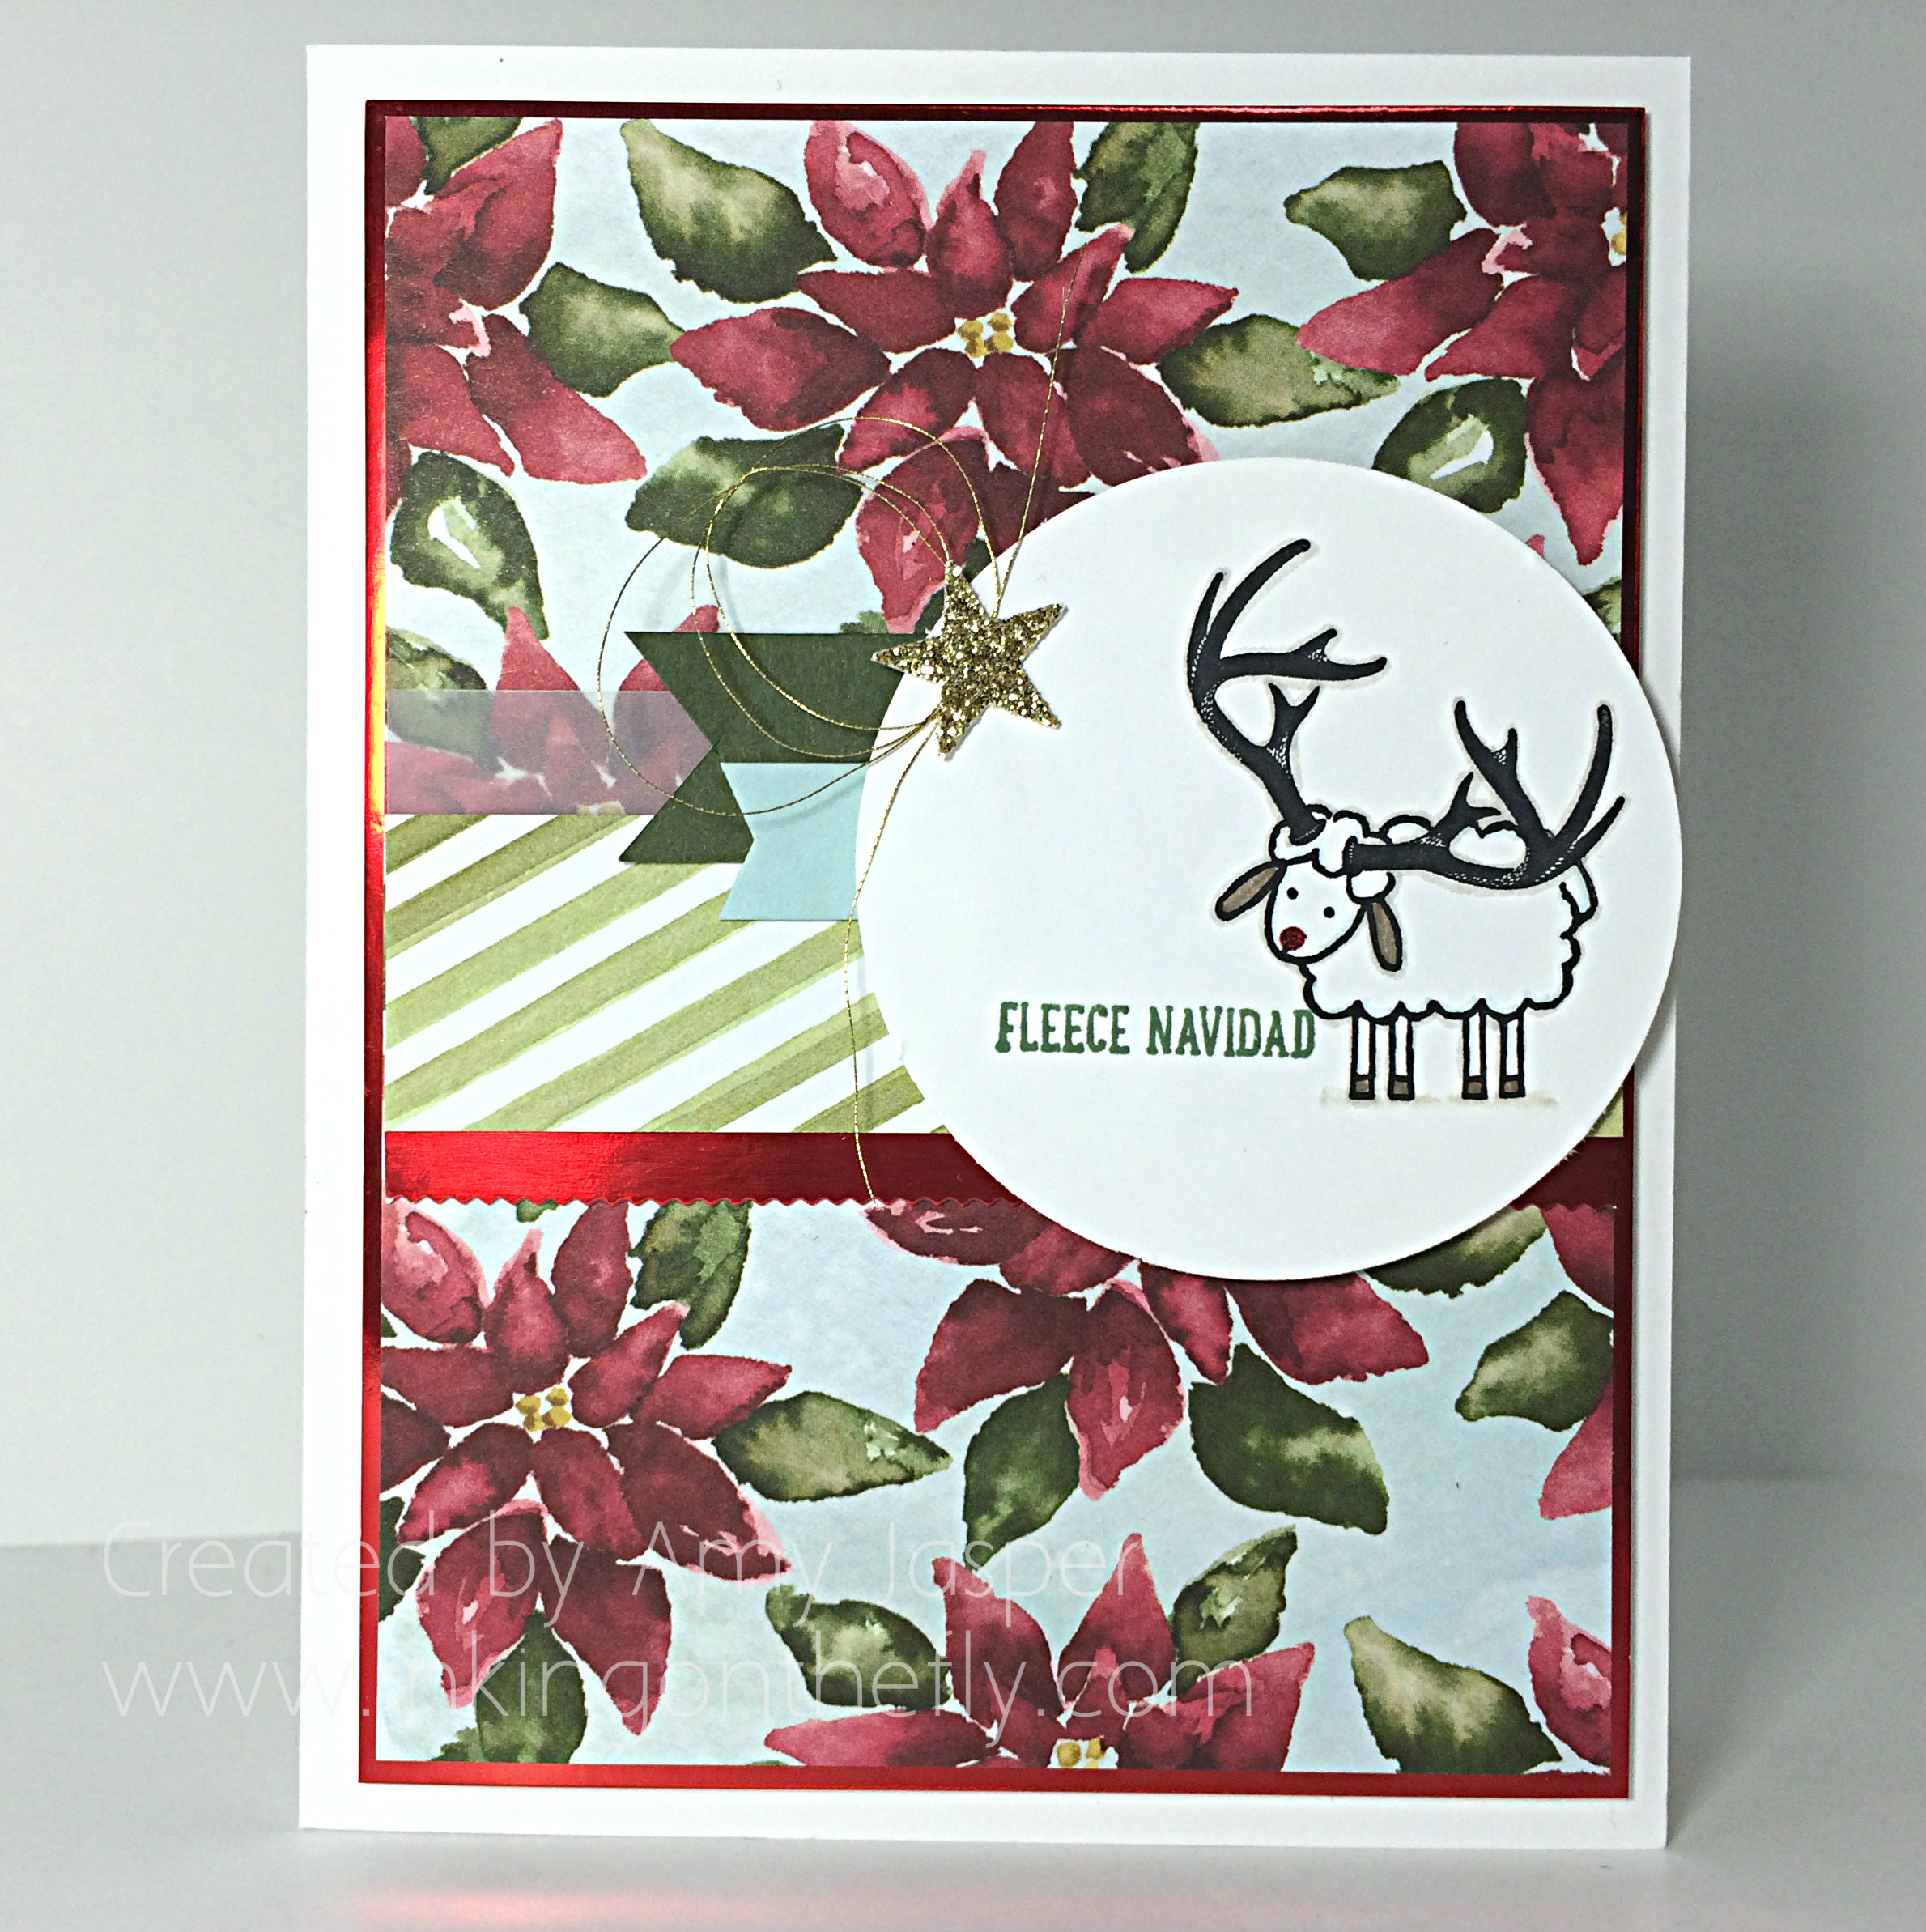
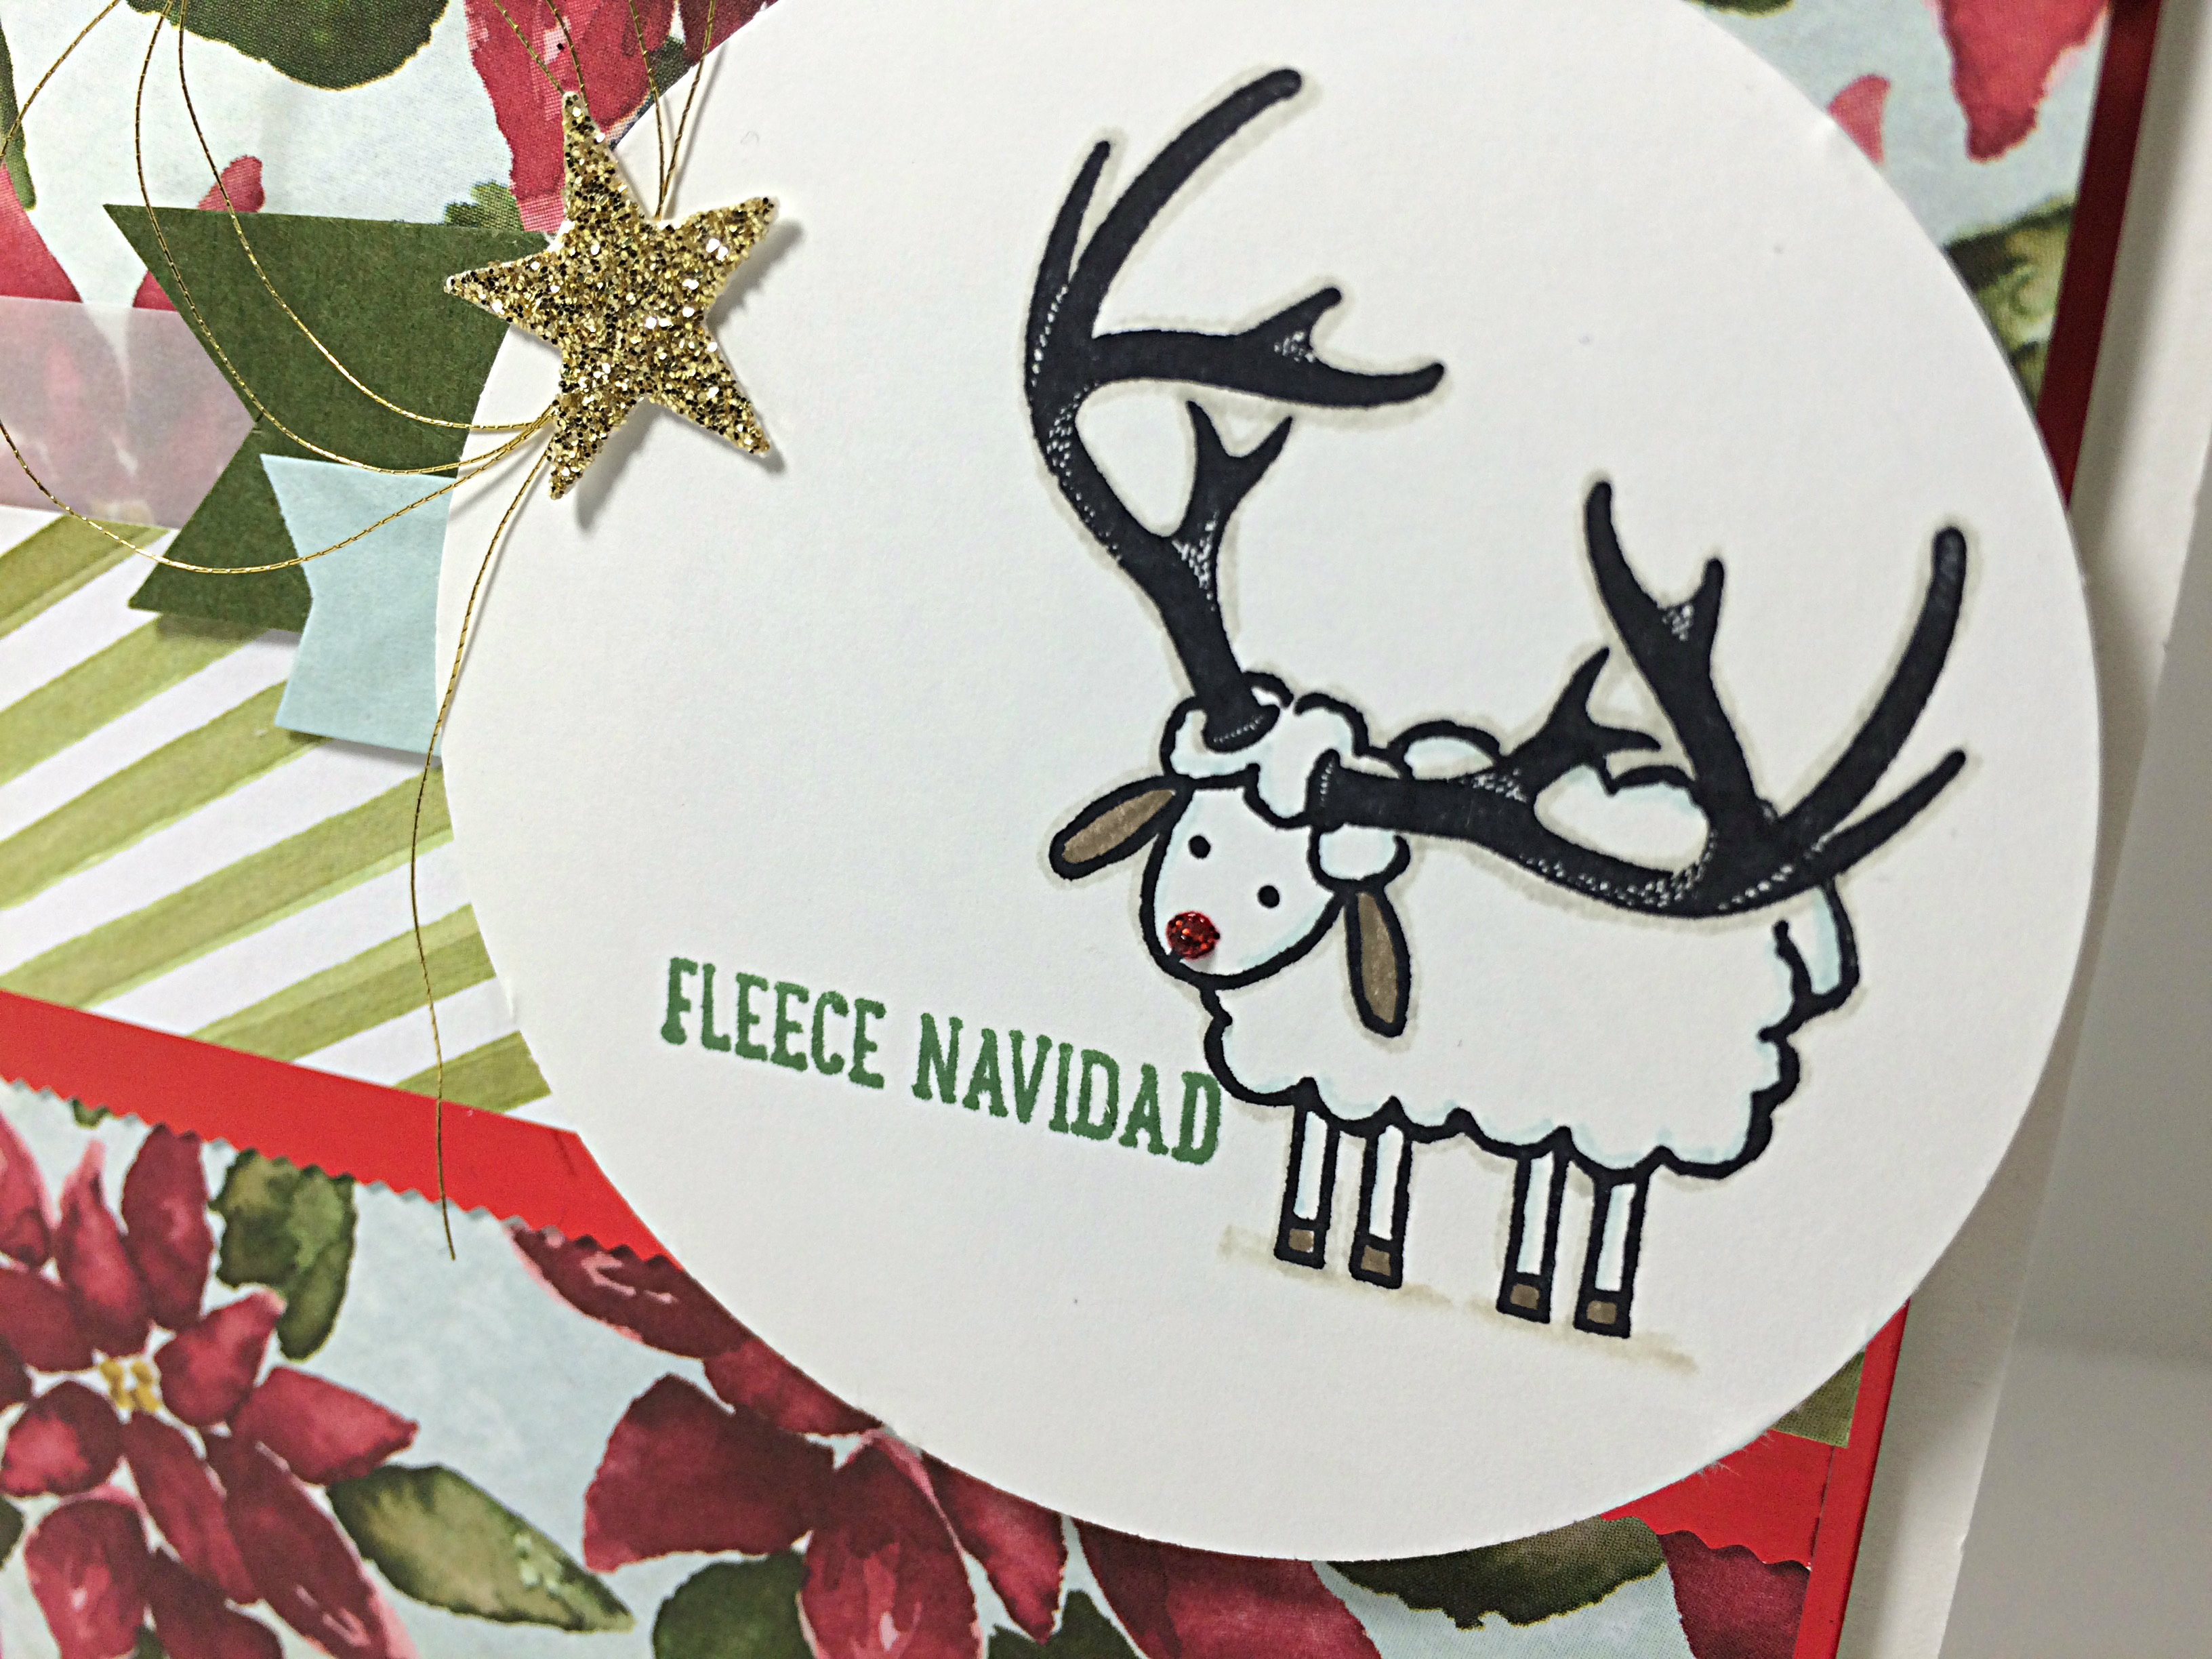
I used the Season of Cheer designer series paper to create the layered poinsettia flower. Just a lot of fussy cutting using four flowers that were identical from a sheet of the patterned paper. I adhered the layers together with Stampin’ Dimensionals. Some Cherry Cobbler Dazzling Details glue was painted on the petals to add a little shimmer.

Circle Framelits were used with my Big Shot to create the wreath look with more patterned paper and some Gold Glimmer paper. I even curled the 1/8″ Gold Taffeta ribbon just like you would curl paper ribbon with your scissors. This adds a festive texture to the artwork.

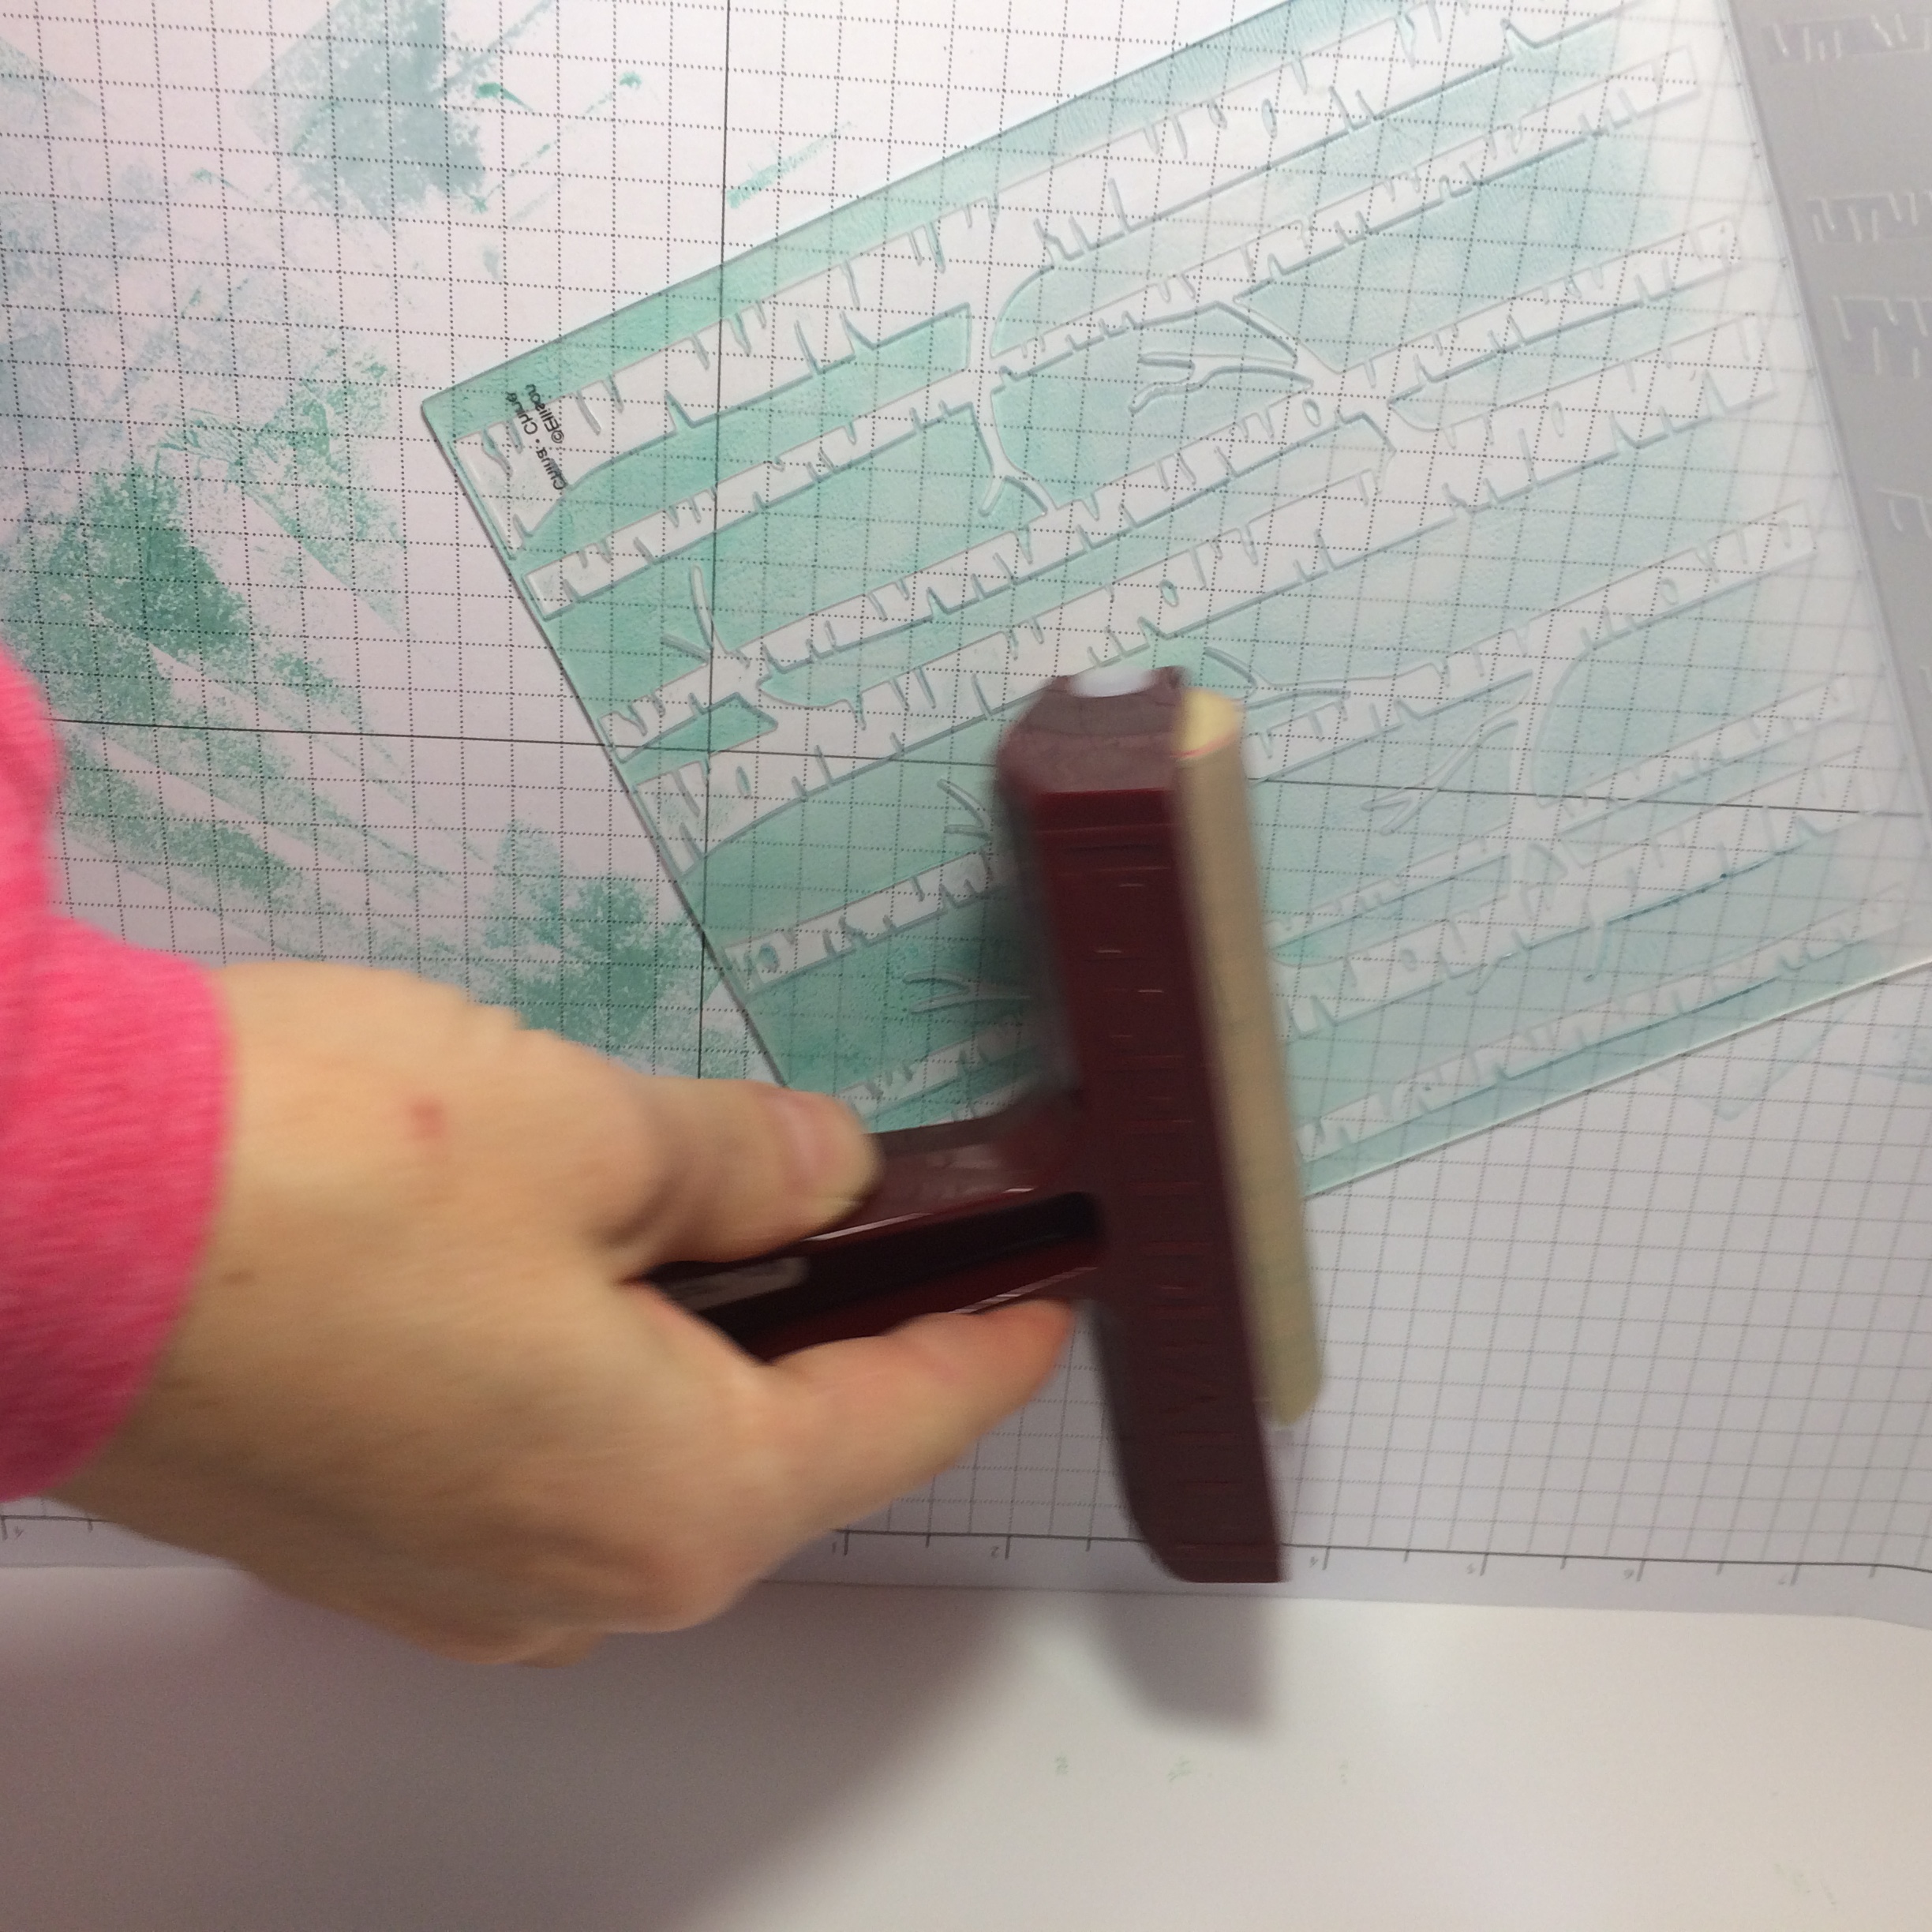
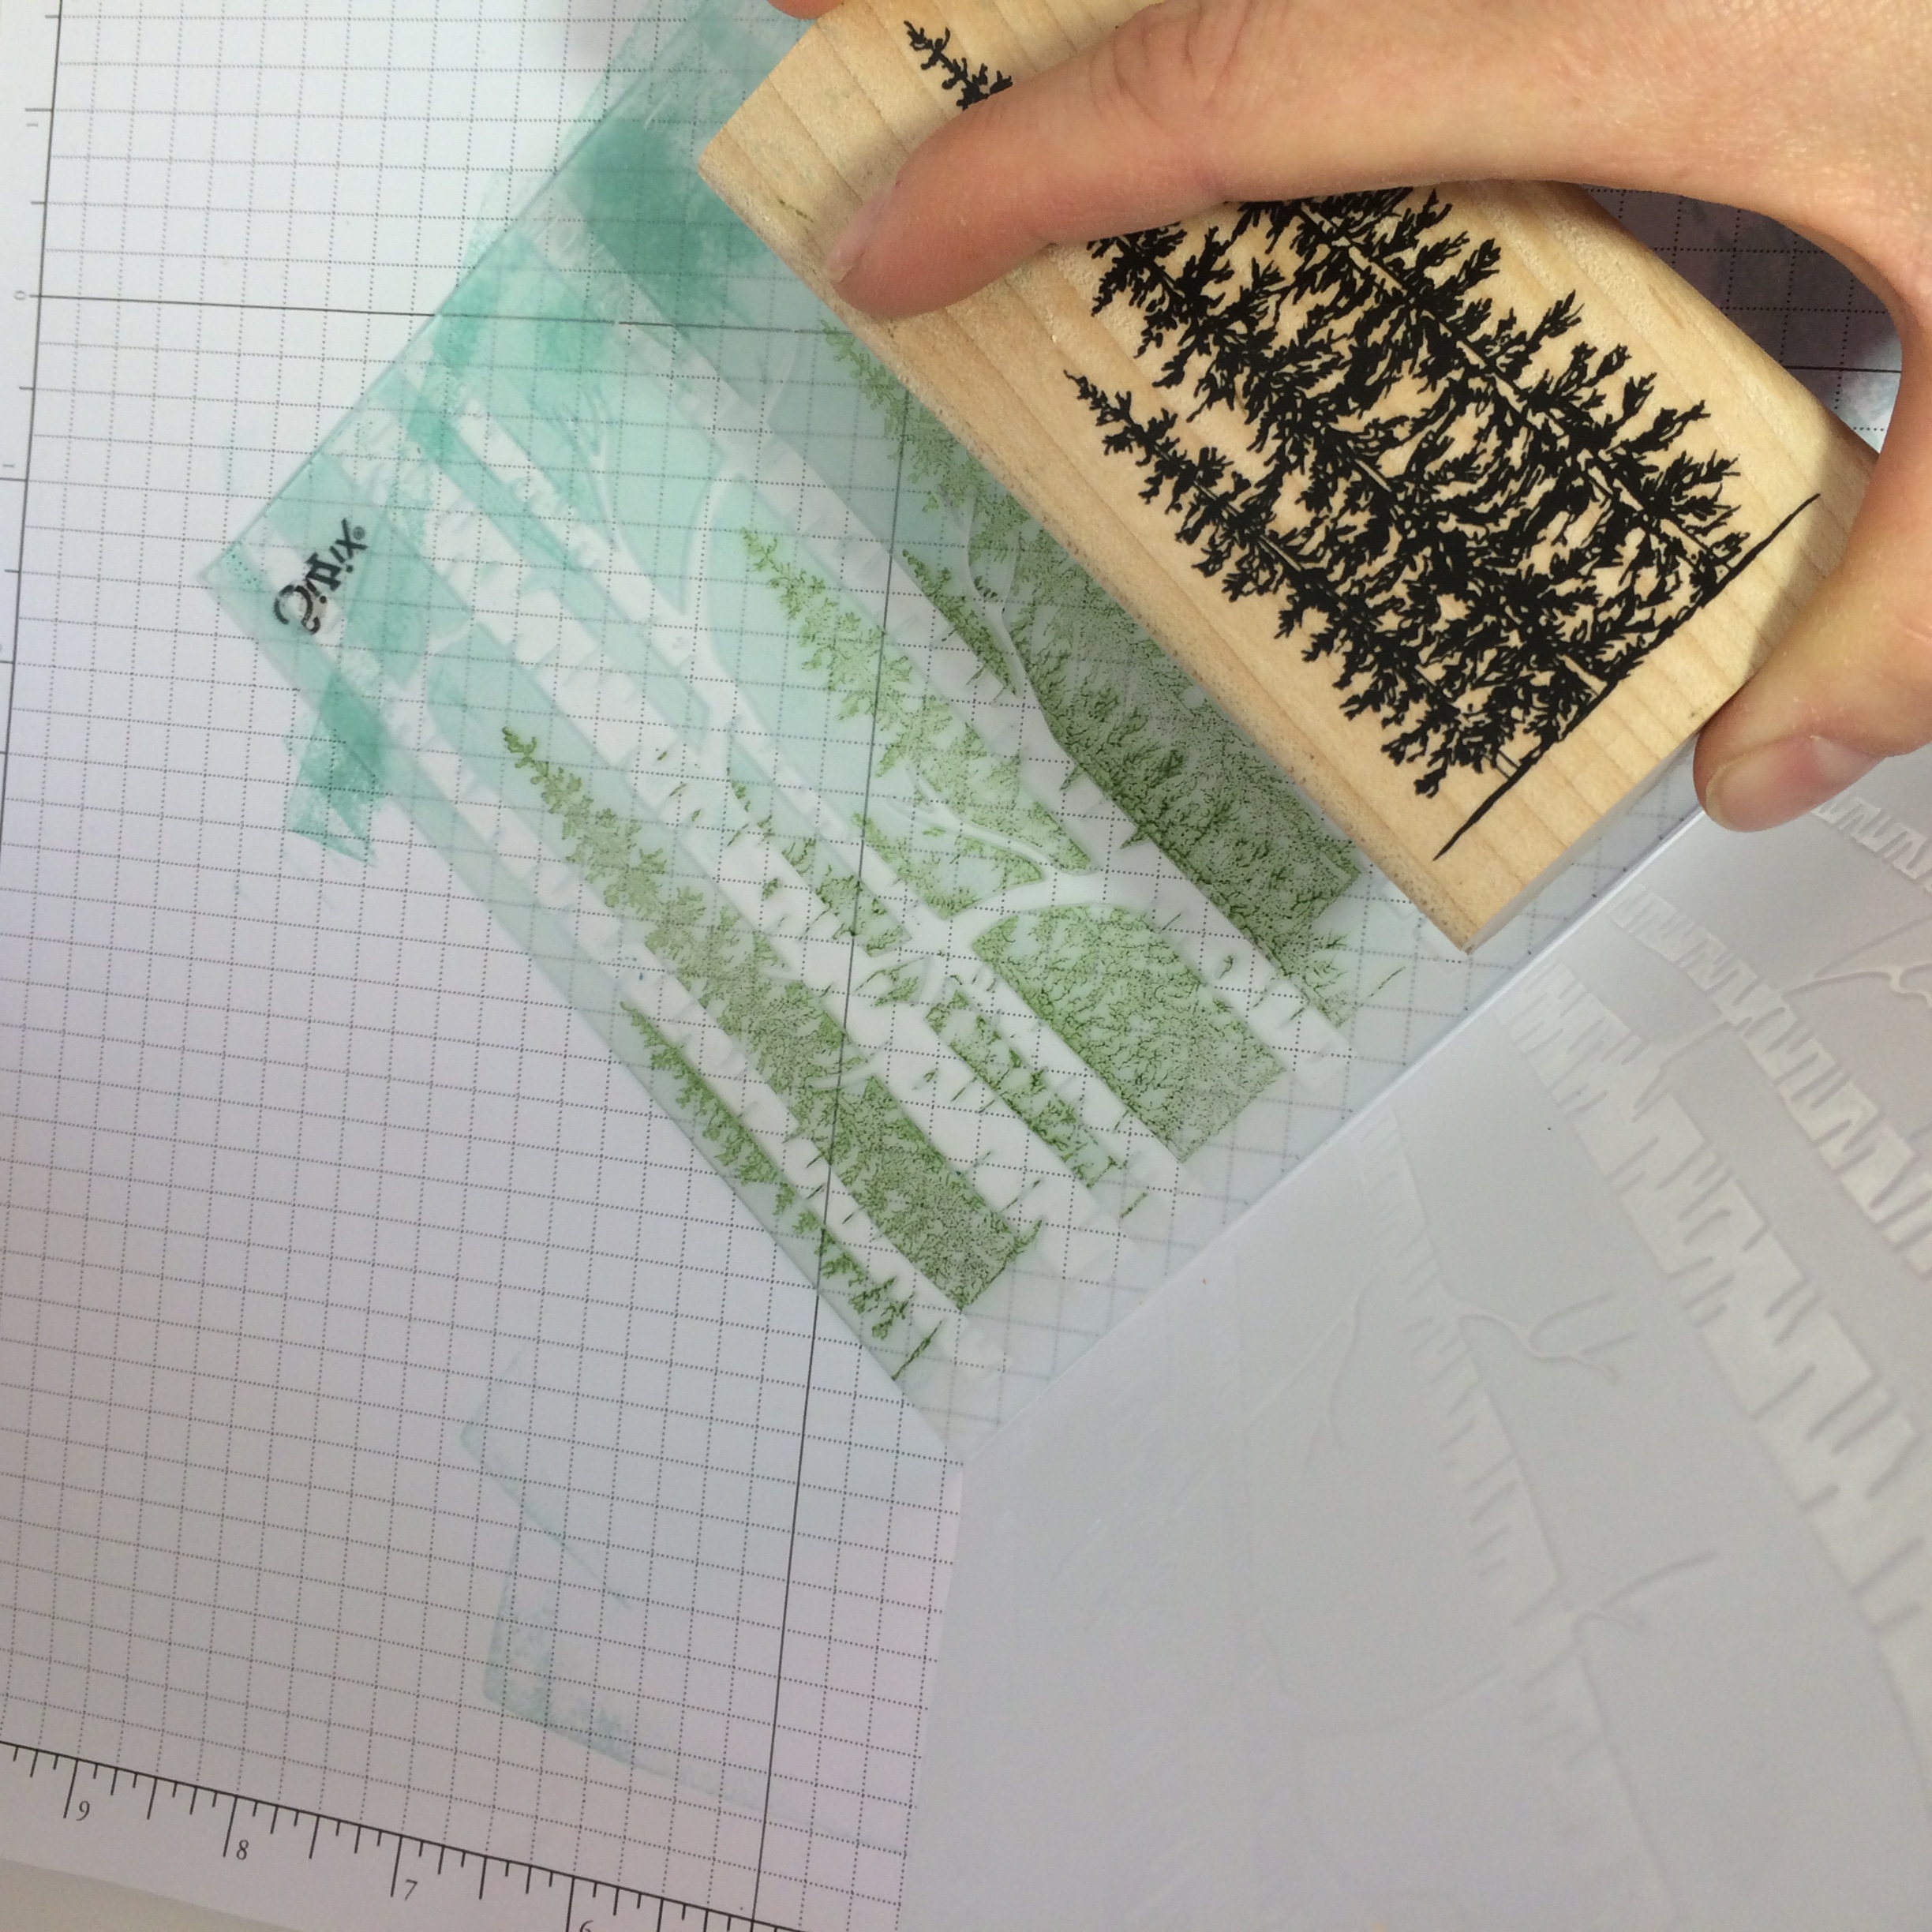
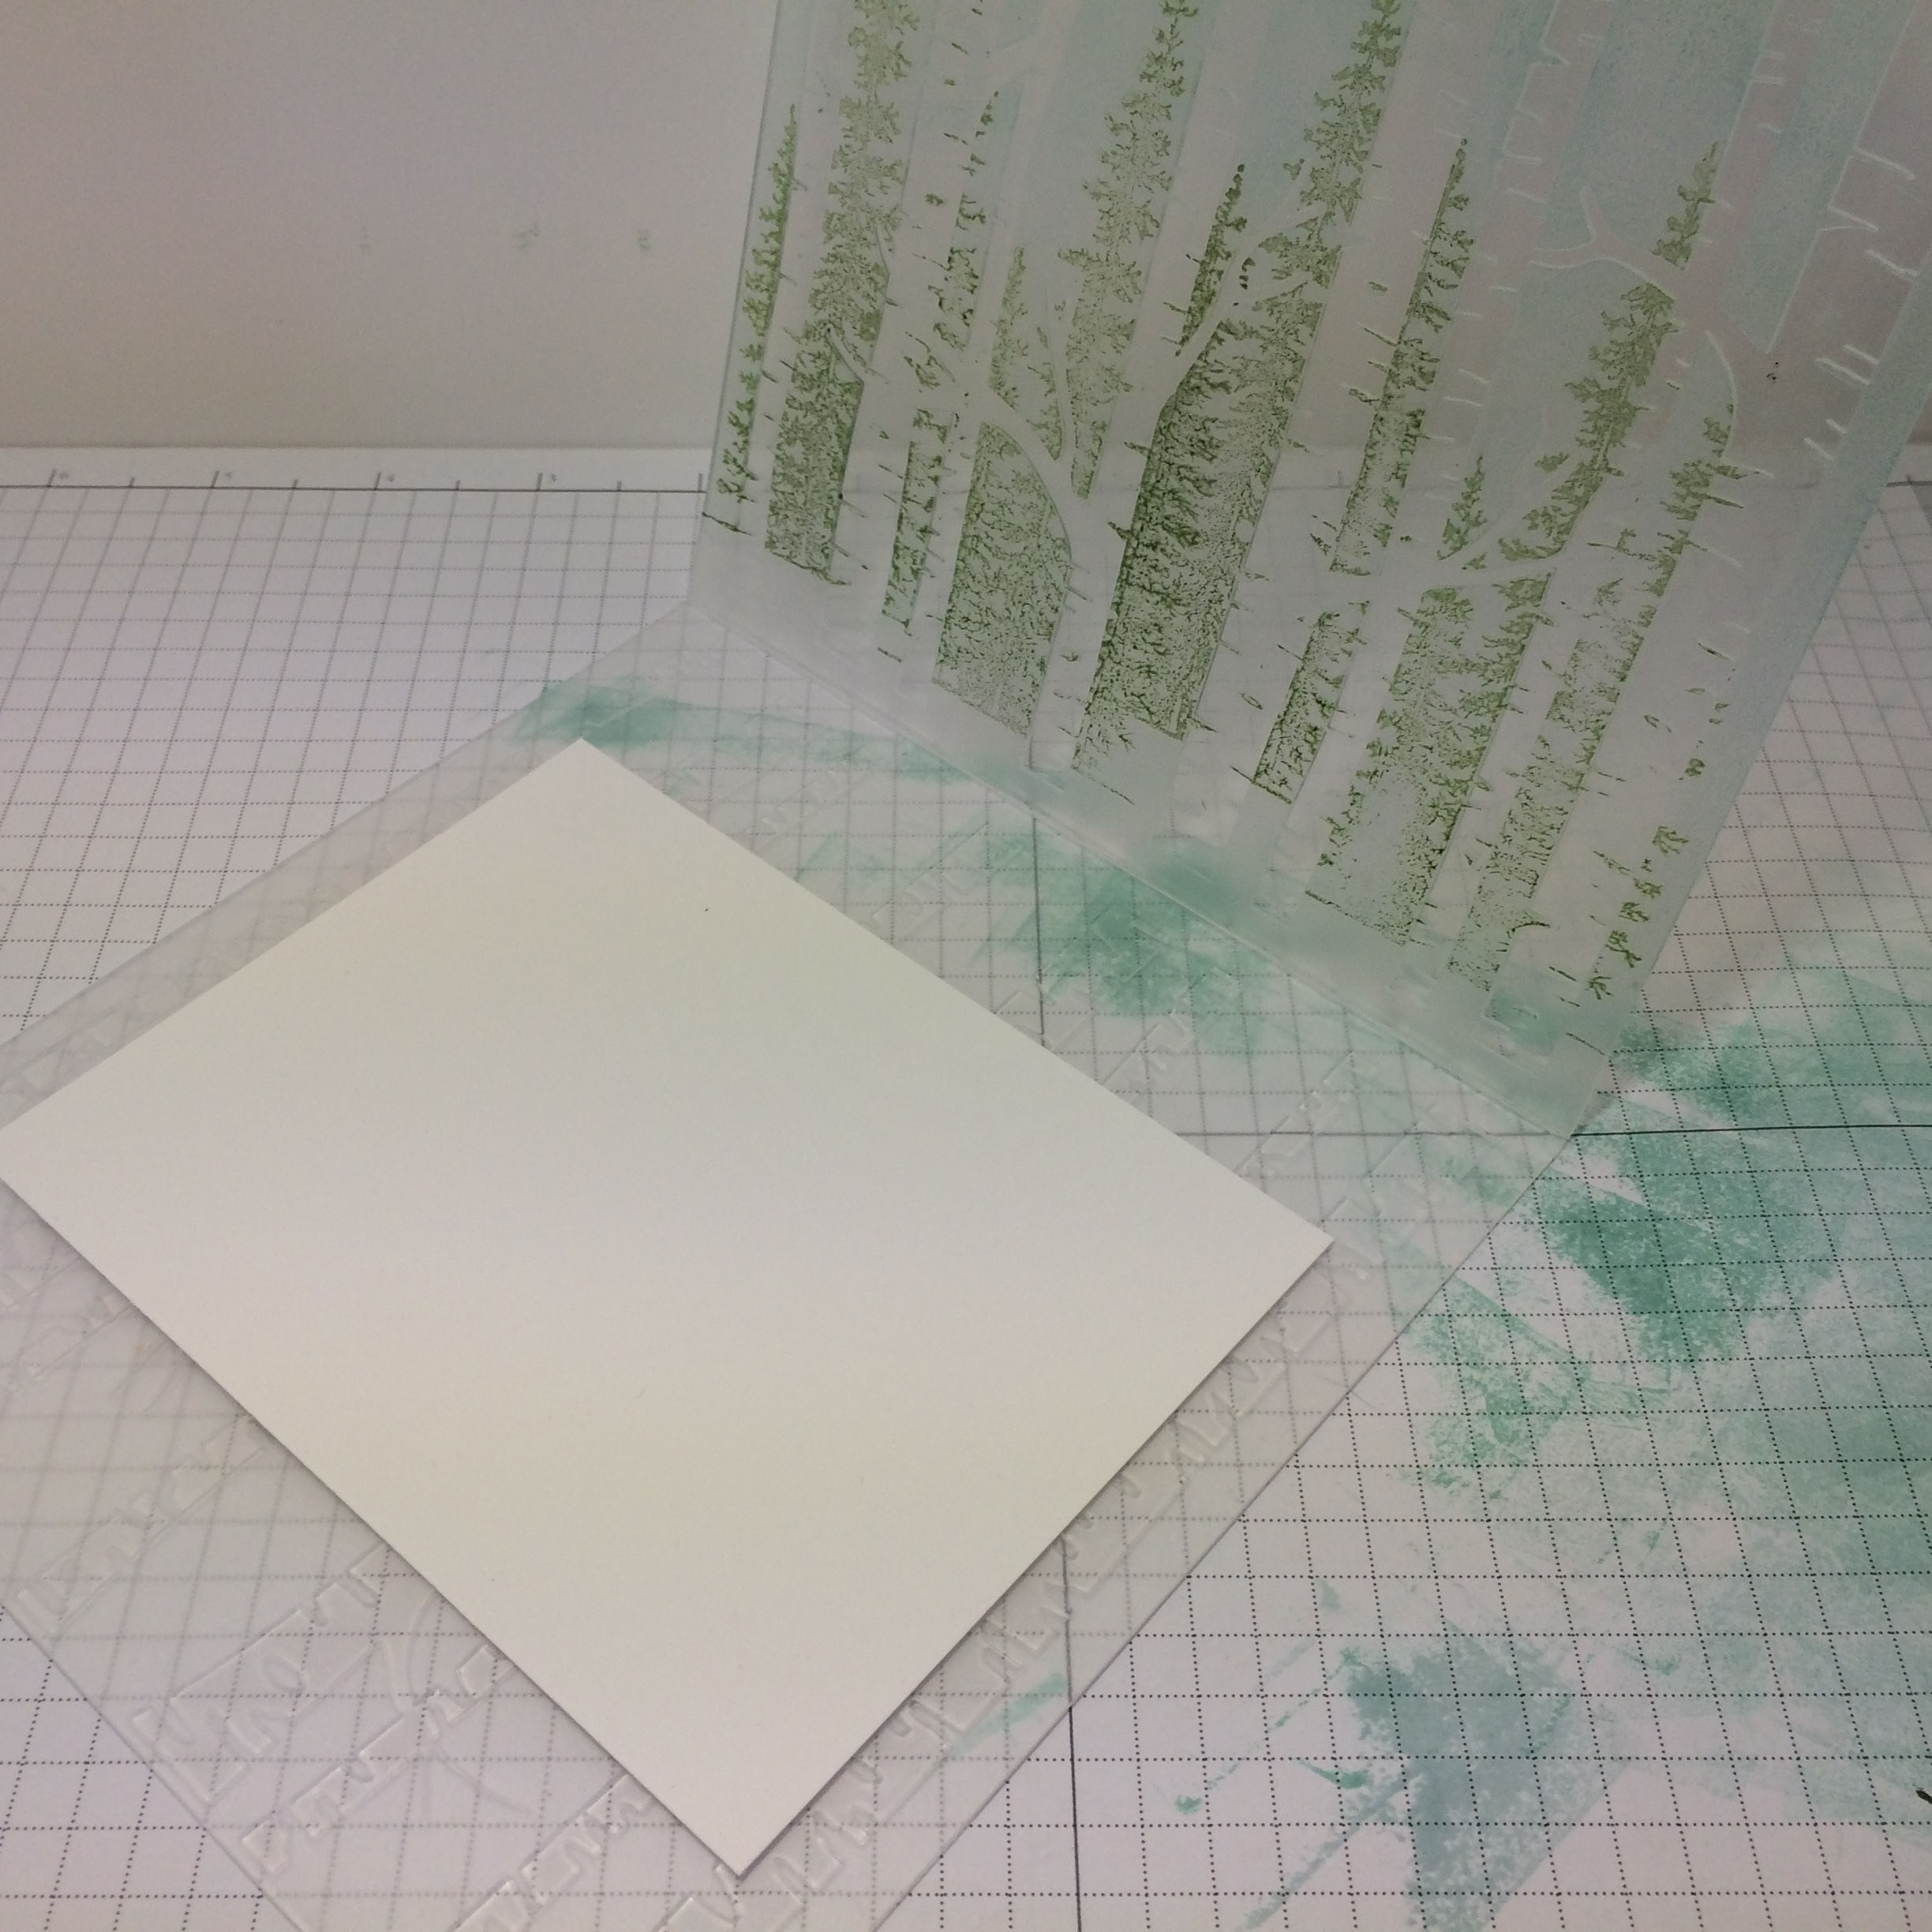
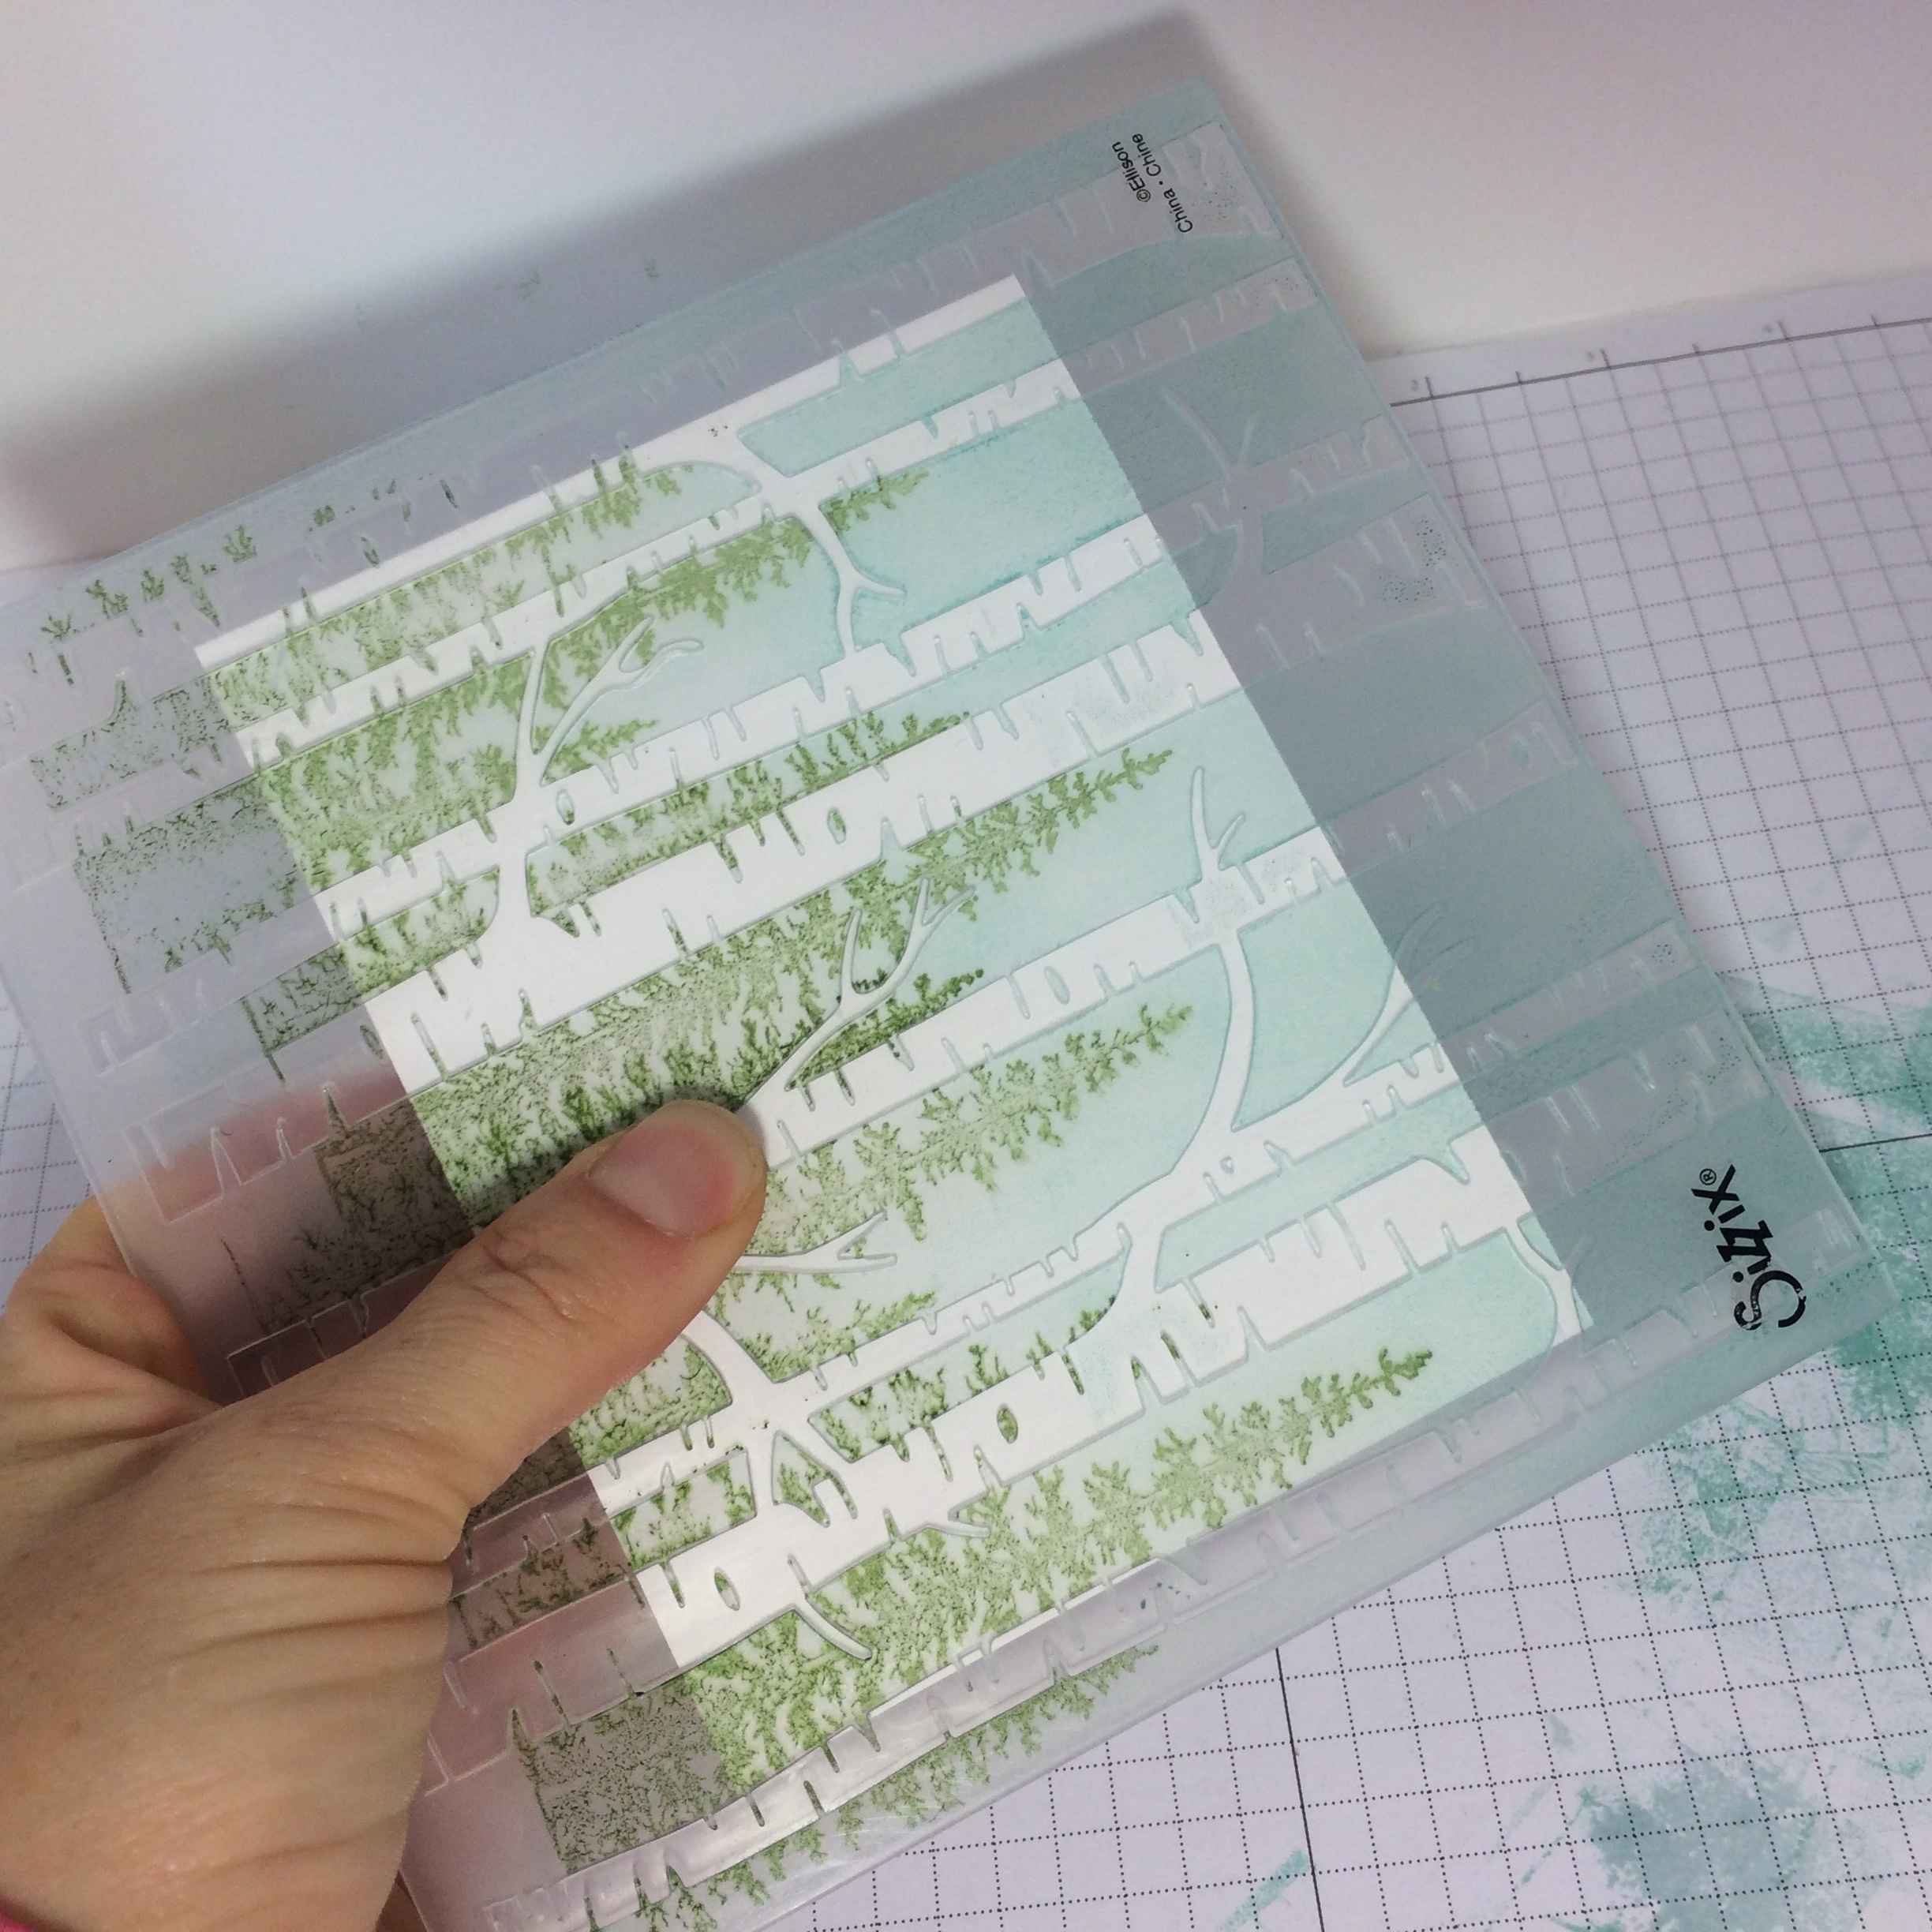
But the beauty of this project is really the brick background.

112 Created by Amy Jasper www.inkingonthefly.com
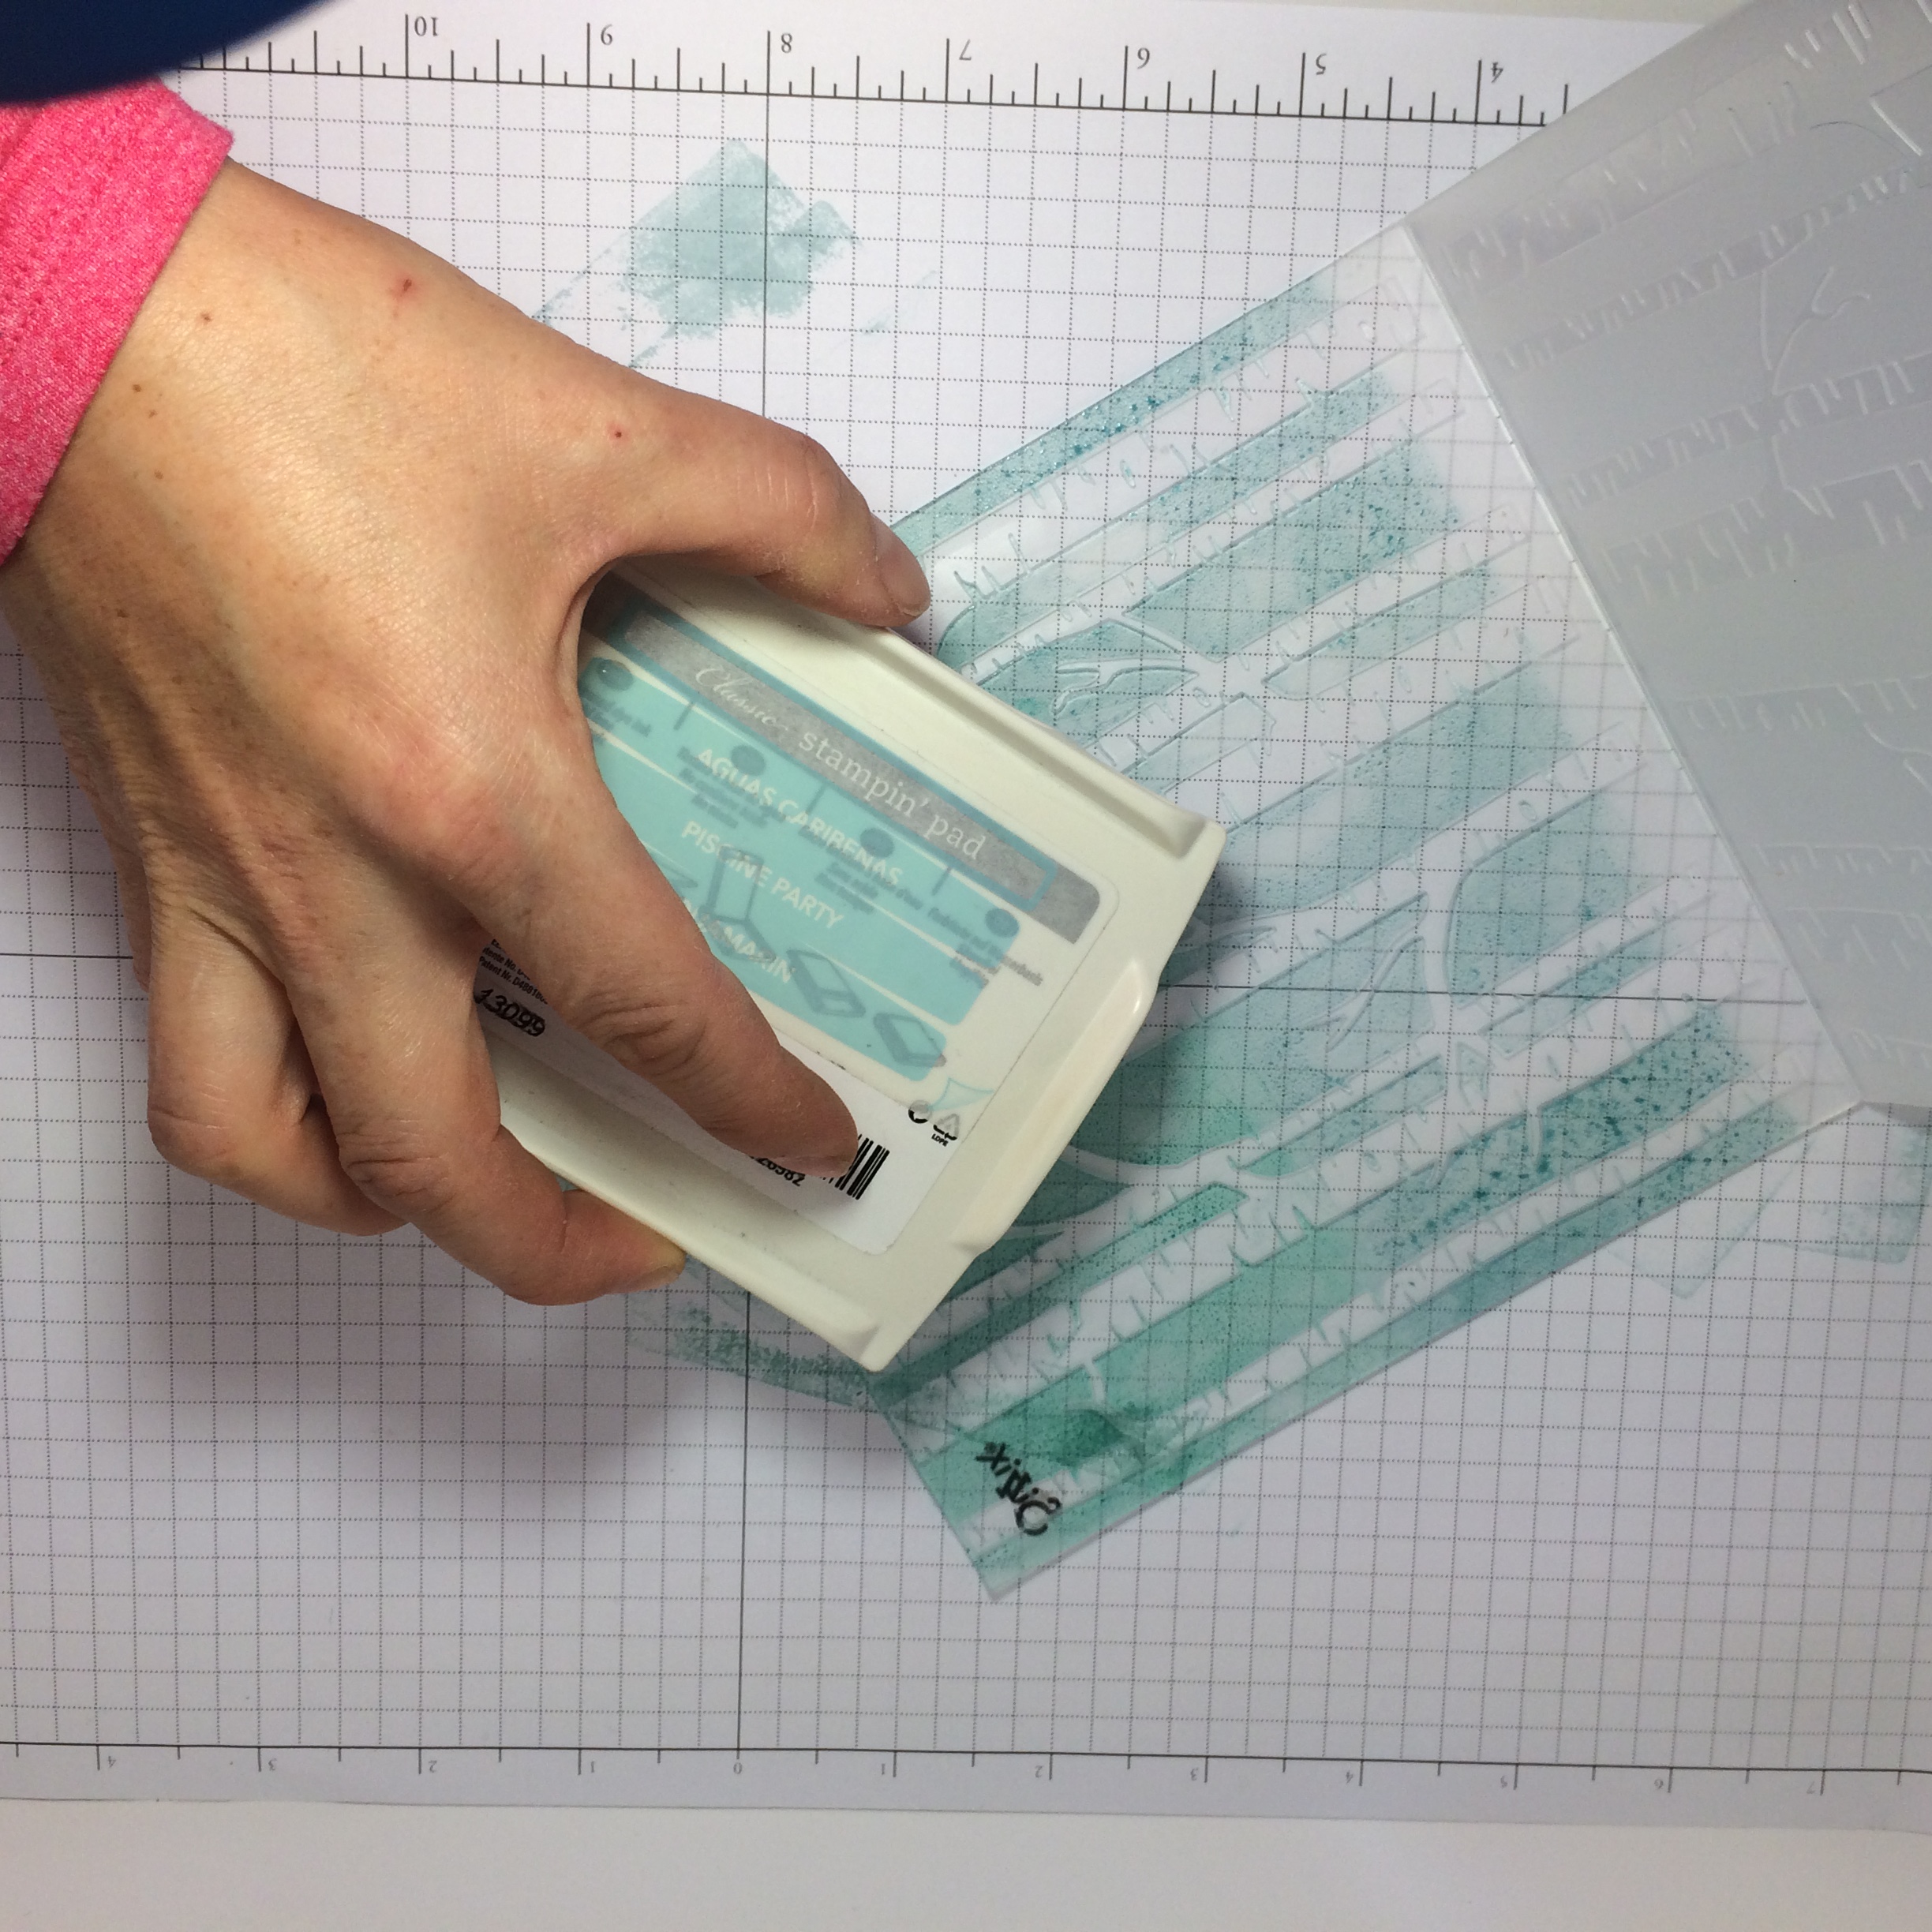
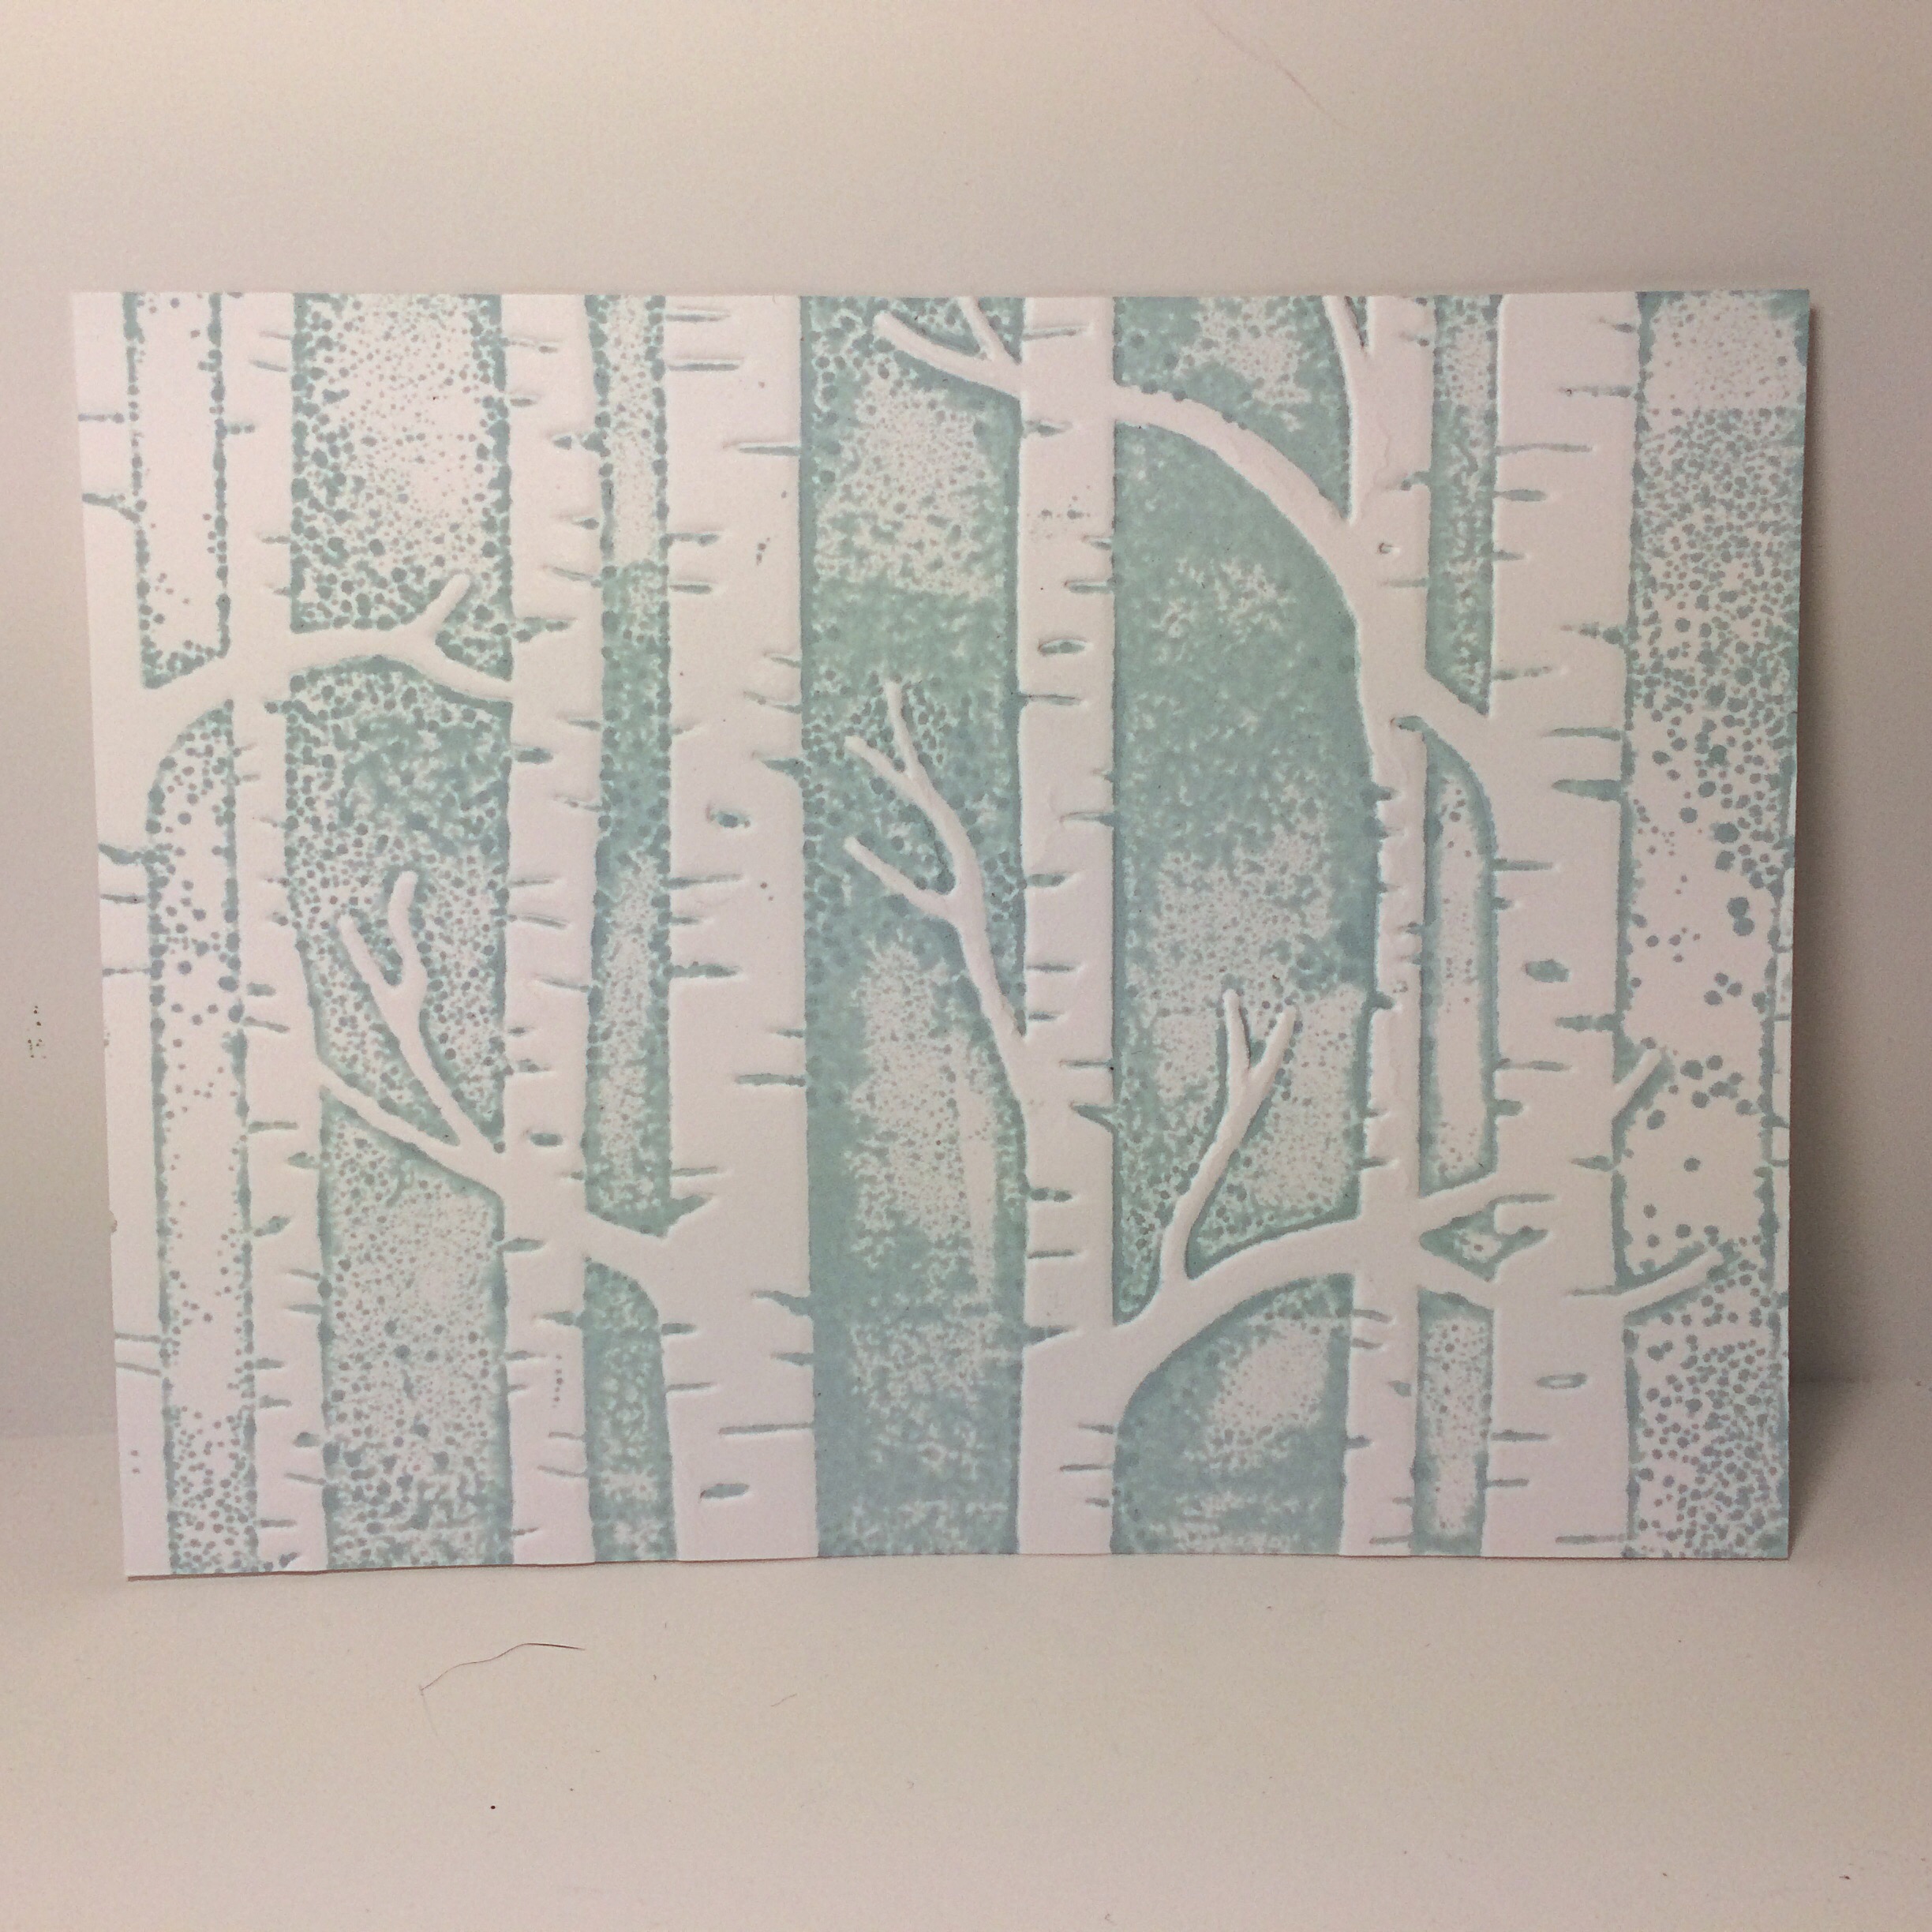
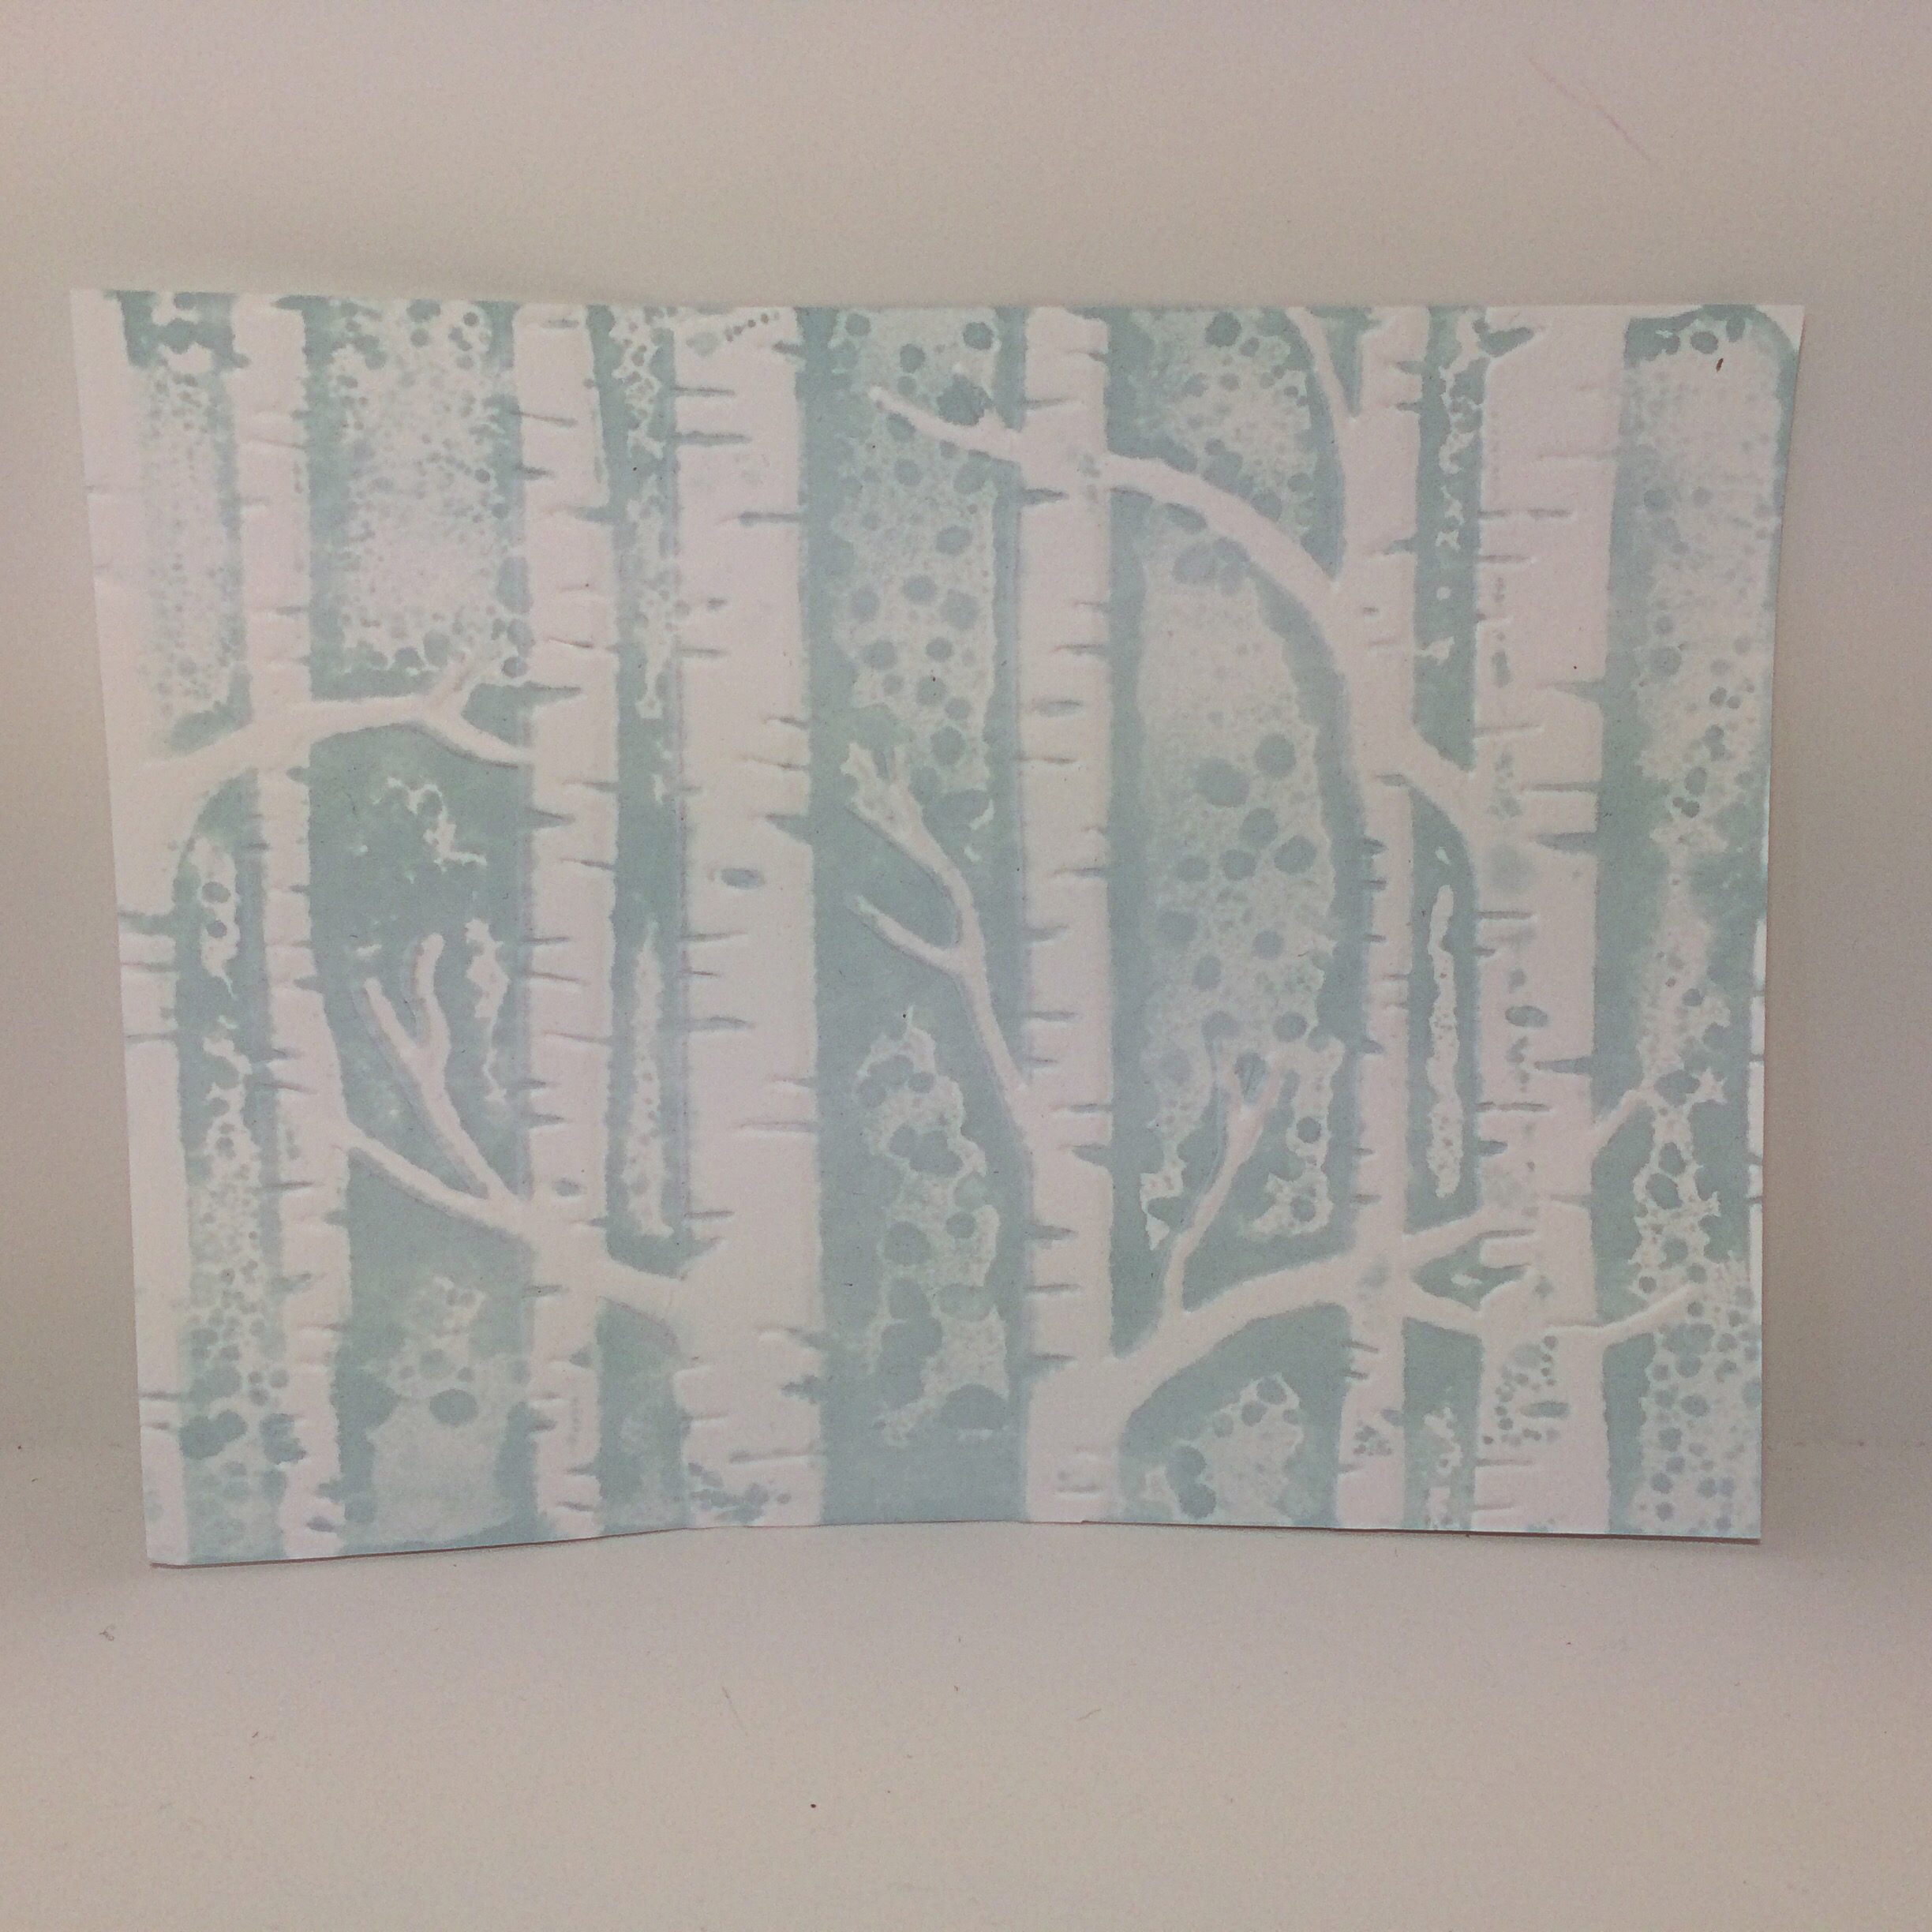
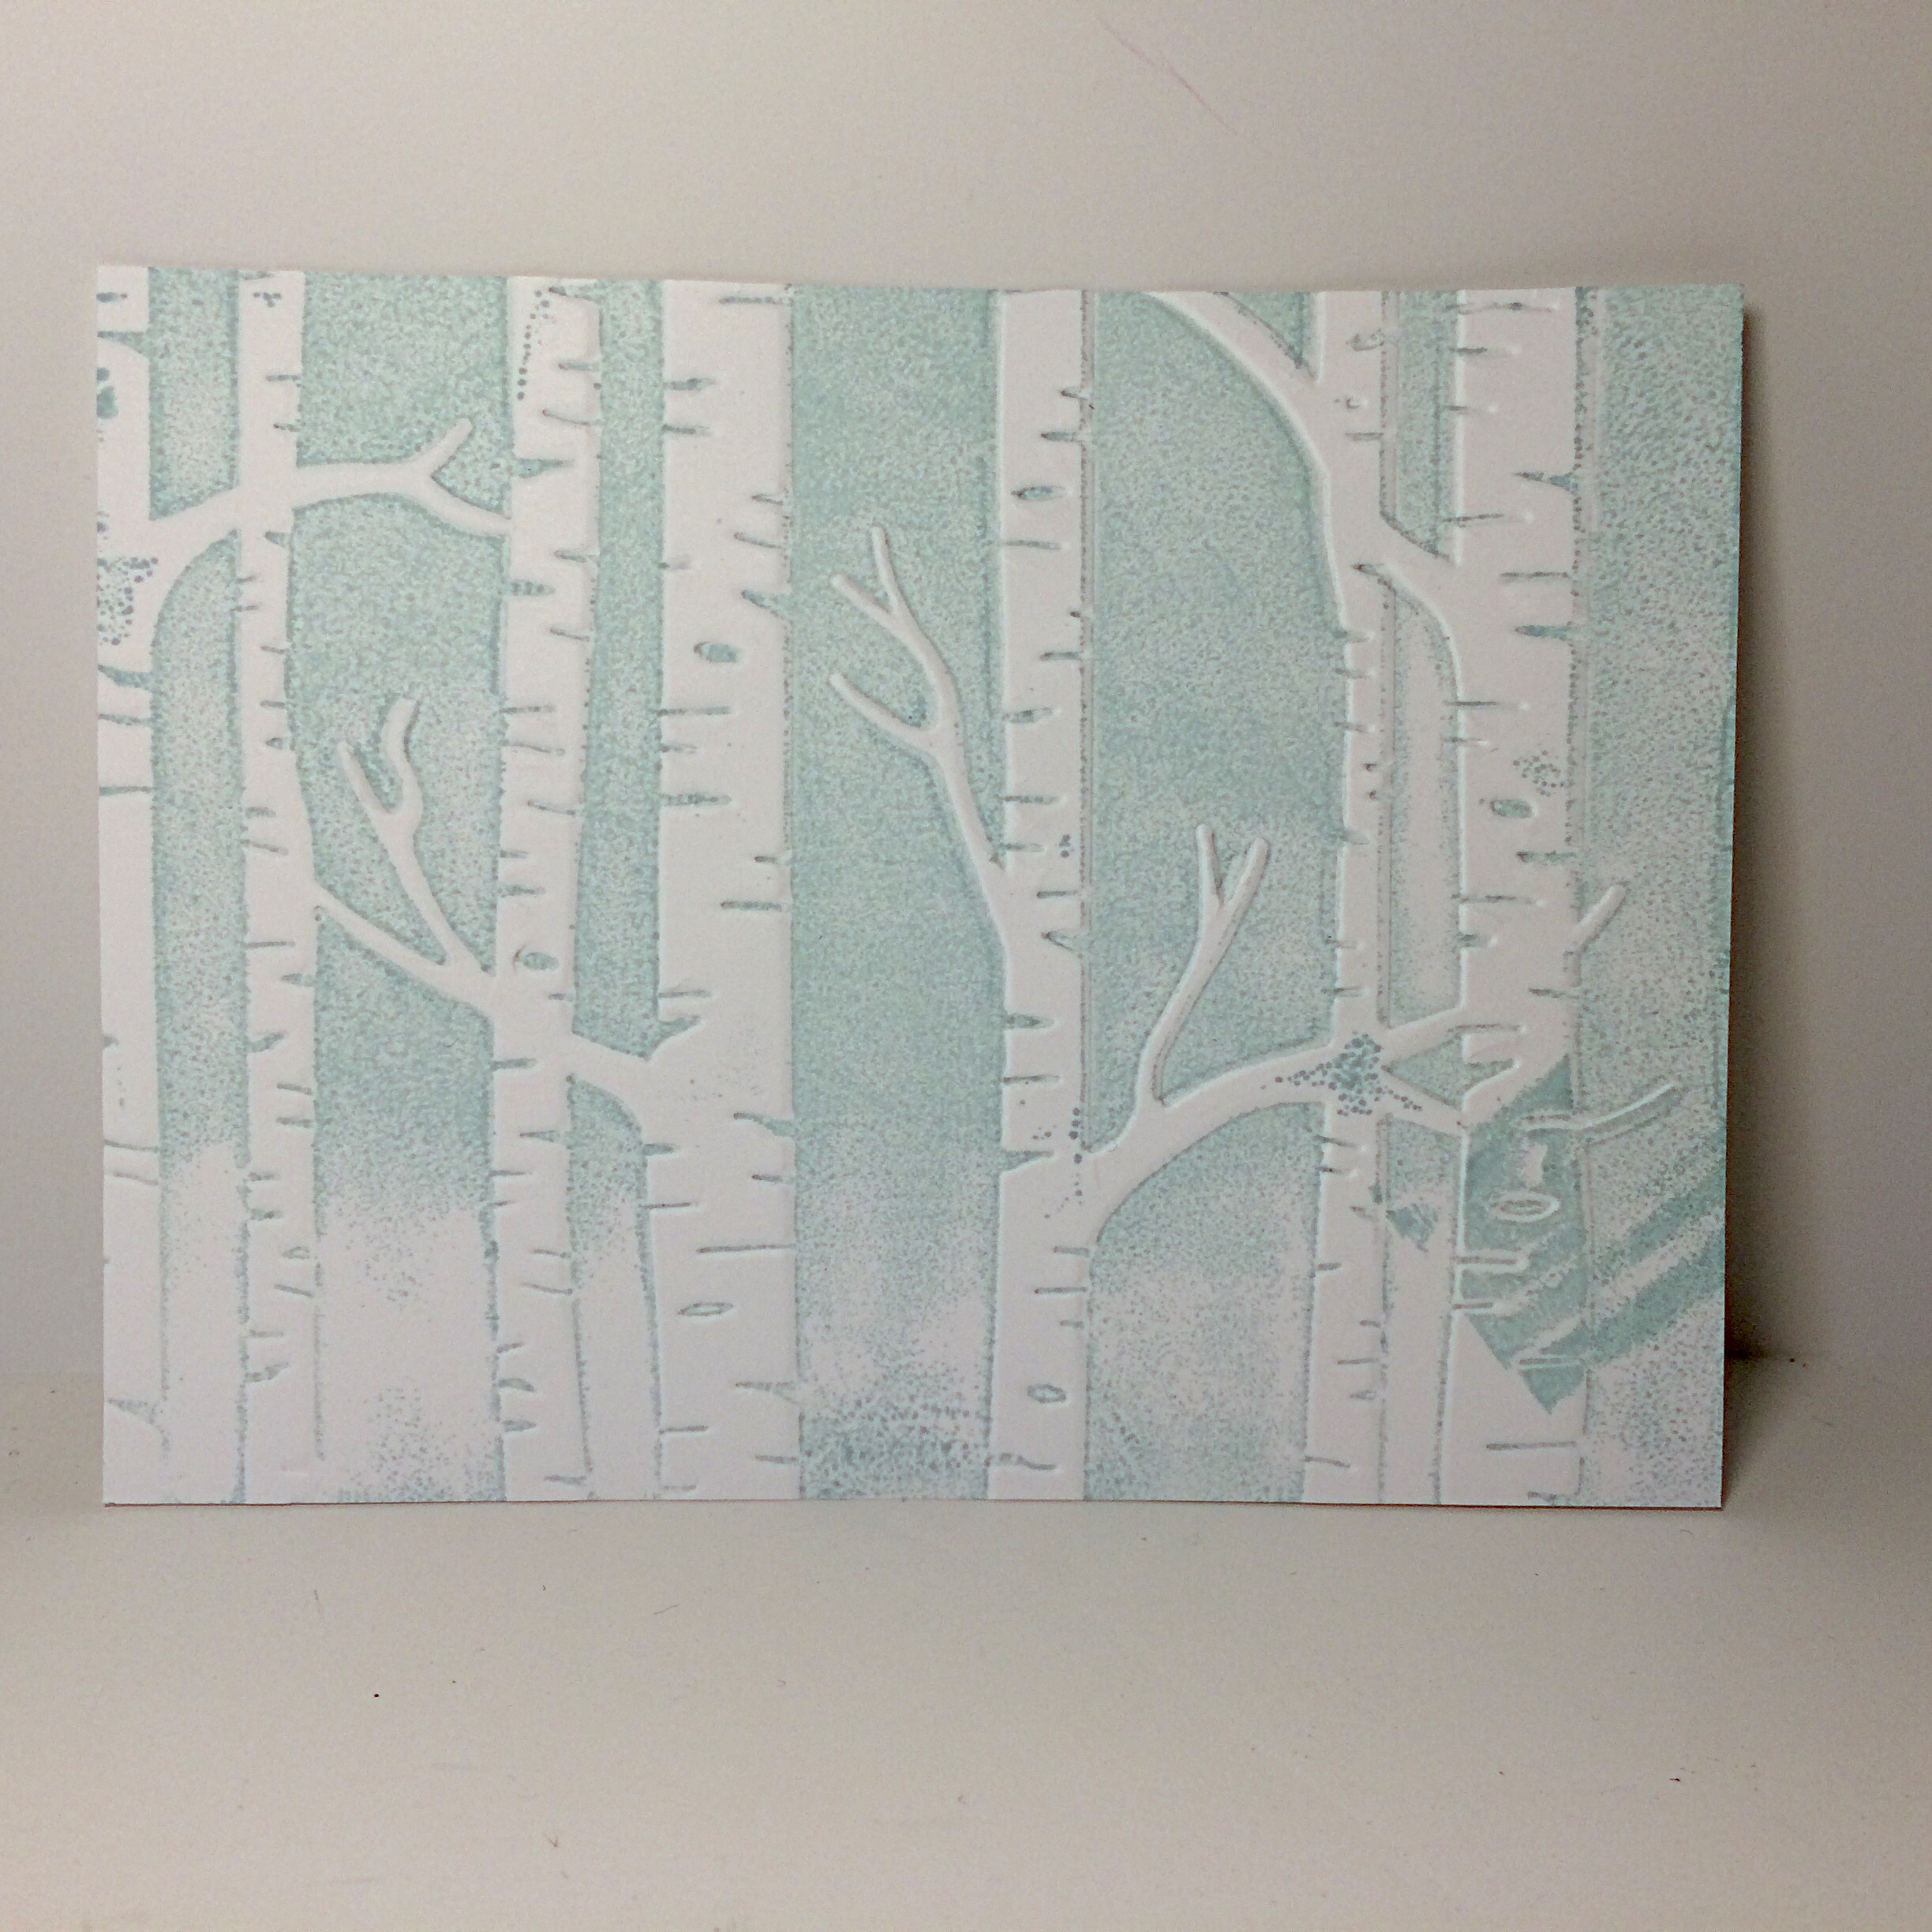
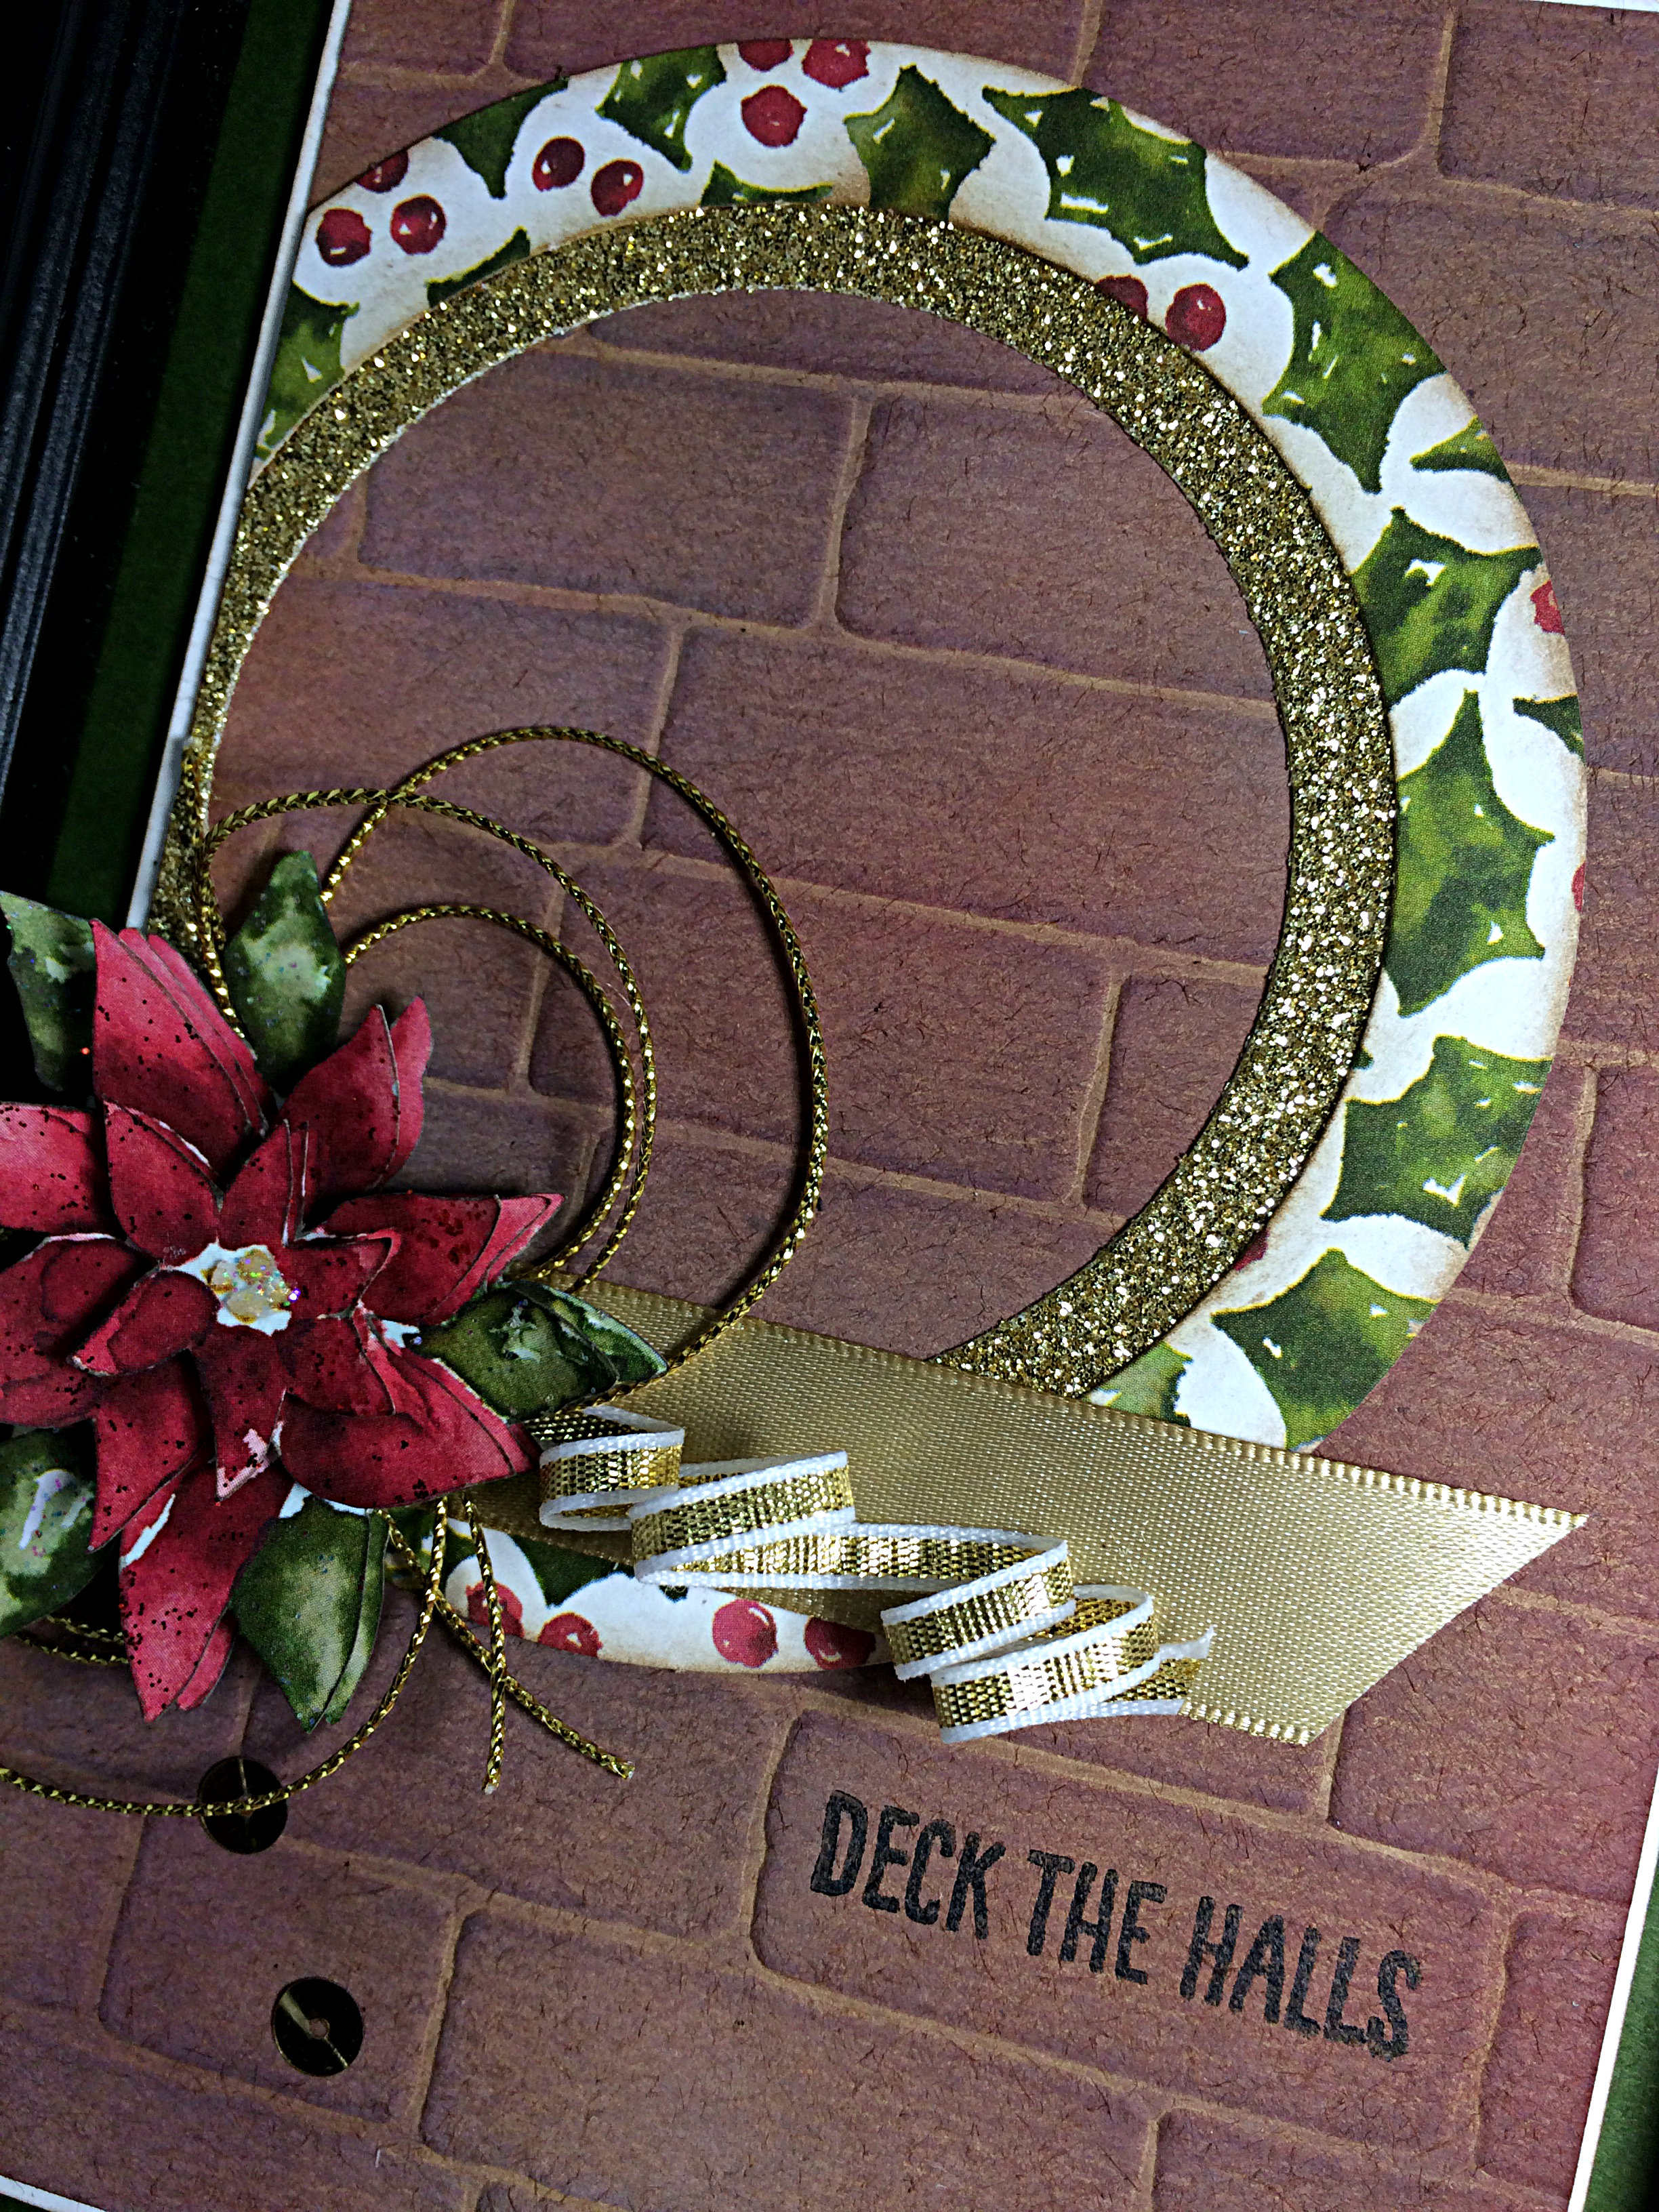
I started with Kraft paper. It comes in a 12×12 pack and is a different texture than Stampin’ Up’s other cardstock. I ran a 4×6″ piece through the Big Shot with my Brick Wall embossing folder, then sponged it. I sponged it a lot! I used relatively random placements of inks: Crumb Cake and Cajun Craze first, then Whisper White craft ink to soften the orange of the Cajun Craze. Finally, Soft Suede to sort of even it all out. I love how it turned out and will likely share it with my technique class in the new year.

112 on the wall
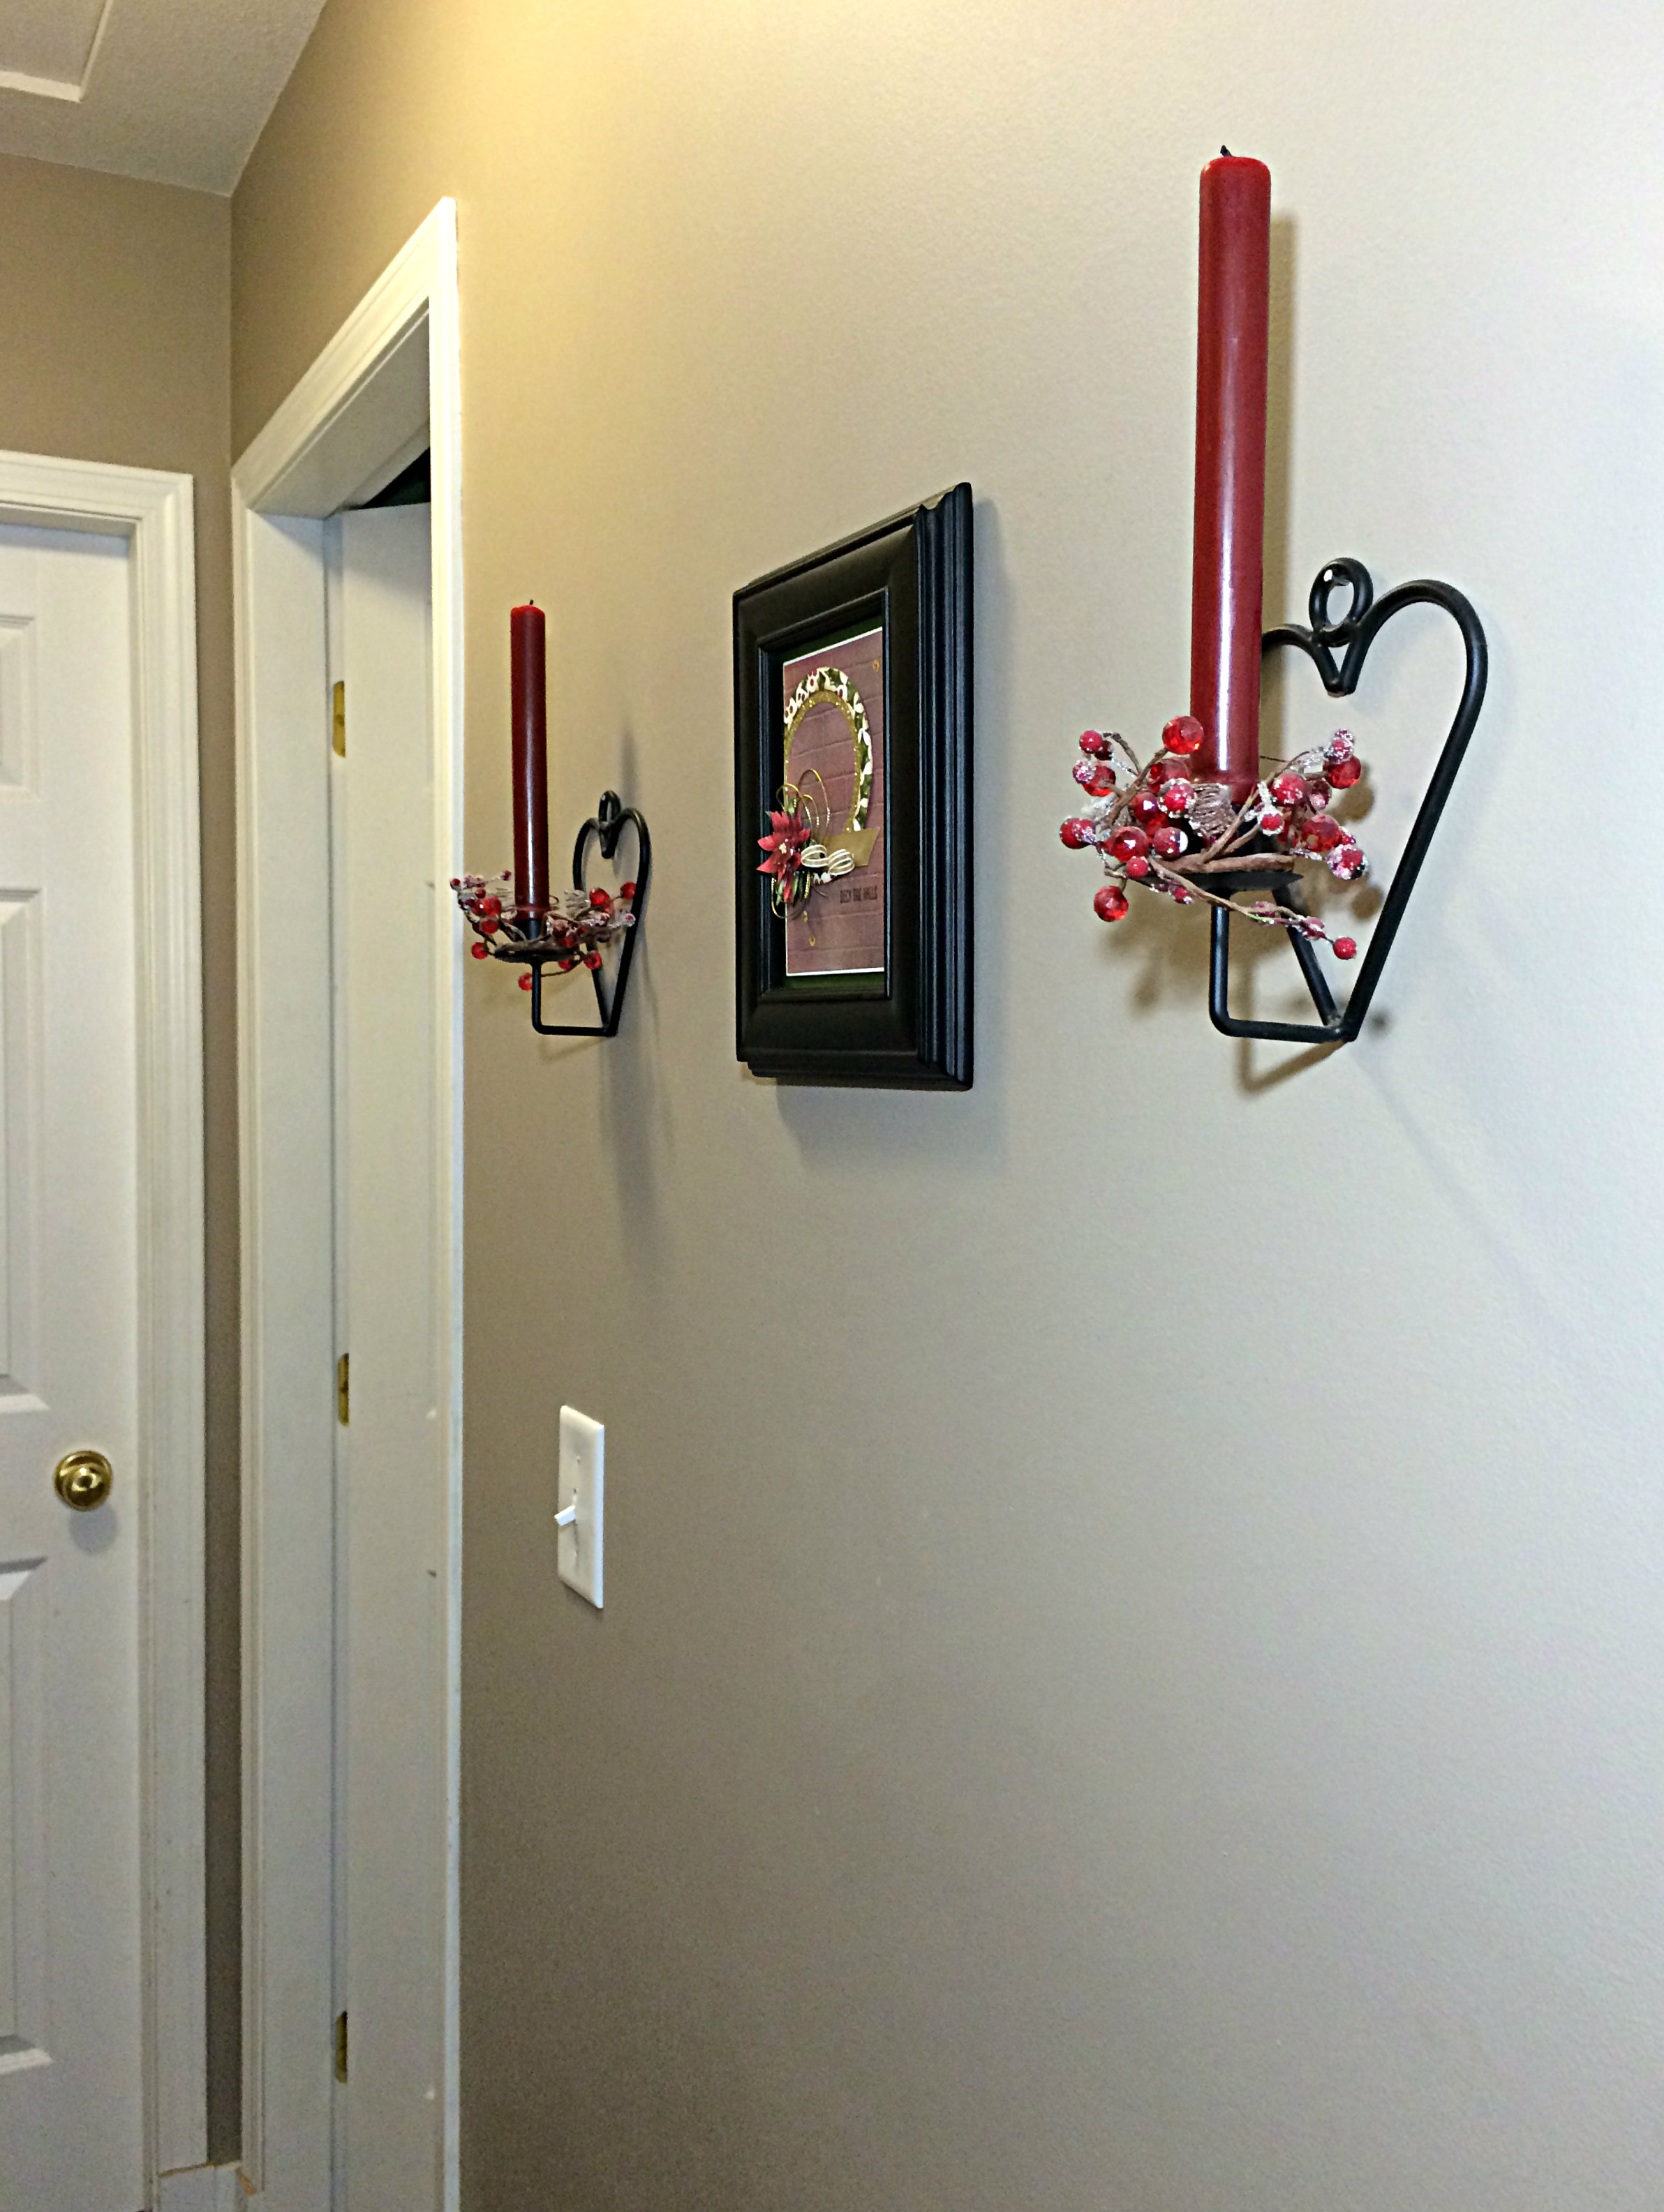
I’m not great at home decor, but I thought you might like to see it on the wall, in my hallway. I thought I should deck my hall with this piece of art. (I know … groan)

Okay, that’s all I’m going to write today. My son and I are heading to Abbotsford, British Columbia, less than four hours from here, for a youth event. Whoop Whoop! Should be high-energy fun!

Have a great weekend and be sure to try this sketch for yourself. You can share it with us at the As You See It Challenge Blog! Hope you do!

Fleece Navidad

I took a break last week. Basically, I ran out of time. I made a card for last week’s challenge, but … well … I did the wrong challenge.  I suppose I should have posted it anyway, but the wind was knocked out of my sails and my time was waning.

I might show it to you later.

Not much is different this week with the whole being short on time thing (when am I not?), but I did do the right challenge and I am posting it for you today. Phew!

Today, we have a sketch, whoohoo! Check out this fine design idea from the As You See It Challenge blog.

AYSIChallenge111-1024x1024Being short on time, I grabbed the first piece of pretty patterned paper in reach – the Season of Cheer Designer Series paper with the lovely painted poinsettias on it. Next to that, was the shiny and festive Real Red Foil paper. And so it began …

Fleece Navidad card created by Amy Jasper at www.inkingonthefly.com

I saw the CUTEST card designed with the Barnyard Babies stamp set (see card here). Of course, I had to buy this set for myself so I could make it, too. I was inspired!

With said stamp set now in my possession, I combined the little lamb stamp with the antlers from the Wonderland stamp set to create this holiday sheep. I’m not sure what I think about his Soft Suede ears, but he’s cute, none-the-less.

The card base is a sturdy Thick Whisper White cardstock, then you have the Red Foil matted under the Season of Cheer designer series paper. The diagonal striped patterned paper is also from the Season of Cheer paper package.

111closeCan you see the tiny wave detail on the Red Foil piece across the card front? I finally used my Tiny Wave cutting blade for the rotary trimmer attachment on my Stampin’ Up Paper Trimmer!  Yay me!

My “reinsheep” has a little red nose that was drawn in Real Red marker, then made to sparkle and shine with a dob of Cherry Cobbler Dazzling Details. I used my Sahara Sand marker to very thinly outline my reinsheep so he

(though, he could be a she as reindeer girls have antlers, too – bet you didn’t know that little tidbit of trivia!)

could have a little bit of depth. The Soft Sky marker was used around the inside of his body so he/she wouldn’t have boring, flat, white fleece.

And there you have it! How cute it THAT!!

Don’t forget to try this sketch for yourself. It’s a great way to get your creative mojo flowing and you can load it up and share it with us at the As You See It Challenge Blog, too!

Woodland Embossing Folder

The Woodland embossing folder by Stampin’ Up! is so versatile for Christmas, Halloween, fall, winter, summer – it can literally be used for anything!

My new favourite is to use it to create a forest scene. I’ve seen this done by a few other demonstrators, but I ran into a few problems along the way and thought I could share my trouble-shooting with you.

First, here’s the card I made and have since fallen in love with:

Woodland Embossing Folder card tutorial by Amy Jasper www.inkingonthefly.com

To created this card, I used a direct ink pad to embossing folder technique. This has been done before, but this time I used Soft Sky where the lower half of the sky was going to be, then used Pool Party for the upper half of the sky.

Woodland Embossing Folder card tutorial by Amy Jasper www.inkingonthefly.com

My first few attempts gave me blobs and pools of colour that didn’t jive with my expectations. This is likely because my ink pads are nice and juicy. Normally, you want a juicy ink pad for great colour distribution, but it can backfire a bit on you with solid flat sections on a stamp or when you want to use the ink pad for sponging techniques.

You could work with some of these effects for a different overall look, but I was looking for something softer and smoother.

image

Soft Sky ink – no brayer

image

Soft Sky ink – spritzed with water – no brayer

image

Soft Sky ink – with brayer

When I get blotches of ink on a stamp (like when I used my Definitely Dahlia background stamp), I will often roll my brayer over the stamp surface after inking it to thin and smooth the ink. I decided to try it with the ink on my folder.

Woodland Embossing Folder card tutorial by Amy Jasper www.inkingonthefly.com

Once I sorted out my sky and decided on the Pool Party/Soft Sky ink  combo, I could proceed with directly stamping my Winter Wonderland trees with Mossy Meadow ink on the Woodland embossing folder. I stamped them in varying heights and was careful to re-ink my stamp each time to ensure every tree was solid.

Woodland Embossing Folder card tutorial by Amy Jasper www.inkingonthefly.com

With my images and inking completed, I was ready to press my Whisper White cardstock. If you lay the paper on the un-inked side of your embossing folder, you will avoid the risk of smudging the ink on the cardstock. I chose to lay my paper dead center on the un-inked side of the folder so that the messy bottom area of my stamped trees wouldn’t show on my cardstock, but I would have a nice tree line showing in the middle-upper area of my cardstock piece.

Woodland Embossing Folder card tutorial by Amy Jasper www.inkingonthefly.com

Fold it all together carefully, holding it so it does. not. move, run it through the Big Shot.

Woodland Embossing Folder card tutorial by Amy Jasper www.inkingonthefly.com

Vacant areas actually work on this project, because it is an art piece. You can interpret those vacant areas as wisps of clouds or even snow.

Woodland Embossing Folder card tutorial by Amy Jasper www.inkingonthefly.com

Finishing the card was simple. I didn’t want to cover up the pretty woodland image, but wanted to highlight it as much as I could. I started with a Crumb Cake mat behind the embossed cardstock and layered that on my Thick Whisper White card base with Stampin’ Dimensionals.  The sentiment from the Hostess stamp set, Six Sayings, was stamped in Early Espresso ink on a Whisper White banner. Linen Thread tied in a bow to finish it with a bit of natural texture.

The final touch is adding the 3 sequins (pronounced “seek-wins”, not “sequence”, lol!). I thought of them as Christmas ornaments hanging from the trees, but they could also be thought of as sparkly snow softly falling from the sky.

Woodland Embossing Folder card tutorial by Amy Jasper www.inkingonthefly.com

You can order any of these products by clicking the ‘shop now’ button on my website or by contacting me through my email.

Now, don’t stop there. If you liked this tutorial, go and give it a try for yourself. Don’t have that embossing folder? Play around with what you have and see what you come up with!

Now get stamping!

Woodland Embossing Folder card tutorial by Amy Jasper www.inkingonthefly.com