Buffalo Check Christmas
Oh my, oh my!! I haven’t done a speed challenge for a while and I forgot what a rush it it!! Whoohoo! Making a card in less than 10 minutes isn’t easy and I don’t always like how it turns out, but it ALWAYS gets my creative mojo flowing!!
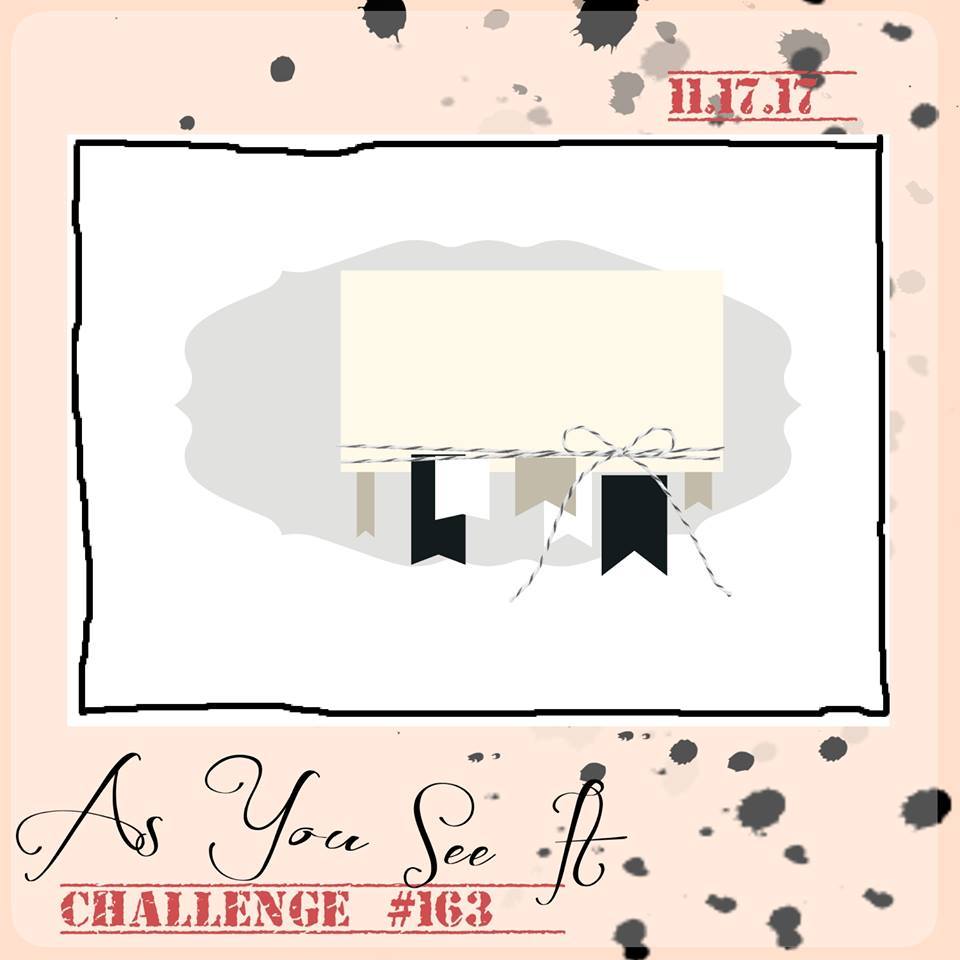
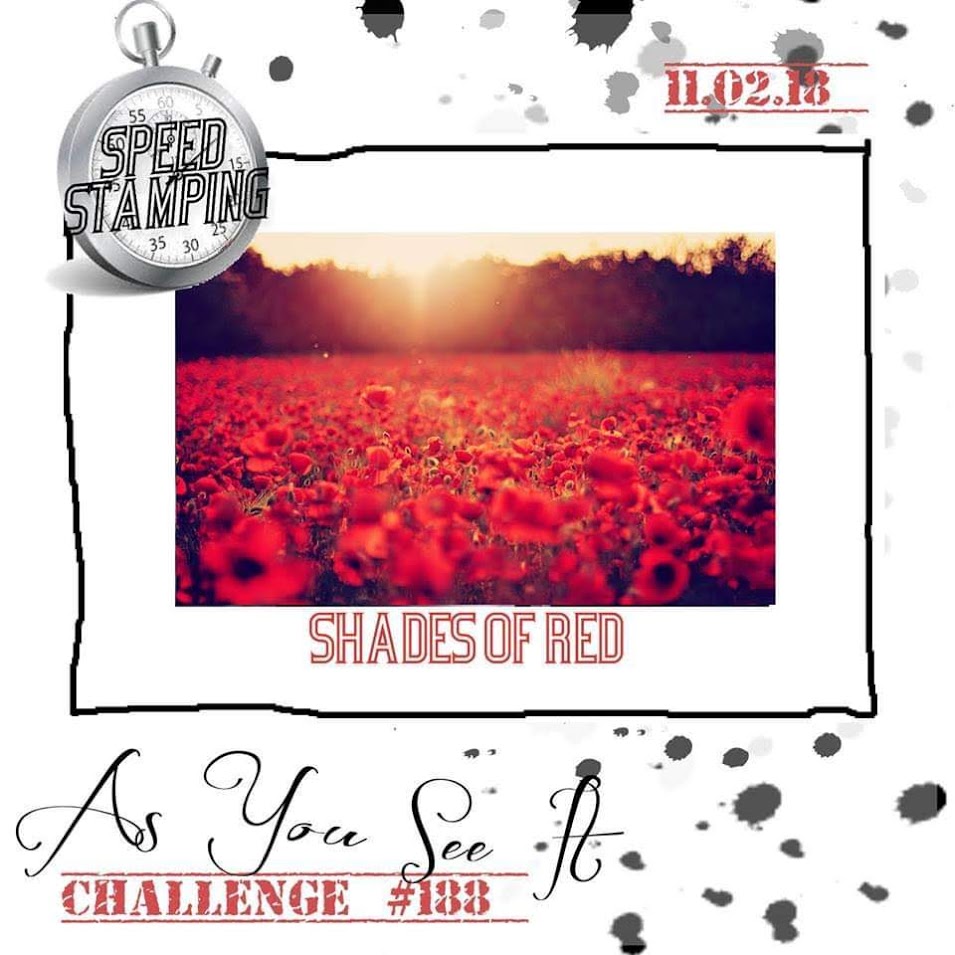
Here’s the inspiration for Shades of Red from the As You See It Challenge Blog:
 After considering what I wanted to do and gathering all my supplies (no cutting ahead of time!), I started my card design. Why I insist on adding bows to speed challenge cards, I’ll never know. I probably would have been done under eight minutes if I avoided the Linen Thread all together!
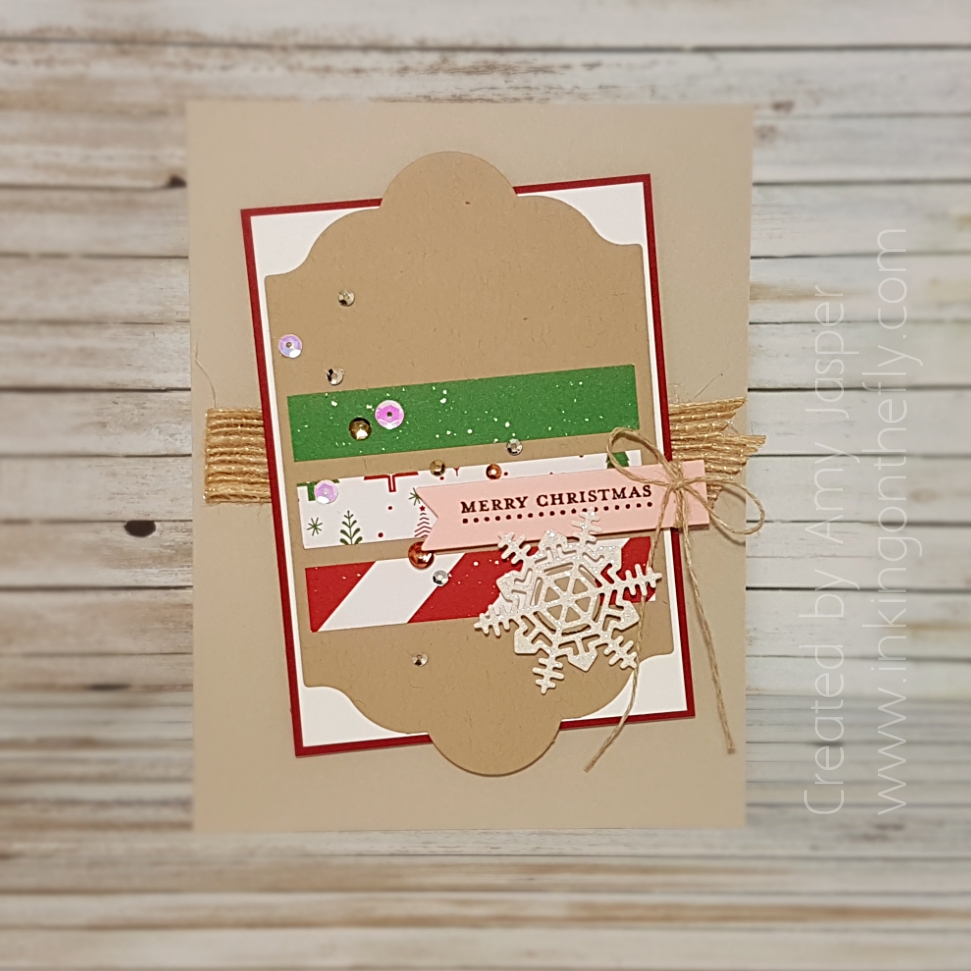
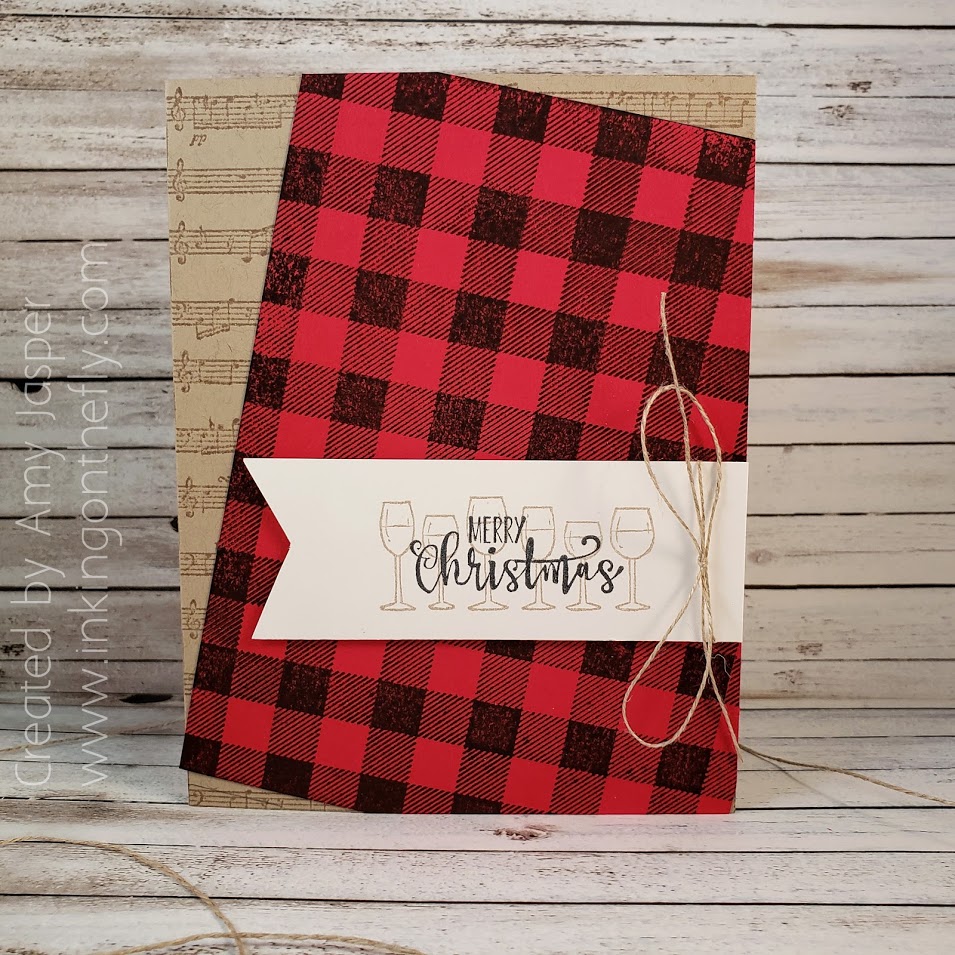
My completed time: 9 minutes 52 seconds
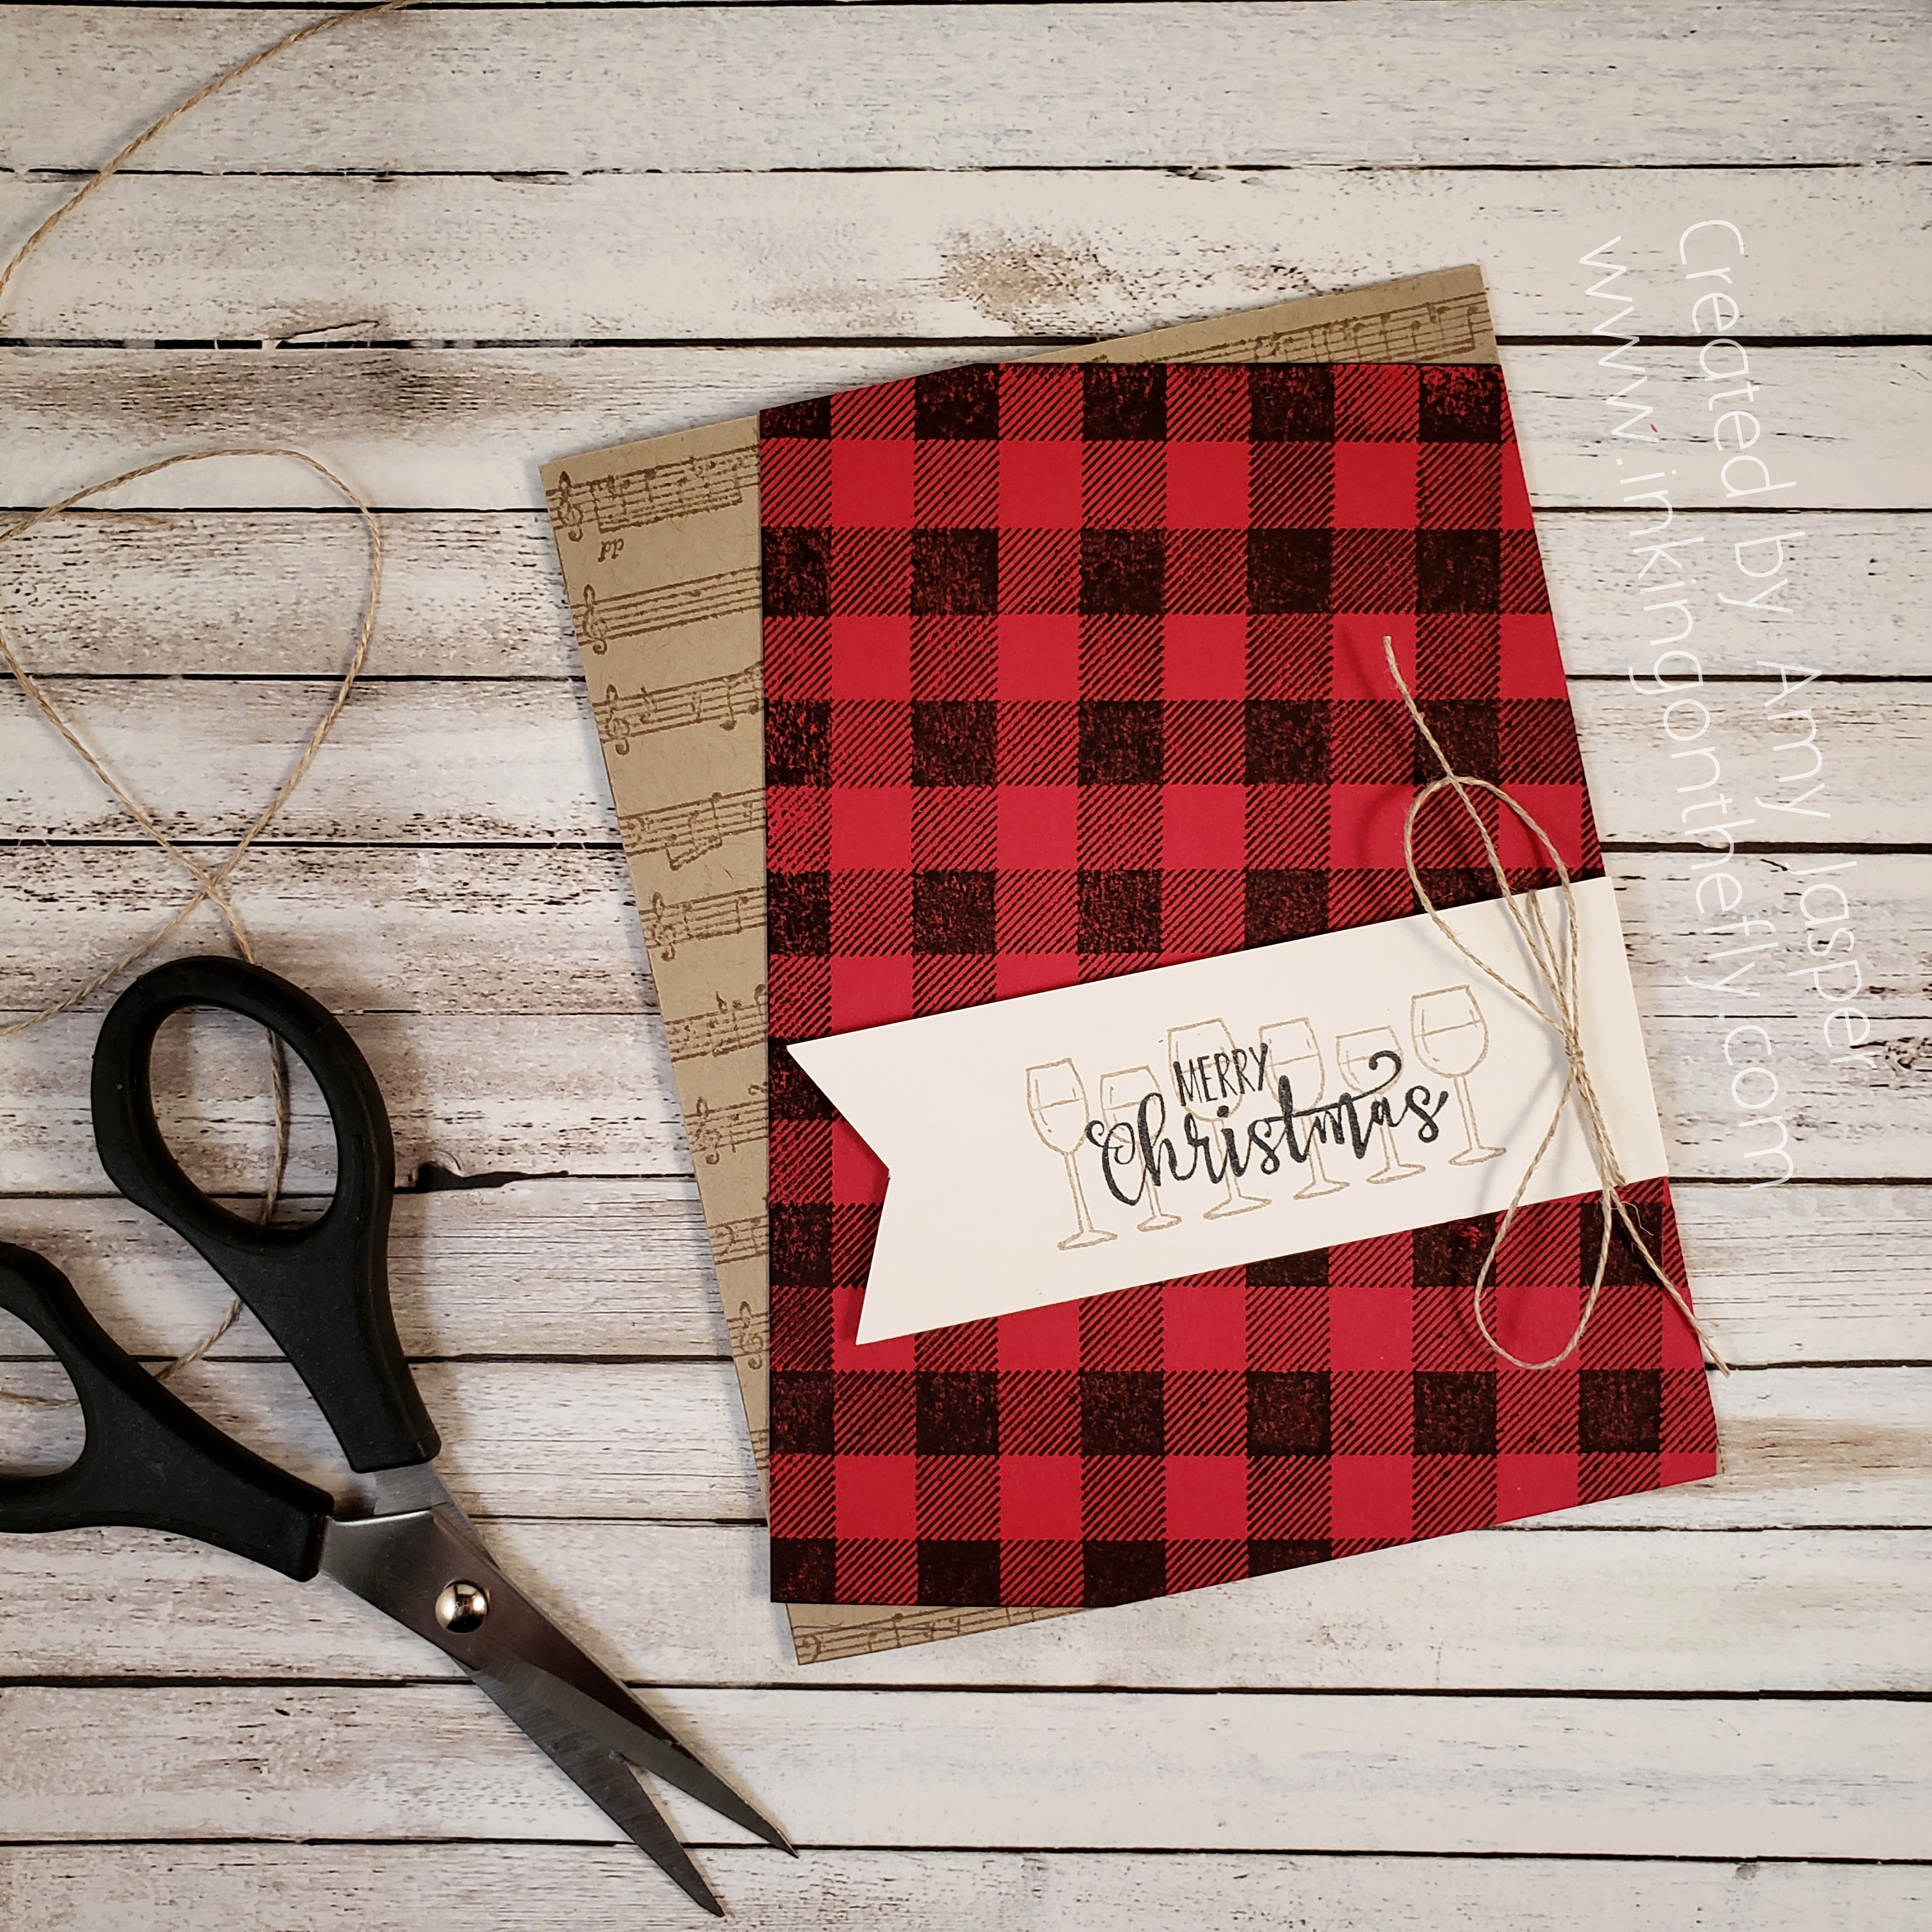
I used Crumb Cake ink with the Sheet Music background stamp on the Crumb Cake card base. I cut a piece of Real Red cardstock the same size as my card front and used the Buffalo Check background stamp with Tuxedo Black Momento Ink. I find it easier to use these background stamps so that the rubber faces up on the table. That way, I can place my cardstock on top of the stamp and have more control to make sure the image is stamped straight – particularly with any stamp image that needs to be parallel with the edge of my paper. I adhered my checked cardsock at an angle on my card, then trimmed the excess from the edges with my paper trimmer.
I still love the Half Full stamp set because it has images of one of my favourite things: wine! I love wine, particularly red wine. Sadly, wine isn’t very kind to my stomach these days, so I have started reserving it for Sunday dinners with my family.
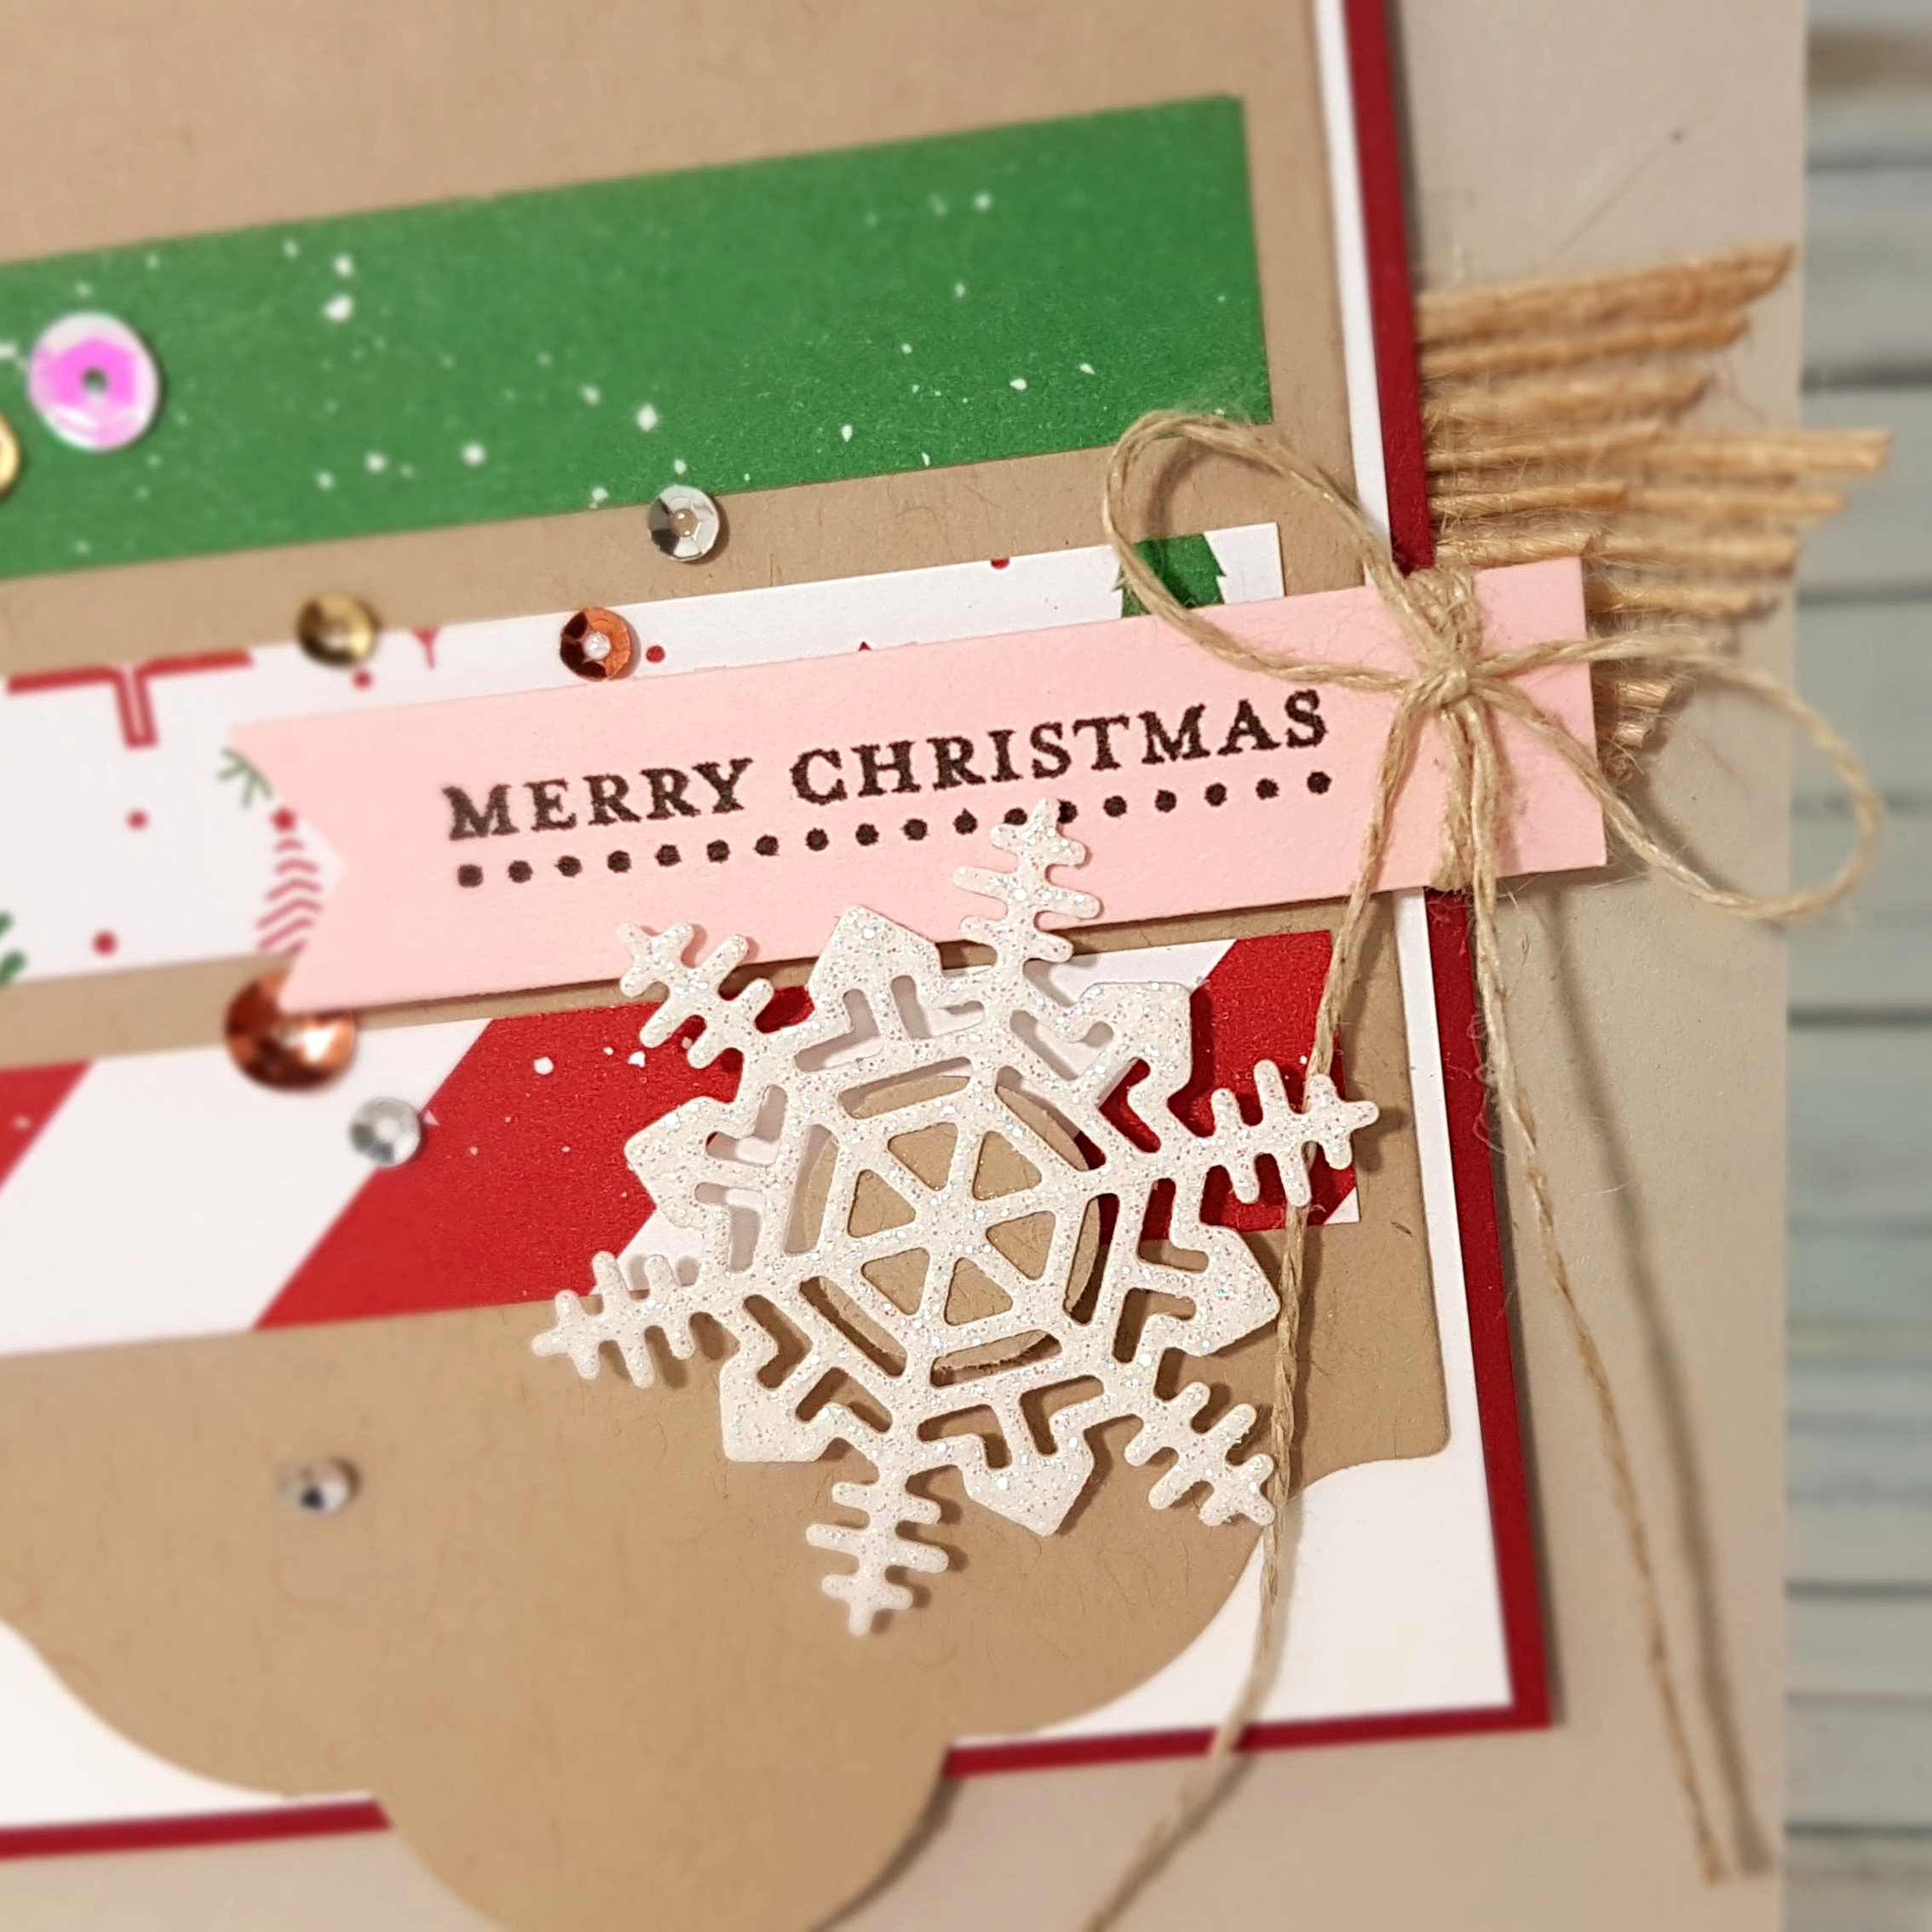
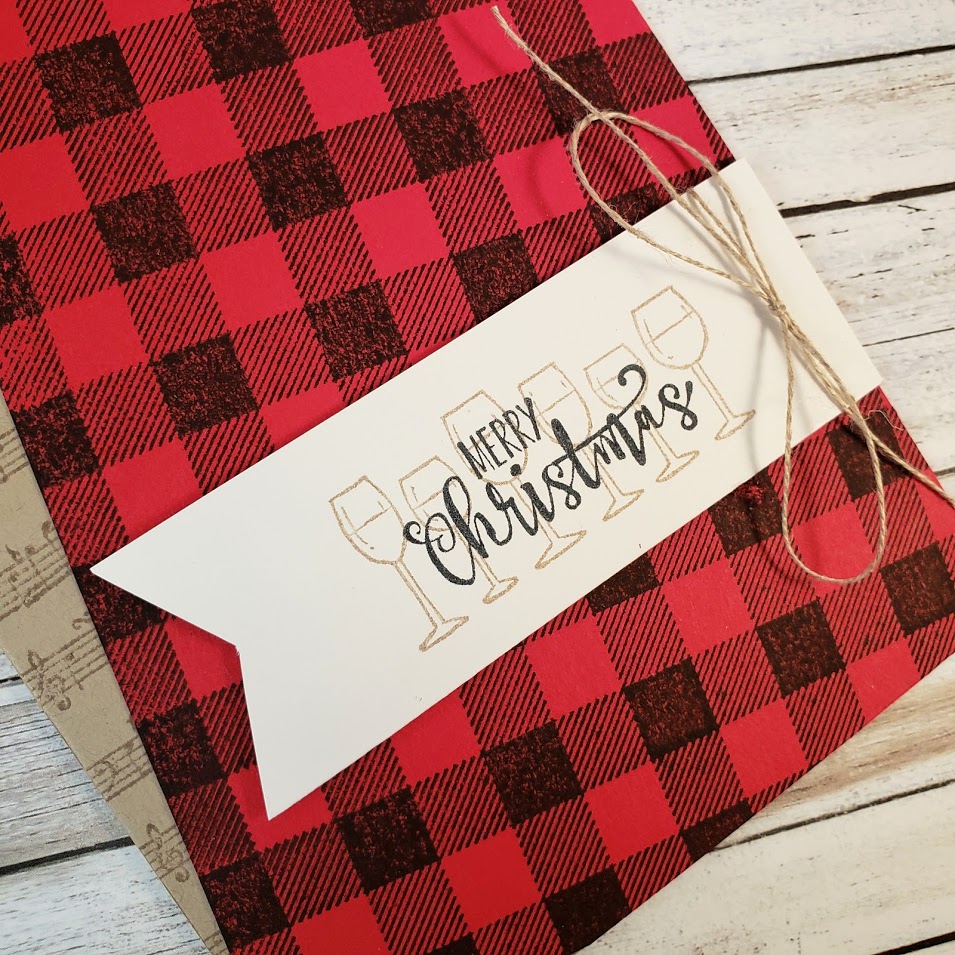
I stamped the wine glass image on Whisper White cardstock with Crumb Cake ink, stamping off once on a scrap piece of paper so I could have a slightly lighter image. The Merry Christmas sentiment from the same stamp set was stamped with Tuxedo Black Momento ink over top of the wine glasses image. I then trimmed my Whisper White cardstock to the size I wanted and flagged the end with my Paper Snips. The Linen Thread is tied around the end of the Whisper White cardstock into a bow and the completed banner was attached to the card front with Stampin’ Dimensionals.
Voila! This is what a 10 minute speed challenge card looks like! Sweet and Simple, don’t you think!?
Your turn! Give the challenge a try. Set your timer for ten minutes and see if you can beat the time. If you get it under, be sure to share your finished work with us at the As You See It Challenge blog so we can ooh and ahh at your creative genius! (we always do!)
If you like these products and are in Canada, you can order them from me by clicking on the Shop Now circle button on this blog. If you are on a phone or tablet, just keep scrolling down until you find the shopping button. If you are on a computer, you will see it in the side bar. Be sure to use the Hostess Code just above the shopping circle so I can award you with Loyalty Points for any order over $50 (before shipping and taxes).
Happy stamping!!