Christmas

Delight in the Snow

Snow came so early this year. It wasn’t just a little bit either, it was one huge blanket of snowman-worthy snow. It’s always so strange to see the fall leaves still on the trees when there’s snow on the ground!

I wasn’t ready for it. I had to scramble to get my winter tires on my car and try to find winter boots to fit my kids who keep growing and have their own sense of fashion. It’s harder to buy clothes for them now that they have an opinion! LOL! Though, I had a “mom win” moment this week after I bought a winter jacket for my 14 year old daughter and surprised her with it. When I saw it advertised in a flyer, I just knew it was perfect for her AND it was a door crasher Black Friday deal! It fit! She loved it! I won SO HARD!!

We weren’t ready for the snow. We didn’t build a snowman and we didn’t even enjoy the snow. It was more of an annoyance, really.

Now the snow is melted. Now I’m wishing for it to come back. I’m ready.  I’m ready to be delighted by the winter wonderland.

Today’s card is a design inspired by the As You See It Challenge blog. It’s an assortment or recipe challenge!

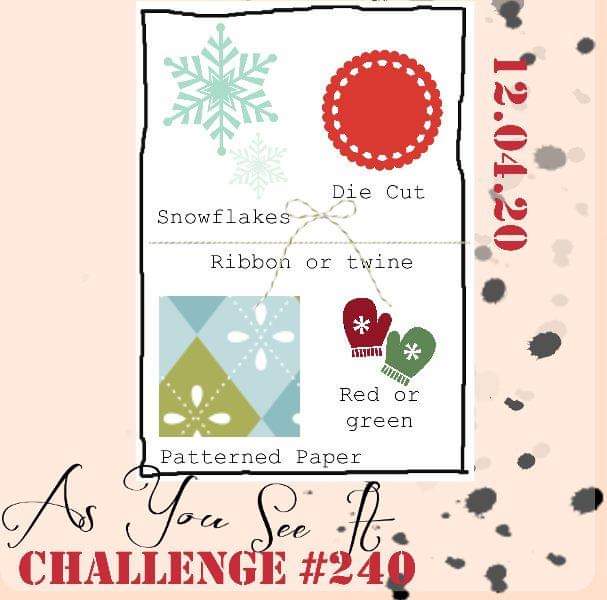
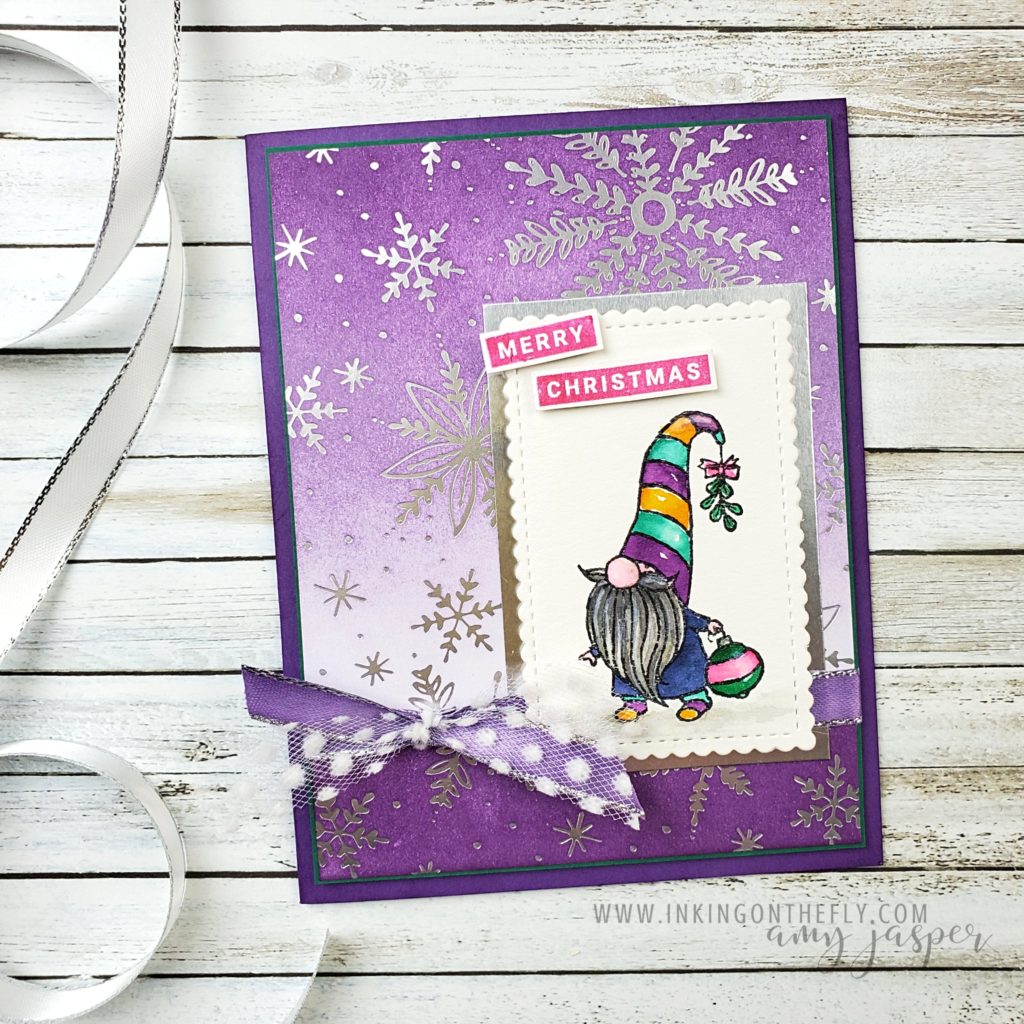
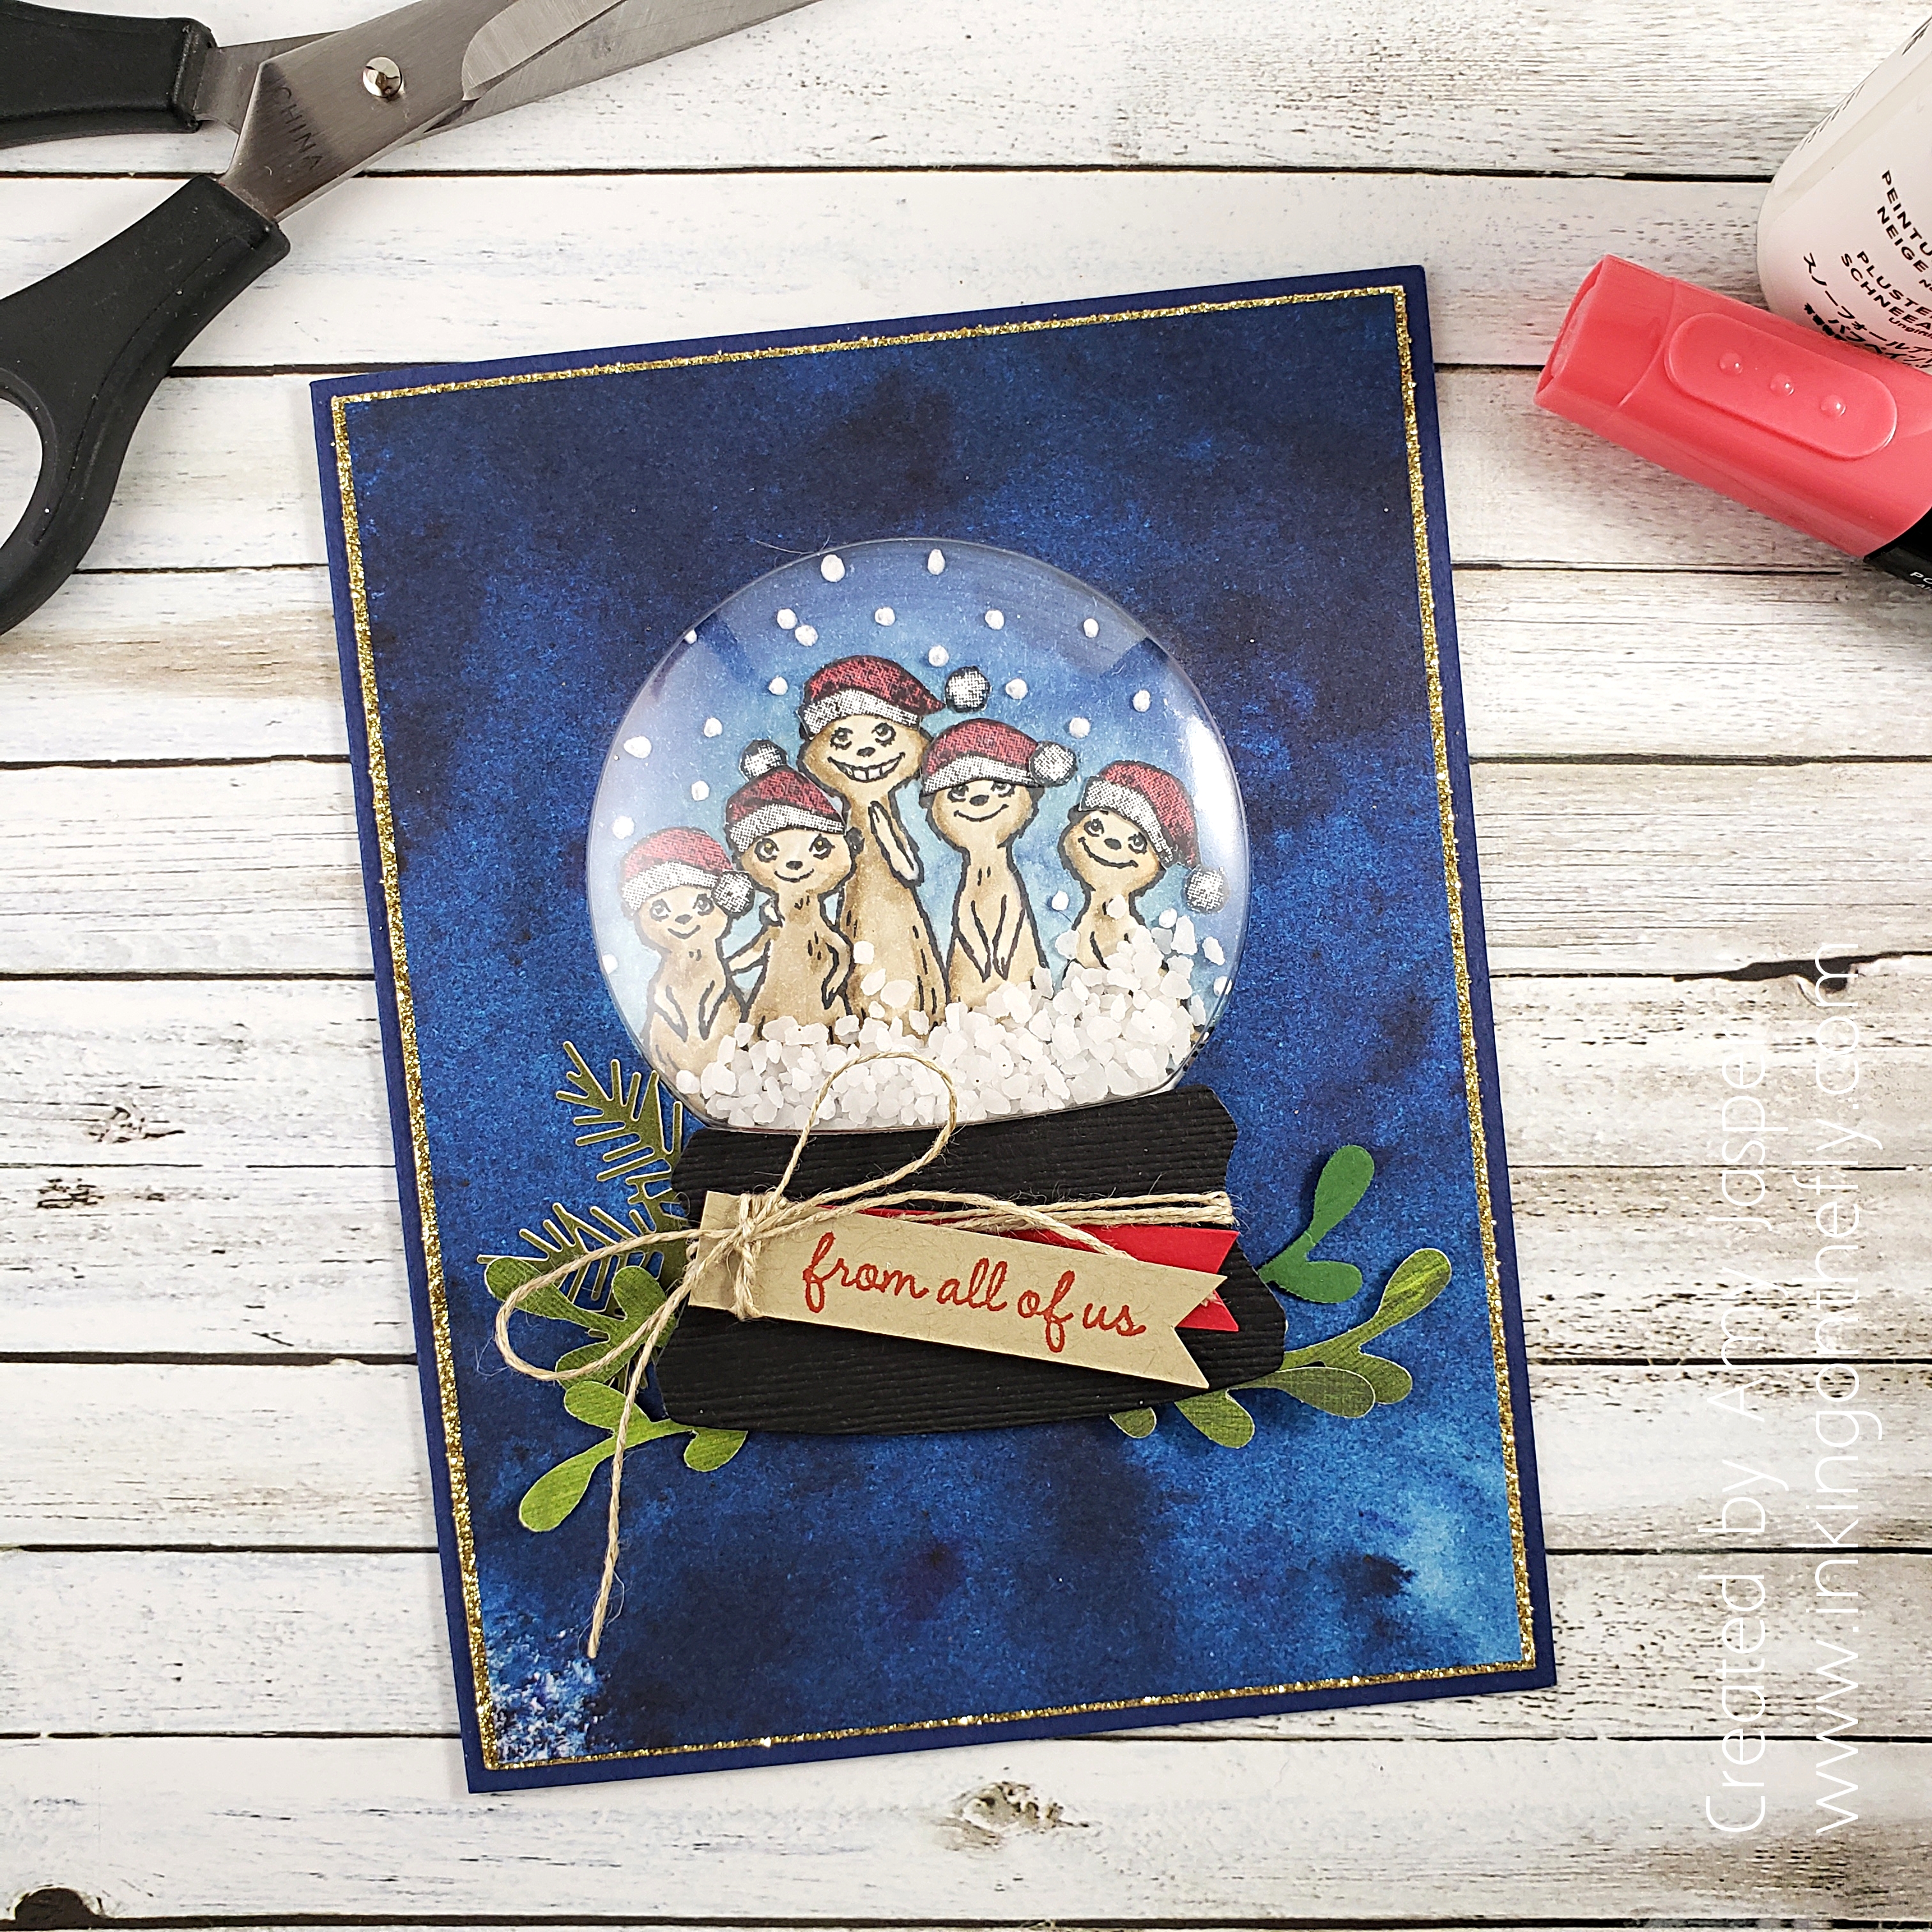
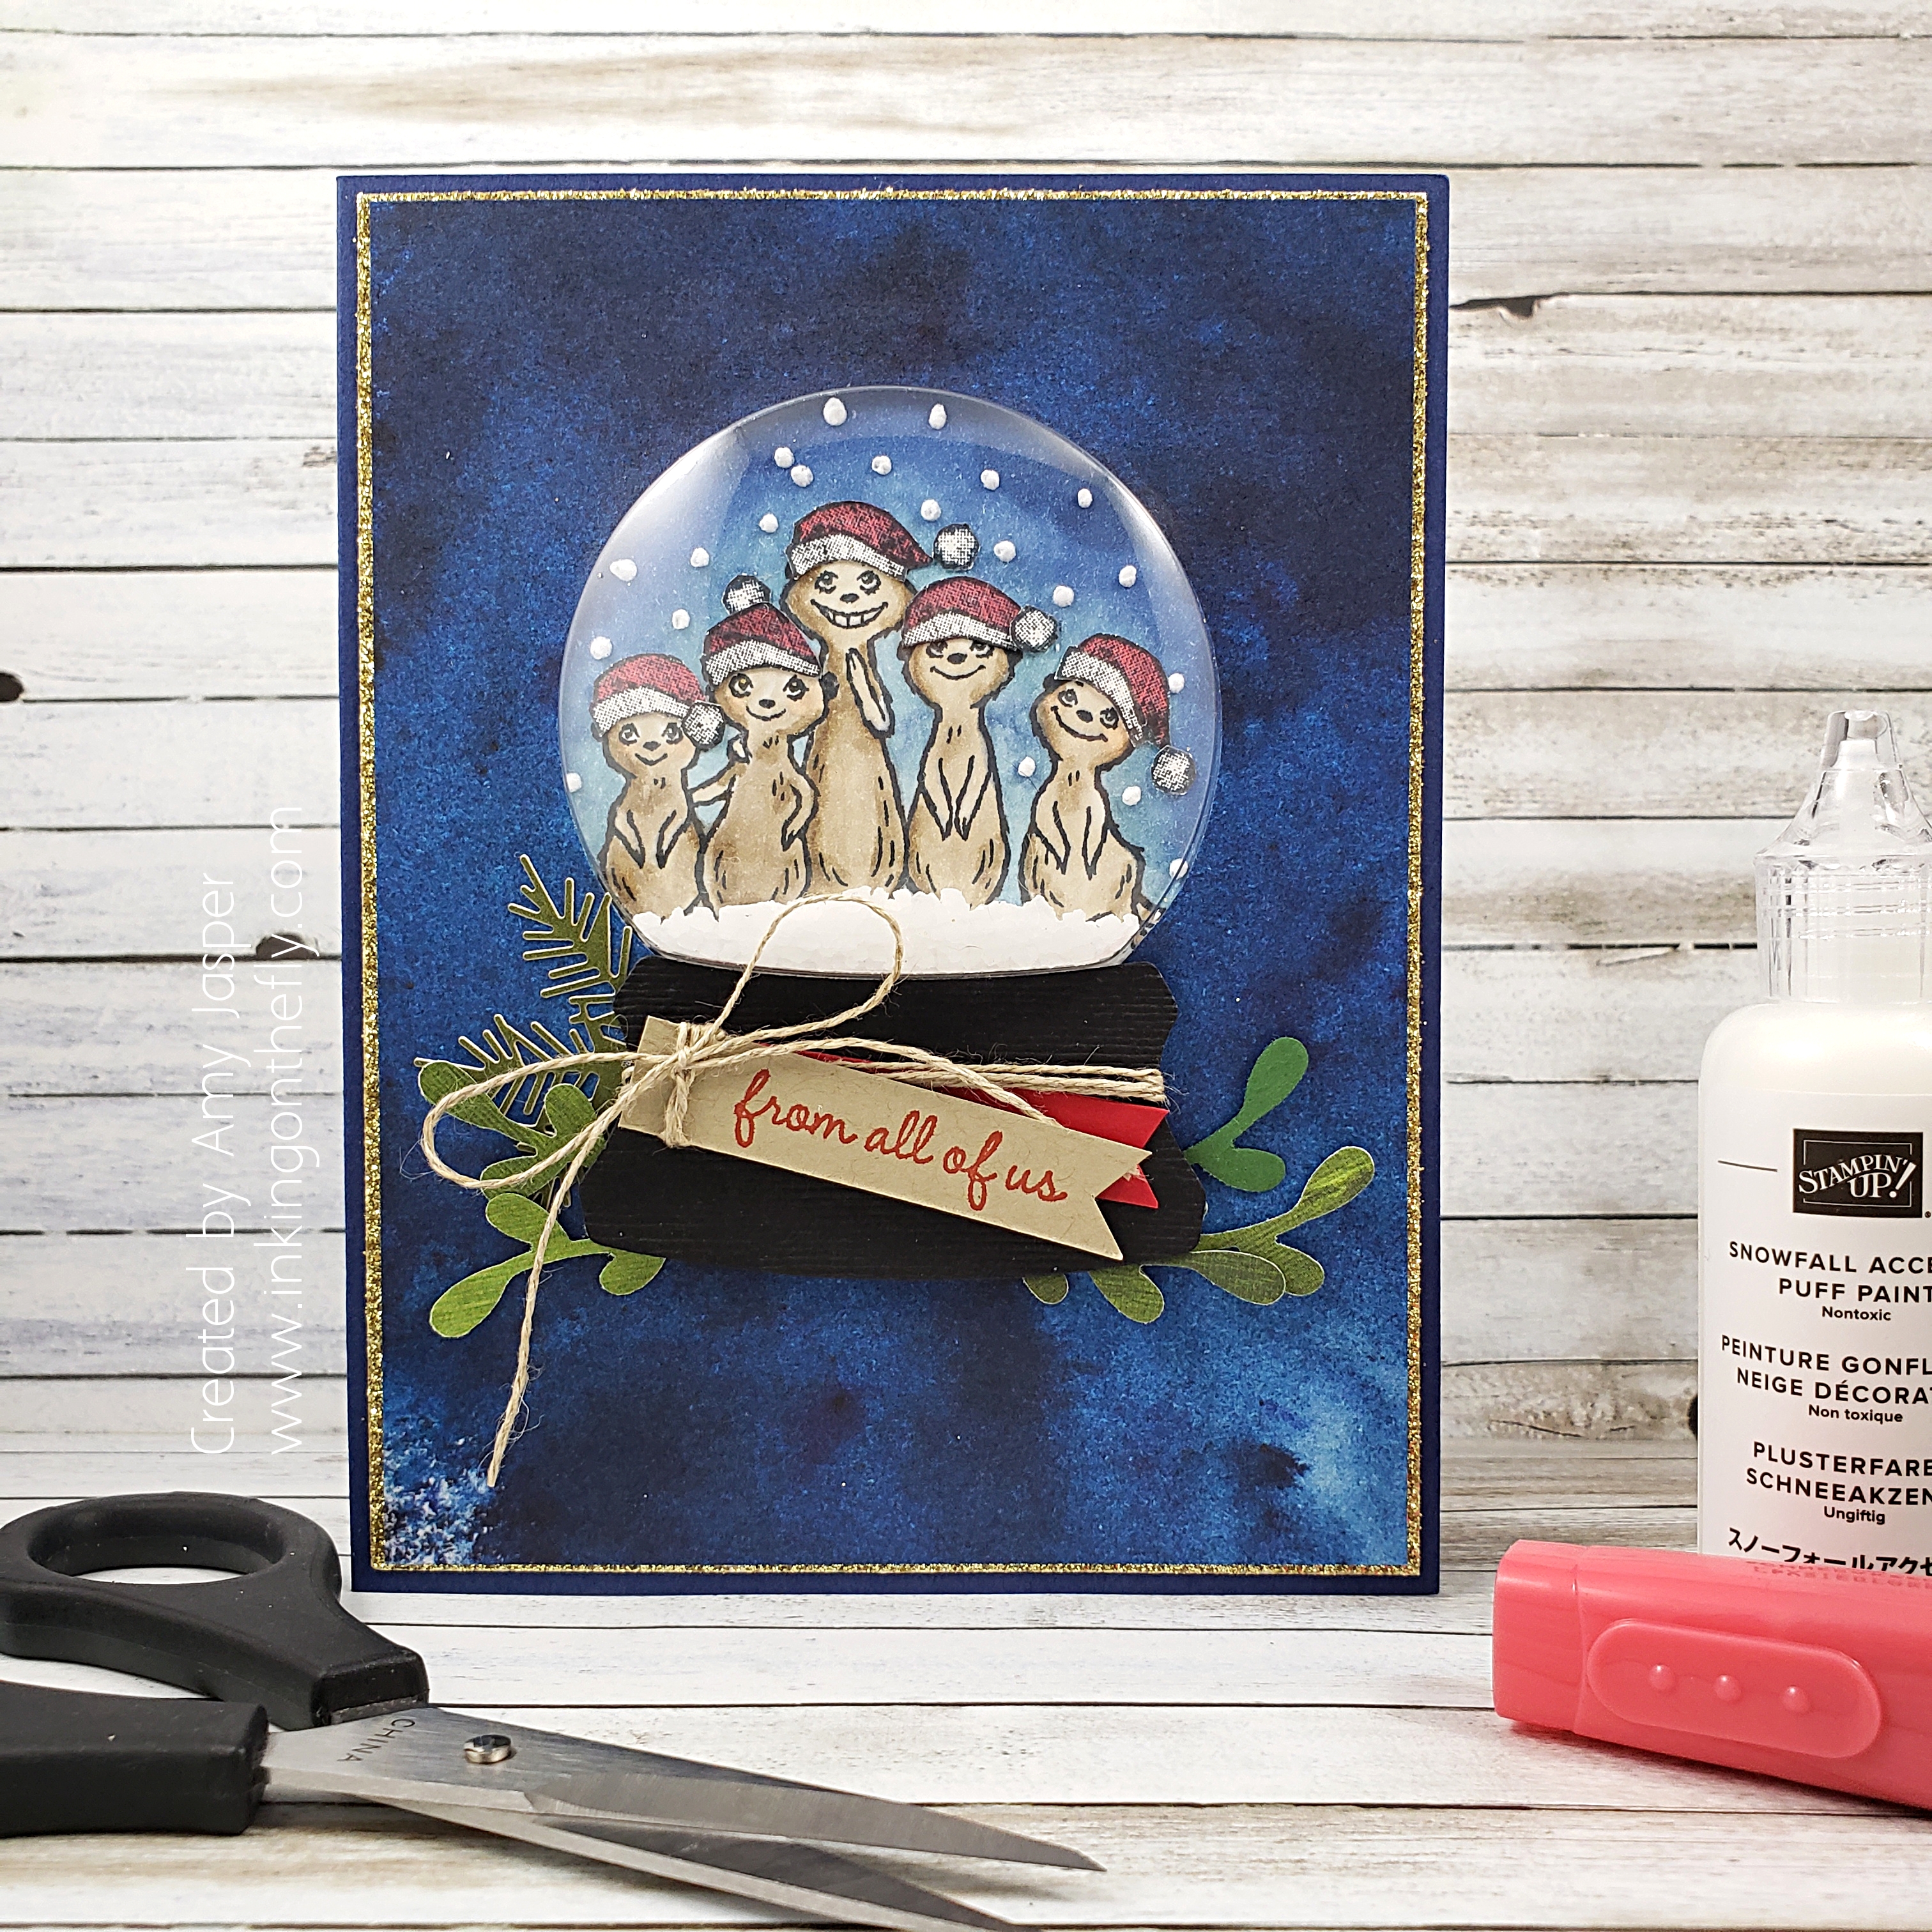
The only current snowflakes I have are in the Feels Like Frost DSP and my Snowman Season stamp set, so I used BOTH!

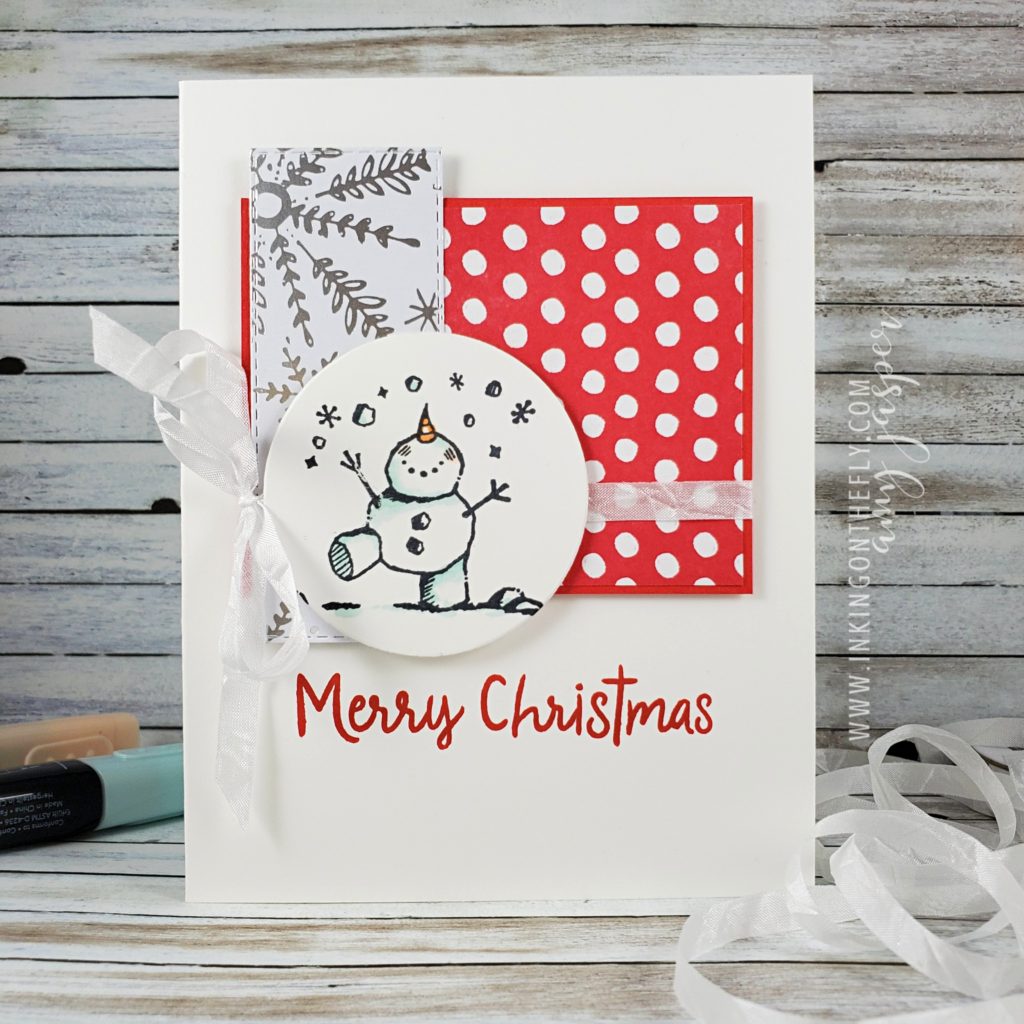
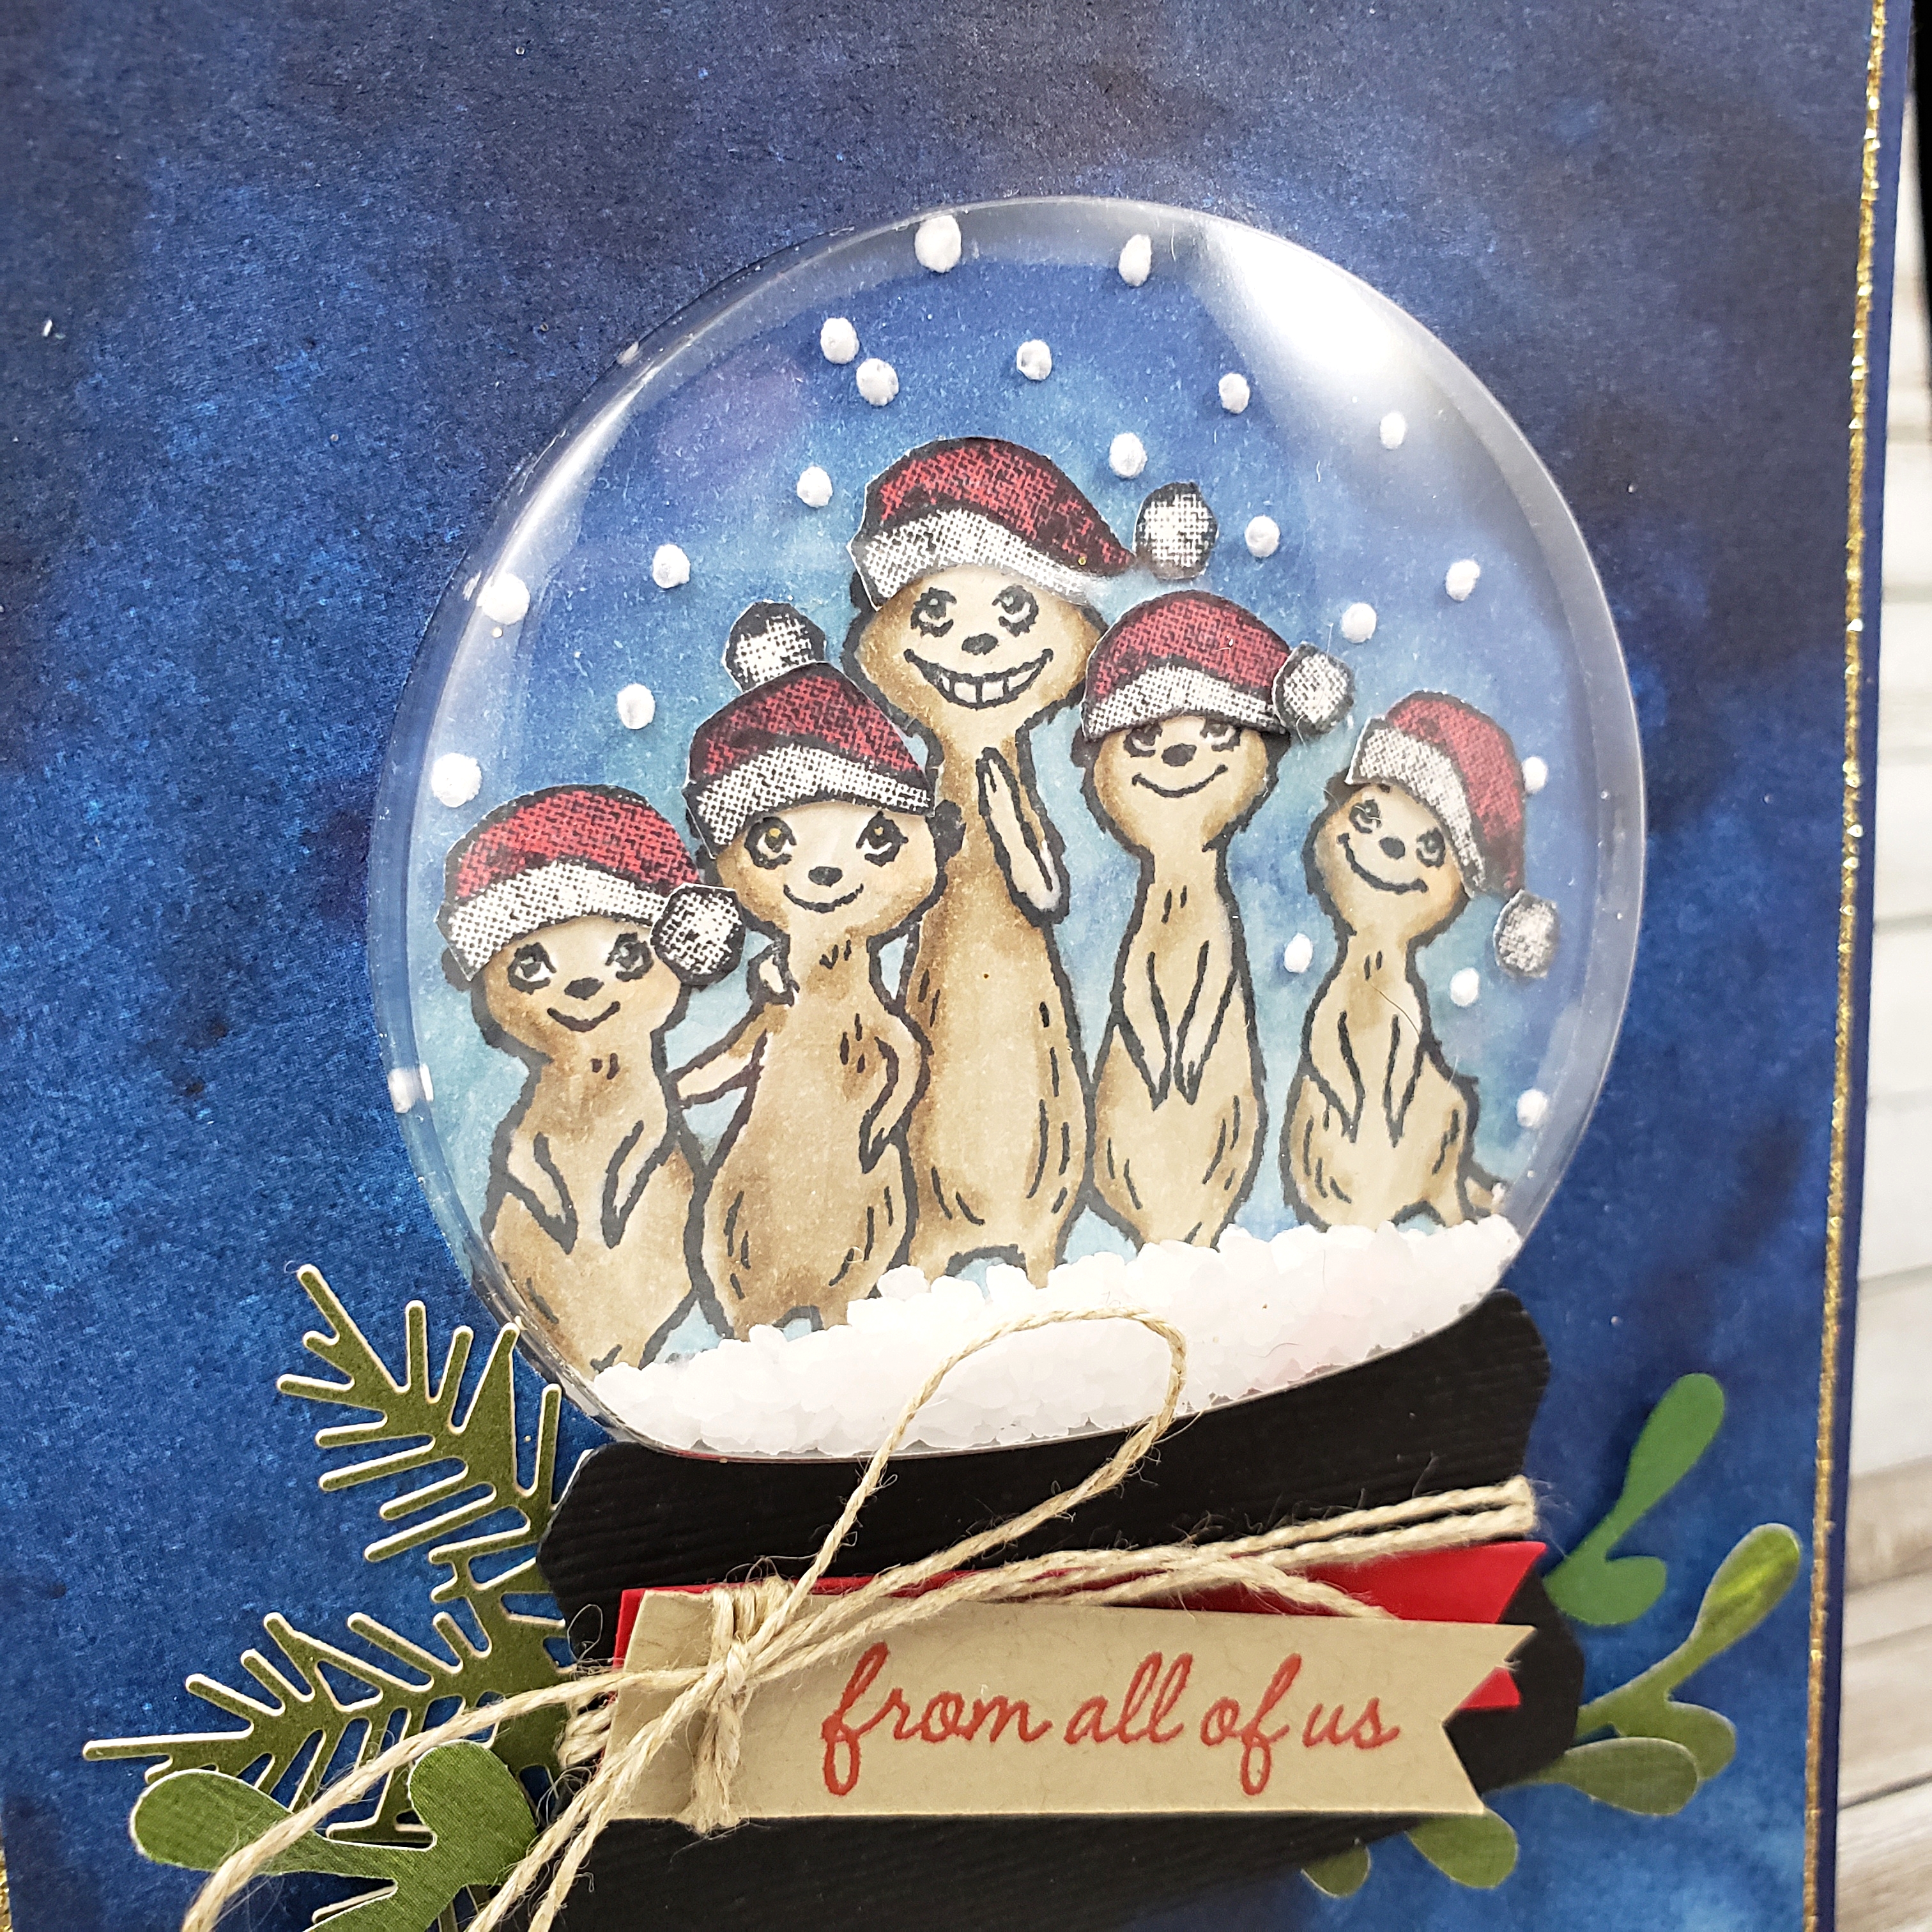
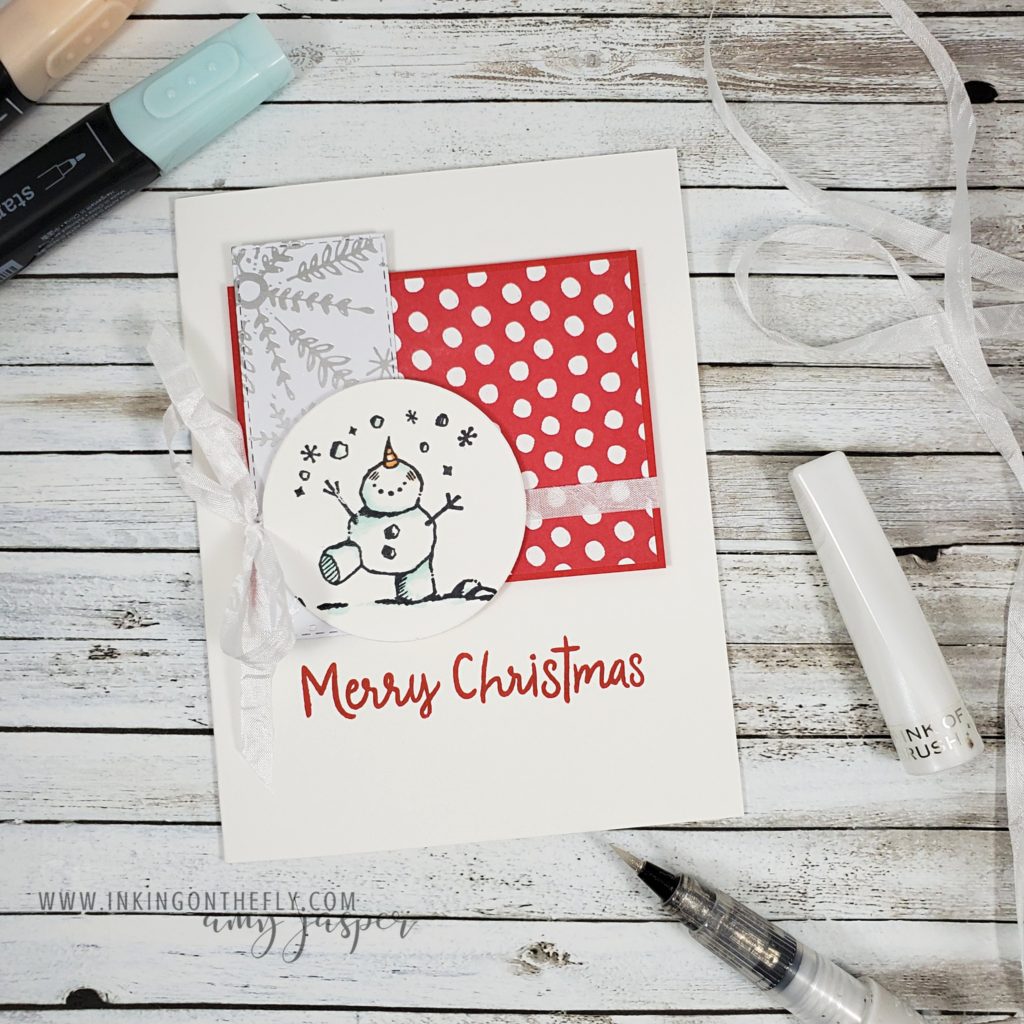
This little snowman is so cheerful and delighted, don’t you think! I stamped him on Whisper White cardstock with Tuxedo Black Momento ink and die-cut the it with a circle from the Circle Layers Dies. Pool Party and Pumpkin Pie Stampin Blends Markers give him a spot of colour. Wink of Stella gives him a bit of a frosty sparkle. It’s so hard to capture that sparkle in a photograph!

The Feels Like Frost Designer Series Paper was cut with one of the dies from the Stitched Rectangle Dies (a staple in my die collection!)

I layered these over the Poppy Parade cardstock and the polka-dot patterned paper from the Trimming the Town Designer Series Paper. Some white Crinkle Seam Binding ribbon wrapped around the layers behind the circle and tied in a bow, adds a touch of softness to this playful layout.

A couple of the layers are raised with Stampin’ Dimensionals – another staple in my craft supplies!

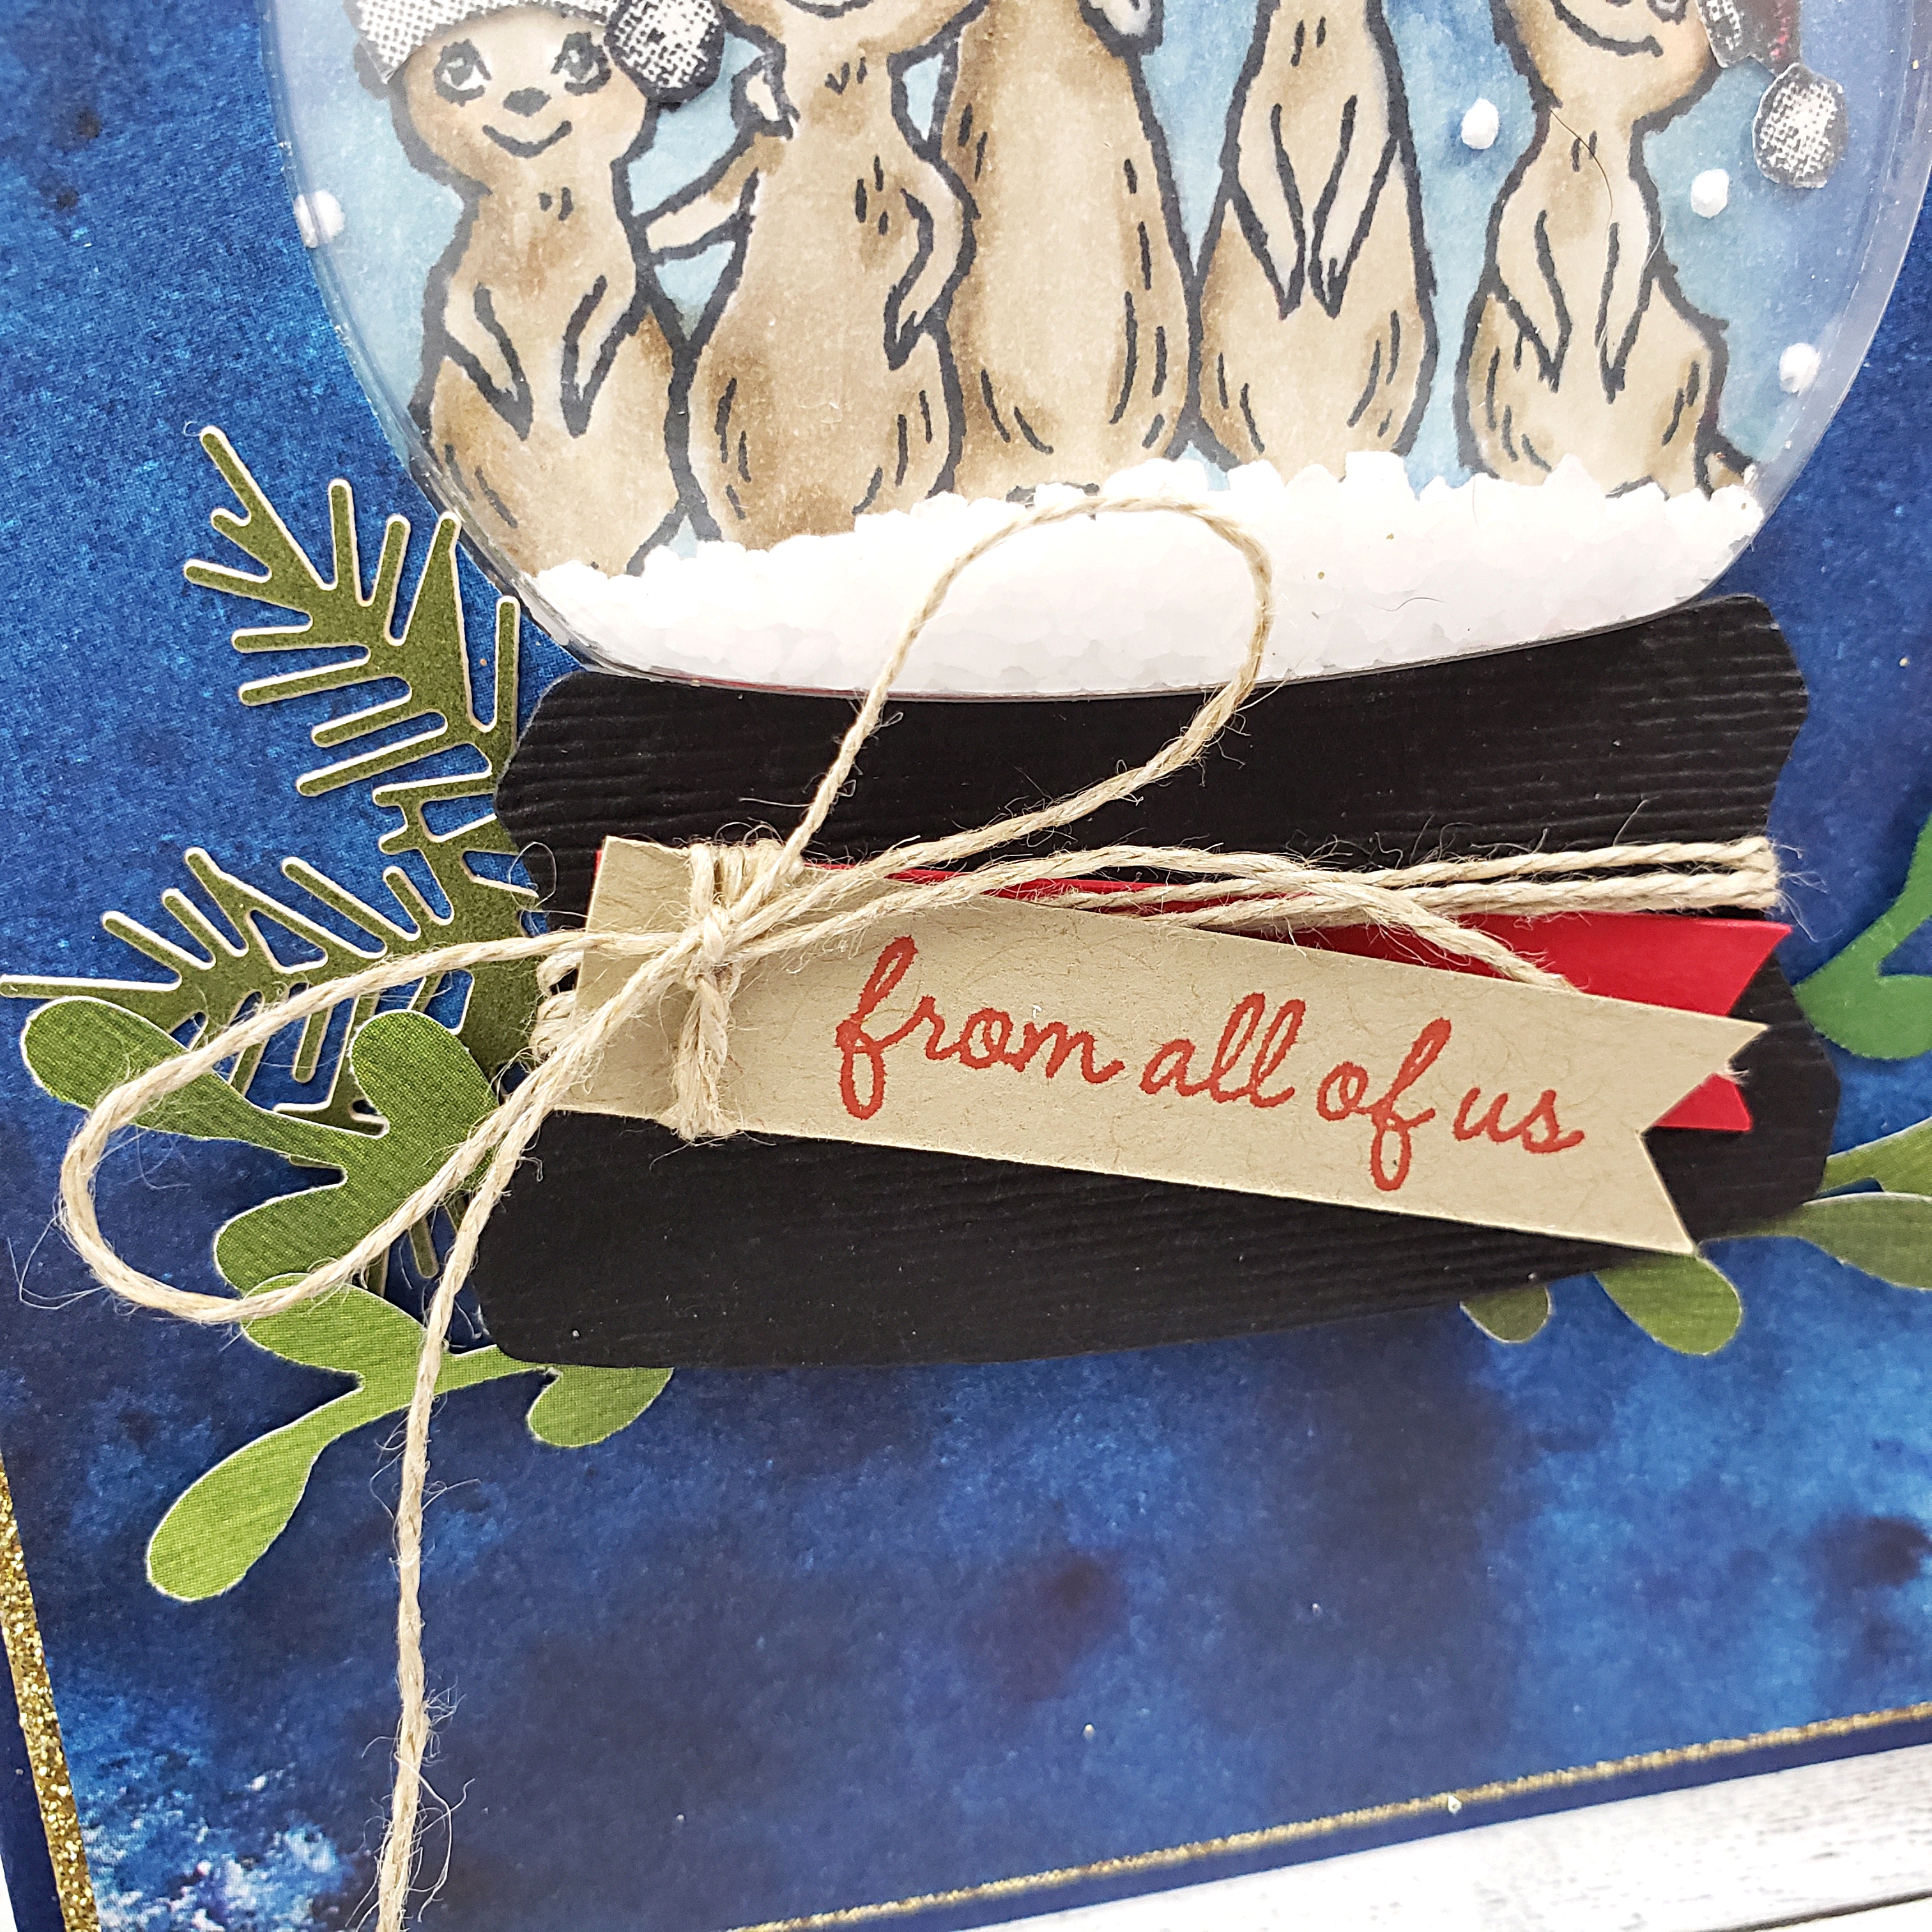
The design is complete with the large Merry Christmas sentiment stamped in Poppy Parade ink on the Thick Whisper White card base.

This card makes me feel very merry! How ’bout you?

Purple for Christmas

We all have our go-to colours. The ones we know will lead us with a devout certainty to creating something beautiful. My colours are often blues and greens with soft neutrals and white to pull it all together. Those are my loyal colours. I trust them. I know what to expect from them. I know who they play nicely with.

But there are a few colours who aren’t trustworthy. They are the trouble-makers. They only want to play with very specific friends and become irritating when they are around any others. This is how I feel about purple. Not all purples wreak havoc, but most do. Currently, the worst of these hooligans is a colour called Gorgeous Grape. The purplest of all the purples. The worst of the worst.

You might want to defend purple in this moment, saying purple has been a comfort to you. Perhaps you would rather point your finger at orange instead. (how dare you! LOL!)

I think we all have an offending colour that we avoid using in our self-expression. We use what inspires us and makes us feel happy. It’s amazing how powerful a colour can be!

This brings me to announcing the fill in the blank challenge from the As You See It Challenge blog for which I have the pleasure of being a designer: The colour I avoid using most is _____.

Oof! This was a tough one. I really struggle with using purple in my card-making. It doesn’t inspire me and I only feel safe pairing it with gray and white. Well, I decided that this was my chance to play with it and give it a respectful effort. I would bring purple and “not gray” together. I didn’t really know what “not gray” was going to be, yet, but I was determined!

And you know what? I really like this card!

I started out with a piece of Feels Like Frost Designer Series Paper, which I sponged with Gorgeous Grape in an ombre from dark to light. I was off to a pretty safe start with purple and silver.

Next I stamped my little Christmas gnome from the Gnome for the Holidays stamp set on watercolor paper with Stazon Jet Black Ink and pulled out my set of Water Painters and got to water colouring my little bearded bearer of Christmas delight. I took my time and enjoyed the process of choosing my colours and waiting patiently for sections to dry so my colours wouldn’t bleed into one another. I even finished it off with some Wink of Stella to give my gnome image some holiday shimmer! Unfortunately, the Wink of Stella detail doesn’t show up well in these photos. You’ll have to take my word for it that it adds a an additional touch of whimsy.

I added even MORE purple to my design by using the dark Highland Heather Blends Marker to colour the Silver Metallic Edged Ribbon. I love how you can make any white ribbon coordinate with your paper using markers! You’ll notice where the ribbon is wrapped around the card, the lightly sponged designer series paper suddenly becomes a darkly sponged area. That was a simple chopping off the top of my sponged paper and moving it to the bottom. I did a lot of crazy thing to make this darn purple work for me, by golly!

I’m not going to get into all of the products and techniques I used to make this card. It’s pretty late and time to cozy up in my blankets and pillows. If you have any questions about products I used or how I did anything on this design, I’d be happy to have a conversation in the comments. Ask away!

I hope you’ll take on this challenge. I warn you, though. It’s not an easy challenge. Give yourself time to get to know the colour you’ve been avoiding. This is your opportunity to learn more about it, who it plays well with and who causes it to be nasty and miserable. Maybe, like me, you’ll be surprised what you’ve come up with.

I wonder if I’d like this card even more if I made it “not purple”

Christmas is Family

What brings you joy during the holidays? For me, it’s spending time with my family. I love the time together playing games, opening gifts, sitting by the fireplace, and just existing together.

My card today is inspired by the As You See It Challenge: it’s a fill in the blank!

At first, I wasn’t sure what I would do on a card for this one. How would I depict family on a holiday card?

Then I remembered a stamp set that I got in my pre-order for the upcoming Stampin’ Up! catalogues! “The Gang’s All Meer” stamp set will be available from the Sale-a-bration Brochure in January.

I realized that there are five people in my immediate family and this image has five meerkats!! I saw someone put Santa hats on the critters for a card, so I decided to give it a go!

I stamped the meer cat family on some Whisper White cardstock with Tuxedo Black Momento ink. I used my Stampin’ Blends to colour the image: Light and Dark Crumbcake for the cheerful crew, Dark Balmy Blue, Light Night if Navy, and Dark Night of Navy for the background, and Poppy Parade for the Santa hats.

The Santa hat image is from the Playful Penguins stamp set from Stampin’ Up! I stamped them on Whisper White cardstock, coloured them, then fussy cut them and adhered them to the little heads. The pompom on the end of the hat was cut separately, so I could attach it in different ways to the hats. That way, I could make the hats all a little bit different.

I used the Snowfall Accents Puff Paint to create the falling snow on the background, heat setting it to make that puff paint puff!!

Then I had another thought! Would the meerkats fit in the Stampin’ Up! Shaker Domes? YES, they do!!

Now, I was REALLY excited!!

I used the Snowglobe Scenes dies to cut the hole in the piece of the See a Sillhouette Designer Series Paper by Stampin’ Up!. I used about a teaspoon of pickling salt as snow in my dome and layered my pieces together over the Night of Navy card base and a matte of Gold Glimmer Paper.

The base of the shaker globe is created with Basic Black cardstock, cut with the same die set and my die cutting machine. I also used the Subtle embossing folder to give it some texture. I wrapped a piece of Linen Thread around the base of the globe and secured it on the backside before adhering the globe base to the card with Stampin’ Dimensionals. I tucked some leaves under the globe base that I punched out of Garden Green cardstock and a random scrap of Perennial Essence Designer Series Paper. You might also notice the pine bough on the left side, which is a sticker left over from my Christmas Countdown Calendar kit.

Finally, I stamped the sentiment from “The Gang’s All Meer” stamp set in Poppy Parade ink on Crumb Cake cardstock. I flagged the end and tied a Linen Thread bow on it and adhered it over a strip of Real Red cardstock, also flagged on the end.

If you like these products, you can click on the SHOP option in the top menu of this page and seek them out on my online store. If you are visiting my page from anywhere other than Canada, you won’t be able to shop with me, but you can look for demonstrators in your area. I know they would be happy to help you!

“The Gangs All Meer” stamp set is not yet available. Watch for it in January when the new catalogues come out!

Now get Stamping!