I Love a Peaceful Autumn
Autumn is here and there’s no more denying that summer is over. It feels like I missed the transition somehow, though, as the new chill in the air seemed to come on so suddenly. In reflecting on the last couple months, I’m realizing that I’ve hardly been outside! Yikes!
Colours of Fall
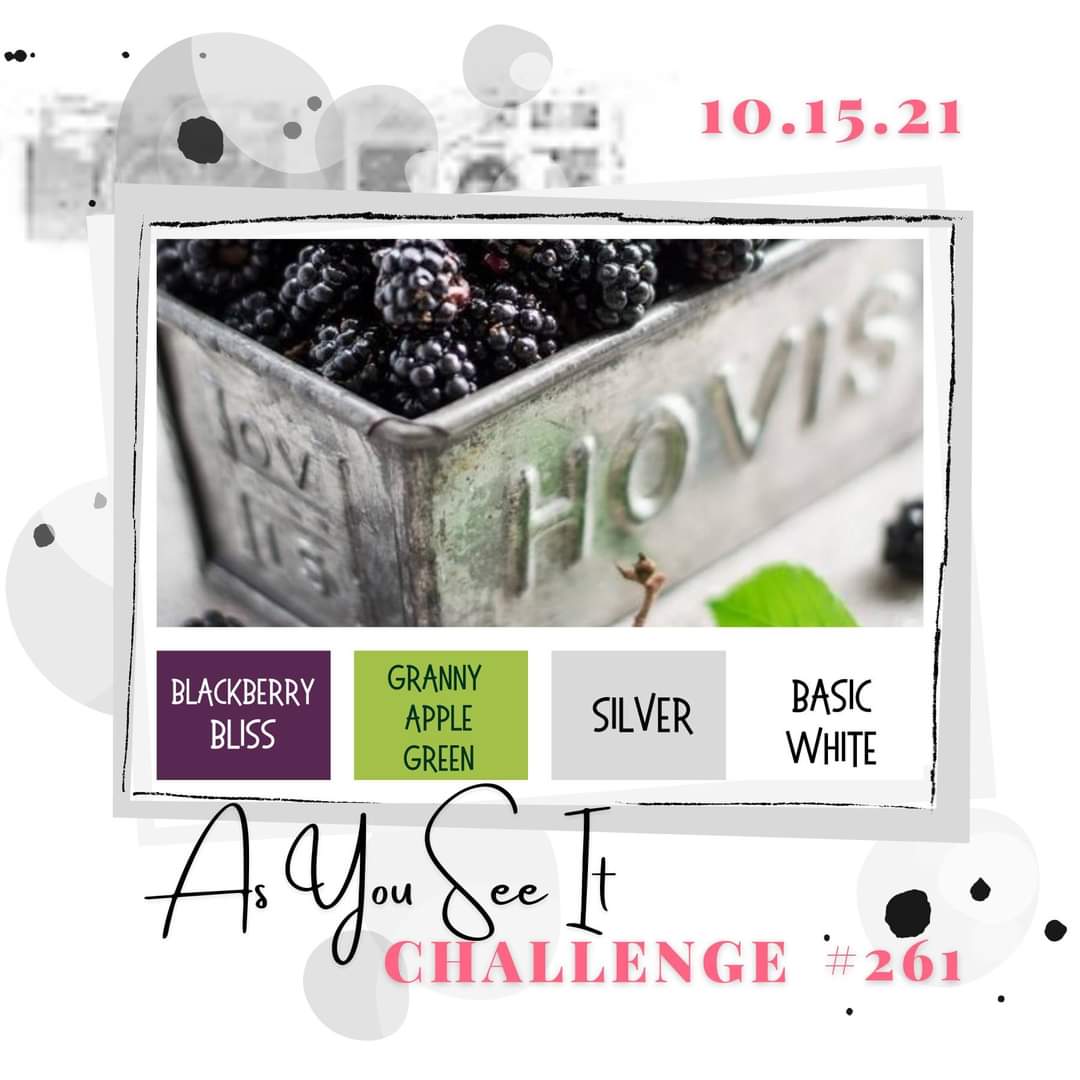
The As You See It Challenge gives us some colours to design with that immediately made me think of fall. However, these colours would be lovely for any occasion all year round.
Fall is my favourite season; the crisp fresh air, the changing leaves, and the smell of the damp earth as it welcomes the tired plants to join it once more. Autumn brings with it the peace of knowing that the cycle is winding down. Life is slowing and preparing to rest before it’s big reveal in the spring.
There’s comfort in that.
Even though plants are dying and losing their leaves and colours, it’s not the end. Those same plants will flourish again or they’ll live on in the new plants that grow from the seeds they left behind.
I’m not one to keep up a routine or a schedule, but I know that I need to start making time each week to get outside. I have a few little goals that I’m trying to keep up with (and it often feels like I’m failing!), like cleaning and organizing my craft room, submitting my taxes (yep, still not done), keeping up with my blog, and now I need to add “get outside”.
Thankfully, I only work for myself and my family, otherwise, I’d be even more of a hot mess than I already am!
My Design
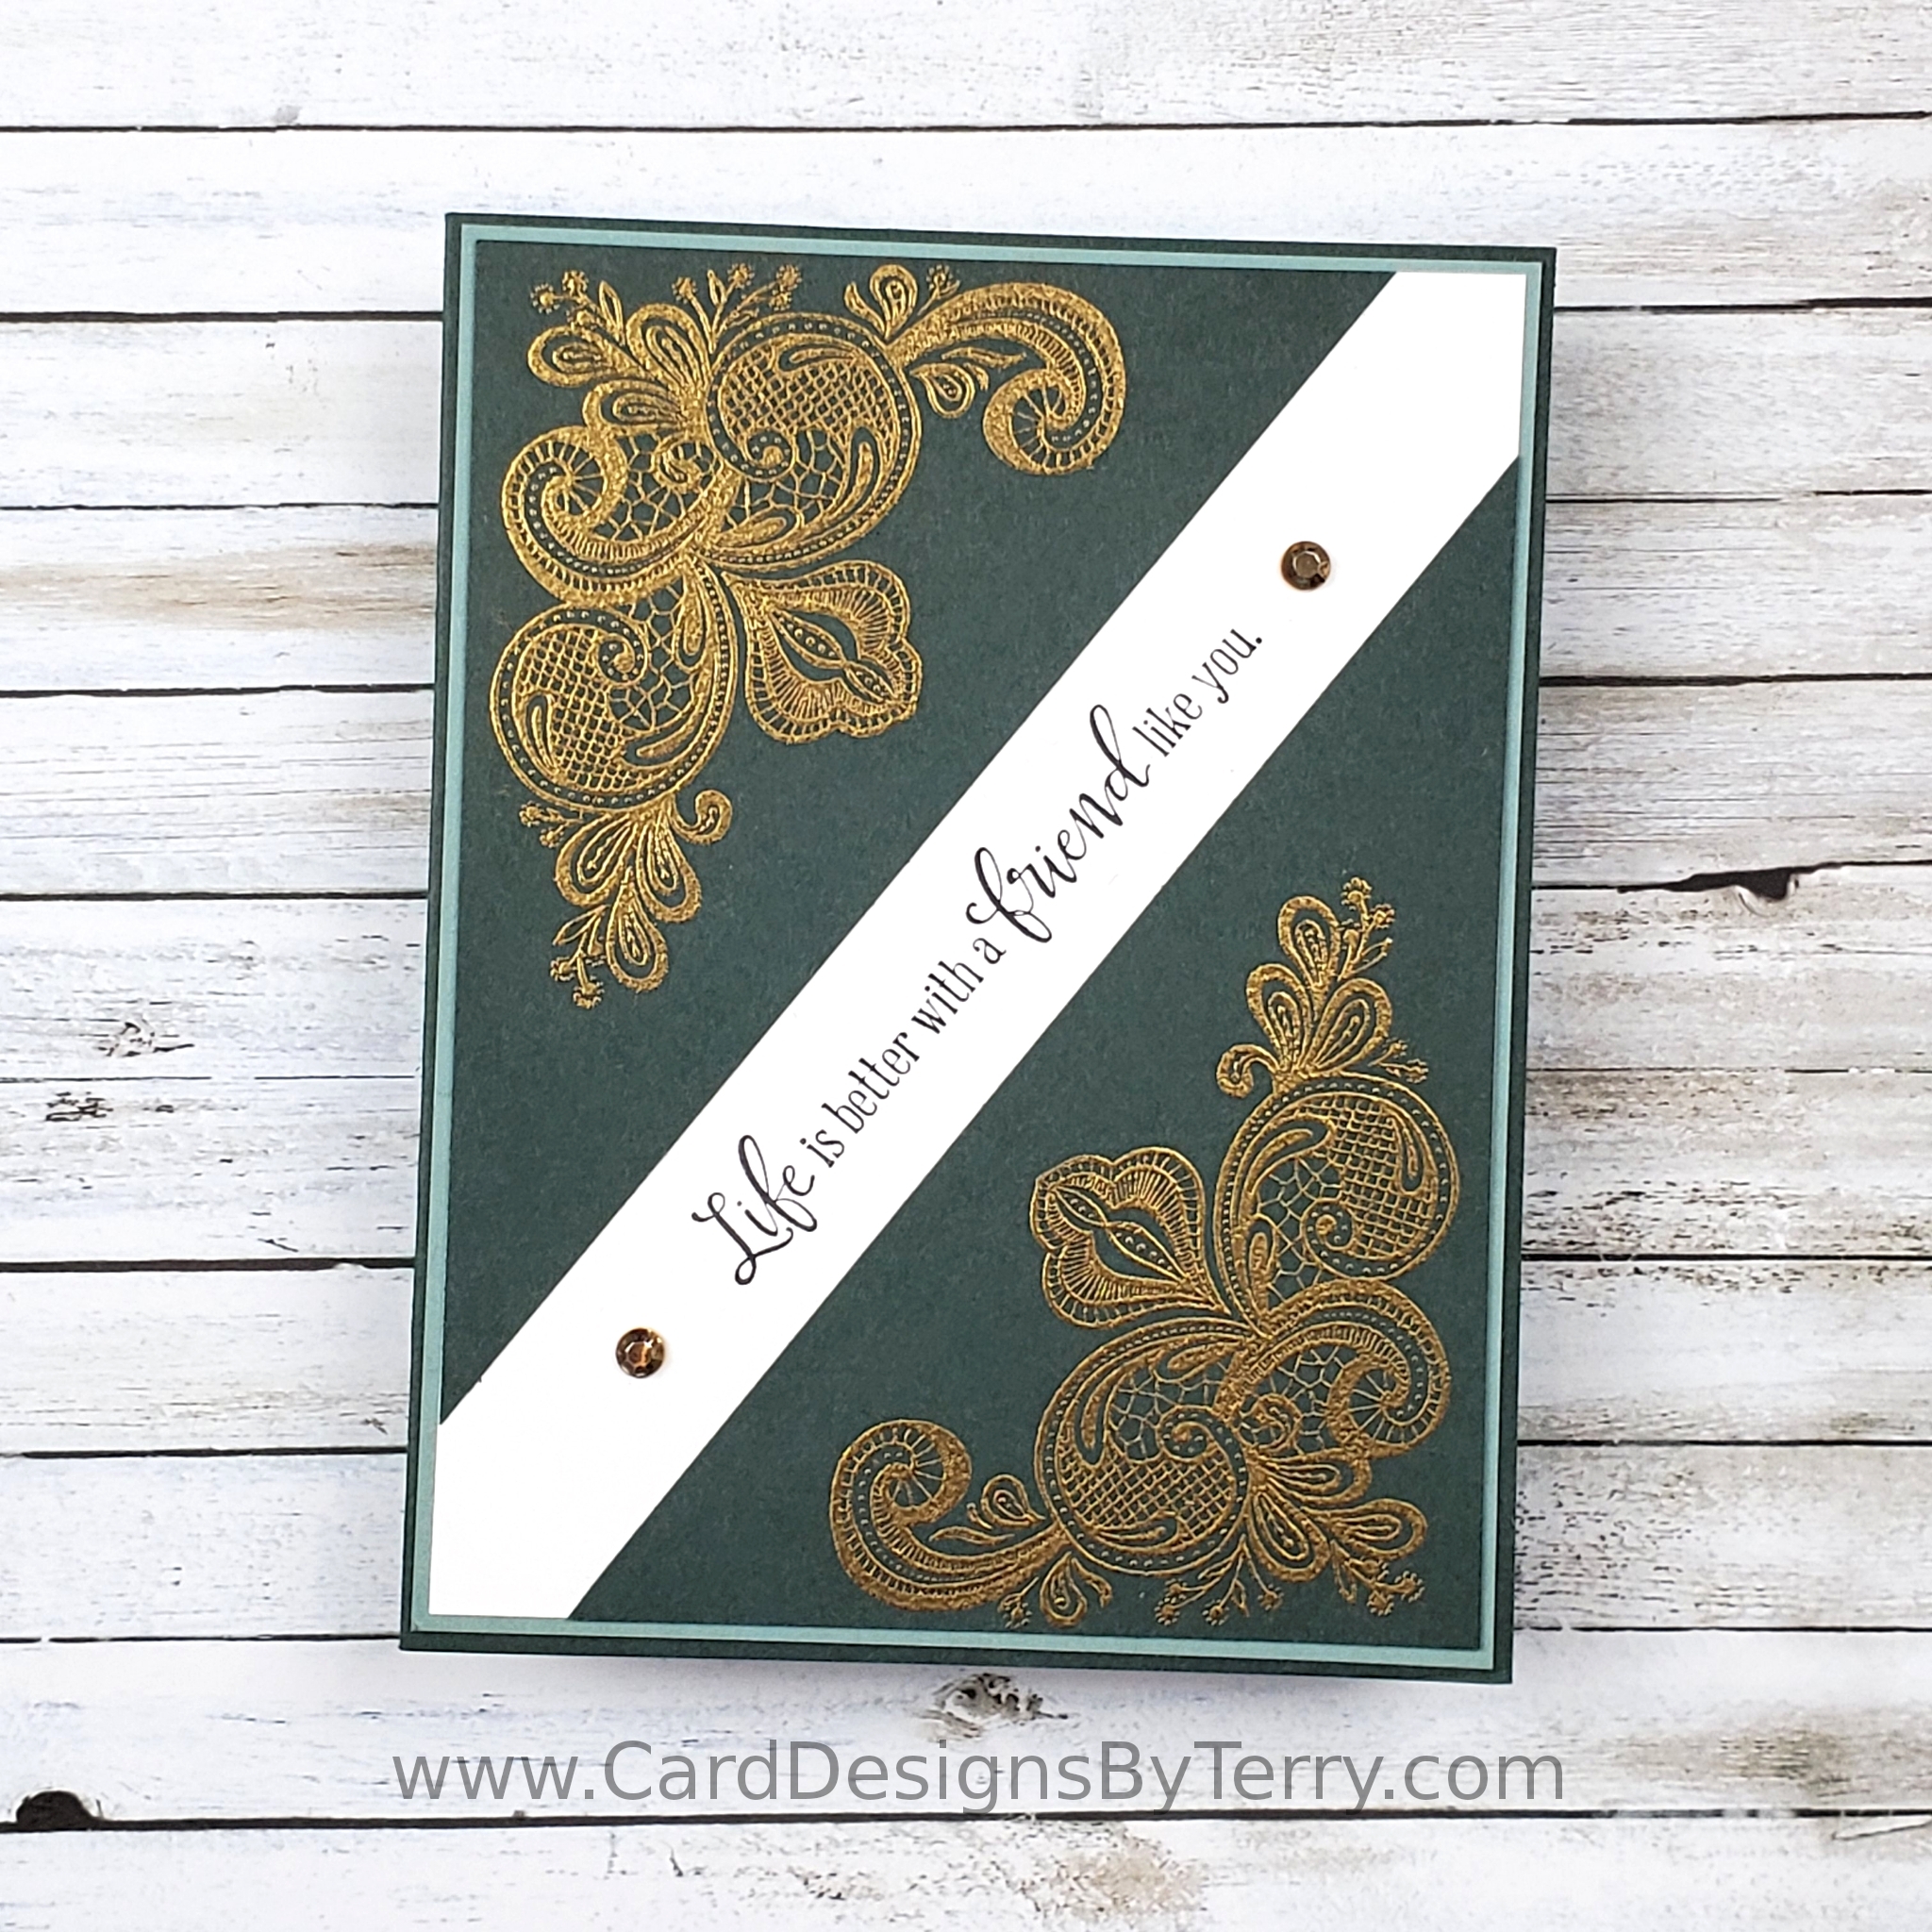
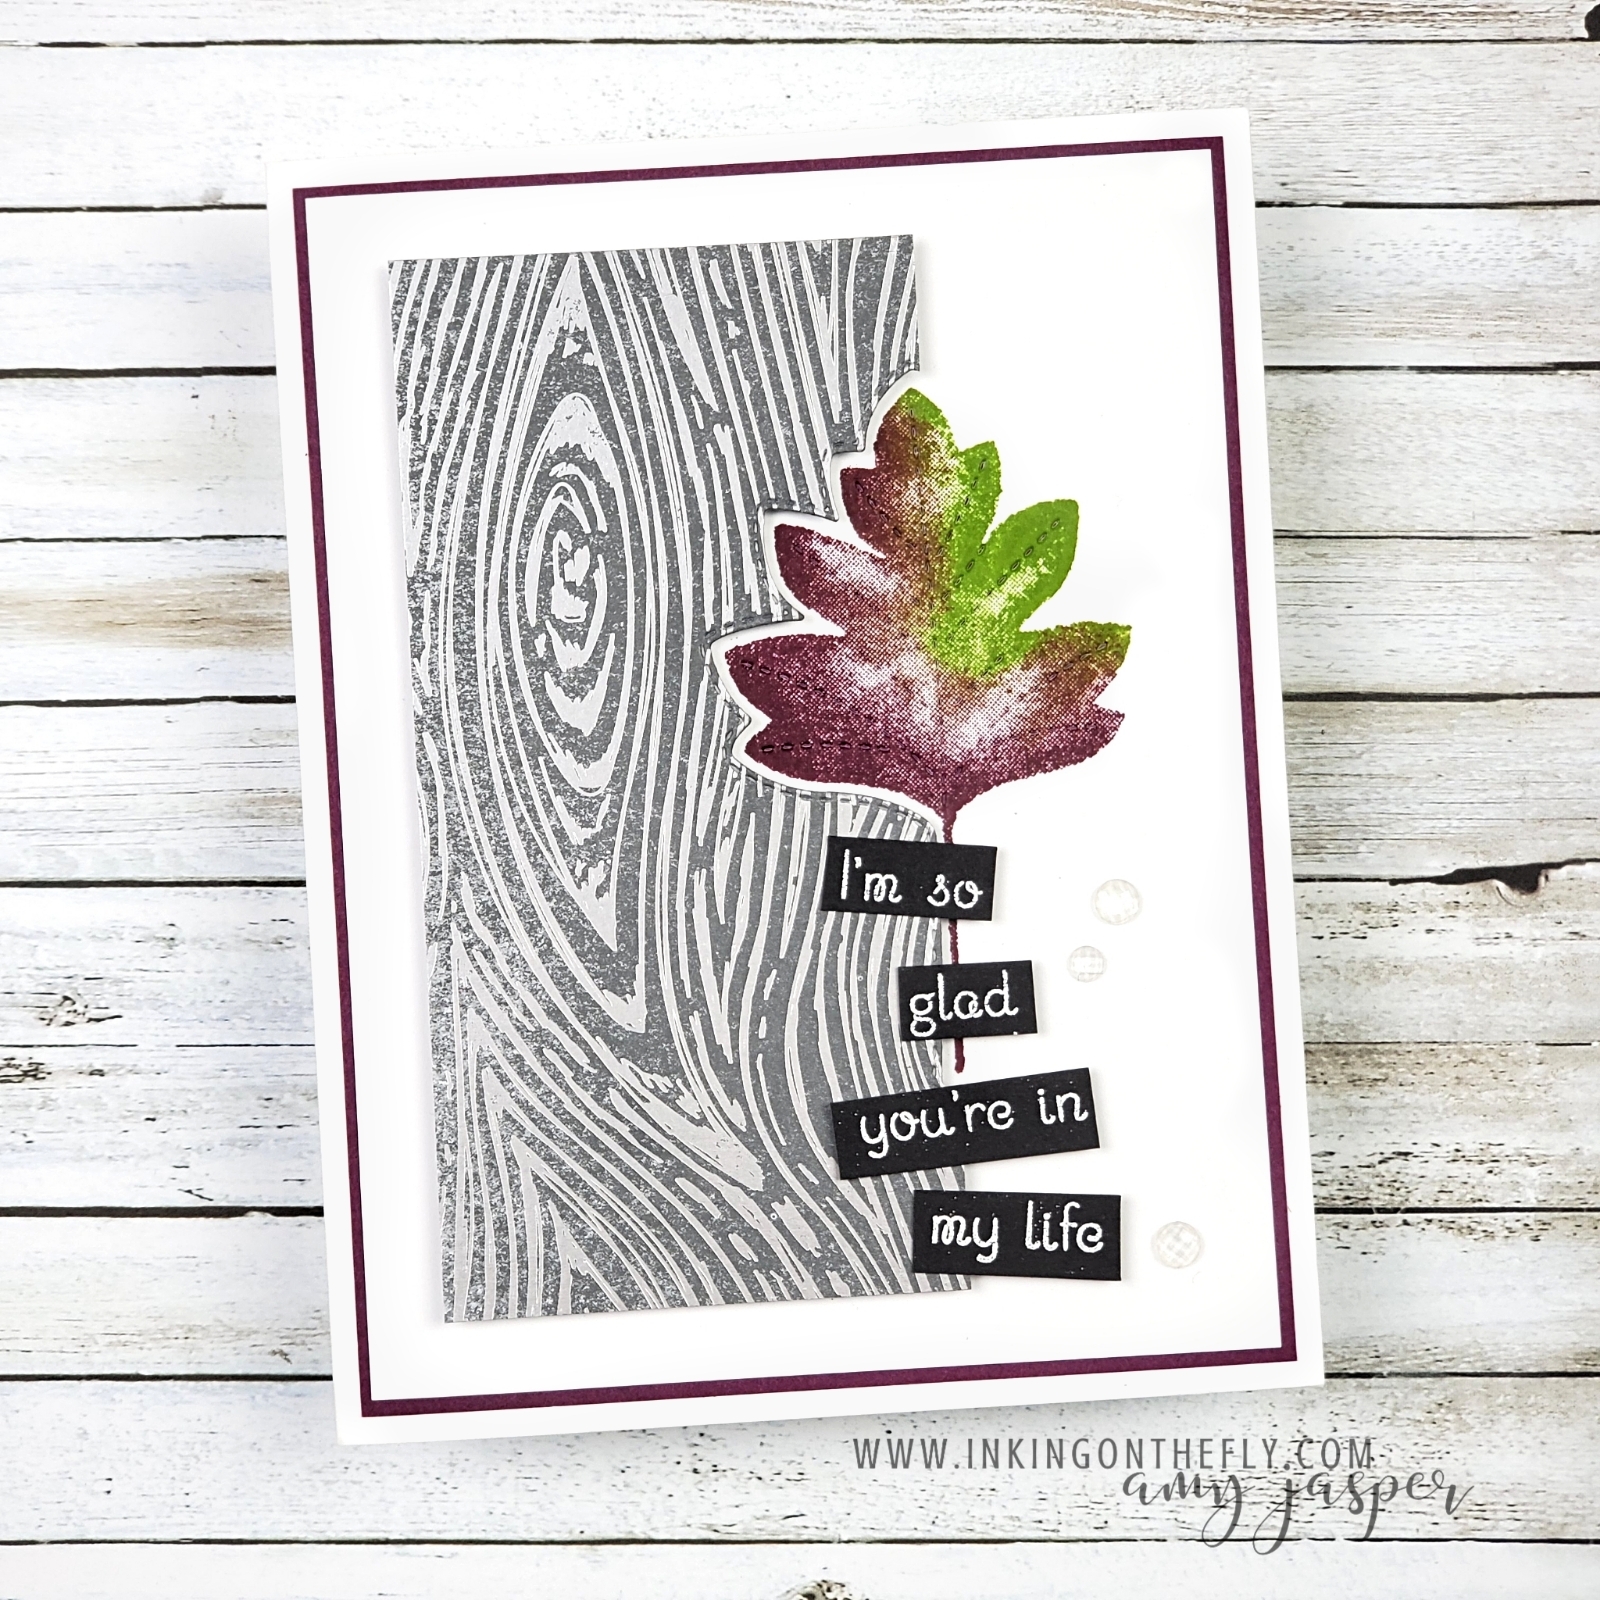
I have a card for you today that has this peaceful autumn feel. I’m not sure if the sentiment is an expression to a person, or, in this case, to the fall season itself. Maybe it can be both.
The Blackberry Bliss is so striking against the Basic White layers on this design.
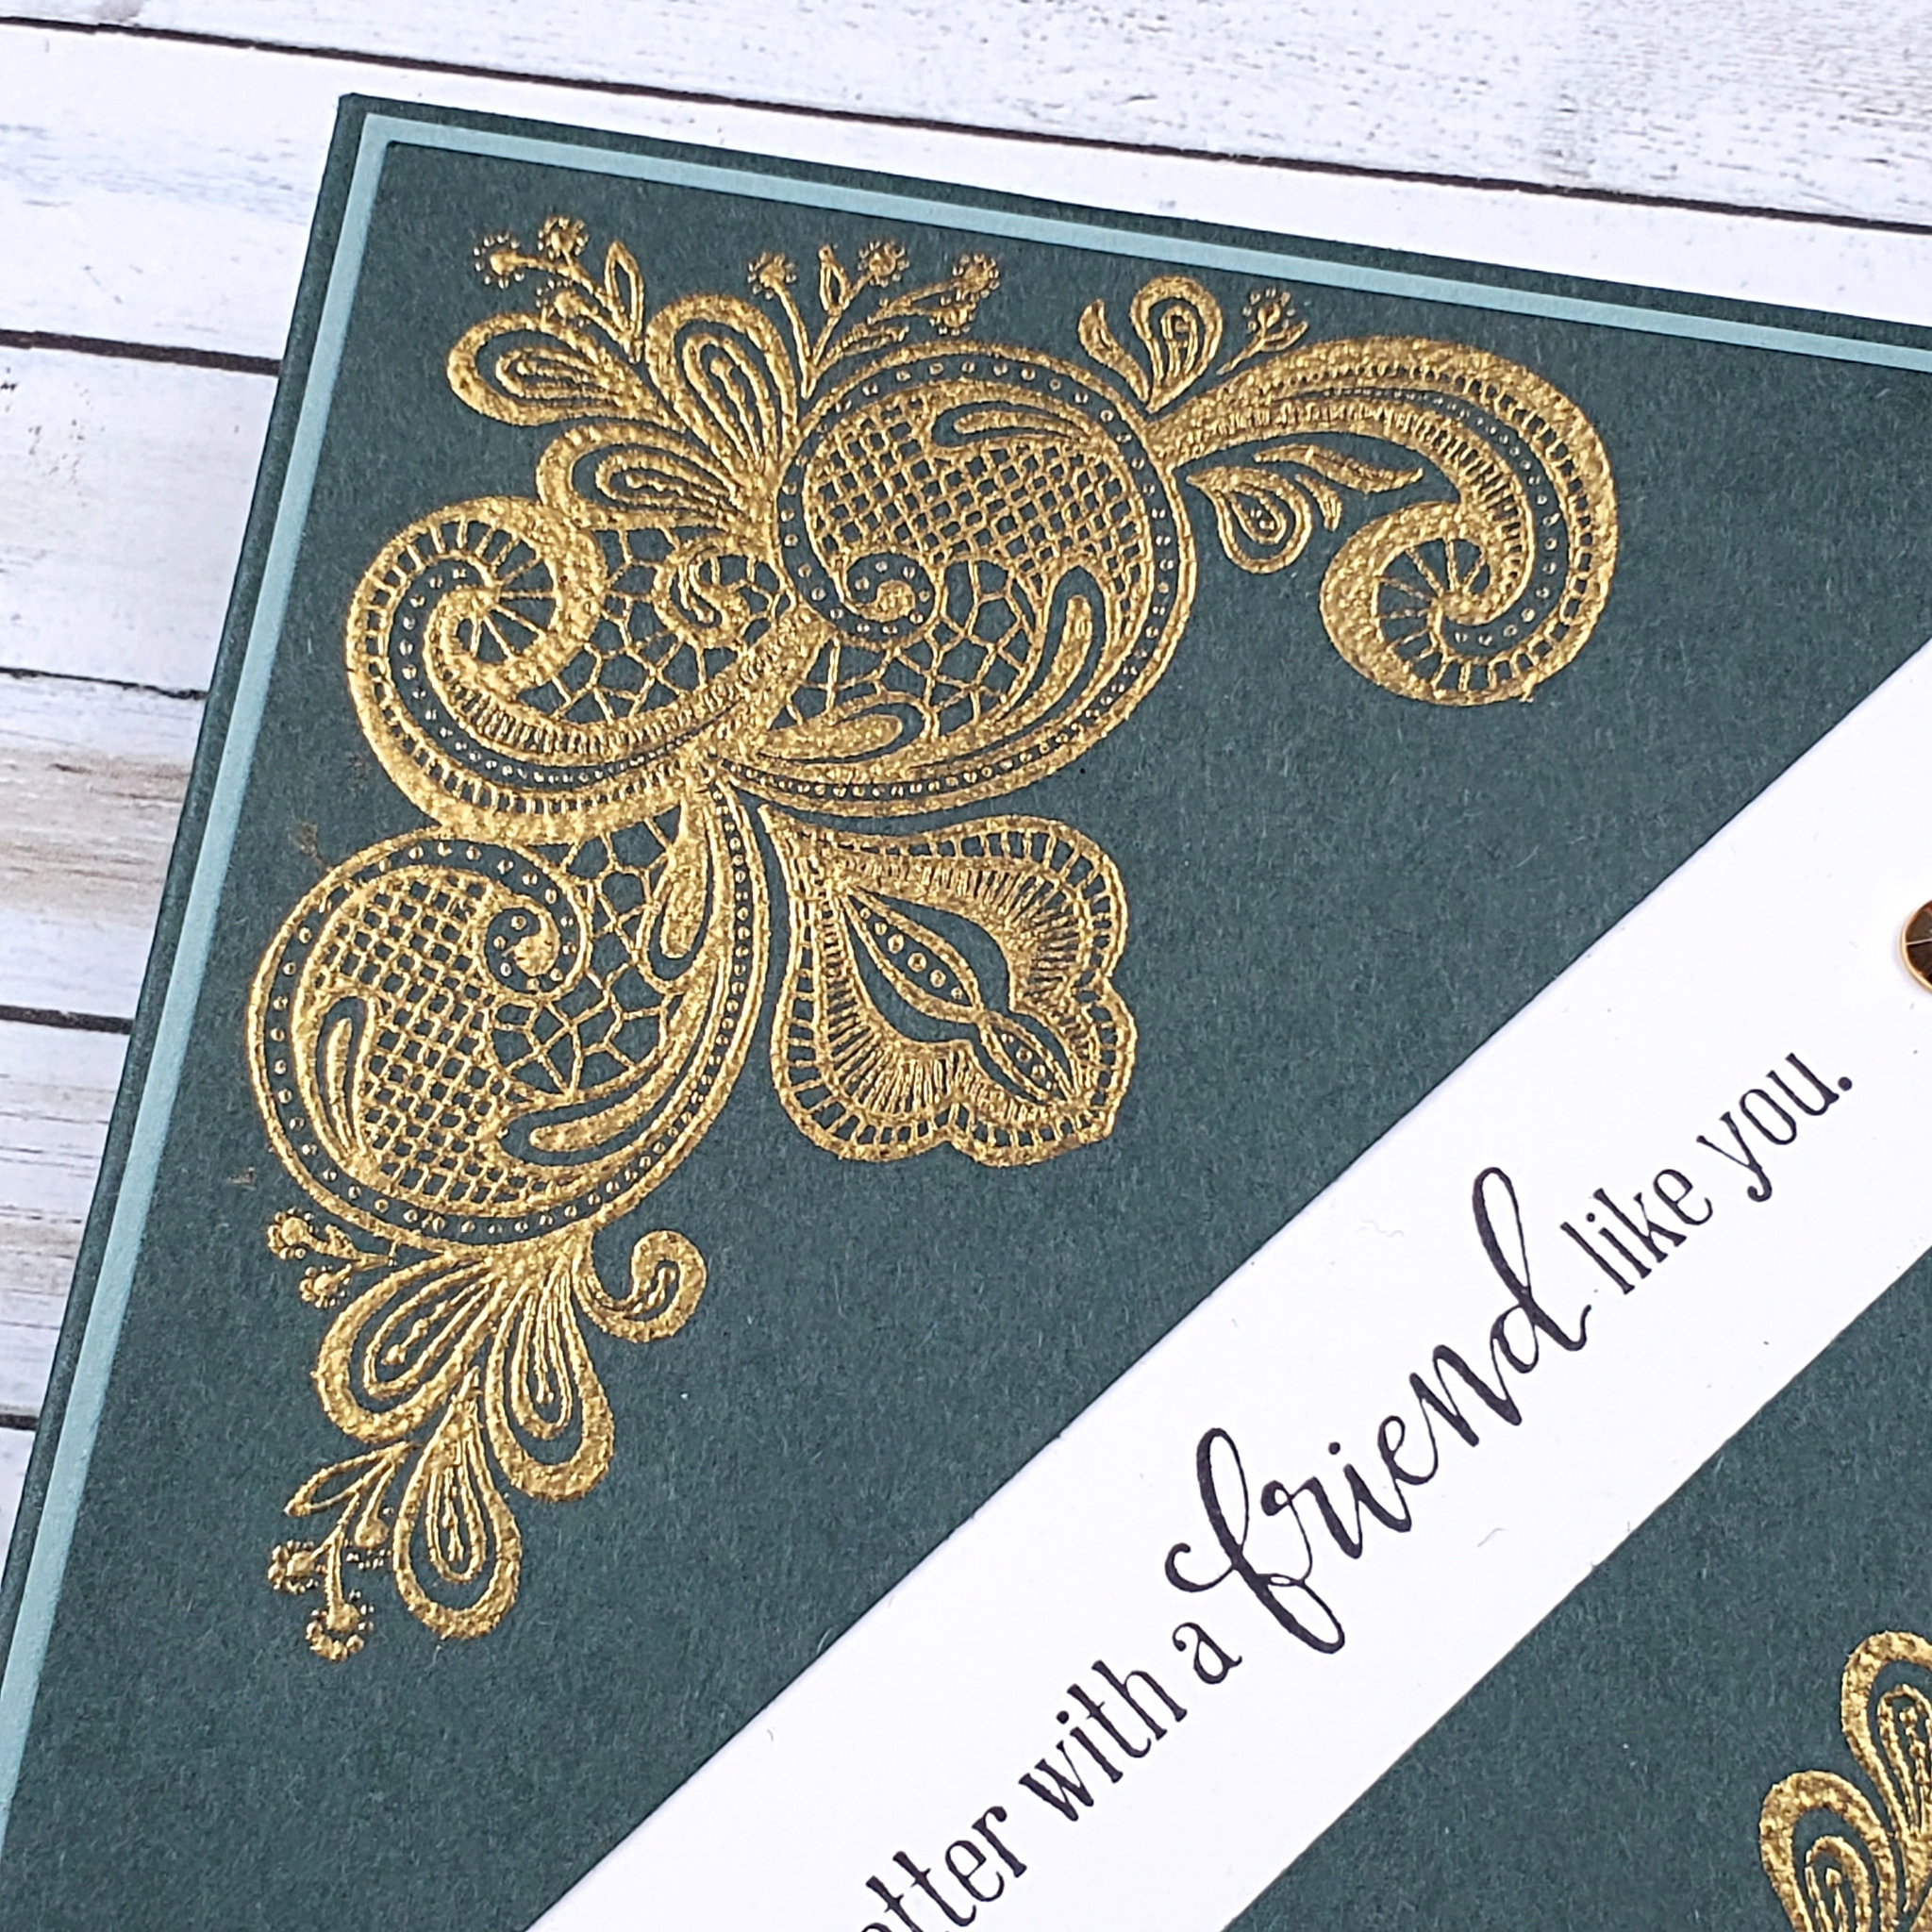
I die-cut the Peaceful Place patterned paper with one of the Stitched Leaves dies. Then, I inked a portion of the leaf image from the Love of Leaves stamp set with Granny Apple Green. With a Sponge Dauber, I applied Blackberry Bliss ink to the rest of the stamp, blending it slightly with the green. While holding the die-cut patterned paper in position, I was able to stamp the leaf on the Basic White.
For a bit of extra interest, I used the die that cuts the stitched veins over the stamped image and put that through the Cut & Emboss machine. It ended up being quite subtle, but adds a nice detail.
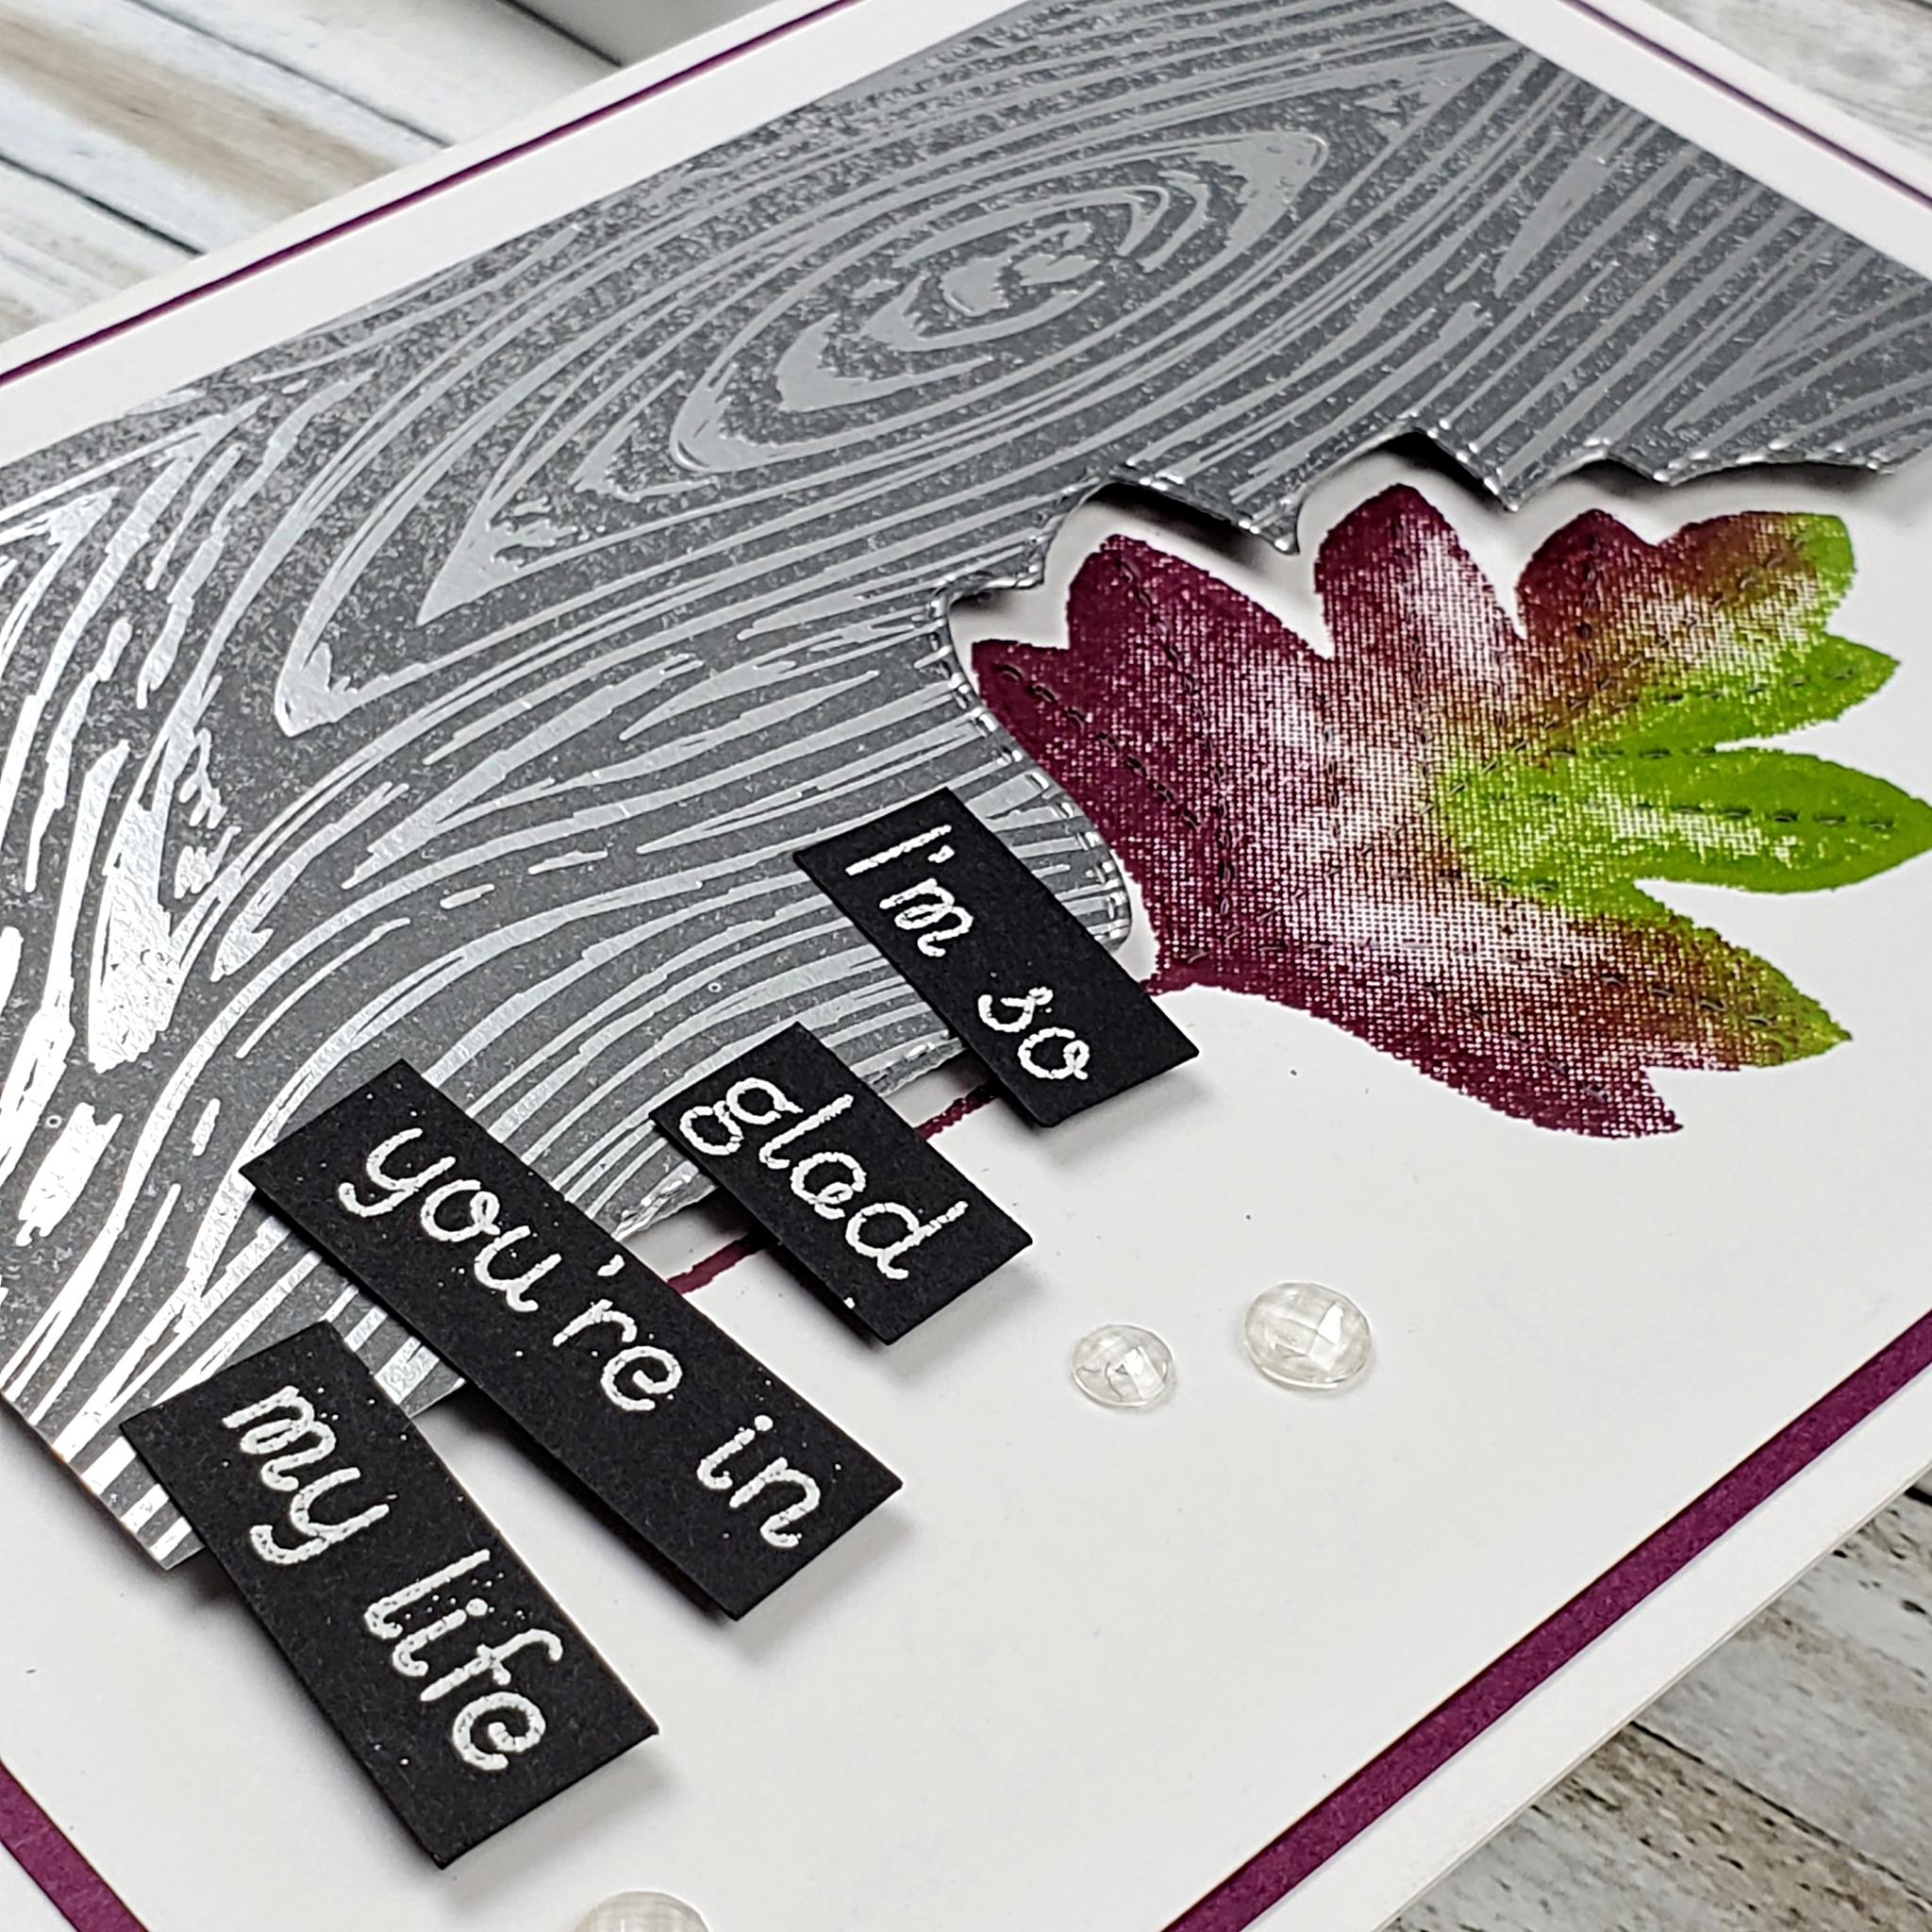
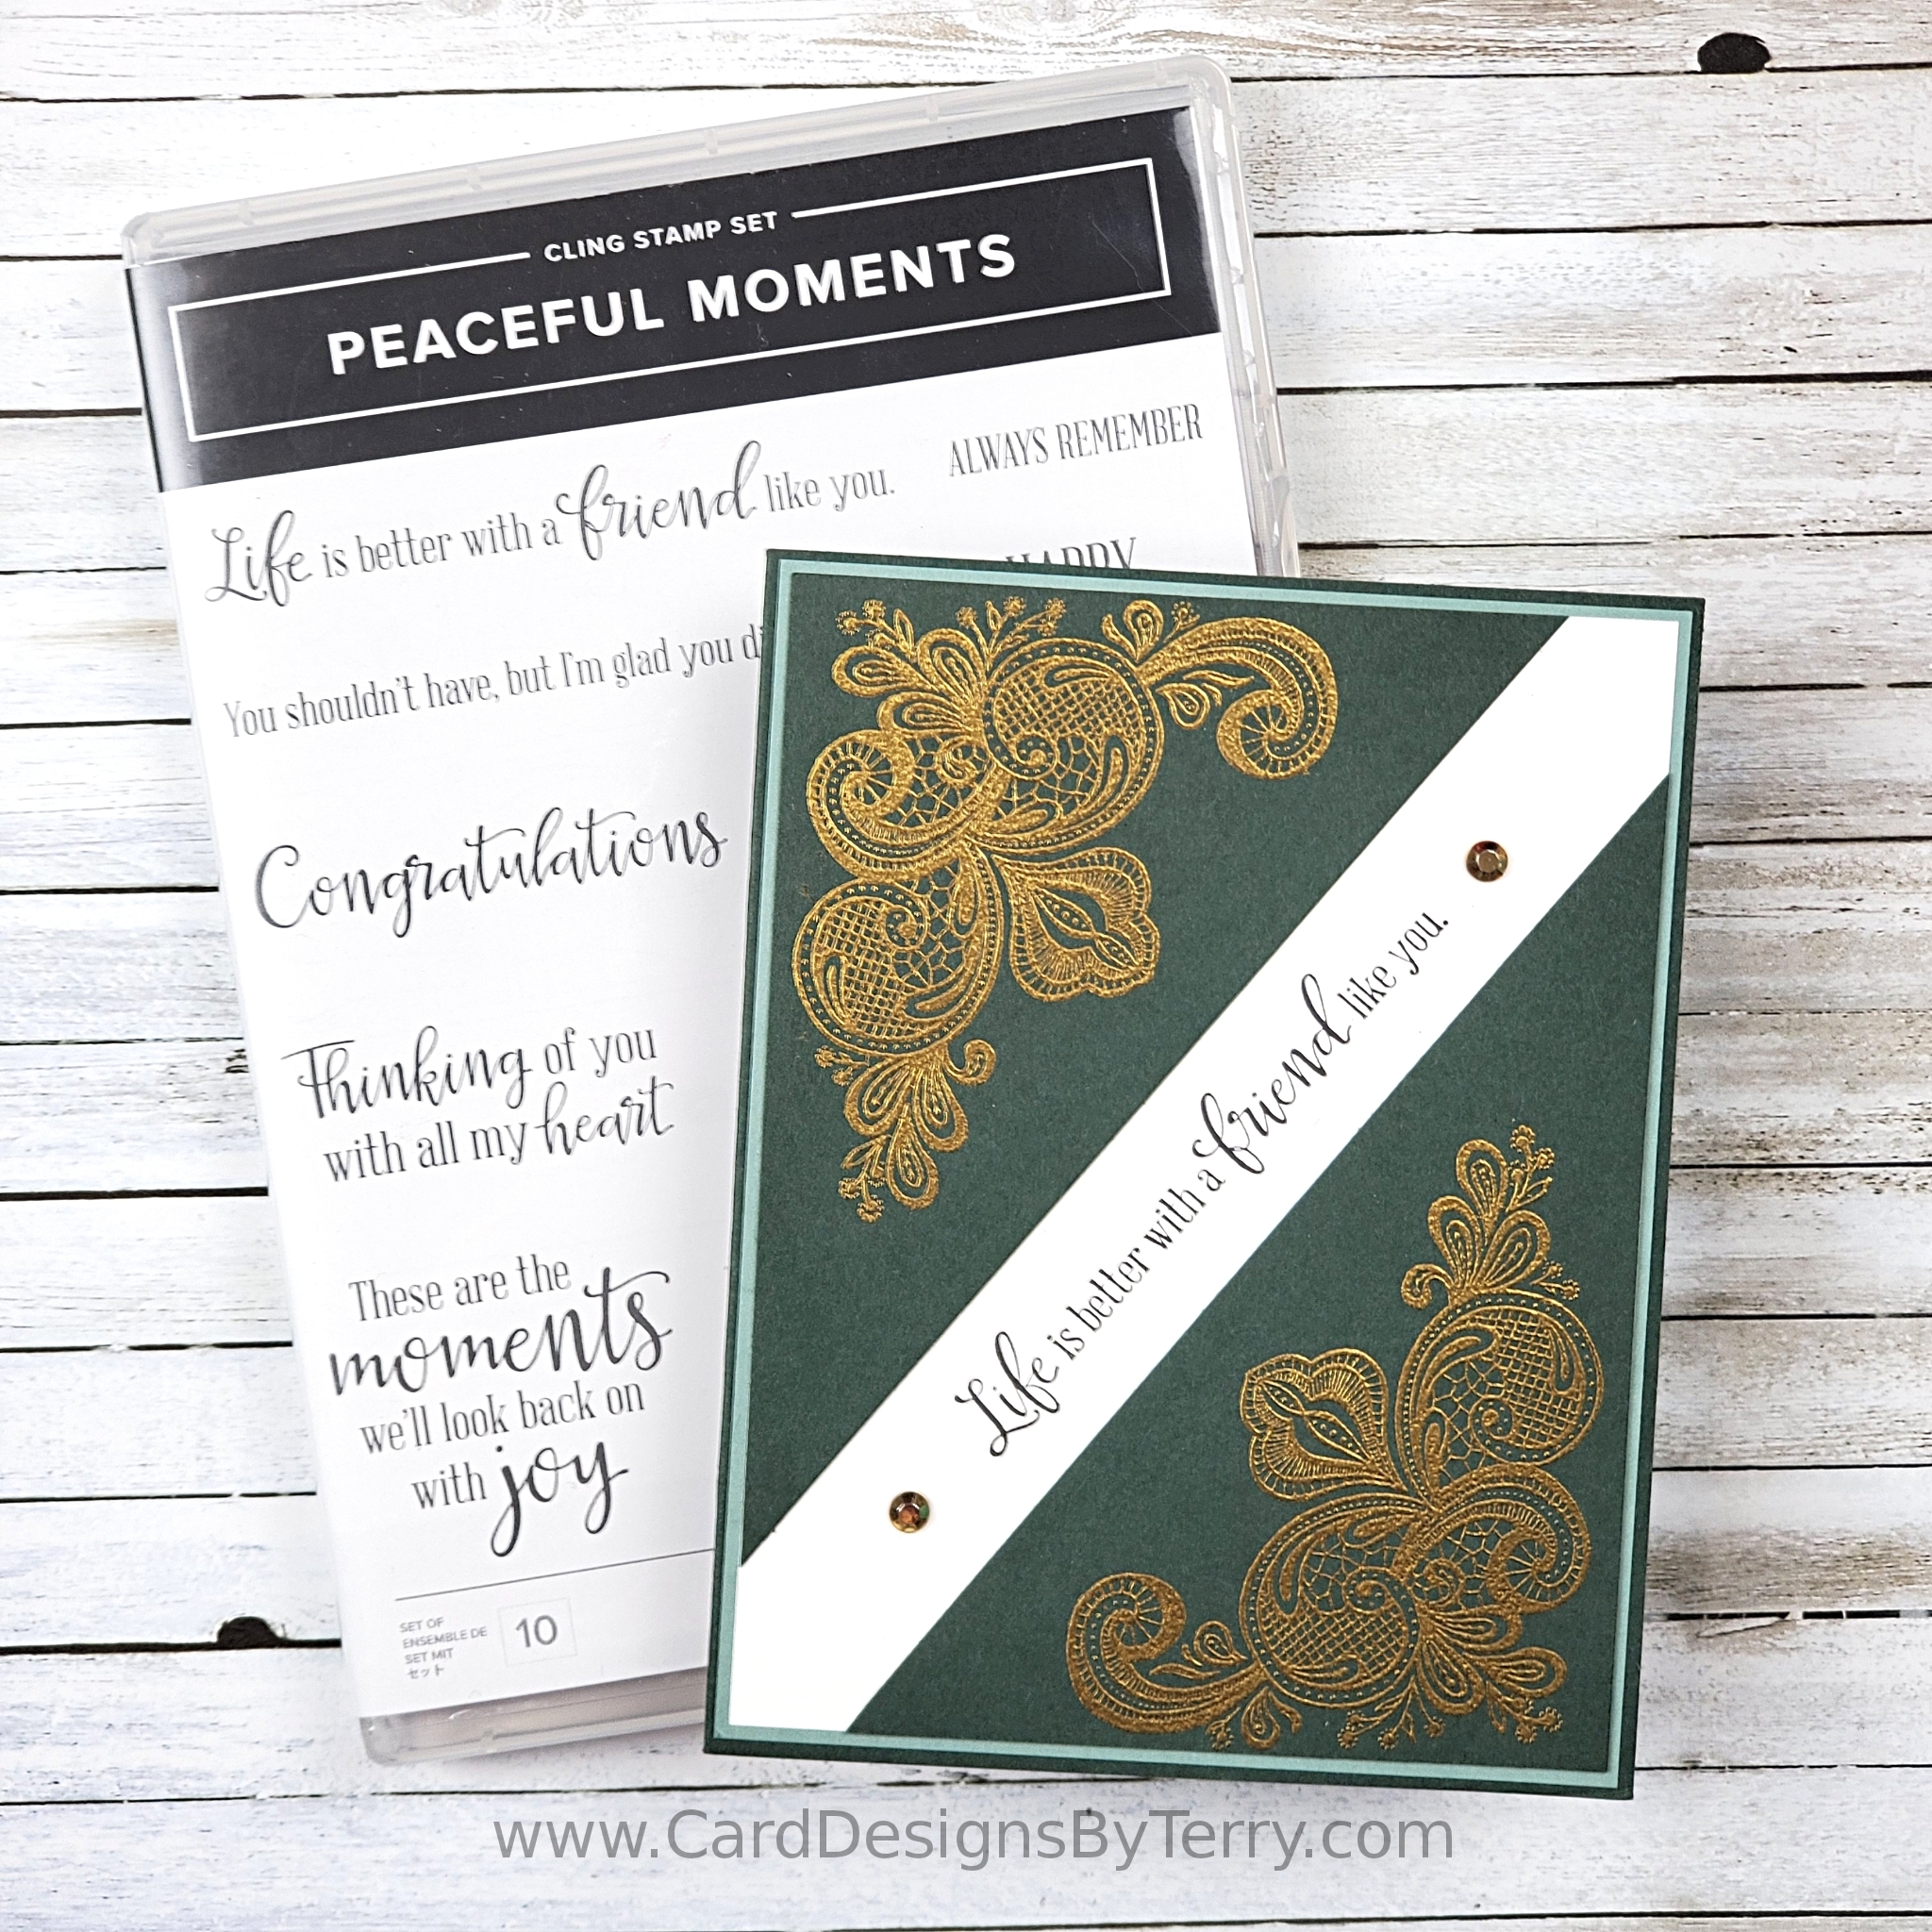
The layers could then be adhered to my card with the patterned paper lifted using Stampin’ Dimensionals. My sentiment was stamped, heat embossed with White Embossing powder, cut into sections and also adhered to the card. Because the sentiment pieces are placed over two different levels, I used Dimensionals under the right side and my Multipurpose Liquid Glue on the left.
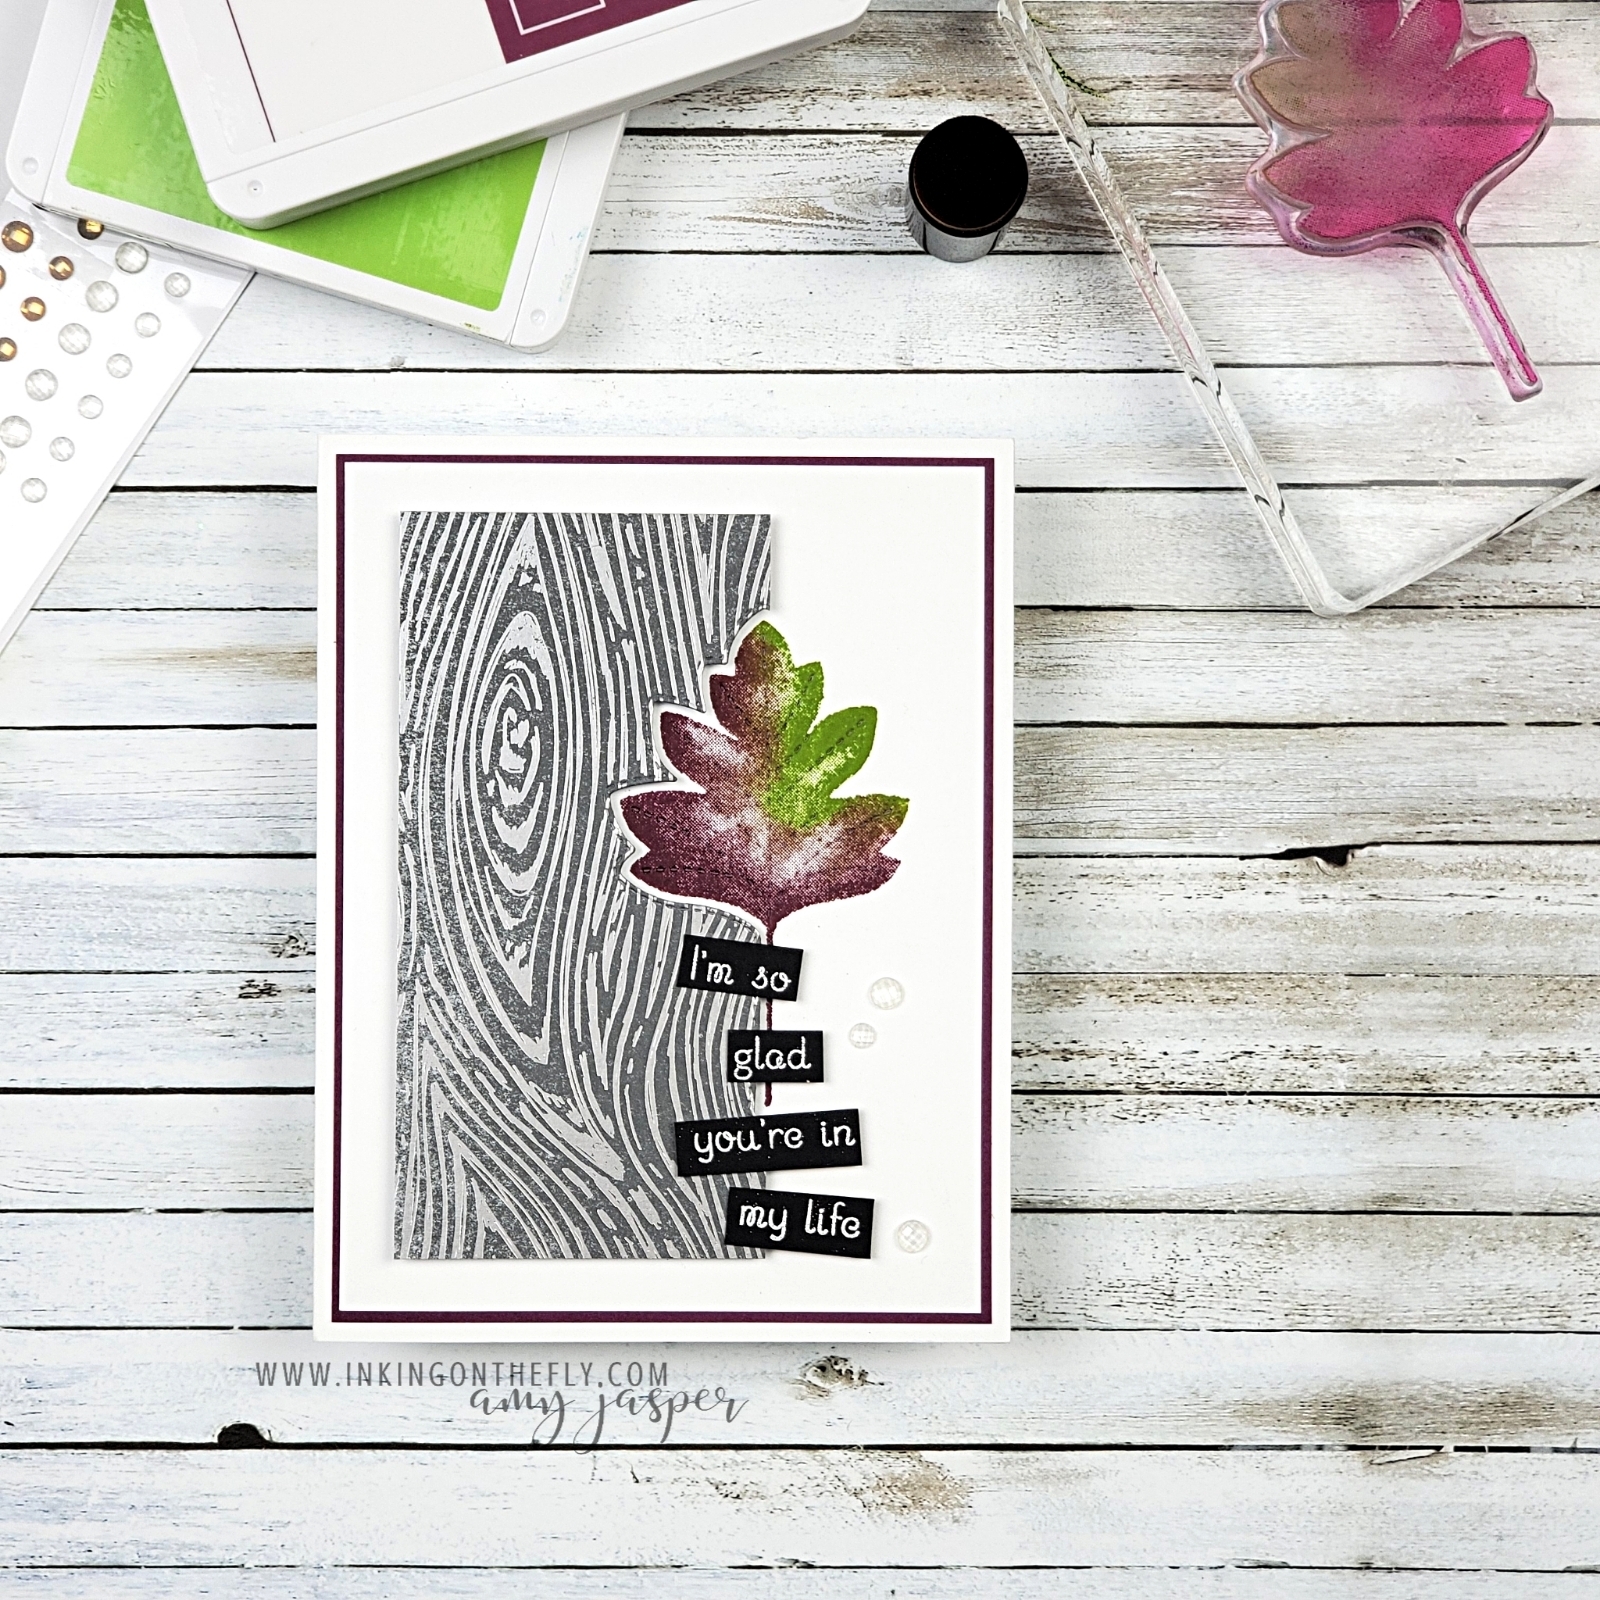
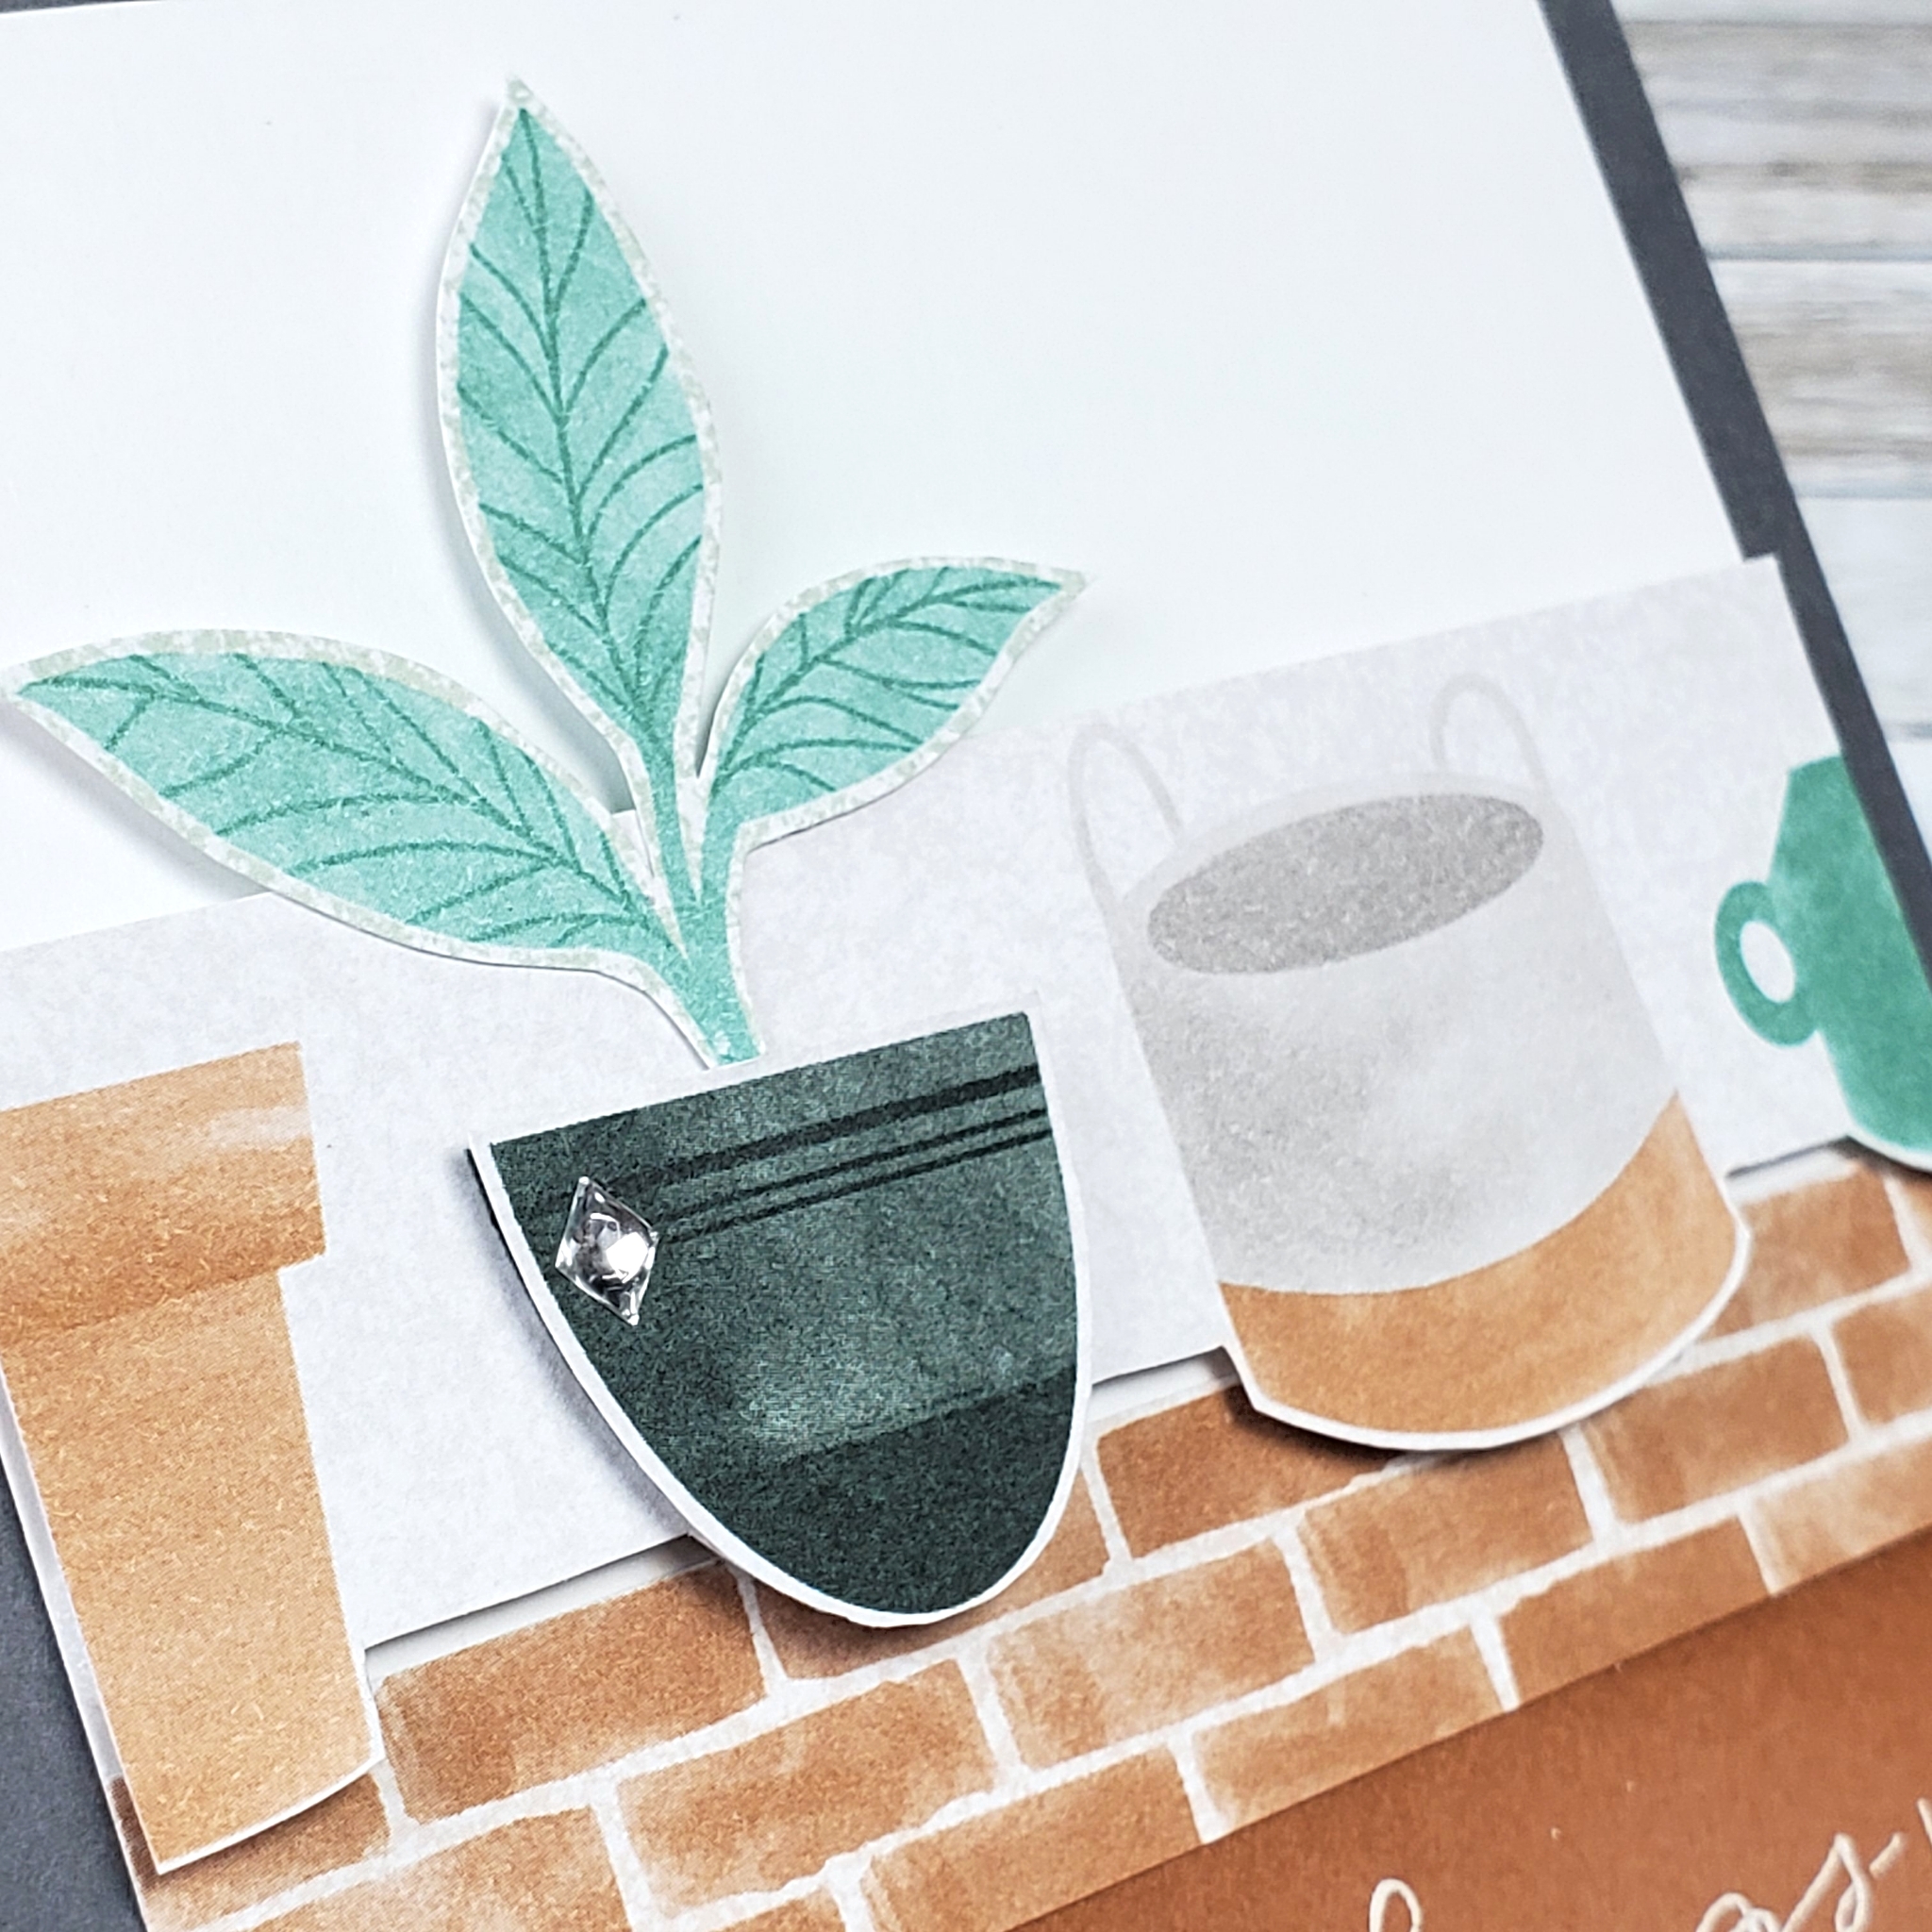
The final touch on this peaceful autumn design are the clear Elegant Faceted Gems. They seem to play well with the silver foil in the Peaceful Place patterned paper.
Enjoy the Season
I cycle through seasons just as the earth does. Sometimes, I am flourishing with new growth, while other times, I’m winding down and preparing for a rest. At this moment, I am in my own peaceful autumn.
Ah yes. That is a comfort.
Things are slowing, but only for a time. It won’t be long before I cycle back around again. Soon, the inspiration will sprout up, where it will leaf into new ideas and blossom with renewed vibrancy.
It can be challenging to be in this phase, but now that I recognize it, I will allow myself to settle into it. I can observe it, welcome it, and even enjoy it.
And tomorrow, I will get outside and enjoy the crisp autumn air!