Events

My Challenge Results were Joy and Peace

It feels funny to be talking about Christmas this week when my kids are wearing their Halloween costumes to school today! However, in my stamping and crafting world, I have to work on Christmas projects all through the fall. That way, December can’t sneak up on me!

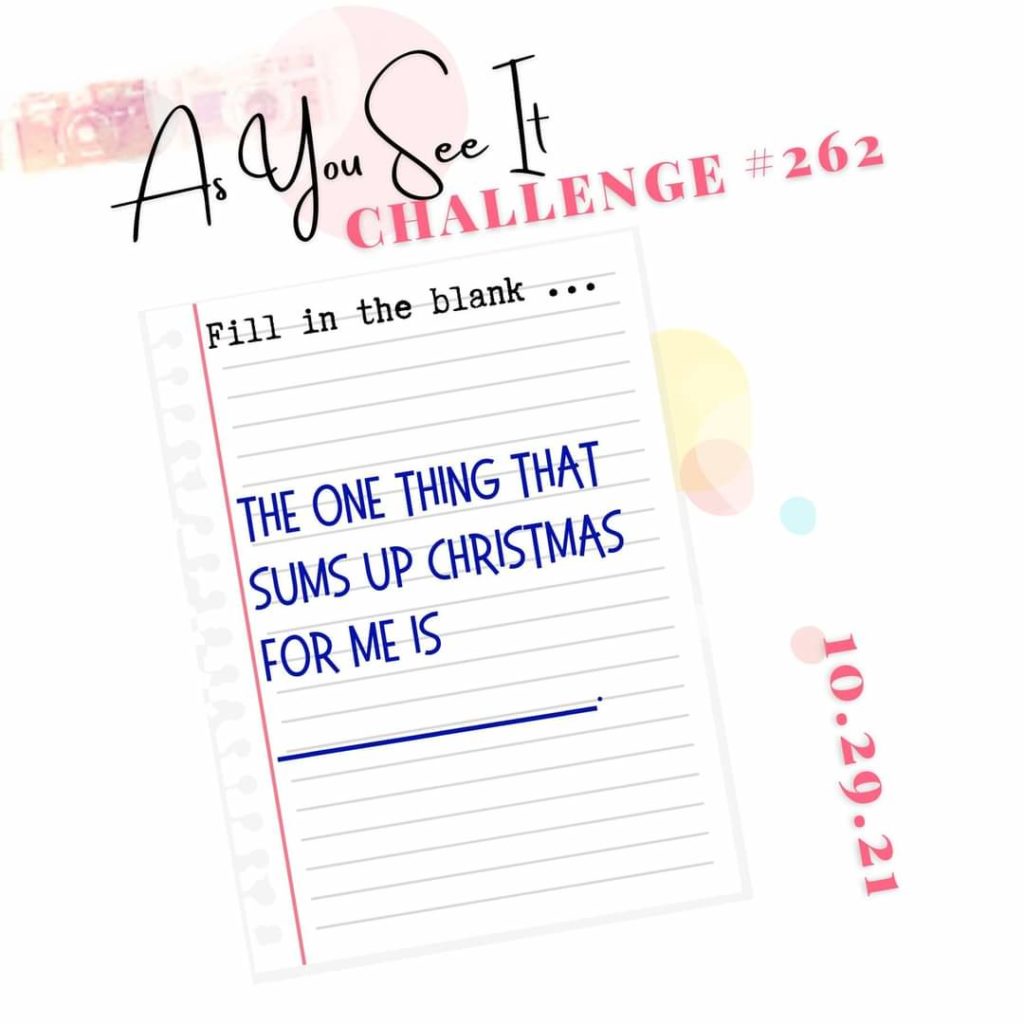
The As You See It Challenge blog has a challenge for us, and this one is all about Christmas!

I’ve been working on designing cards for an upcoming event. Conveniently, this challenge allows me the opportunity to create one card for two purposes! WhooHoo! I love how efficient that makes me feel! *grin*

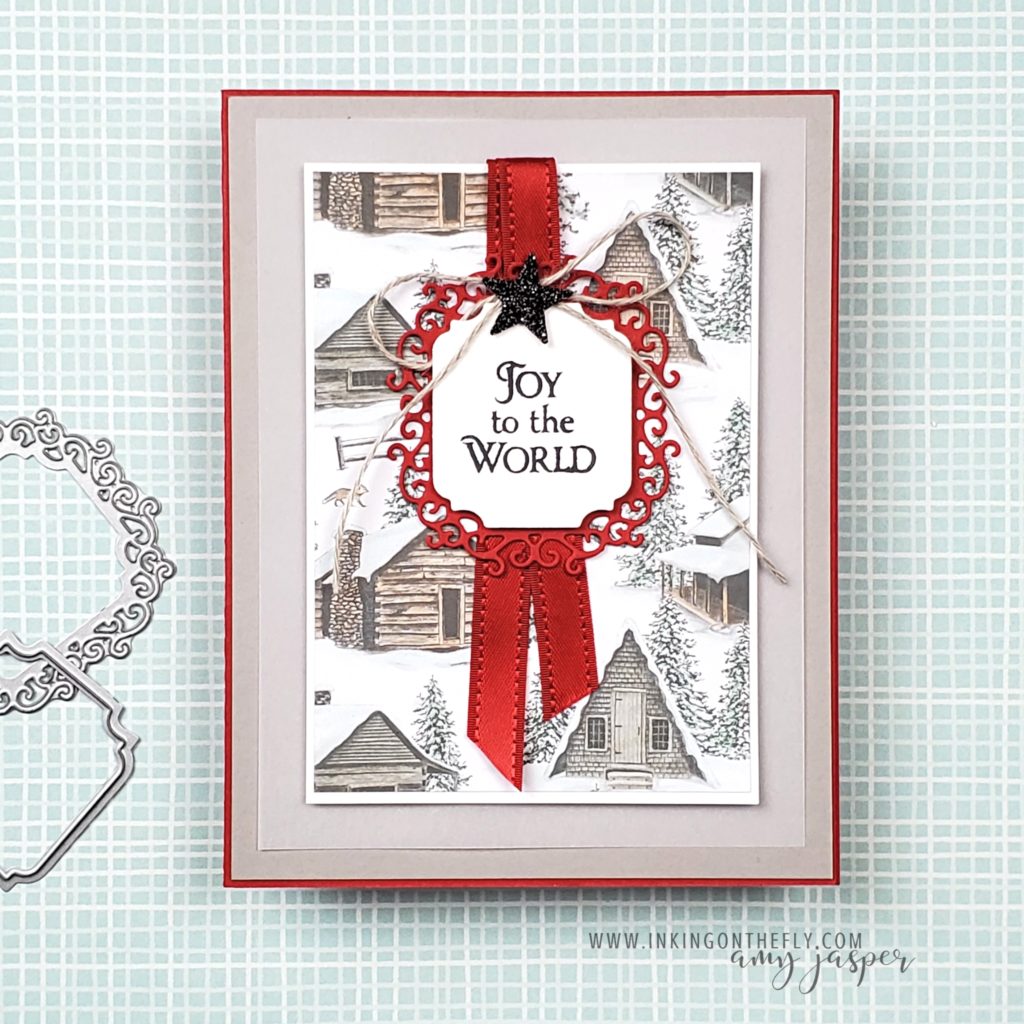
My results for this challenge? Joy and peace, of course! This card represents the emotions that perfectly sum up Christmas for me.

Making the card

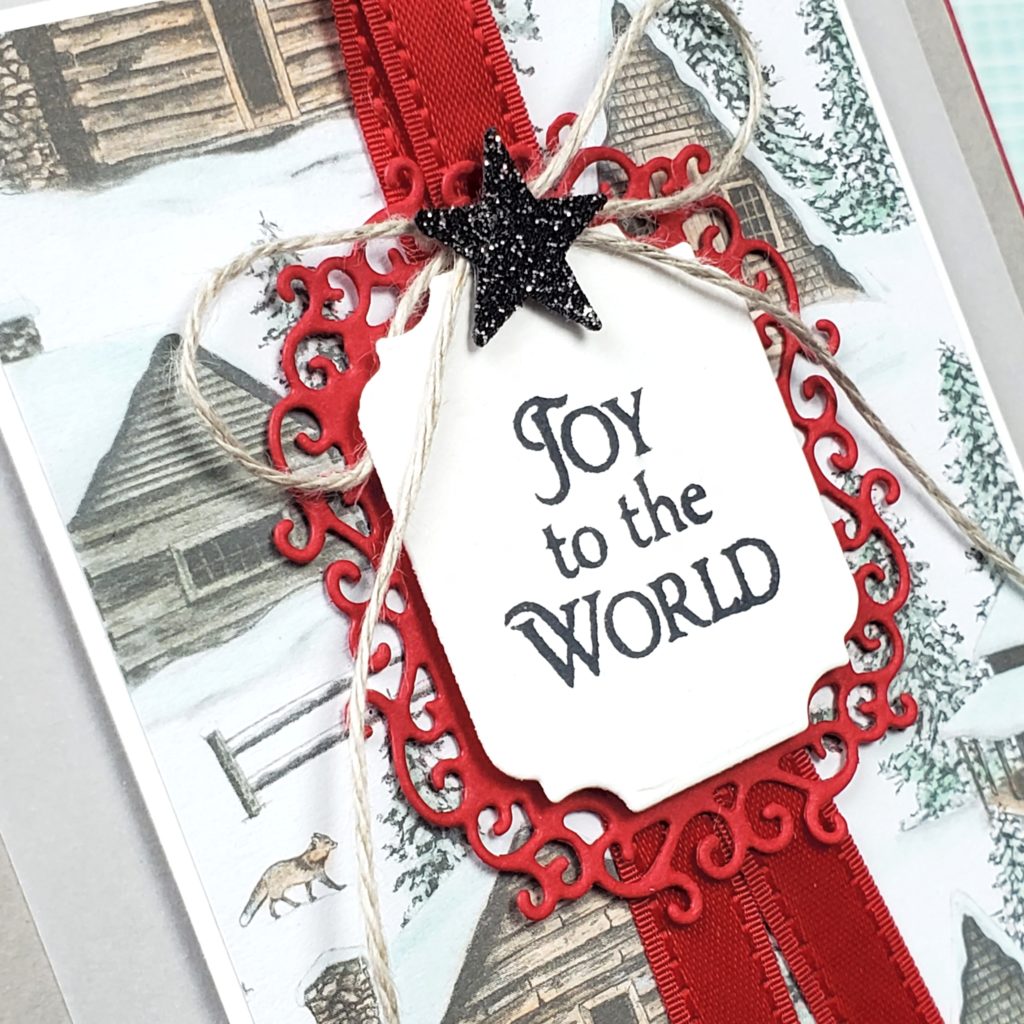
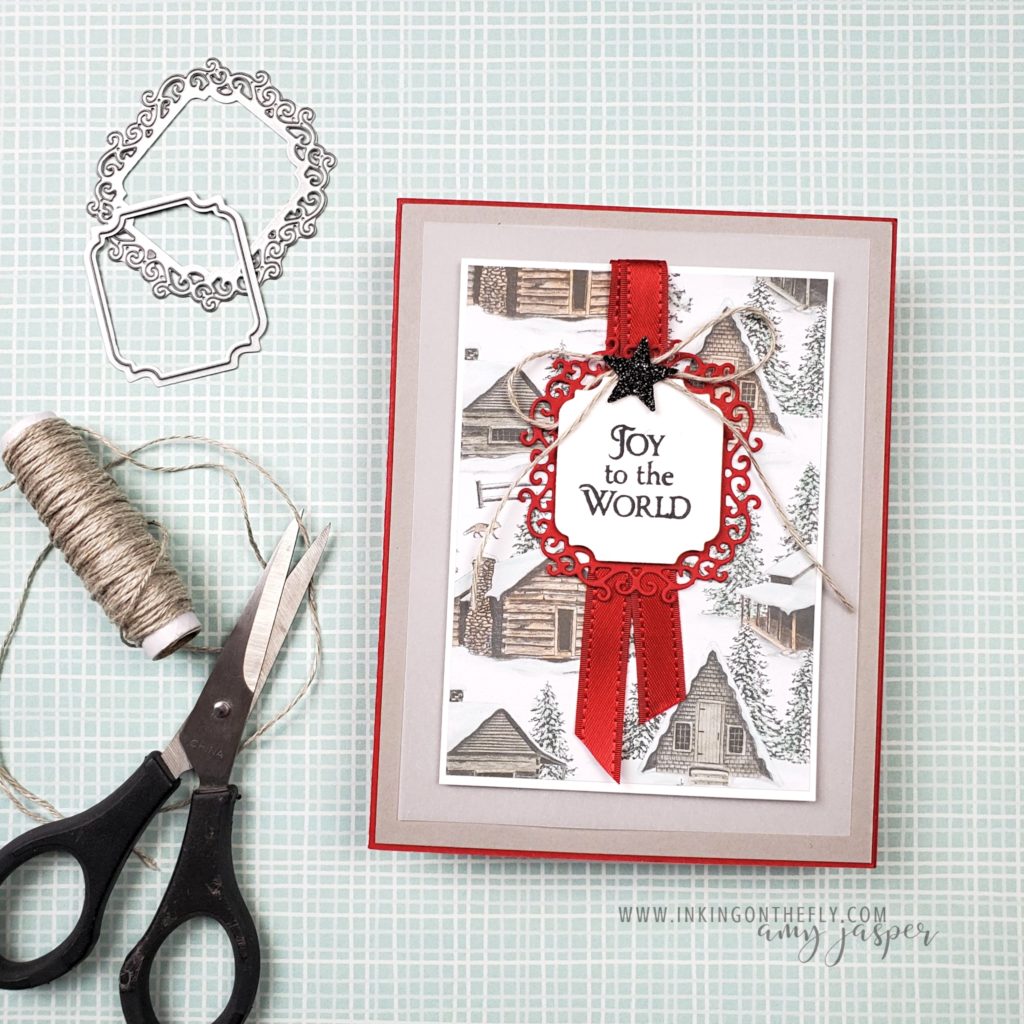
First, I used a Real Red cardstock base, layered with Gray Granite and Vellum. Next, I coloured the Peaceful Place patterned paper before adhering it to the Basic White. To colour the paper, you can either use some of the light Blends Markers or the Stampin’ Write Markers. Of course, the Stampin’ Blends Markers are super easy, as you can achieve a very even colour.

On this particular card, I used Petal Pink and Sahara Sand Stampin’ Write Markers directly on the cabins and the fox. Then, I scribbled Mint Macaron and Pool Party Stampin’ Write Marker on an acrylic block, so I could pick up the colour with a Blender Pen to create a softer colour for the trees and the snow drifts.

The sentiment from the Stars are Shining stamp set has been stamped on Basic White cardstock. This and the Real Red frame were die-cut using the Cut & Emboss Machine and the Ornate Frames Dies.

To make it festive, the Real Red Satin Ribbon and the Linen Thread topped off with a Black Glitter Paper star, are added to the card. I love that little star! The Starlit Punch, which can be purchased separately or bundled with the Stars are Shining stamp set, is what I used to punch out that sweet element.

If you tend to skip over the Halloween products in the catalogues, then you may have missed the Black Glitter paper. Even though I don’t make a lot of Halloween crafts, I made a point to snatch up that paper for other occasions. In this case, it is a great accent for a Christmas card!

Holiday Stamp Camp

This card will be one of the 10 cards that we’ll be making at the Holiday Stamp Camp event in November. Once again, Desirée Spenst and I have teamed up for another day-long virtual event! Anyone in Canada can join us for this event. Registration closes October 31st, so don’t wait! Go to my Events & Classes Page to find out more and to register.
Jingle Jingle Little Star

My title makes me chuckle. Not that clever of a title, really, but I chuckle just the same.

It’s been a CRAAAAZY week. My family has hardly seen me. When they have, they find me completely distracted and disengaged from reality. I’ve been working on my preparations for the BC Crop for Kids event which takes place in Abbotsford this weekend.  I am sponsoring a class and hosting my own vendor table on Saturday. I haven’t participated in this particular event, making it all new to me. I also don’t do vendor shows often – maybe once per year, so it takes a lot to get organized. The class I’ve chosen to do has a TONNE of prep, but I have been incredibly blessed with friends who gave their time to cut the gazillions of pieces of paper, ribbons, and dies to help me. Not only that, but many of them also donated supplies toward the class in honour of the BC Children’s Hospital foundation, for which the event is raising funds.

So, I want to give a shout out and a HUGE THANK YOU to all of those gals who spend hours at my house cutting and embossing!

Part of my prep involved having a make and take project at my vendor table for 40-50 ladies to enjoy. The As You See It Challenge this week seemed like a good opportunity to hit two birds with one stone. Here’s the challenge sketch:

005

My make and take card will be very similar to this one, but the patterned paper will vary, of course.

106AmyJ

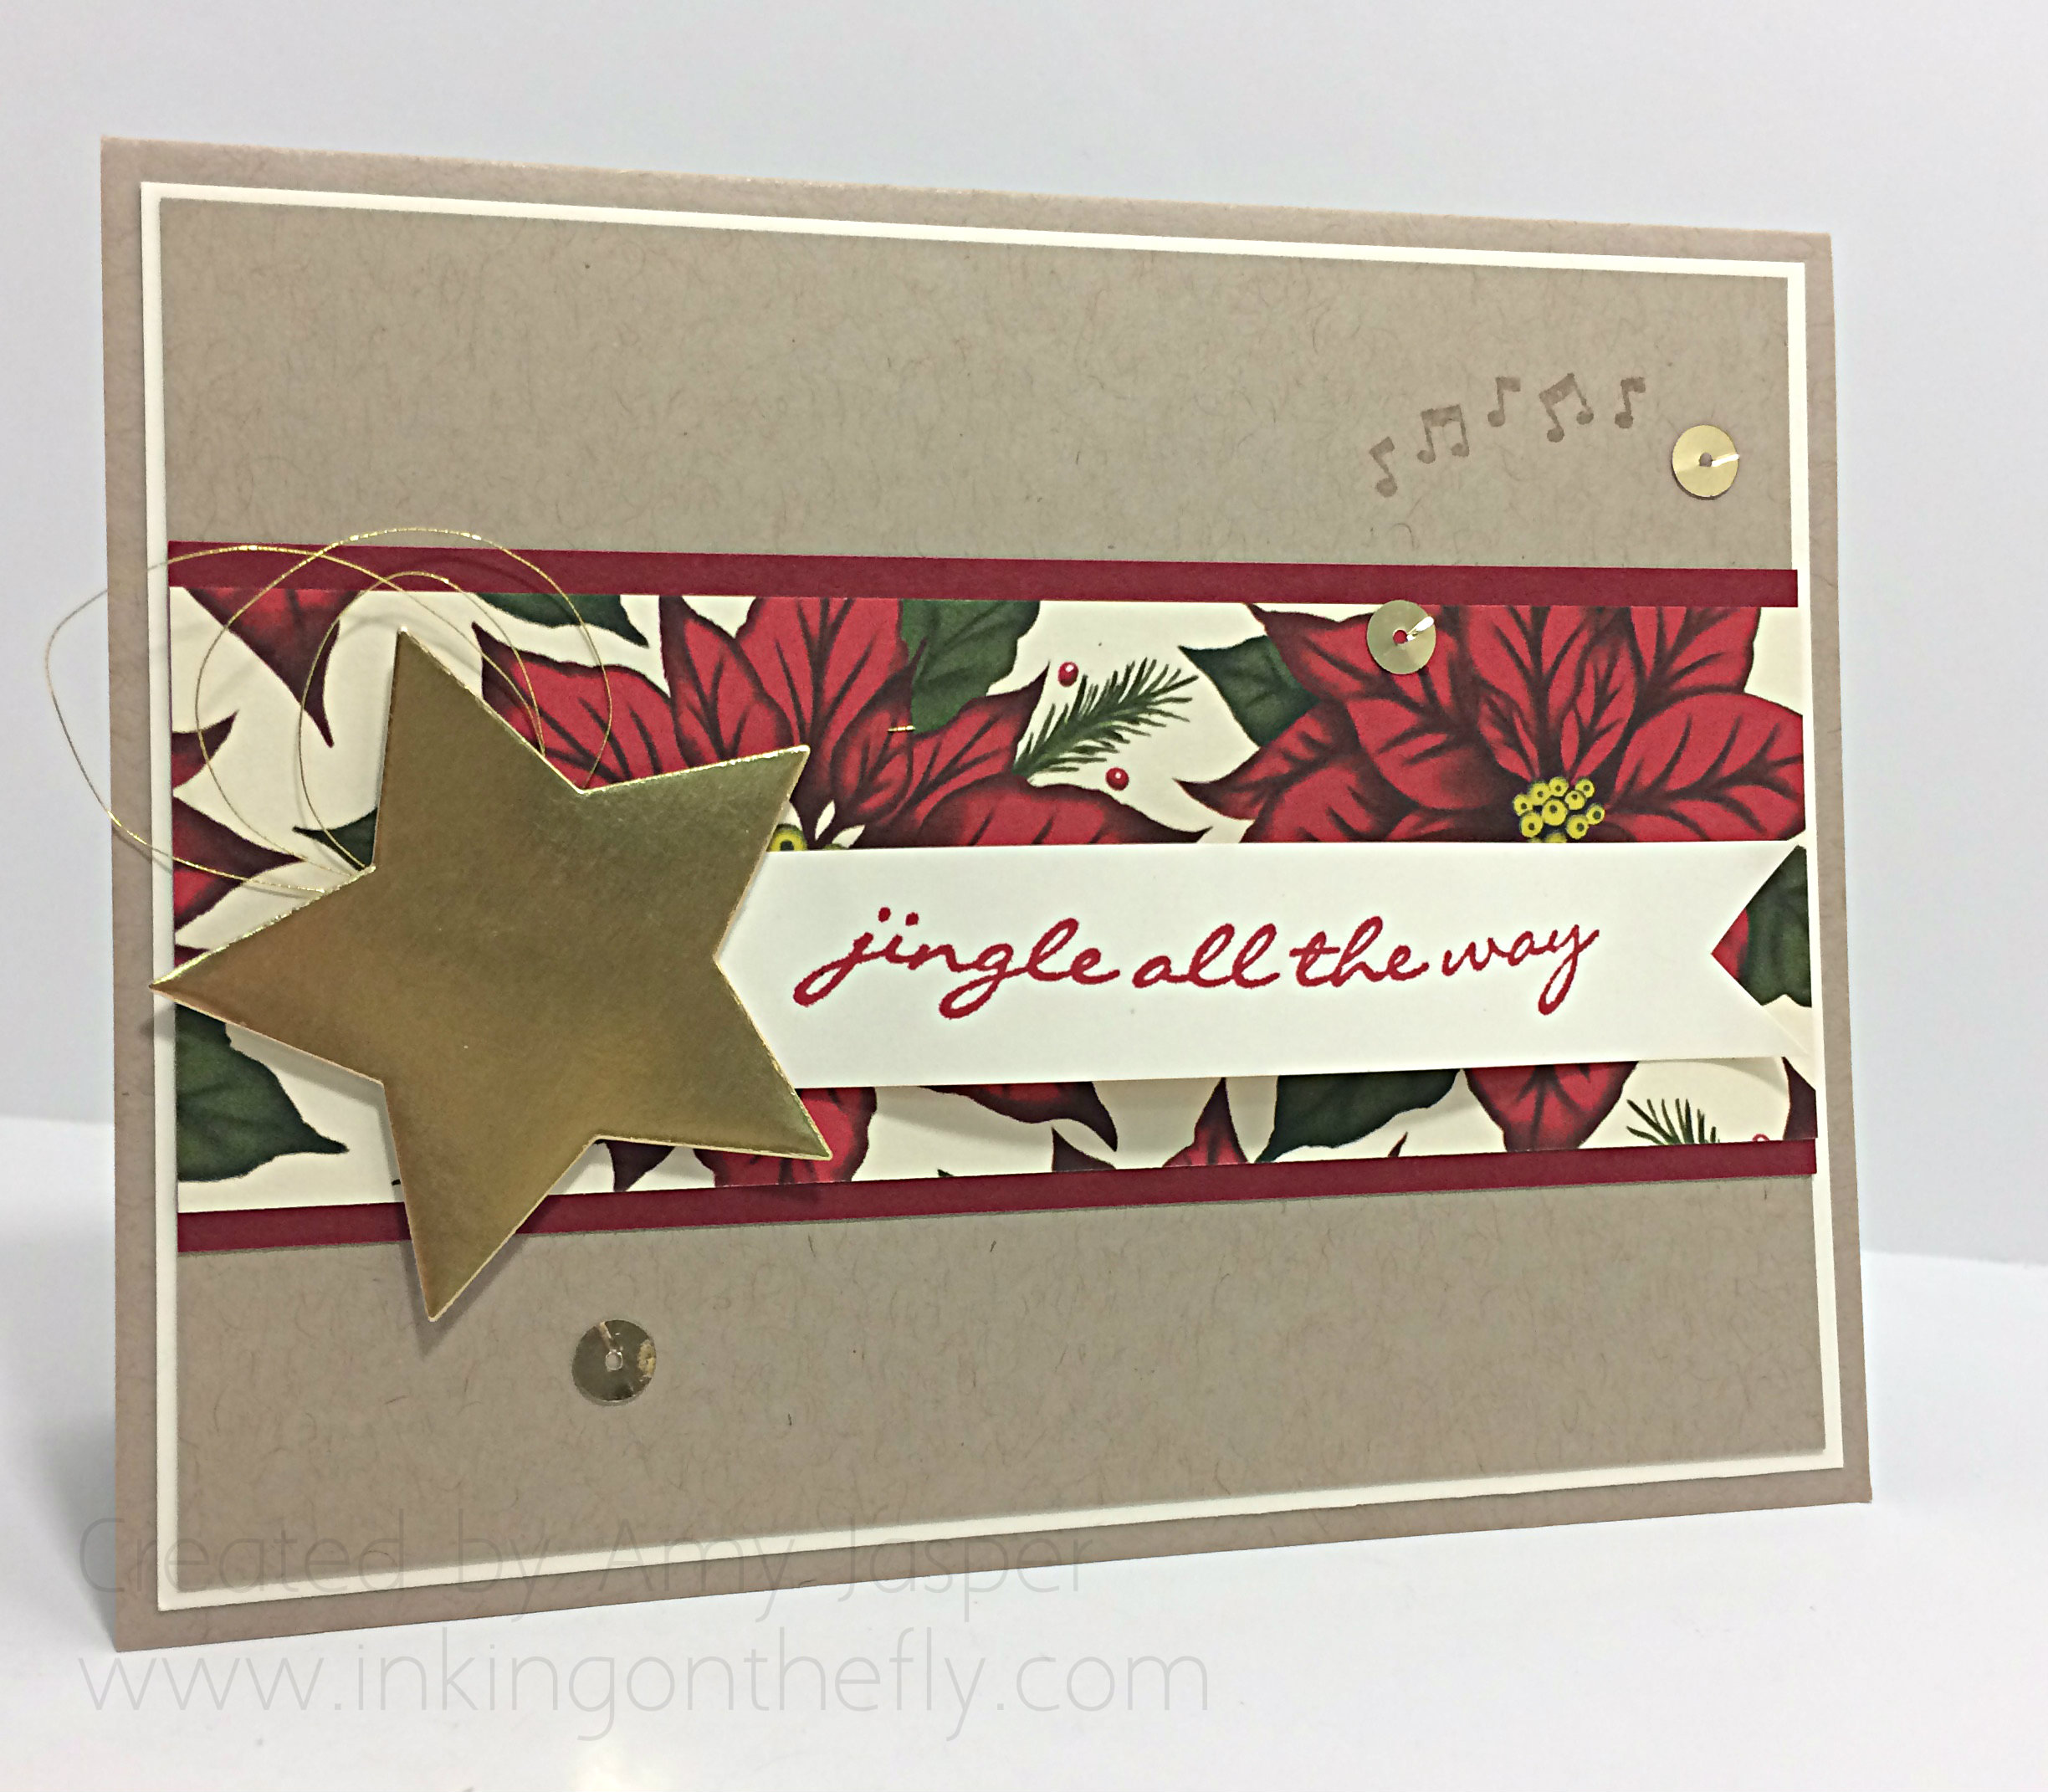
I used Crumb Cake cardstock for my card base, then a Very Vanilla mat under another layer of Crumb Cake cardstock. The next two layers are Cherry Cobbler and a strip of Home for Christmas Designer Series Paper.

106star

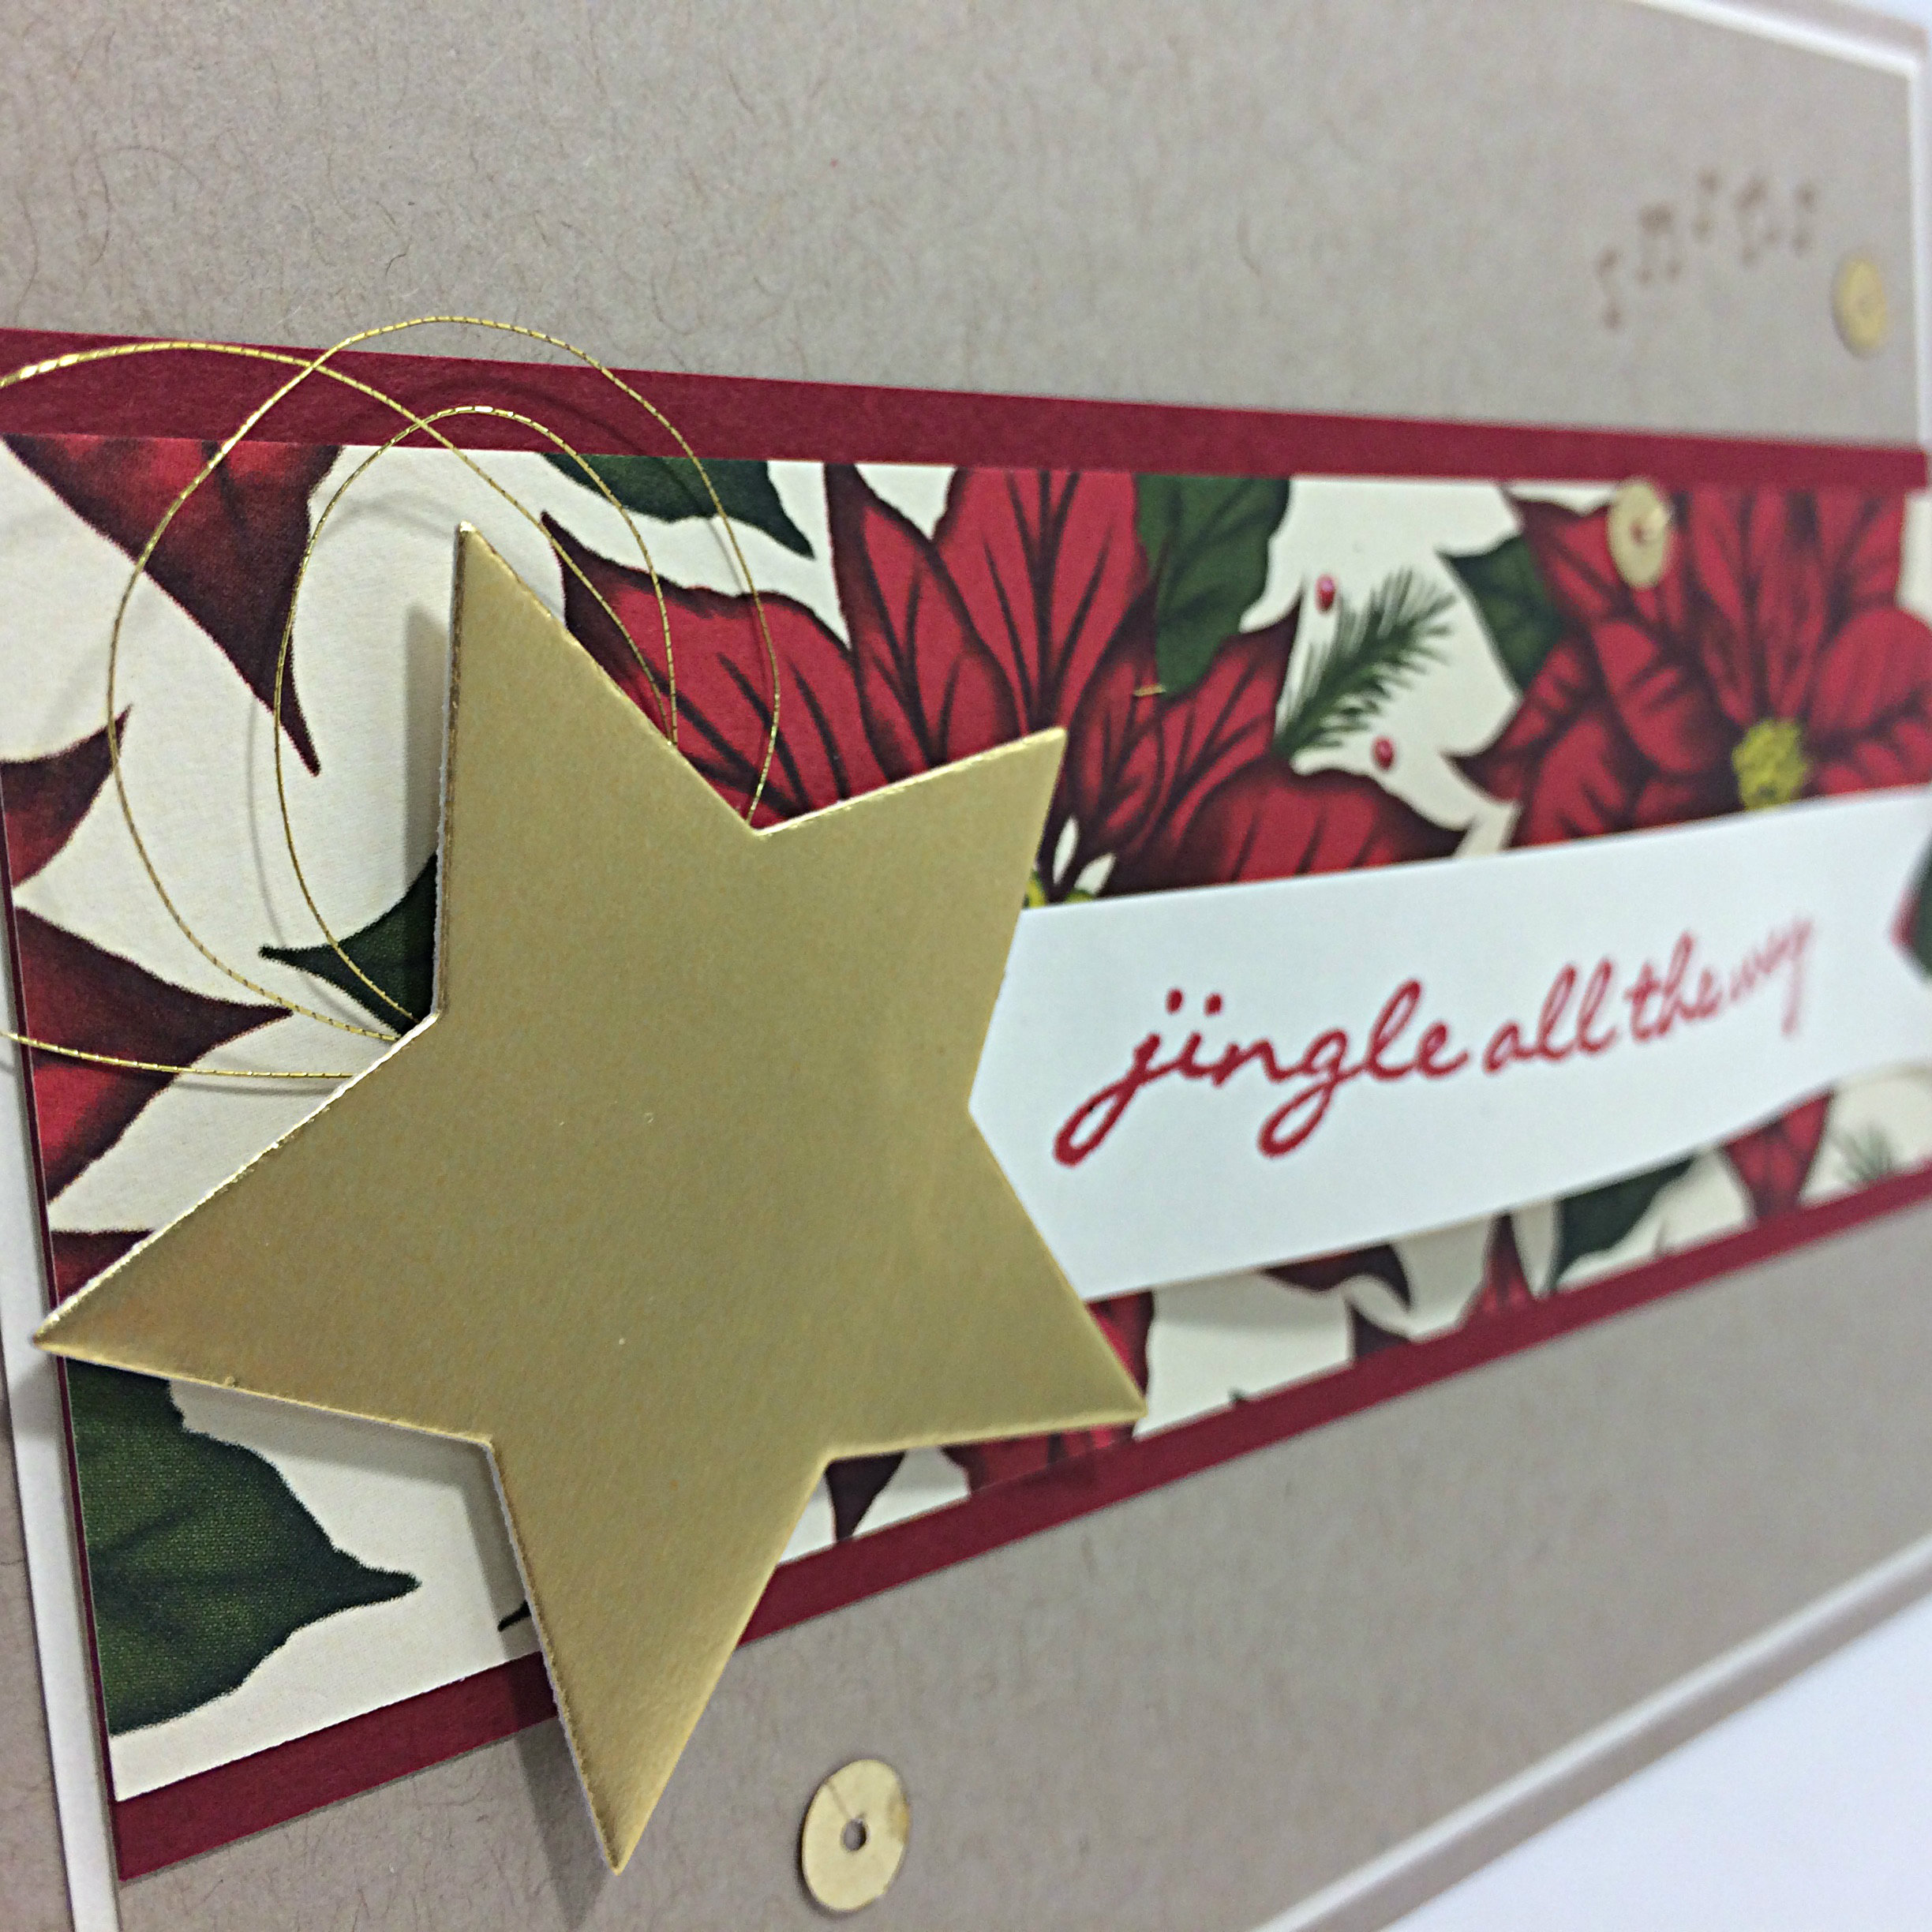
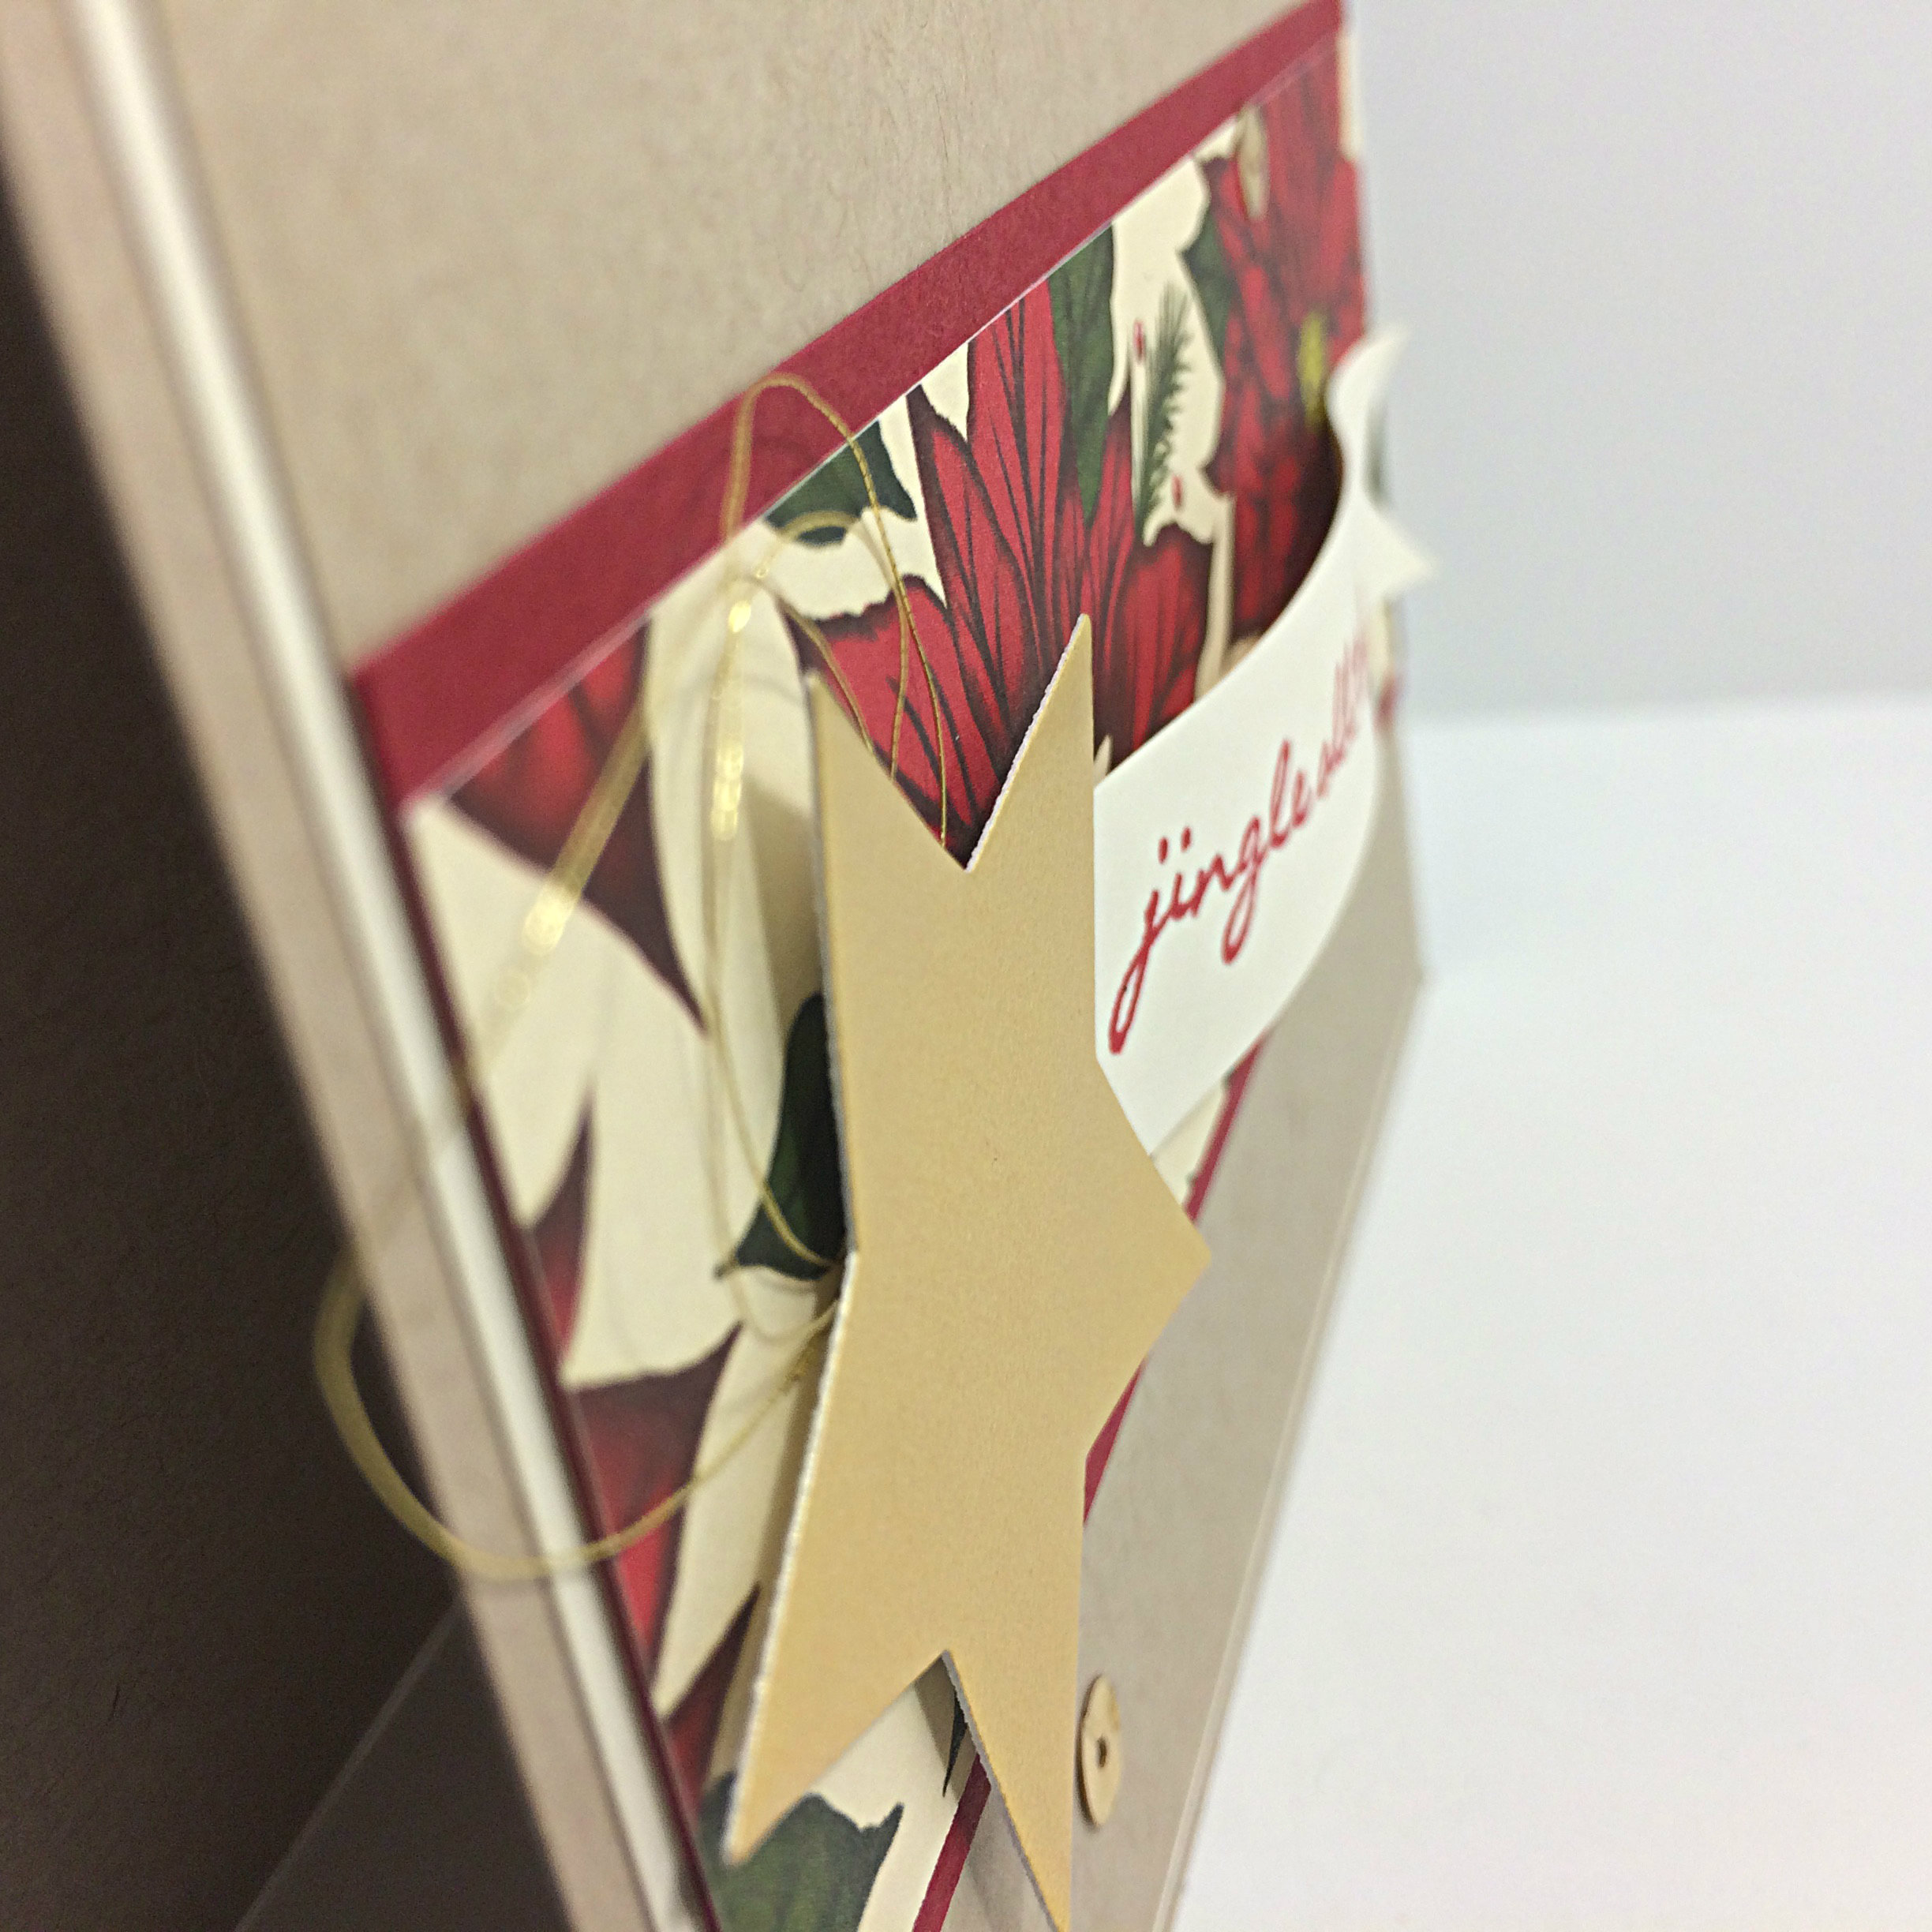
I used some Gold Foil paper with my Star Framelits and embellished it with a triple swirl of Metallic Gold Thread. I used Stampin’ Dimensionals to pop it up off the page a bit.

106bannerIn the image above, you can see how the Very Vanilla banner is curled a bit. I did this by sliding the banner between a bone folder and my thumb until the paper curved to my satisfaction. I tacked down the ends of the banner to the paper with Tombo Multipurpose Liquid Glue.

106AmyJ

The stamped images are from the Jingle All the Way stamp set. I used Real Red ink for the sentiment and Crumb Cake ink for the musical notes.

The final step was to add the Gold sequin with my Fine Tipped Glue Pen.

I think that’s the fastest post I’ve ever written! Back to prepping and planning. I have to be ready to go by one o’clock today. EEK!


Just Mail it Already!!

073Amyheader

Oh, how I missed you last week. How’ve you been? I was away at the Leadership Conference for Stampin’ Up! down in Orlando, Florida. The time change was harder for me than ever! But I learned so much and have a lot to work on to improve my business and my home life!  I was especially touched and inspired by what our keynote speaker had to say about the power and significance of handwritten notes and letters in this world of emails, texts and Social Media updates. His words and the stories that he shared of people reading messages from loved ones who have passed on, sparked a flame in me to change my ways – just a little bit.

I love making cards. Really love it. And I love showing others how to make cards. But do you think I can get myself to send a card? To remember to send one before the birthday or event for which that card is intended? No. I am TERRIBLE at that! I have an ever-growing collection of hand-made cards that have been mailed to NO ONE!!

So, this week, I decided to share the inspiration with my Monthly Stampers group. I gave them each an envelope with a postage stamp and encouraged them to use one of the cards that we finished in our class that day to mail to a loved one. To write the address on the envelope right then and there. To write in the card, and mail it on their way home. I did this for them, yes, but I did this for me. My card will go to my Granny, whom I seldom see, and it seems as though she is a world away. I have written in my card. I have addressed the envelope. It has been mailed. My hope is that lives will be touched by our hand-written notes of love and gratitude. The notes and cards that share a bit of us. Our hand-writing is only ours. These notes are not about the words on the page so much as they are about the hand that wrote them. Hand-written notes have a personal touch, and therefore, a personal and relational connection, that typed messages will never carry.

Oh ya, and here’s the As You See It Challenge Sketch for my design this week:

#073And the card that I made:

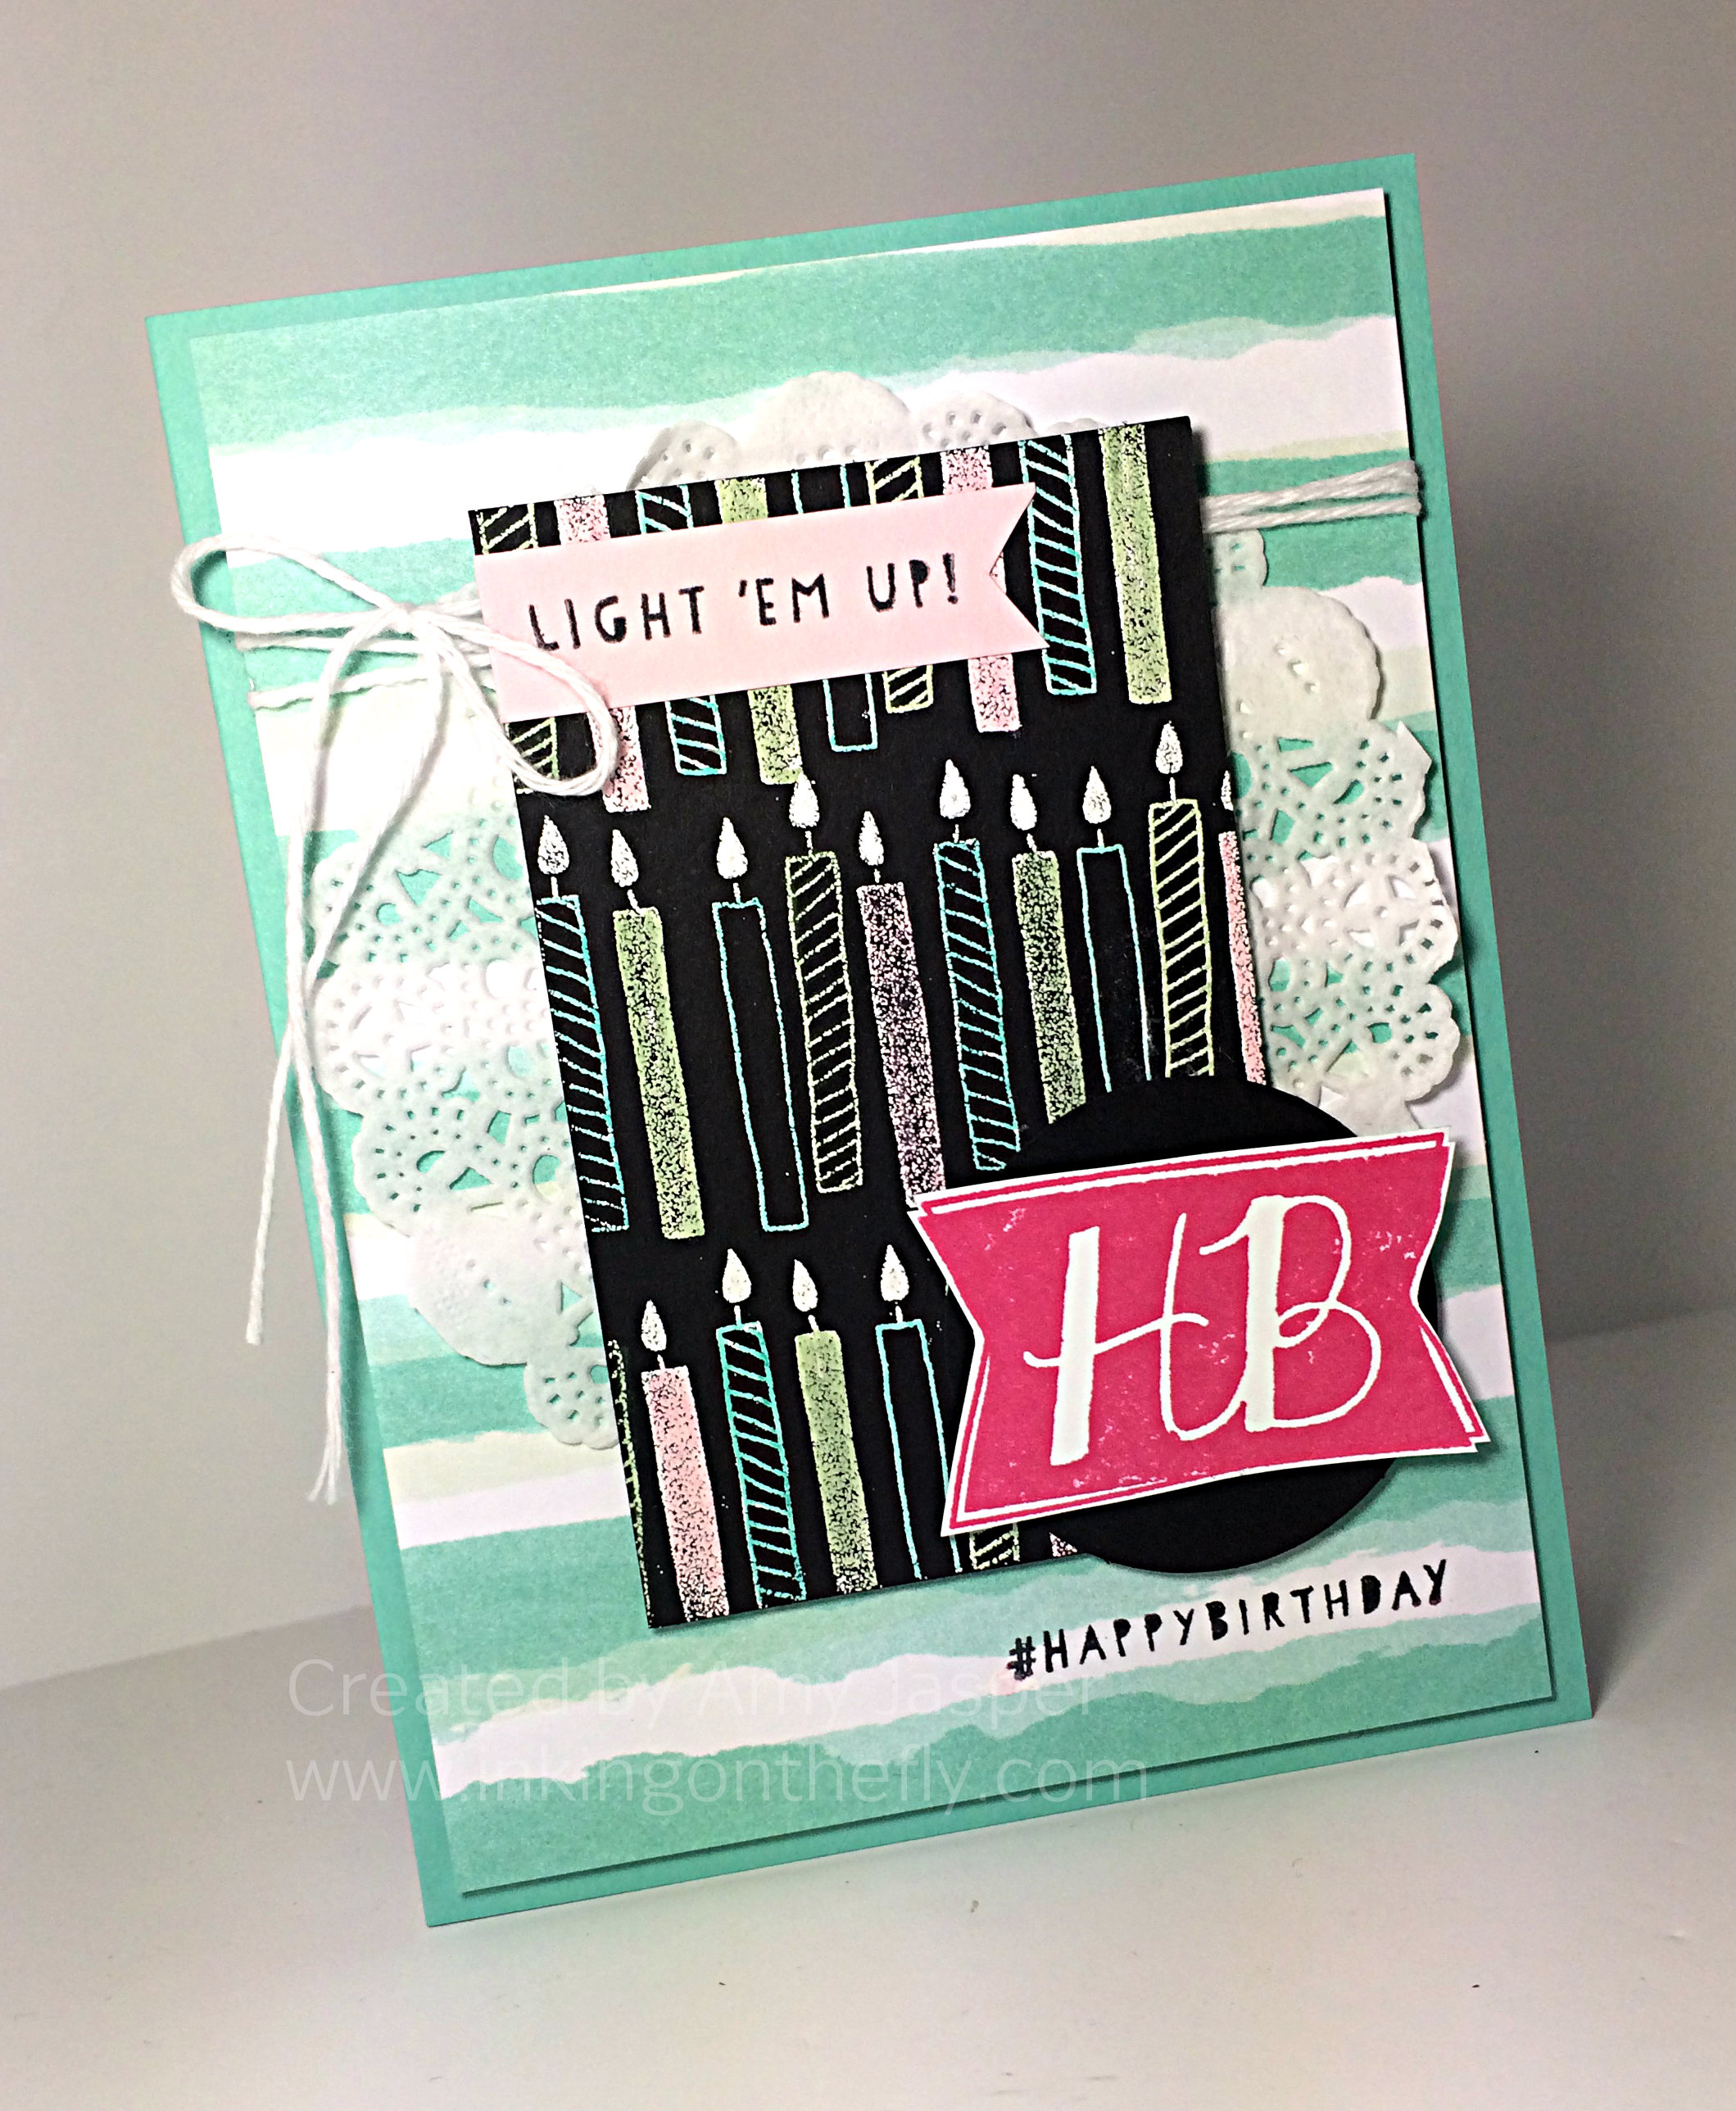
073AmyThis card kinda makes me smile. I can’t say that it’s my favourite, but the colours are happy and fun. It’s playful.

I started with the Coastal Cabana card base and added the piece of Best Year Ever Designer Series Paper (only available for FREE through the Sale-a-bration promotion). I adhered that piece with Stampin’ Up Dimensionals simply because I have the added bulk of the Baker’s Twine around it, making it lumpy if I were to adhere it flat to the card base. I have a White Paper Doily behind the Basic Black piece of cardstock. That piece is where the real fun began!!

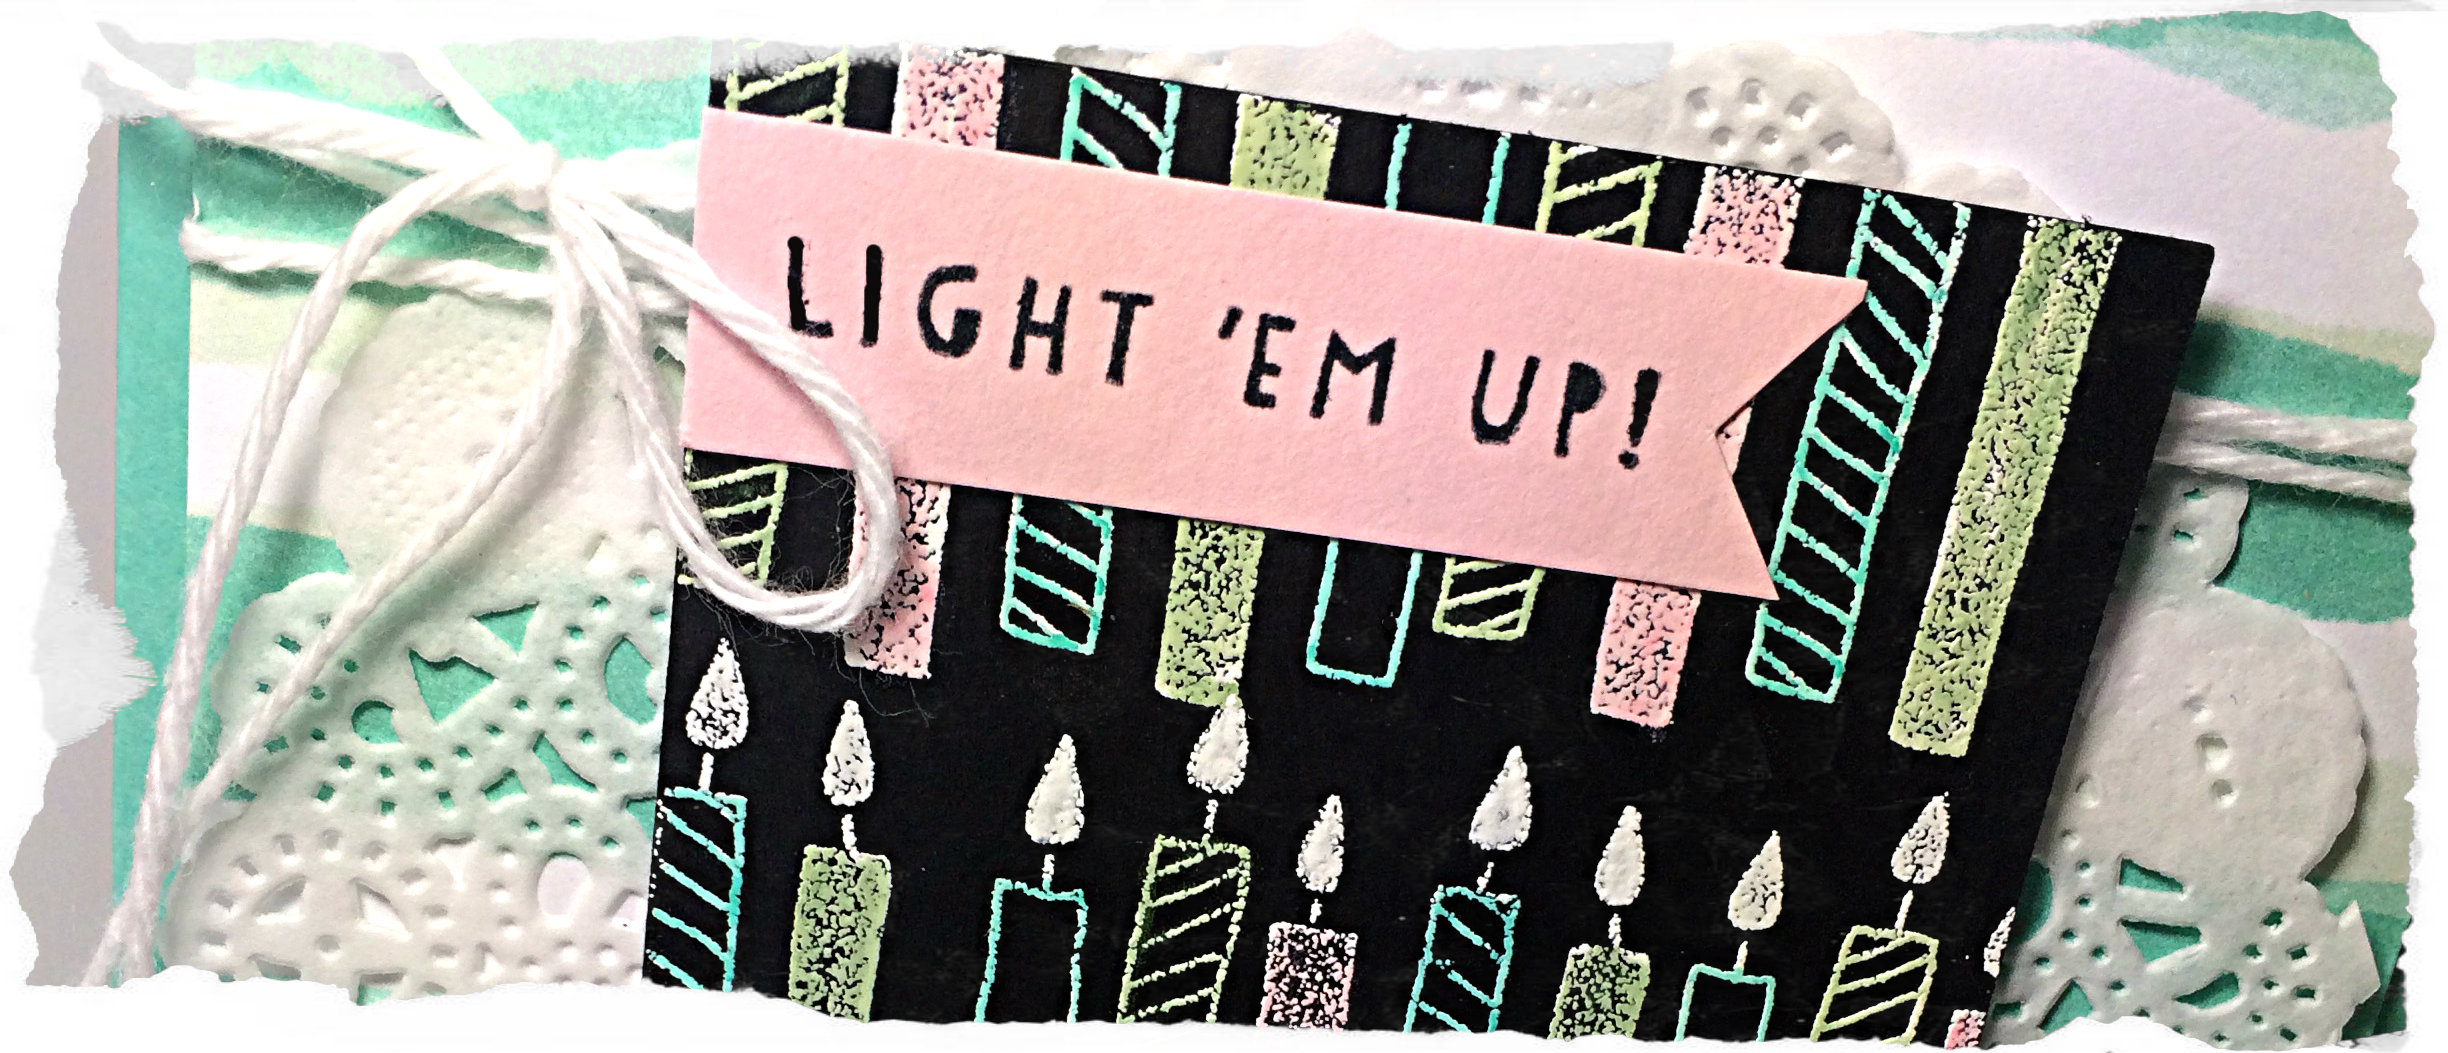
I used one of my free stamps from Leadership, out of the Balloon Bash stamp set, and inked it up with the clear Versamark ink, stamping it on the Basic Black cardstock and heat setting some White embossing powder on it. I stamped it multiple times over the cardstock, being careful to mask off the words under the candles on this particular image. Then I used my Blendability markers (I received 4 new colours from Prize Patrol at Leadership!) over the embossed candles. It makes them so fun and colourful! I love this technique!!

The Basic Black embossed piece was attached to the card with Stampin’ Up Dimensionals. That same stamp, from which I masked off the words, I now masked off the image and used the words with Tuxedo Black Momento ink on the Pink Pirouette banner. The HB image was inked with Melon Mambo ink, stamped on Whisper White cardstock, and hand-cut to apply (yes, with Dimensionals again!) to the 1-3/4″ circle punch of Basic Black cardstock.

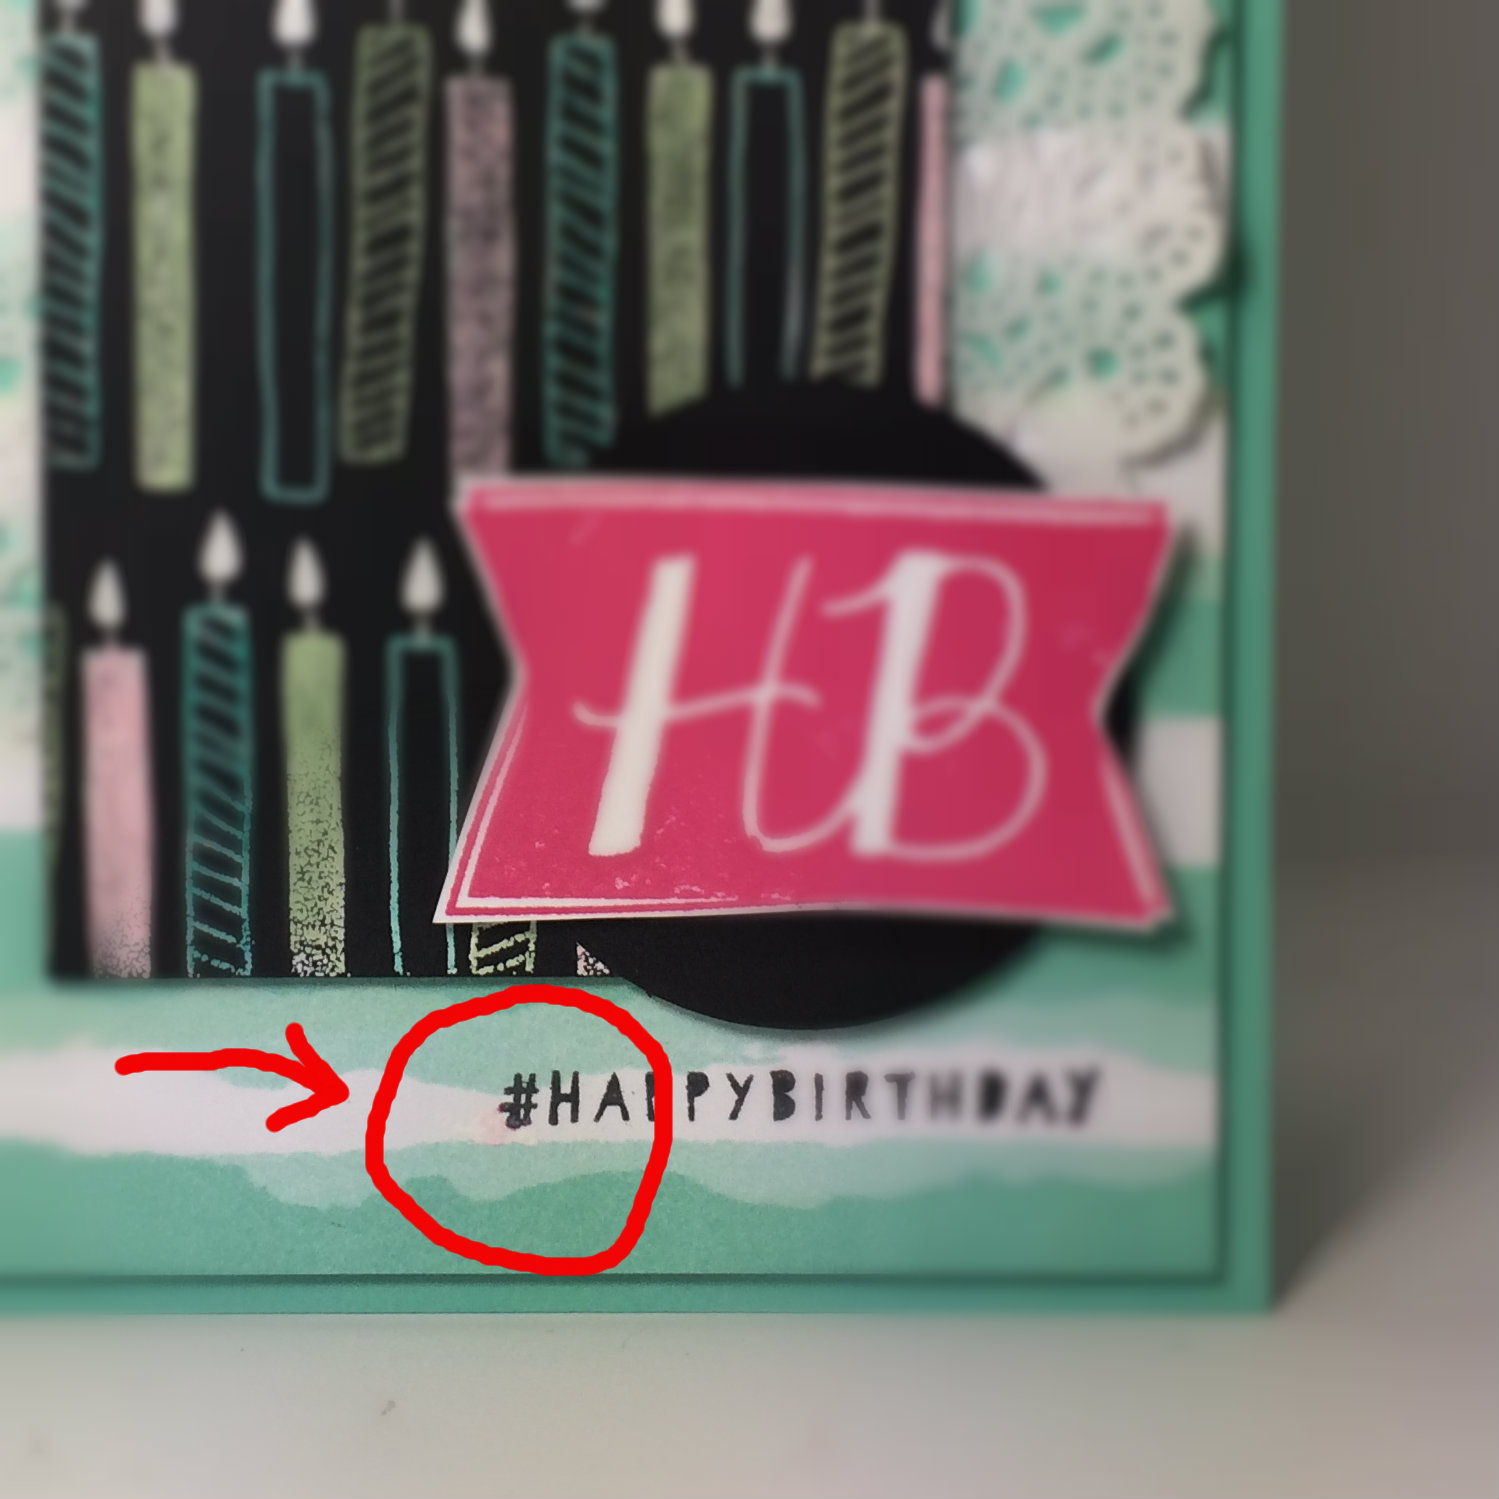
The hashtag sentiment was stamped with Tuxedo Black Momento ink by masking off the HB part of that particular image, so I could just capture the word on that piece of the card. This resulted in a Melon Mambo smudge of ink just under the hashtag symbol, but, guess what, you can barely see it!! Why can’t you see it, you ask? I used my White Gel pen to colour over the pink smudge! Phew! Saved!

073pinkblurI hope you’ll try this technique with your Blendability markers. It only works with the alcohol markers as the water-based markers will wipe right off of the glossy finish. Keep in mind that if you spend too long colouring over the heat embossed areas, the alcohol in the markers will start to break down the embossed material, so keep your colouring brief!

Now, go, make a card for this sketch challenge, load it up to the As You See It Challenge blog so we can all ooh and ahh. Then … just mail it already!!! Bless someone with a hand-made, hand-written, personally to them, card. You’ll make their day better 🙂

Amy

Designer-Badge